Callisto Protocol Bosses & How To Defeat Them
Learn where you can encounter all bosses, their phases as well as general strategies for the bosses in Callisto Protocol!
Players might have issues while countering Callisto Protocol All Bosses, so getting to know the attack patterns and general tips might help in conquering them! The game features tons of mutants, biophages, and creatures lurking around every corner that you can imagine; however, when it comes to boss fights, it is utterly lacking.
- In Callisto Protocol, there are two main bosses: the Two-Headed Brute Boss and Ferris.
- The Two-Headed Boss has four encounters: Below, Colony, and two in Tower.
- Ferris appears in Chapter 7 for the first encounter and in Chapter 8 as the final boss.
- Successful boss fights involve dodging, maintaining distance, stocking up on ammo, and remaining calm.
- Completing all encounters and bosses is necessary to finish the game fully.
- None of the six boss fights are optional; all encounters must be faced.
Two-Headed Boss First Encounter

In the sixth main chapter, “Below,” players will encounter the first appearance of the Two-Headed boss. When the automated voice announces, “Now departing, freight staging hub,” a giant rotating fan becomes noticeable. The boss initiates its attack, and shortly after, the automated voice announces the next stop, “Arcas Station.” This marks the commencement of the encounter with the Two-Headed boss.
Starting Of First Wave
Upon encountering the first wave of opponents in “Below,” players will face basic mutations in larger numbers. It’s crucial to be cautious, as enemies will not spawn one by one but continuously in smaller hordes.
- Avoid using melee attacks to prevent ambushes.
- Instead, utilize the GRP to grip onto enemies and launch them into the turbine.
- If timing the GRP moves proves challenging, rely on ranged weapons to fend off enemies, but steer clear of melee attacks.
Enemies spawn from two main locations: the fan and near the railings on both the left and right sides. Stay vigilant and use GRP to toss enemies off the railing or engage them with ranged attacks. Additionally, an enemy may descend from the top, and players can either shove them into the rotating fan or use ranged attacks.
Main Fight
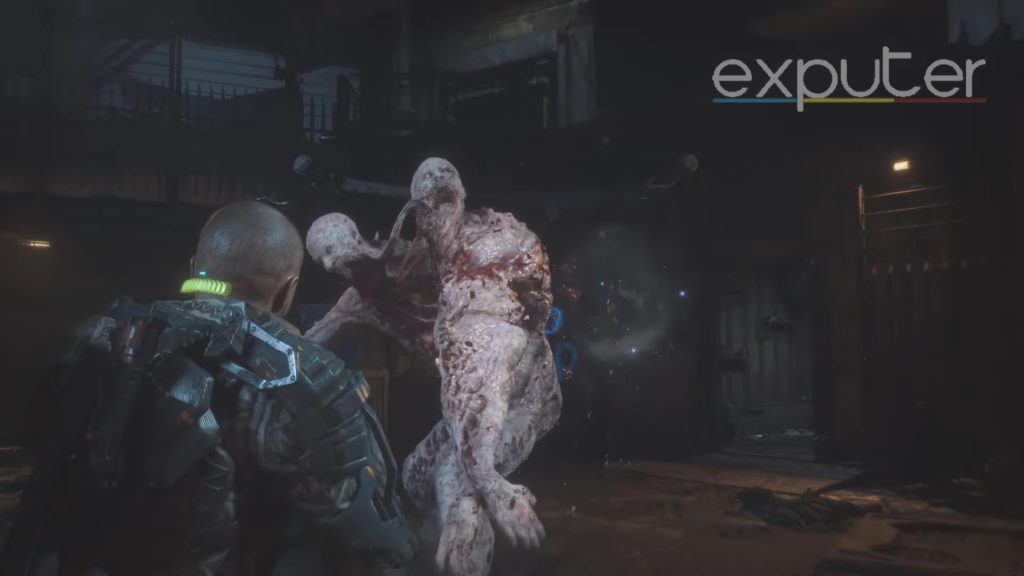
After dealing with the smaller hoard of enemies, a cutscene triggers, introducing the Two-Headed boss behind the edge of the yellow platform. Although an advanced mutation, the boss isn’t excessively challenging, especially if players maintain a distance and use ranged shots.
- Stay at a distance and use ranged shots, avoiding melee attacks initially due to the boss’s strength.
- Observe the attack pattern; shoot consistently at its head while taking cover behind a square box.
- Dodge right when the boss lunges, then step back and dodge left when its right arm flings towards you.
- Shoot its arm to make it vulnerable, causing it to fall to the ground.
- After getting back up and losing one head, the boss focuses on flinging its left arm; dodge and maintain distance.
- The boss alternates between left and right arm flings, becoming weak and falling down again. Use this opportunity to finish it off with melee attacks.
Second Encounter
In the second encounter in the Colony chapter, the Two-Headed Boss appears near you, surrounded by buildings. The fight is similar to the first encounter; the boss lunges and flings its arm, requiring precise dodging before switching to ranged attacks.
- The boss lunges three more times, and you can seek shelter in a hut with a window.
- Pick up an explosive using GRP to make the boss fall, allowing for melee attacks.
- Be aware of smaller enemies during the encounter; use three melee attacks to make the boss lose a head.
- After losing a head, run back and resume ranged attacks.
- Keep running to divert the boss and maintain distance; avoid getting too close.
- The boss lunges twice more; dodge both times.
- Run across the building to create distance and shoot at its leg to make it fall, concluding the encounter.
Third Encounter
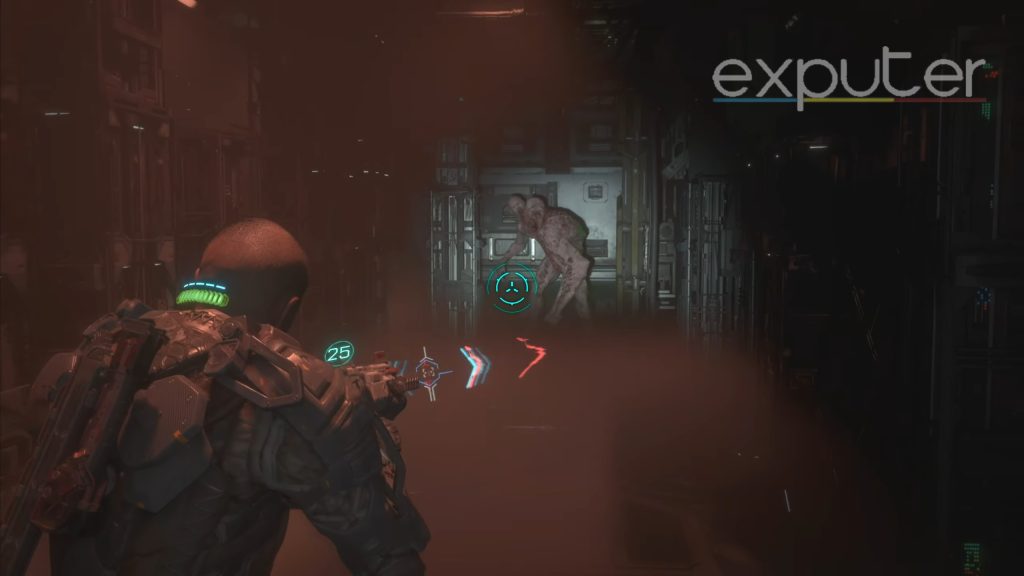
I’m not nearly done, as there are two more encounters with the same boss again. The third encounter will be during the Tower, the eighth chapter. Players will be headed to enter the room in front of the giant metal boxes with red smoke and see the boss ready to devour them.
- Upon entering the room with metal boxes emitting red smoke, go to the bottom right, catch the boss’s attention, and maintain a relentless assault.
- Retreat when the boss gets too close, circling around the room to prevent it from closing in.
- When it falls, avoid melee attacks; instead, shoot through gaps around a corner.
- Repeat the pattern of running, shooting, making it fall, and then repeating.
- Use melee attacks sparingly during this cyclic pattern.
- As the boss loses one of its heads, it accelerates toward the player, requiring quicker evasion.
- When weakened and falling, take the chance for a few melee attacks. Shoot at its legs as it rises to induce another fall, allowing for additional melee hits.
Fourth Encounter
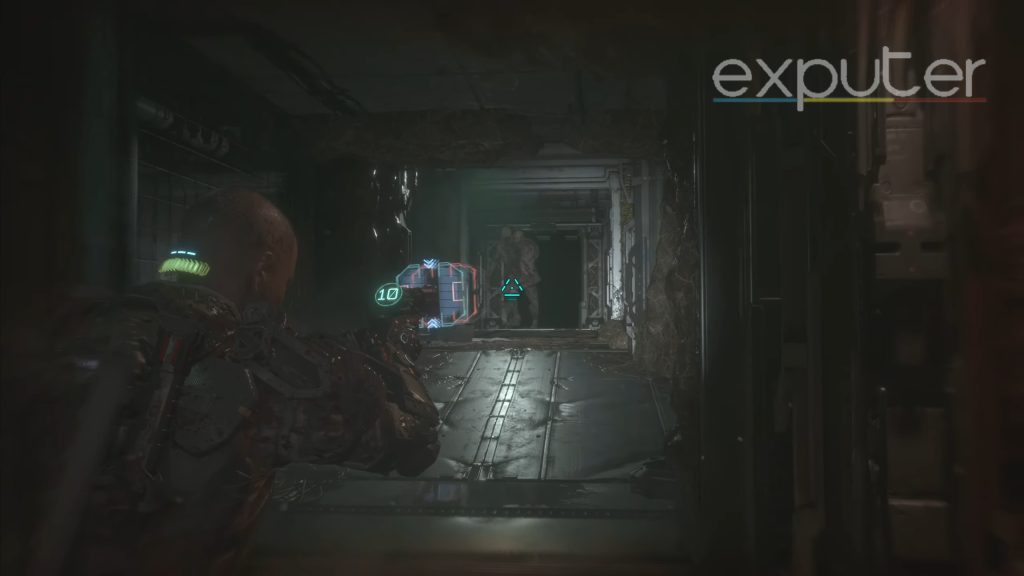
In the final encounter with the Two-Headed boss in Chapter 8, players will find it in the medical ward after navigating through the veiny tunnel. Begin by dealing with a small enemy in the tunnel using the GRP, throwing it into the spikes.
- Upon reaching the medical ward, face the boss once again.
- Maintain a considerable distance and ensure ample ammo.
- Alternate between shooting at the head, limbs, and head again.
- Target the middle to make it fall, providing an opportunity to use the stun baton for melee attacks.
- Repeat this cycle, with three melee attacks each time.
- After getting back up without a head, continue evading, using ranged shots until it falls again, allowing for a final finish.
Ferris First Encounter
Moving on, the next main Callisto Protocol boss you will encounter will be when you go over to chapter 7, Colony. Now, when it comes to the overall difficulty of the fight itself, the boss is definitely tanky, to say the least. It is also able to quote possibly one shot you. Therefore, the main key to survival during any encounters with Ferris will be to dodge.
- The first phase will begin when players enter a room where there is a hologram of Dr. Mahler, and she is talking about thousands of larvae and the general lore of the game.
- After that, Cpt Ferris will come out from a platform saying “521”, addressing Jacob directly.
- The cutscene ends, and Ferris is suddenly in front of you.
Main Fight
In the final encounter with Ferris, exploit his lunging pattern—right arm, left, right, left—then strike during his momentary flinch with melee attacks and gun combos. After repeating this process, a cutscene unfolds with Ferris grabbing and kicking the player.
- This sequence occurs thrice, each time marked by Dani’s encouraging comments.
- After the third round, a cutscene depicts your escape with Dani, leading to the end of the initial meeting with Ferris.
During this break, visit the reforge station to spend credits on upgrades, acquire health gels, and replenish ammo, preparing for the impending final fight.
Alpha Ferris Ending Boss
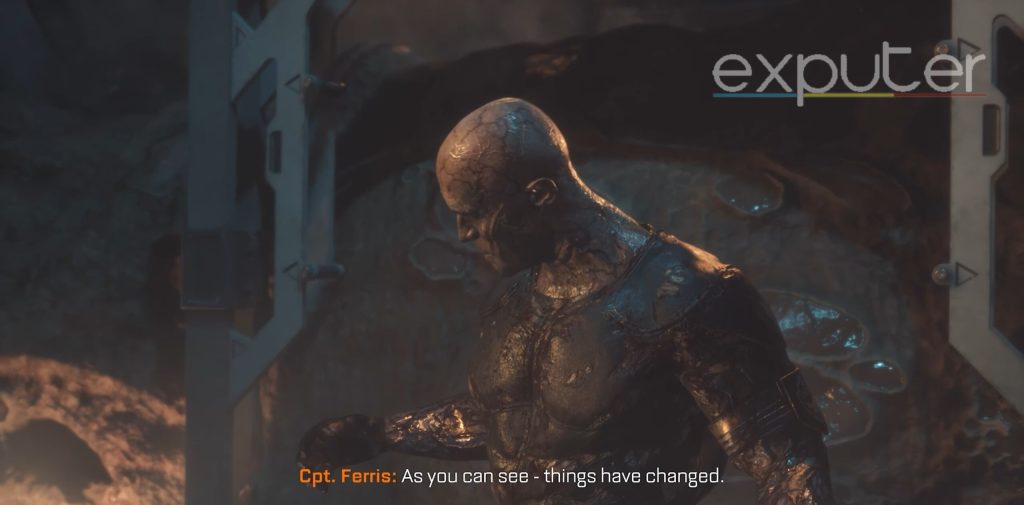
Last but not least, let’s talk about the final Calisto Protocol boss that players will be able to encounter, which will be when they reach chapter 8. There will be a cutscene where Ferris comes out behind a door, and there will be a “final contest to determine the true survivor.” Ferris talks about his purpose and that “he’s gonna show you,” and the fight begins.
- He lunges at you and attempts to punch you, through which you can stagger him and then unleash a few melee attacks alongside your gun combo.
- He then grabs onto you and kicks you as he did in the first encounter.
- The same punching sequence continues, and at one point, a small cutscene appears where you attempt to attack him with the stun baton, but he blocks the attack.
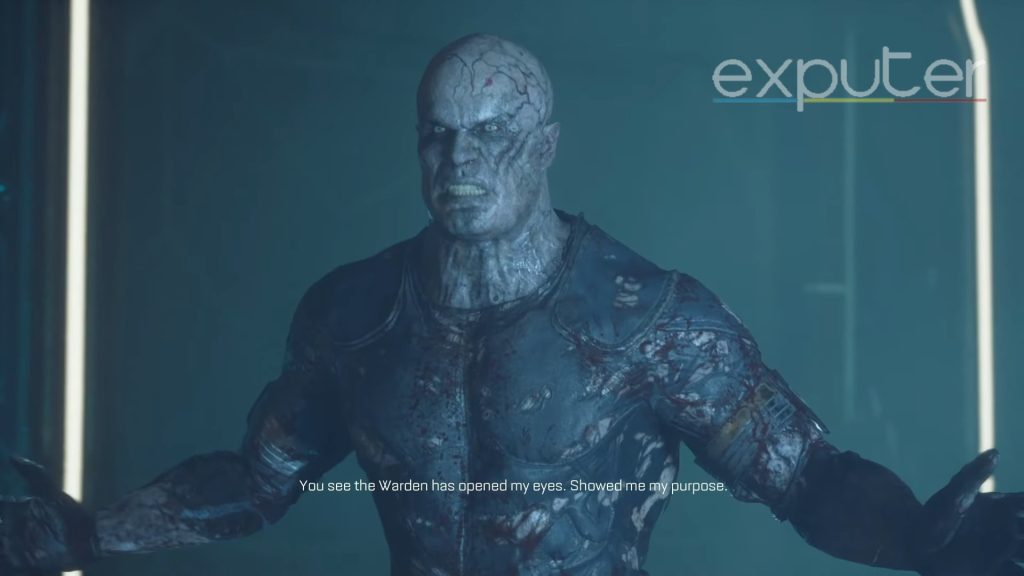
After that, he will repeat the same punches you consistently need to dodge left and right, and then another cutscene appears, transforming him into a mutated version of himself.
Fighting Mutated Form
In his transformed state, Ferris creates a small cocoon in front of his head, which becomes the target for weakening and vulnerability. Consistently aim ranged attacks at Ferris’s head during this phase. After attacking, he releases projectiles that require dodging.
- Ferris summons exploding enemies, demanding attention to prevent easy defeat.
- Use the GRP to pick up and shoot the enemies away.
- Dodge to the right when Ferris lunges at you up close.
- Maintain a distance and focus on breaking Ferris’s cocoon, triggering projectile attacks.
- Be aware that staying too far prompts Ferris to charge and fling his arm, which you can evade.
Explosives scattered around can be used with the GRP to deal additional damage. This pattern continues until Ferris weakens, leading to a cutscene where he falls, concluding the boss fight.
Summary
And there you have it! All encounters as well as general strategies to take to counteract each boss fight, and with that, I will wrap up my Callisto Protocol All Bosses guide!
Up Next:
- Callisto Protocol Best Weapon Upgrades
- Callisto Protocol Skunk Gun Schematics
- Callisto Protocol: How To Get an Assault Rifle
- Callisto Protocol Tips And Tricks
Thanks! Do share your feedback with us. ⚡
How can we make this post better? Your help would be appreciated. ✍