Callisto Protocol: All Data Bio Locations
Learn where you can get all 43 data bios that are scattered throughout the chapters in Callisto!
Callisto Protocol’s Data Bios contains information about the deceased people scattered around the main story chapters. Some players will be able to come across them as they progress through the main storyline, while some may need a little bit of exploring; to find all 43 of them.
- Data Bios reveal insider information about prisoners and other important people involved in the main storyline and allow for a deeper insight into Callisto Protocol‘s lore.
- There are a total of 43 Bio Data Locations that players are able to access!
- The Data Bios will give further insight into the Callisto Protocol lore and information about prisoners and the entire storyline!
- The best way to get your hands on all data bios will be by opening secret rooms, thoroughly searching each place, and not skipping any room!
- The main benefit of having all data bios will be that you will be able to know the lore completely!
Here’s complete information on the Data Bio locations:
| Name | Location |
|---|---|
| Jacob Lee | Chapter 1: Main hallway locker |
| Caitlyn Mahler | Chapter 2: Surgery M112 room |
| Elias Porter | Chapter 2: Cellblock cell |
| Captain Leon Ferris | Chapter 2: Room with glass windows |
| Sergeant Eric Jane | Aftermath chapter: Vent area |
| Officer Pruitt Matos | Aftermath chapter: Office |
| Duncan Cole | Aftermath chapter: Meeting room |
| Dr. Ewan Hayes | Aftermath chapter: Medical ward |
| Officer Dachs Symmons | Aftermath chapter: Room with hanging bodies |
| Officer Kerry Brown | Aftermath chapter: D4 area |
| Tadhg Song | Chapter 3: Main bridge room |
| Dani Nakamura | Aftermath chapter: Locked cell desk |
| Dr. Caitlyn Mahler | Chapter 4: Sewerage system |
| Officer Bruno Vorenus | Chapter 4: Utility room |
| Jae Moon-Bell | Chapter 4: Access Hall H206 |
| Officer James Reese | Chapter 4: Room with "shoot the tentacles" |
| SGT Bill Pekelo | Chapter 4: Oxygen processing H625 room |
| Officer Kyle Serra | Chapter 4: Tram depot entrance |
| Miranda Kristofich | Chapter 5: Outpost shelf |
| Richard Cids | Chapter 5: Snowy area room with orange tube light |
| Caitlyn Mahler (Combustors) | Chapter 5: Tunnels hidden alleyway |
| Lt Devon Wayne | Chapter 5: Unlocked gate room |
| Officer Aaron Taycho | Chapter 5: Guard stuck in grinder |
| Max Barrow | Chapter 5: Small room uphill |
| SGT Scott Dvitny | Chapter 5: Container with ramp |
| Dr. Caitlyn Mahler (Shipments) | Chapter 5: Room with small storage box |
| Dr. Sheehan Yune (Field Log 1) | Chapter 6: Stairs with "don't make a sound" |
Jacob Lee
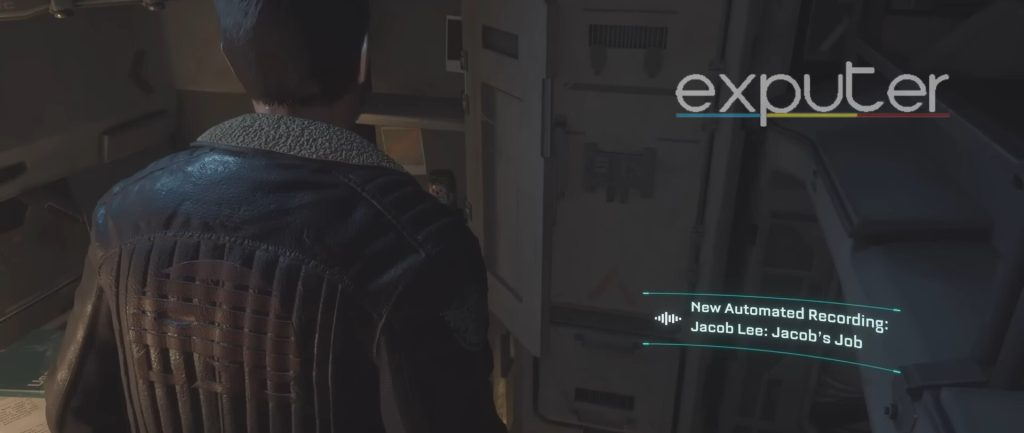
One of the first data bios that players will encounter will be in chapter one when you have the objective of checking on the special cargo. Open the door into the main hallway, and players will be in a room that will have a few beds, as well as two main lockers that will be present in front.
Start walking up to the lockers, and you will encounter a locker to your left that you can easily open up. Press E to interact with it in order to open up, and you will get the Jacob Lee: Jacob’s Job data bio.
Caitlyn Mahler
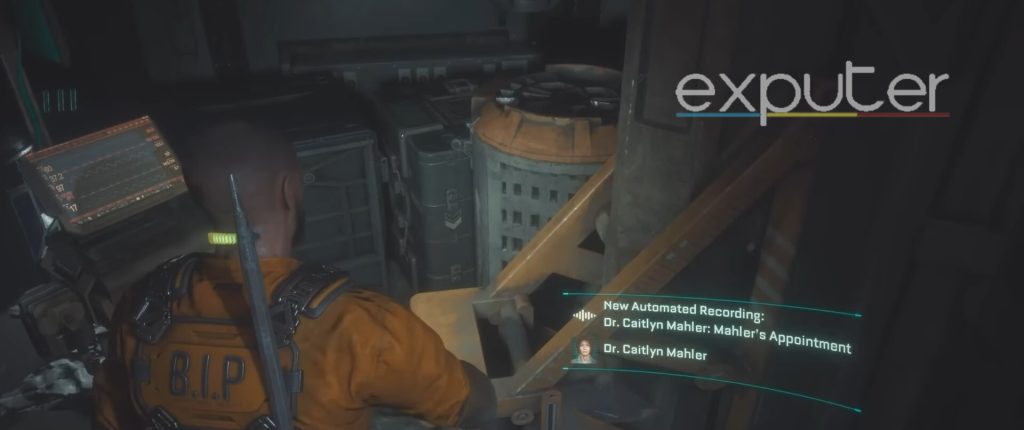
As for the second one, you will be able to encounter it in chapter two, “outbreak,” when you have the objective of “find the weapons lockup.” You will need to go to a room with “surgery M112” written on it.
Enter the room and head past the operation table, and go past a door that is unlocked on a small yellow ledge; you will find Caitlyn Mahler Mahler’s Appointment data bio present.
Elias Porter
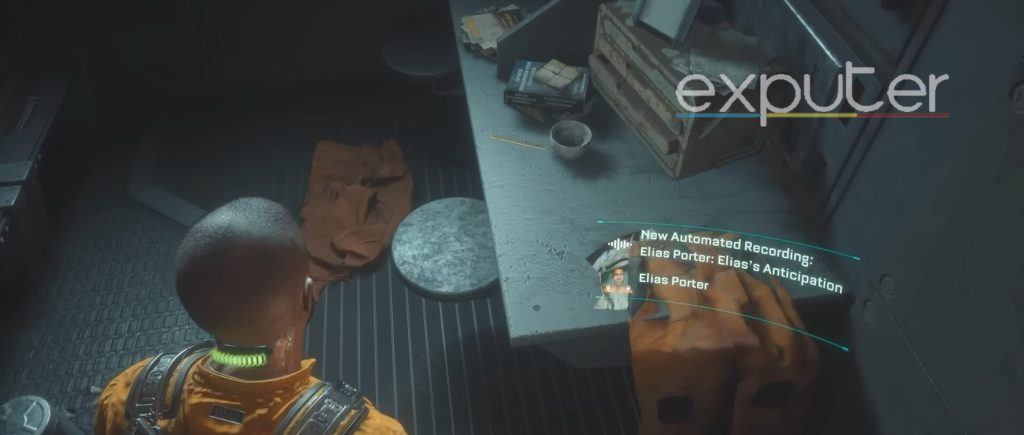
In order to find the third one, players will need to be progressing through the second chapter, which is an outbreak. Players will need to get to the objective whereby. It tells them to make their way over the back to the watch tower.
From the main hallway, start running forward until you’re able to encounter a small door that is open in front of the smoke that you just crossed. From there, head into the cellblock that is labeled above, jump over some boxes, and turn right to enter a cell, and it will be present inside.
Captain Leon Ferris
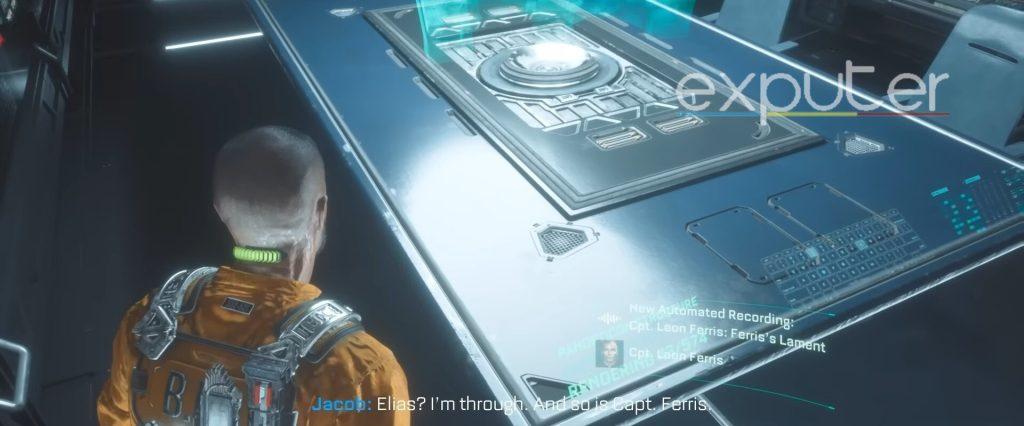
Another one that players will be able to find in chapter two will belong to Captain Leon Ferris, and in order to get that, players will need to be at the objective, which tells them to find a certain exit.
You will be behind a few glass windows overlooking enemies inside that will be attacking a person in a flashback. Head inside the room, and the data bio will be on the futuristic center table.
Sergeant Eric Jane
To get the next data bio, players need to have progressed enough to get to the aftermath chapter, whereby they will have an objective that tells them to find a guard’s corpse.
While being inside a vent, start moving forward, and jump out of it, where there will be a malfunctioning guard. A dead person will be lying on the ground, and you can access the data bio by pulling it out of his neck.
Officer Pruitt Matos
For the next data bio, players won’t need to go anywhere else, as they will need to head past the lifeless guard that had SGT Eric Jane’s data bio and start making their way past the boxes that are present in front.
Move forward, enter the laundry area, and turn right from a corner; an enemy will attack you there. Head into the next door that is unlocked, and keep making your way to the end and into the office.
Duncan Cole
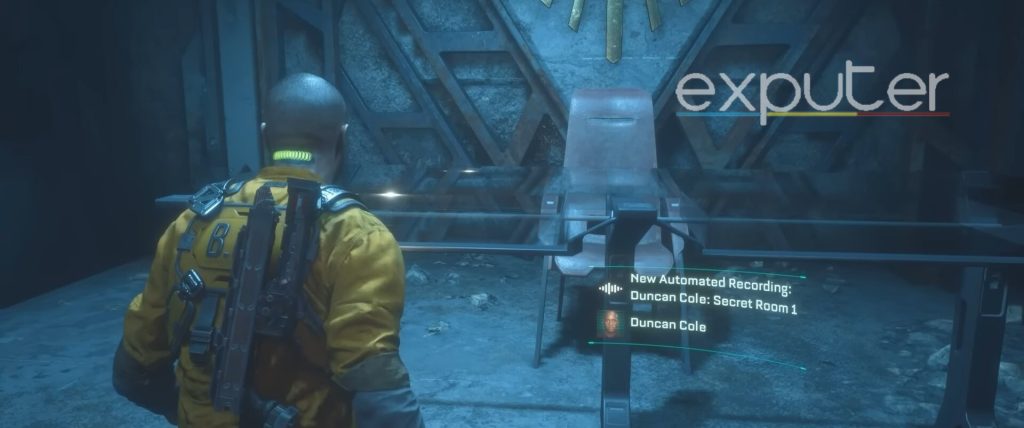
To get the Duncan Cole data bio, start heading back from where you got Pruitt’s bio, and you need to turn right from a few boxes, which will then start leading you up. Run past the two doors that say unlocked, and then start making your way down.
Keep heading straight until you encounter a locked door, head through the vent, and then go away the way down, run past the ladder in the hallway, and shimmy through the door into the meeting room to get it.
DR Ewan Hayes
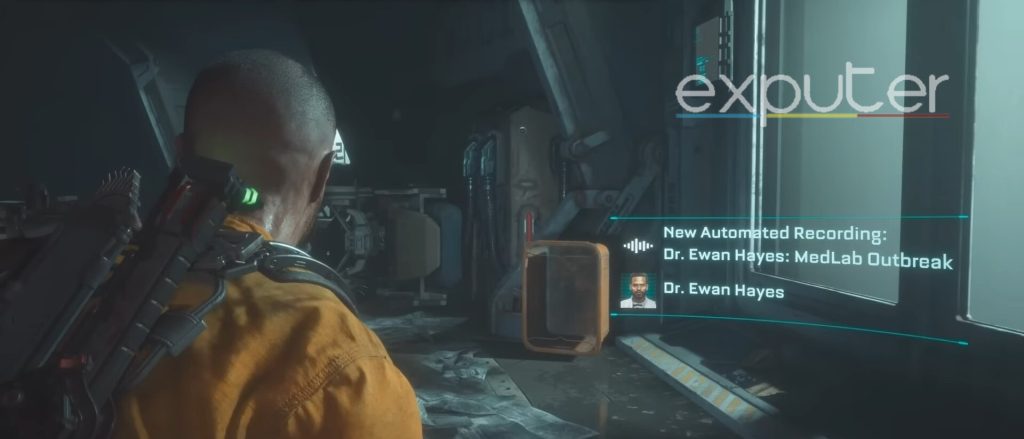
Let’s move on to the 8th data bio, which will be retrieved during the aftermath chapter once again, and players will need to have the objective “locate the medical facility.”
Head inside the medical ward and press X to open it. When you go inside, Jacob will tell Elias that he’s in medical now, and you will find a person that is dead on the ground with tons of blood around the body. There will be an interaction button on the back of its neck, and you will be able to get the data bio.
Officer Dachs Symmons
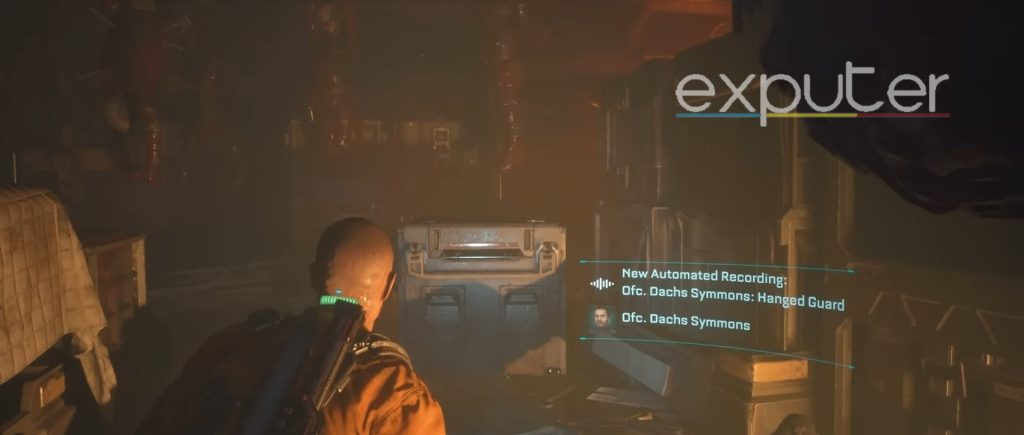
To get Dachs Symmon’s data bio, you need to be in the aftermath chapter once again, and players will need to have the objective which tells them to look for an elevator.
Go into the room with the hanging bodies, and you will be able to find an officer that will be dead on the ground in front of the hanging bodies. You can stab into his neck to access his data bio.
Officer Kerry Brown
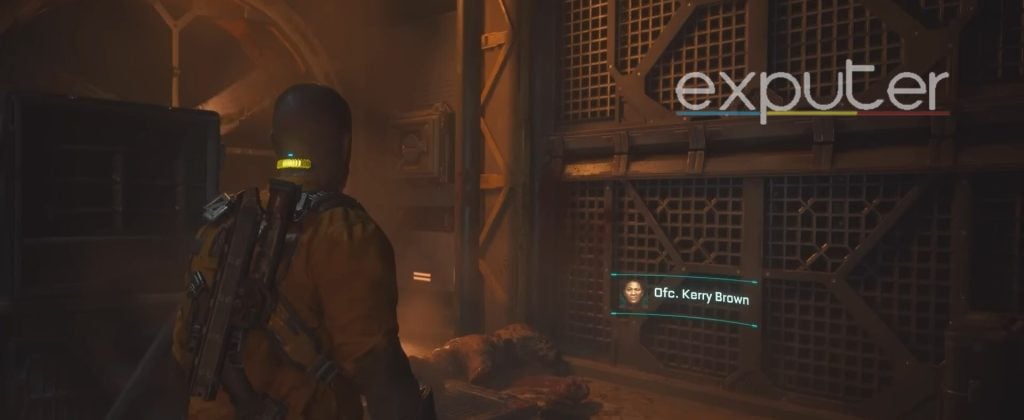
As for Kerry Brown’s data bio, you need to be in the aftermath chapter once again, and you need to have the objective called “find a way out of the basement.” Head past the D3 Basement, then turn left, and from where it says D3 on the wall, jump onto the upper platform.
Keep going forward, then head down, and you will be in D4 now. Run right from the boxes to encounter the D4 area, where some more boxes are on fire, turn left and follow the trail of blood, and you can get the data bio there.
Tadhg Song
Moving onto the 11th objective, you will be able to access it when you’re progressing through chapter 3 and whenever you encounter the objective where the game tells you to restore power.
Move through the main bridge, and press whatever you have to cross the bridge where it’s slinging you across the abyss. You will encounter some enemies, which you can GRP into the abyss, head into the room, and then jump onto the boxes on the left, and you can find a body with the data bio in it.
Dani Nakamura
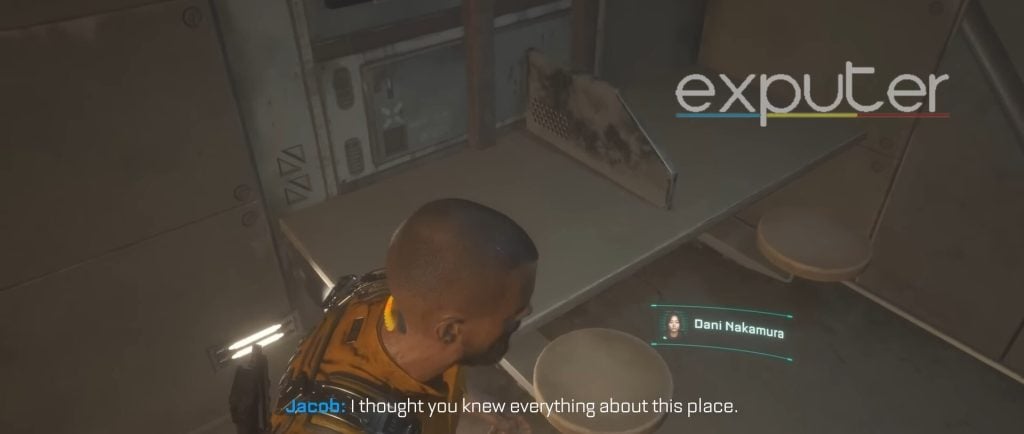
As for the next one, you will be able to get it when you are originally locked in a cell by the girl. The objective will be to use a shiv to exit the cell in the aftermath chapter.
In the cell that you are locked in, if you turn around, you will be able to encounter two bunk beds, and there will also be a desk on which you can find an item, and if you interact with it, it will be the Dani Nakamura data bio.
Dr. Caitlyn Mahler
Whenever you have finally progressed through the third and entered the fourth chapter, which is the habitat, you will get the objective to follow a red pipe.
You will need to make your way through a sewerage system (ew), and then jump into a vent, and then jump down it where the red pope leads. From there, turn left, head straight, and there will be a blue box that will lead you further up, where you can get the biodata.
Officer Bruno Vorenus

Whenever you step down from the blue box and back on the ground, there will be a small vent that you can get through that will be present hidden beside a metal barrel. Head through the vent, and keep heading straight and when you reach the end of the boxes, turn right from the corridor.
There will be a dead body on the far end where the door is present, and the Bruno Vorenus data bio is present there.
Jae Moon-Bell
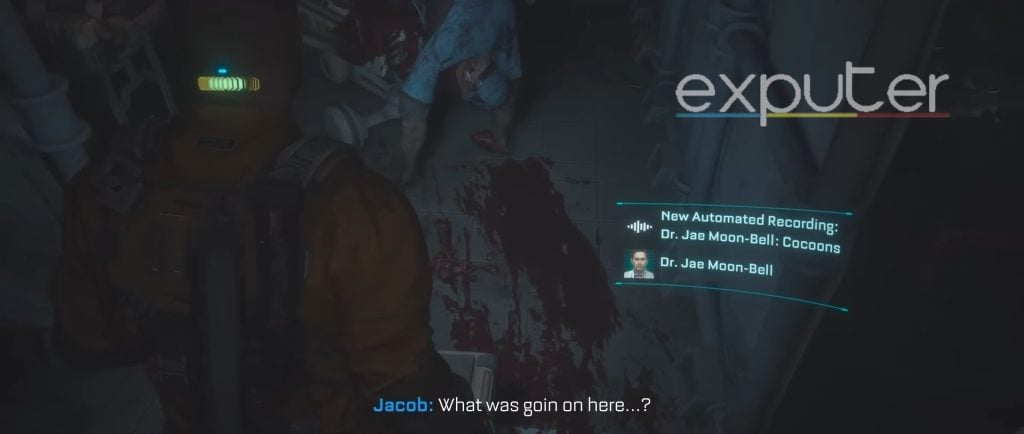
While you are making your way through the Habitat chapter and you get the objective to move further along the red pipe, head into Access Hall H206, and it will require a gate fuse.
From there, head further in and head past the water control H262 room, which is unlocked, and keep heading down until you encounter the storage room. Unlock it and head in, and you can find it when you cross another room, take the fuse, and enter the fuse into the next locked door.
Officer James Reese
To get the next data bio, you will need to have the objective “get code from guard” whenever you are in the fourth chapter. When you are in a room with the words “shoot the tentacles” on the wall, fight off the enemies that appear.
There will be a mutated enemy, and then a tentacle instruction will show up. Right below the “shoot the tentacles,” there will be a dead guard, and you can fish out the James Reese data bio from its neck.
SGT Bill Pekelo
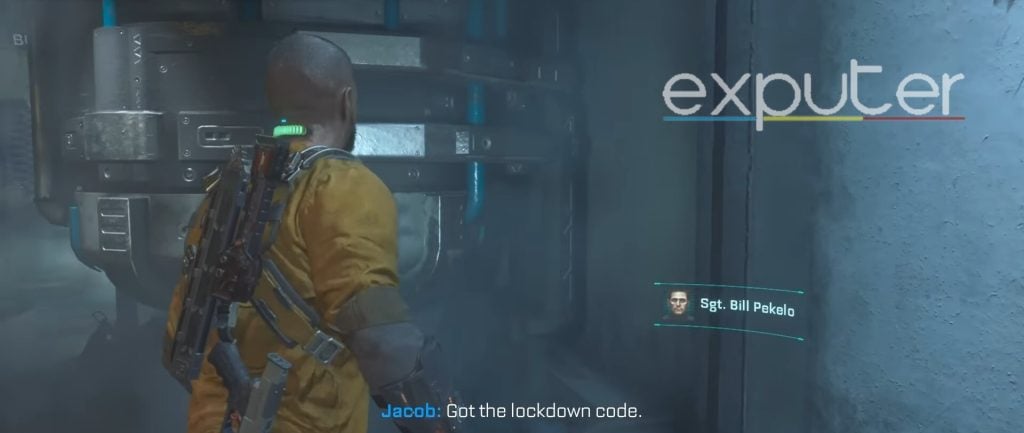
While you’re doing the same objective as before, head into a room that has a few tables and the words “tram security” there, and you will see a door with the words “oxygen processing H625” you will need to go into the room.
Keep making your way deeper into the room until you can encounter a staircase that is heading up. Crouch through the vent and then start following the trail of blood. Keep heading straight, and then jump up the platforms and crawl across. A dead body will be placed on the ground, where you can get the data bio from.
Officer James Reese
The next data bio you will need to get when you get the Bill Pekelo data bio. Head straight, and then turn right into the toom that is unlocked, and keep going deeper into botanical harvesting.
Keep going to the end, and then turn right to the room up and shimmy through the space, and there will be a few leeches that you will need to defeat, after which you can get the data bios.
Officer Kyle Serra
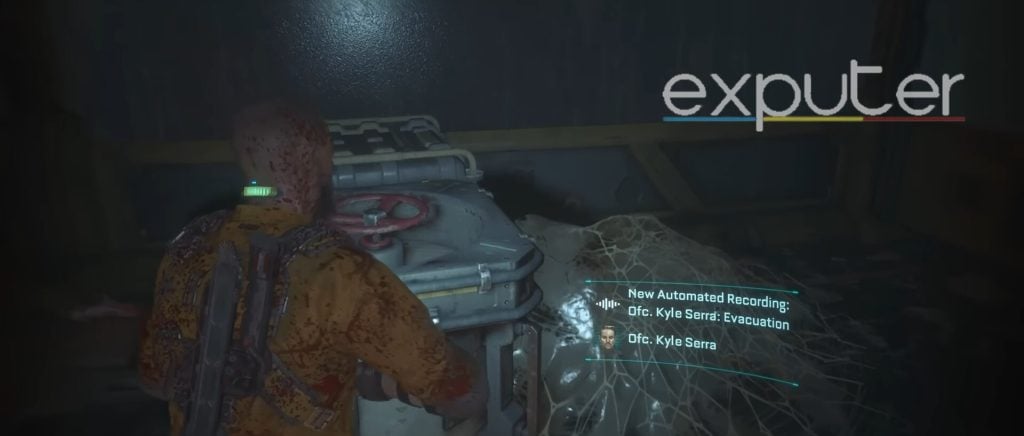
Another one of the Callisto Protocol All Data Bio Locations will be when you’re playing for the fourth story chapter, and you get to the objective “reach the utility hatch,” head into the utility room, steer left and break the lock on the locked door.
Jump over the boxes, and head deeper towards the tram depot entrance, and the data bio will be placed on the far end.
Miranda Kristofich
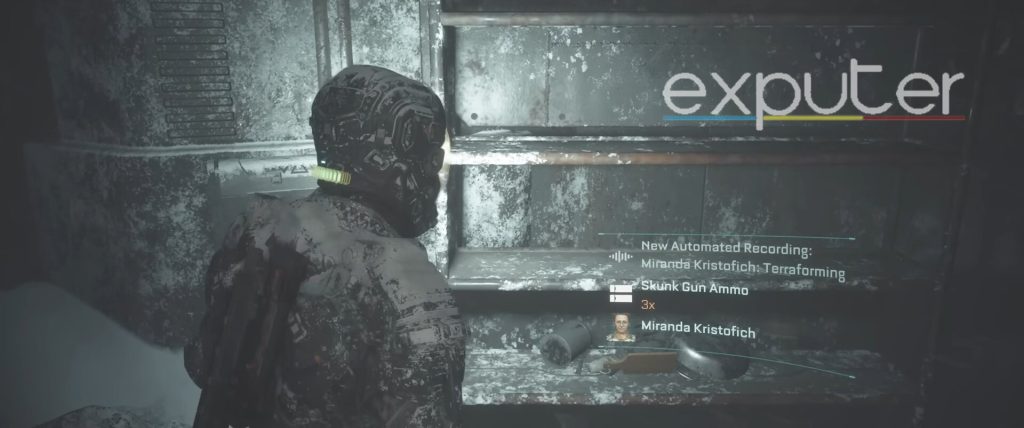
After you’ve made your way to the fifth chapter, “Lost,” you will get the objective to “find shelter in the outpost.” Open up the gates in front of you, head past C2, and through the door, and you will find the data bio sitting on a shelf.
Richard Cids
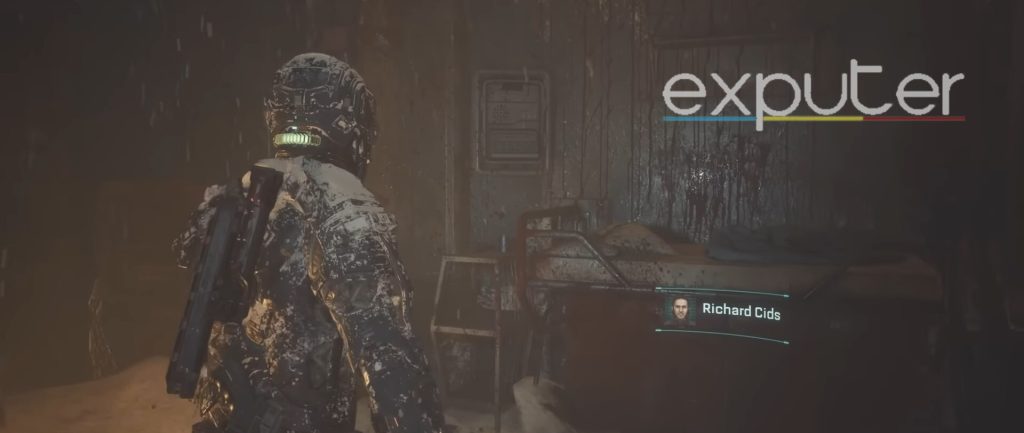
Another data bio that you will be able to get will be in chapter 5 as well, and the main objective that players will get will be to try to help the trapper worker.
While you’re in the snowy area, head through towards the pole standing in the middle, steer right and keep heading forth and head into a room with an orange tube light and there will be a dead person from whom you can attain the data bio.
Caitlyn Mahler Combustors
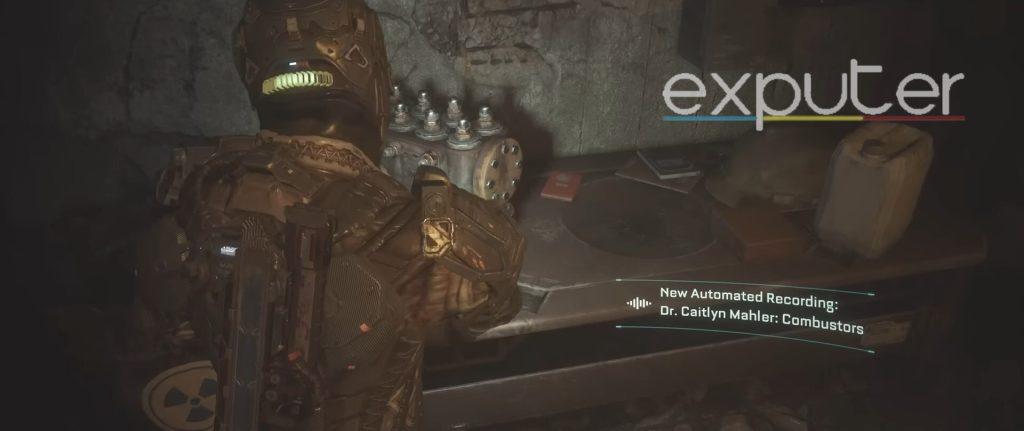
Once again, when you are in chapter five, you will need to be at the objective where you need to find a way through the tunnels, and you will need to crawl your way through the tunnels.
Get back up, and start heading forward, then take a swift left to head into a hidden alleyway, and there will be a desk that will be placed in the back with the data bio there.
Lt Devon Wayne
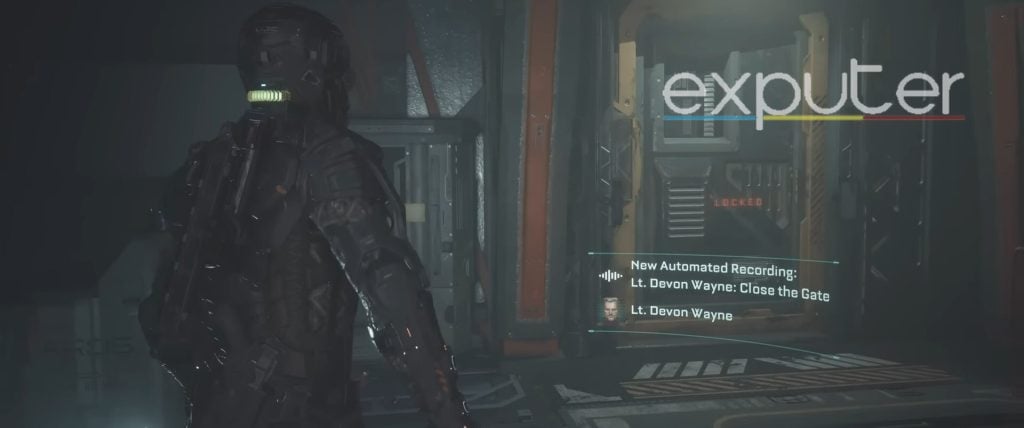
Moving onto the next data bio, being in the “Lost” chapter 5 chapter, there will be an objective that you will get which will tell you to make your way back over to Dani, and while she is talking to you, she will tell you “take this, you will need it.”
From there, head past the bloodied bench and up the stairways, go into the unlocked gate, and right at the end of the room, there will be a dead person in the data bio.
Officer Aaron Taycho
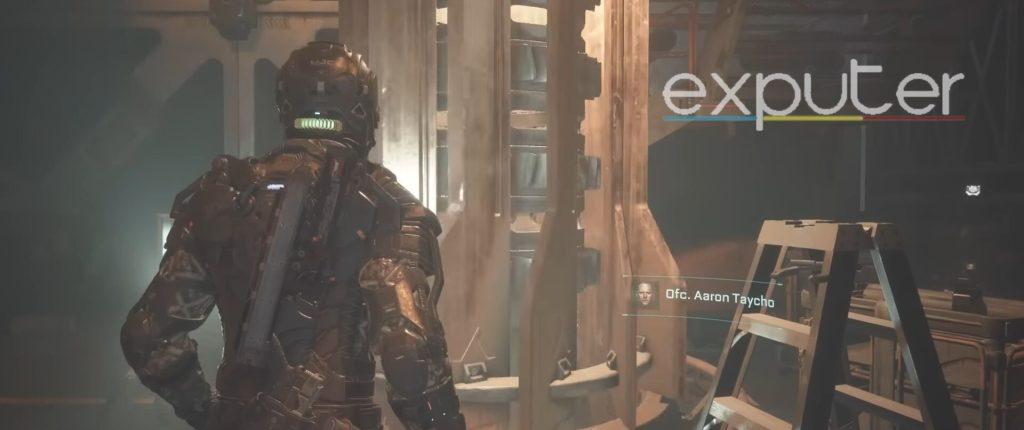
While being ordered to explore the power station in chapter 5, you will be in front of a power station where you can interact with it.
Whenever Jacob says, “got it,” turn back, and head back out the unlocked door, then turn left and head down the stairs, head past the blue box and into the smaller area, turn left and go through the door. From there, go past the unlocked door at the right; there will be a guard that will be stuck in a grinder where you can get the data bio.
Max Barrow
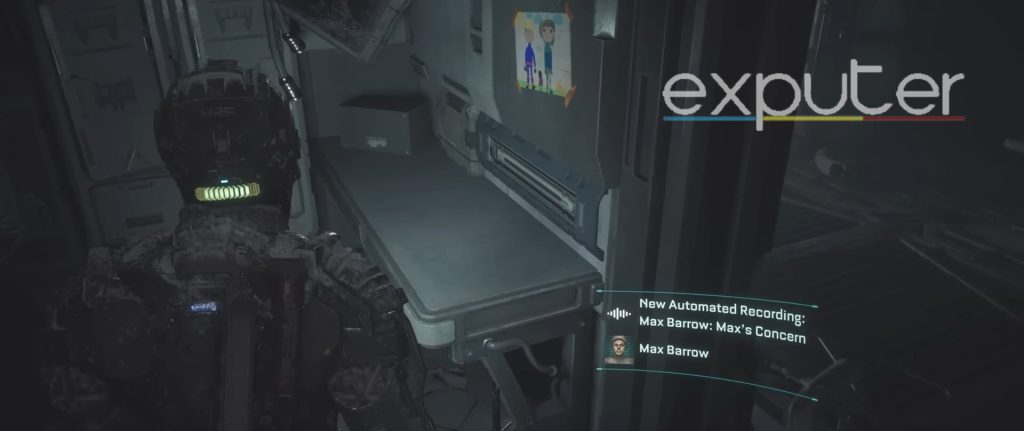
While being out in the snowy area in chapter five, whenever you get the objective to find Dani, you will need to go uphill and across a door that is open, which will lead you into a small room.
Once you are in, turn left to head deeper in, and you will find a room on the left that will have the data bio present on a table.
SGT Scott Dvitny Eradication
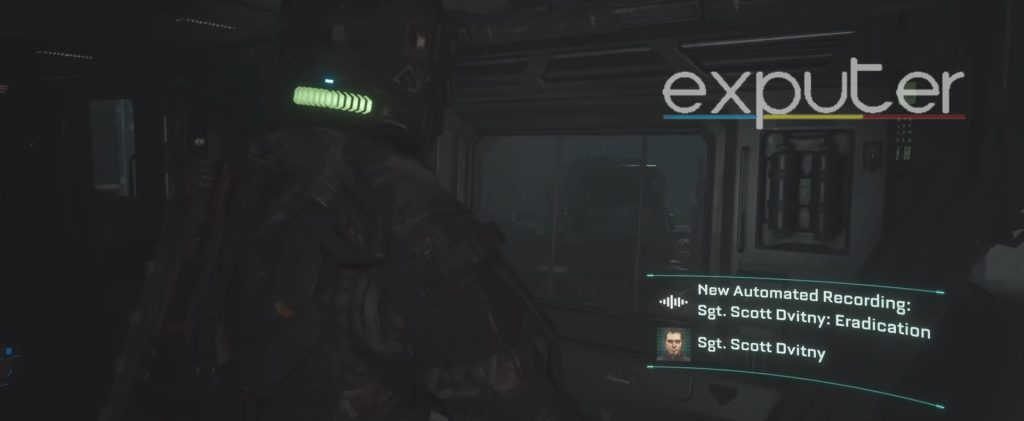
While you’re on the same mission of finding Dani in chapter five, there should be an area where you are present on the outskirts of the building with a small gap that you can shimmy in through.
While you are in, start heading deeper in, and you will encounter a small container with a ramp that you can go up and into. There will be a dead person at the entrance of the container, and you can fish out the data bio from their neck.
DR Caitlyn Mahler Shipments
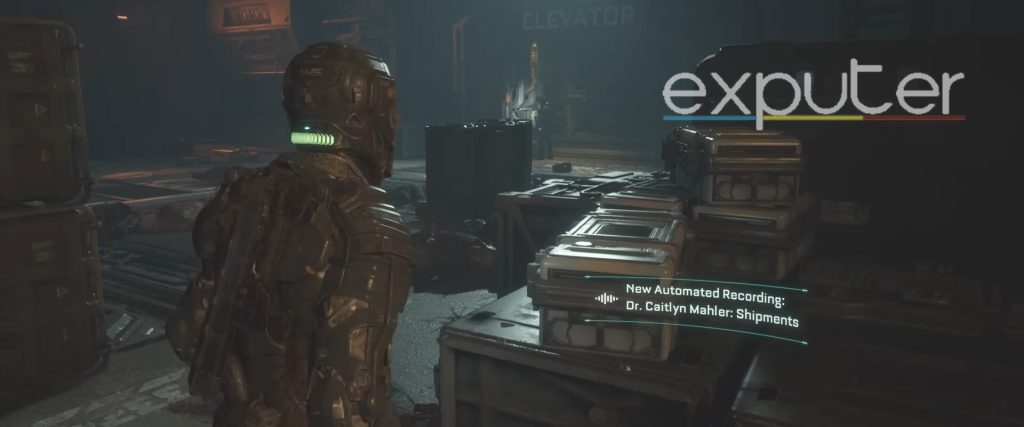
As for the next Caitlyn Mahler data bio, you will find it in chapter 5 when you have been prompted to follow Dani. Follow her when she says, “look at all these bodies,” and she will try to activate the elevator while she tells you to look around. Head a bit toward the back of the room, and you can find it sitting next to a small storage box.
DR Sheehan Yune Field Log 1

When you are in chapter 6, “Below,” you will be prompted to reach the transport hub as an objective, and whenever it is activated, head down the stairs where there are the words “don’t make a sound” on the walls.
Jump onto the lower platform, and then keep heading forward where you can get the data bio.
DR Sheehan Yune Log 2
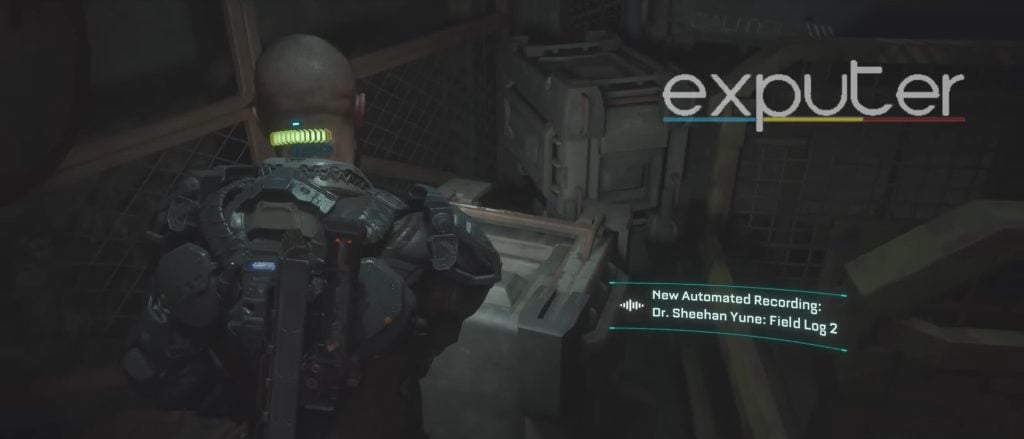
For the second log, you will need to be crawling through a bit of rubble when you’ve got the same objective to “reach the transport hub.” Head up the platform, and turn left from where there is the word “caution” in front of you. Head into the tunnel, turn left, and head up the stairs and the data bio will be present there.
DR Sheehan Yune Log 3
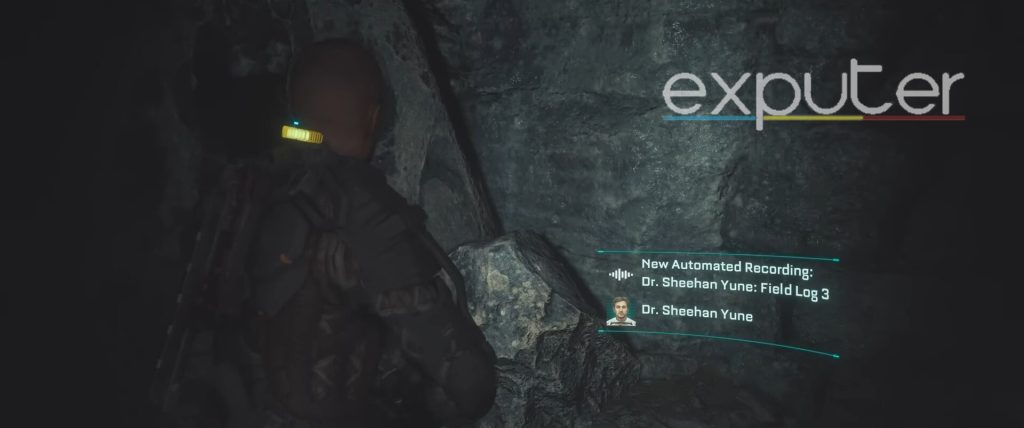
The third log can be found whenever you are doing the objective to “locate the power reactor.” From the power tunnels sign on the bars, open up the locked door in front of you. Head in, steer right, and then keep heading further. Go into the corridor with the white light over it, and the data bio will be presented towards the end.
Yannick Sage
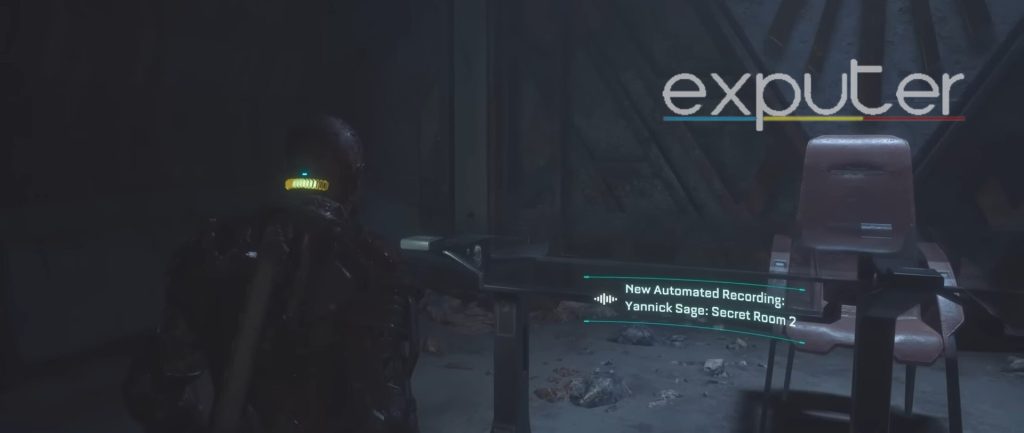
As for the next one, you will need to be in the sixth chapter and will need to be at the objective “locate the power reactor.” It will be present in a secret meeting room that will require the player to shimmy through a small gap in the wall amongst some rubble. An enemy will instantly attack when you go inside, and then you can take the data bio on the table in front and players will be one step closer to get their hands on Callisto Protocol All Data Bio Locations!
Arden Jeddha Arcas Evacuation
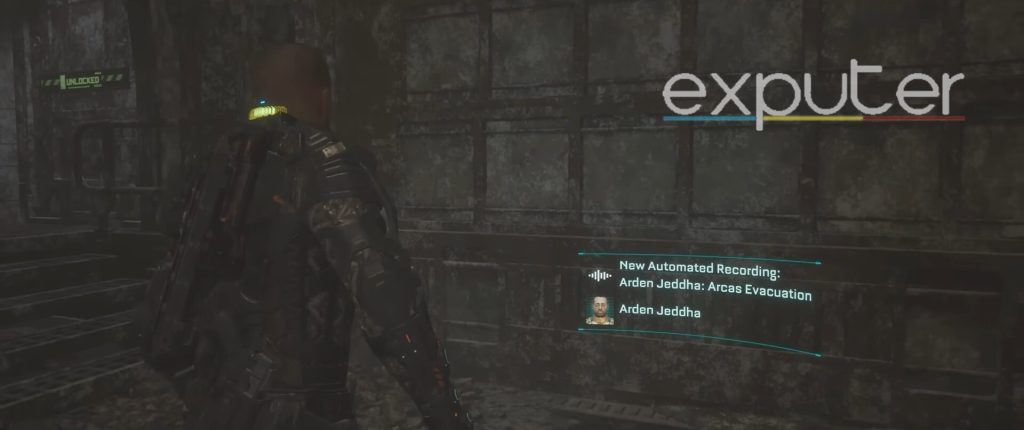
Moving on, you will need to be at the objective, which tells you to locate the arcas station in chapter 6. Head straight past the main power area, and then head onto the metal bridge that you can find. Then start moving down, and there will be a blackened body on the ground from which you can get the biodata.
Alex Wang Miner Log 1

As for the Alex Wang data bio, it will be whenever you start chapter 7. Head forth through the bridge that is made of metal, where Dani asks you where you are, and you tell him in a service tunnel. Head down the stairs, turn left, and there is another blackened dead body that will have the data bio.
Derryn Barr Miner Log 2
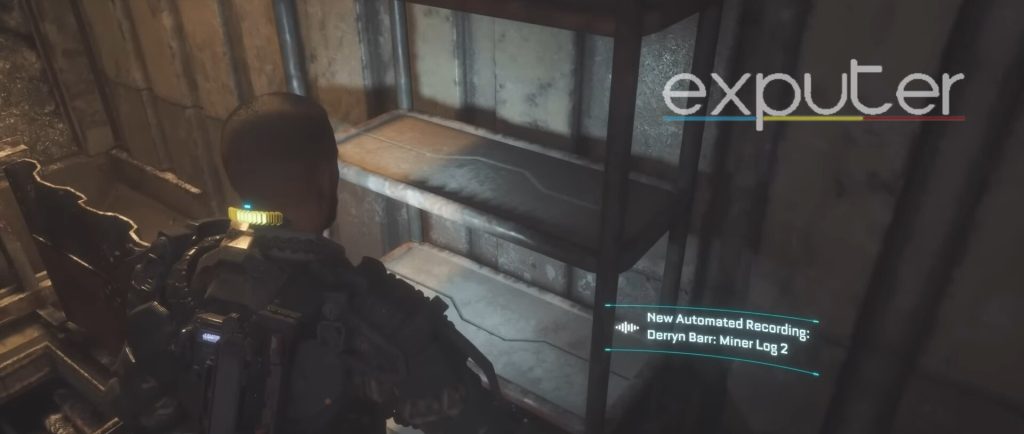
Right from where you got Alex’s bio, turn right around, and start running towards the end of the tunnel, then climb up the platform, shimmy through the tunnel, head up again, and stop when Jacob says, “im at the colony.” There will be a room to your left which will have the data bio located on a shelf.
Derryn Barr Miner Log 3
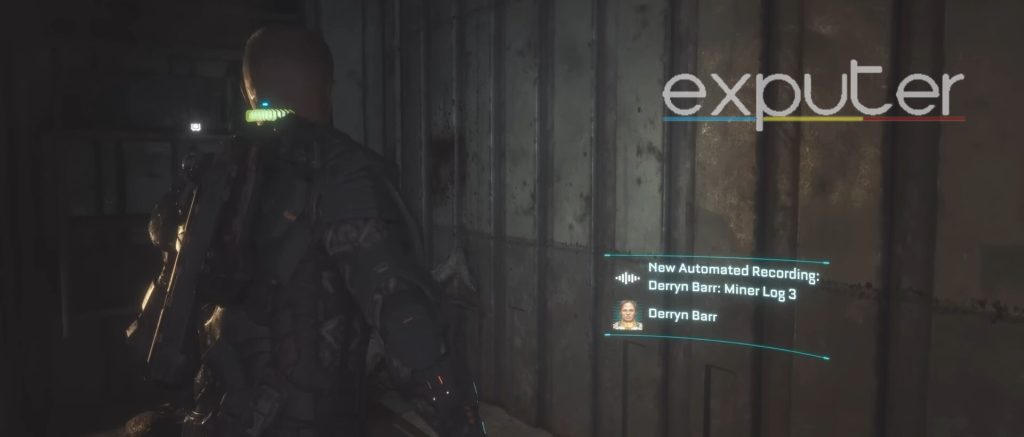
When you have the objective “find a way up to the light-tower” in chapter 7, head towards the place where there is a “midtown” written on the wall beside a ladder, and head up the ladder. Turn right and head into the unlocked door, and there will be an enemy to defeat and a dead body at the end of the room with the bio in it.
Yannick Sage The Mole
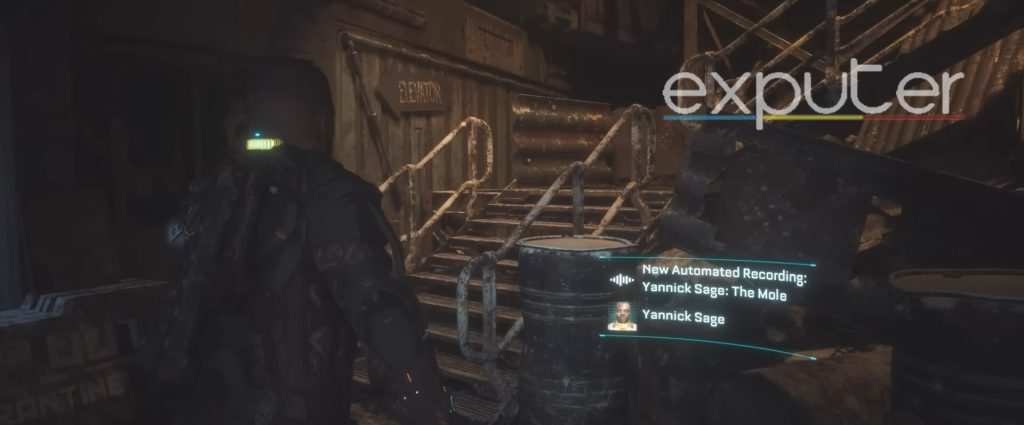
In chapter 7, while you may not find Callisto Protocol All Data Bio Locations, there are certainly quite a few hidden! You will get the objective to ascend the elevator to Hightown, take the elevator up to the tower, and here Jacob will try to contact Dani but to no avail; when you head out of the elevator, the bio-data will be present in a dead body on the ground.
Buidhe Reddwork Hightown
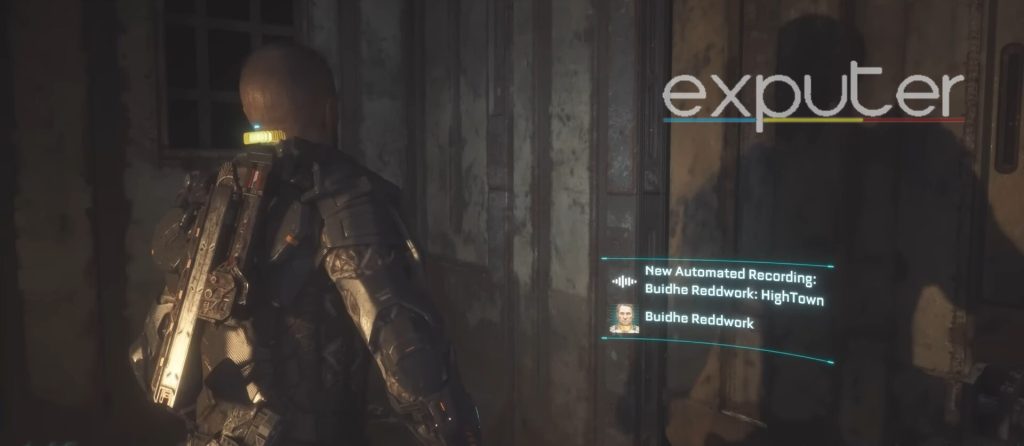
When getting the objective “Find Dani at the rooftops,” go up the stairs and head into the rightmost room to get the data bio.
Ji-Kwan Park Miner Log 4
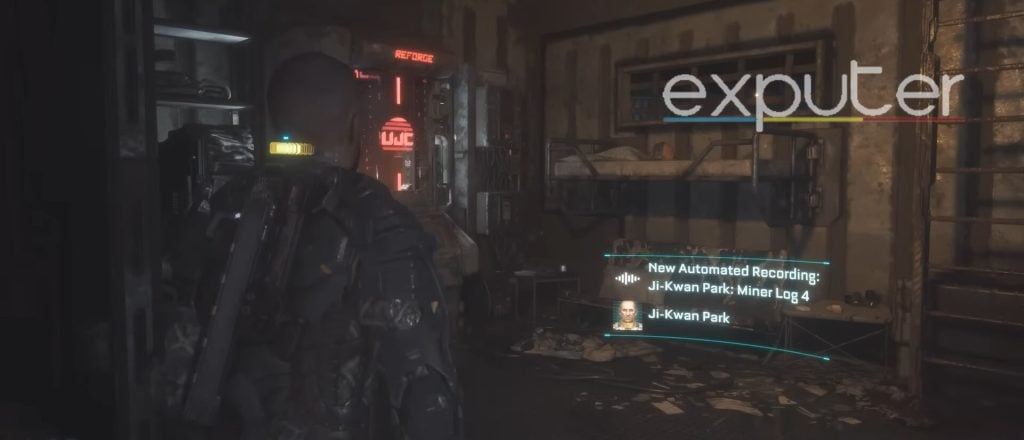
When you’ve gotten the objective to “unlock rooftop door with fuse,” you will need to enter the gate fuse to unlock the door. Head into the room to get the data bio from the body on the ground.
Duncan Cole Disagreement
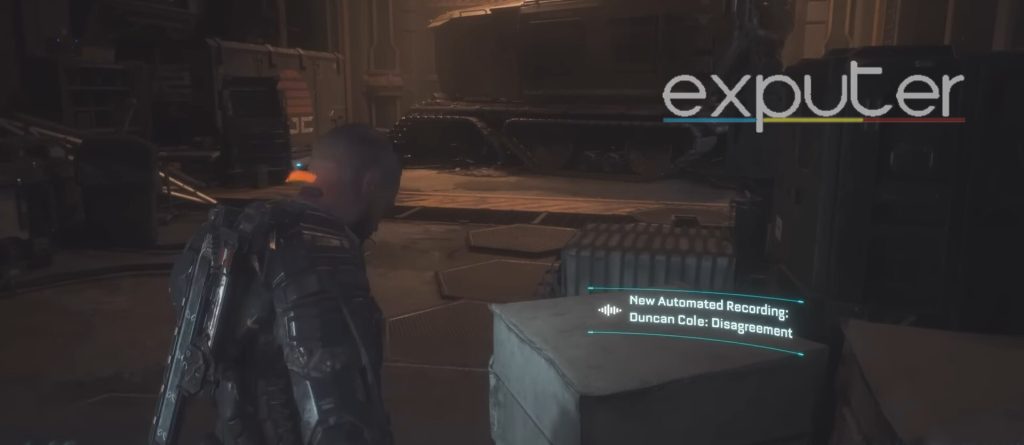
In chapter 7, the objective is “find out where you are” whenever you are close to Dani, and you say, “we’re almost here,” head straight ahead, and there will be a few boxes that will be present in front of the giant container in the back, and the data bio will be on top of the boxes.
DR Tala Ismene Observation
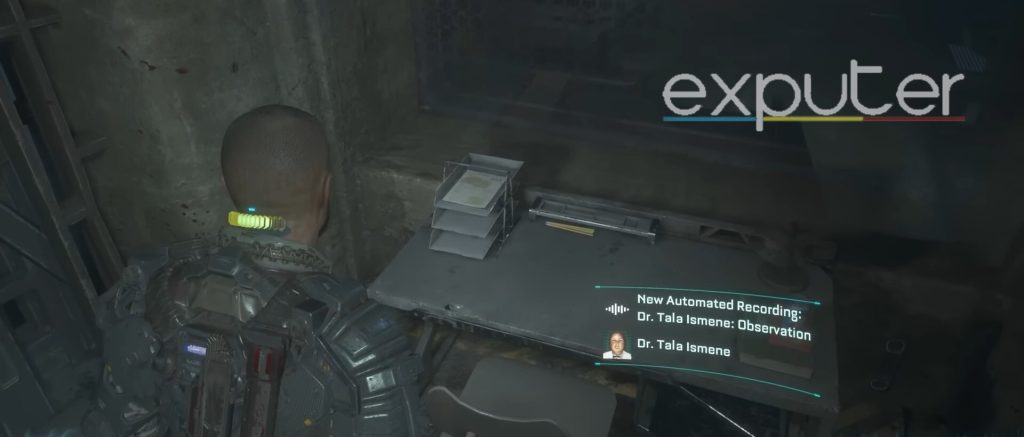
While being in chapter 8 and having the objective to exit the server control room, go over to the Panopticon surveillance B330 room door, insert that gate fuse to unlock it, enter it, turn left and start heading forward. The data bio will be present on a table towards the very end of the room.
Tala Ismene Taken
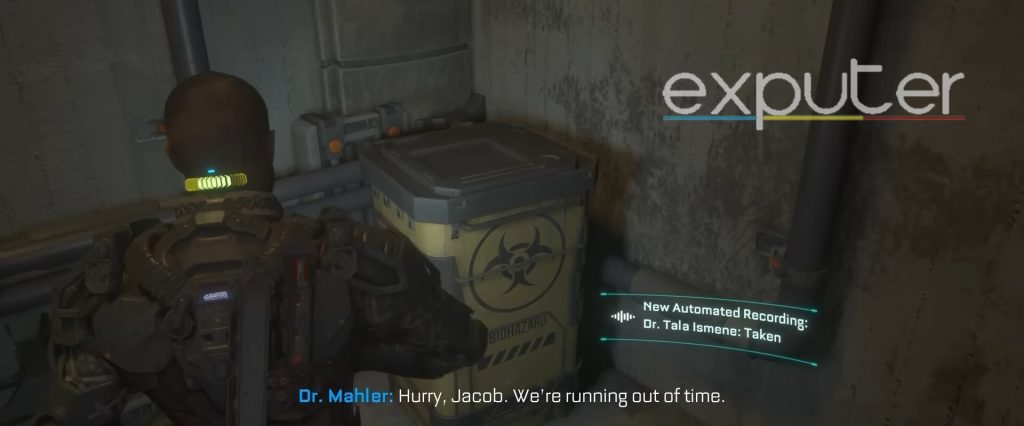
When you’re at the “get through Asylum” objective, go towards the Psyc block 1 A140, then enter the vent to the right. Crawl through, get out, and head up the stairs, and the data will be present on a yellow box.
Edward Bates Experimentation
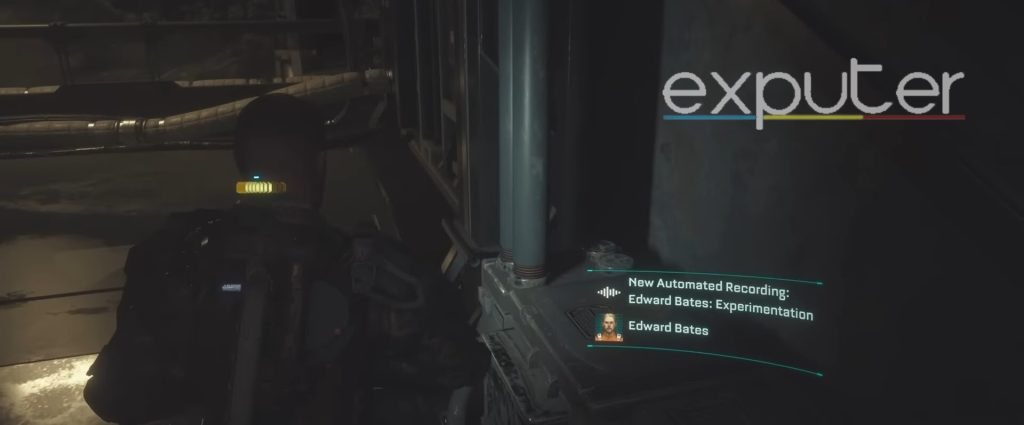
When having the objective to “get through the medical facility” in chapter 8, head past the bloodied bodies on the ground and move towards the two red lights, and head into the unlocked room, and the data bio will be right in front of you.
Duncan Cole Cole’s Triumph
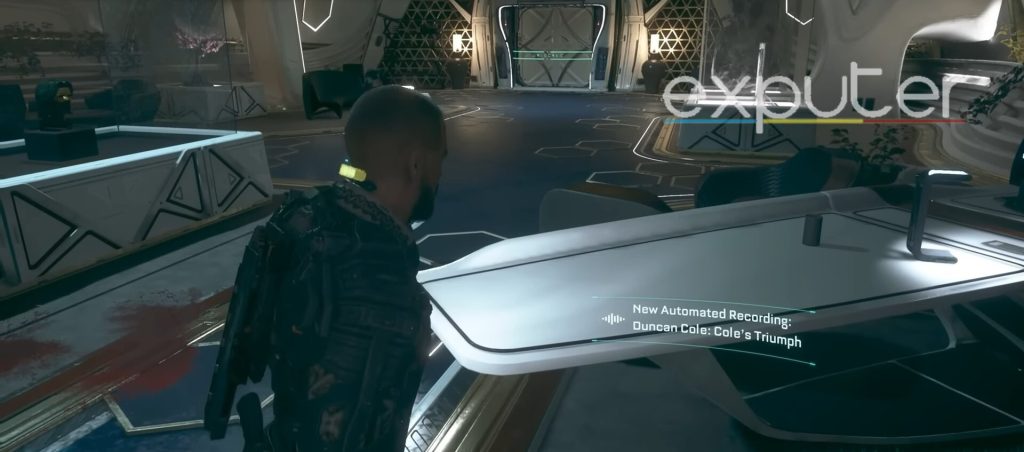
For the last one, when you get the objective to talk to Dr. Mahler in chapter 8, when Dani asks you whether you “trust her,” and you say, “don’t got a choice,” head into the futuristic-looking room. The data bio is in the room.
Summary
There we have it! All 43 data bios are done, and with that, we will wrap up our Callisto Protocol All Data Bio Locations guide!
Up Next:
- Callisto Protocol Best Weapon Upgrades
- Callisto Protocol Skunk Gun Schematics
- Callisto Protocol Tips And Tricks
Thanks! Do share your feedback with us. ⚡
How can we make this post better? Your help would be appreciated. ✍