Callisto Protocol: How To Get Schematics Assault Rifle
Our Callisto Protocol How To Get Assault Rifle guide will showcase a detailed walkthrough, alongside all its upgrades!

Callisto Protocol offers a total of 7 weapons to the players, one of which is the assault rifle schematics, which are amongst the ranged weapons that players can access. Learning how to get an Assault Rifle in Callisto Protocol does not come easy, as it is an optional schematic and can be missable if players don’t explore around!
- The Assault Rifle Schematics is one of the 7 weapons that players are able to access during their playthrough of the game!
- The best way to get your hands on the rifle will be by making your way over to The Slums and heading towards the Midtown.
- Players are also able to find the weapon at the end of chapter 7 as well as in chapter 8.
- The main benefit of having the rifle will be that you will have a different option for a weapon during combat!
- The weapon is not attainable through story content but rather through exploring!
Assault Rifle Location
Before anything else, players need to know that they will have to have progressed quite deep into the game. The rifle is easily missable, and it will not be obtained through the main storyline. Rather, players need to explore around when they get to a specific location to get their hands on the assault rifle schematics.
The weapon will be accessible once you get to chapter 7, “Colony,” in the game. When you’ve progressed enough in the storyline, you will be heading toward an area that is known as a slum, and it will contain loads of run-down homes.
Starting Of Slums
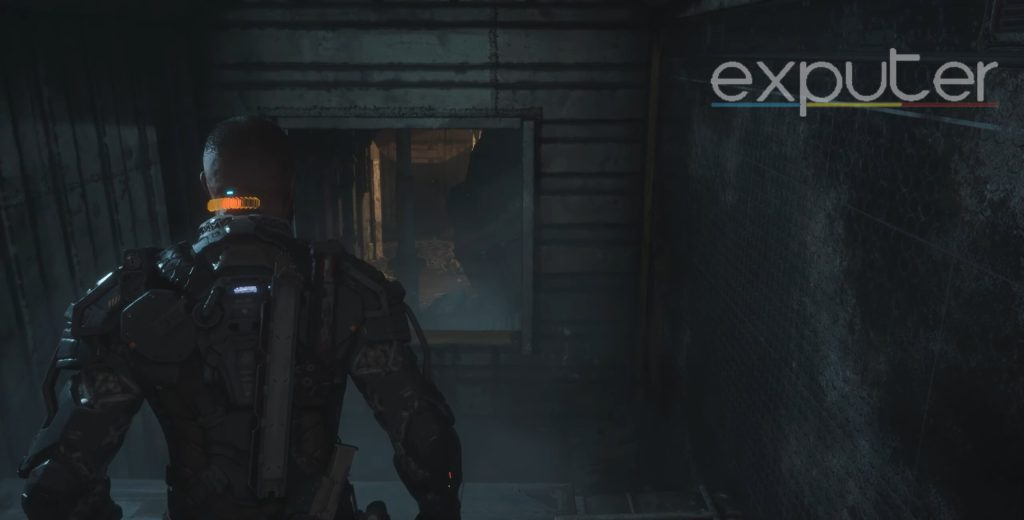
- When you start your search for the gun, you will be in a hallway that leads into the slum area..
- Start making your way through the hallway and right in front of the player, which will indicate an entrance to the slums.
- Head towards the entrance, and there will be a small platform which will lead you further closer to the entrance.
- From there, you can then go ahead and press W and E to interact with the space and jump over the entrance to go into the slums fully.
Into The Slums
- Upon entering the slums, you’ll confront a scene of dilapidated buildings, small homes, and tattered covers on rooftops.
- Positioned on a platform, you’ll notice a pole in front.
- Move to the edge, then jump to the ground.
- Ahead, a slum with an “elevator” sign stands.
- Head toward it, veer left for a clear view and proceed.
- Pass a doorless slum and a grey-colored one on the right.
- Upon crossing the latter, a more open area with broken-down slums unfolds.
- Turn right to reach the main entrance of the grey slum.
- The entrance, marked by a wooden pathway and two structures, features sticks connecting a tattered cloth as a makeshift entrance.
- Beside the left stick stands a small barrel.
Midtown Area

- From the described location, head through the main entrance to find a cleaner-looking slum.
- To the left of the slum entrance is a ladder with the word “Midtown” written in white letters descending beside it.
- Approach the ladder, interact with it to climb up, and notice a signboard with a white arrow pointing up as you ascend.
- Upon reaching the top, you’ll enter a new area.
Top Of Slum
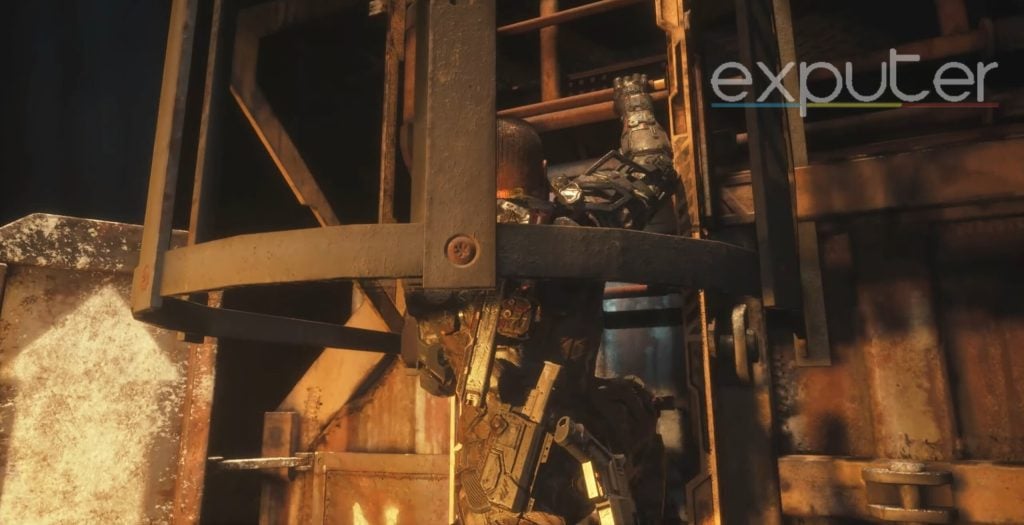
- Climb the ladder to find an open rooftop.
- Ahead, a longer pathway splits the slum top, revealing more slums.
- Turn right from the main slum top to discover a small area leading down.
- Ledges protect from falls, placed at the edge of higher platforms.
- A run-down signboard indicates a general store a few feet forward.
- Move toward the right to reach the store entrance.
- Inside, a dark, empty space extends into a broken-down store.
- Head to the back to find a teal-colored exit.
- To the left, discover a sign reading “elevator.”
- Beyond the sign, another slum awaits.
Slum With Schematics
- Players will be able to take note of a slum, which will be colored white, and there will be a massive bloodshot towards the right wall of the slum.
- Players want to start making their way over to the slum.
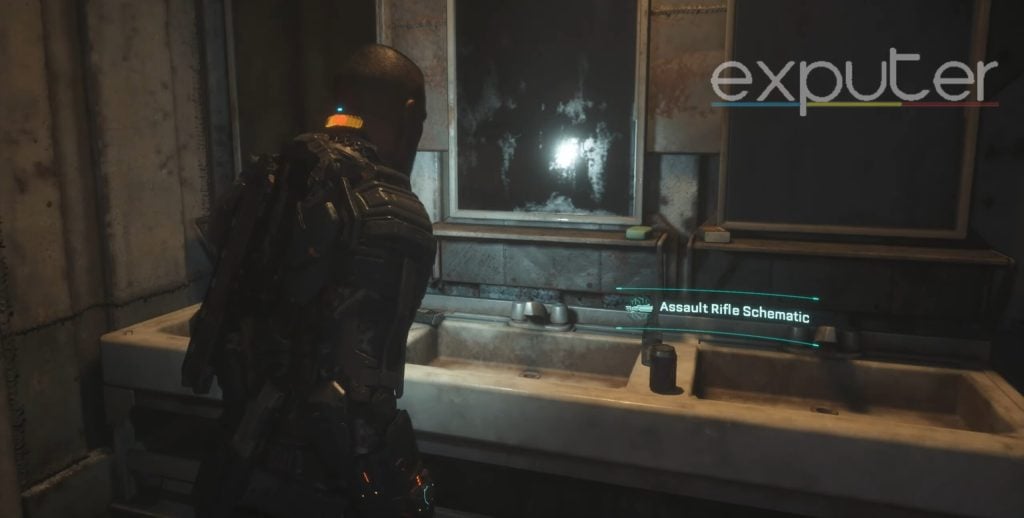
- From there, steer a bit to the left, which will then lead you further into the slum, and it will appear to be a run-down bathroom of sorts.
- There will be three sinks that will be placed on the left end of the room.
- There will also be three mirrors that will be placed right above the sinks, and on a small shelf that will be placed in front of the mirror in the middle, players will be able to get their hands on the Assault Rifle Schematics.
Upgrades
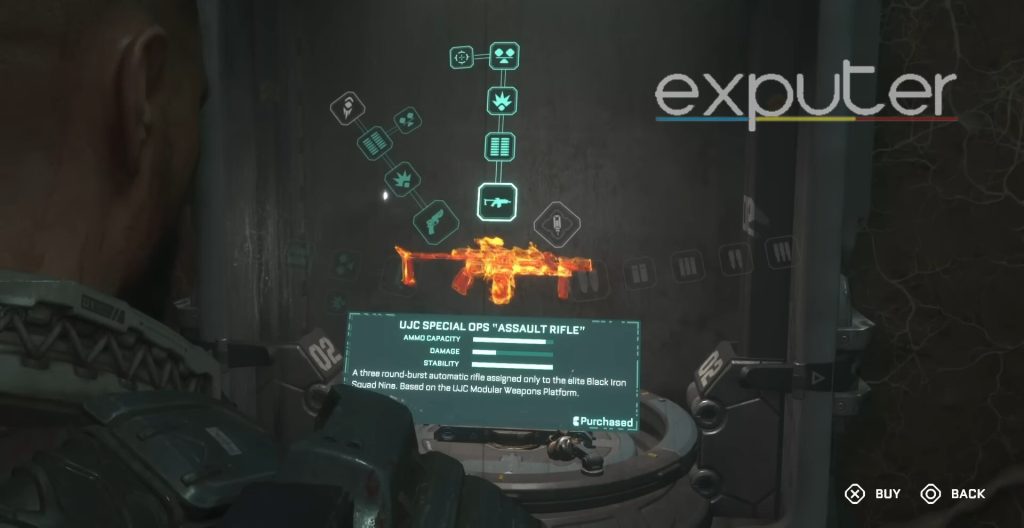
Now that players know Callisto Protocol How To Get Assault Rifle when it comes to the upgrades for Assault Rifle, there will be a total of 4 upgrades that players can access.
- High Capacity Magazine Upgrade
- Magnum Rounds Damage Upgrade
- Stability Upgrade
- TK63 Homing Rounds
And there we have it! A detailed walkthrough on how to get the Assault Rifle. If you end up missing the original location, you can also find the gun at the end of chapter 7 while also being able to get your hands on it in chapter 8 when you head inside Access Hall M150.
If you are new to the game, then our Callisto Protocol walkthrough contains all the helpful guides to get you through it. The PC version of the game had issues at launch, but our best PC Settings guides offer in-game settings to run the game smoothly.
Up Next:
- Callisto Protocol Data Bio Locations
- Callisto Protocol Skunk Gun Schematics
- Callisto Protocol Tips And Tricks
Thanks! Do share your feedback with us. ⚡
How can we make this post better? Your help would be appreciated. ✍