Crisis Core Reunion: How To Get Cactuar Summon
Take a look at how to unlock Cactuar as a summon in Crisis Core Final Fantasy VII Reunion by completing relevant missions in the game.

Cactuar in Crisis Core Final Fantasy VII Reunion is one of the enemies that you will encounter in two missions. After fighting and successfully defeating the Cactuar, you can unlock the enemy as a summon in the game. Cactuar is one of the mascot summon in Crisis Core Final Fantasy VII Reunion that can be obtained to ease your battles in the game.
- Cactuar is one of the enemies in the Crisis Core Final Fantasy VII Reunion.
- The Cactuar can be unlocked as a summon by completing missions M3-1-3 and M10-1 in the game.
- It is important to fight Cactuar first by completing Mission 3-1-3 to unlock the relevant missions to unlock it as a summon.
- Cactuar uses attacks like Mystery Kick, Flee, and 1000 Needles to counter players.
- Players can use Gravity Materia and Costly Punch against it to deal damage.
How To Get Cactuar
Fortunately for fans, they can obtain Cactuar as early as Chapter 4 in the game. However, in order to open up the set of missions affiliated with characters, you need to defeat him in another mission first.

How To Unlock The Missions
To unlock Cactuar as a summon in Crisis Core:
- Progress to Chapter 4.
- Unlock the first save point in the church.
- Unlock Mission 3 at the church save point.
- Defeat Cactuar in Mission 3.
- Complete Mission 10-1-1 and 10-1-2.
- Unlock Mission 10-1-3.
- Defeat Cactuar again in Mission 10-1-3.
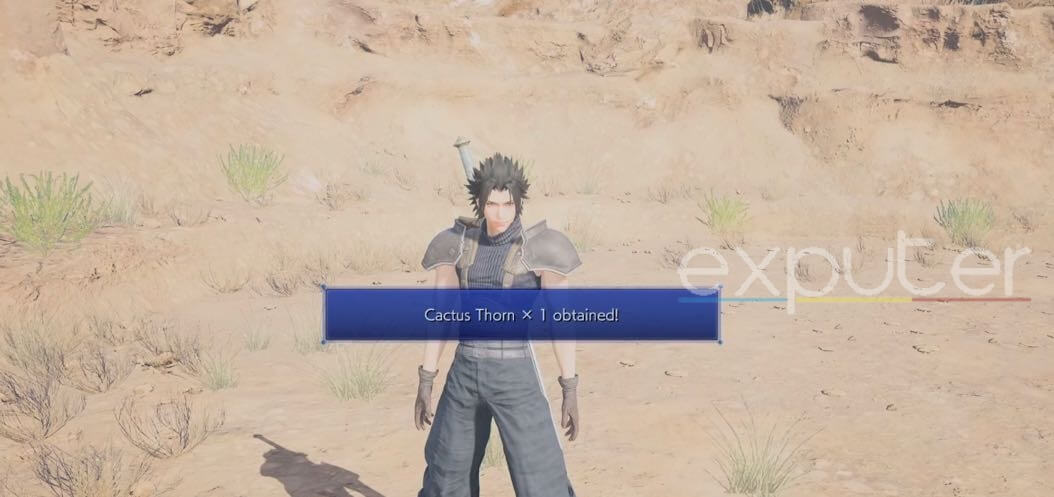
- Obtain the Cactus Thorn.
- Add Cactuar to the DMW (Digital Mind Wave).
These missions are relatively easy, and completing them unlocks Cactuar as a summon. Be cautious of Cactuar’s “1000 Needles” attack in Mission 10-1-3.

Mission 3-1-3: Eliminate The Copies
To complete this mission and unlock subsequent missions, follow these steps:
- Prerequisites: Before attempting mission 3-1-3, you need to complete missions 3-1-1 (“Foes On The Waterfront”) and 3-1-2 (“Massive Machines”). Additionally, you must progress to Chapter 5 to unlock this mission.
- Maintain High HP: As you progress through the preceding missions, your HP may decrease. It’s crucial to keep your health high because Cactuar’s attacks can deal significant damage.
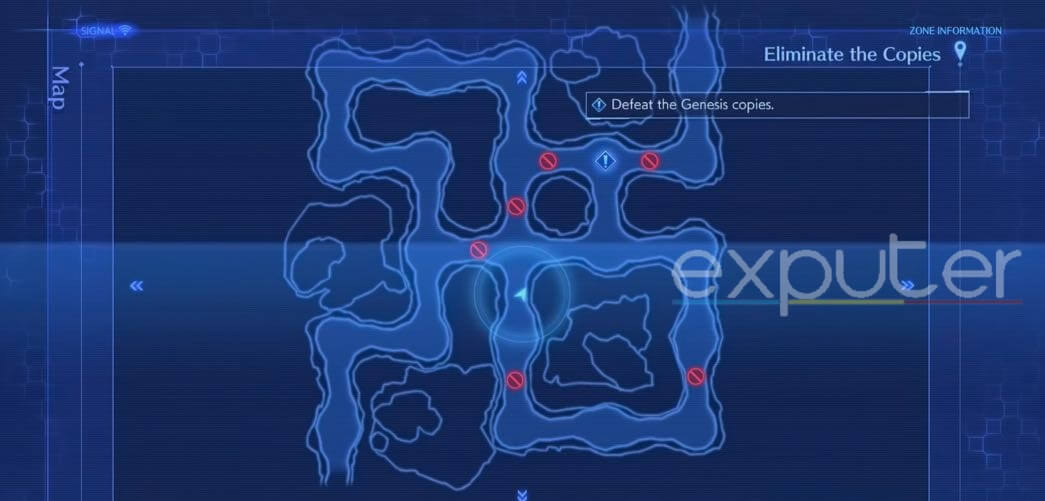
- Objective: The main goal of mission 3 is to stop the Genesis Troops. The Coast Guard reports that the troops are hiding near the coast with powerful weapons in the caves.
- Mission 3-1-3: In this mission, the Genesis Troops are heading towards the Wasteland. Your task is to defeat these troops along with other enemies, including the G Avenger, G Eraser, Sweeper, and Cactuar.
- Prepare for Battle: The enemies in this mission can be quite powerful. Ensure that you are well-prepared before facing them in combat.
- Defeating Cactuar: By the time you encounter Cactuar in mission 3-1-3, he will be relatively weak. However, you will face him again in later chapters, and defeating him here is essential to unlock him as a summon.

Fighting Cactuar in Mission 3-1-3 [Screenshot Grab: eXputer] - Rewards: Upon defeating Cactuar in this mission, you will receive a materia called “AP Up” as a finishing reward, along with a wristband chest.

Cactuar Location [Screenshot Grab: eXputer] - Unlocking Mission 10-1-1: To unlock mission 10-1-1, all you need to do is defeat Cactuar in mission 3-1-3. As you progress, avoid the Genesis clone on your way and reach Cactuar.
Mission 10-1: Cactoid Secrets
Mission 10-1, called cactoid secrets, has three missions for you to complete that involve Cactuar. After completing these missions you will be able to unlock Cactuar as a summon.
Let’s focus on the first mission, “Mission 10-1-1: Where Is The Cactuar?”
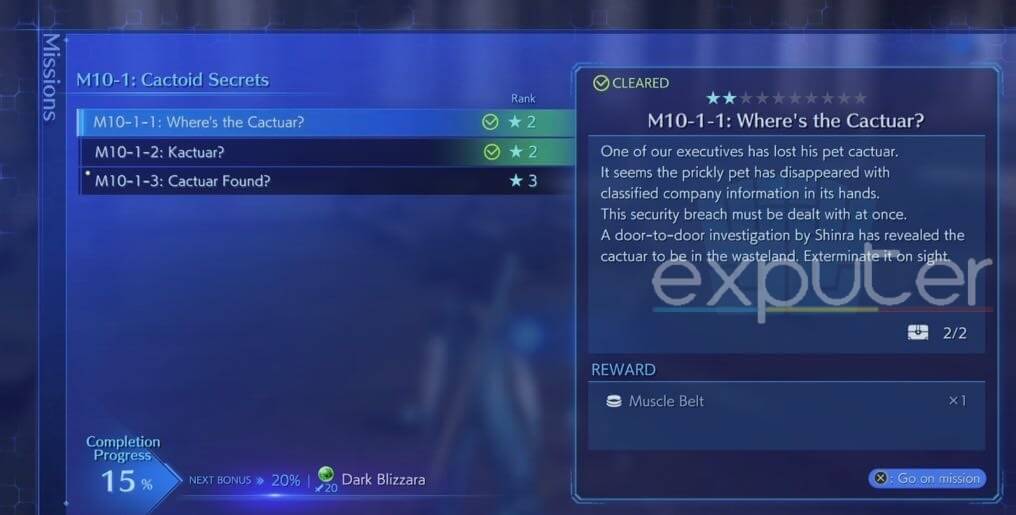
Mission 10-1-1: Where Is The Cactuar?
- Mission Background: In this mission, you’ll learn that one of the executives has lost his pet Cactuar, which disappeared along with important company information. Since the information was classified, you must investigate the security breach and retrieve the data. The Cactuar is located in the wasteland, and your task is to defeat it.
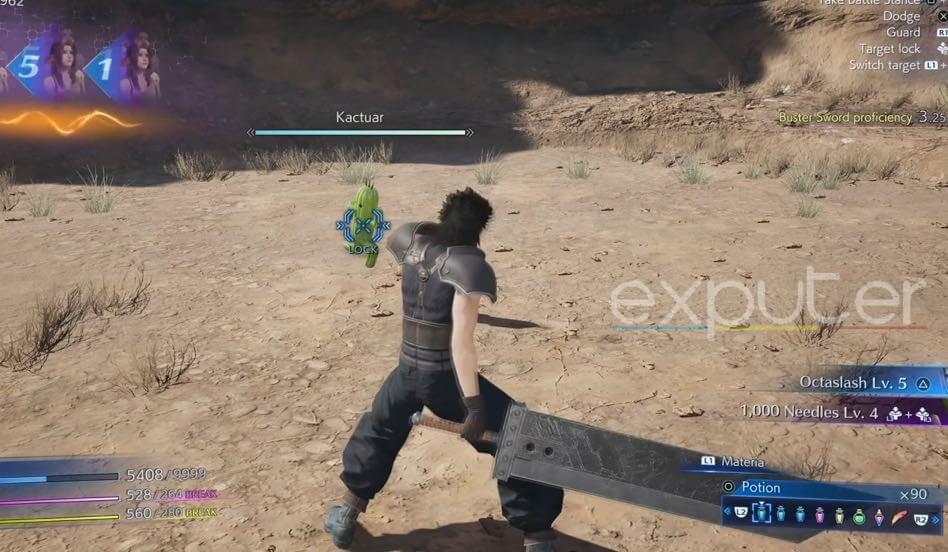
- Enemies: During this mission, you’ll encounter several enemies, including Fly Eye, Raijincho, and Cactuar (referred to as Kactuar in the game).
- Mission Objective: Your primary goal is to find and battle the Kactuar. Upon completing the mission, you’ll receive rewards, including a potion and an elixir from treasure chests, along with the “Muscle Belt” as the finishing reward.

Mission 10-1-1 [Screenshot Grab: eXputer]
Completing the Mission:
- Exploration: Start the mission by exploring the area around you. Unlike most missions, this one allows you to explore your surroundings. Use your map for guidance.
- Treasure Chests: While exploring, you’ll find pathways leading to treasure chests. Two pathways at the back of the area contain an elixir and a potion. Collect these items before proceeding.
- Continue Exploration: After obtaining the treasures, continue exploring the rest of the area. You’ll come across two more pathways.
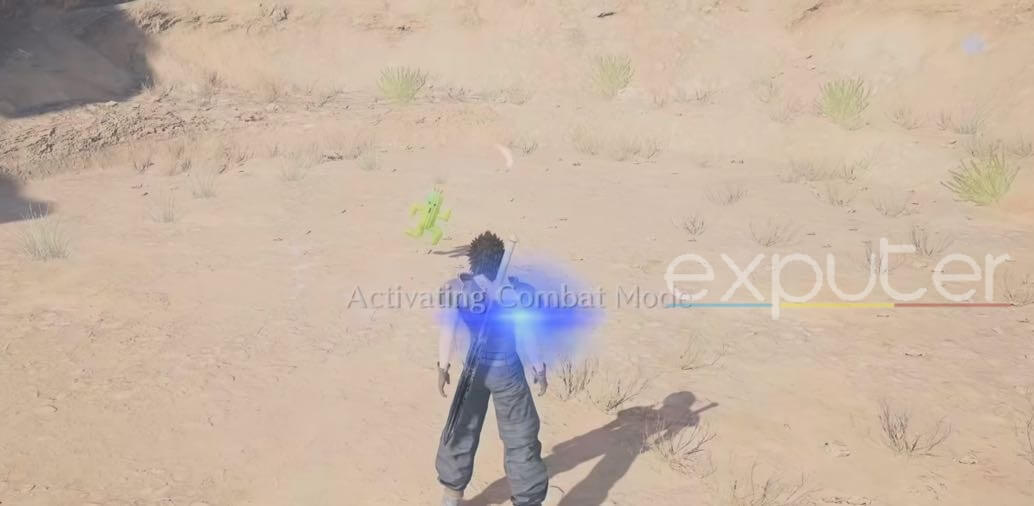
- Kactuar Battle: One of the pathways leads to a Kactuar. Engage in a battle with it. The Kactuar should be relatively weak, making it easy to defeat.
- Rewards: After defeating the Kactuar, you’ll receive the “Muscle Belt” as the finishing reward, marking the completion of this mission.
By successfully completing “Mission 10-1-1: Where Is The Cactuar?” and the subsequent missions, you’ll unlock Cactuar as a summon
Mission 10-1-2: Kactuar?
In this mission, you must locate and defeat the original Kactuar in the wasteland. The enemies you’ll face include Kactuar, Trap, and Raijincho.
Mission Objective: Find and defeat the original Kactuar to progress in unlocking it as a summon. Completing this mission rewards you with a Champion Belt, and you’ll also find treasure chests with the Cursed Ring, AP Up, and Remedy.
Completing the Mission:
- Exploration: Begin by exploring the area behind you, where you’ll discover a treasure chest containing Remedies.
- AP Up Materia: Continue forward and take the first right turn to find the AP Up Materia.
- Cursed Ring: Take the first left turn and proceed to the dead-end, where you’ll find a chest with the powerful Cursed Ring.
- Finding Kactuars: Explore the area to locate three clone Kactuars. Defeat them to reveal the original Kactuar.
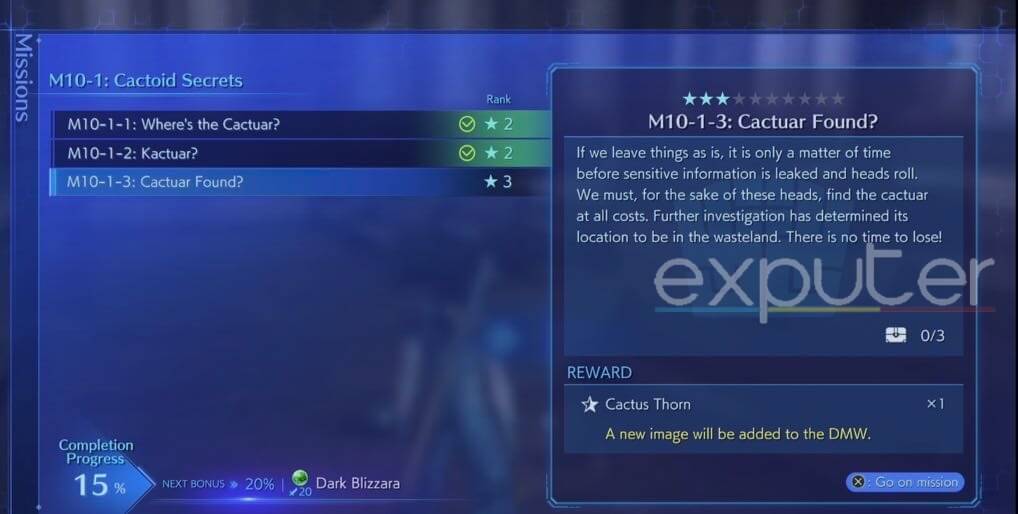
Mission 10-1-3: Cactuar Found?
This is the final mission involving Cactuar. You’ll face four enemies: Kactuar, Kactuer, Replicon, and Trap. Throughout the mission, you can find treasure chests containing an X Potion, White Cape, and Safety Bit.
- Exploration: Head straight from the mission’s start until the path splits into two. Take both paths.
- Safety Bit: On the path with the dead end, you’ll find a chest containing the Safety Bit.
- White Cape: Continue along the second path, and you’ll discover a chest with the White Cape.
- X Potion: Proceed along the path leading to the objective enemy, Kactuer. Before engaging, explore the area to the left to find a chest with an X Potion.
- Battle Kactuer: After gathering all items, engage in a battle with Kactuer, a stronger variant of Cactuar.
Counter Kactuer’s abilities, such as Mystery Kick and 1000 Needles, with appropriate strategies. Consider using the Gravity Materia or Costly Punch Materia to defeat it, as land-type enemies like Kactuar are vulnerable to Gravina, Thundaga, Blizzaga, and Firraga.
Successfully completing this mission unlocks Cactuar as a summon in the game, enhancing your abilities.
With this, we conclude our detailed guide on Cactuar in Crisis Core Final Fantasy VII Reunion, including all missions related to the enemy and how to get Cactuar as a summon in the game. While at it, don’t forget to check out our detailed guide on the Buster sword in the Crisis Core Reunion.
We have also formulated detailed guides on the laughing safeguard combination and the Mako recovery unit in the game. Also, don’t forget to check out our guide on costly punch to counter Cactuar easily. Other great summons include the Magic pot in Crisis Core reunion that you should definitely get.
Lastly, don’t forget to check out our guide on all editions and a detailed comparison of them to see which one you should get.
Thanks! Do share your feedback with us. ⚡
How can we make this post better? Your help would be appreciated. ✍
Only article to spell out how to exactly unlock the Cactuar summon. Thank you!
Very helpful. Gave the me the info I was looking for and then some.