Disney Dreamlight Valley: Key in The Glade Quest Guide
This Key in The Glade guide will uncover an overview of the full quest that players can complete!
In our Key in The Glade guide, we will discuss the entire questline required to get the key and the prerequisites required for it. The quest itself will be pretty straightforward and won’t take a lot of effort to complete. With that, let’s get started!
- Keys will be a part of a crucial questline that players will need to take part in in order to progress Disney Dreamlight Valley.
- The best way to get your hands on the Key in The Glade is to start the questline that Mother Gothel offers you.
- The main benefit of gaining the key will be simply checking off another quest and increasing your personal gaming experience!
Starting Key In The Glade Quest
First, Disney Dreamlight Valley players will need to start the main quest line. To do that, they will need to venture over to the general location where Rapunzel’s stepmother, Mother Gothel, is located.
Once you reach her a quest marker will appear on top of her, and you can use the interact button to start her quest dialogue.
Upon talking to her, she will tell you that she needs an item from Scrooge McDuck. She’ll tell you that there is a certain item known as the “Sun’s Scroll” that players will need to get from Scrooge.
For the scroll, there will be a chest and key you will need to get, and after your dialogue has been fully exhausted, it will prompt a banner on your screen that will display the message “My Kingdom For A Scroll.” This will be the questline that helps you find the key in the meadow and, subsequently, progress further.
Crafting Micberry Tree
The next part of the quest will entail players needing to craft a specific tree known as a Micberry Tree. The items that will be required are as follows.
The first thing that players will need will be a certain amount of soil, then they will also need some softwood, and lastly, they will need to grab a box containing some electronic components from Wall-E’s place.
- Soil
- Softwood
- Box of Components
Making The Micberry Tree
Now that you’re all done picking out everything you need to make the Micberry tree, including the soil softwood and the electronic component box, you will need to convert it to the Micberry tree.
- Gather the required items: soil, softwood, and a box of electronic components from Wall-E’s place.
- Locate a crafting table.
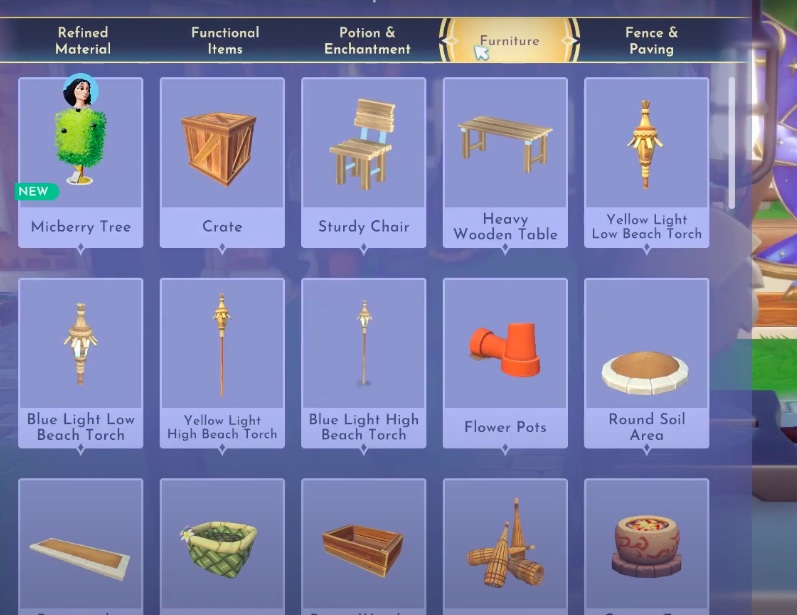
- In the inventory, go to the “Furniture” tab.
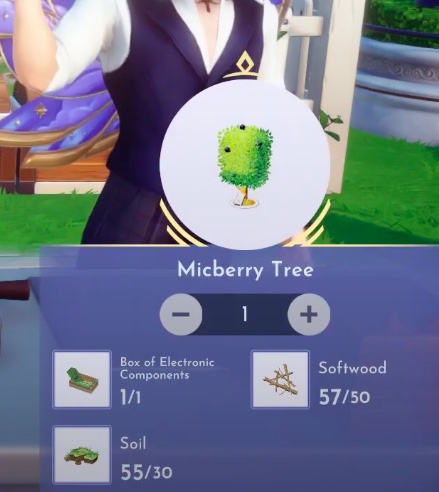
- Select the Micberry Tree item with Mother Gothel’s picture.
- Craft one Micberry Tree using 30 clumps of soil, 50 pieces of softwood, and the electronic component box.
Placing It Near Scrooge’s Store
The next thing players will need to do is start making their way over to Scrooge’s Store. From there, take a U-turn, and you will notice that there is a small pathway that will be leading out of the fenced area.
- Go to Scrooge’s Store and take a U-turn.
- Follow the pathway leading out of the fenced area.
- You’ll find a large house with basic decorations.
- Enter “build mode” and open your inventory.
- Click on the furniture tab, then select “furnishings.”
- Place the Micberry Tree near the entrance and confirm the setting.
- Return to Goofy and Mother Gothel after placing the tree.
- Mother Gothel will mention taking the item while Goofy and Scrooge talk.
- She’ll instruct you to go to Dazzle Beach to find a chest.
- Obtain the Key in The Glade area to open the chest.
- Complete the mission, retrieve the chest, and return to Mother Gothel with the key and chest to finish the quest.
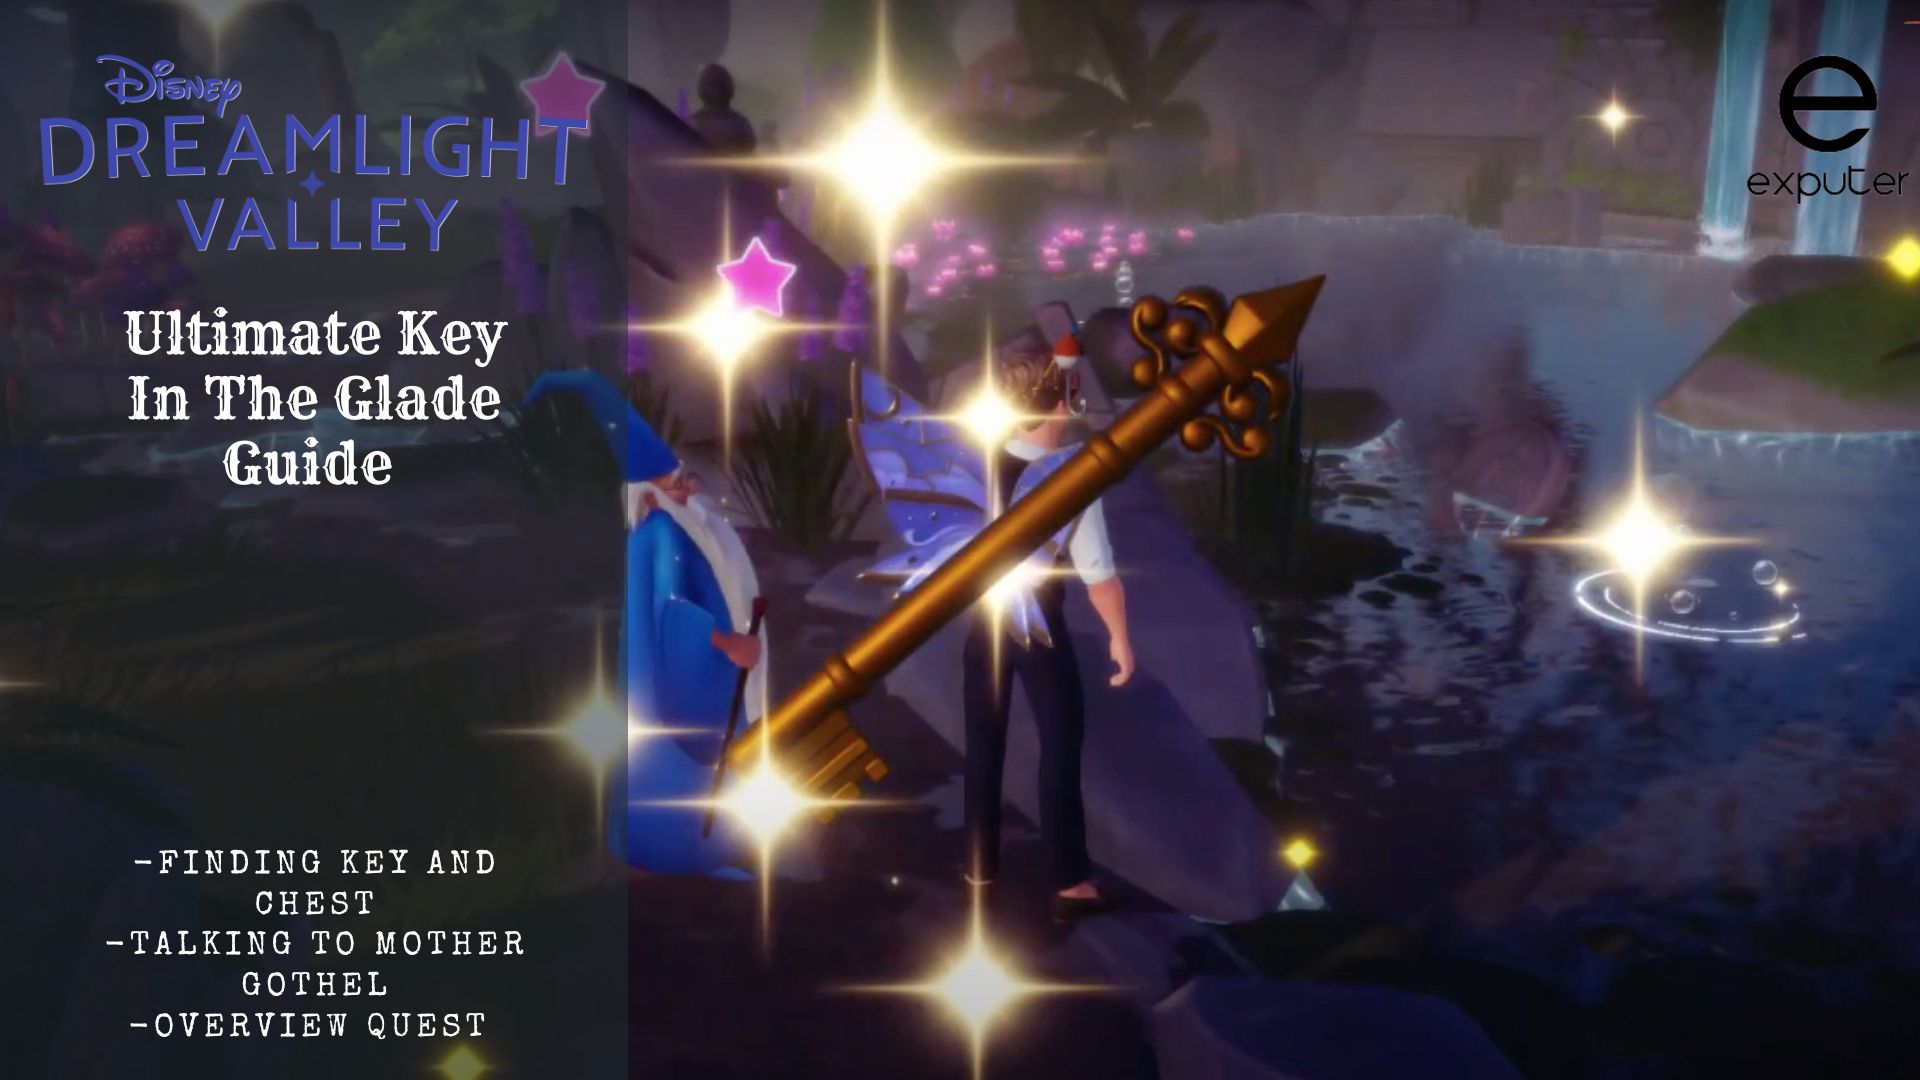
Finding The Key
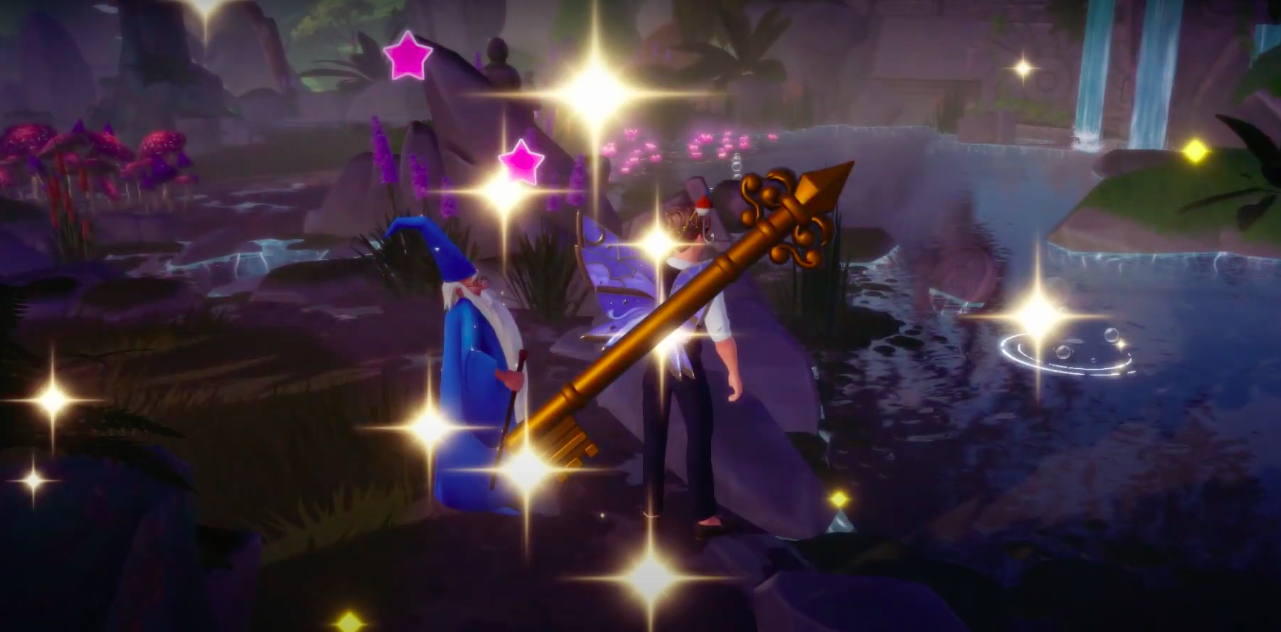
Let’s dive into a crucial part of the quest line: retrieving the key and chest. Check the upper left corner for two entries—first, “Find Scrooge McDuck’s Key” in the glade, and second, “Find Scrooge McDuck’s Locked Chest at the dazzle beach.” As you reach the glade, surrounded by grass, trees, and a pond, spot stone structures with fishing bubbles.
Among them, one bubble is white, while another is golden, indicating significance. Extend your fishing line, aiming to pull it out when the white outline reaches the wider inner outline. With that accomplished, proceed to dazzle beach to collect the locked chest and wrap up this part of the quest.
Getting The Chest
Lastly, when you venture forth to the Dazzle beach, there will be a small cave where you will be able to encounter the chest, so make sure that you take your time venturing around in order to find the chest.
The chest will be near a small tree, and you will need to dig for it and appear on your screen. Once it’s done, go back to Mother Gothel, and hand her the things, and with that, we will wrap up our Key in The Glade guide! While you’re at it, make sure to check out our Disney Dreamlight Valley A Friendly Exchange Quest guide!
Guide and Photo Credits: QuickTips on Youtube
Next:
Thanks! Do share your feedback with us. ⚡
How can we make this post better? Your help would be appreciated. ✍