The release of Warzone 2 has been accompanied by many bugs and errors, including the issue where the lobbies are not filling up. Many players have been encountering half-empty lobbies, where they perpetually get stuck. The culprits behind this infinite loading screen are usually a bad internet connection or a backend server issue. But don’t worry: I have a few solutions to get you going again.
- Basic Fixes: Before anything else, I recommend you restart your router and check your internet connection to rule out some common causes.
To fix the lobby issue, follow these methods:
- Check the Server Status for Warzone 2.
- Enable Cross-play from Settings.
- Open the necessary Network Ports for Warzone 2.
- Change your NAT type.
Check The Server Status
Before anything else, make sure to check the status of Warzone 2’s servers. Even if you can log into the game, many others might not be able to do so. This happens when there is partial downtime instead of full-server maintenance. When this happens, many players can’t log in, resulting in the lobbies not filling up.
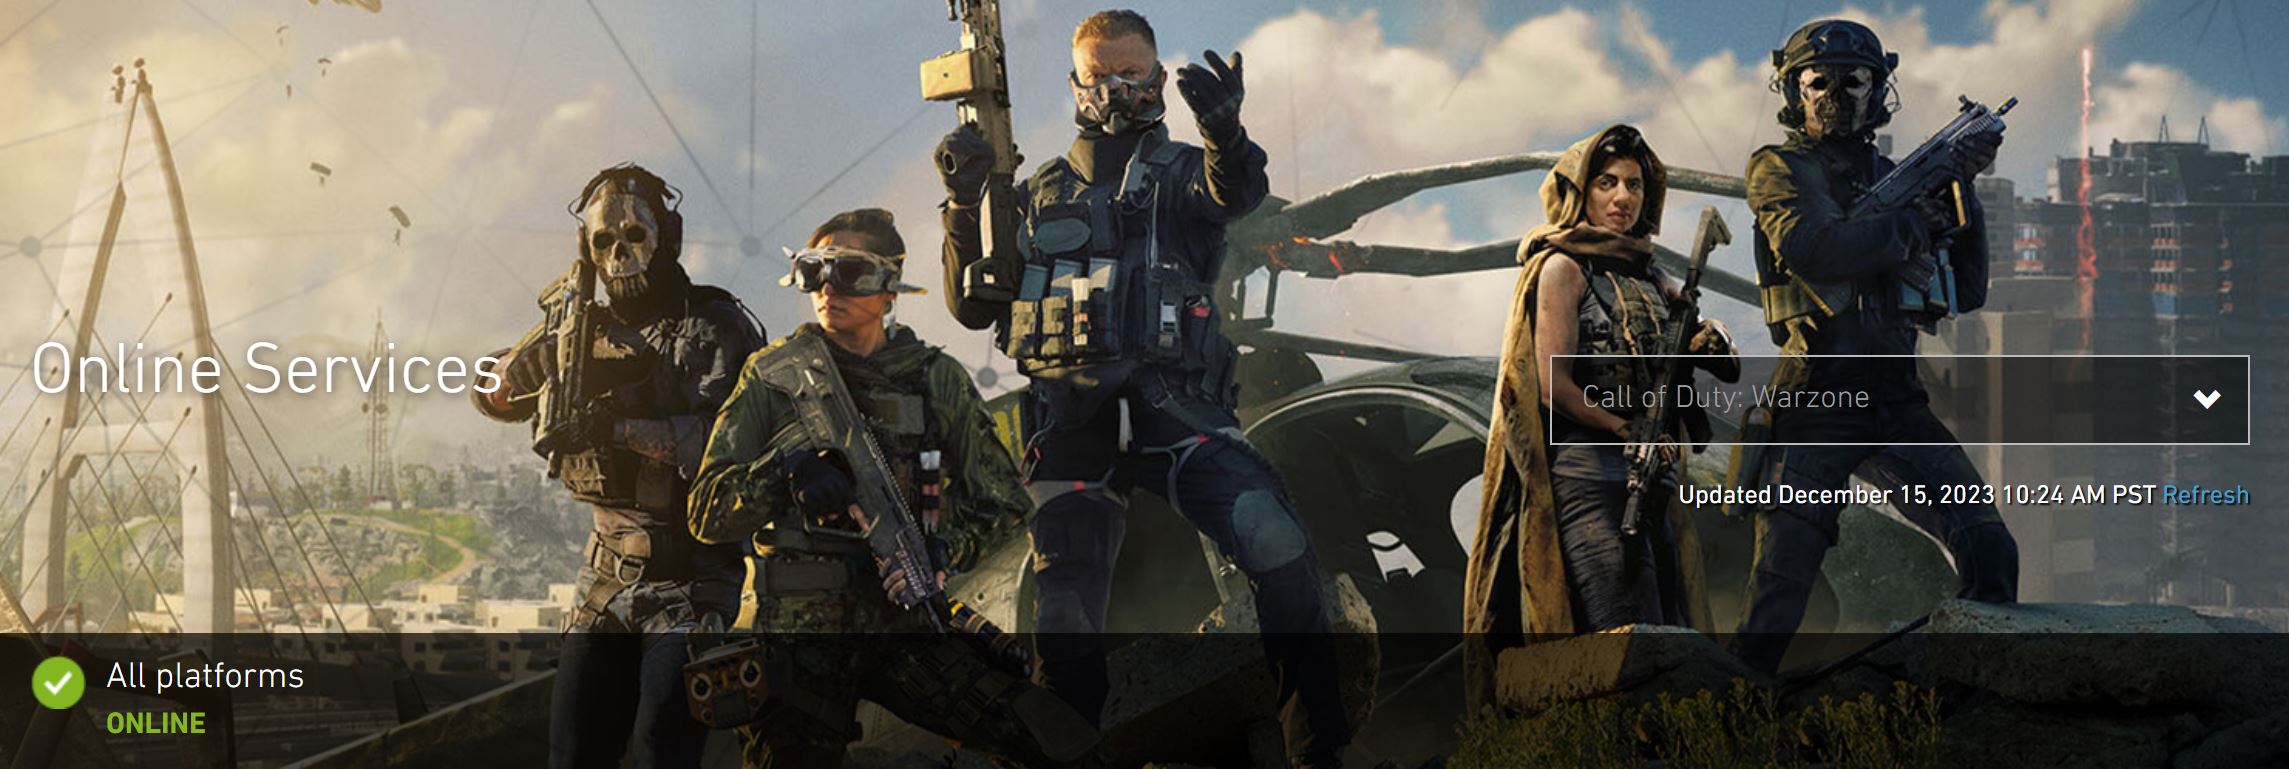
Once you verify that the problem is not server-related, you can try to fix things on your end.
Toggle On Cross-Play
Turning cross-play on will allow you to pick from a larger pool of players from all platforms. If the lobbies are not filling up because your internet is having trouble connecting to some networks, then enabling cross-play could be your saving grace.

Doing so will give the matchmaker more people to choose from, potentially fixing the lobbies not filling up in Warzone 2. You can find the cross-play option in the gameplay section of your settings. Once found, enable it and restart your game.
Open Network Ports
Network ports are unique numbers that make communication between endpoints possible. In simple terms, they are just mailboxes where packets eventually get delivered. In our case, the endpoint we want to reach is the Warzone 2 server. If these ports are closed on your network, the data packets will have no guiding direction.
Activision has an official article on ports and how they cause network issues. So, the fix is simple. All you have to do is manually open the required network ports. Here’s the list of ports that you must open:
- TCP: 3074, 27015, and 27036
- UDP: 3074, 27015, and 27031-27036
- TCP: 3478-3480
- UDP: 3074 and 3478-3479
- TCP: 3074
- UDP: 88, 500, 3074, 3544, and 4500
- Caution: Only open the ports you need and the ones that apply to your platform. Opening an unnecessary number of ports can be a potential security risk.
Here’s how you can open these ports in your router:
- Note down your router’s IP Address and Login Information from the back of the device.
- Open a Browser > Enter the noted IP Address > Press Enter.
- Enter the noted Username and Password in the Login Portal.
- Locate the Port Forwarding tab. (Typically in the Advanced Section)

Forwarding Ports in Router (Image Copyrighted by eXputer) - Enter the Applicable Values > Save Settings.
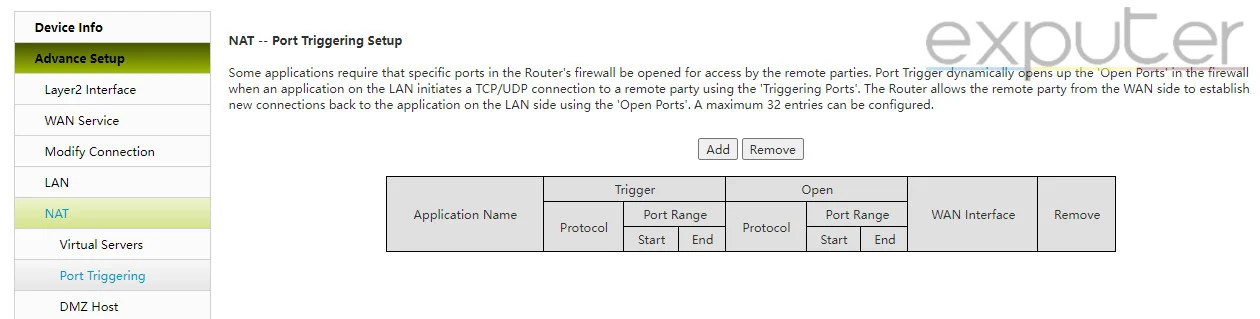
Once done, reboot your router to apply the changes.
Change Your NAT Type
NAT is essentially a translation table maintained in the router. Instead of having multiple public addresses for every device, NAT maintains a table and uses a single global IP address for the whole network. So, depending on your NAT type, your data packets will be pushed differently.
Generally, you want your NAT type to be Open. If your NAT type is Strict, your router will block communication from almost every player, leading to issues such as the empty lobbies in Warzone 2.
- Important: There are three types of NAT: Type 1 (Open), Type 2 (Moderate), and Type 3 (Strict).
But before making any changes, you should know your current NAT Type. Here’s how you can do that:
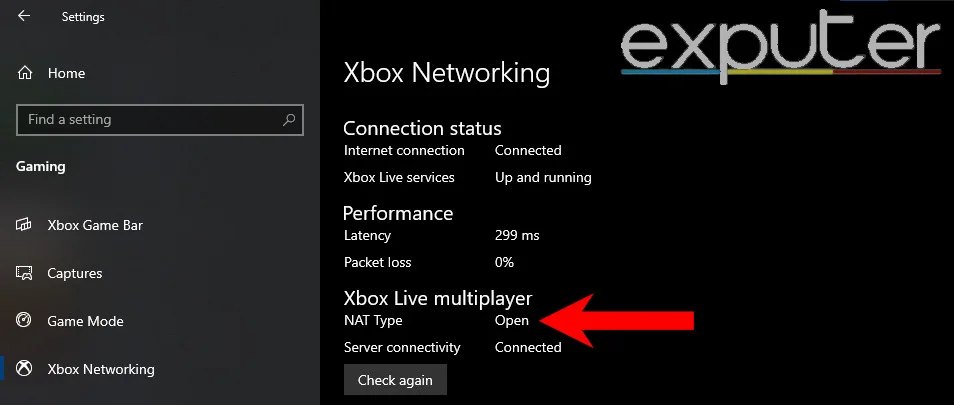
NAT Type On PC
- Open Windows Settings > Gaming > Xbox Networking.
- Windows will automatically begin the test and show your NAT Type.

Nat Type on Windows (Image by eXputer)
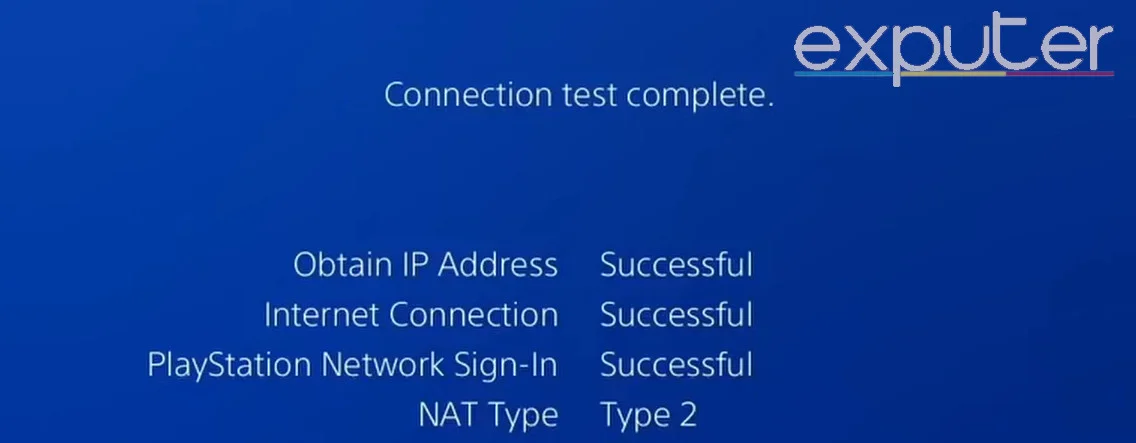
NAT Type On PlayStation 4/5
- Open the PlayStation Settings > Network > Test Internet Connection.
- Once the test is completed, your NAT Type will be displayed.
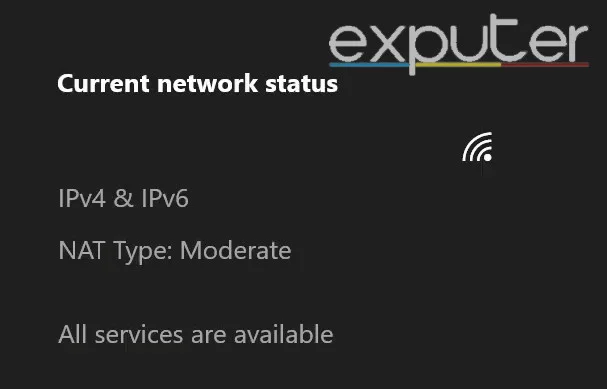
NAT Type On Xbox
- Enter Xbox’s Settings > General Settings > Network Settings.
- Click on Test NAT Type to see your network’s NAT Type.
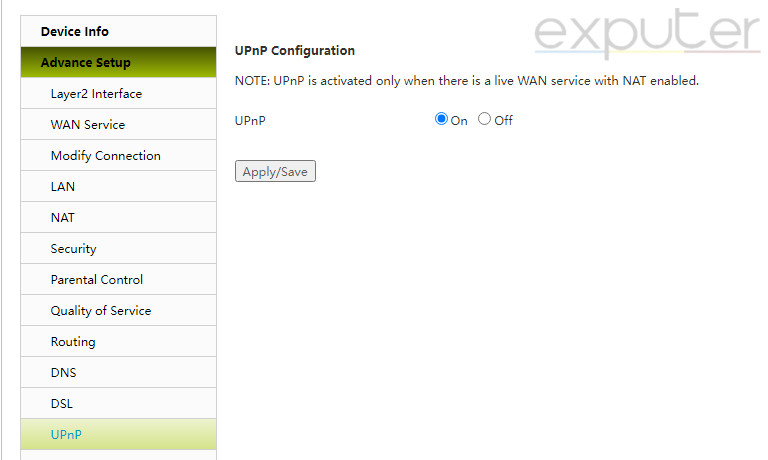
Enabling Open NAT
If your NAT Type comes out to be Strict (Type 3 on Playstation), then this is most likely the cause for your lobbies not filling up in Warzone 2. In this case, I recommend you try to get an Open NAT type. The easiest way to achieve this, in my opinion, is to enable UPnP in your router’s configuration.
Follow these steps to do it:
- Enter your Router’s Configuration again.
- Find the setting that will allow you to enable UPnP. (Typically in Advanced)

Turn on UPnP in your router (Image by eXputer) - Once found, turn it On > Restart your Router.
My Thoughts On The Problem
It’s uncommon for players to encounter empty lobbies anymore unless the problem is on their end. Why? Because I have seen a steep decline in the number of reports made on Nvidia, NetDuma Forums, Reddit, and other similar sites. So, while the problem was widespread at one point, I believe it has since been patched.
Been trying for 45 minutes on Xbox. Won’t start.
— jamison (@Jamison_03) March 10, 2020
However, this doesn’t mean that the problem has gone away completely. Even though I have listed all the major solutions for it, the methods themselves do require a bit of thinking on the spot. This is simply because many things can go wrong when dealing with your network connection.
But I’m confident you will be able to get back to your game in no time. Lastly, although it didn’t get an official mention, I believe the empty lobbies issue was likely fixed with the following patch.
📢 A minor update for Warzone 2.0 is now live with Bug Fixes!
Read the patch notes below:https://t.co/oWH7yinONr #Warzone2 pic.twitter.com/YN3cC76HUE
— Raven Software (@RavenSoftware) January 20, 2023
Thanks! Do share your feedback with us. ⚡
How can we make this post better? Your help would be appreciated. ✍