LEGO Star Wars The Skywalker Saga Minikit Locations
Our Lego Star Wars The Skywalker Saga Minikit locations guide entails the exact location of every single Minikit you should find in the game.
Minikits can be collected from anywhere in The Skywalker Saga; however, there are conditions to get them, for instance, either solving the puzzles or progressing the story by meeting the challenges and completing the mission it has. They don’t just show up on their own.
- Minikits in Skywalker Saga are collectibles earned via puzzles or challenges.
- Over 50 Minikits in the game, often five per level.
- “Low Flying Garbage” has four outside a desert ship, one inside.
- “Droid Factory” and “Battle of Jedi” each offer 5 minikits.
- “Out for the Count” requires passing three doors for the first Minikit.
- “Chewbacca Defence” in a jungle provides five Minikits.
- “Assault on Echo Base” benefits from good jet control for Minikit collection.
- “High Ground” and “Never Tell Me The Odds” missions offer five Minikits each.
- “The Hunt for Jango” and “Revelations” involve flying missions.
- “Fulfill Your Destiny” includes a face-to-face fight for Minikits.
- “So Uncivilized” offers Minikits in a war-like setting.
- “Starkiller Queen” mission includes five Minikits.
- Additional Minikits found in missions like “Reap What You Solo,” “Droid Attack on Wookies,” “Edor the Line,” and “Hibernation Station.”
Minikits Locations In LEGO Star Wars The Skywalker Saga
There are more than 50 Minikit, and we collect them in an attempt to complete a mission each time, the number of Minikit is different per level, but five is the most common number however after getting that player will complete the level and be rewarded. In this guide, I will be telling you how to get these rewards by getting Minikit by providing their location guide.
Here’s how many Minikits you can find in different locations:
| Mission Name | Number of Minikits |
|---|---|
| Low Flying Garbage | 5 |
| LEGO Skywalker Saga Droid Factory | 5 |
| The Battle of the Jedi | 5 |
| Out For The Count | 5 |
| The Chewbacca Defence | 5 |
| The High Ground | 5 |
| Senate Showdown | 5 |
| Never Tell me The Odds | 5 |
| The Hunt For Jango | 4 |
| Revelations | 5 |
| Fullfill your Destiny | 5 |
| The Boonta EVE classic | 5 |
| So Uncivilised | 5 |
| Starkiller Queen | 5 |
| Hibernation Station | 2 |
| Negotiations | 5 |
| Invasion of Naboo | 5 |
| Escape from Naboo | 5 |
| Mos Espa Podrace | 5 |
| Retake Theed Palace | 5 |
| Bounty Hunter Pursuit | 5 |
| Discovery on Kamino | 5 |
| Droid Factory | 5 |
| Jedi Battle | 5 |
| Gunship Cavalry | 5 |
| Battle of Geonosis | 5 |
| Bounty Hunter Pursuit (Episode II) | 5 |
| Discovery on Kamino (Episode II) | 5 |
| Droid Factory (Episode II) | 5 |
| Jedi Battle (Episode II) | 5 |
| Gunship Cavalry (Episode II) | 5 |
| Anakin's Flight | 5 |
| Coruscant Chase | 5 |
| Battle of Geonosis (Episode II) | 5 |
| Anakin's Flight (Episode II) | 5 |
| Coruscant Chase (Episode II) | 5 |
| Defense of Kashyyyk | 5 |
| Battle of Kashyyyk | 5 |
| Rescue the Princess! | 5 |
| Jabba's Palace | 5 |
| The Great Pit of Carkoon | 5 |
| Speeder Showdown | 5 |
| The Battle of Endor | 5 |
| Into the Death Star | 5 |
| The Battle of Endor (Episode VI) | 5 |
| The Battle of Endor (Free Play) | 5 |
| The Battle of Endor (Episode VI, Part 2) | 5 |
| Rebel Attack | 5 |
| Dagobah | 5 |
| Dagobah (Episode V) | 5 |
| Dagobah (Free Play) | 5 |
| Cloud City Trap | 5 |
| Cloud City Trap (Episode V) | 5 |
| Cloud City Trap (Free Play) | 5 |
| Betrayal Over Bespin | 5 |
| Betrayal Over Bespin (Episode V) | 5 |
| Betrayal Over Bespin (Free Play) | 5 |
| The Forest Moon of Endor | 5 |
| Speeder Showdown (Episode VI) | 5 |
| Speeder Showdown (Free Play) | 5 |
| Into the Death Star (Episode VI) | 5 |
| Into the Death Star (Free Play) | 5 |
| The Battle of Endor (Episode VI) | 5 |
| The Battle of Endor (Free Play) | 5 |
| Rebel Attack (Episode V) | 5 |
| Rebel Attack (Free Play) | 5 |
| Jabba's Palace (Episode VI) | 5 |
| Jabba's Palace (Free Play) | 5 |
| The Great Pit of Carkoon (Episode VI) | 5 |
| The Great Pit of Carkoon (Free Play) | 5 |
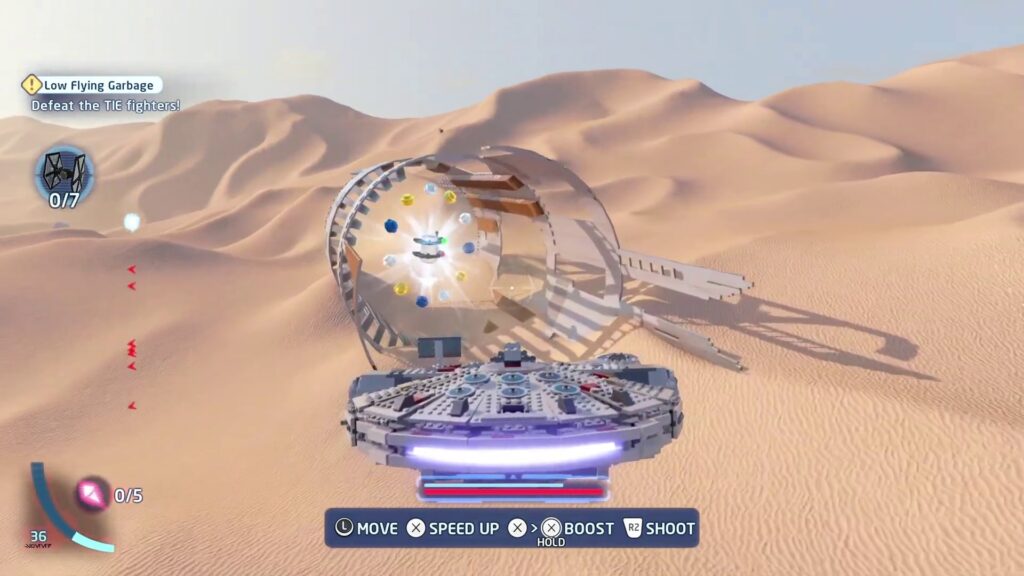
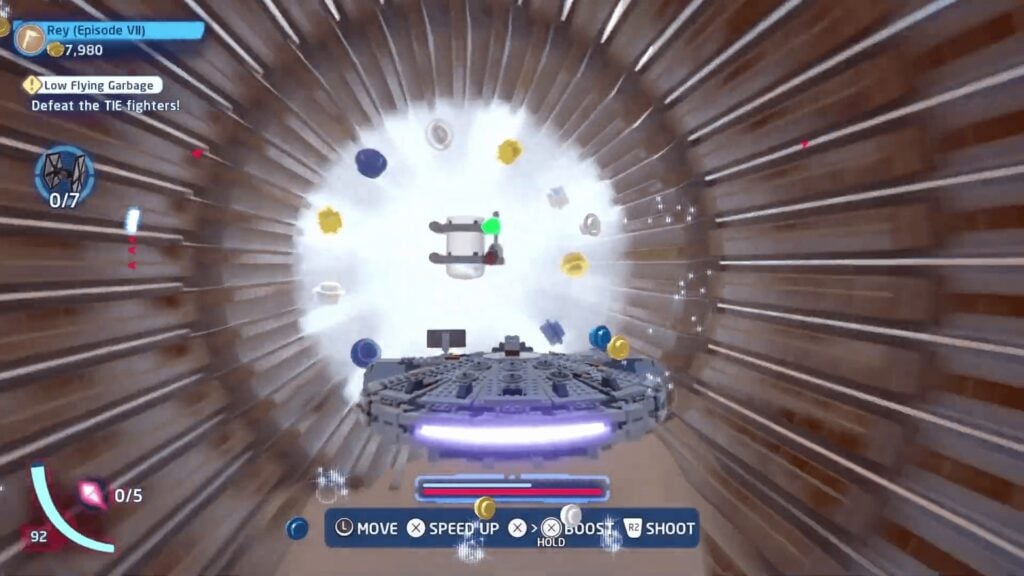
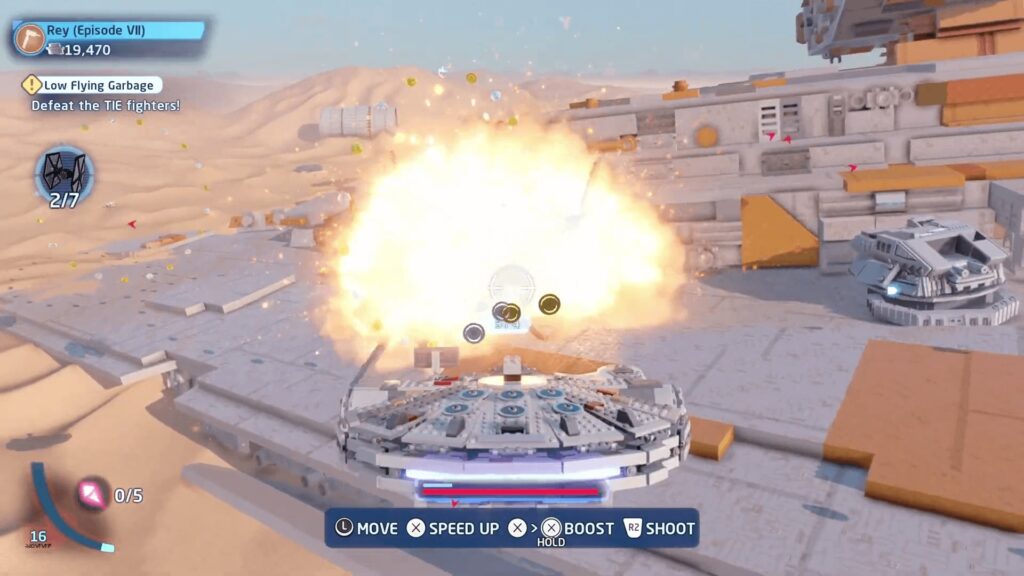
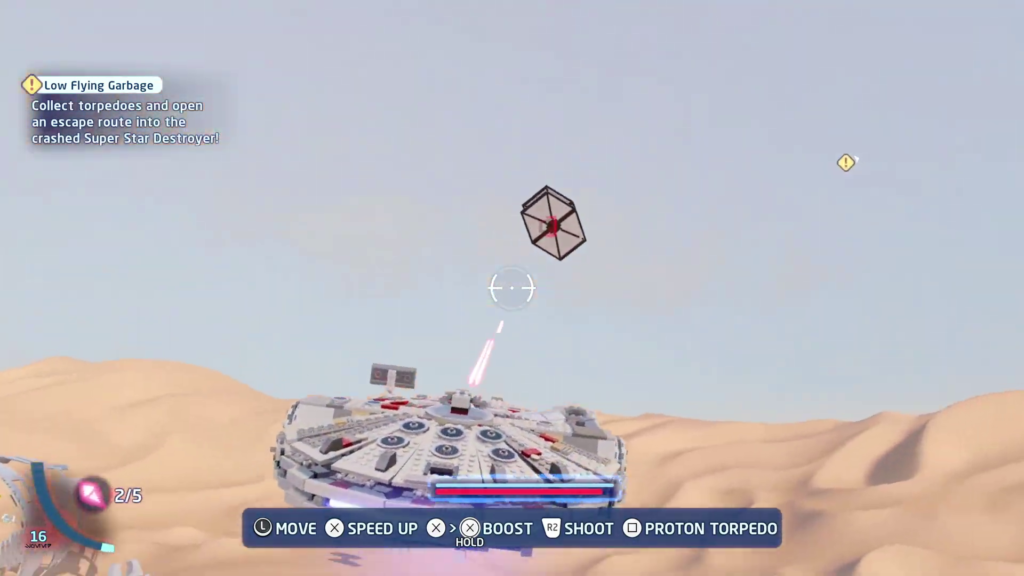
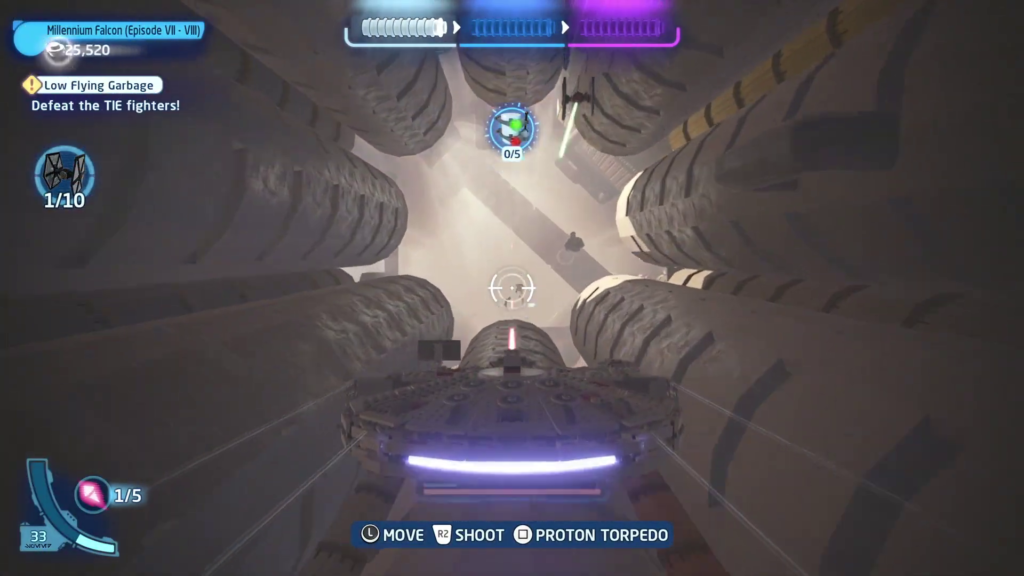
Low Flying Garbage
Low Flying Garbage is the game mission of The Skywalker Saga’s new release. There are around 5 minikits are located there in a desert area with a large number of enemies with all kinds of weapons from simple machine guns to jet planes named TIE fighters all firing at you which will not make it easy for you to get Minikits.
There is a gigantic ship at the scene four out of five Minikits will be outside the ship while one of the Minikit will be inside the huge ship you will face further reinforcement inside the ship but once you get inside it will be easy for you to collect Minikit when you will get what you are looking for there you will be rewarded handsomely in the shape of First Order TIE Fighter (Micro) along with Minikits and additionally you will unlock Micro Build. We have attached here an image of every Minikit to make it easy for you.
Lego Skywalker Saga Droid Factory
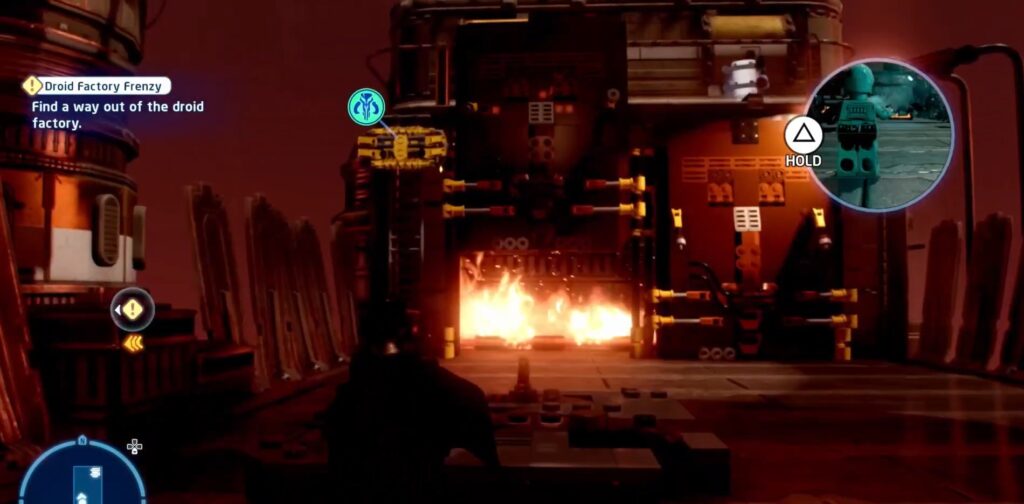
Moving on with our Lego Star Wars The Skywalker Saga Minikit locations guide, like most of the Lego Skywalker missions Droid Factory also has the five Minikits we have attached pictures below to guide you in detail on how to get those Minikits. Just like its name, this is an adventurous place full of droids and machines doing their work and it is fairly easy to find Minikits here. We have attached images below just watch and most importantly read the caption written under it to get Minikits.
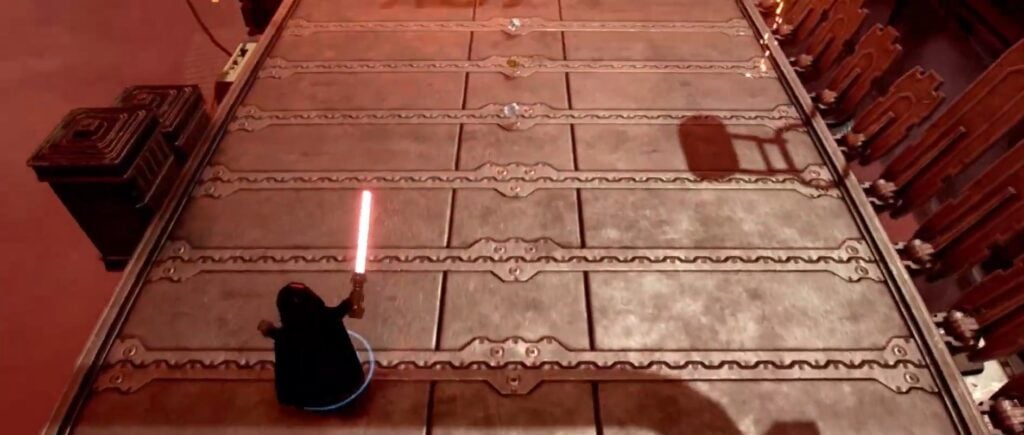
First Minikit In Image Given Below
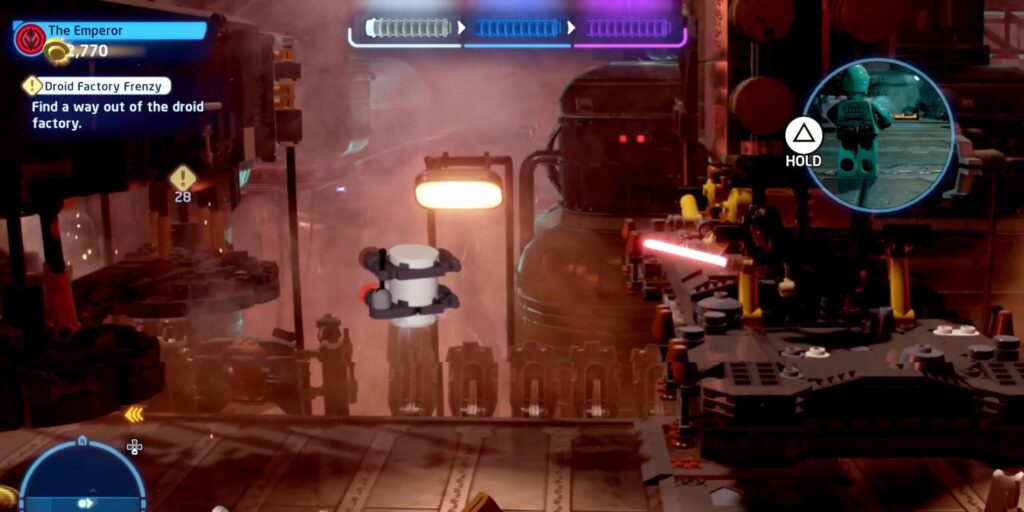
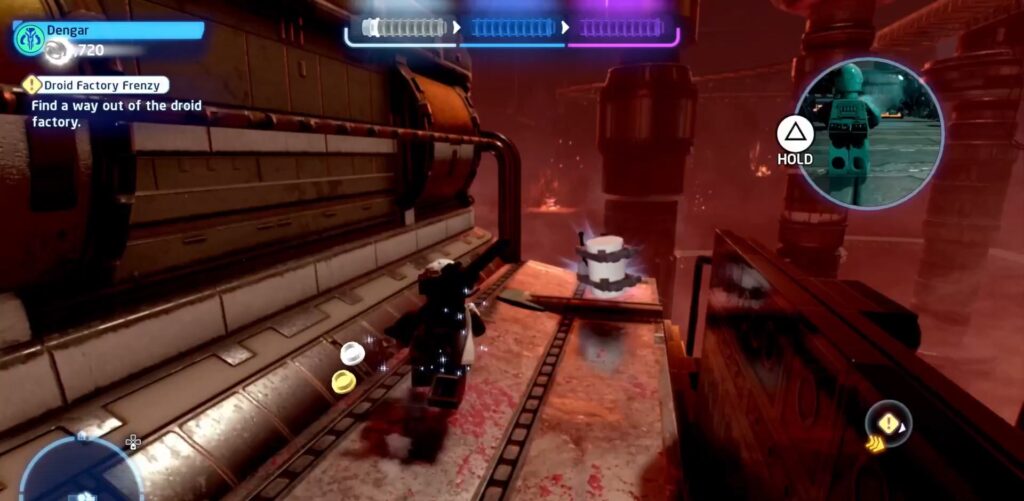
Second Minikit In Image Given Below
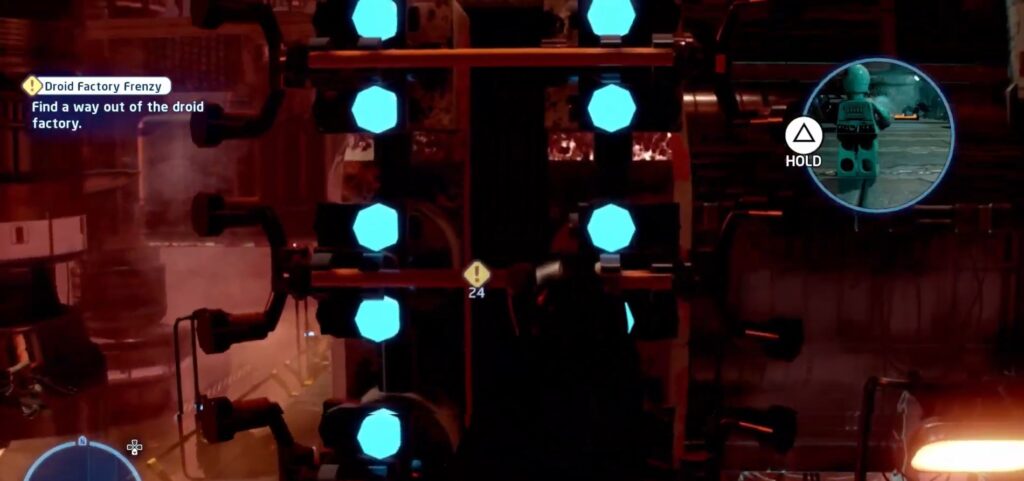
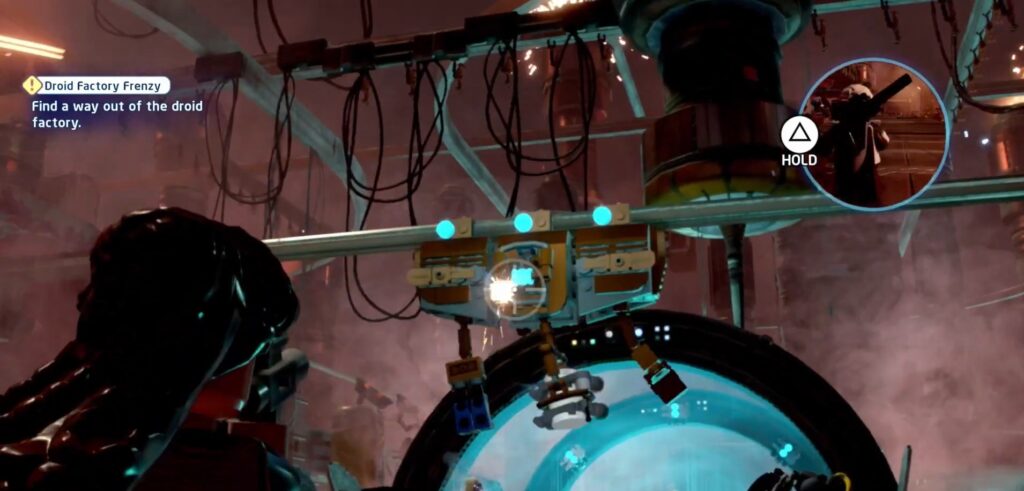
Third Minikit in Images Given Below
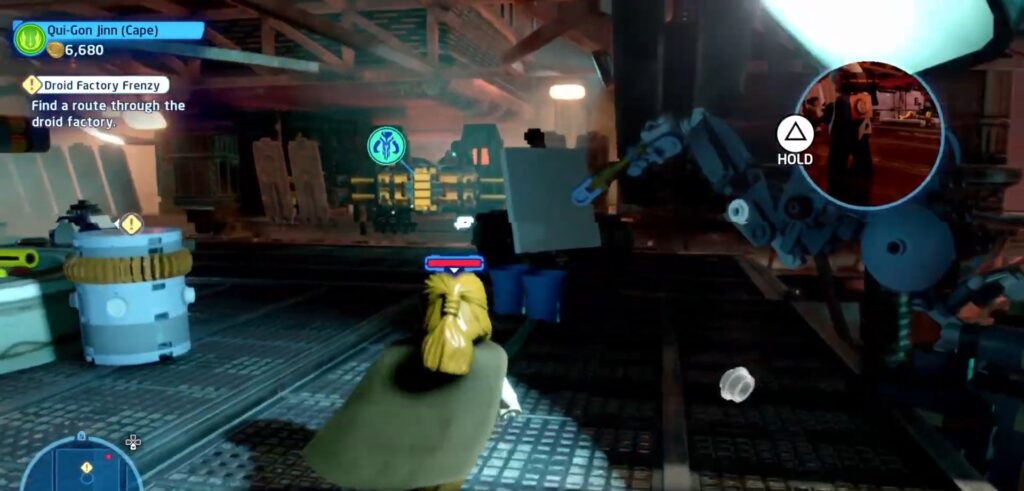
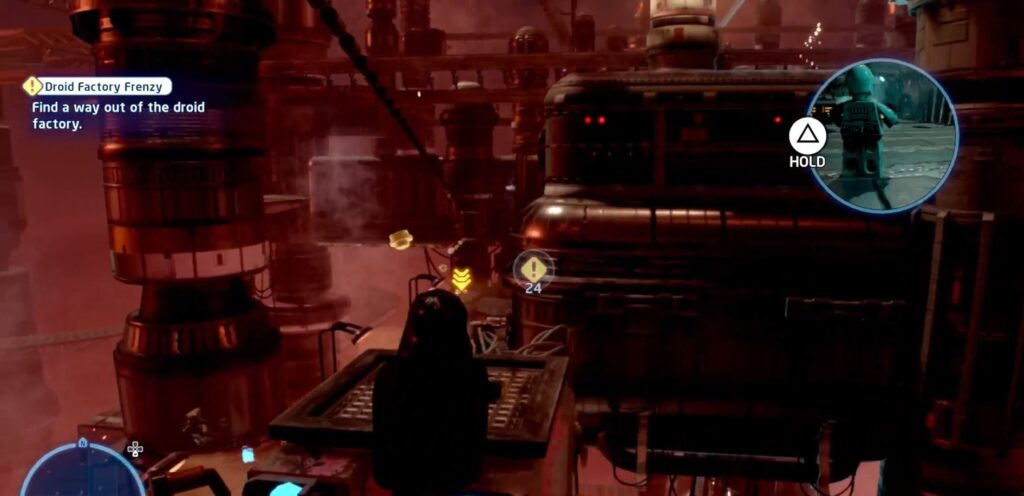
Fourth Minikit In Image Given Below
After getting the fourth Minikit collecting the final is very challenging and time-consuming as it involves many enemies both rebels and droids additionally you also have to solve the puzzles then you reach a certain point where you will find the final Minikit on the machine destroy machine with grenade and Minikit will slide towards you just pick it up check the image below.
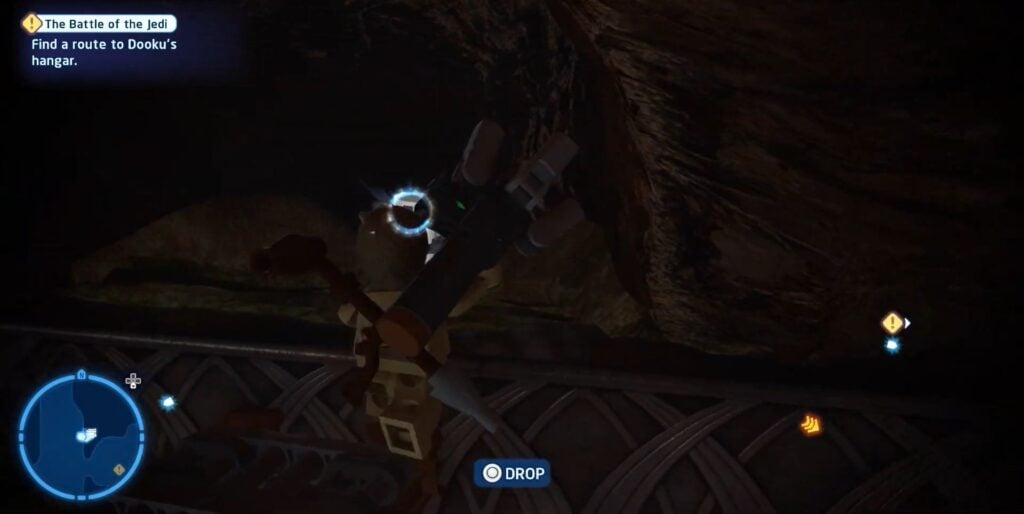
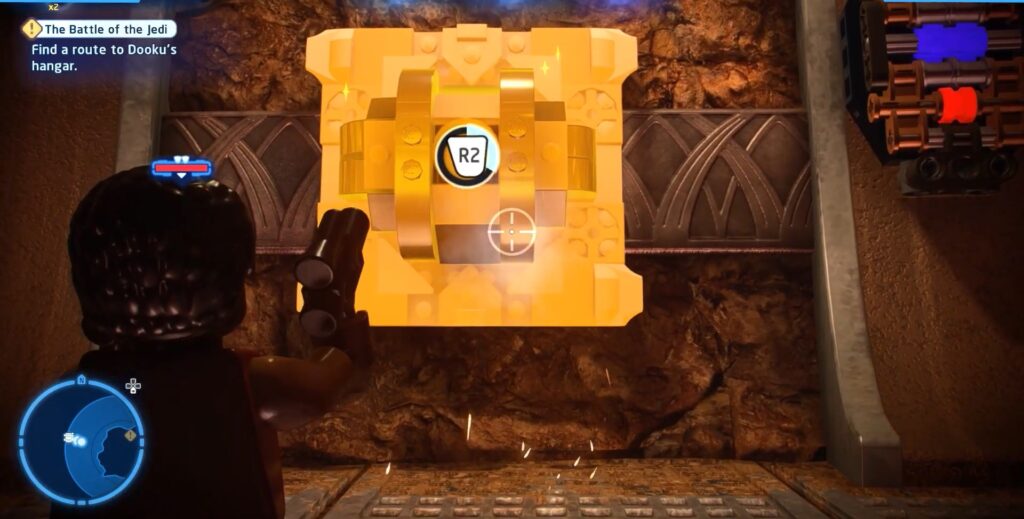
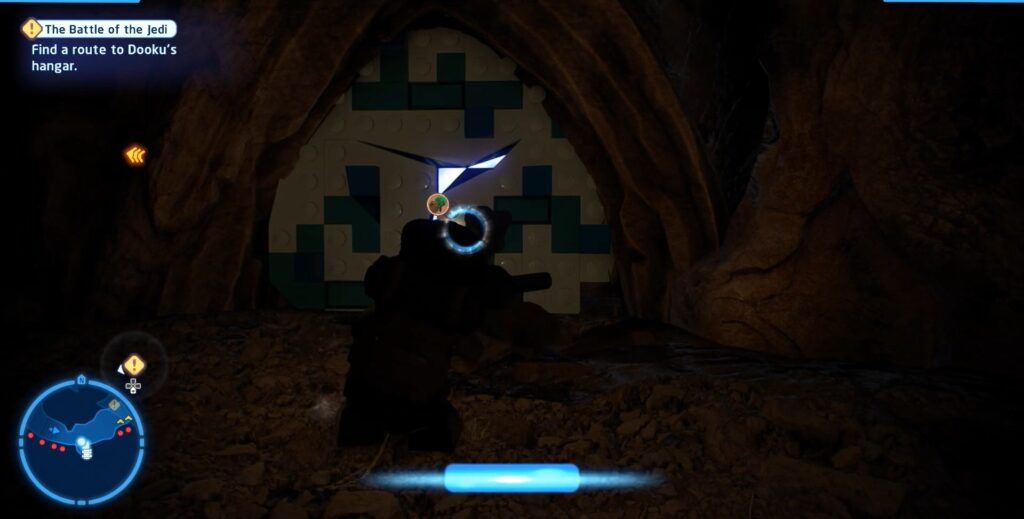
The Battle of the Jedi
The battle of Jedi is another mission where you can get five Minikits. Getting Minikits in this mission is by far the easiest than any other mission. We have attached images below to collect each of the five Minikits. Must read the whole caption on images for a proper guide.
First Minikit In Image Below
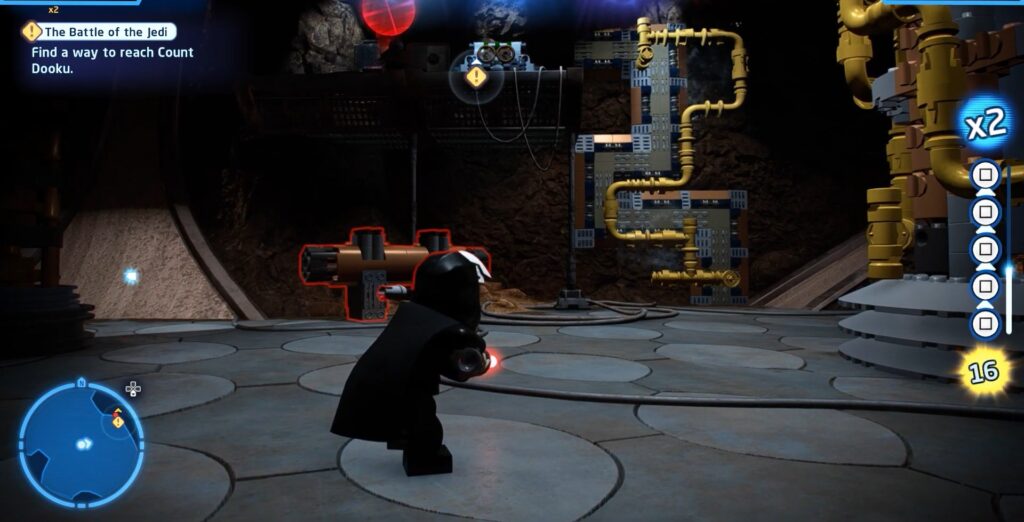
Second Minikit In Image Below

Third Minikit In Image Below
Fourth Minikit In Image Below
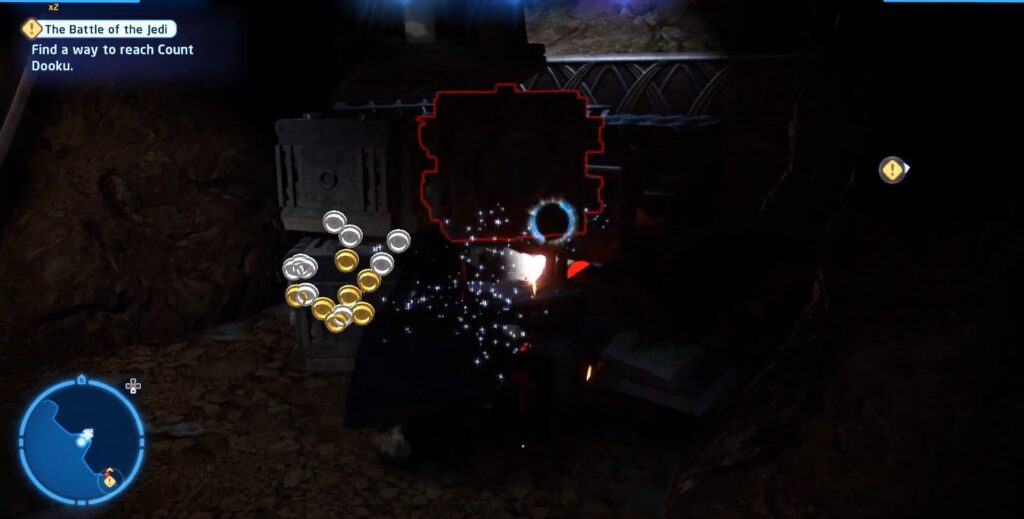

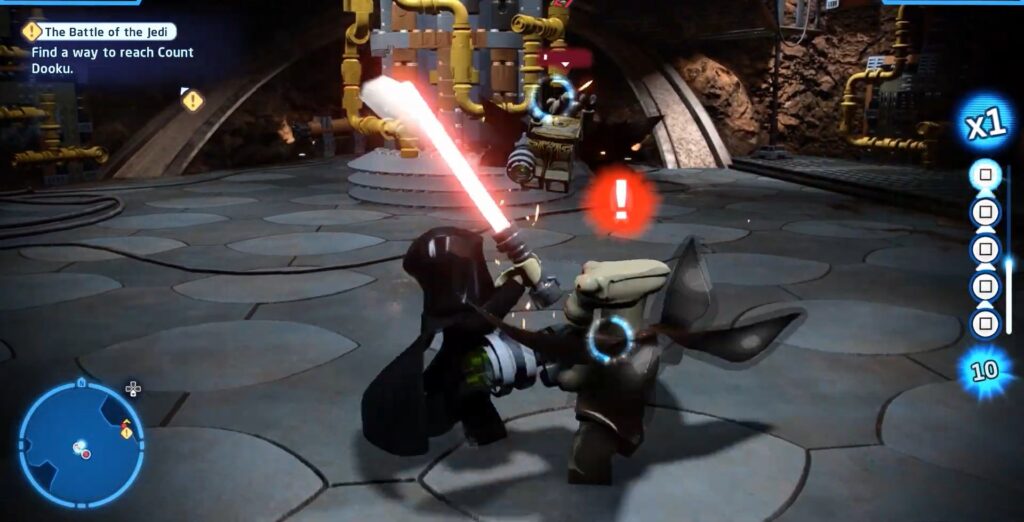
Final Minikit of this mission In Image Below
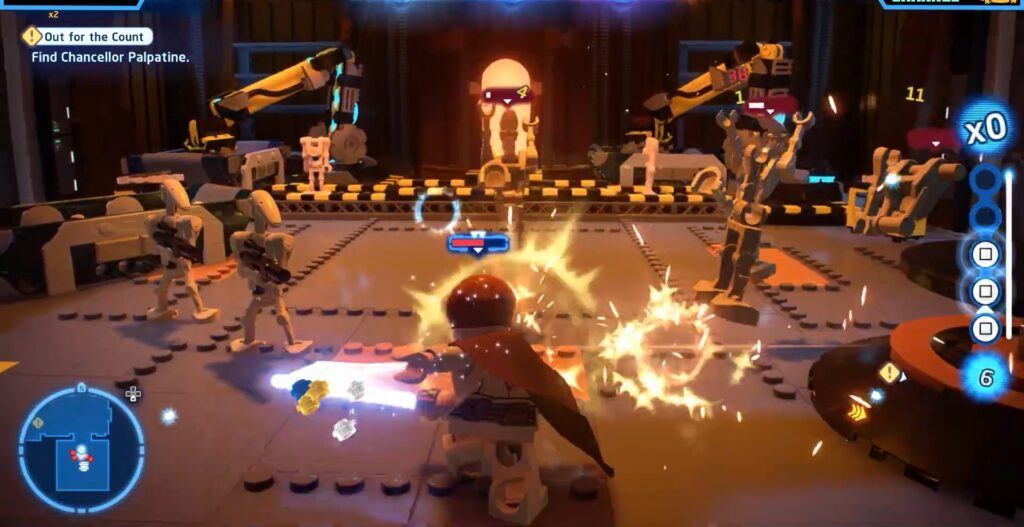
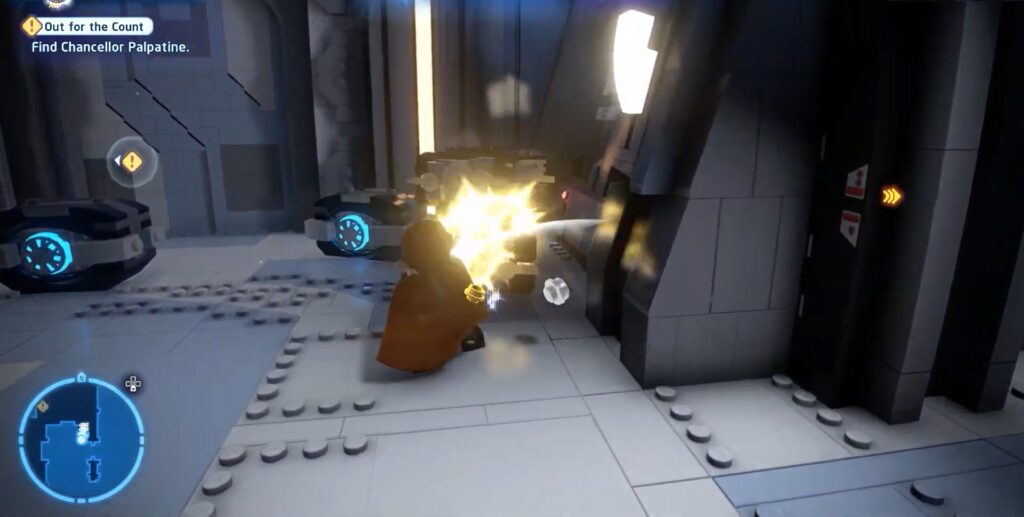
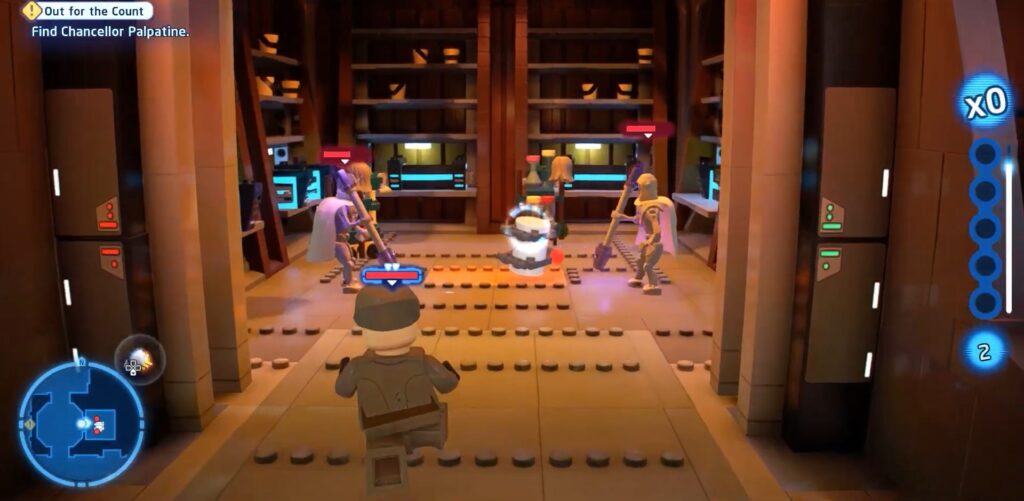
Out For The Count
In this mission, you will be a place made up like an underground bunker where you have to pass three-door to get the first Minikit of this mission for the first door you have to change your appearance into 3cpo and interact with the door machine while for the rest you will need a more tougher character for yourself because you have to involved in combat behind the other doors and in that way you can get the first Minikit of the mission name Out For The Count by finishing off the enemy.
First Minikit location in Lego Star Wars The Skywalker Saga for Out For The Count is given in the images below.
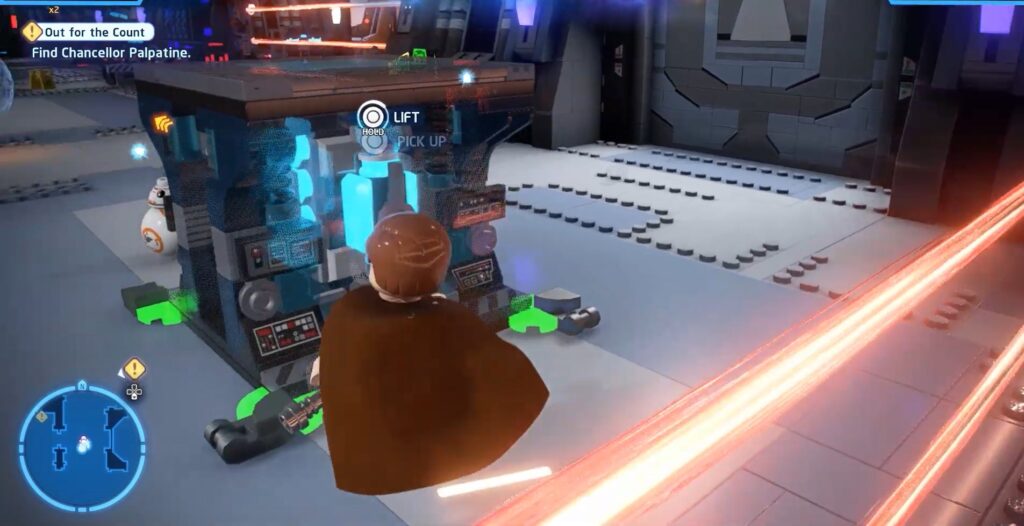
To get next minikit of this mission repeat the same steps use 3cpo and droid bb8 to solve the puzzle and open the door and for entry control the warrior with sword.
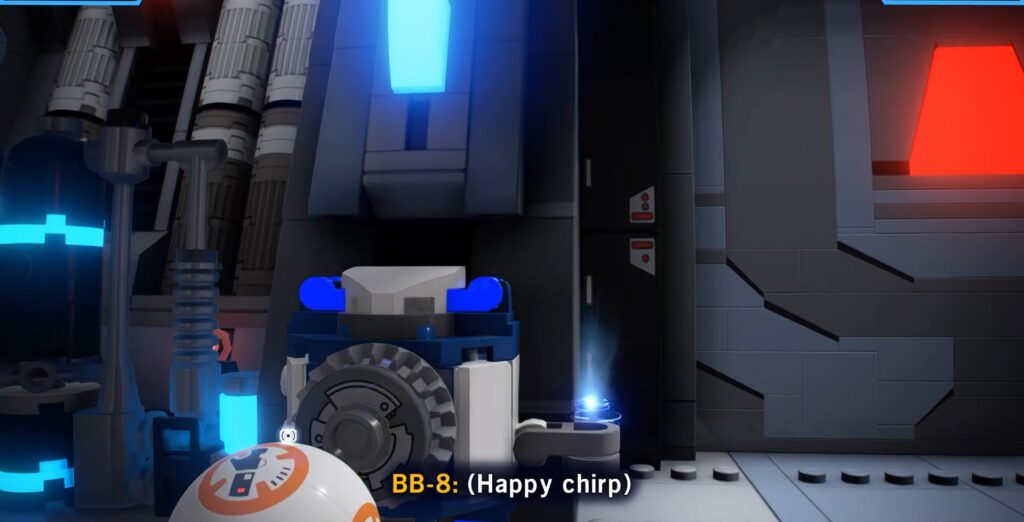
Second Minikit In Image Given Below
Going Further for the third Minikit. The door which leads there will be blocked with Lazer lines what you have to do is to Lift the box which will be there in the corner and move it towards the door then use the box to jump over the blocked door by lasers and get the third Minikit.
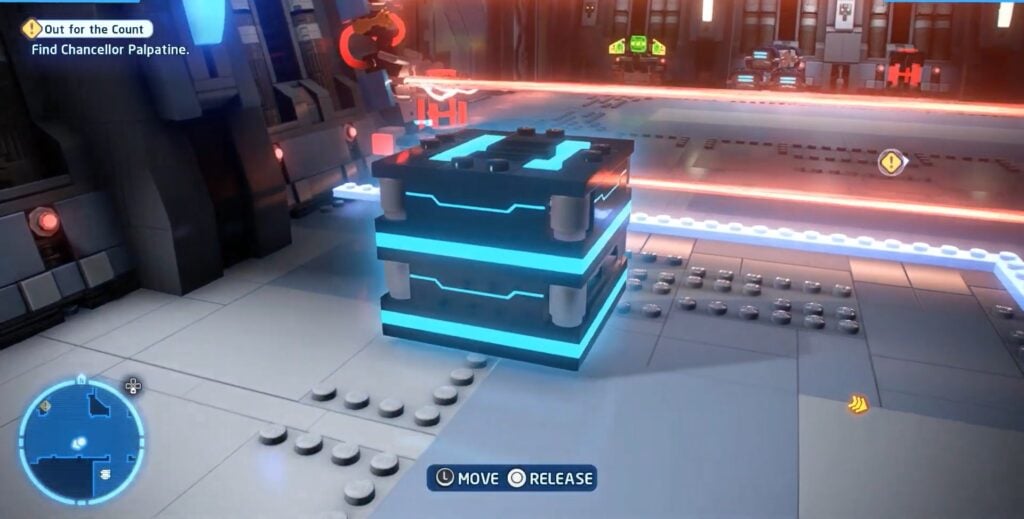

Third Minikit in Image Given below
For acquiring the fourth Minikit there is good news that with the tool located at the circle of boxes can open the laser blocked doors easily and after one another while keep unlocking doors you will have to beat the enemies at different places one room looked as control system after crossing it there will be a place full of enemies but between them is fourth Minikit. Simply kill the enemies and acquire the fourth Minikit.
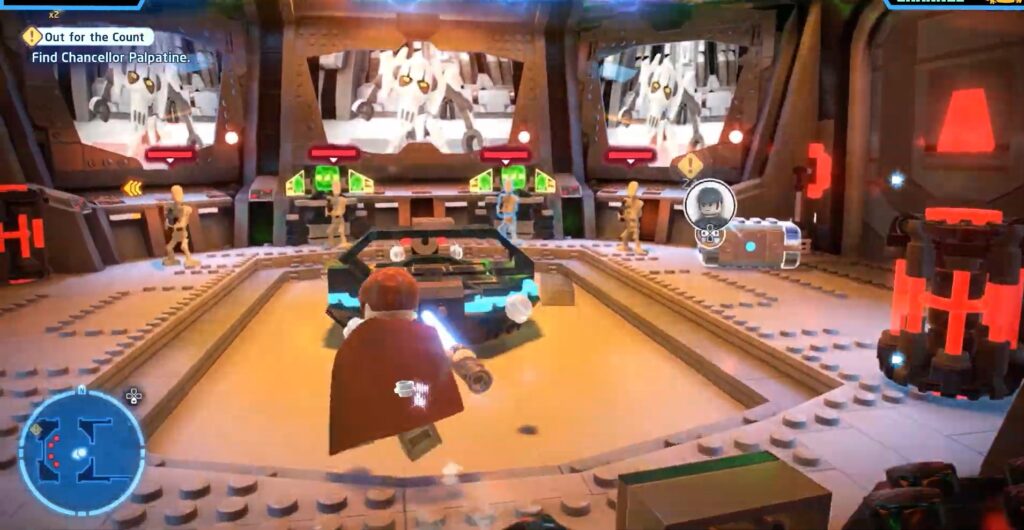
Fourth Minikit is in Image Given Below
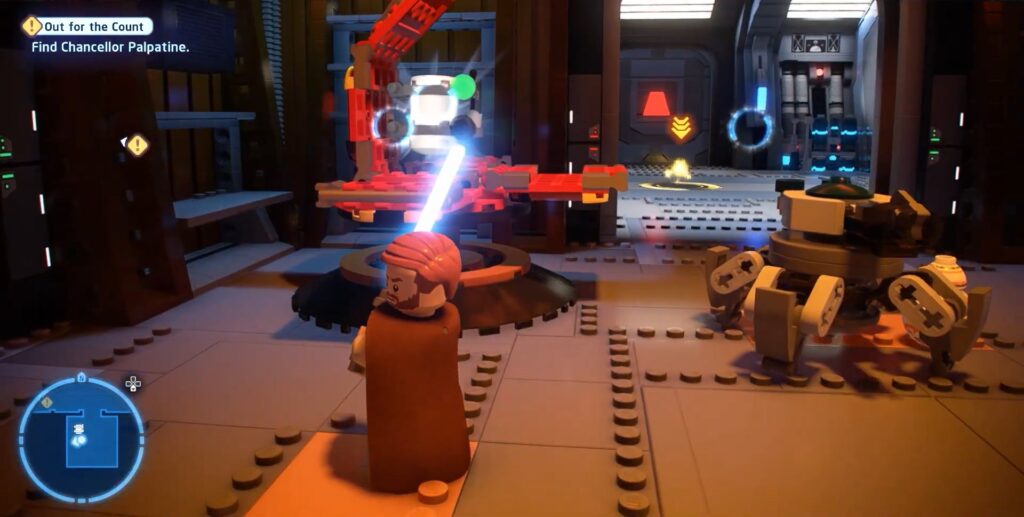
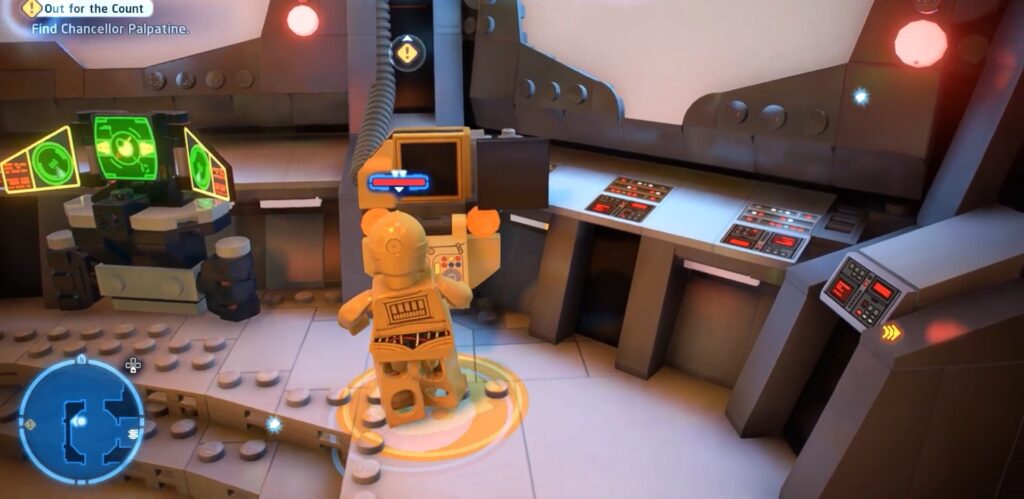
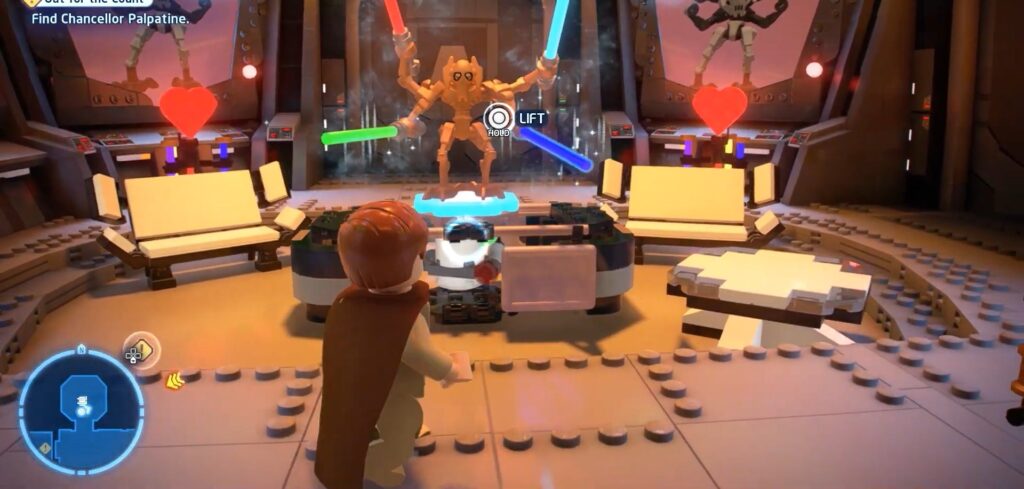
You can see this iron-made unmovable robot you have to put different swords of different colors in his multiple hands as result it will open up and give you the final Minikit of the mission Out Of The Count.
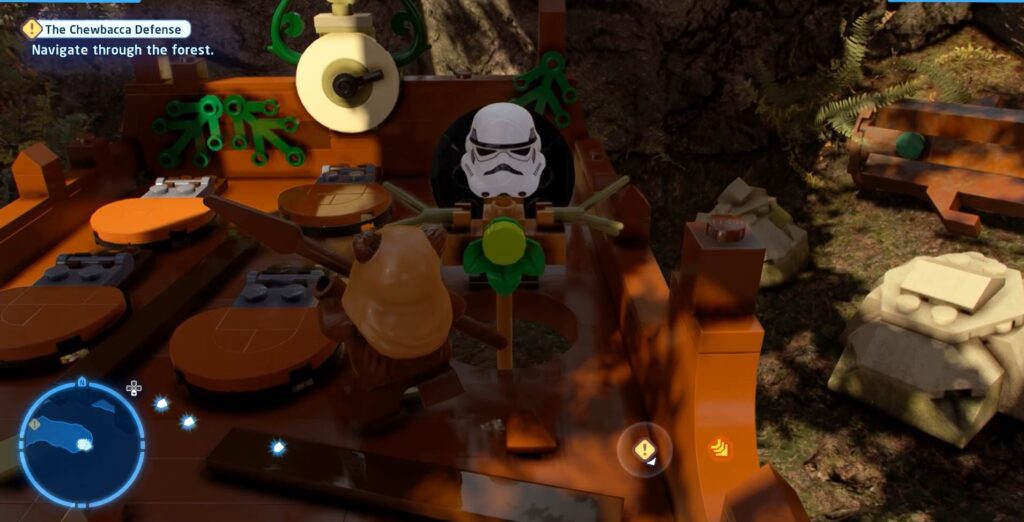
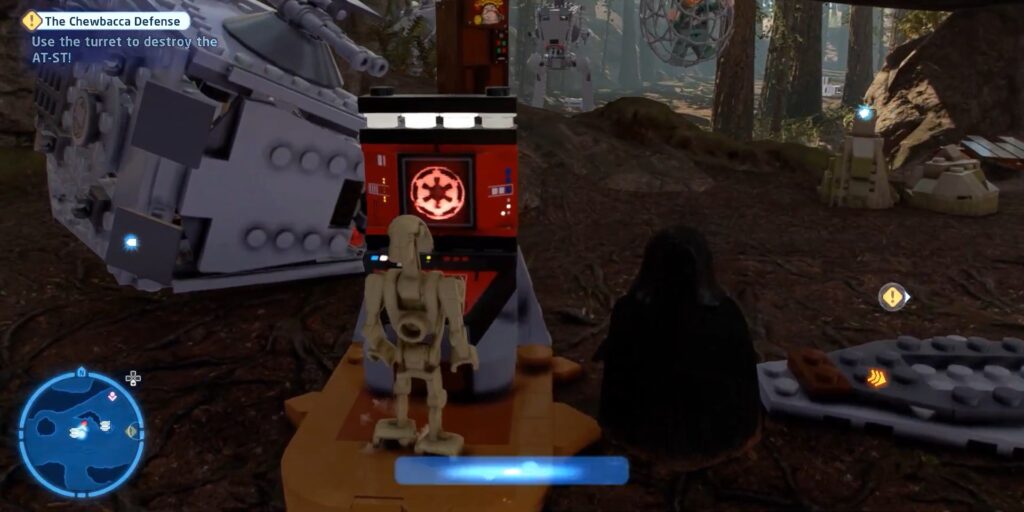
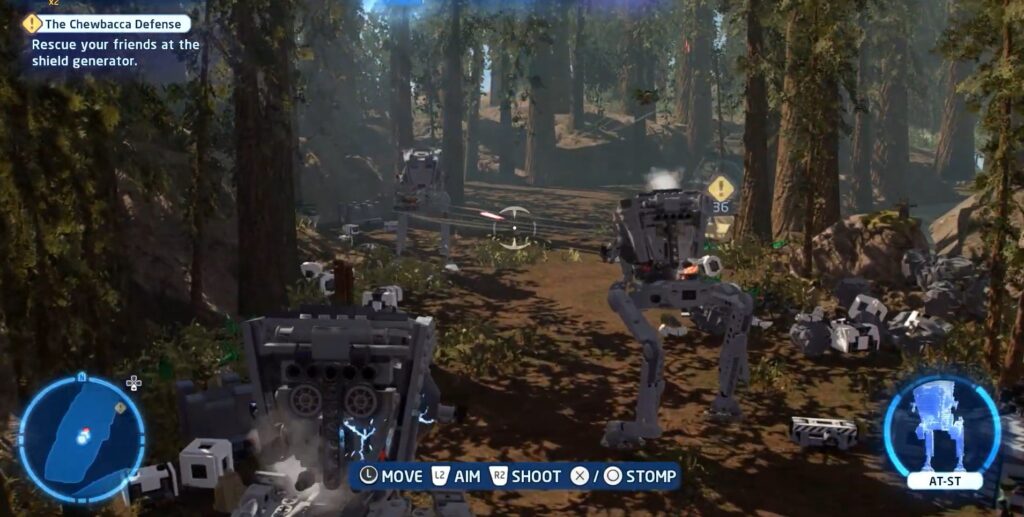
The Chewbacca Defence
This mission takes place in the jungle as our character of this mission after whom the name of the mission is also named Chewbacca belongs to wildlife. There are 5 Minikits in this mission that we have to acquire.
To get the first Minikit you have to smash everything around you with the woody stick, as a result, you will have a few boxes from which the plastic statue will keep popping up you have to smash them with your stick eventually you will get the first Minikit. We have attached a picture of it below to make it easy for you.
While in quest of getting the first Minikit we saw Chewbacca using a stick as a weapon in the second one he will be using the gun to shoot the hanging nets there are three of them to Shoot down and get second Minikit.

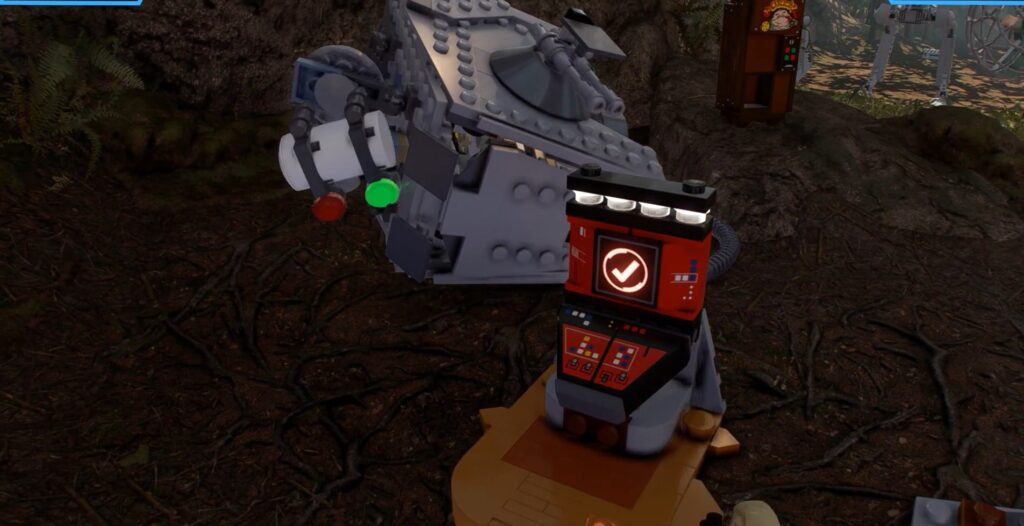
To get the third Minikit You have to break up the white color plastic made machines then the puzzle will come up you have to solve the puzzle by controlling the robot once it is solved Minikit will slide out of the huge box you can grab it. We have attached pictures below to make it easy
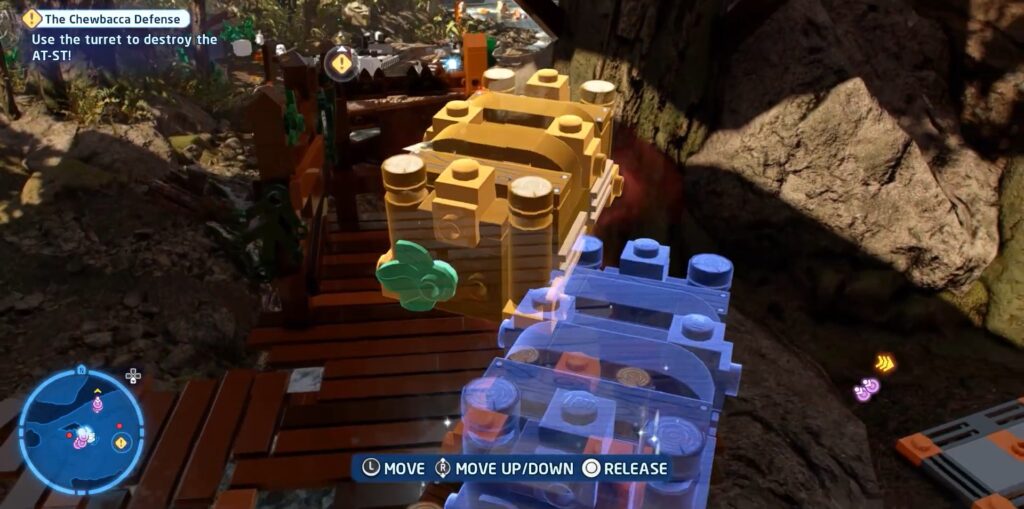
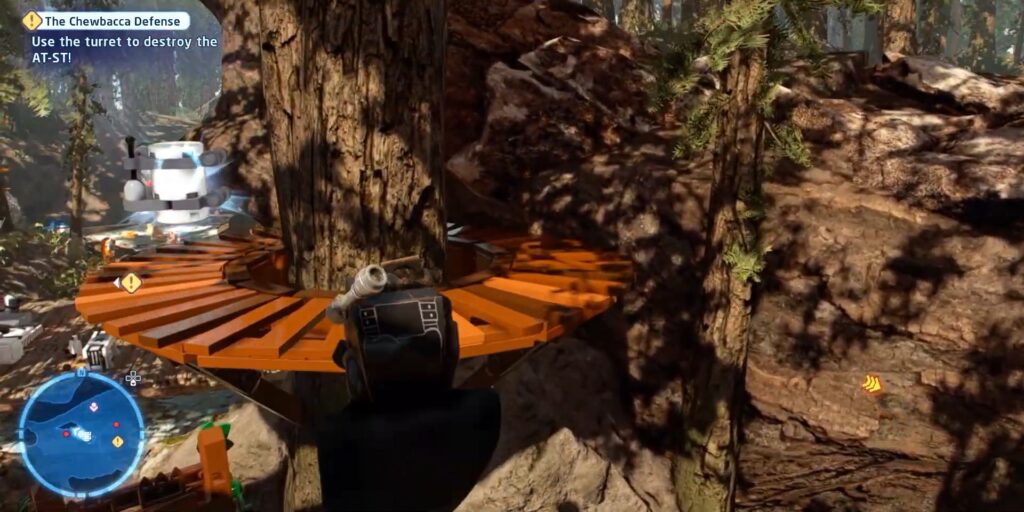
To get the fourth Minikit player doesn’t have to travel far its just near him with a few footsteps. The fourth Minikit of this mission is at a big height to collect it the player has to move boxes and put them one over another and shape them like a stair so you can go up and pick up the fourth Minikit. We have attached images below to make them easy for you.
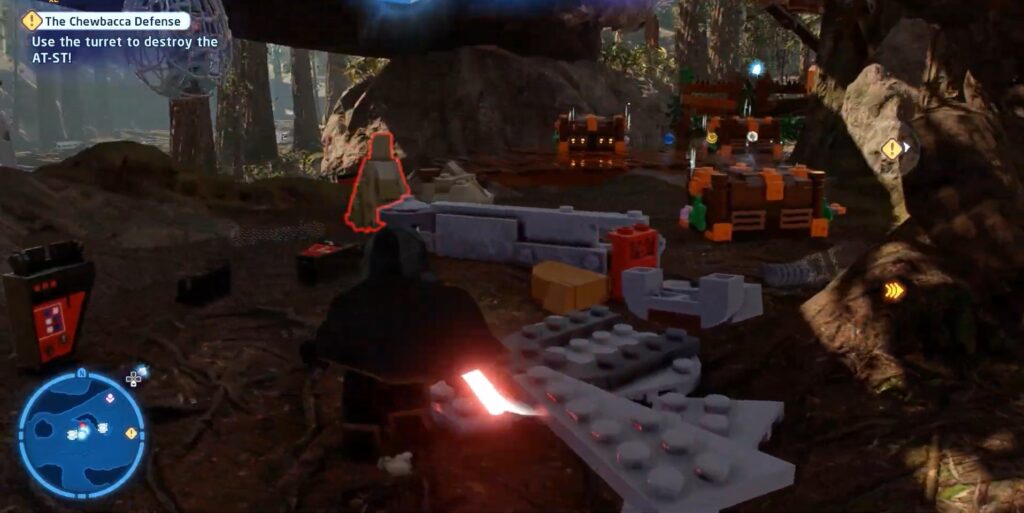
You have to involve in huge robots/machine fights possible controlling one to get the Fifth and final Minikit of this mission
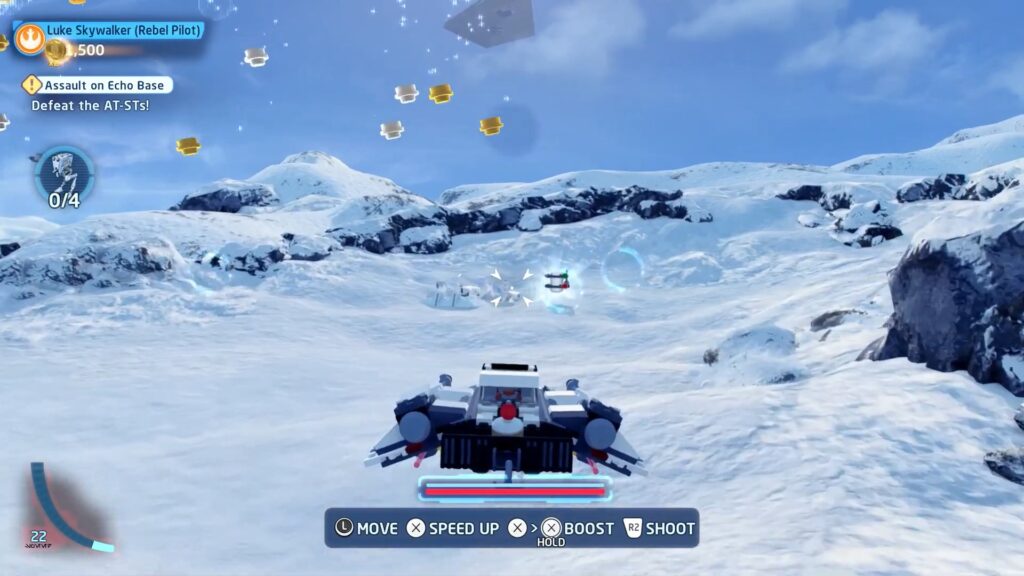
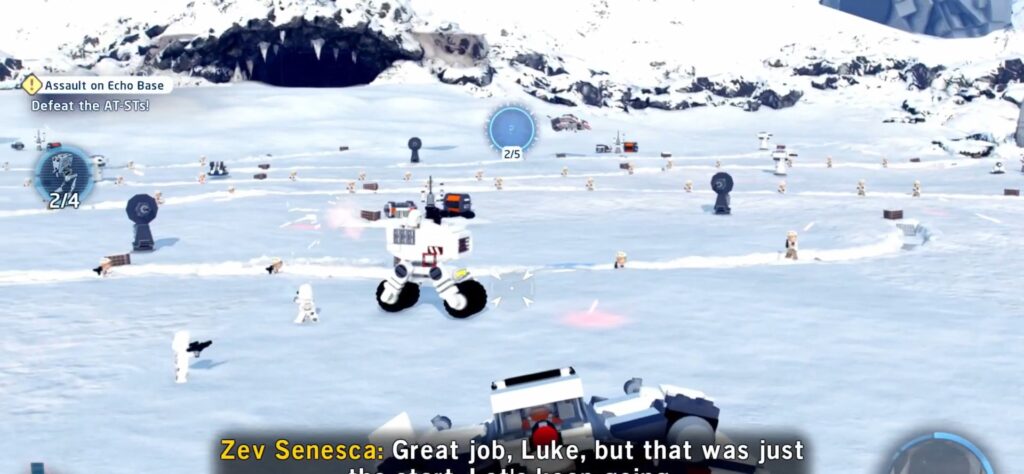
Assault on Echo Base
Finding Lego Star Wars The Skywalker Saga Minikit locations in Assault on Echo Base is by far the easiest if You know the art of flying the jet and can do magic with your thumbs than you can collect all five of them sitting in a jet . This mission is located in a snowy area and the war is at the scene.
Like I said it is easy to collect them. All you need is just fly nice first one will be under the bridge well strictly speaking not a big bridge but it looks like one a small one.

You can find the other Minikit covered in a snowy shield shoot at it by jet and get it. We have attached an image of it below.
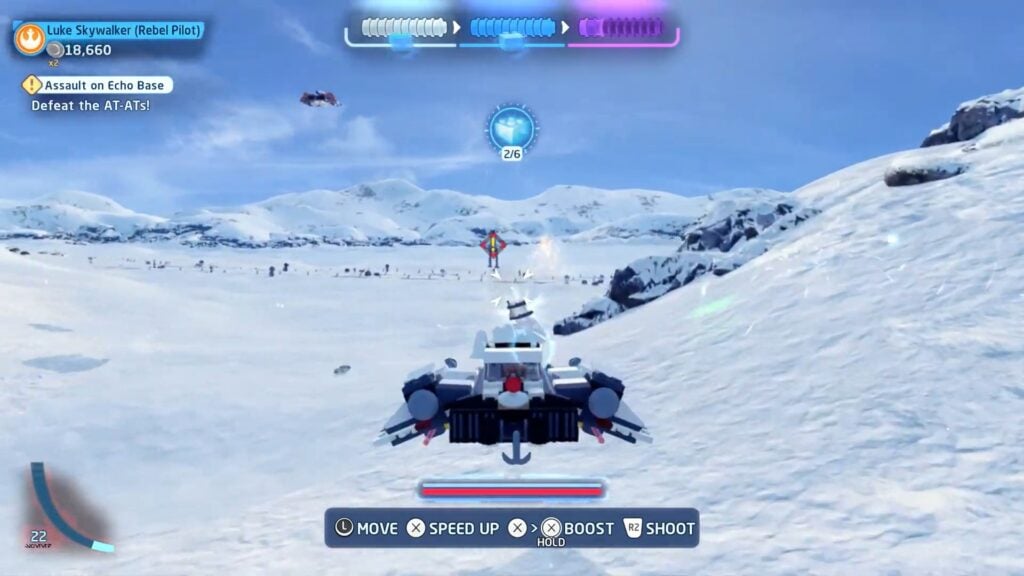
To get the third Minikit of this Mission you have to shoot at black walking machines There are multiple.
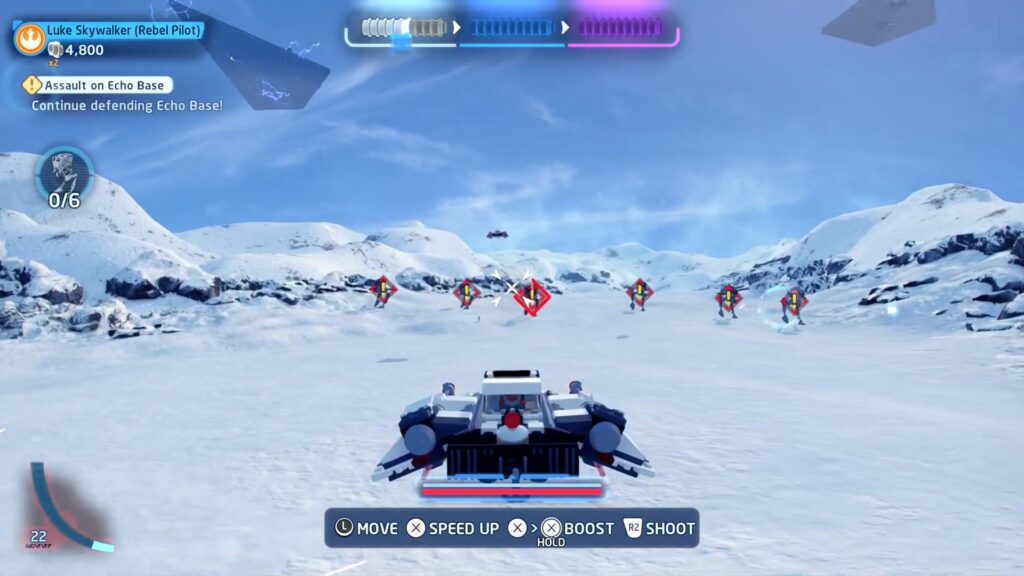
The fourth one is also like the second one covered in shield but on land like mine shoot it and go through it touching it with the jet.
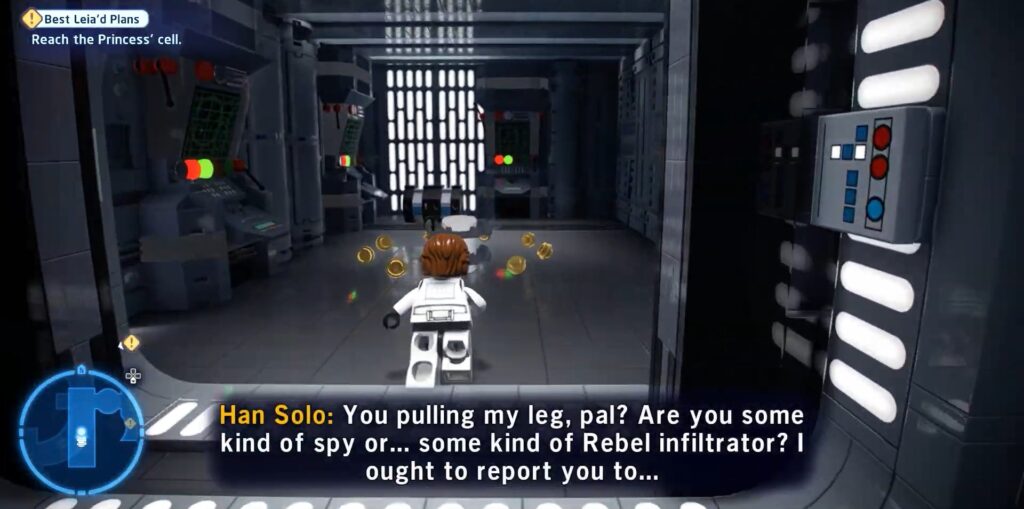
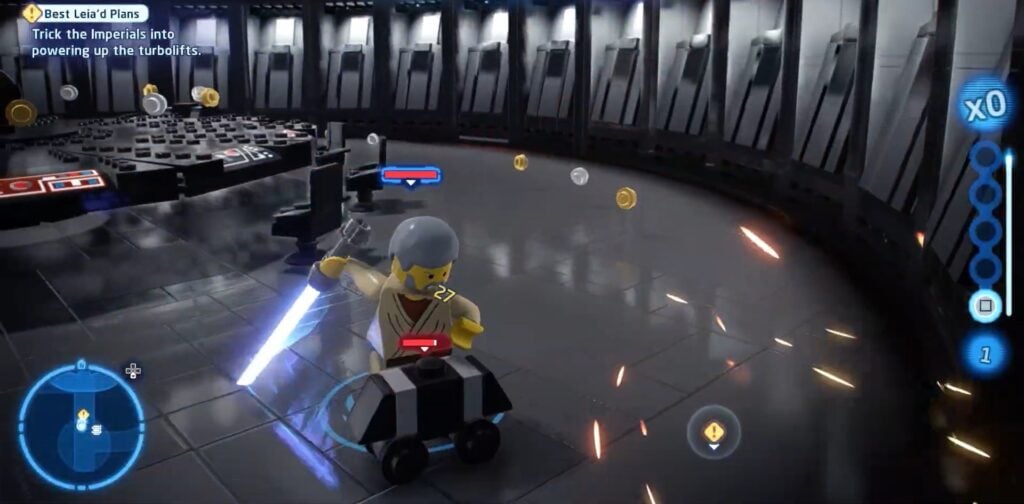
Best Leia’d Plans
The above-mentioned title is another mission where Minikits of lego star wars skywalker are collectible. The place where these Minikits are located is a kind of headquarters of the enemy and look like a dungeon. This place also has significance due to the main incident that happened here where Vadar killed his father Han Solo in front of his mother. We have attached images below of Minikits where you can easily figure out this place.
To get the first Minikit there is nothing significant player has to do the first one can be collected by walking through the door by controlling Han Solo. Below is the image attached.
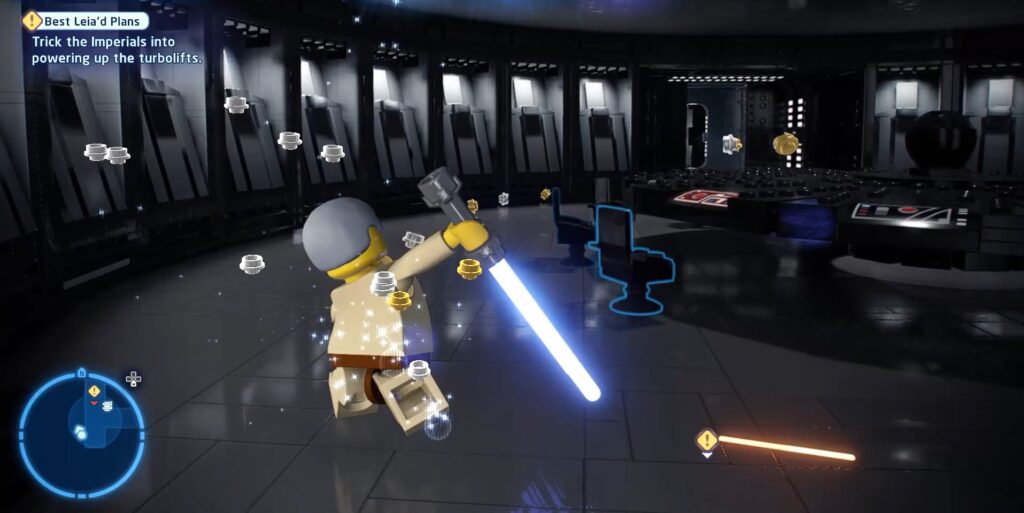
That’s right there another one he jumped down from top Chewbacca is also with Han Solo
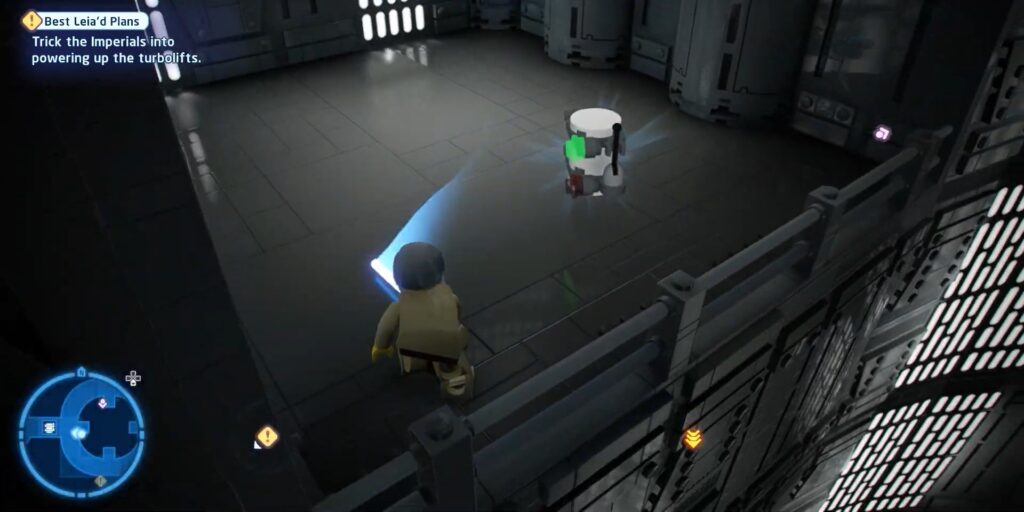
Han Solo is not the only one who collects the Minikit Another one is Chewbacca who contrary to Solo makes more effort to get the Minikit apart from his own mission. By moving here and there on elevators picking up different things and fighting with an enemy he does it all.
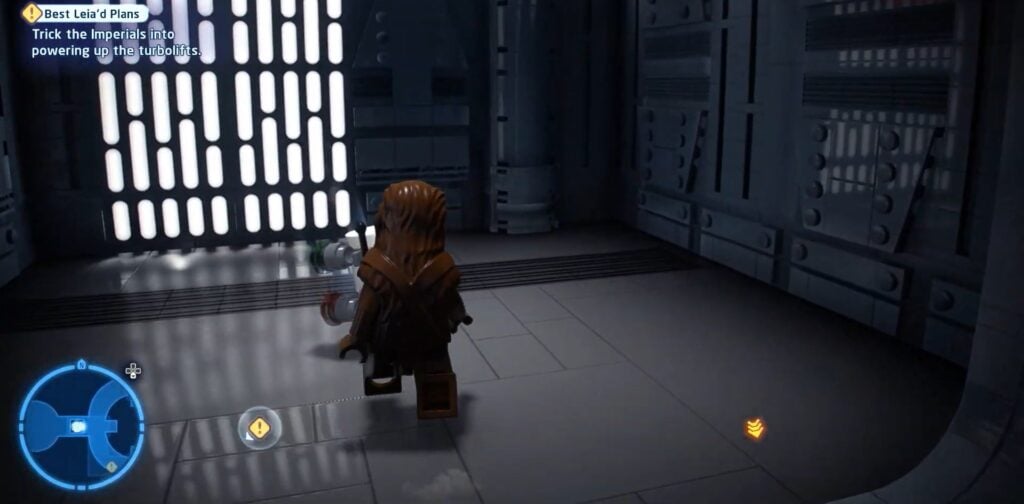
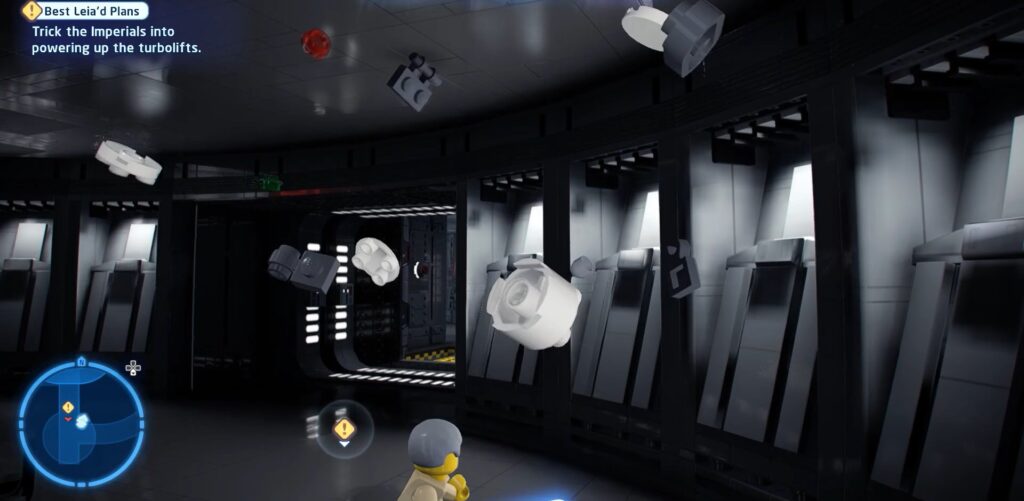
The fifth and final Minikit of this mission can be collected by destroying all furniture in the main room we have attached a picture below to recognize it better.
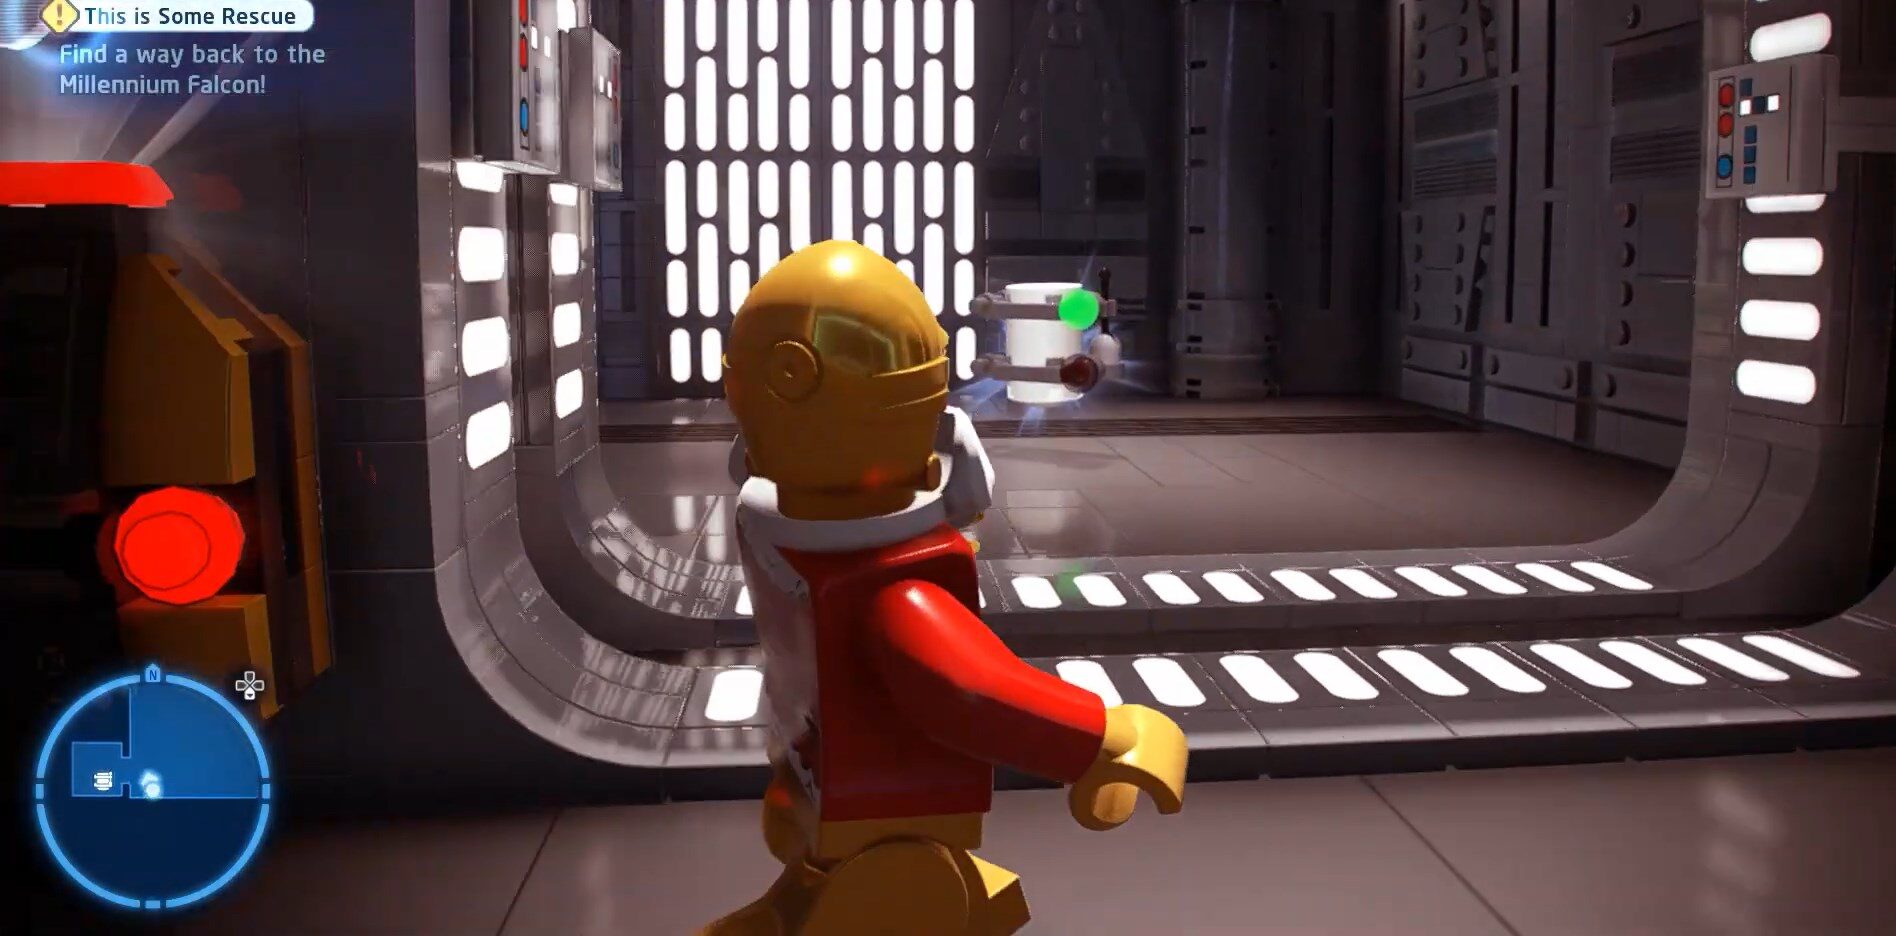
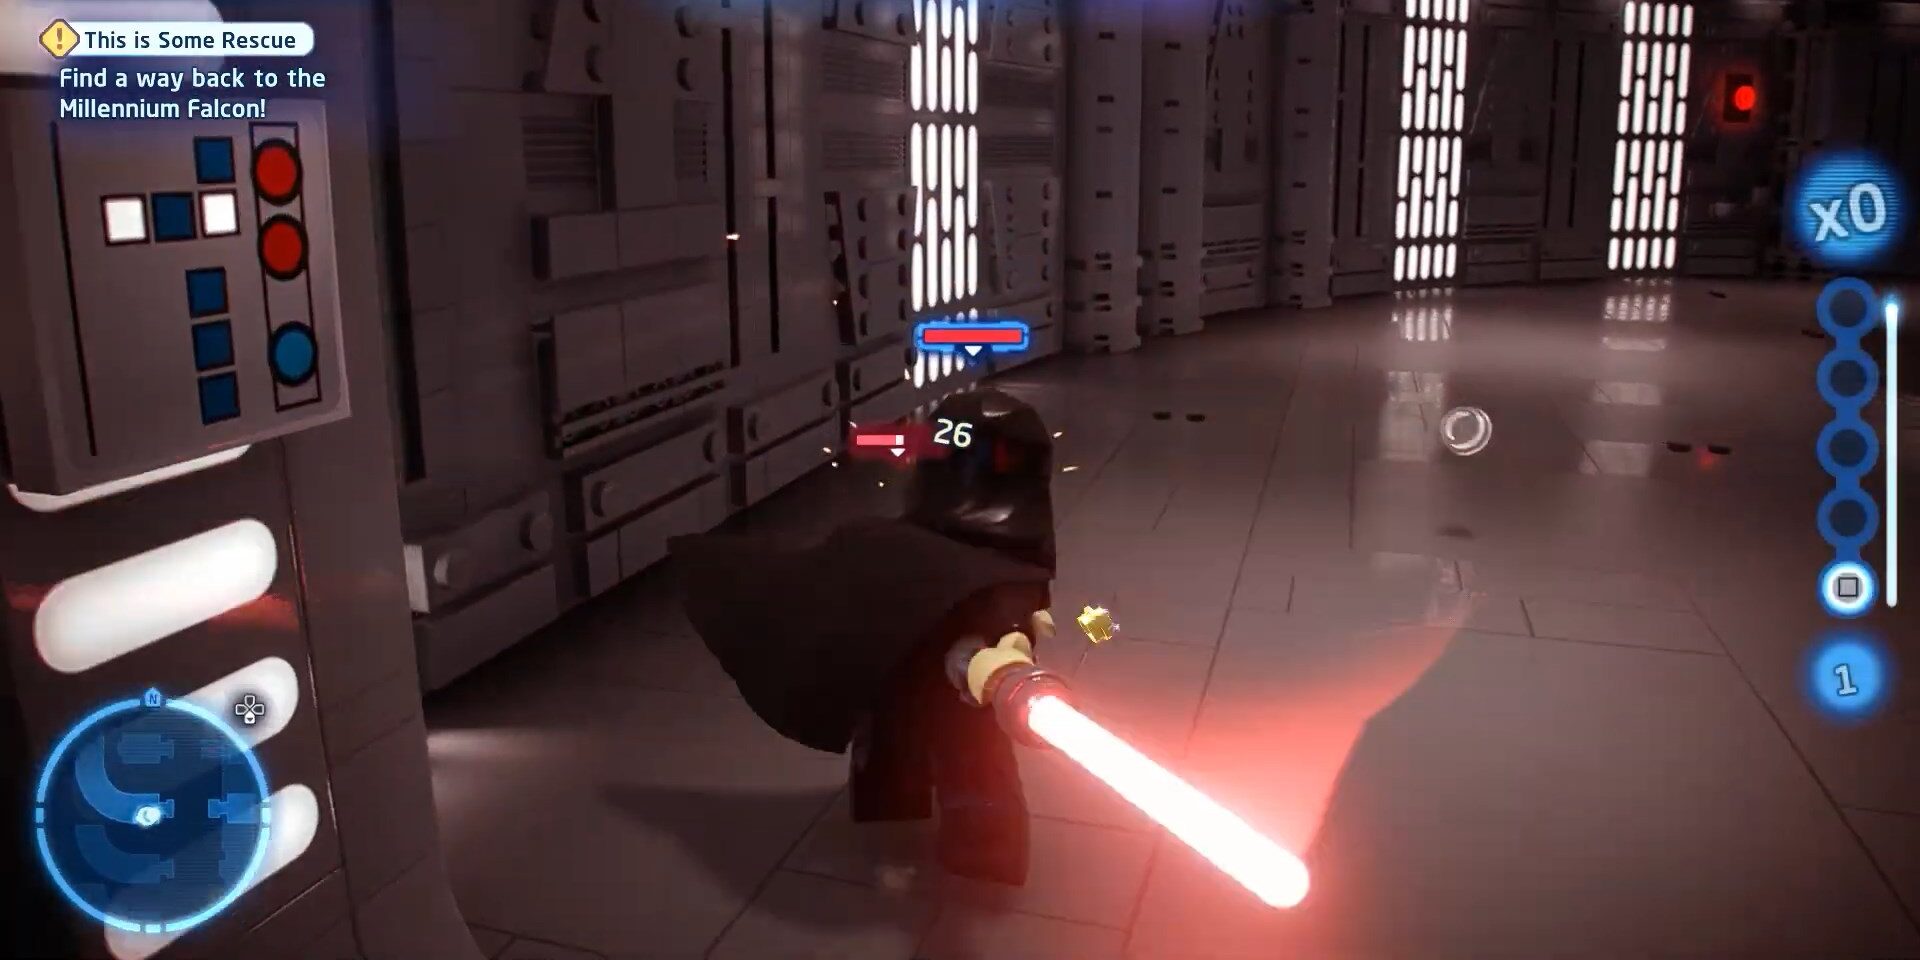
This Is Some Rescue
Like other missions here also we have to collect the Minikits but the main difference here is that we do that mostly with a different character each time. Below is the description with the image of how to collect the Minikits.
For the first Minikit, C3PO is involved in doing what he mostly does to solve the puzzle and get the Minikit for us.
Lets come to the second Minikit and below are the images with must read caption for guidance.
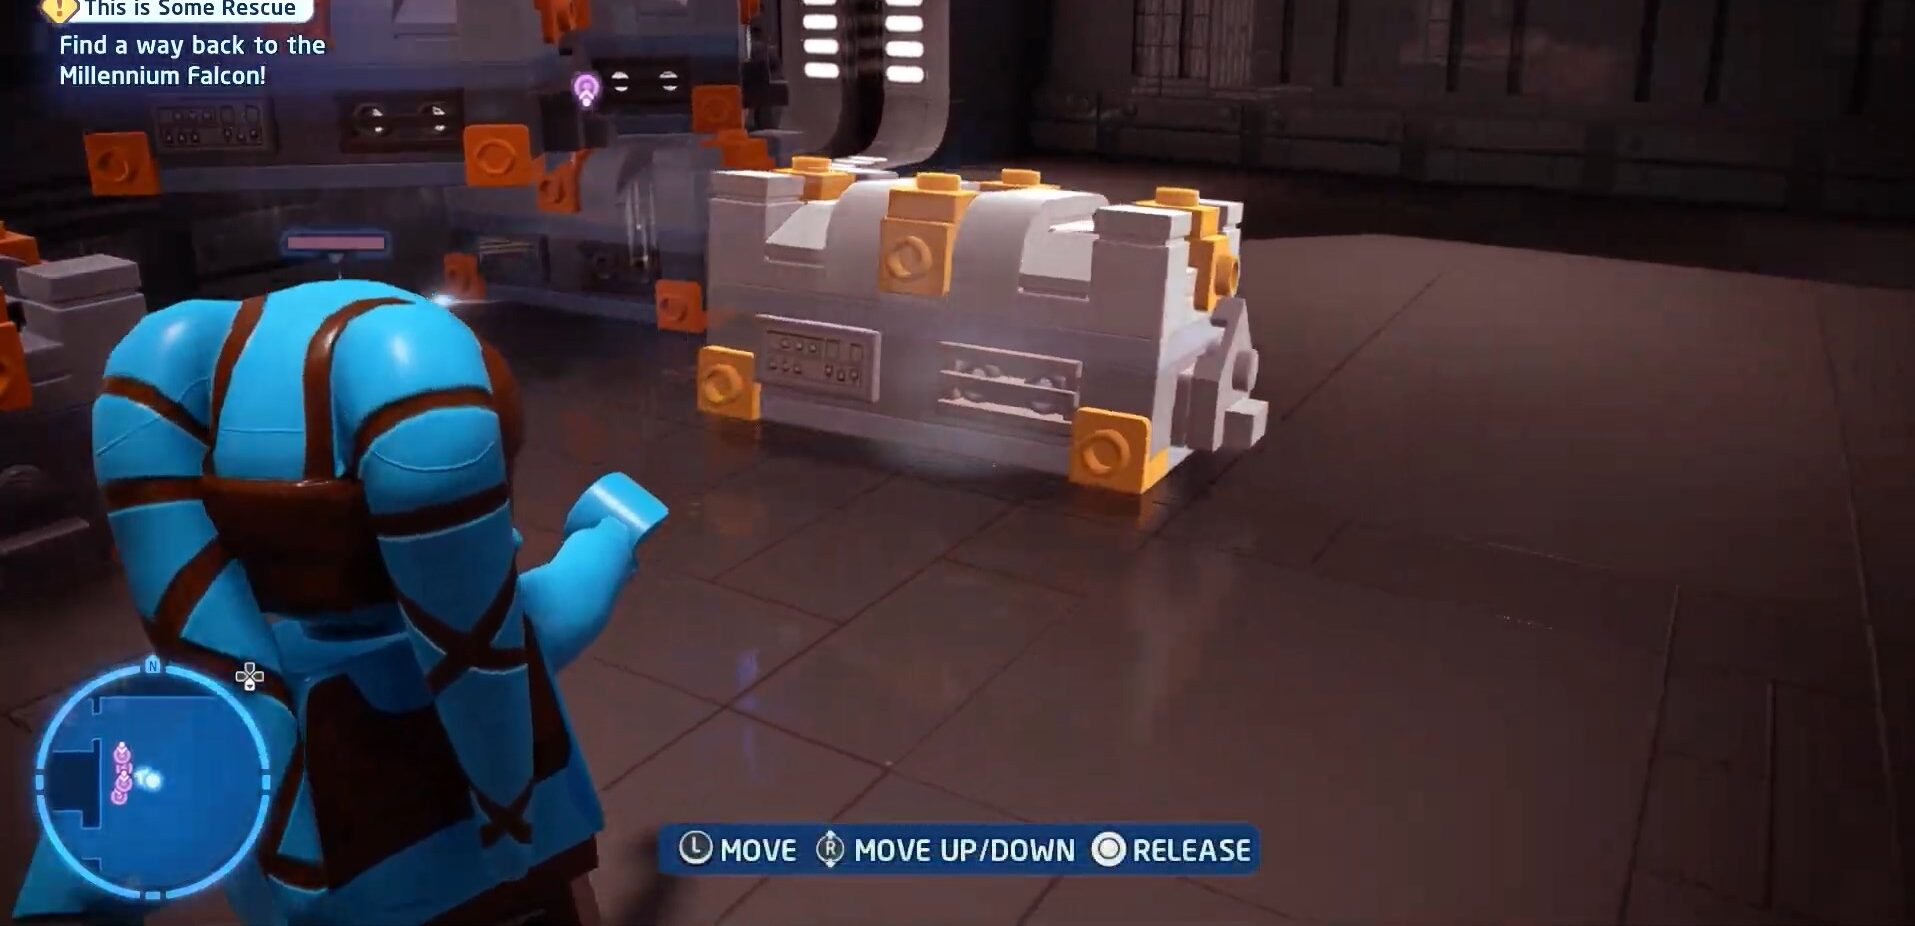
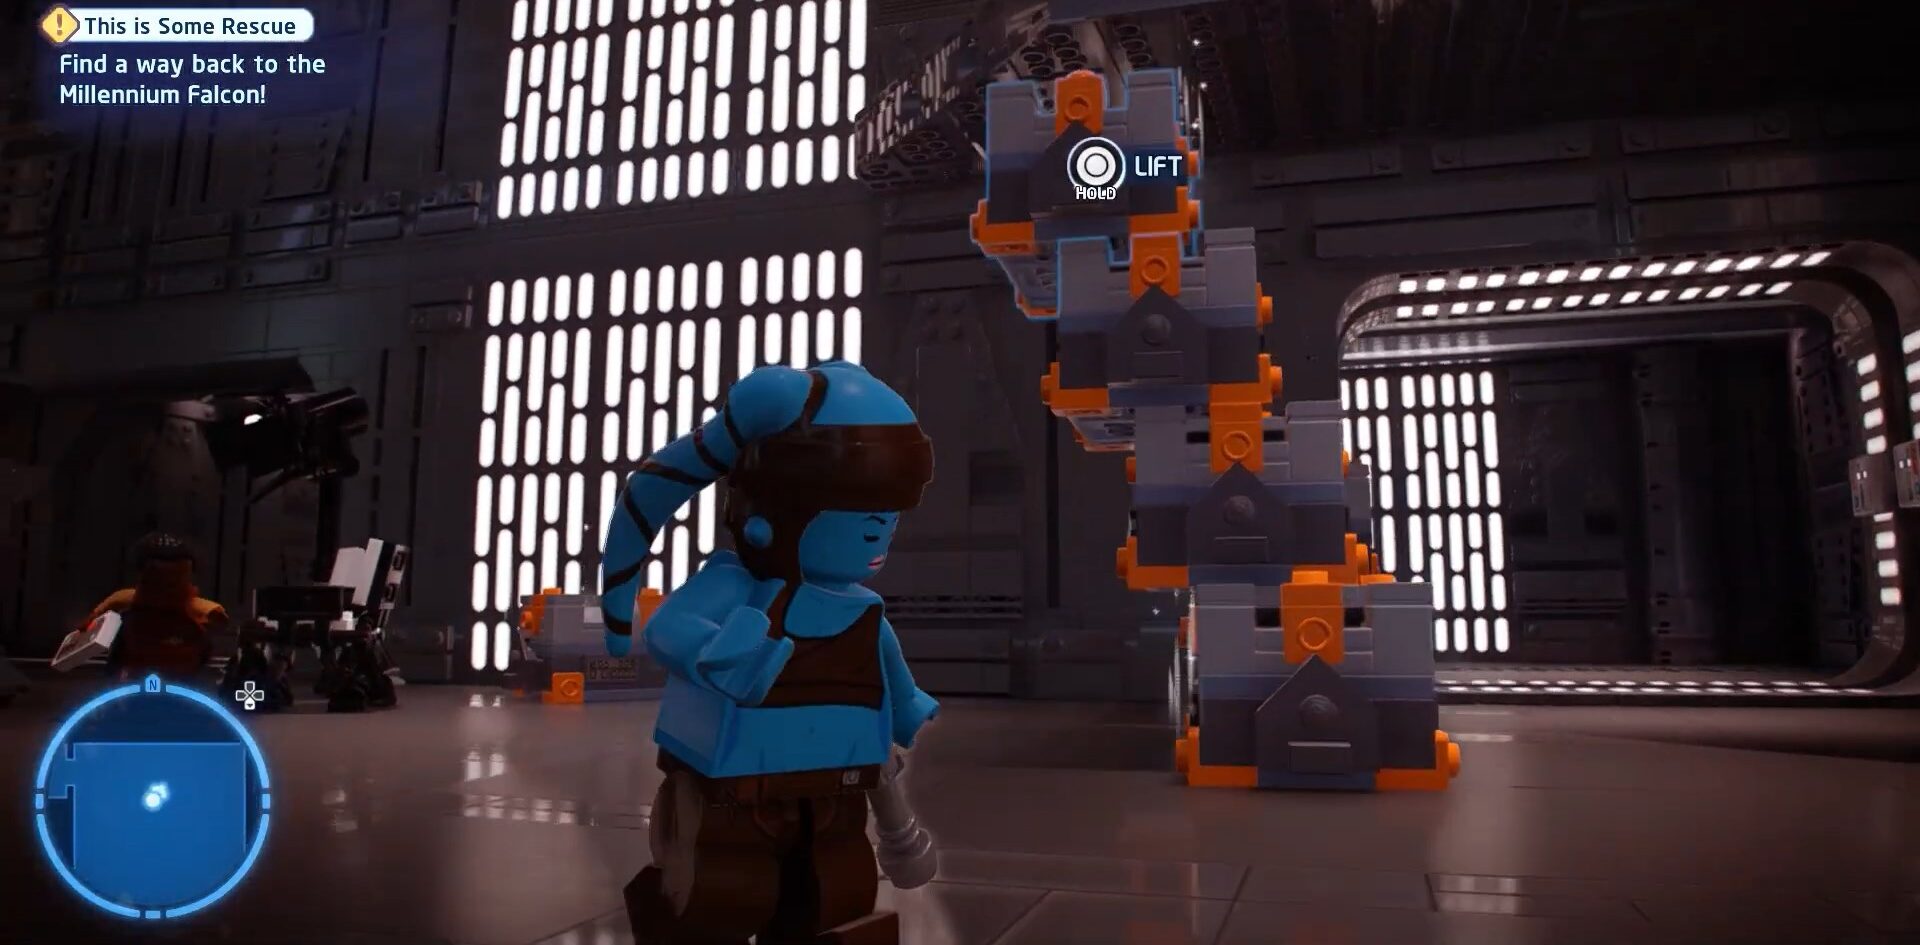
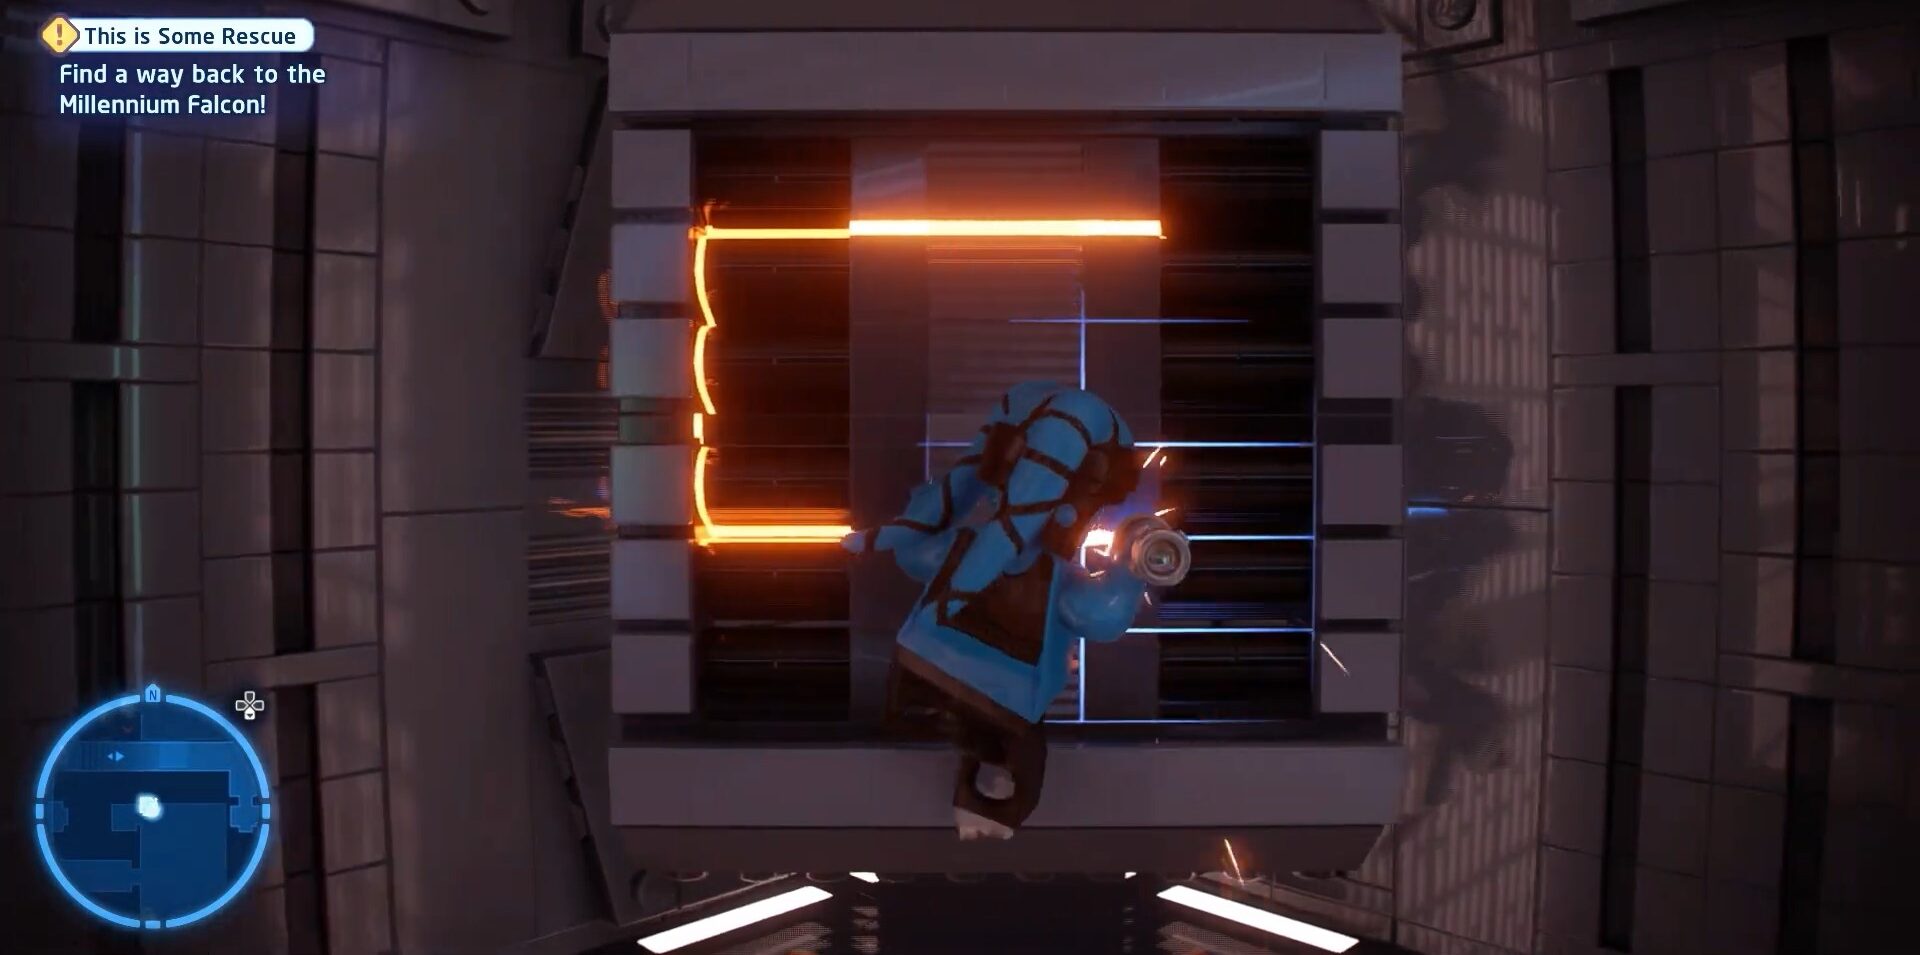
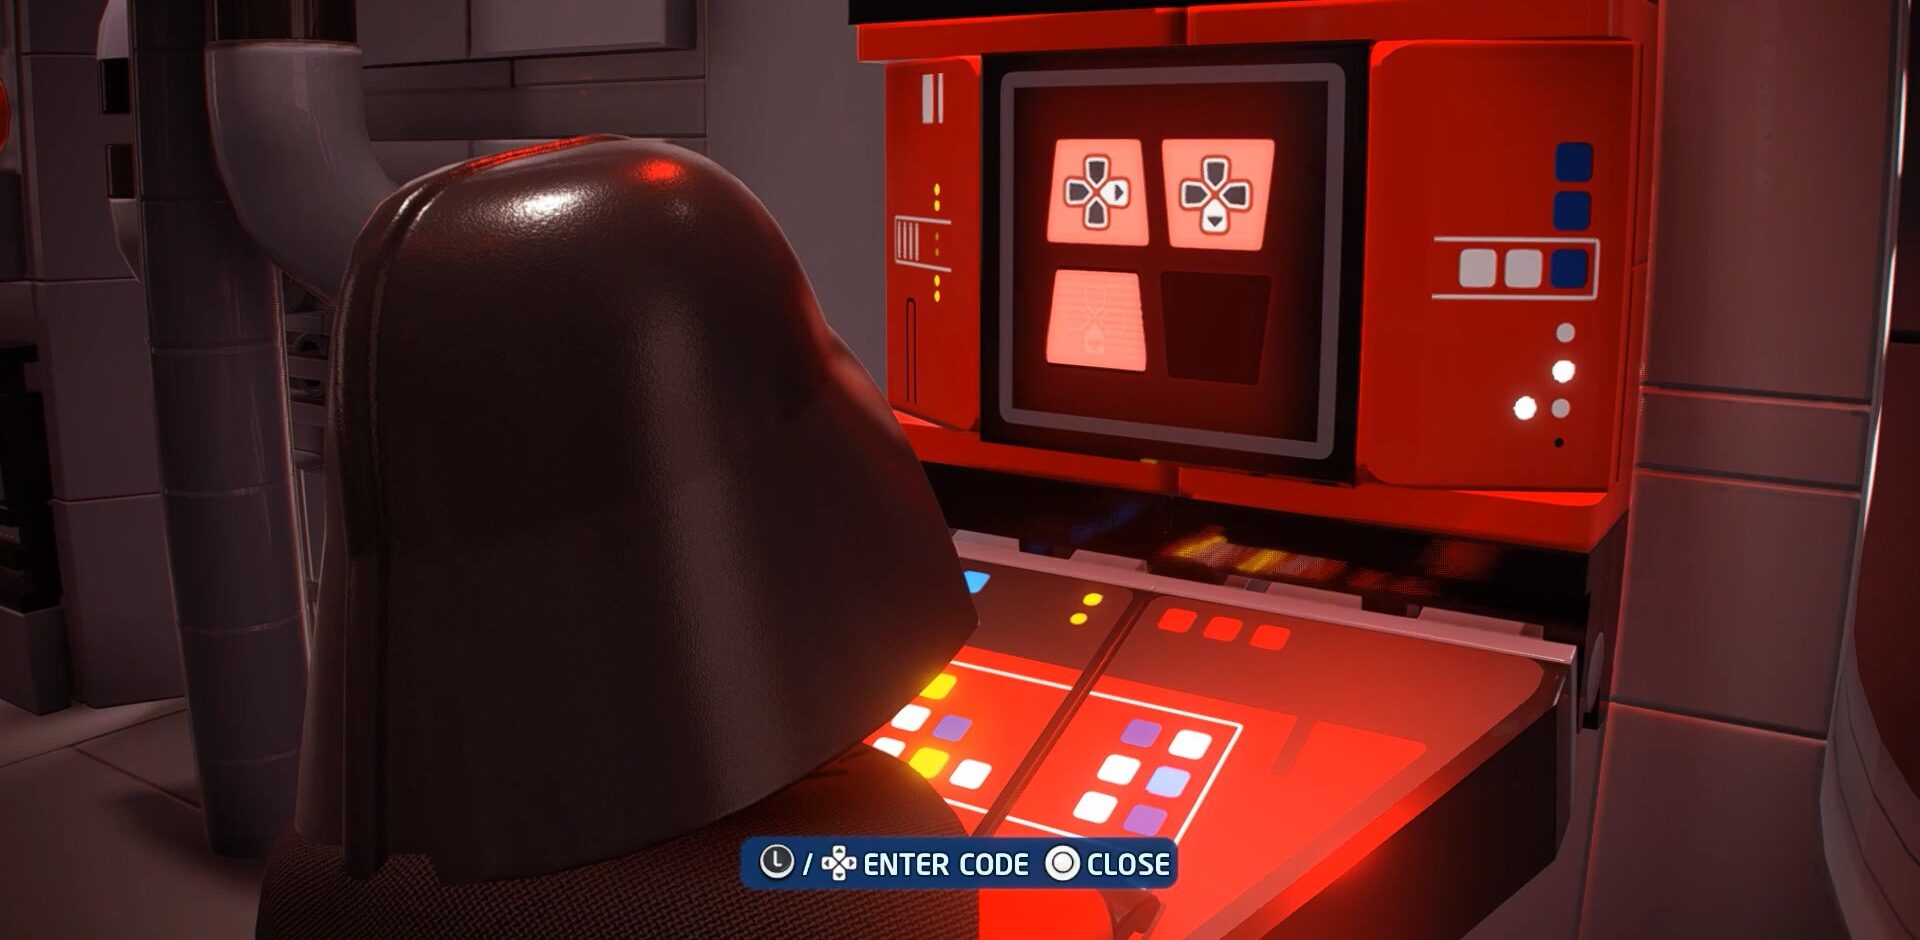
This is location of third Minikit of this mission
4rth Minikit is also collectible in the same fashion as the third one by activating the console.
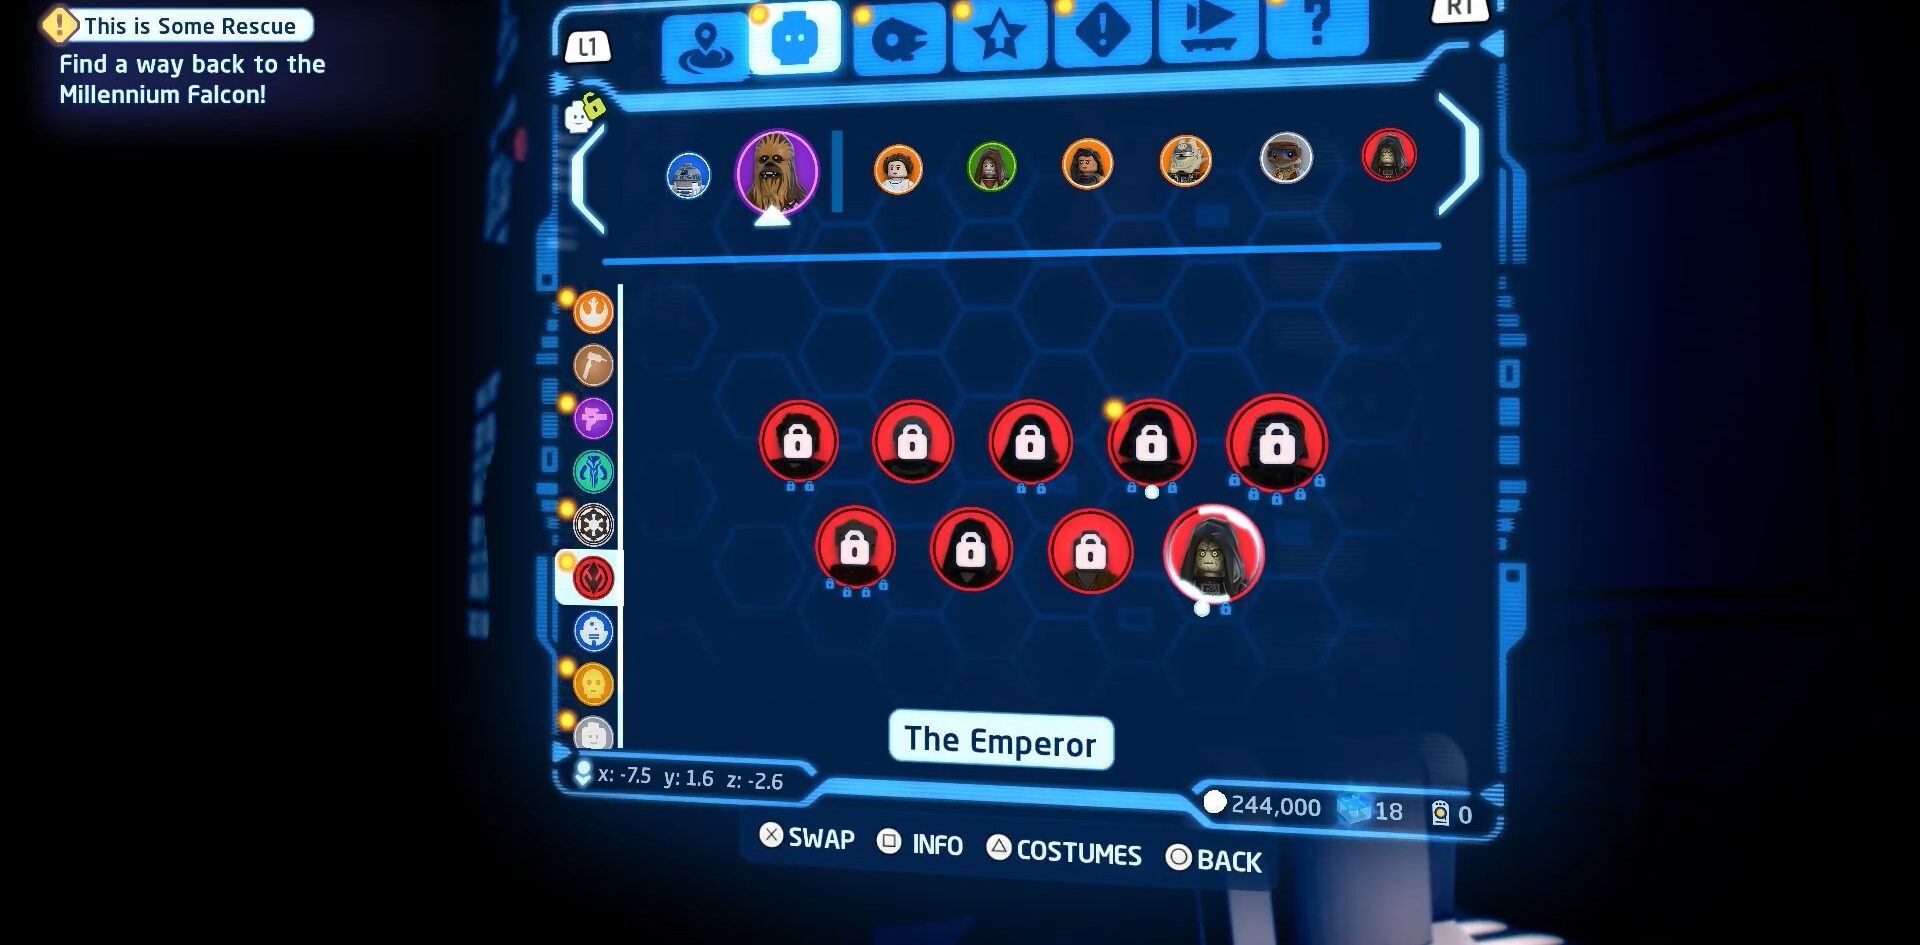
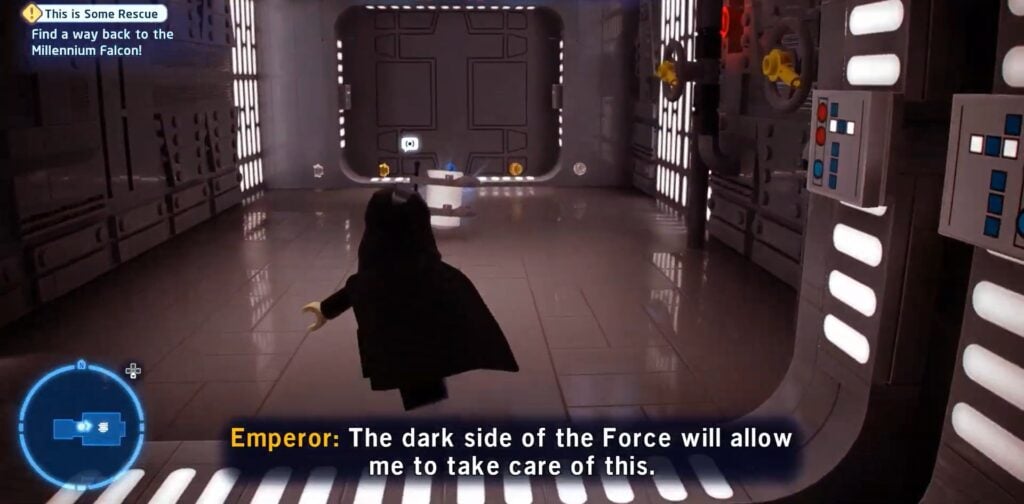
The Player has to go to the menu and he needs to choose a character from the dark side list named The Emperor who will collect some Minikits There might be one more Minikit than the expected number due to the characterwise listing system of Minikits.
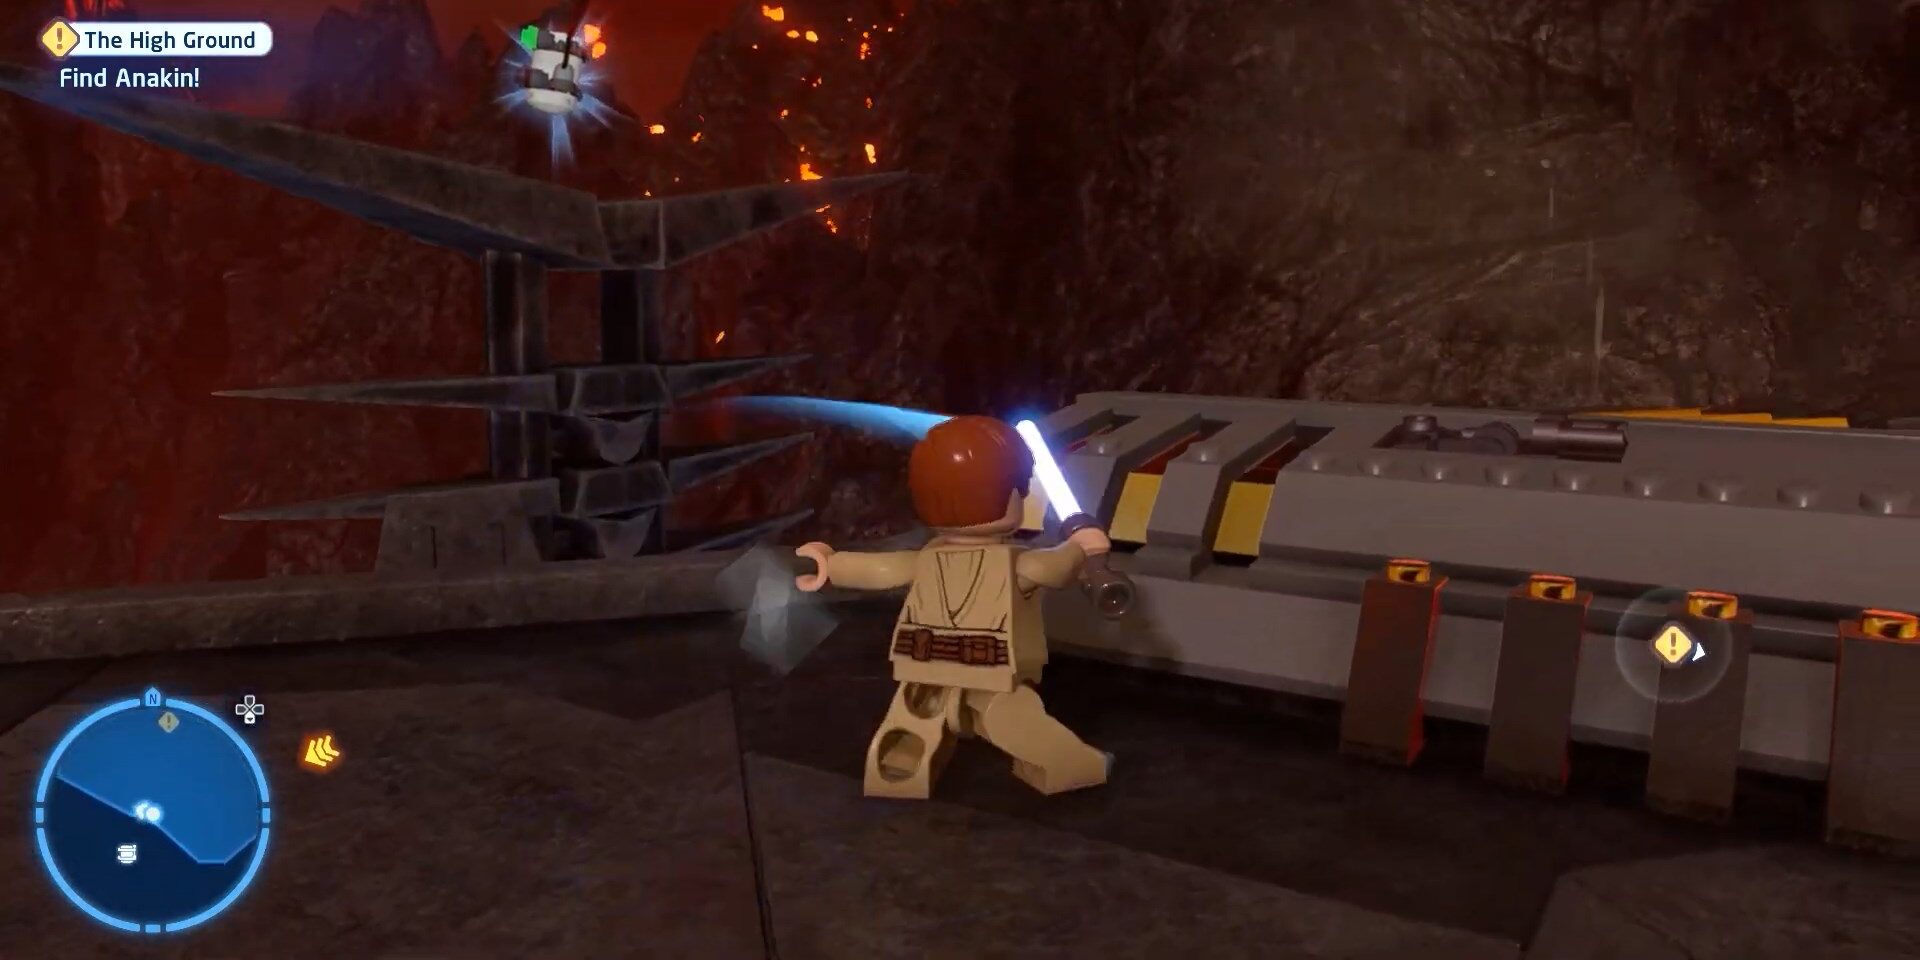
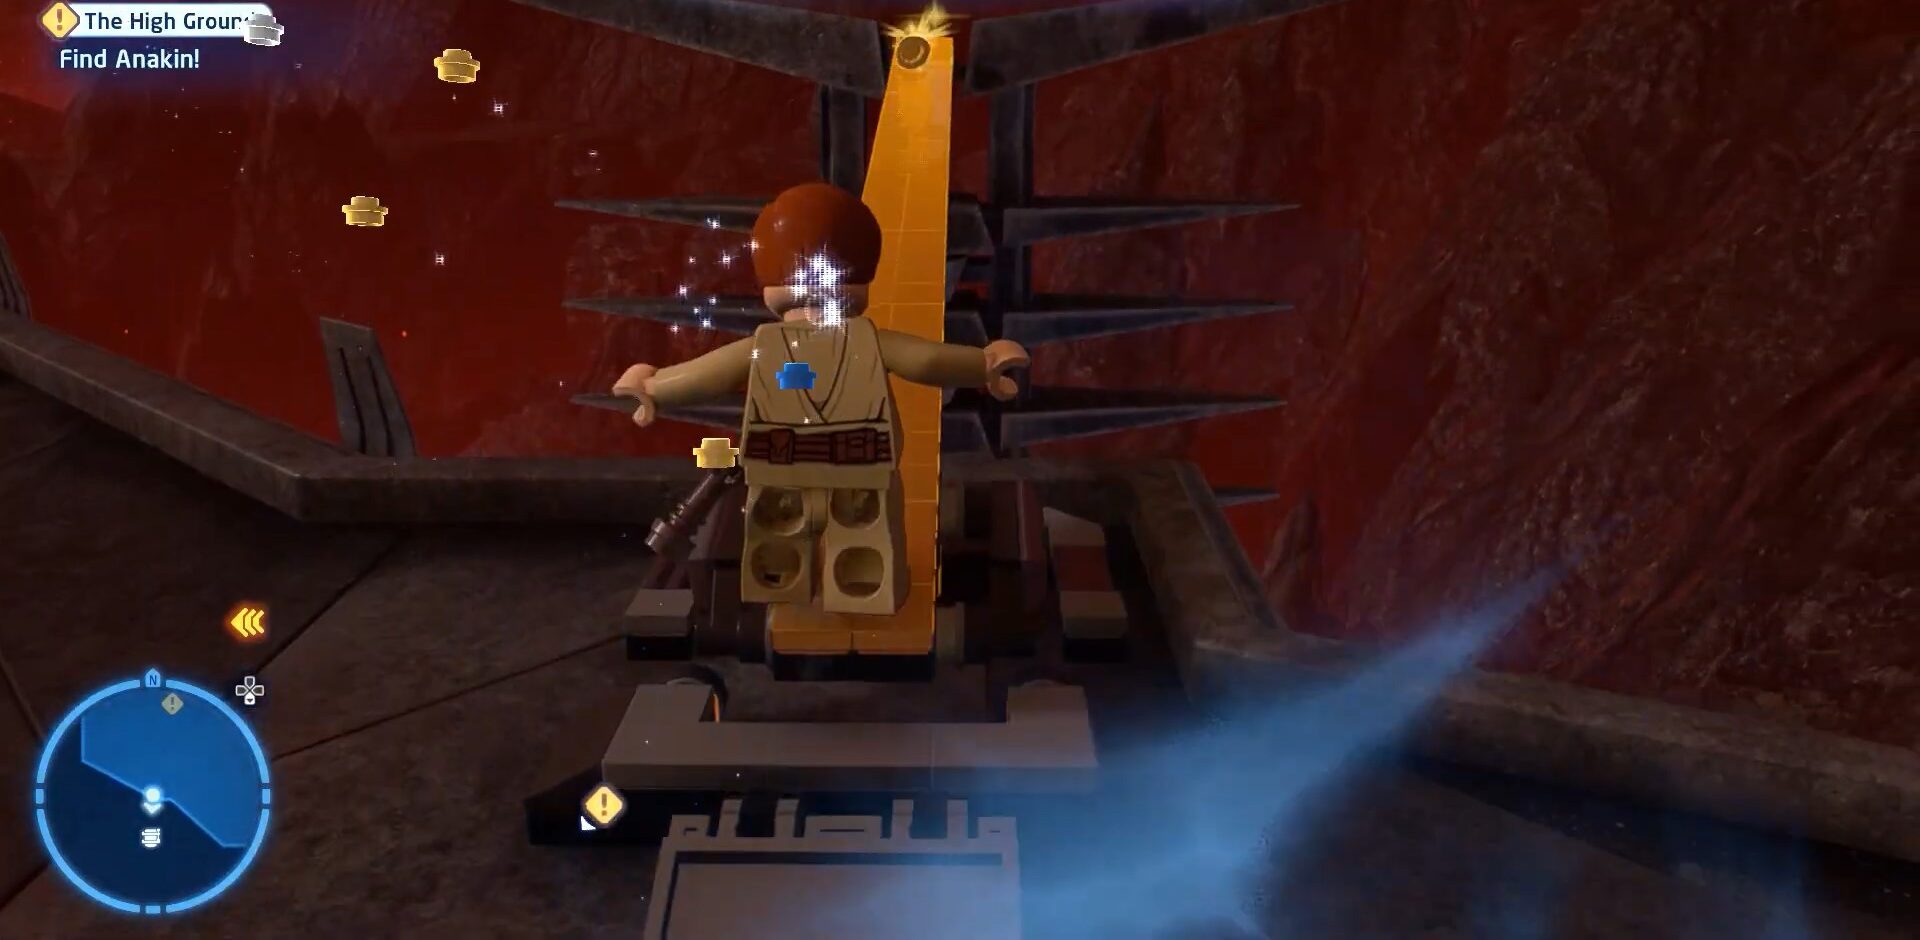
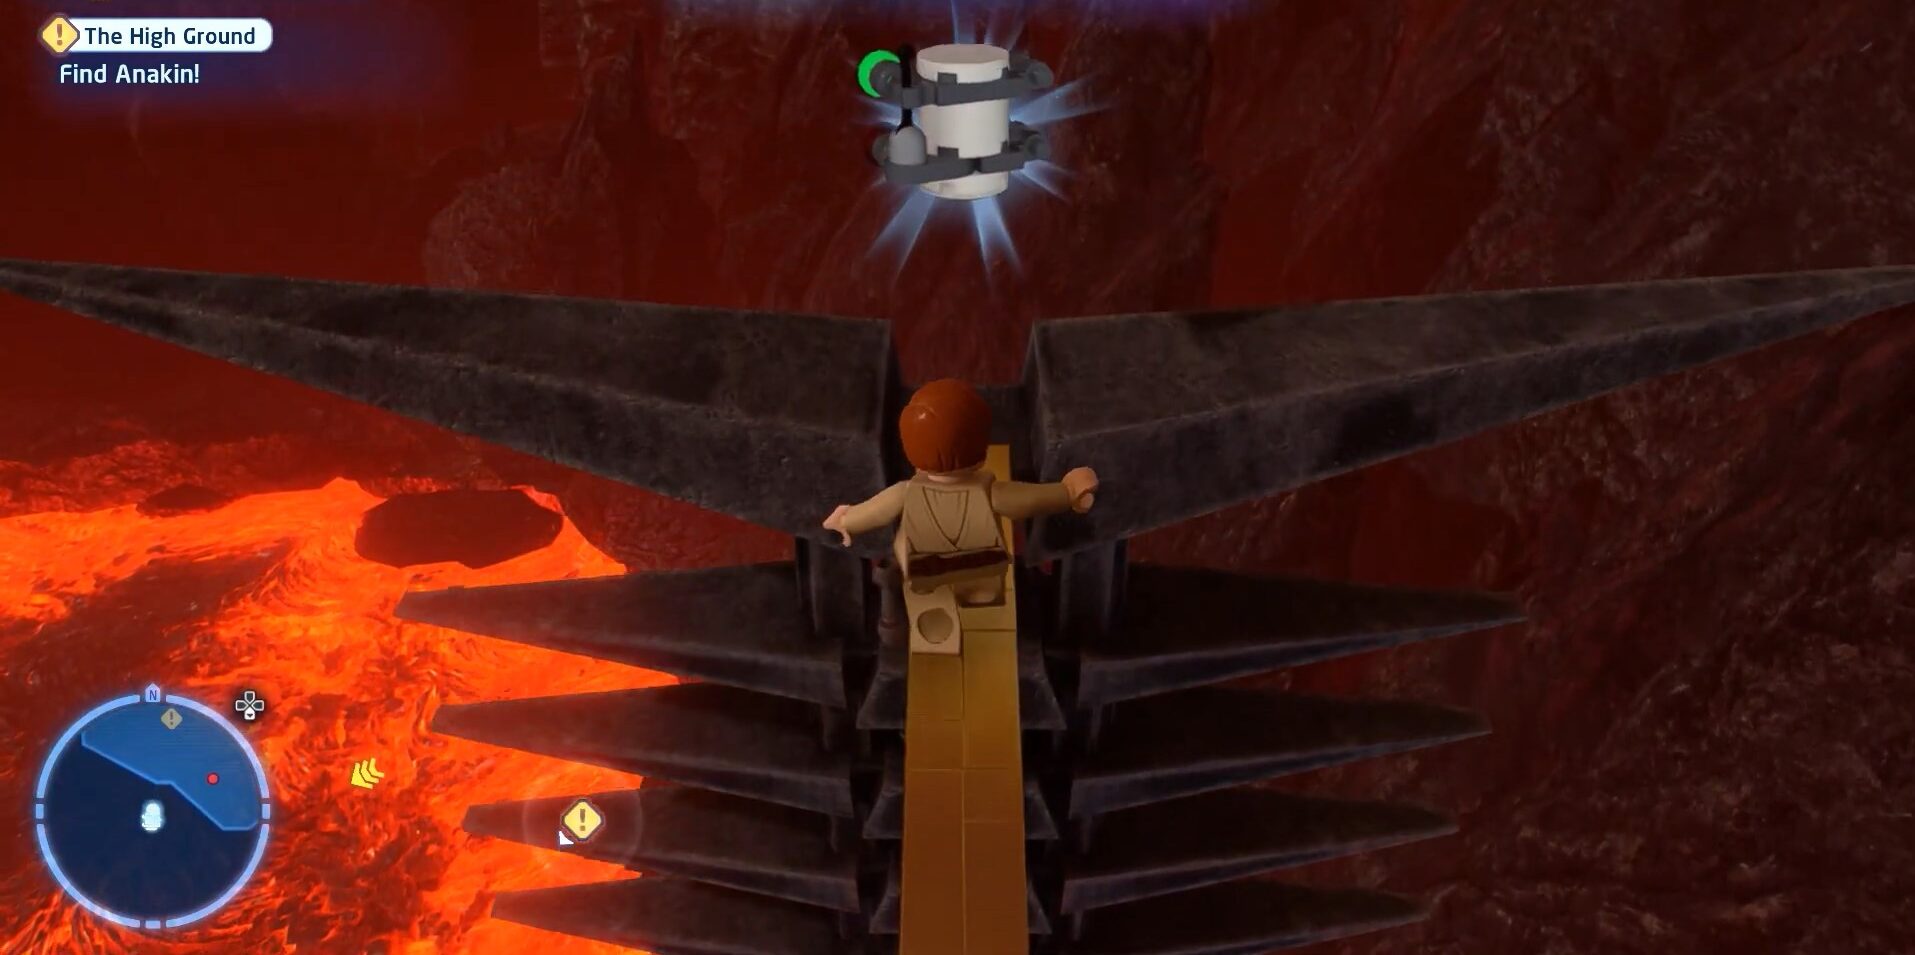
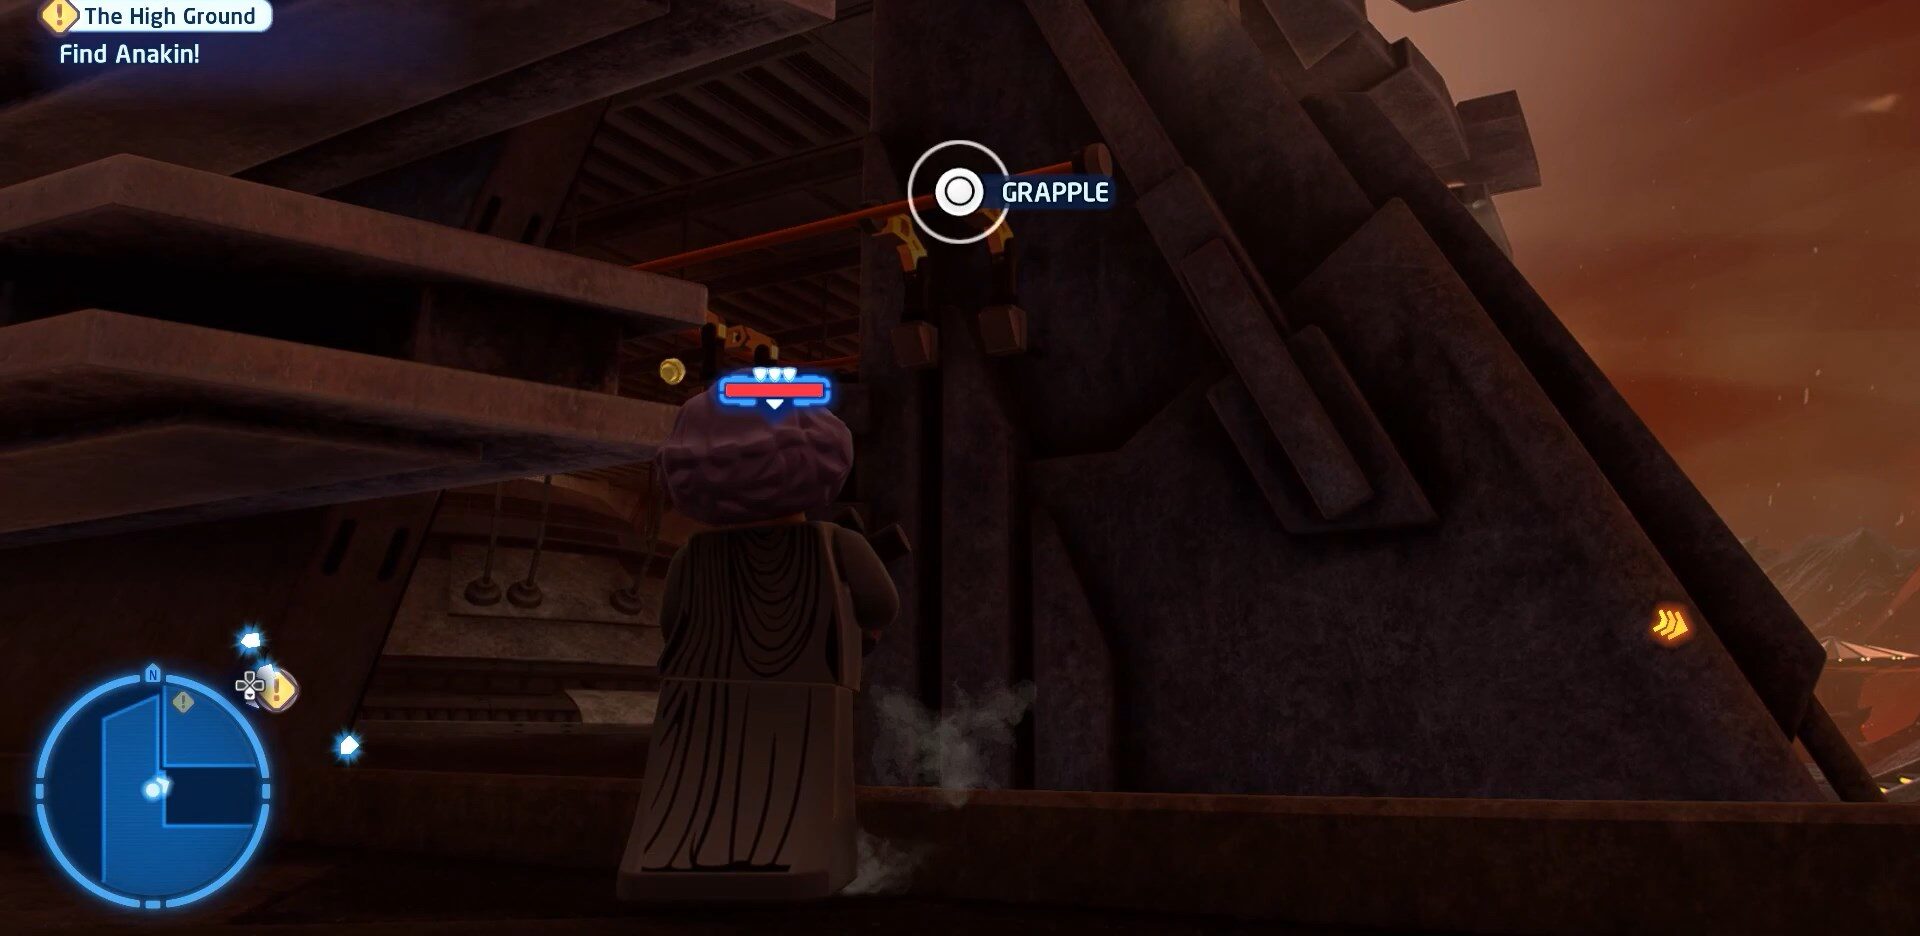
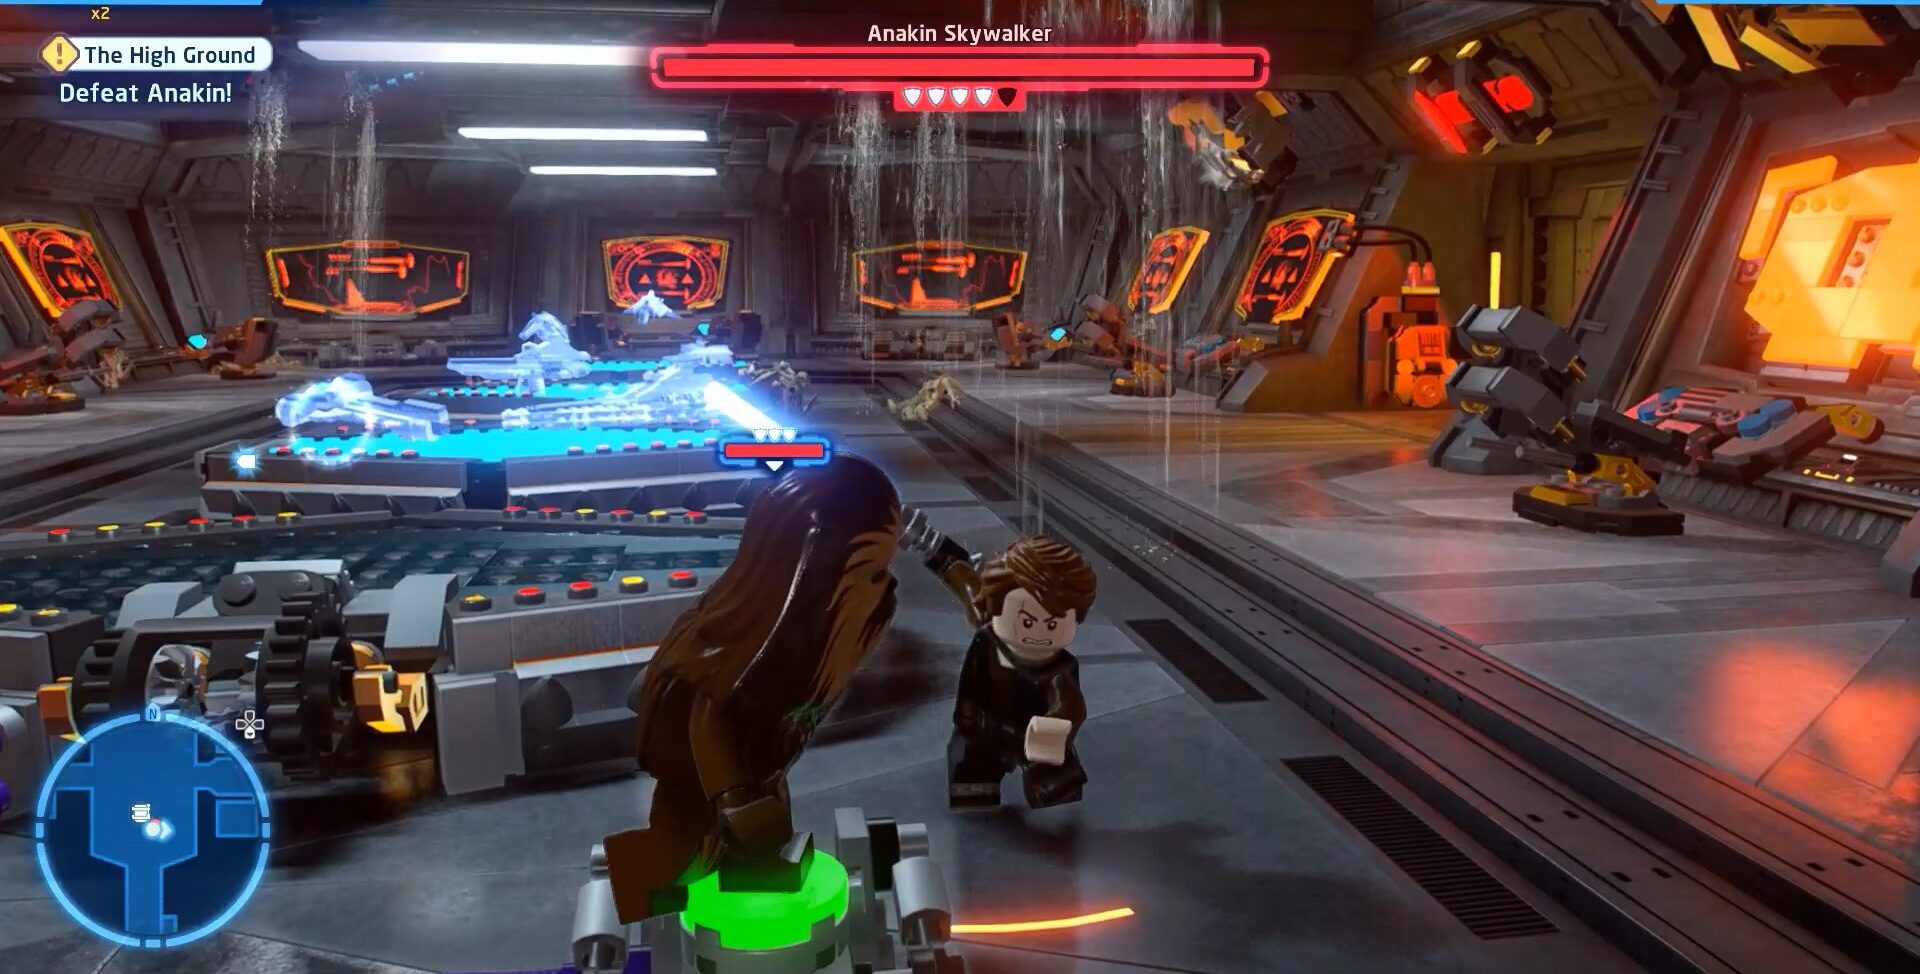
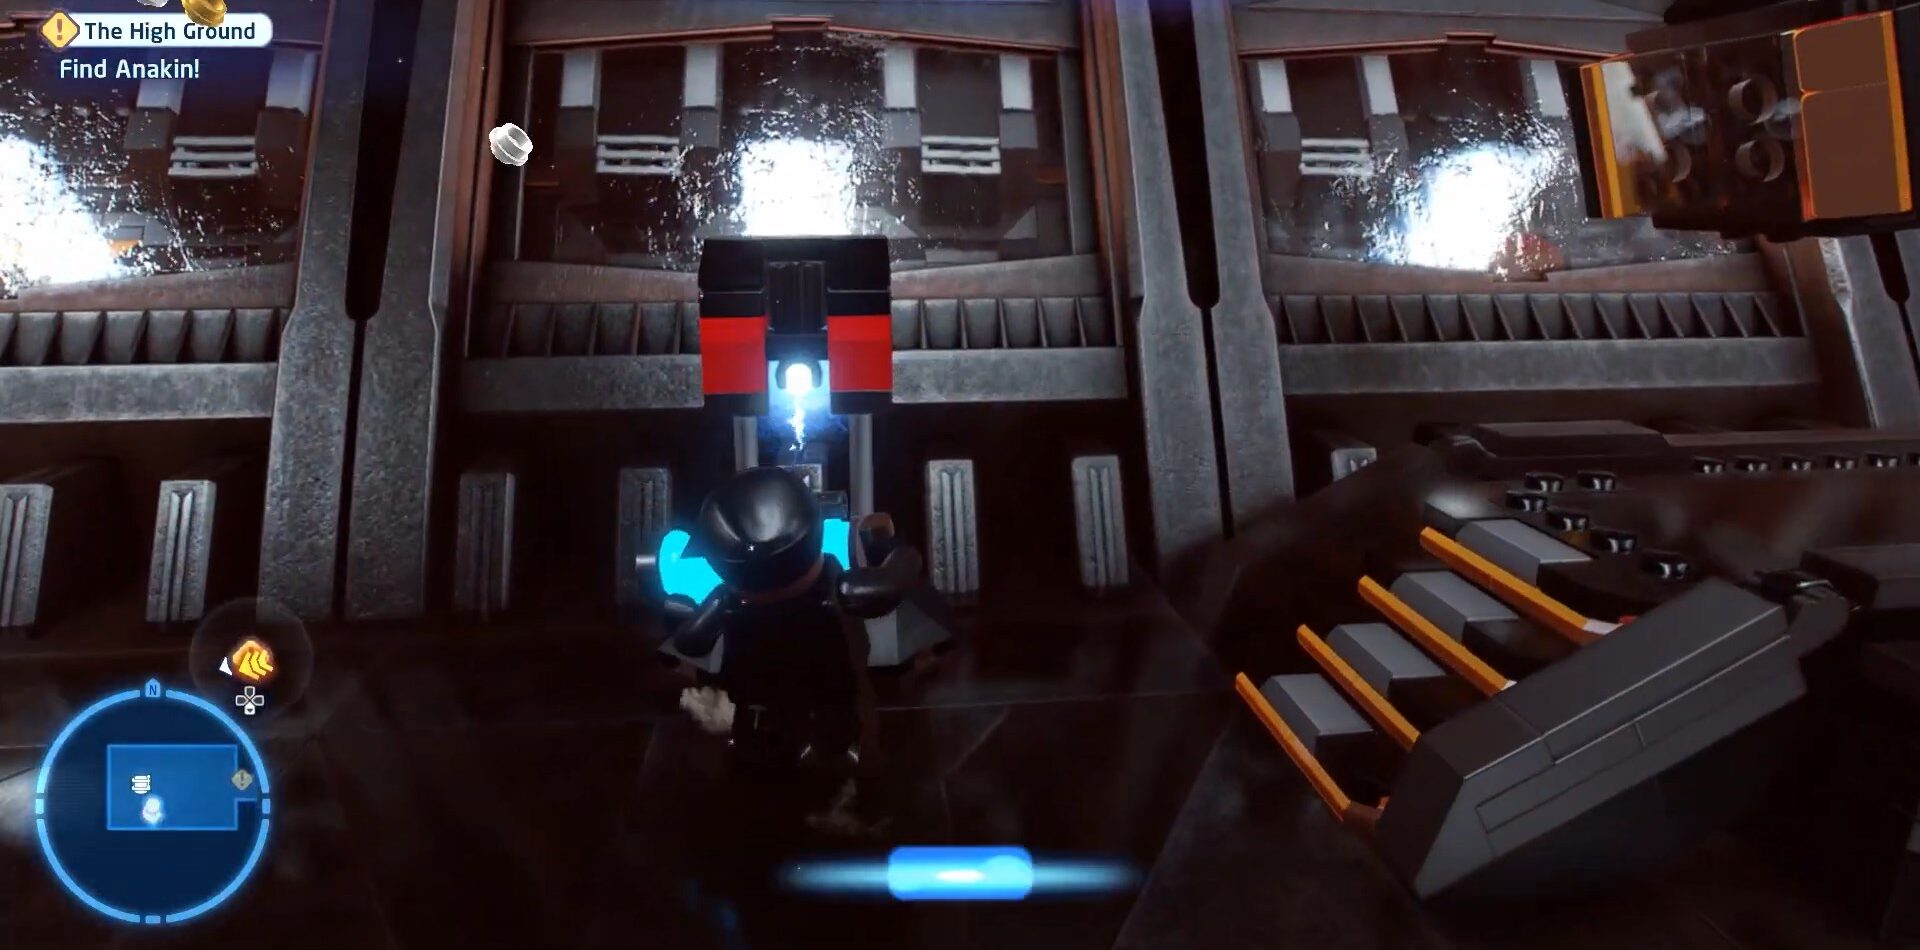
The High Ground
The High Groundis another very interesting mission to get five Minikits the place where this mission is located does look doomed an absolute hell.
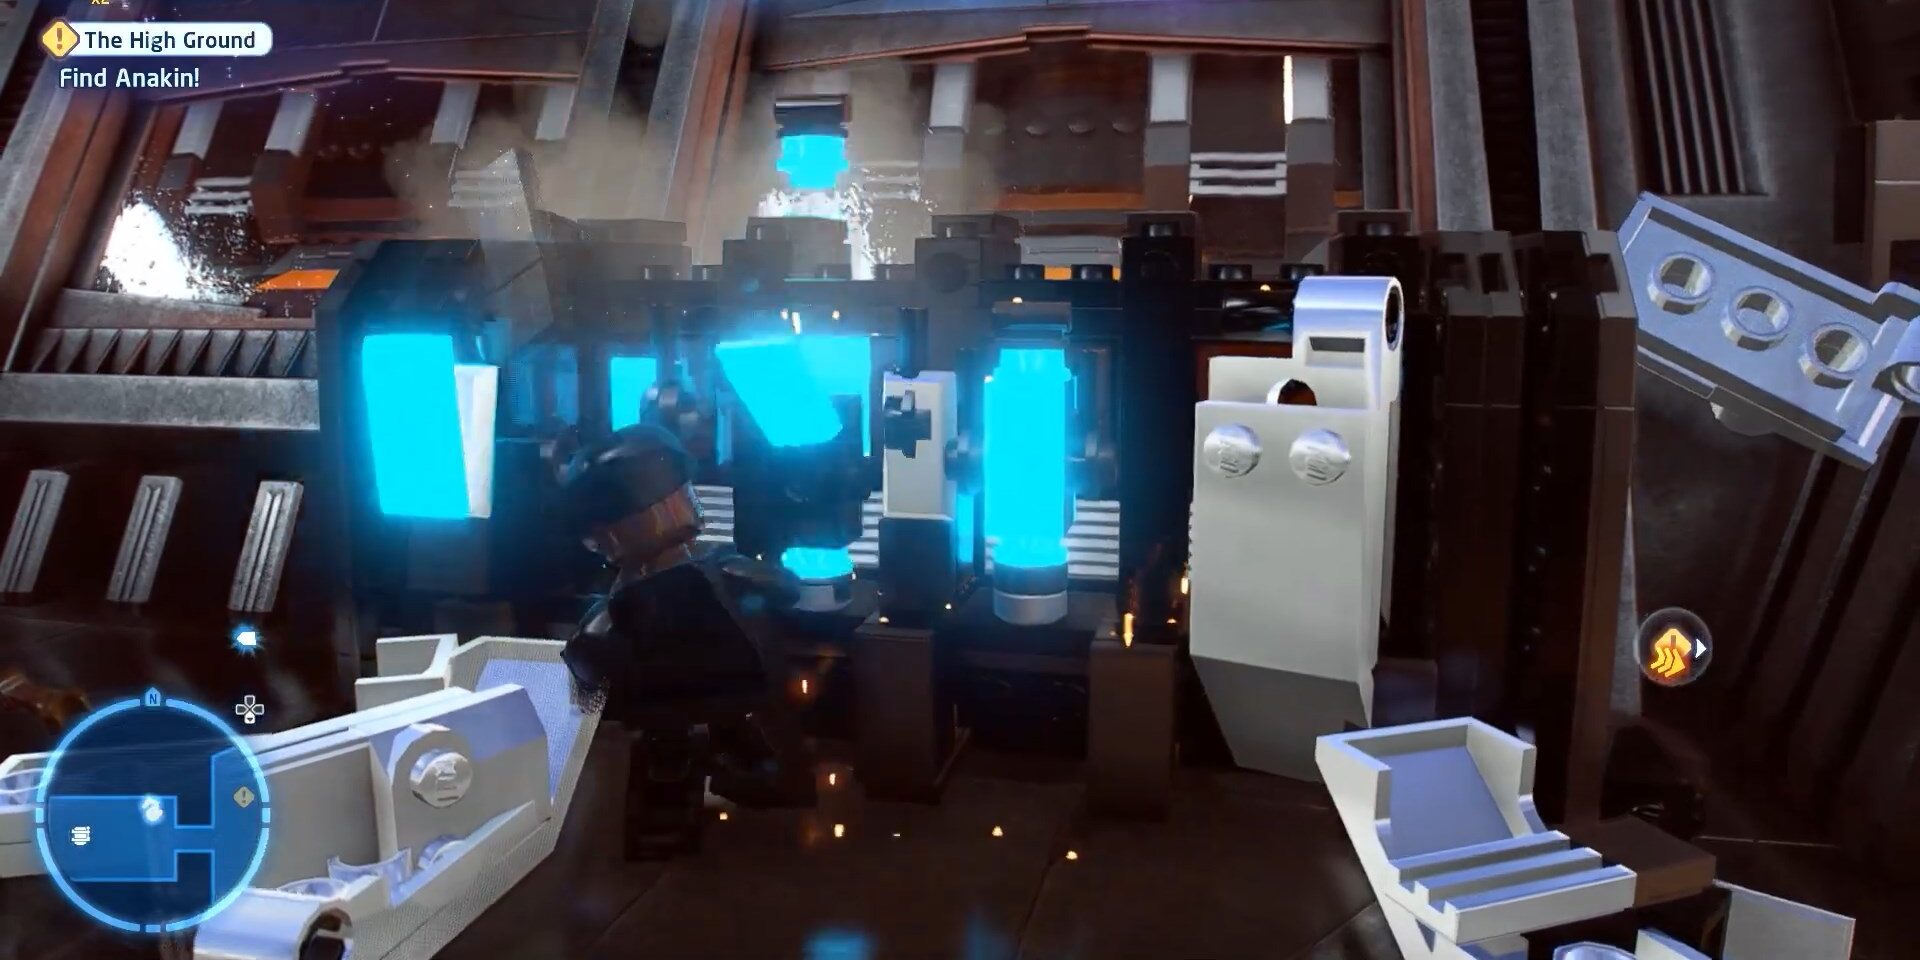
Getting the first Minikit is tricky because it is placed at some sort of iron made thing with a long height and has a space between itself and the base where the player is standing so we need something for the walk-through and luckily we have the option to get one by smashing some plastic built machinery with the sword which will create a way to the first Minikit. We have attached images below to make things look easy.
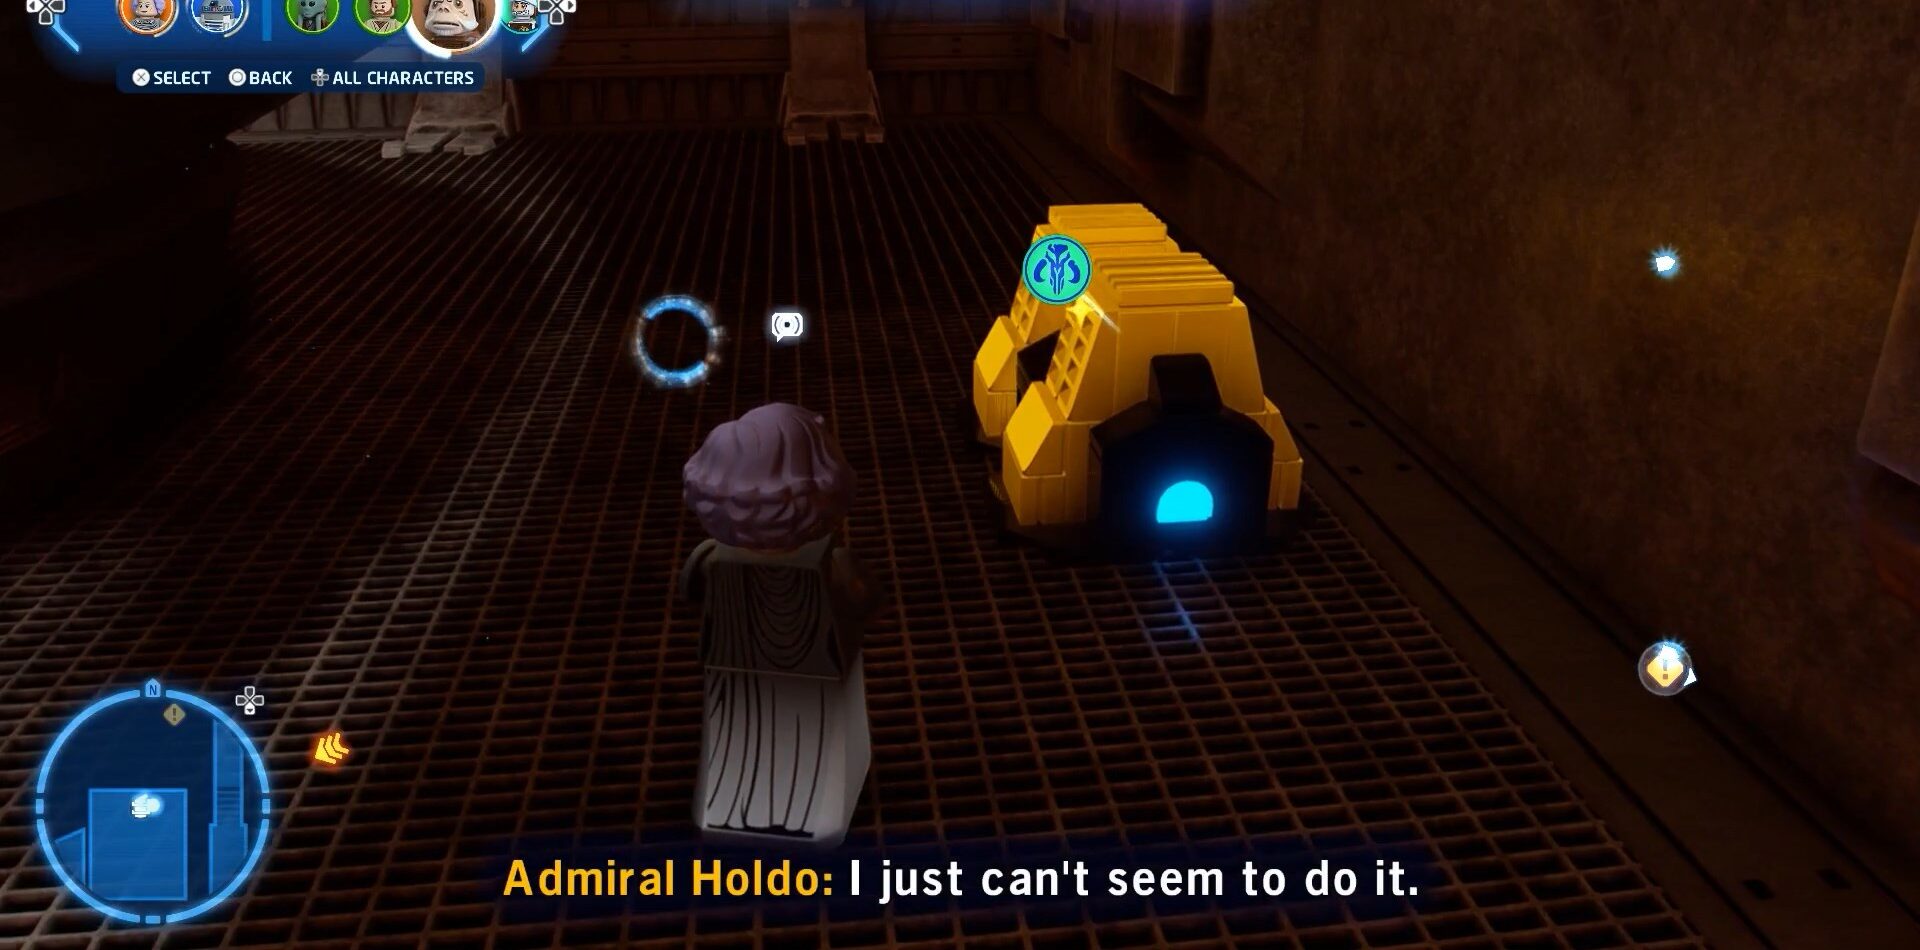
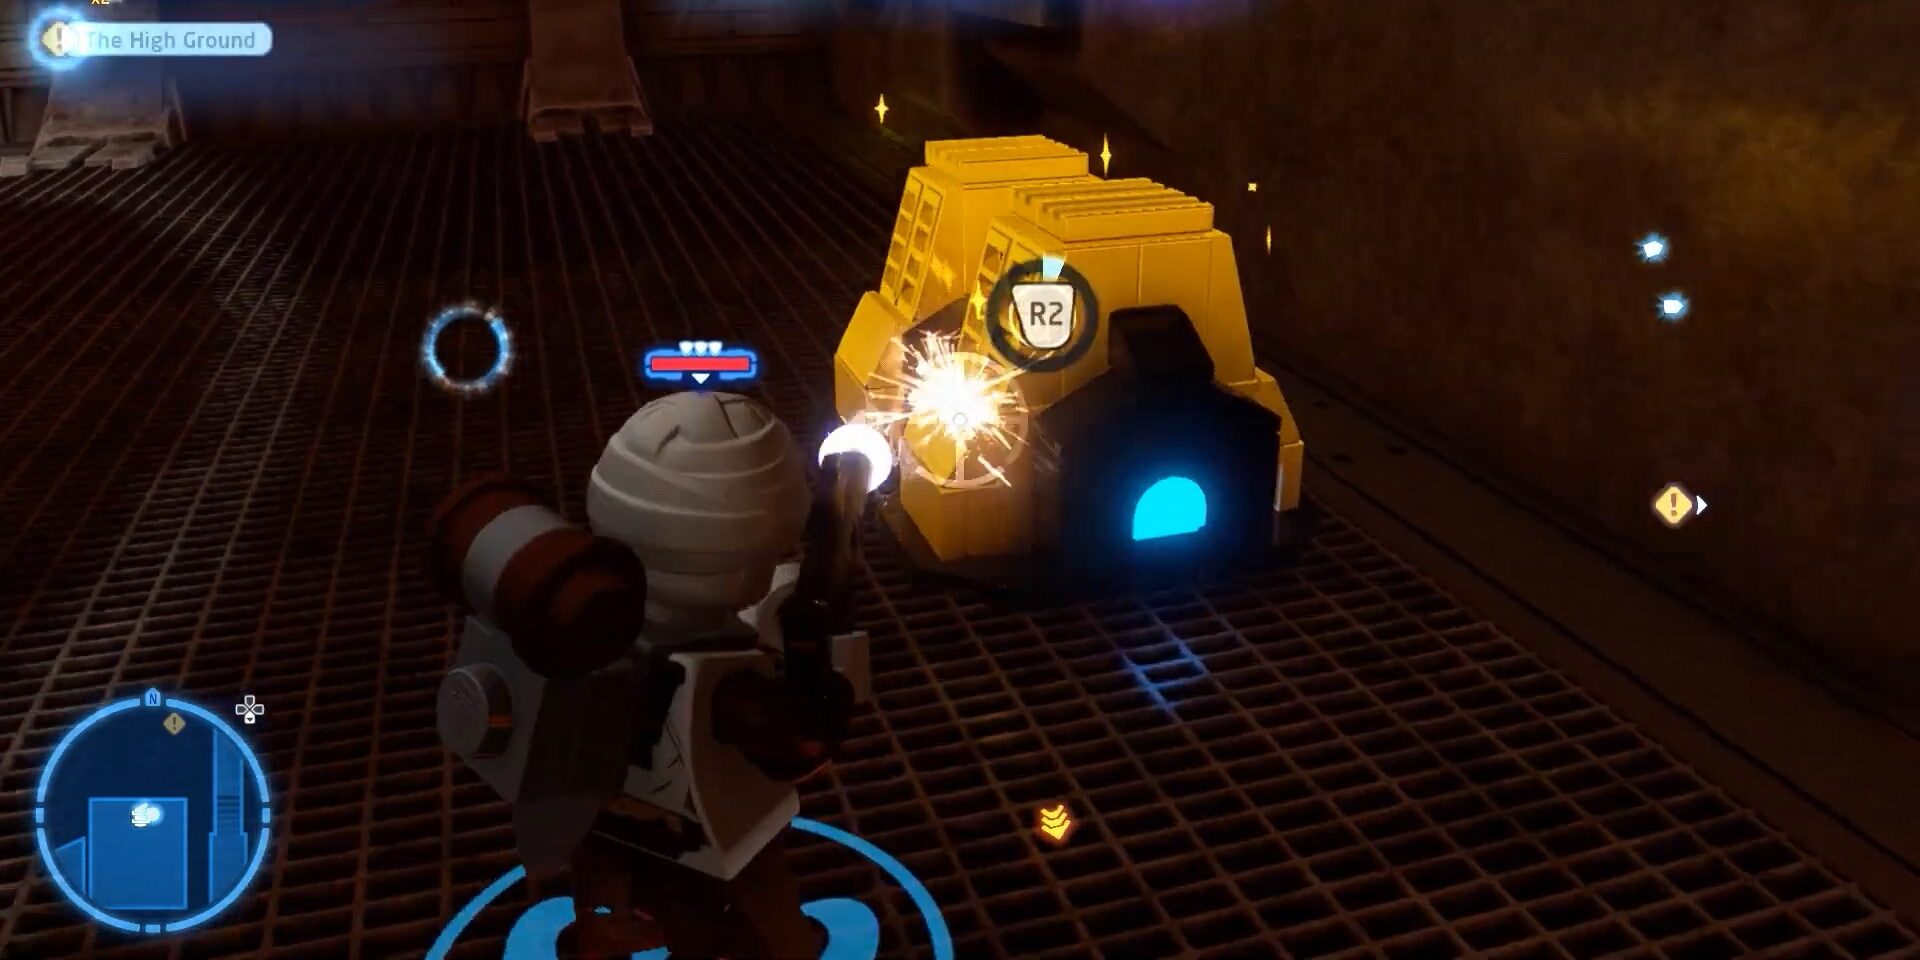
To get the second Minikit to change the character to Admiral Holdo and jump towards a factory-like place by using a grip to walk in there change the character again to destroy something which Admiral Holdo couldn’t there for use changed the character on first place
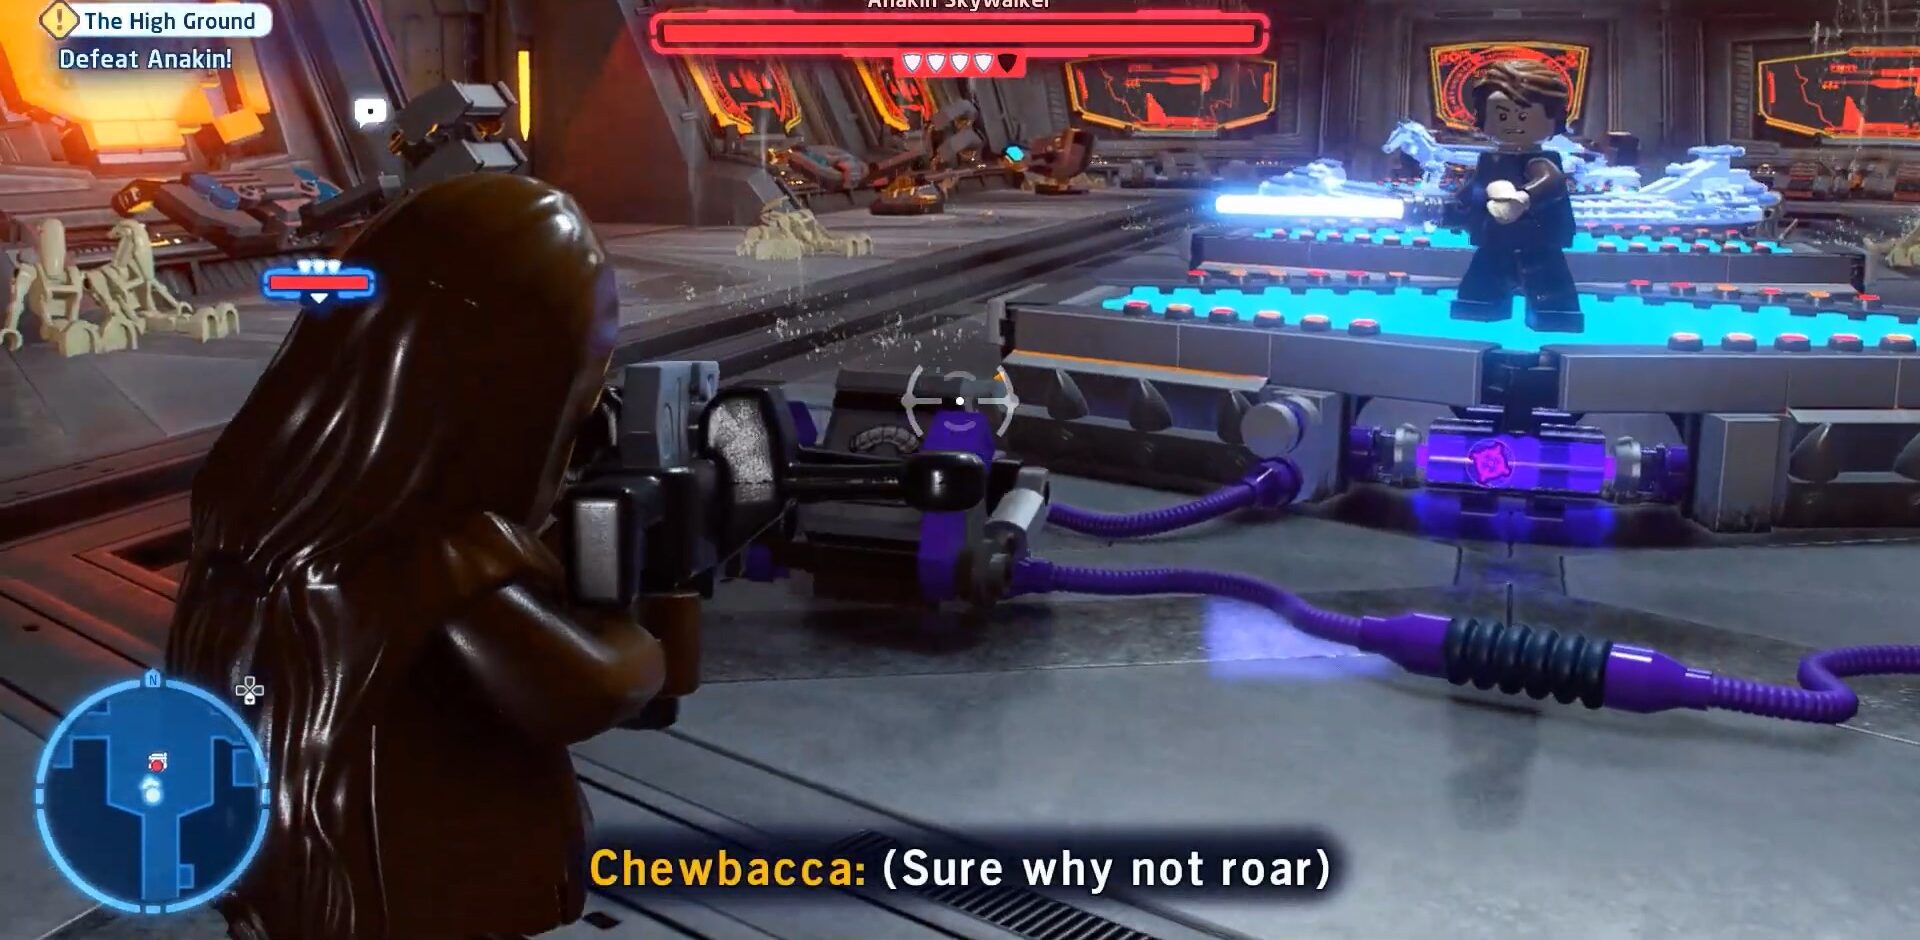
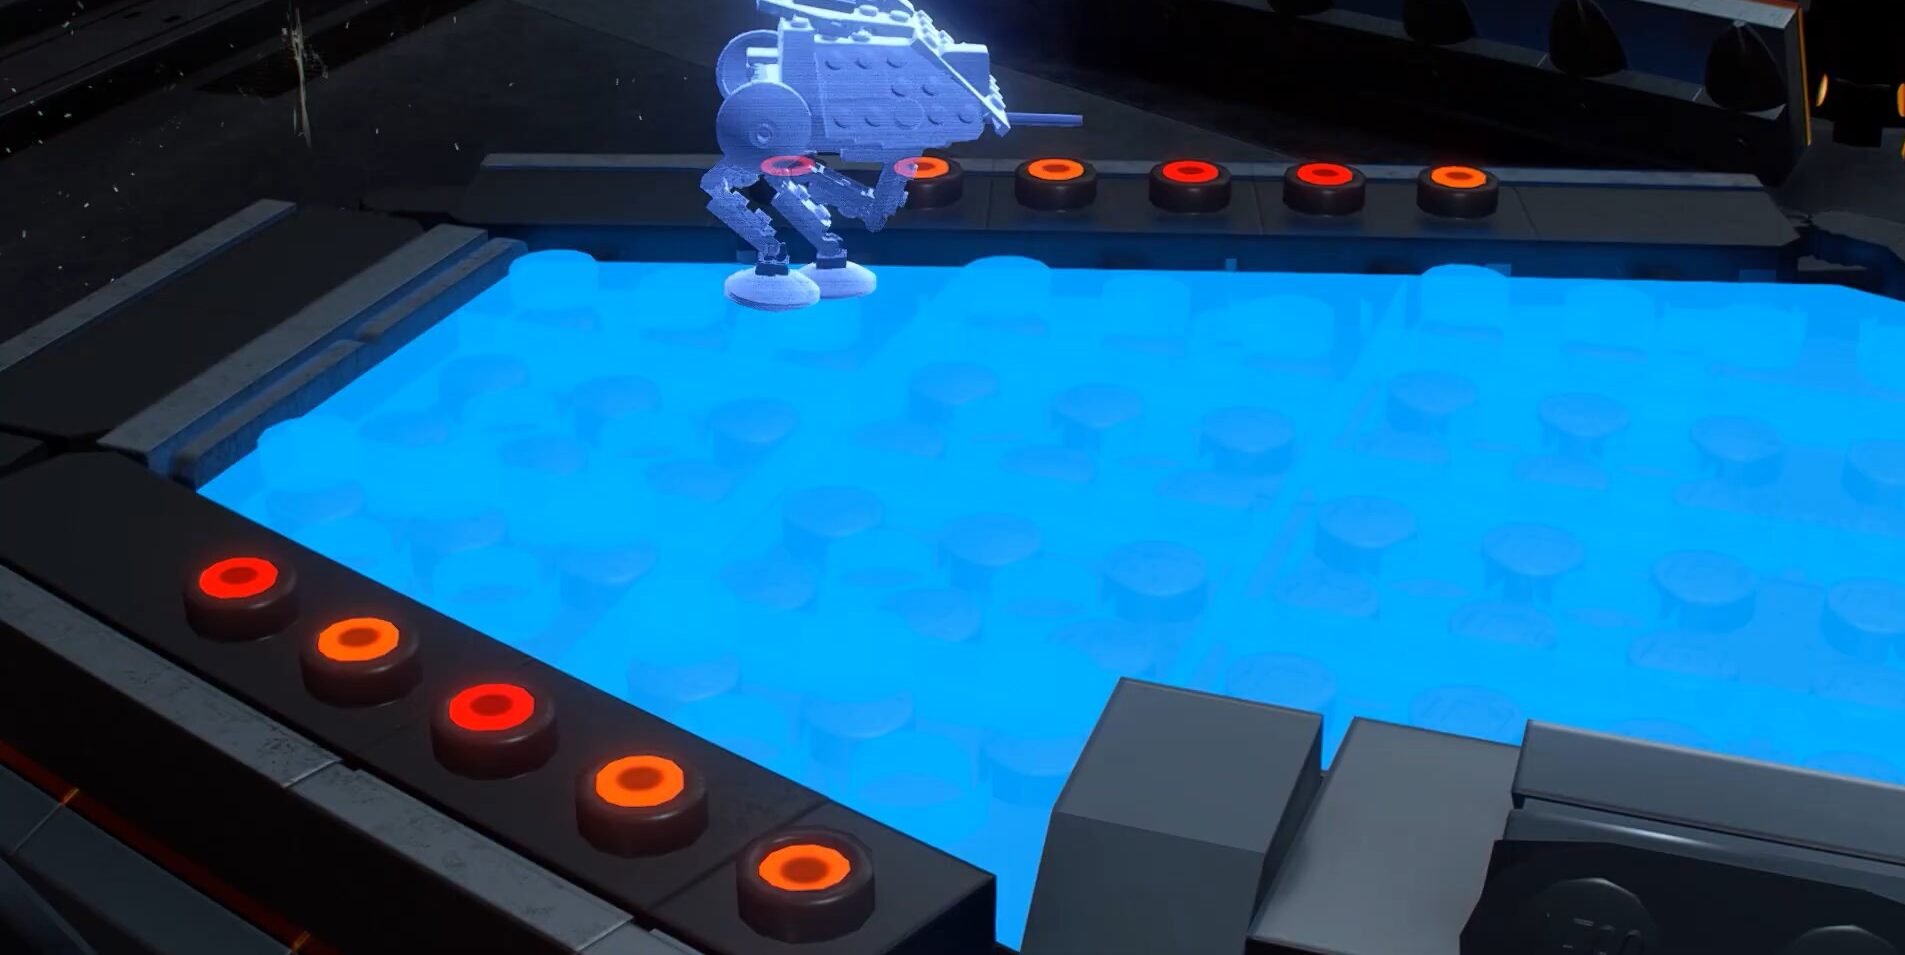
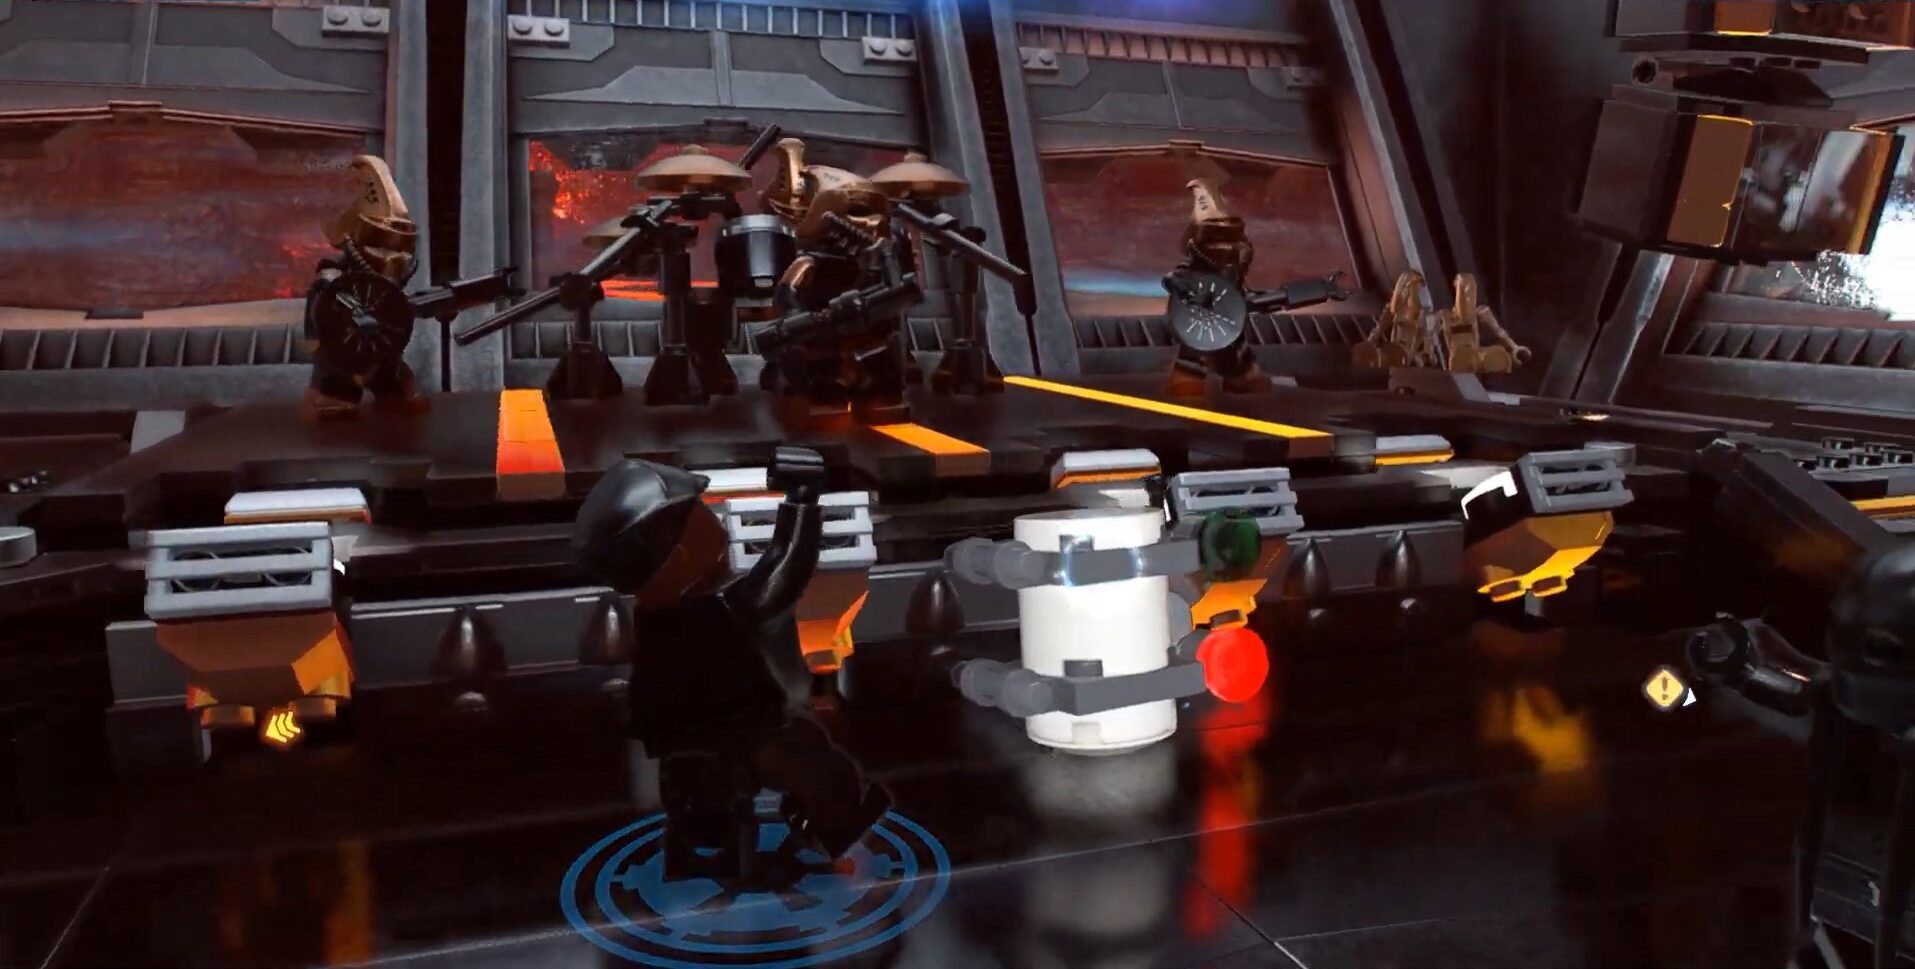
For Getting third Minikit scene takes place inside the place where the player needs to change a character to Chewbacca and shoot at the blue color channel of wires and small devices than standing on them will turn them green as a result of that Minikit will appear in another light blue near a place. Chewbacca has to fight there with the enemy also. We have attached pictures below to make it easy.
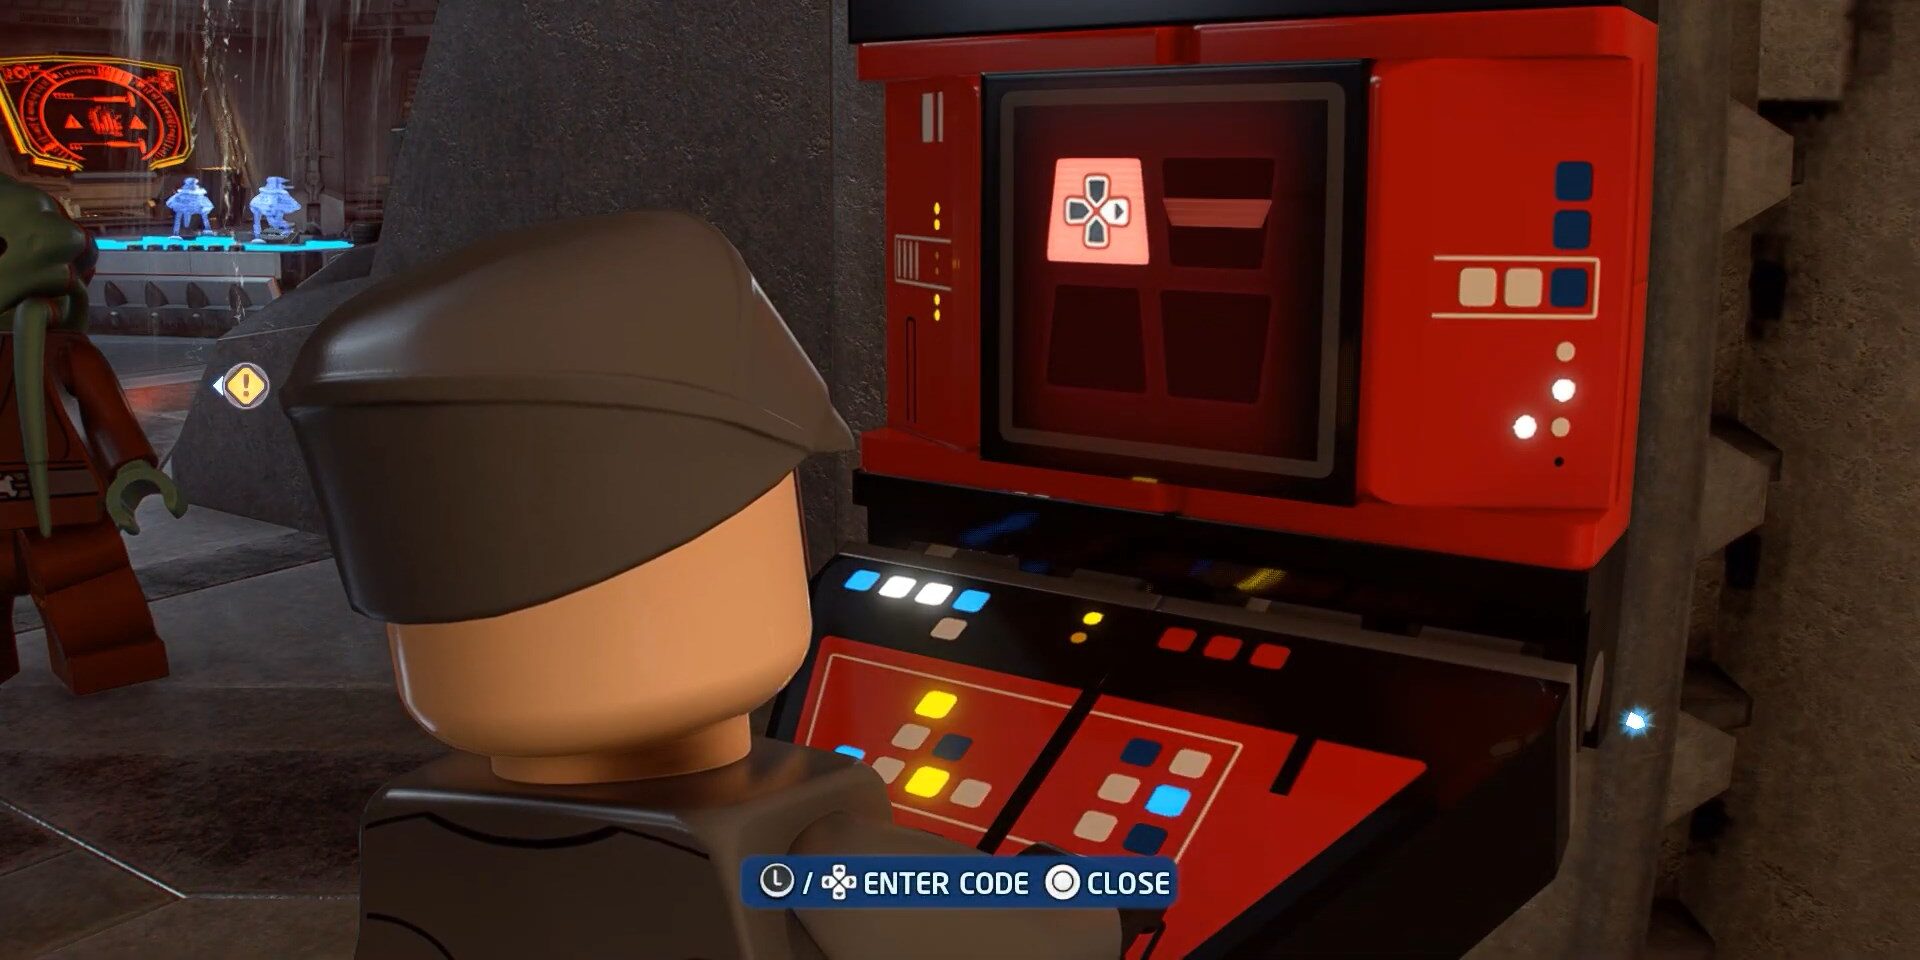
Fourth Minikit is behind a locked door in a big music hall we have to bring who can open the locked door here we will bring one of the empire soldiers to do it as well as other stuff in getting the Minikit. We have attached images of all of it below to understand more easily.
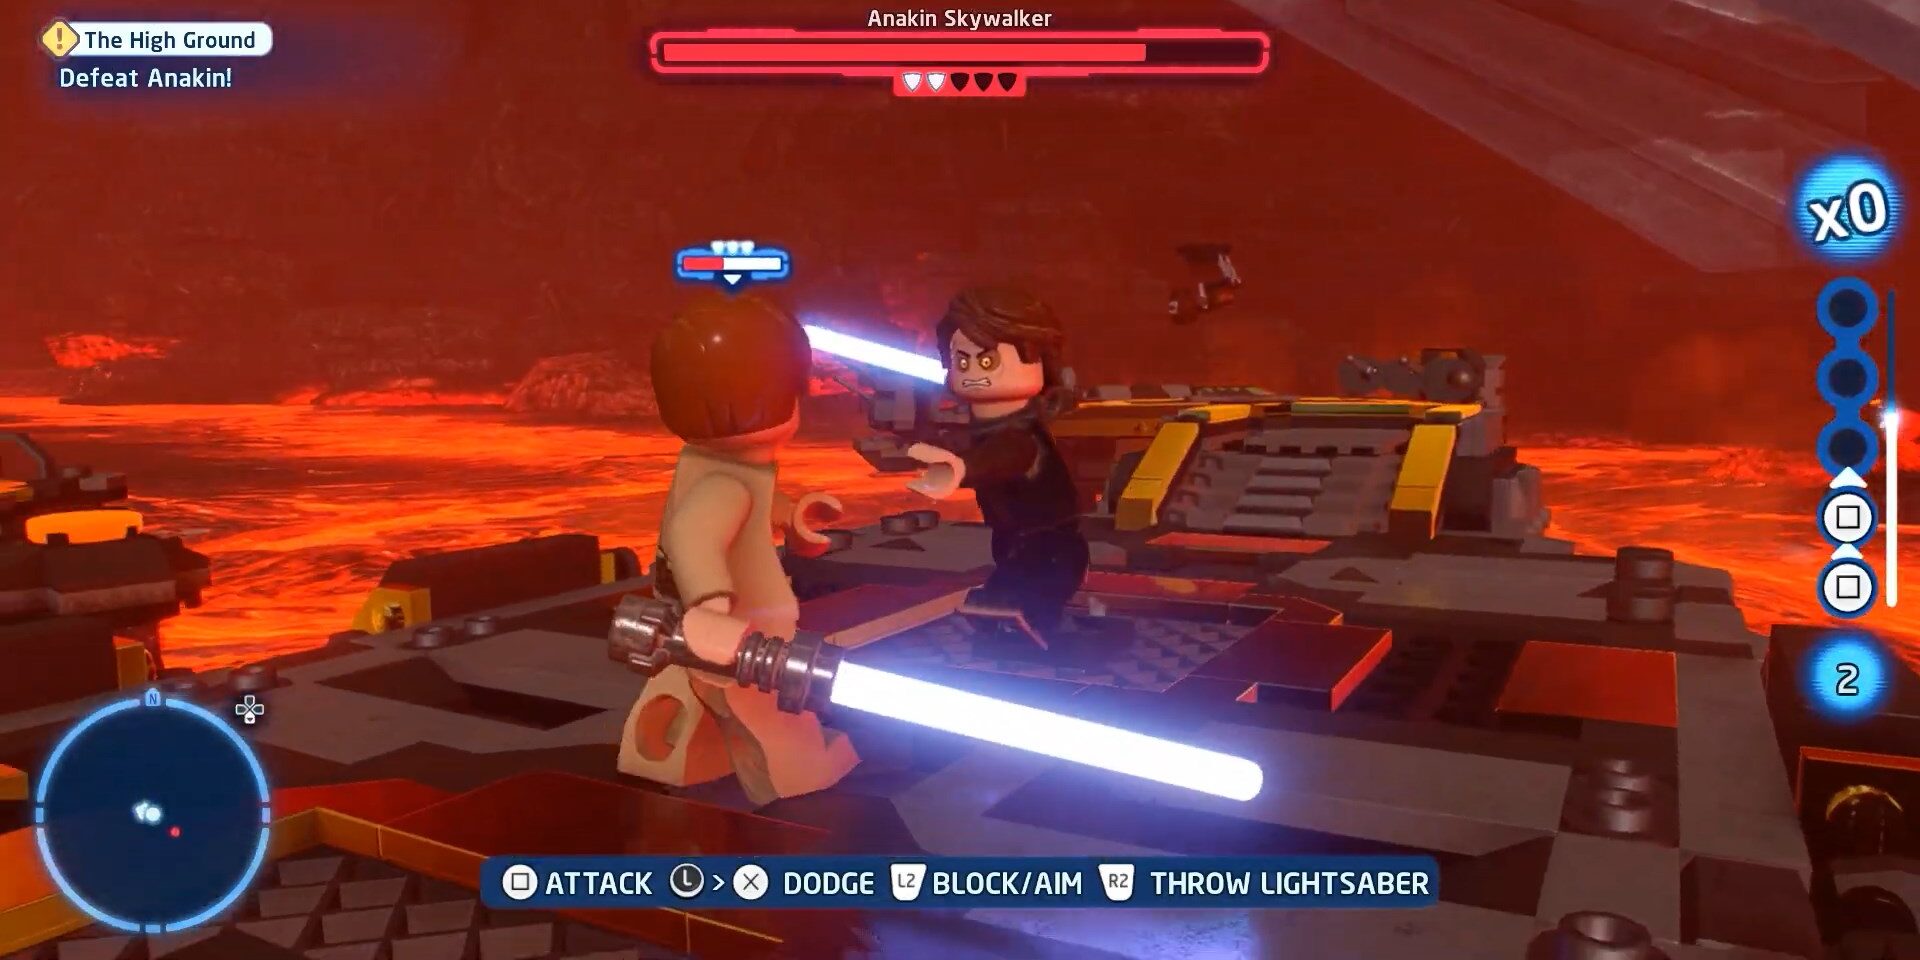
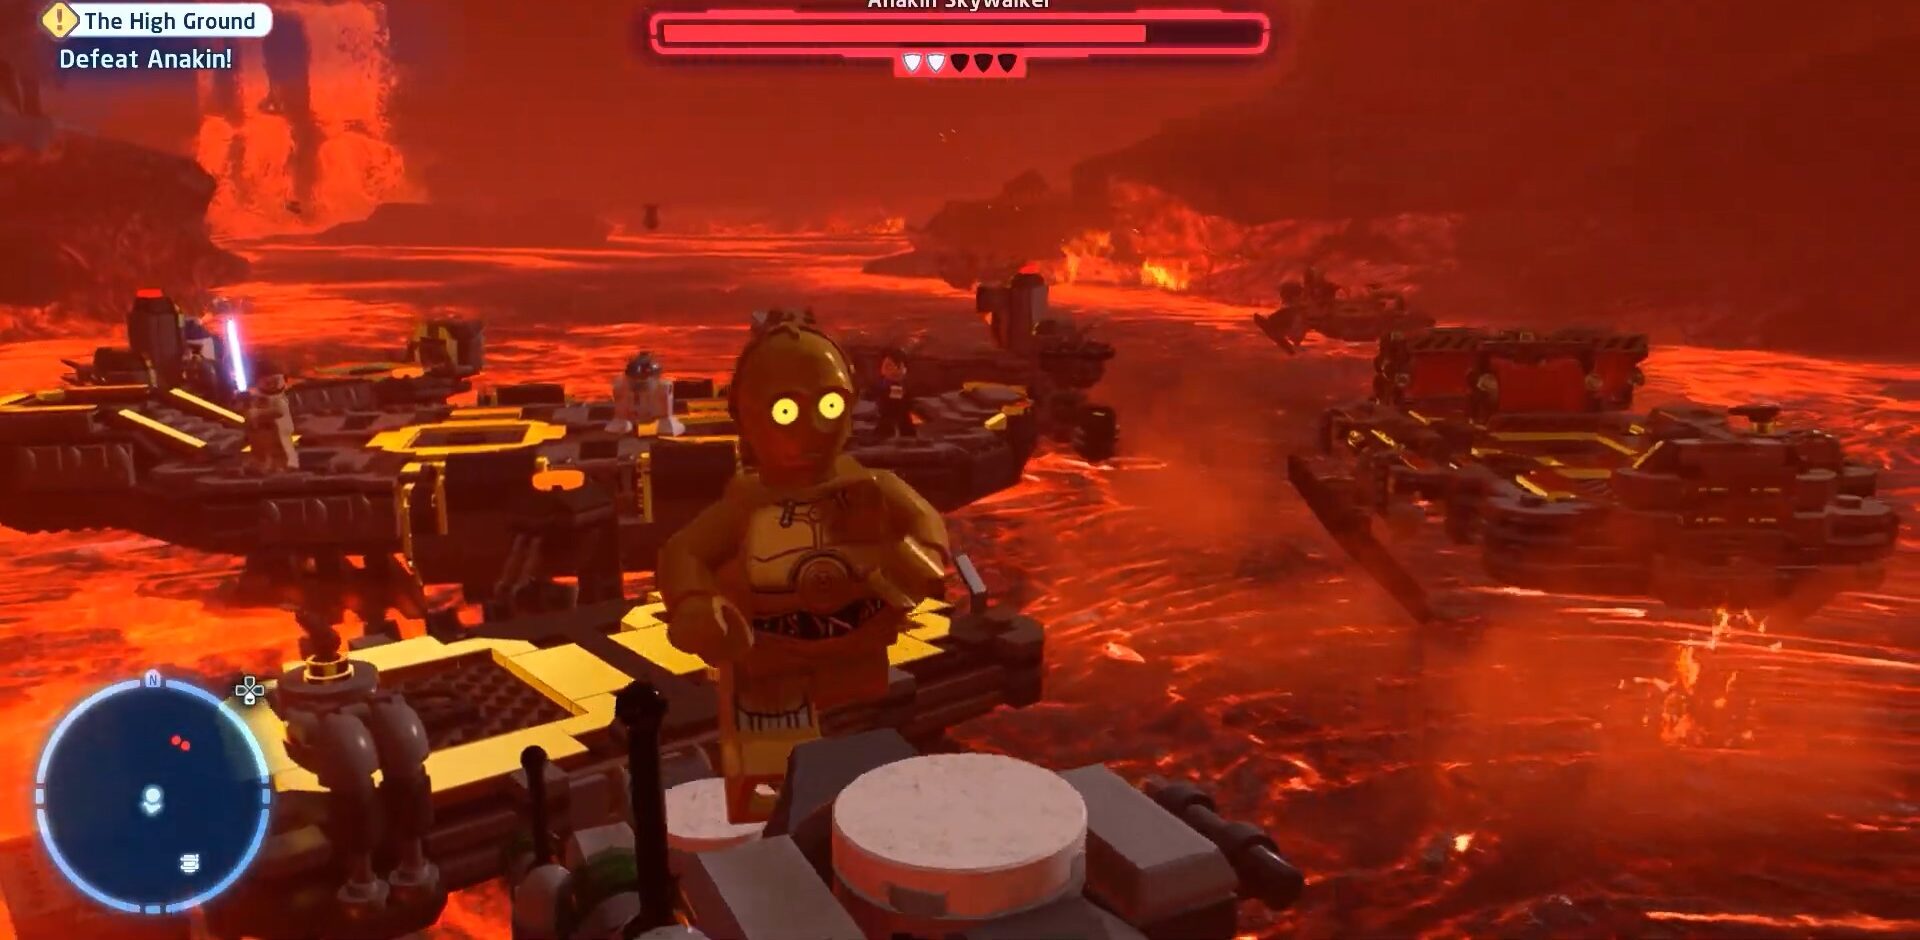
There are multiple things going on at the stage of getting the final Minikit of this mission such as the first to fight with Anakin Skywalker but what will earn you the final Lego Star Wars The Skywalker Saga Minikit location is difficult jumping of 3PO. Check the images below for guidance.
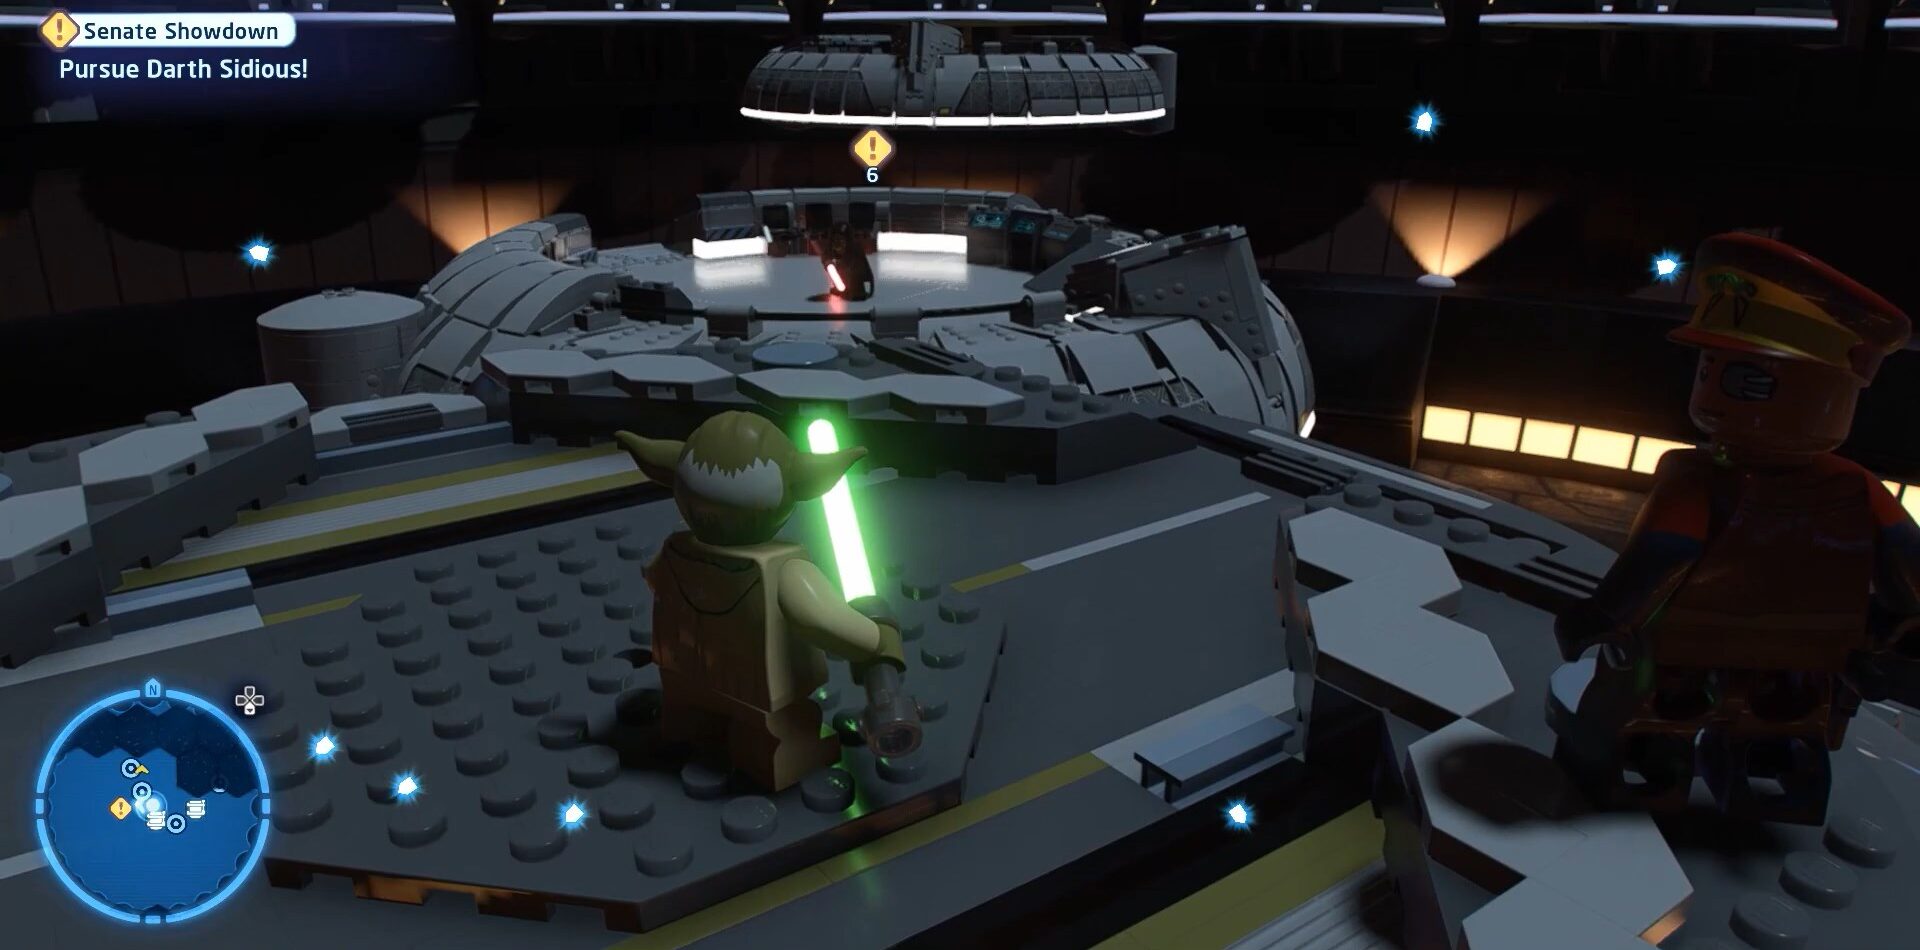
Senate Showdown Minikits Locations
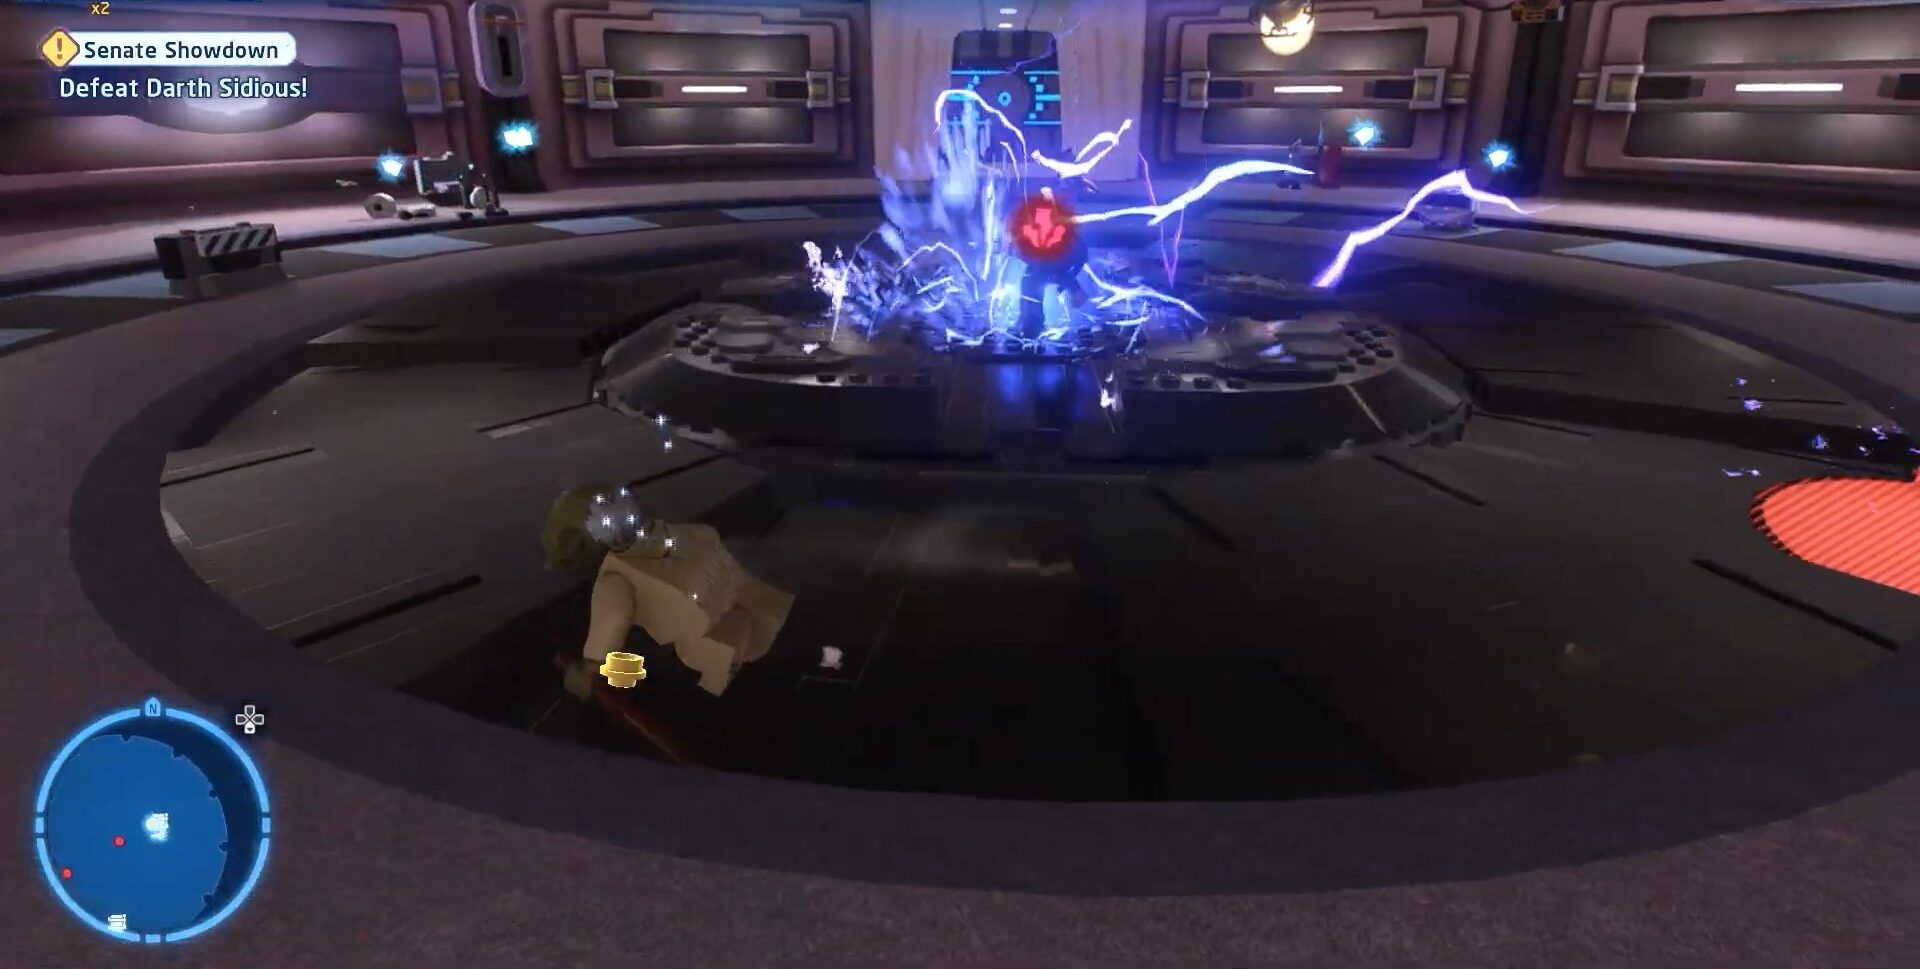
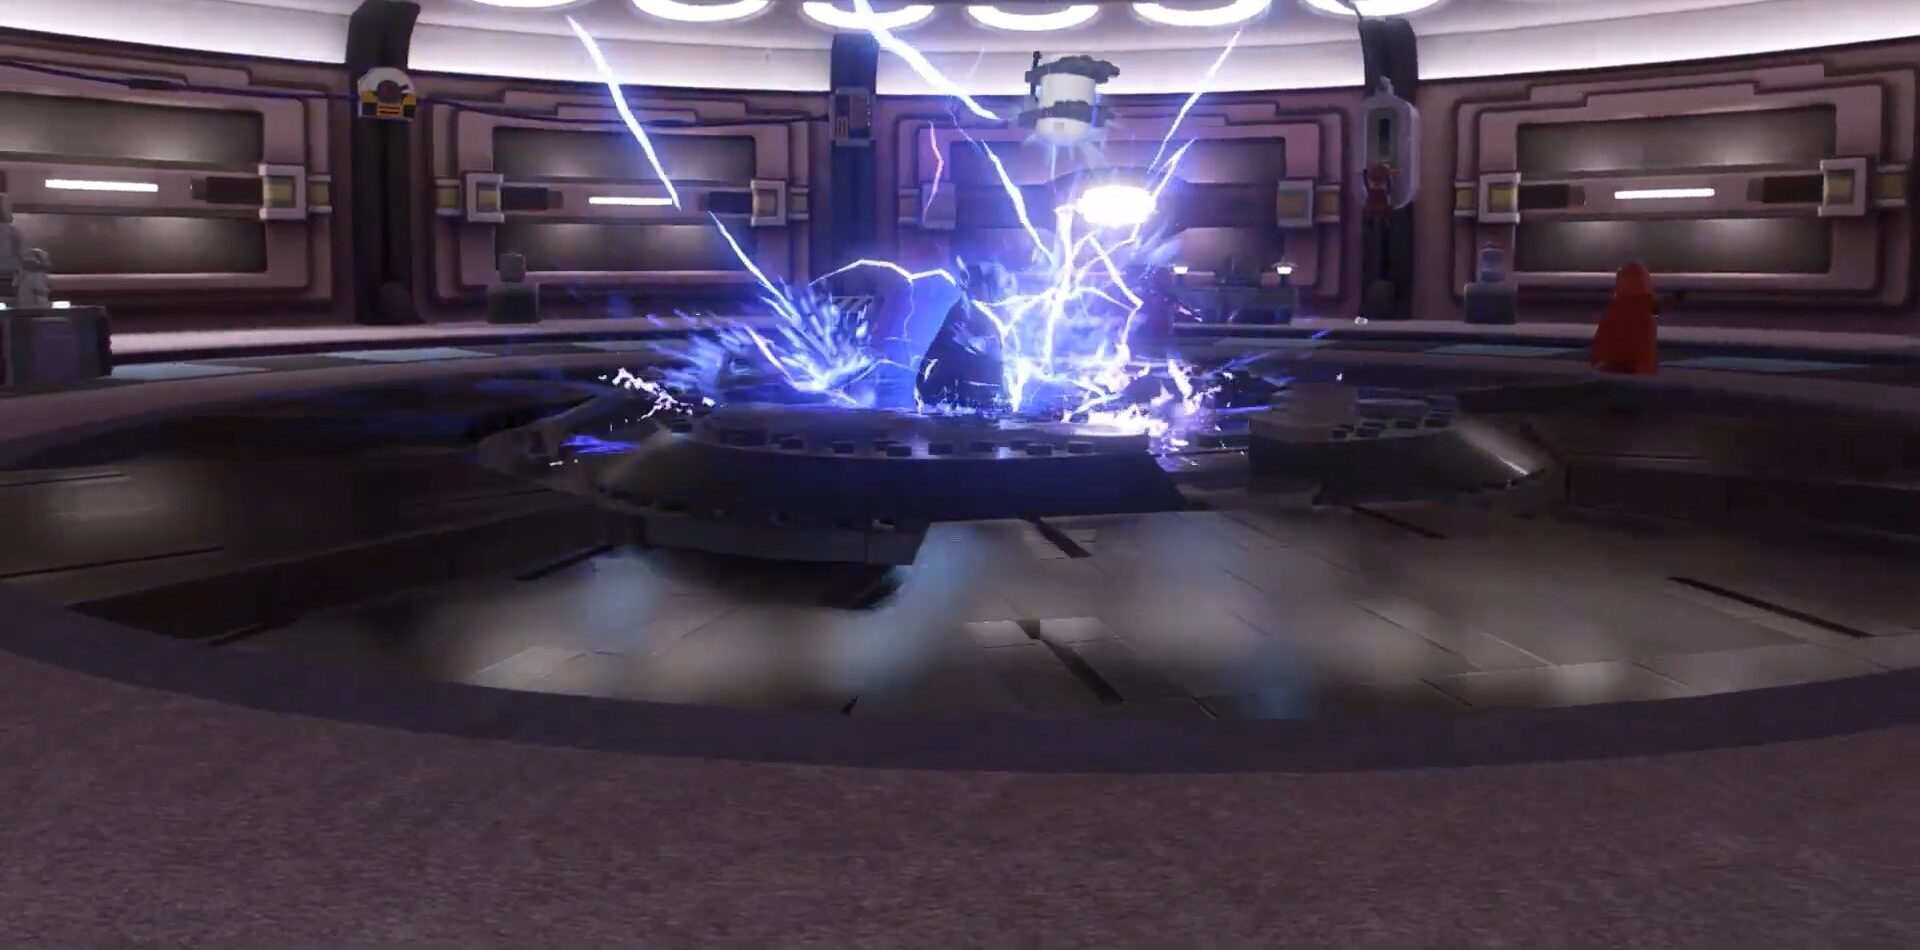
There is a lot of fight between the main characters of star wars in this mission I will refrain from mentioning them and focus on getting the Minikits. There is an electrical showdown at the center of the location of this mission. We have to move around constantly for getting some Minikits. We have attached images below for making it easier to understand how we can acquire Minikits in this mission.
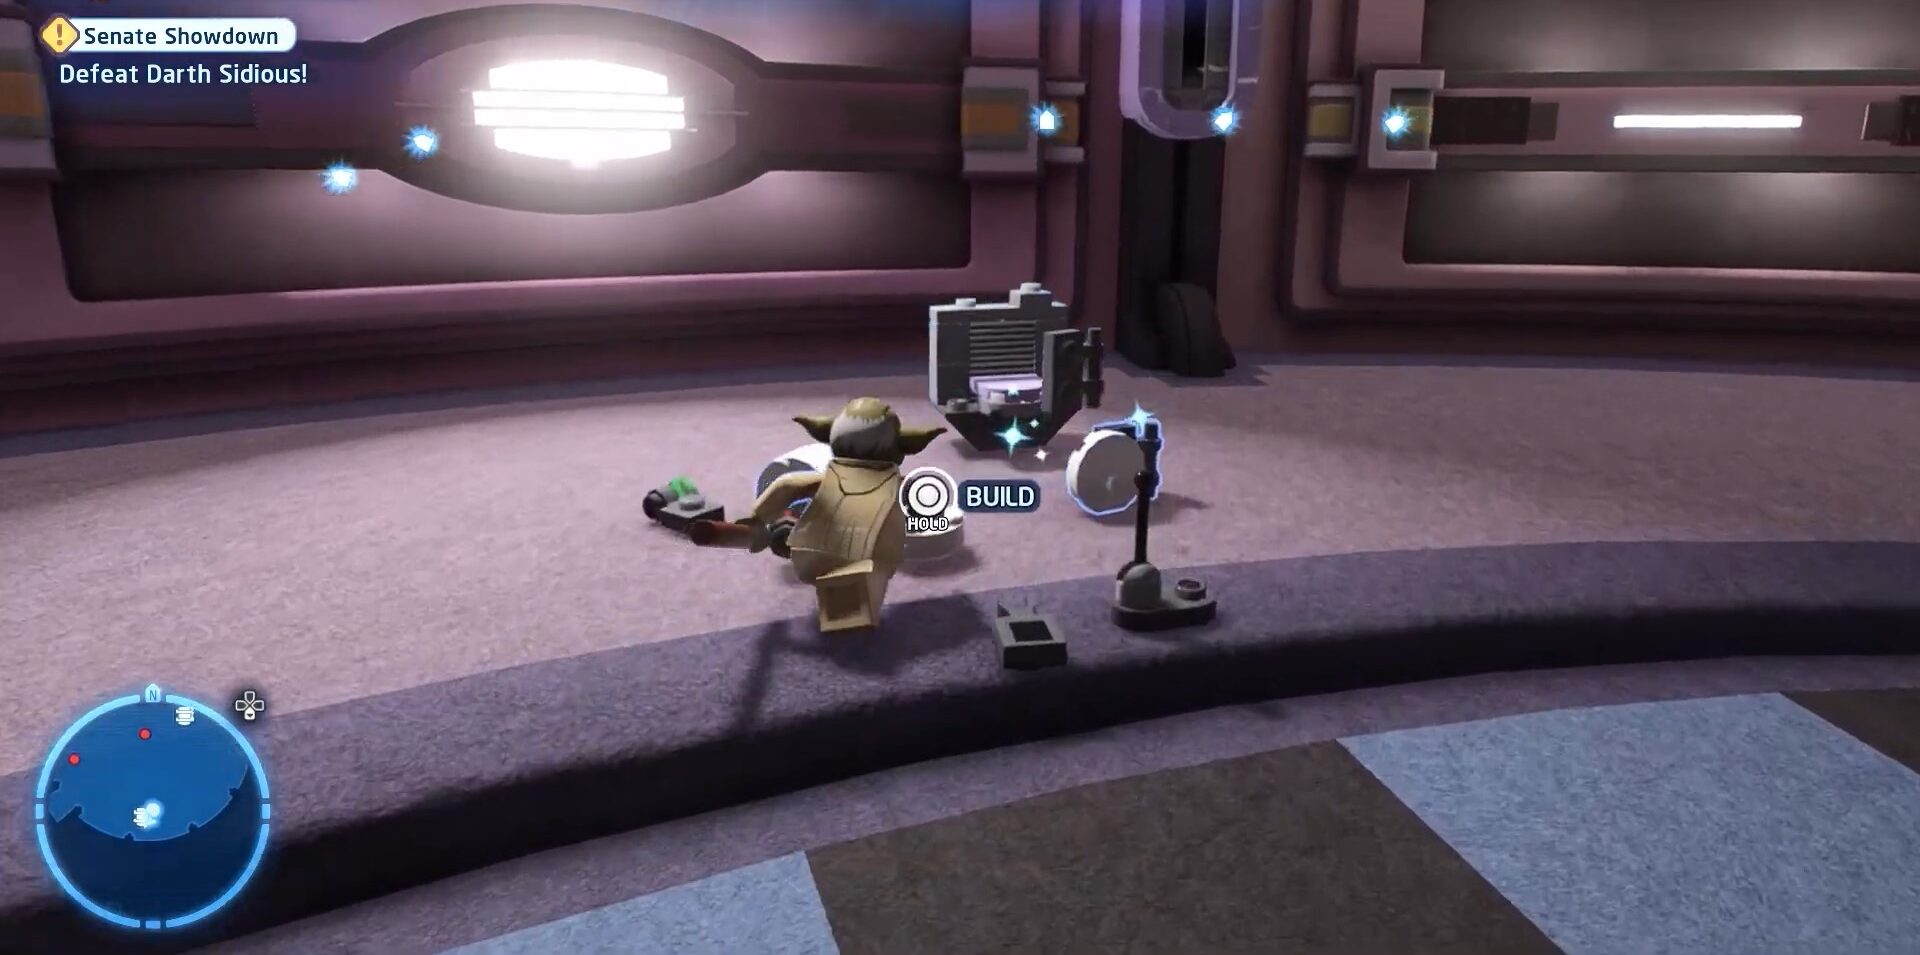
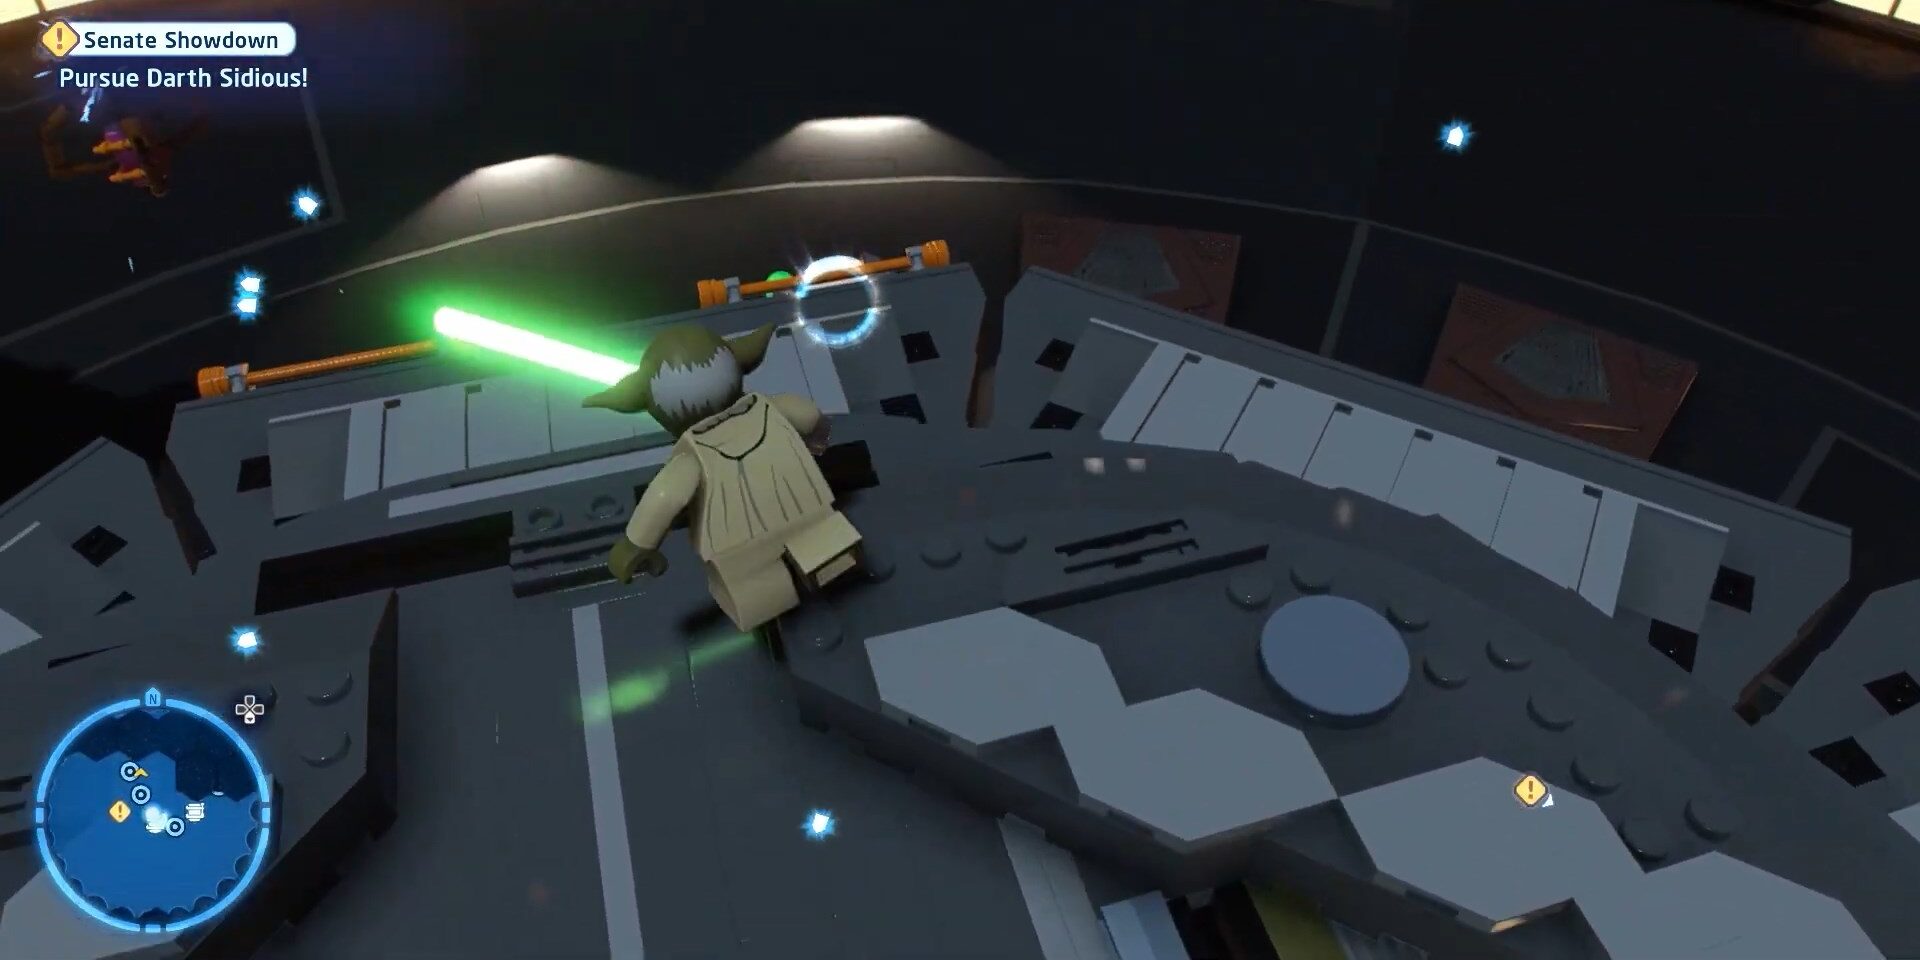
Reaching to second Minikit locations in Lego Star Wars The Skywalker Saga is also easier we have attached the images of it along with the caption to guide on how to get a second Minikit
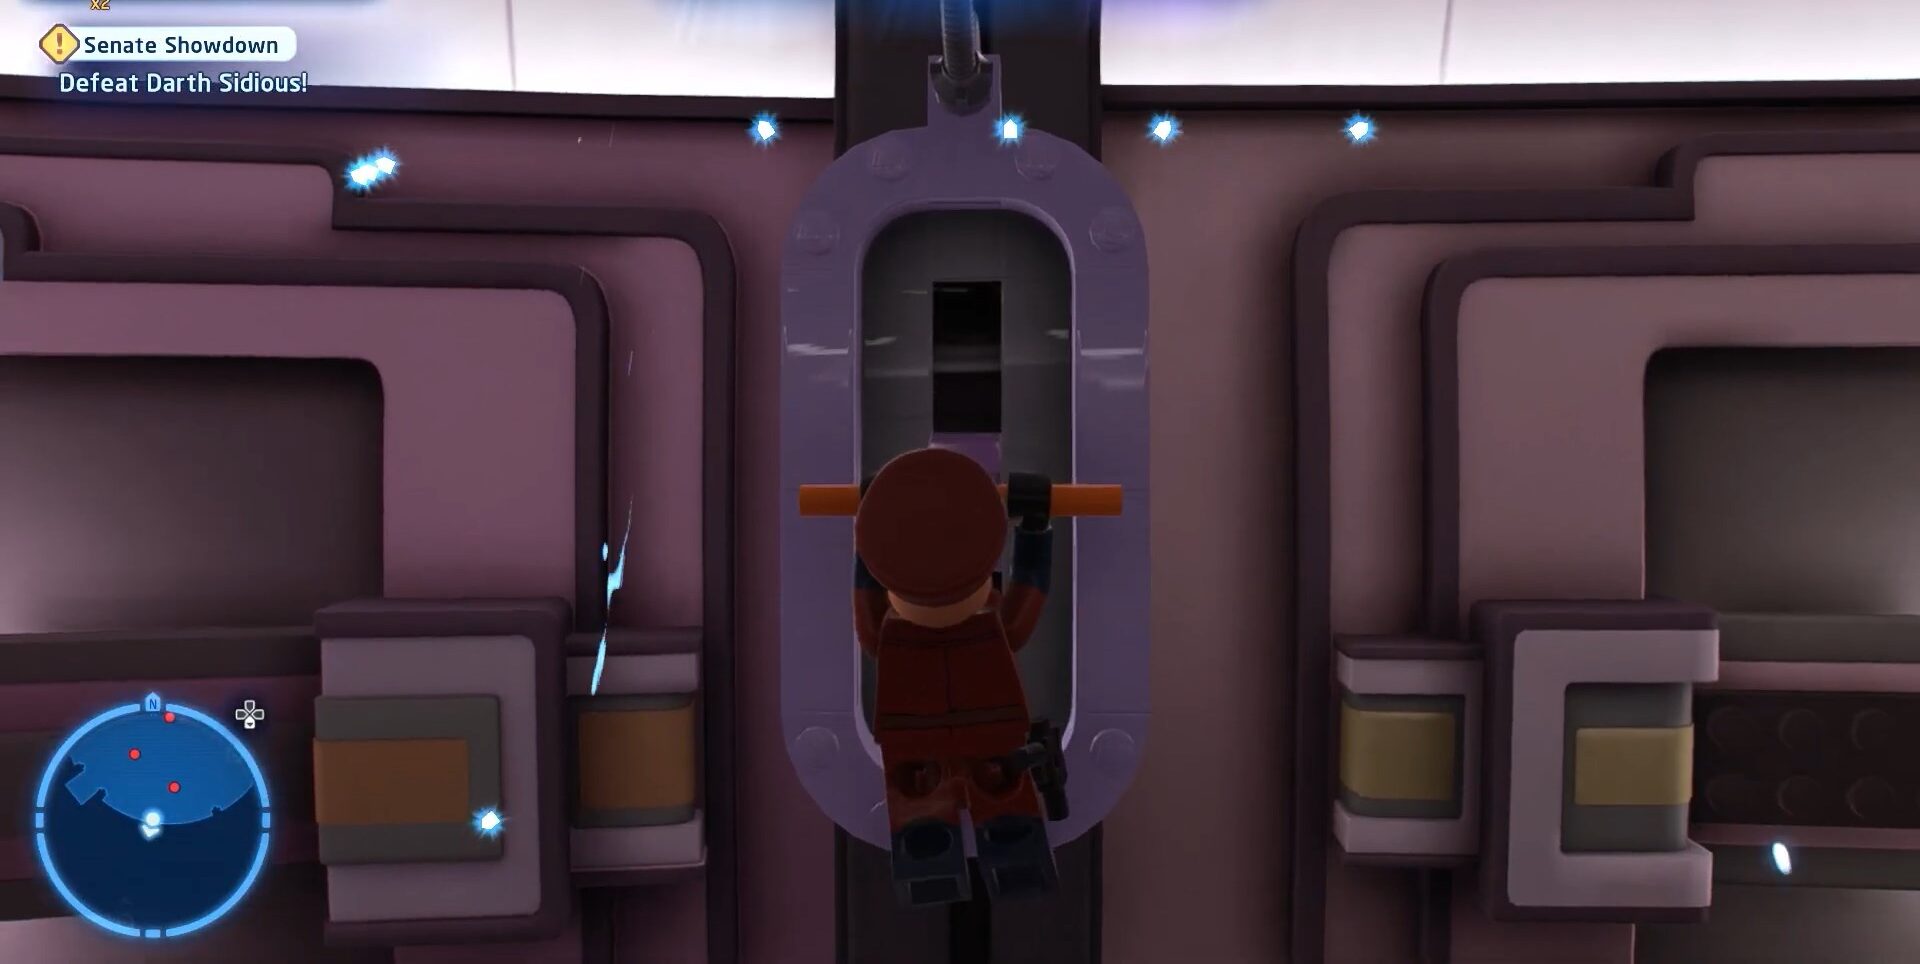
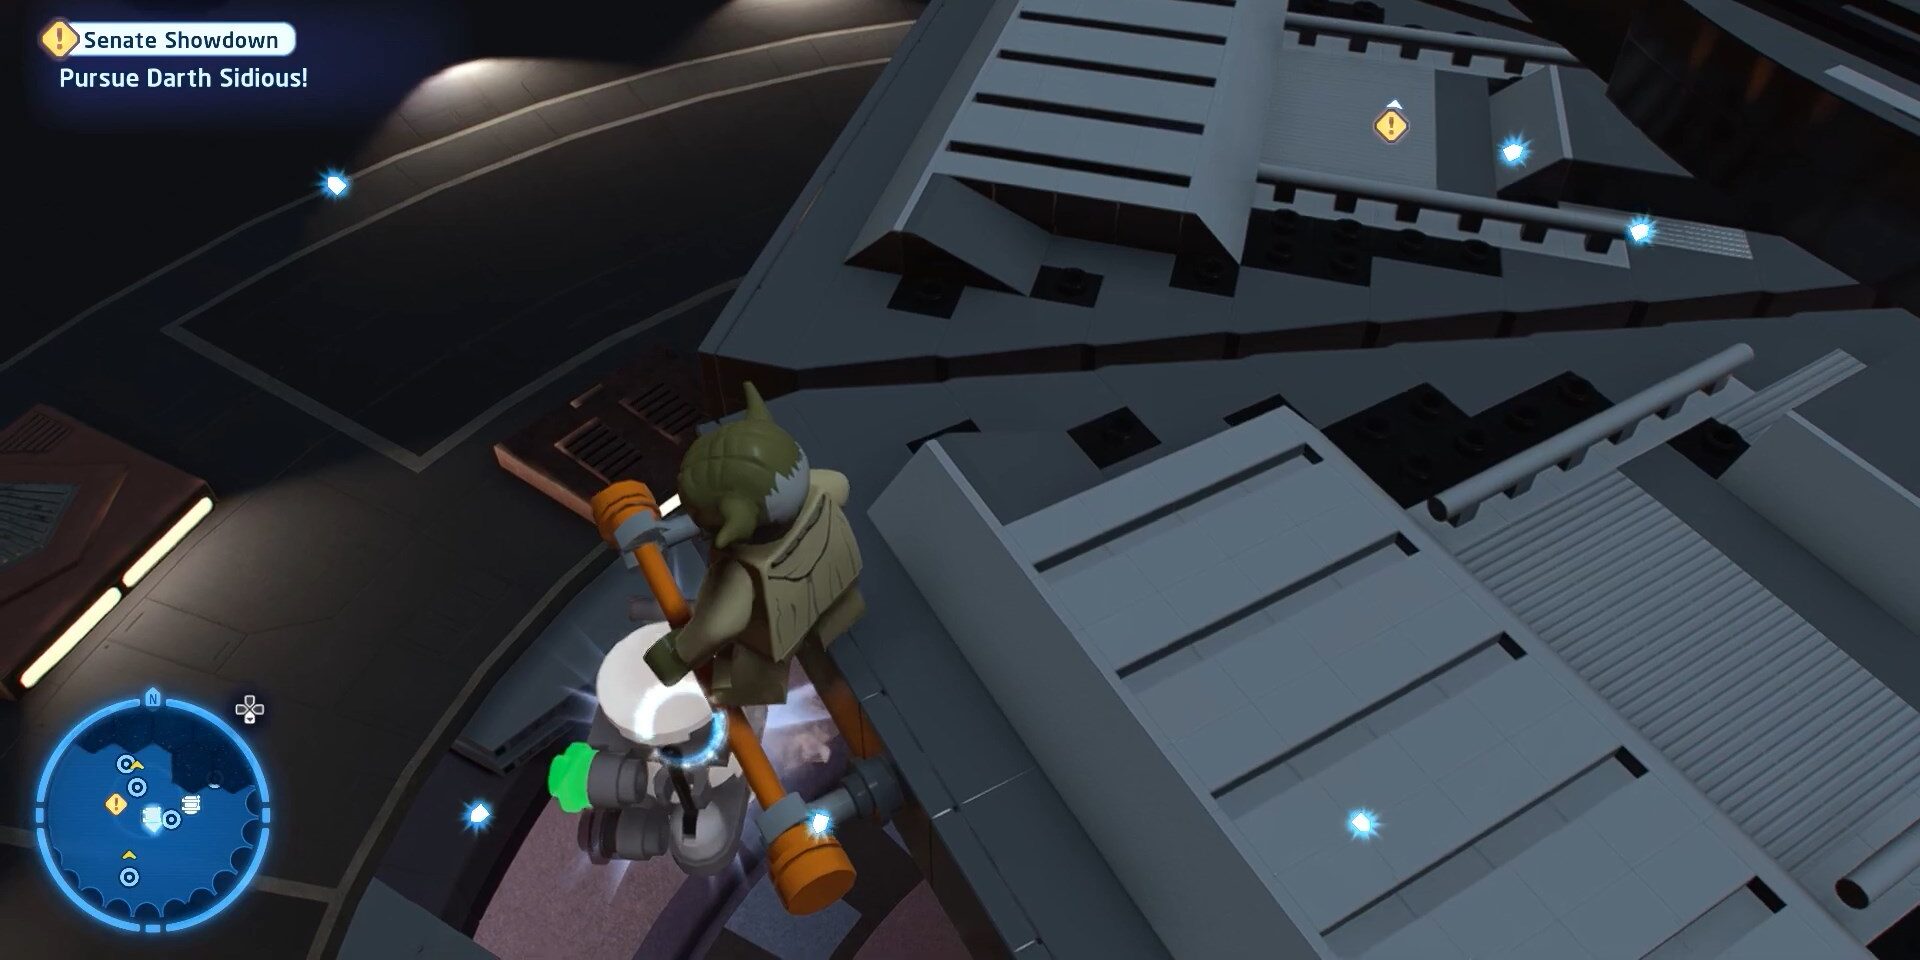
Next Minikits are located in a different location. To get the third one player just need to turn left and slide his way down by controlling Yoda. The third Minikit will be hanging on a long orange handle it is easy to get. We have attached pictures below of it to make it easier
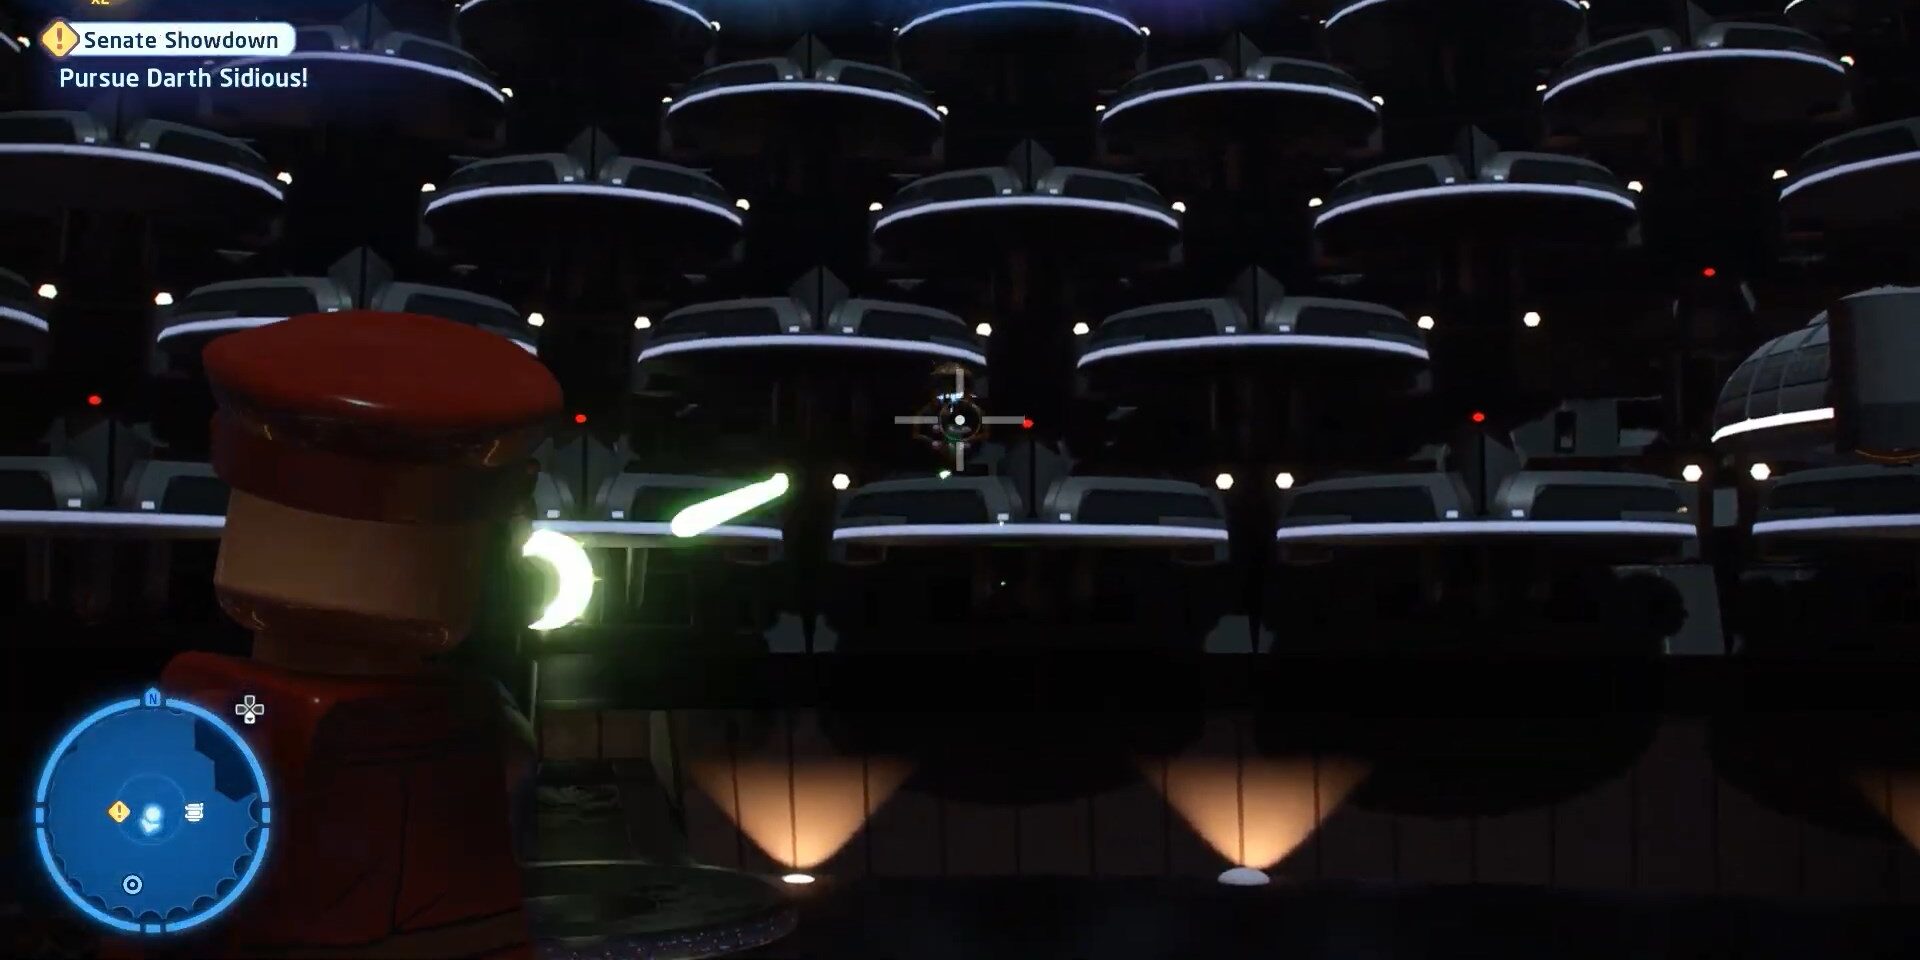
To get the fourth Minikit player who will control Captain Typho you need to shoot down five targets to get fourth Minikit. We have attached a picture of the fifth target as a guide.
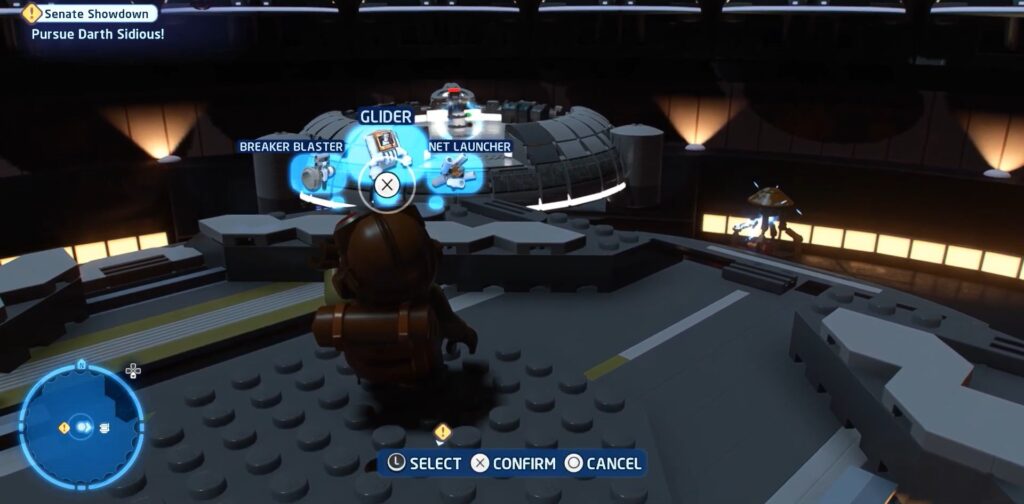
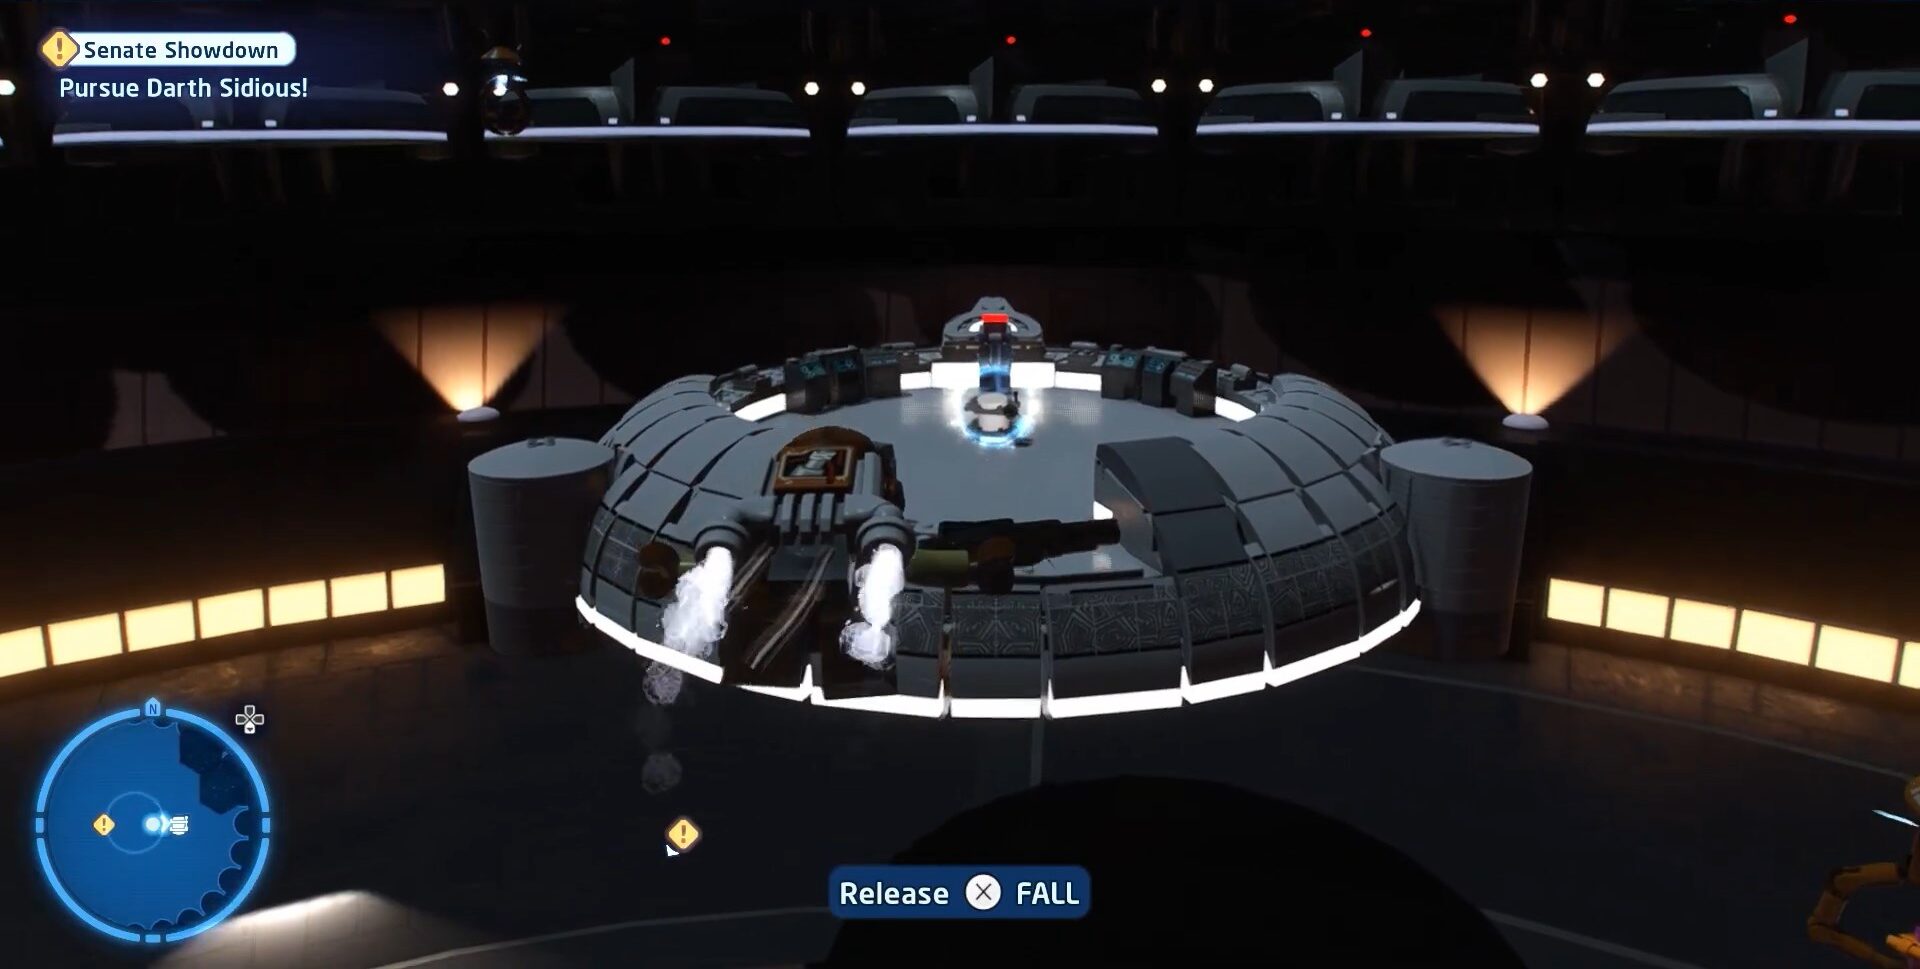
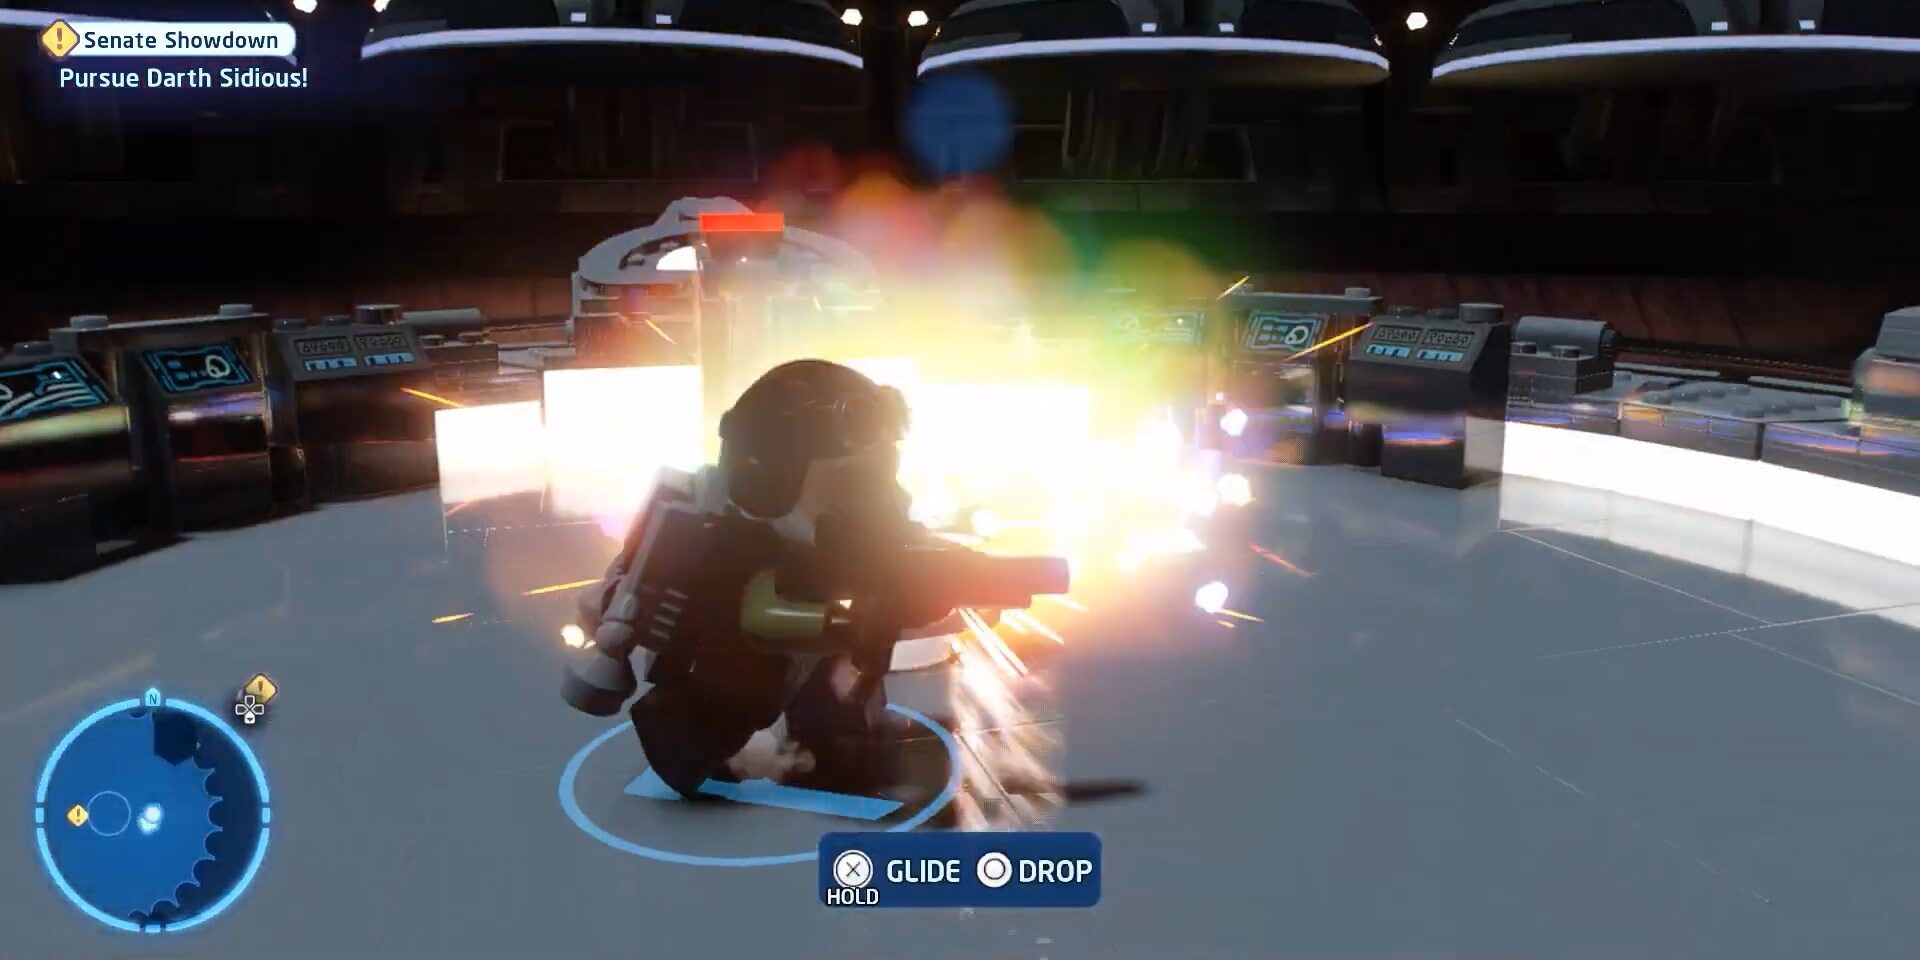
To get the last Minikit change character to Scanvager and choose glider then glide towards the place where the last Minikit is placed and grab it. We have attached images of it step by step to make it easier for you to understand.
Never Tell me The Odds
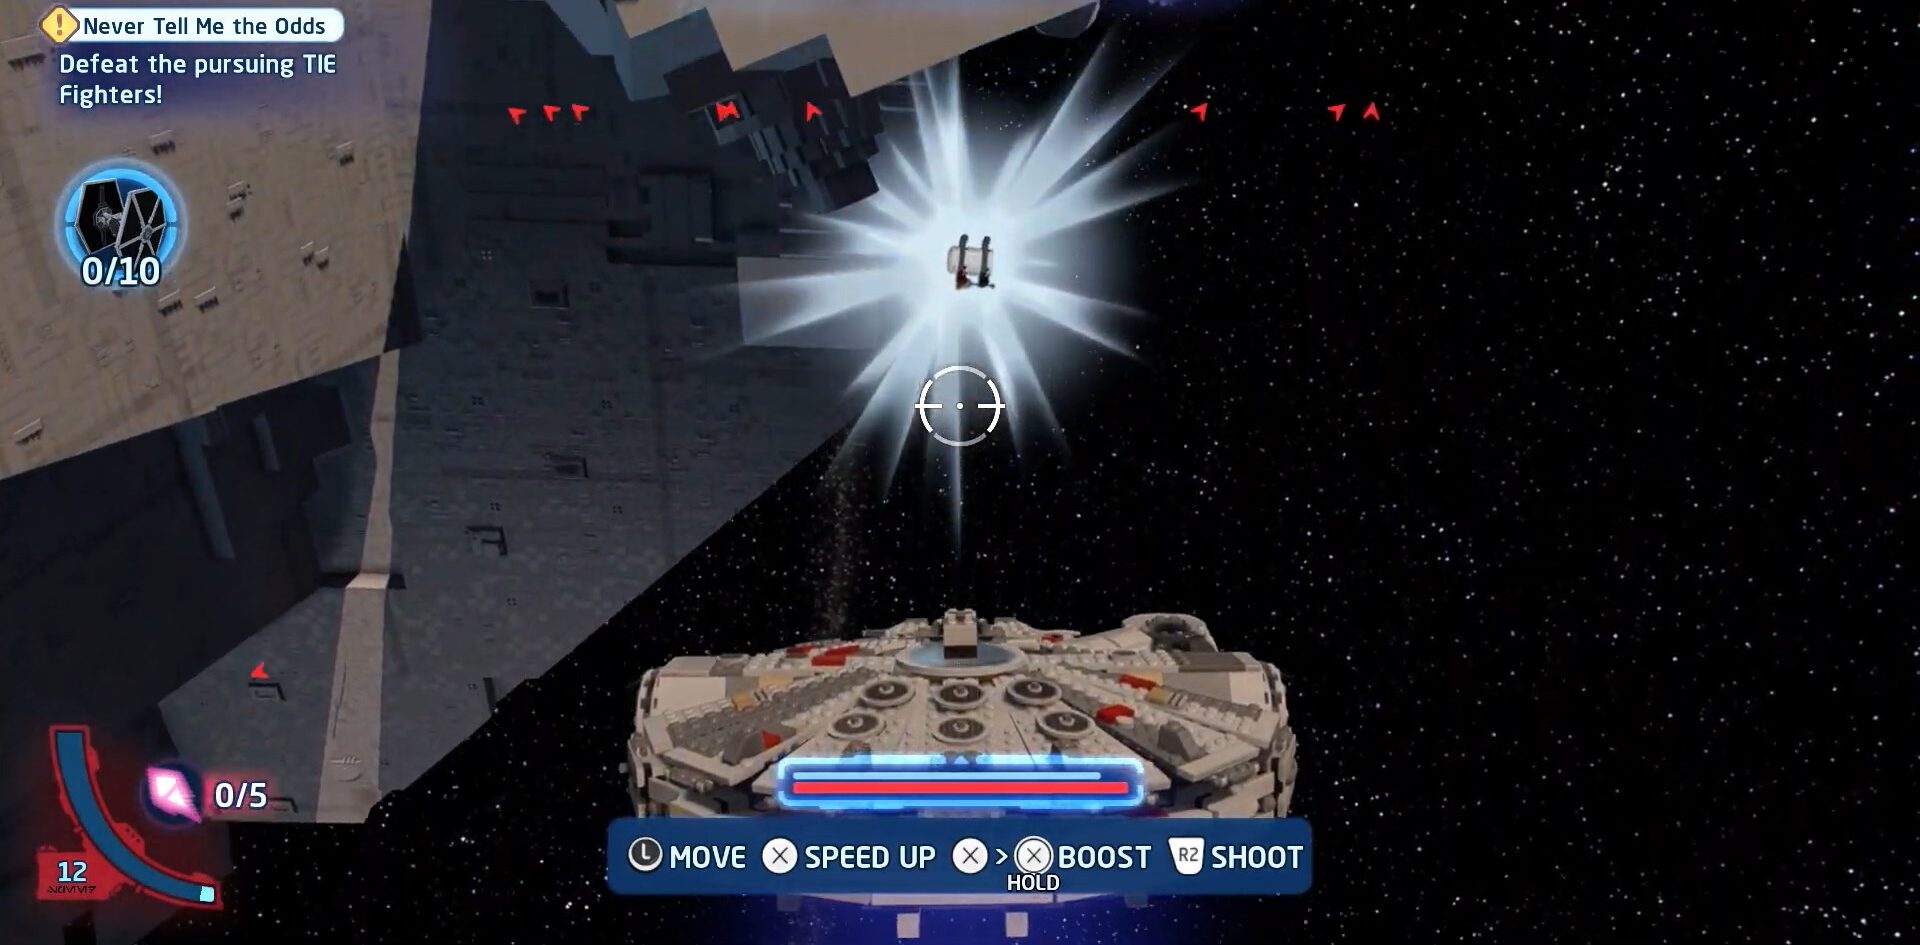
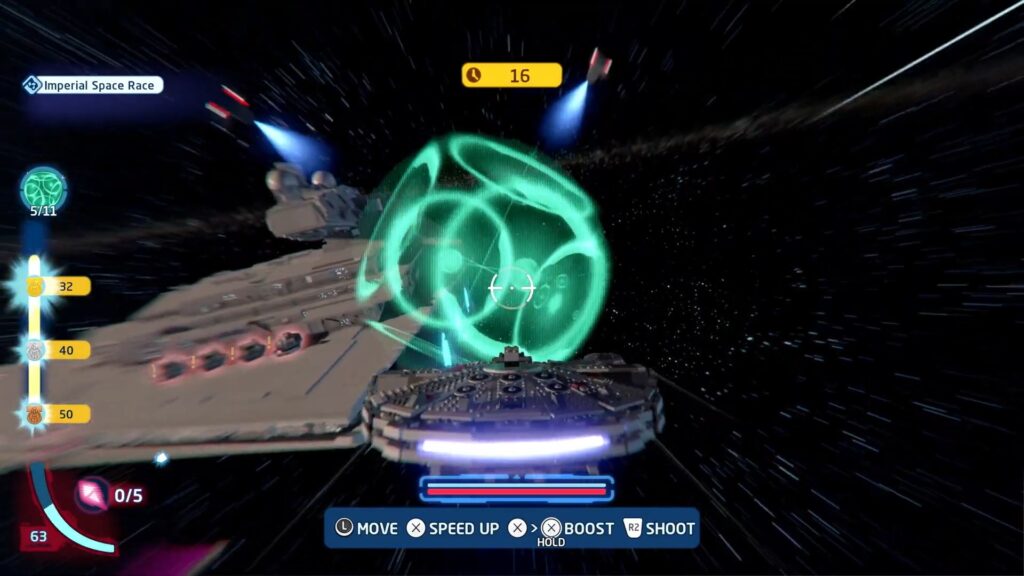
This is another very interesting mission of this fabulous game here also you can earn five Minikits and we will provide a complete guide to get those five Minikits easily in this mission inside this guide. In this whole mission, you will be flying the iconic plane of famous Han Solo and you will go through many adventures from shooting down small to giant planes to having some races. That’s why we called it an interesting mission in the first place.
To get the first one well these Minikits are not in sequence to get they are randomly designed to get. So we will start with the easiest one.
To get this one you don’t need a lot of effort just a little push of guidance and we are providing it by attaching the image below
You have to spend much more time getting the second one on our list than the first. You have to shoot down many empire planes of red and black color along with blackish dark rocky stuff than at last you will earn the second Minikit
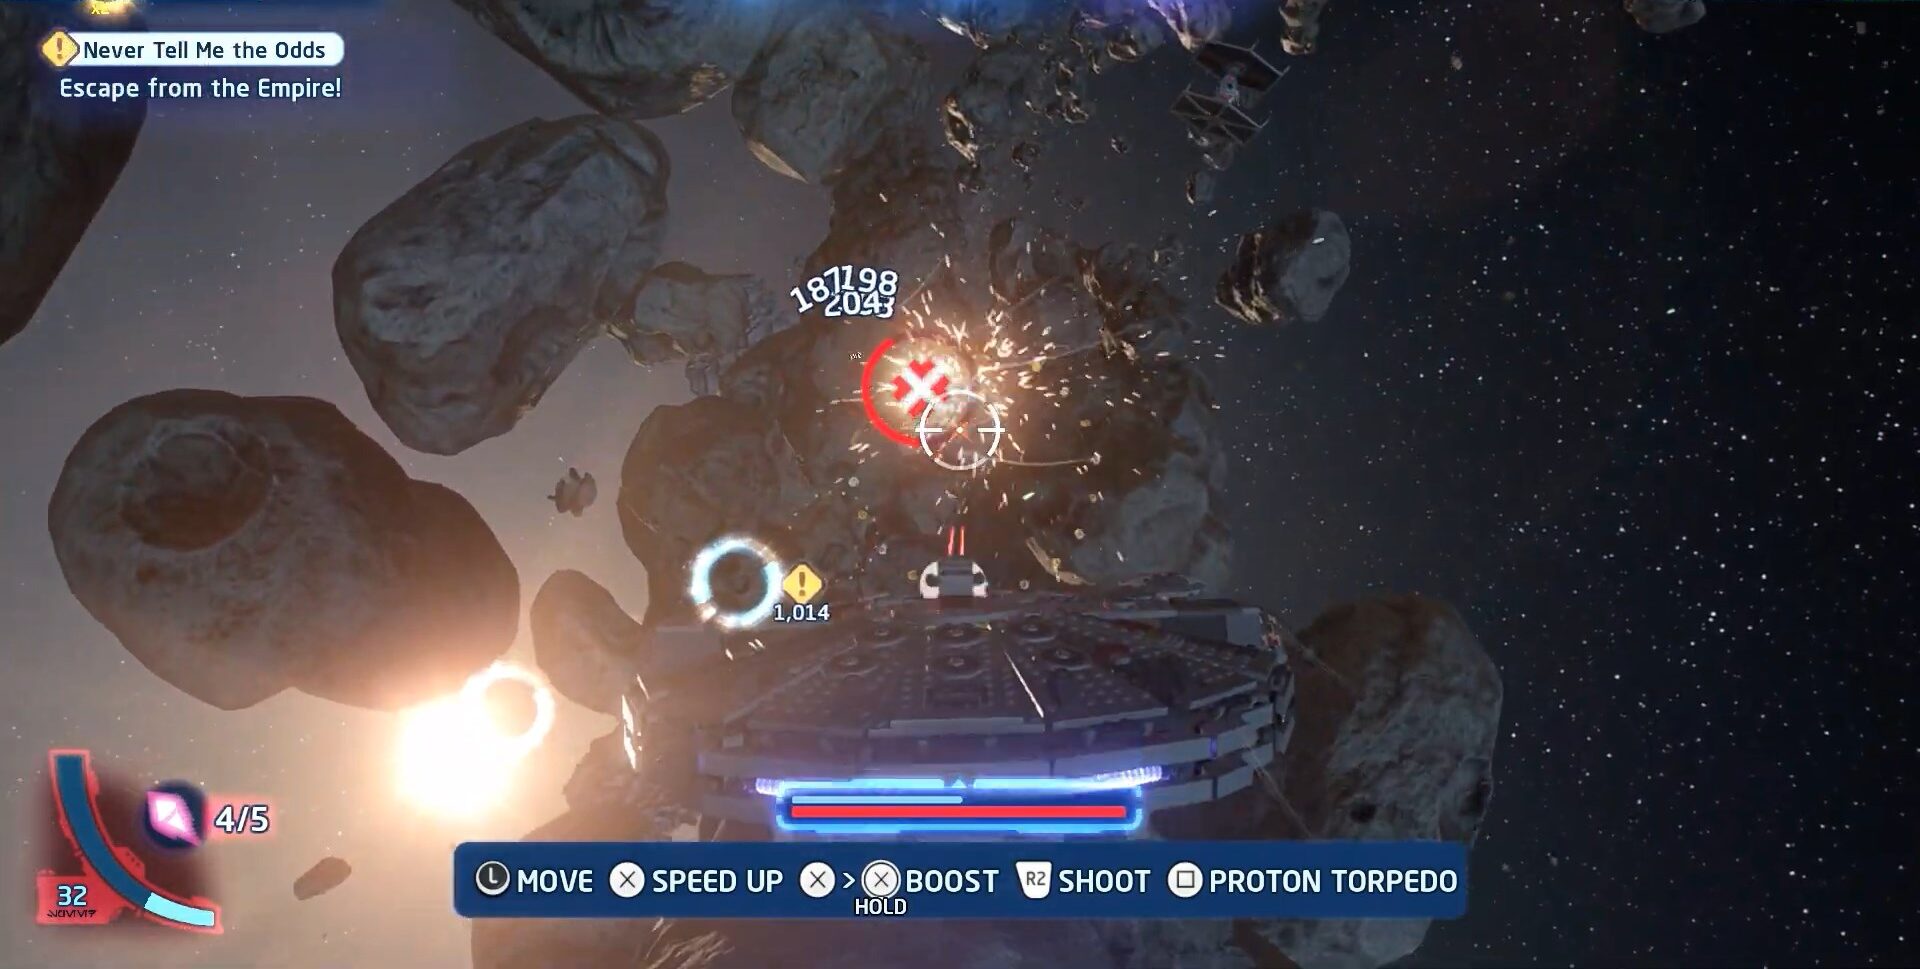
To get the third Minikit on our list you have to make a dangerous crossing of the plane because the Minikit will be located middle of two rocks and around you will be empire planes shooting right at you so not an ideal situation to be in but if you got success than Minikit will be yours. Just fly smartly while using the guns of your planes at the right target. We have attached images below to make it easier to understand.
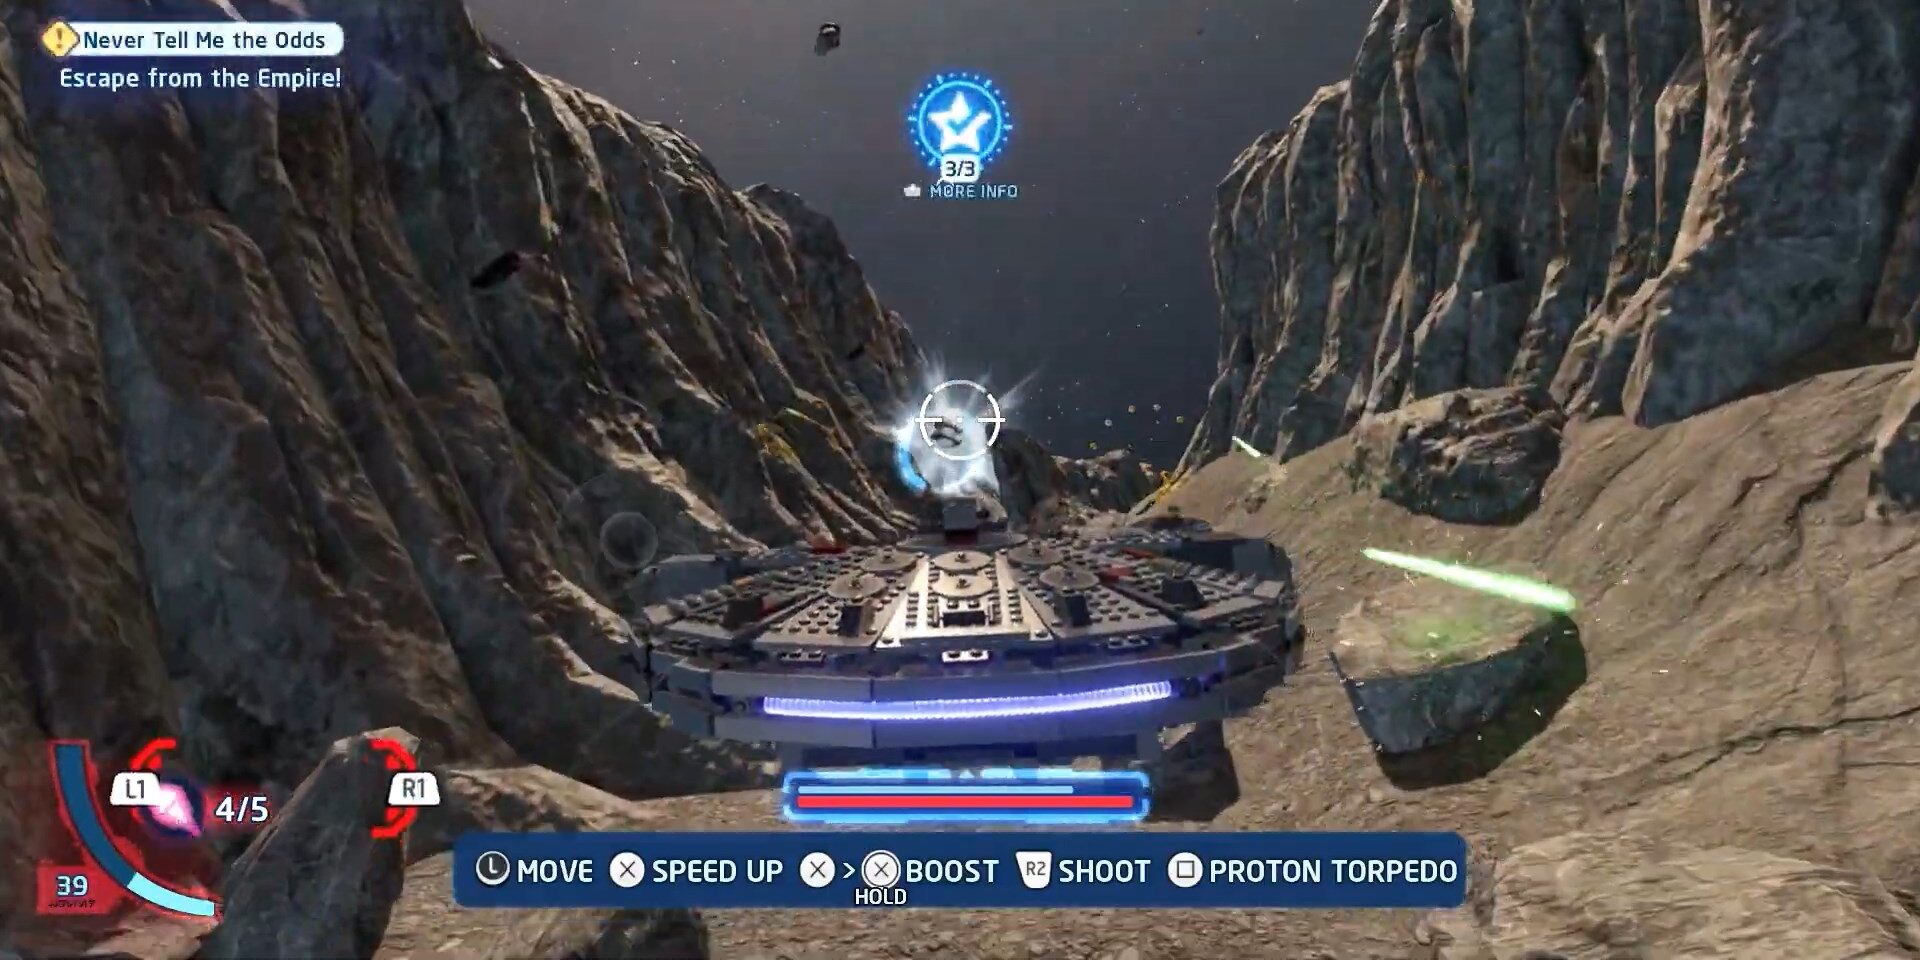
Among these Minikits which some might find easy to collect there is one that is pretty tough to get because you have to win the race for it which can be tricky but why we are here to get this Minikit easily we have provided a guide on how to complete the race successfully.
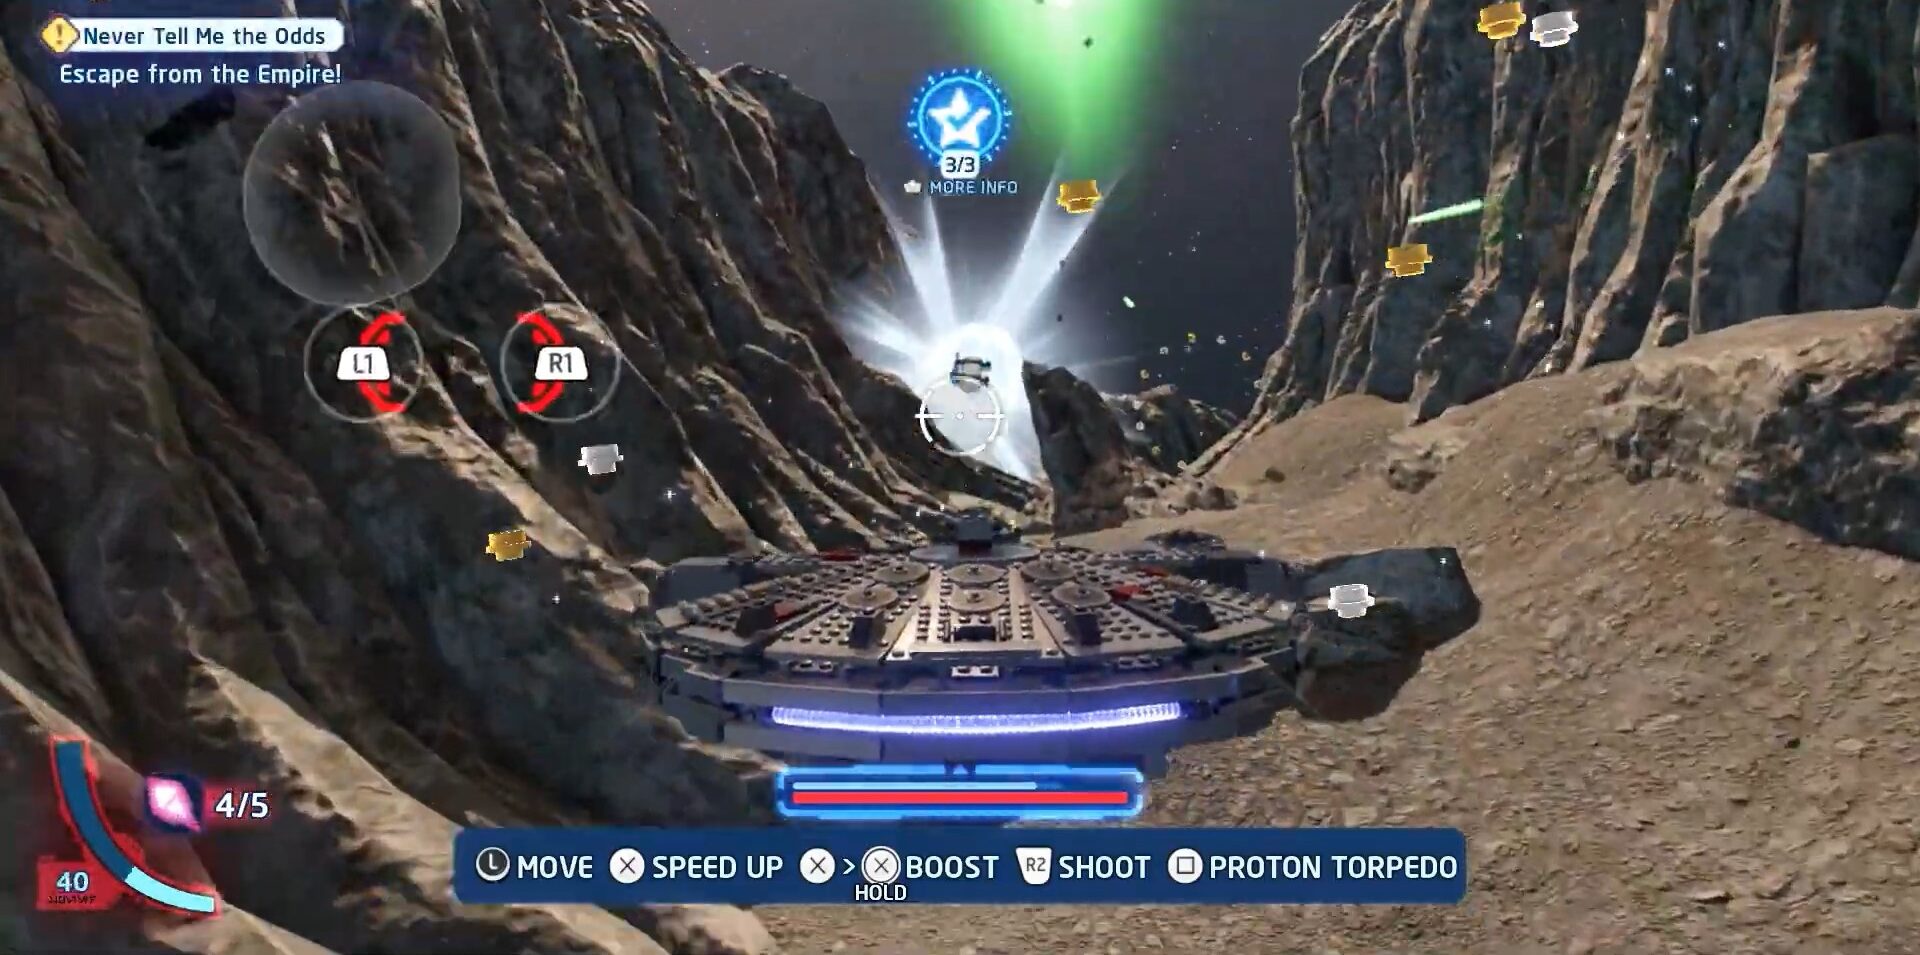
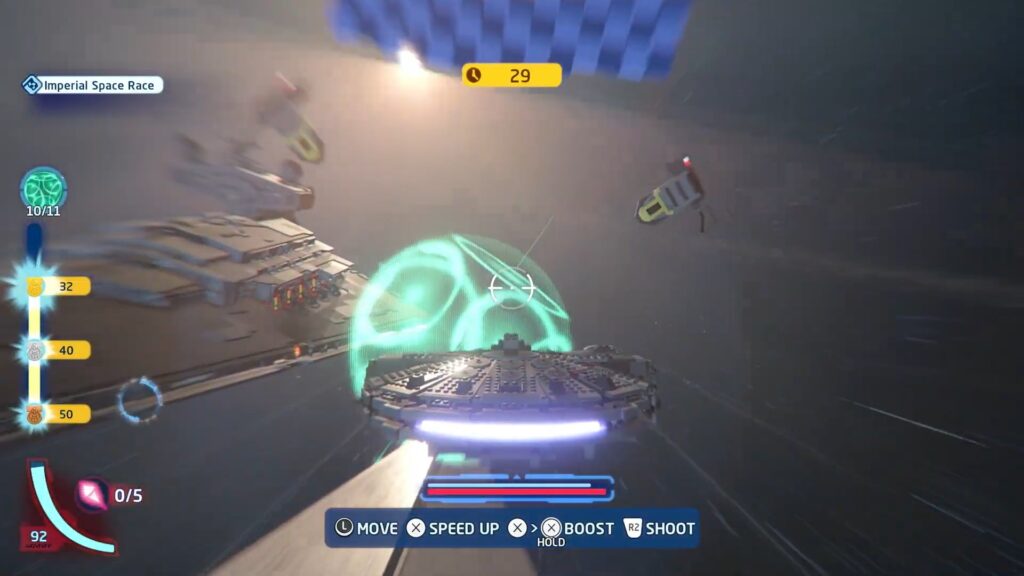
You must know that the race is underneath the ships and there are obs to follow and touch to complete the race first three obs are easy to touch they are not in a single line but still easier than the rest like the fourth one is behind the ship which is challenging than you have to angle back inwards to go down the central channel between the two ships going to the left than turn to the right and again right than left now only one is left which will be straight food for thought here would be to reduce the speed of ship while turning it once you complete the race you will get the Minikit.
The good news is that you won’t get too much trouble from the outside world disturbing you from racing too much. We have attached the images below to make things easier for you.
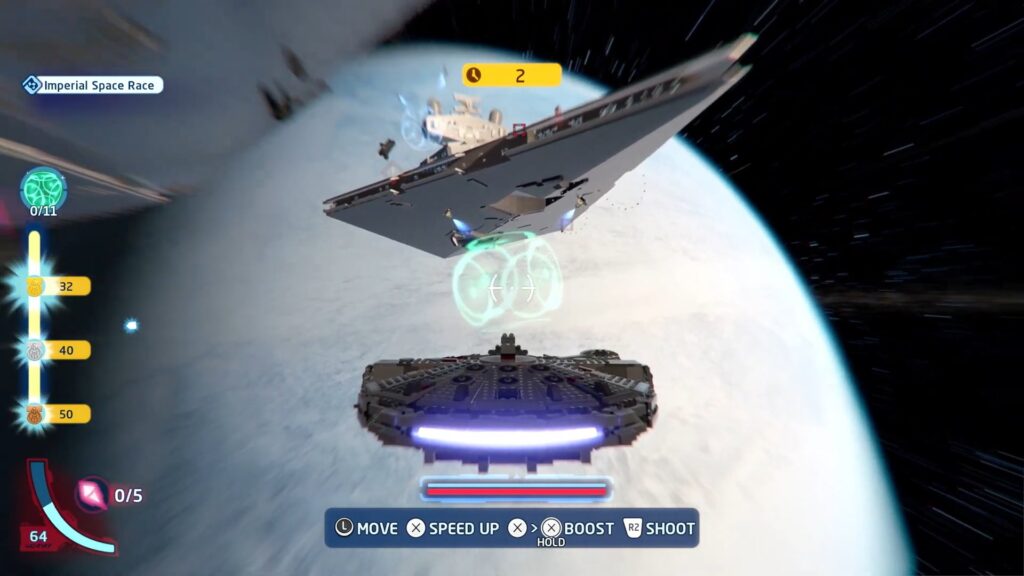
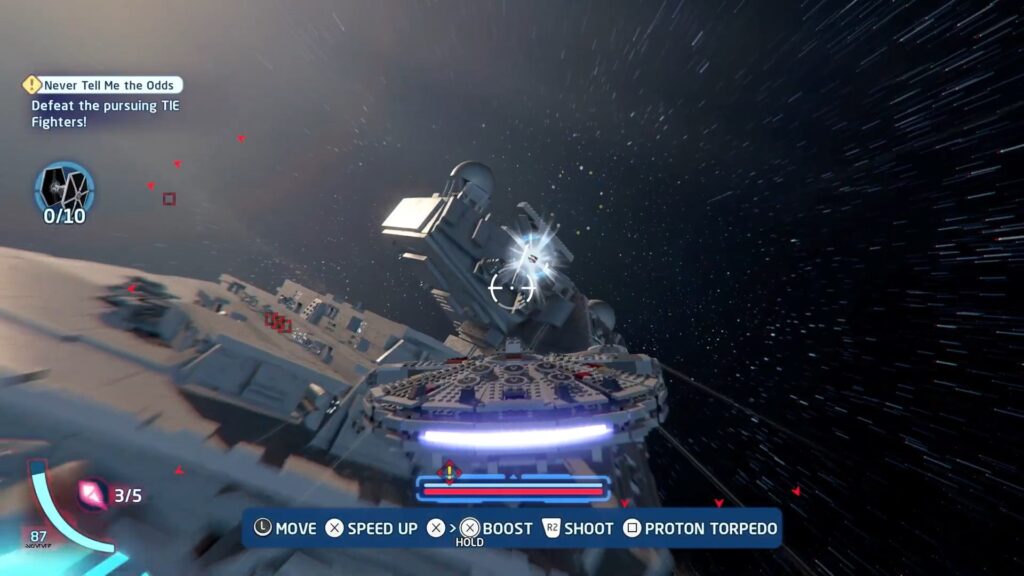
After finishing the race right from there you can also find another Minikit behind the star destroyer on the left side at the back of the ships. That would be the last one.
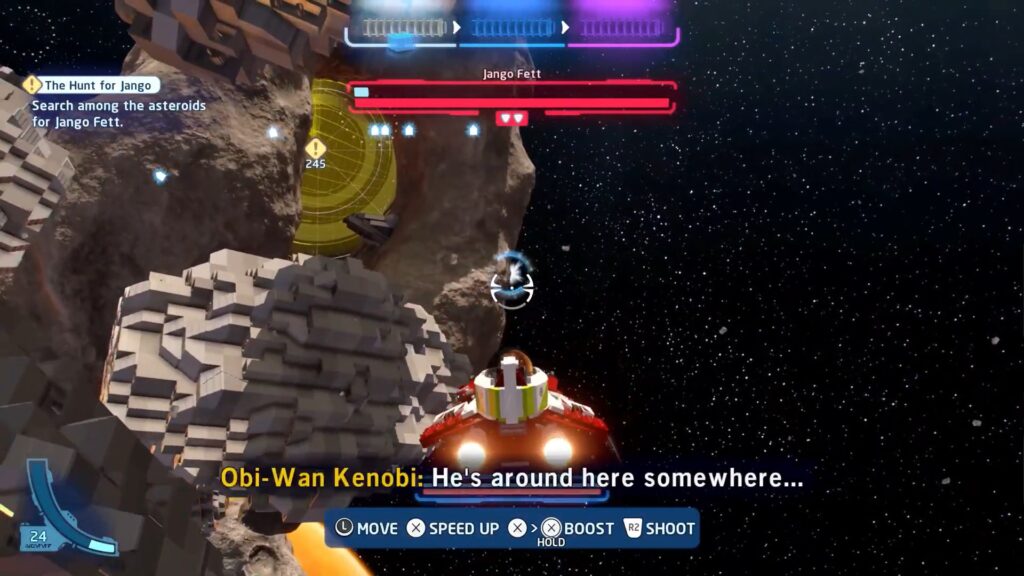
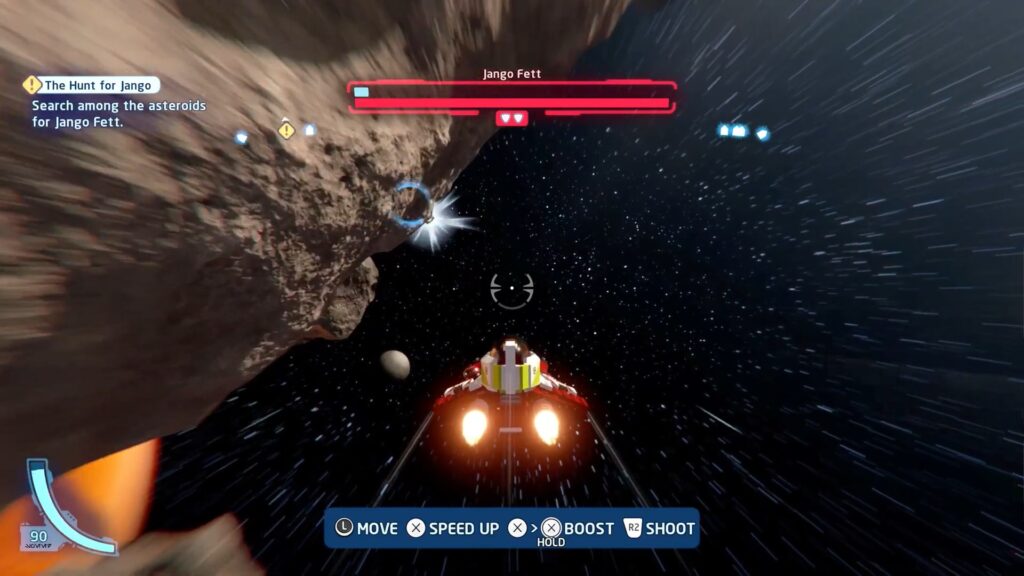
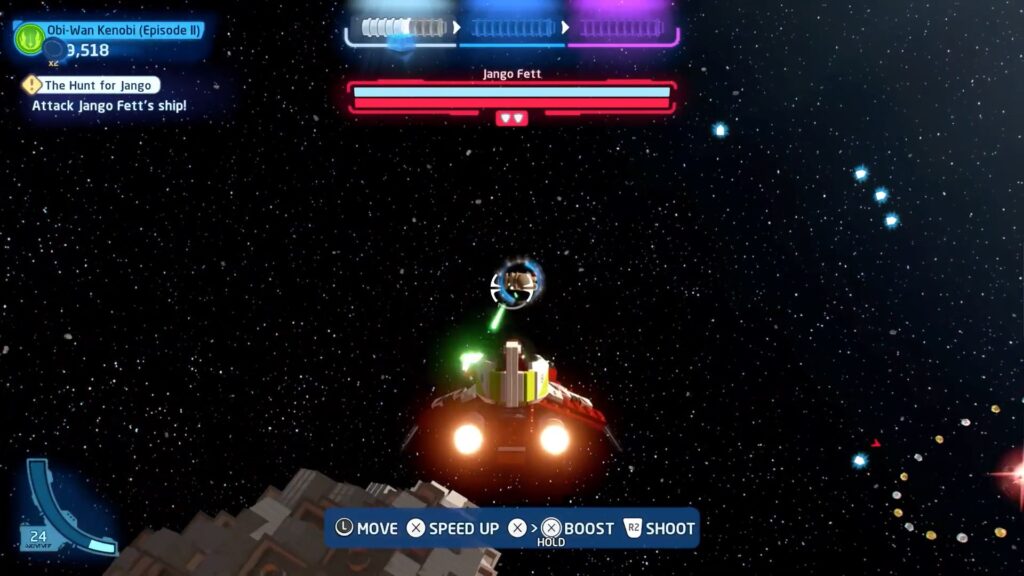
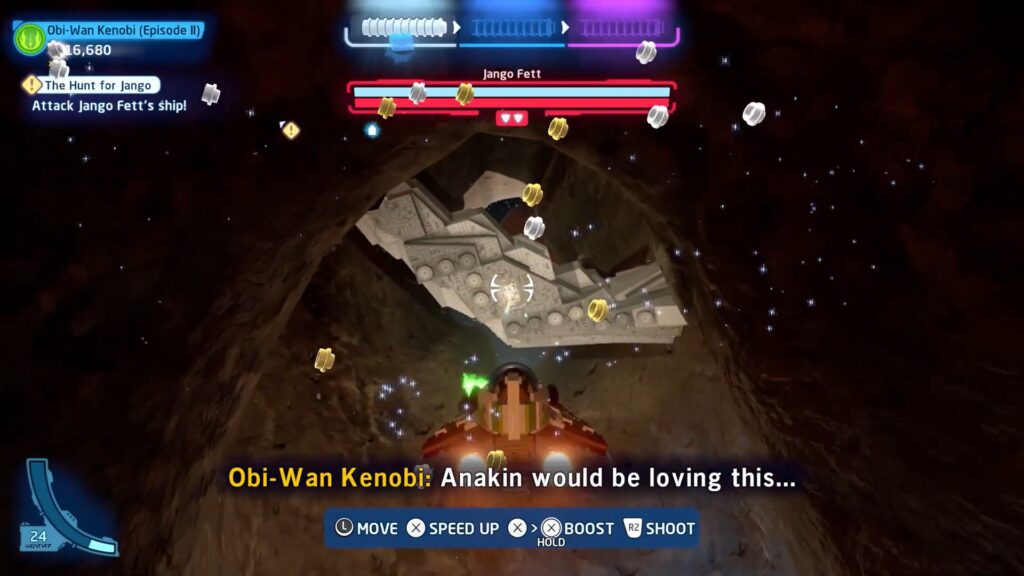
The Hunt For Jango
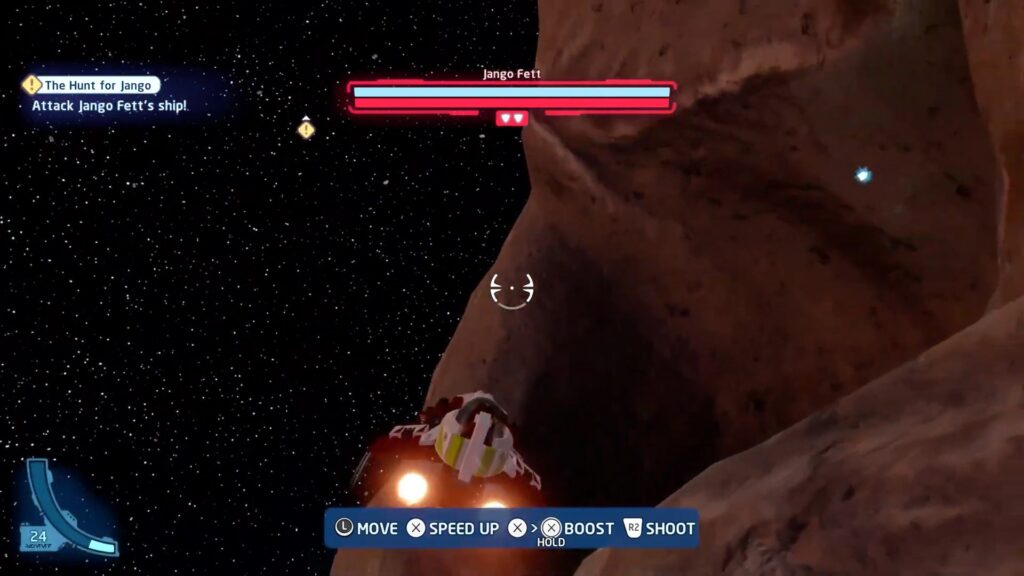
In this mission, we are also in the sky flying the jet and we will get all Minikits while flying the jet. While in previous mission we were flying jet starship of Han solo in this mission we will be flying the starship/jet of Obi-Wan Kenobi. Getting the first Minikit is very easy we have attached an image with the caption below to guide you in getting it
To get a second Minikit you have to do some shooting practice check the image with the caption attached below for a guide on how to get the second Minikit
To get the third Minikit in our list you have to shoot and destroy three rocks by shooting from a jet below is an image attached of the third one when it will be destroyed you will get the third Minikit
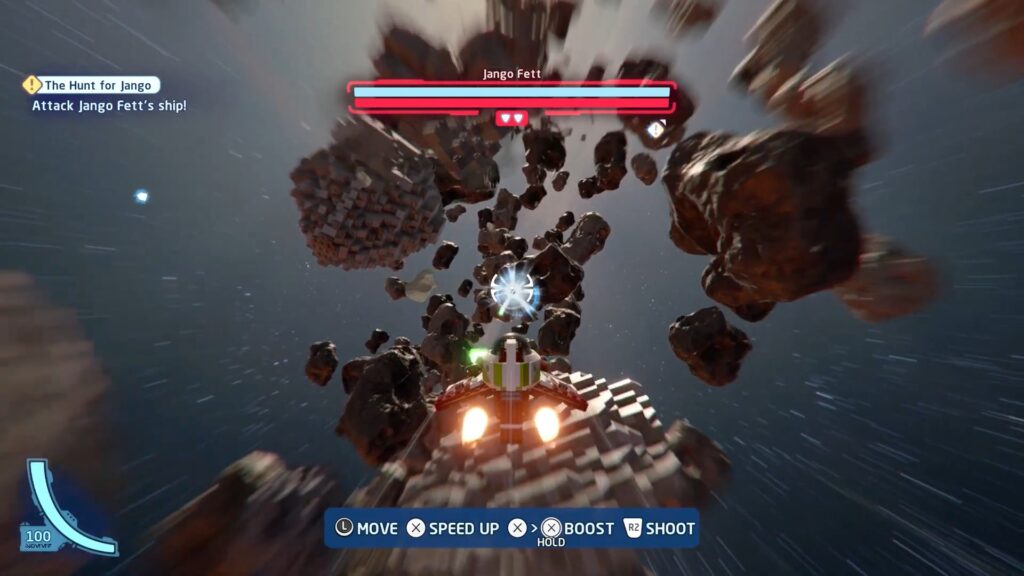
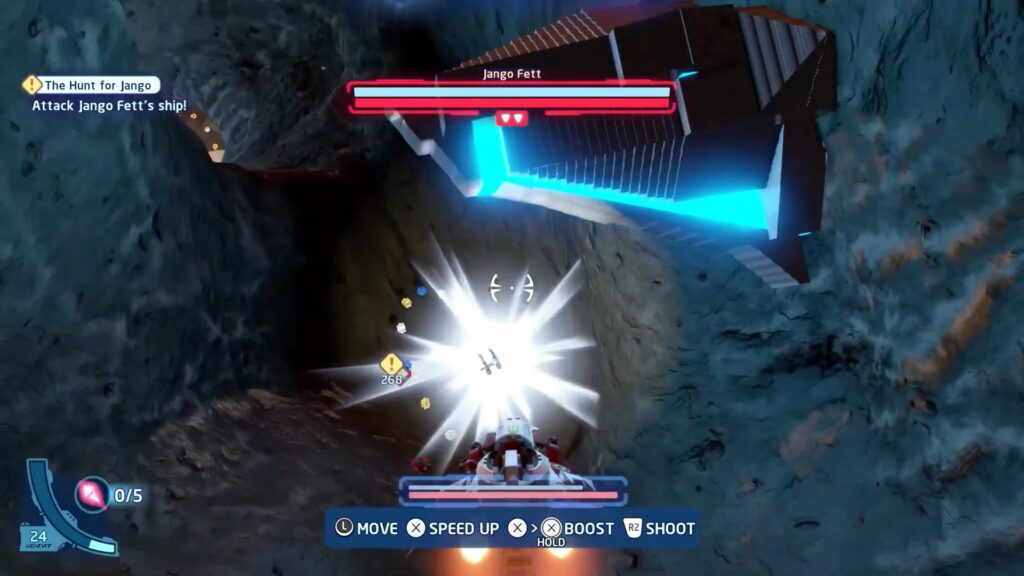
To obtain the fourth Lego Star Wars The Skywalker Saga Minikit location you need to fly the jet into the cave-like location there is darkness in it so you need to on the lights of a jet under there first you need to shoot and destroy some stuff I am attaching images of it below and as you fly deep you will see the Minikit shining and you will be able to get it.
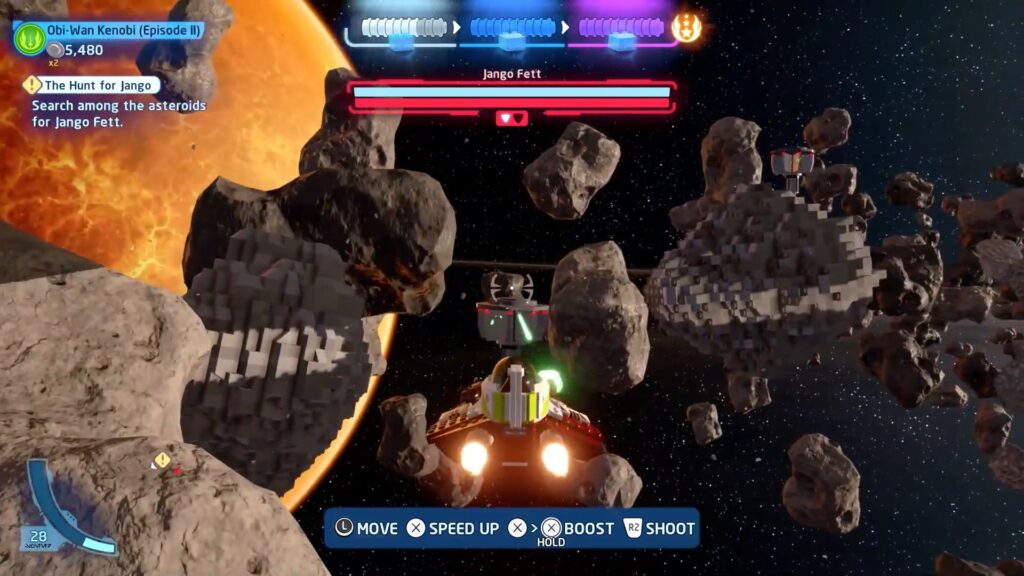
To get the fifth Minikit you have to shoot down Jango Fett among astroids there are five of them once they all are destroyed by shooting you will get the fifth Minikit. We have attached an image of one of those below to make it easier for you to recognize.
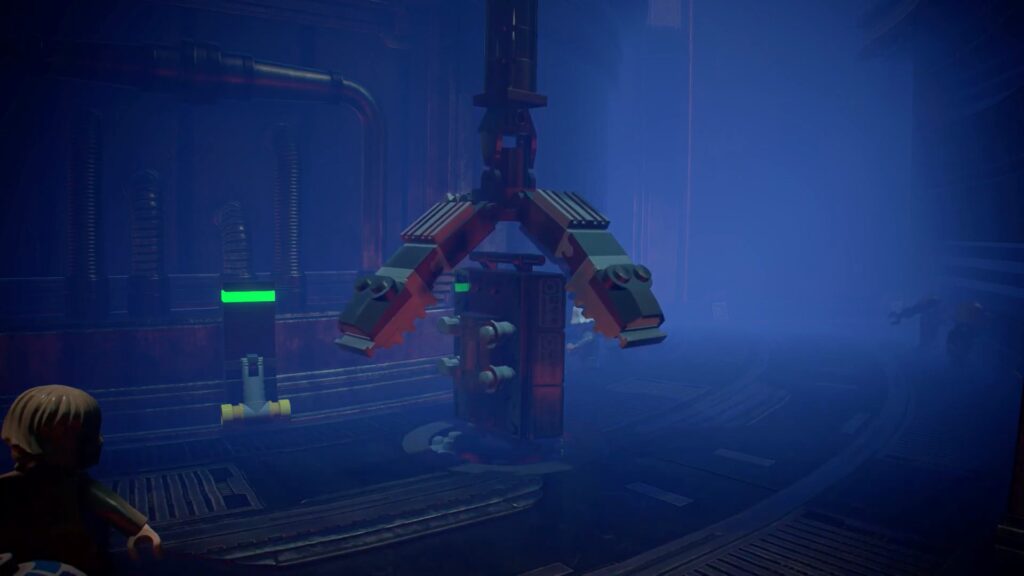
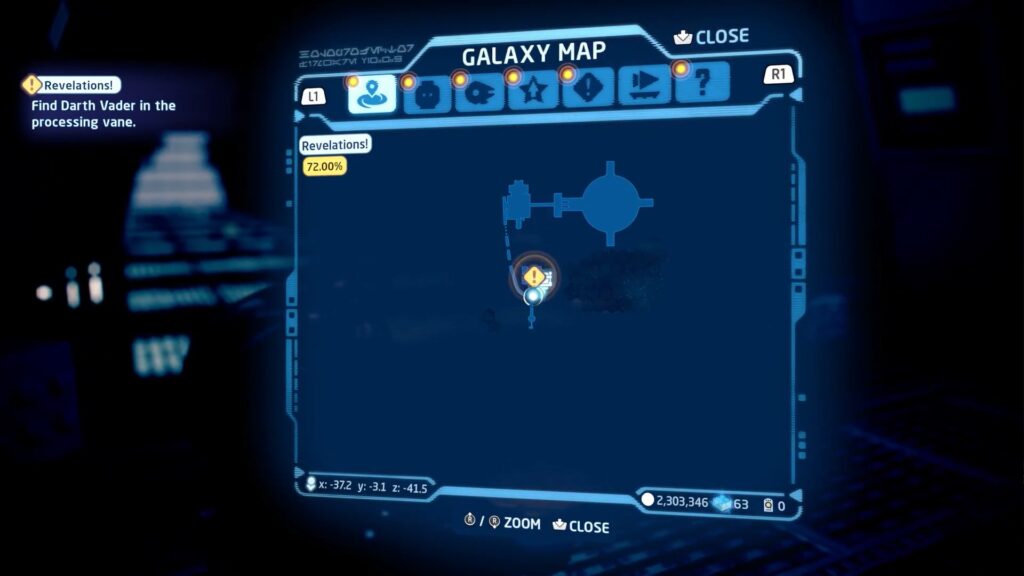
Revelations
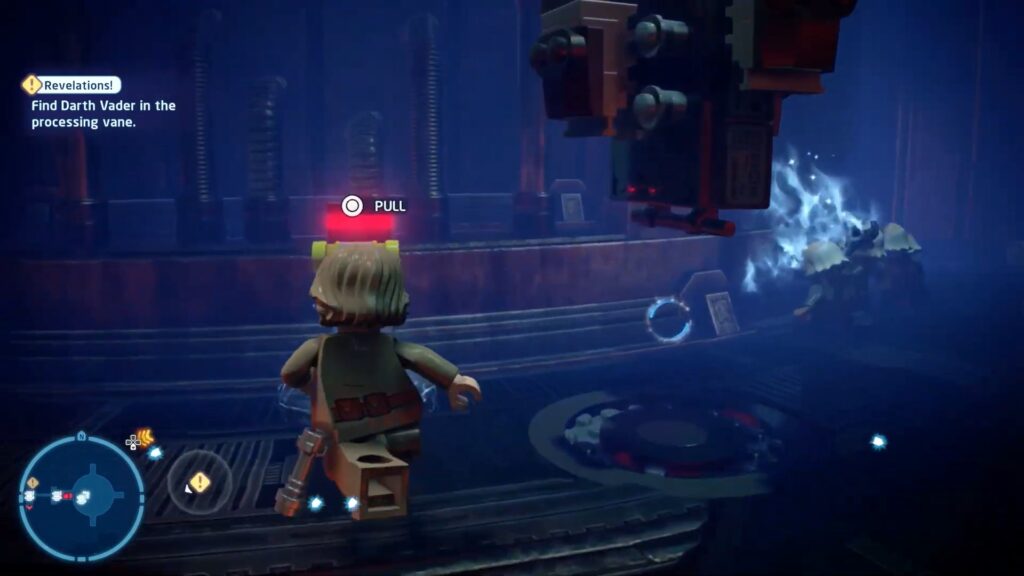
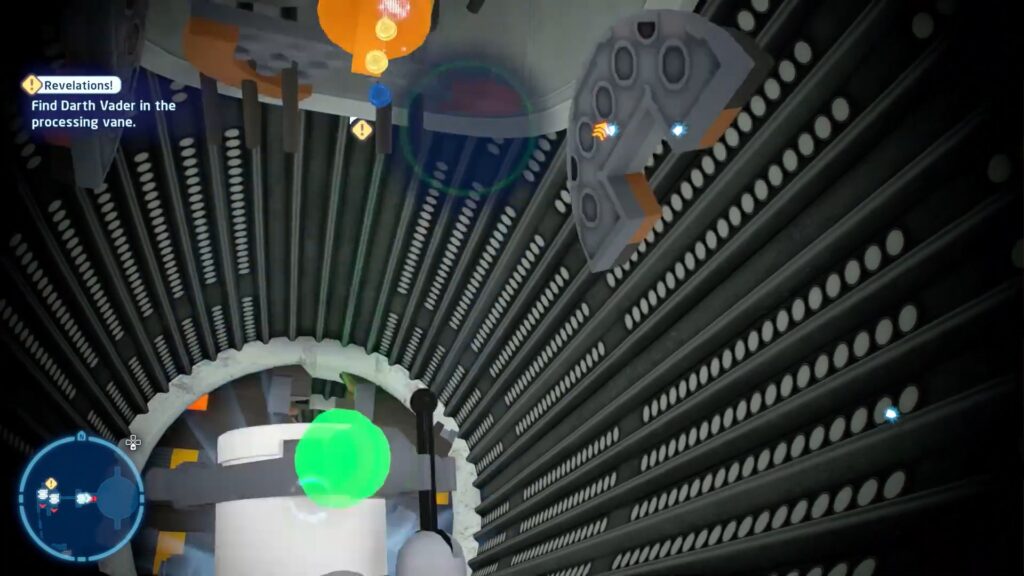
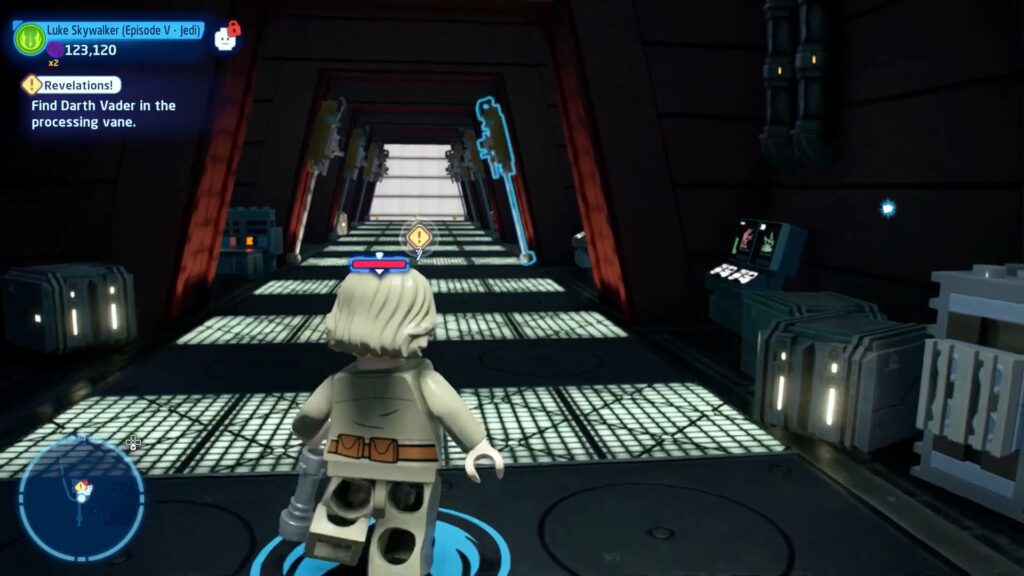
This is an indoor mission it is probably set in one of the empire’s buildings. There are multiple things a player can collect among them are the Minikits which we will be focusing on in this guide. You will be accompanied by a droid on this mission with Luke Skywalker.
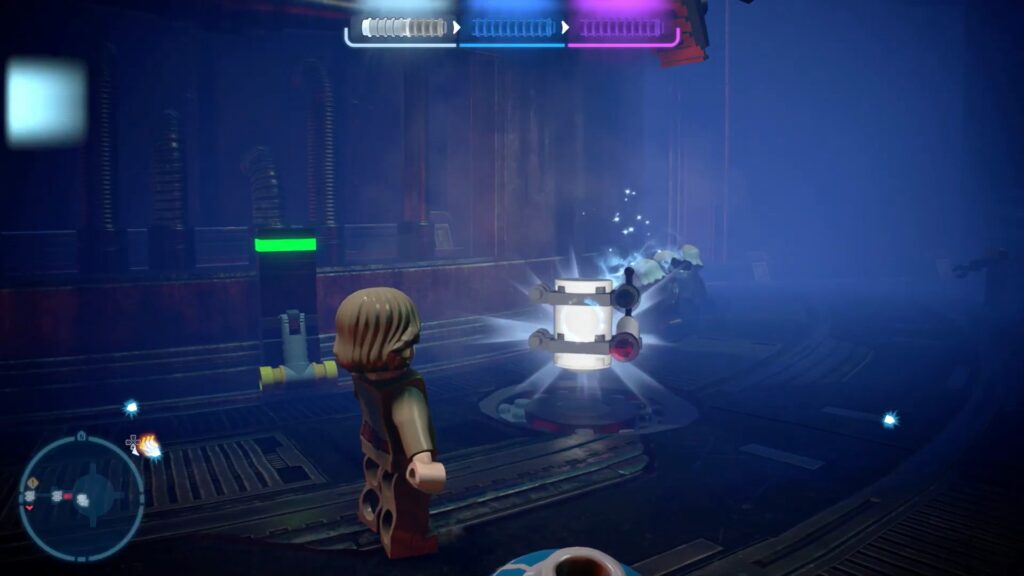
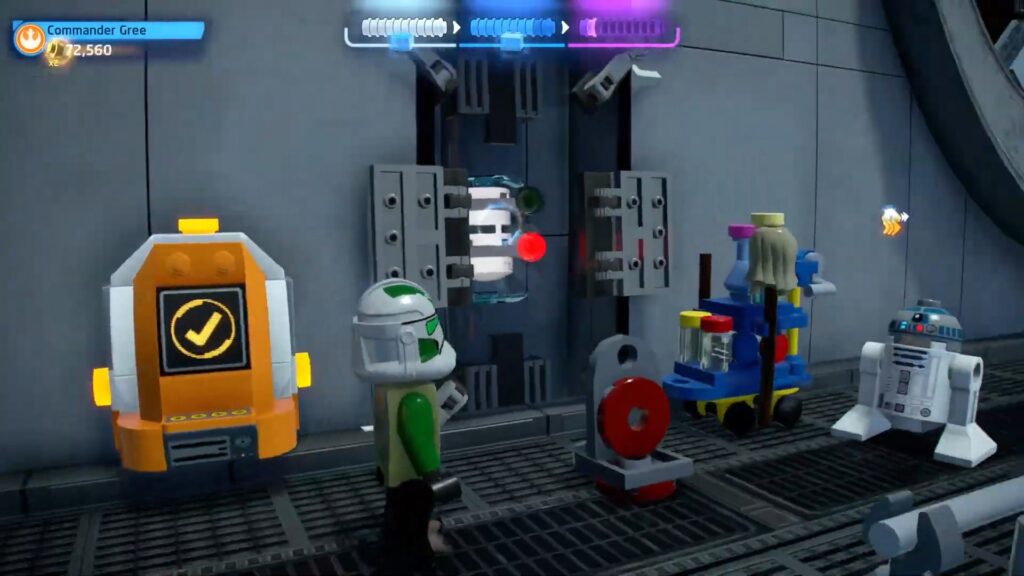
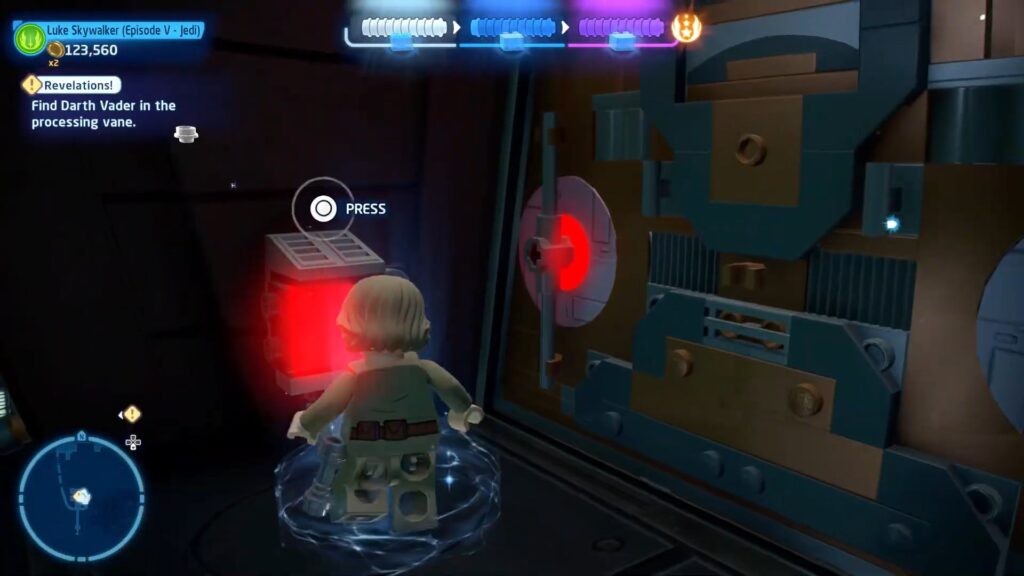
Getting the first Minikit in our list is very easy all we have to do is pull the handle as a result of it a machine will bring something from the top which will go under the surface area where we are standing within a few seconds a Minikit will come up from that surface hole. We have attached images below to make them easy to understand.
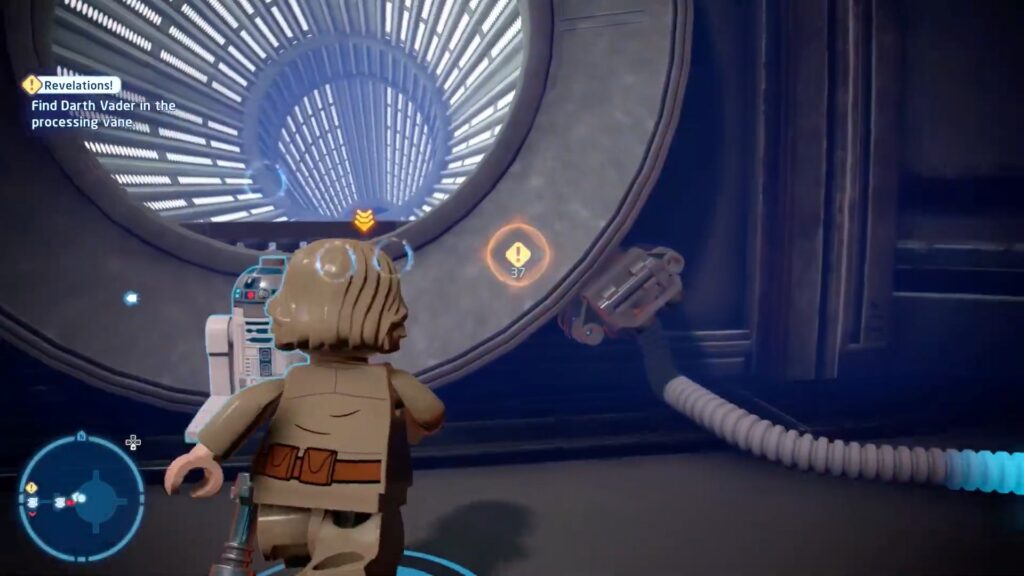
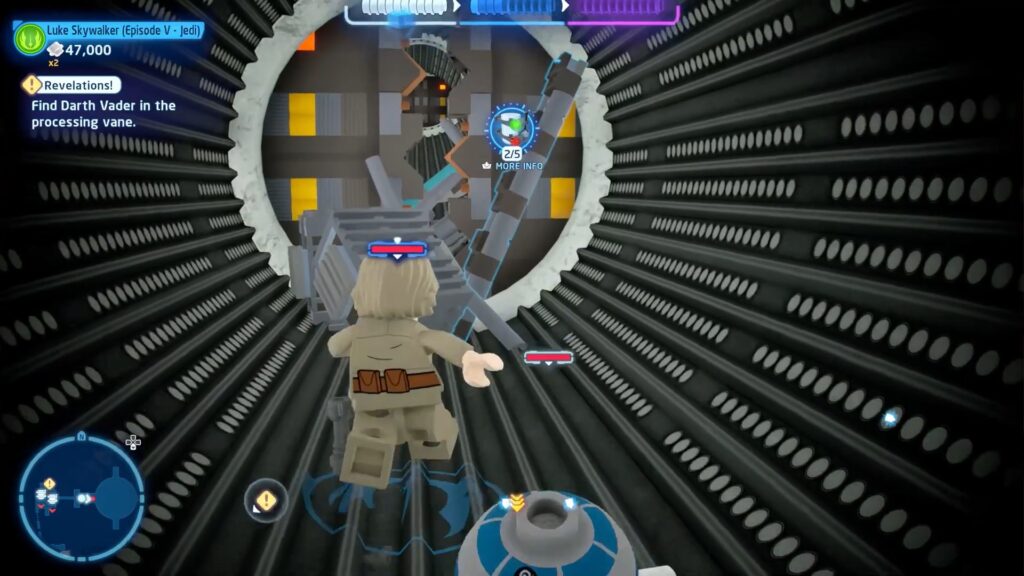
For the next Minikit in our list, you need to cross the tunnel at its exit on the left of the same route which goes back. enter into that tunnel as you will enter there will be another Minikit that will drop from the top. We have attached images below that will make it easier to understand for you.
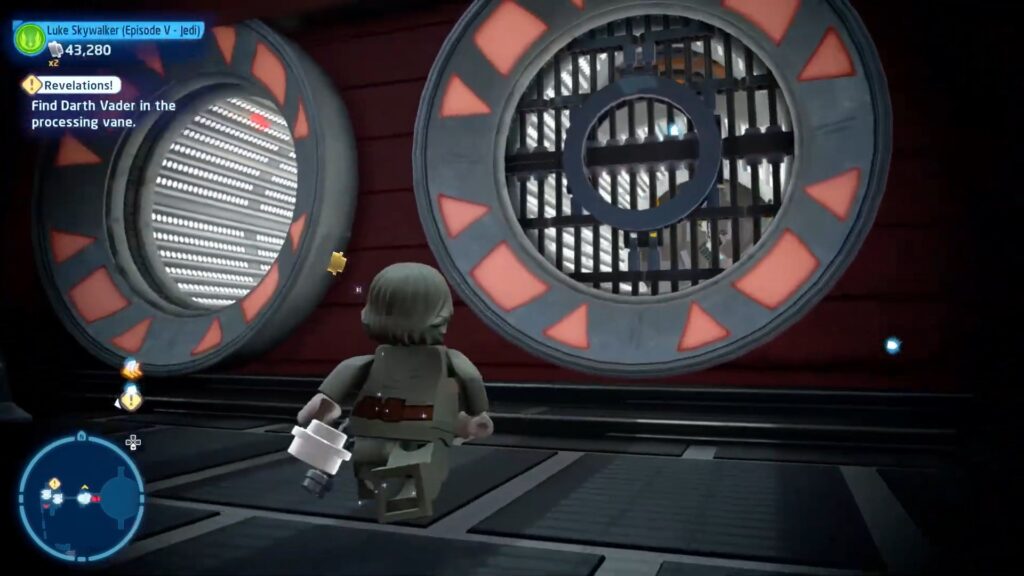
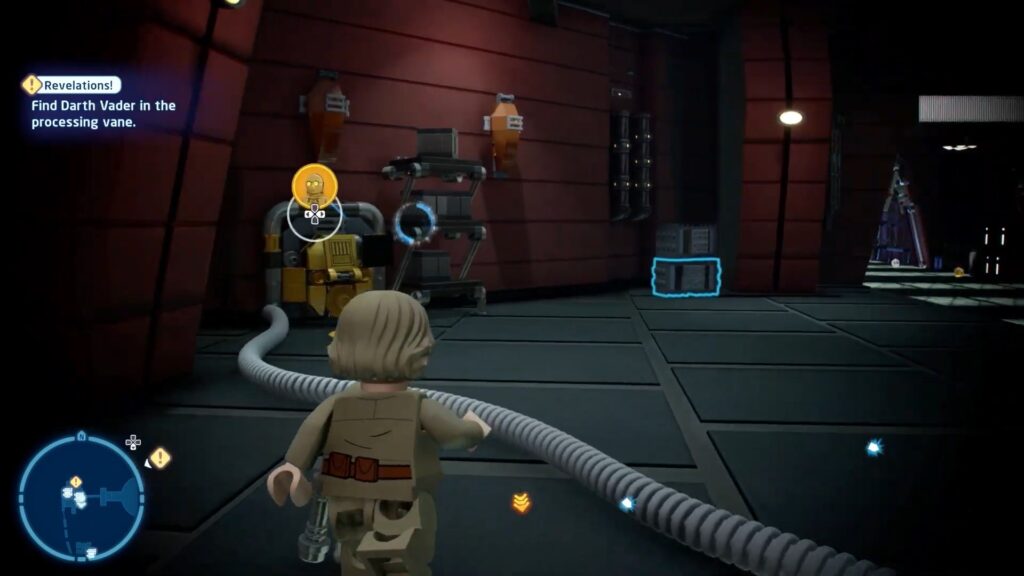
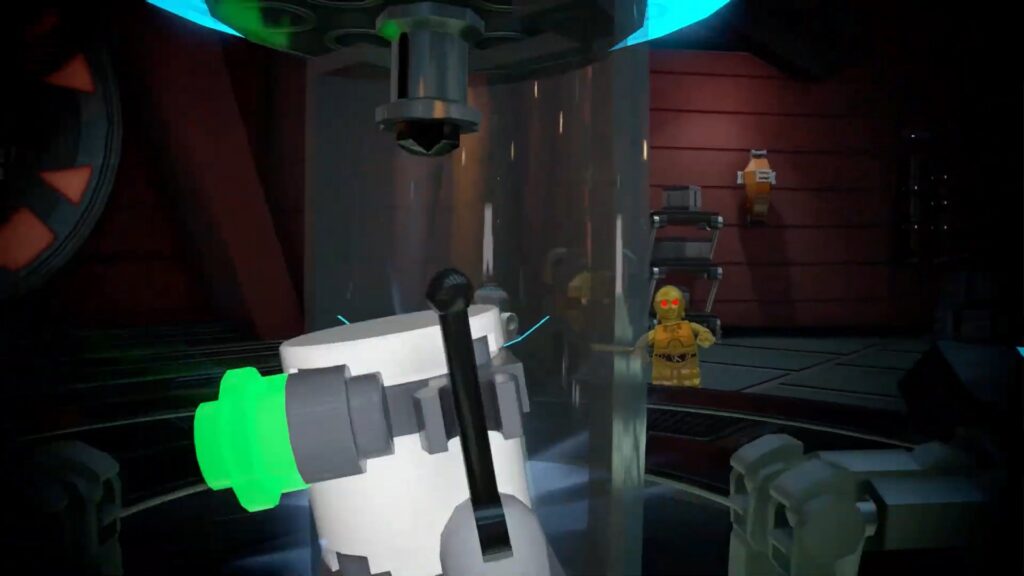
To get a third Minikit you need to pass through another door of the tunnel from which you got the second Minikit outside of it will be a puzzle that you need to solve by controlling 3-CPO that will reward you a third Minikit. We have attached images below to make the process of getting Minikit easier
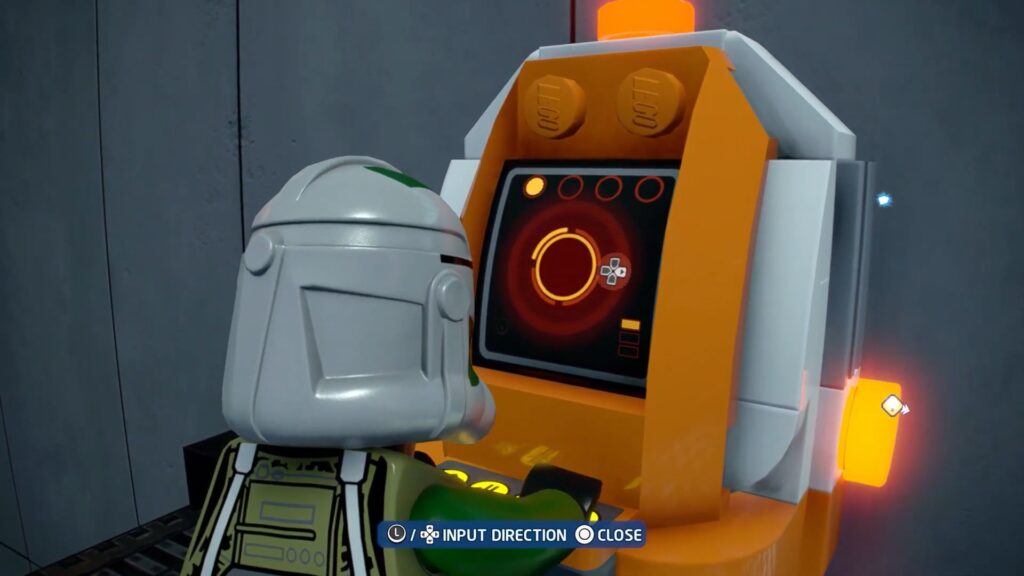
To get the fourth Minikit Switch character to Commander Gree and you have to activate the console with him to get the fourth Minikit. We have attached images below with a caption as a guide.
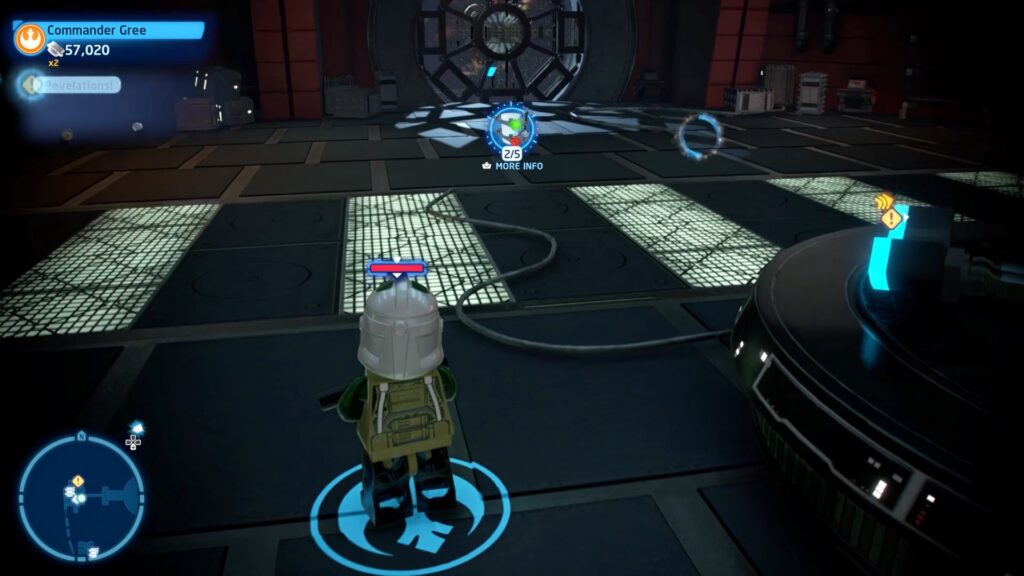
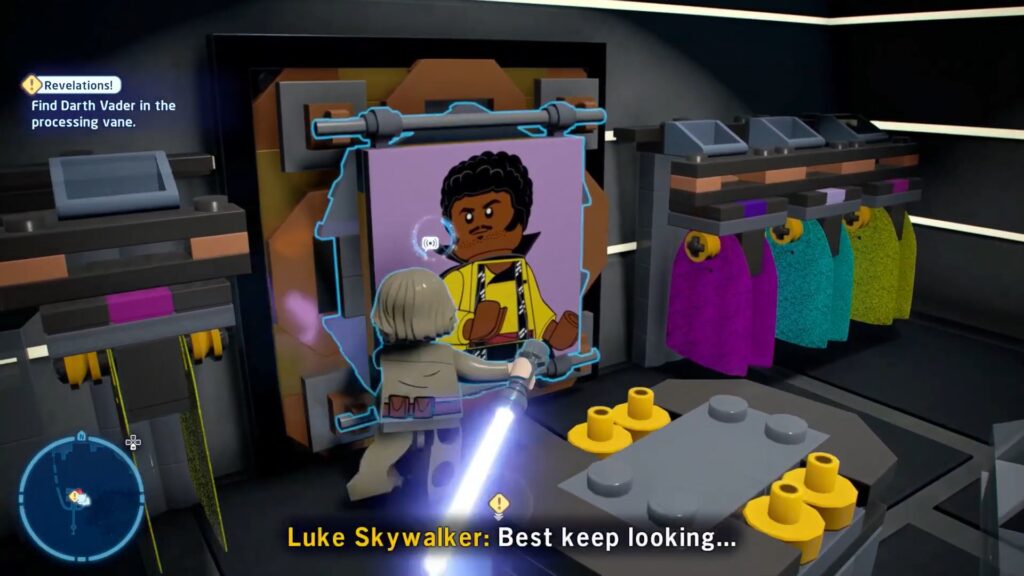
To get the last Minikit Switch back to Luke Skywalker reach the location in the image attached below. You will find a red button push it when it turns green door of the room will be opened and at the end of the room’s wall there will be a picture destroying it with a sword and you will be rewarded with a fifth Minikit.
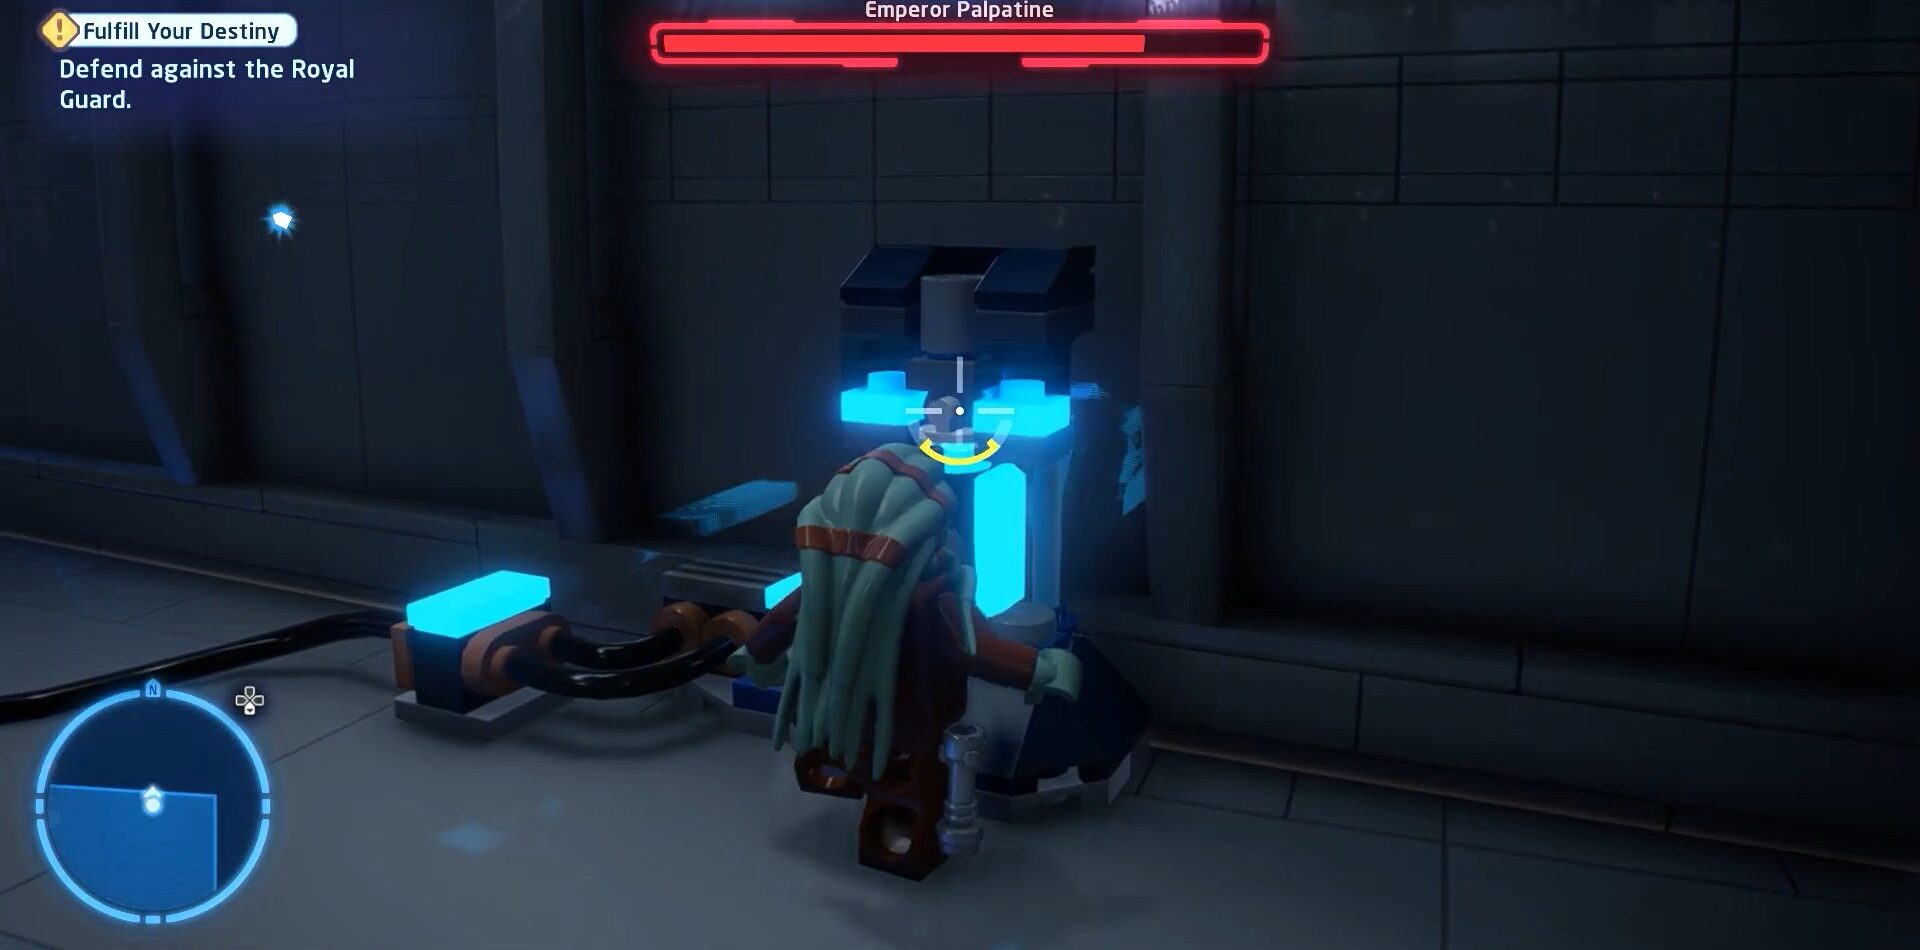
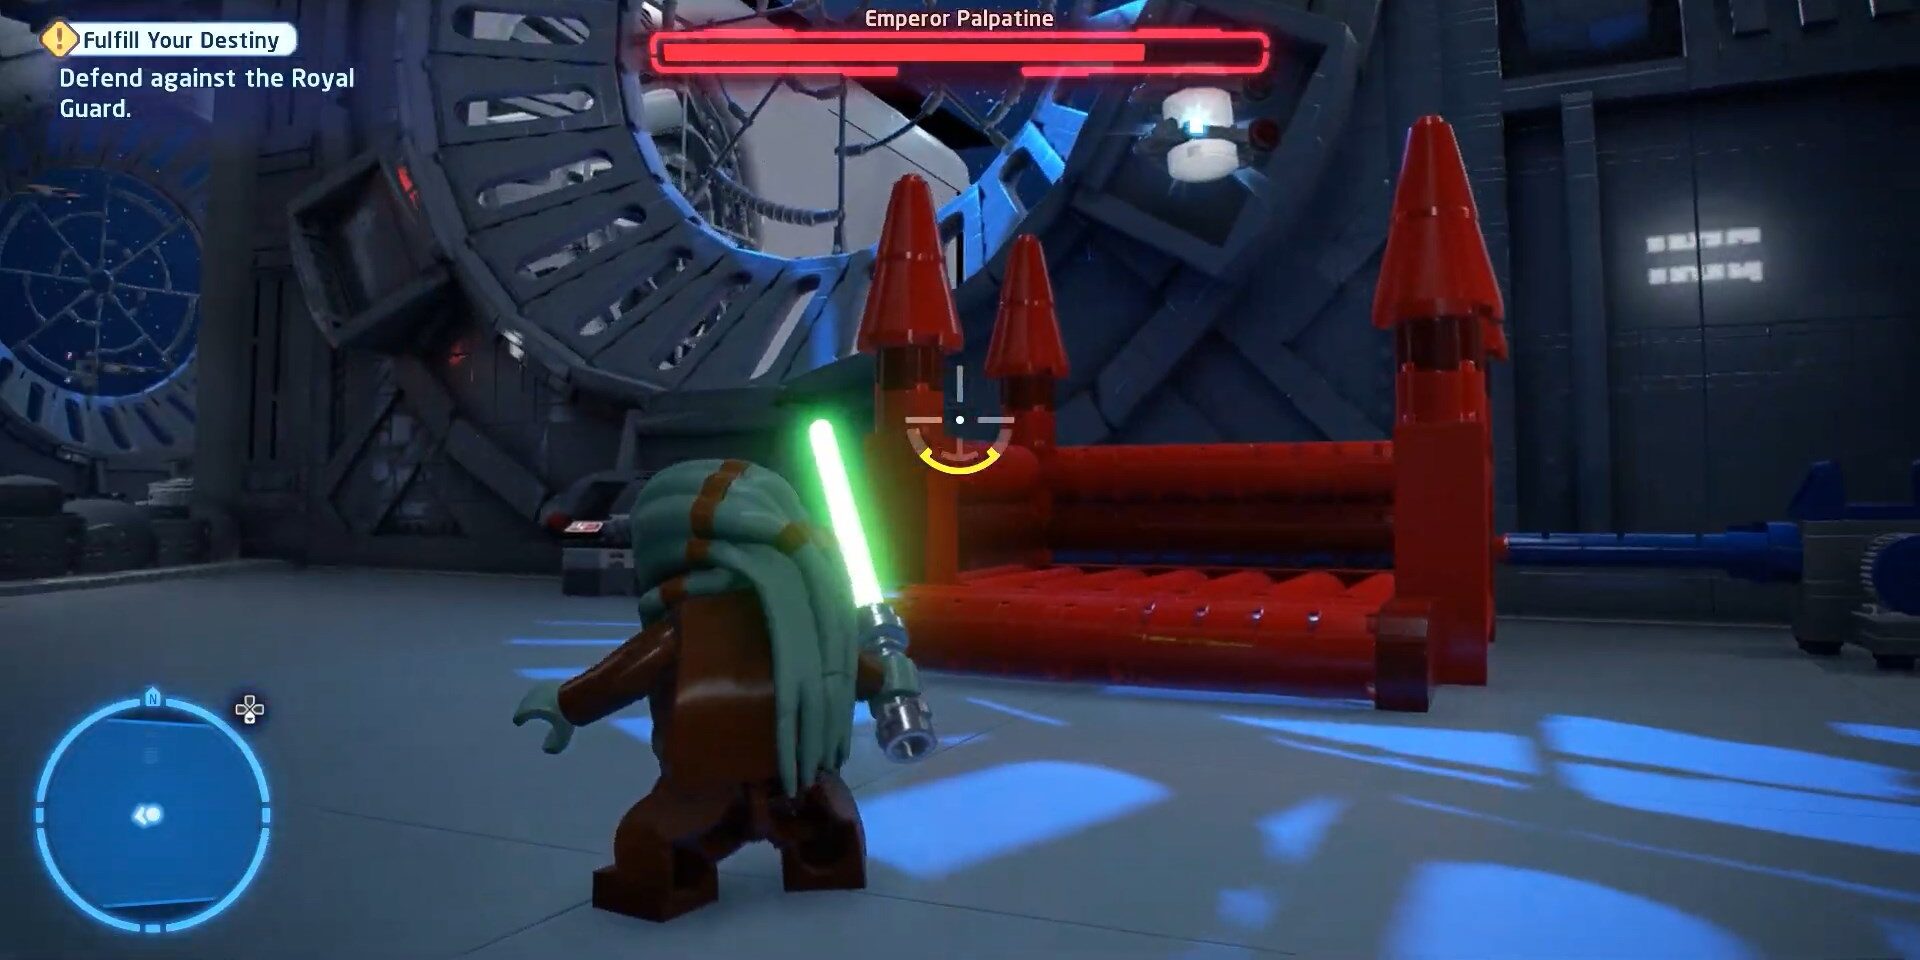
Fullfill your Destiny
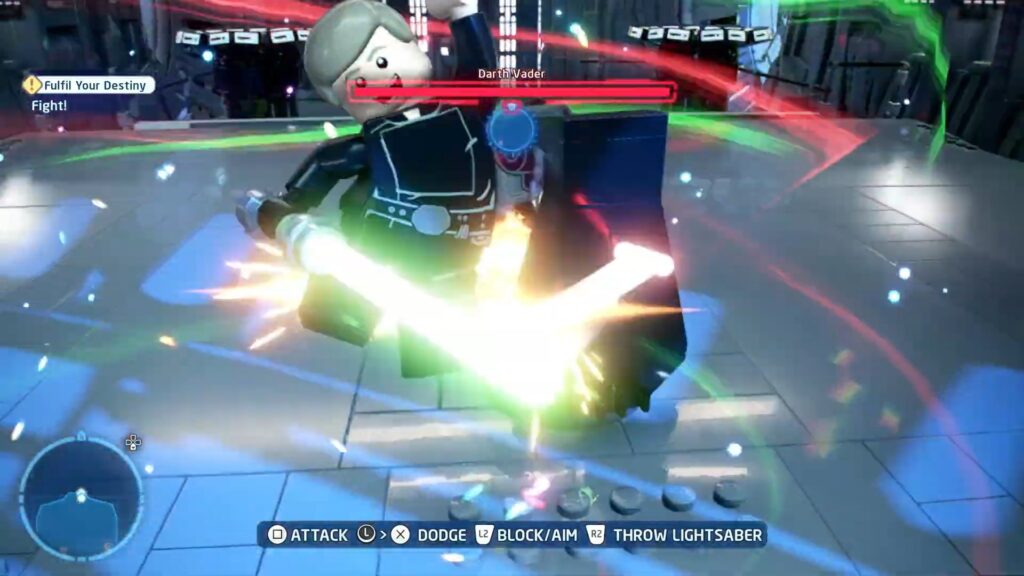
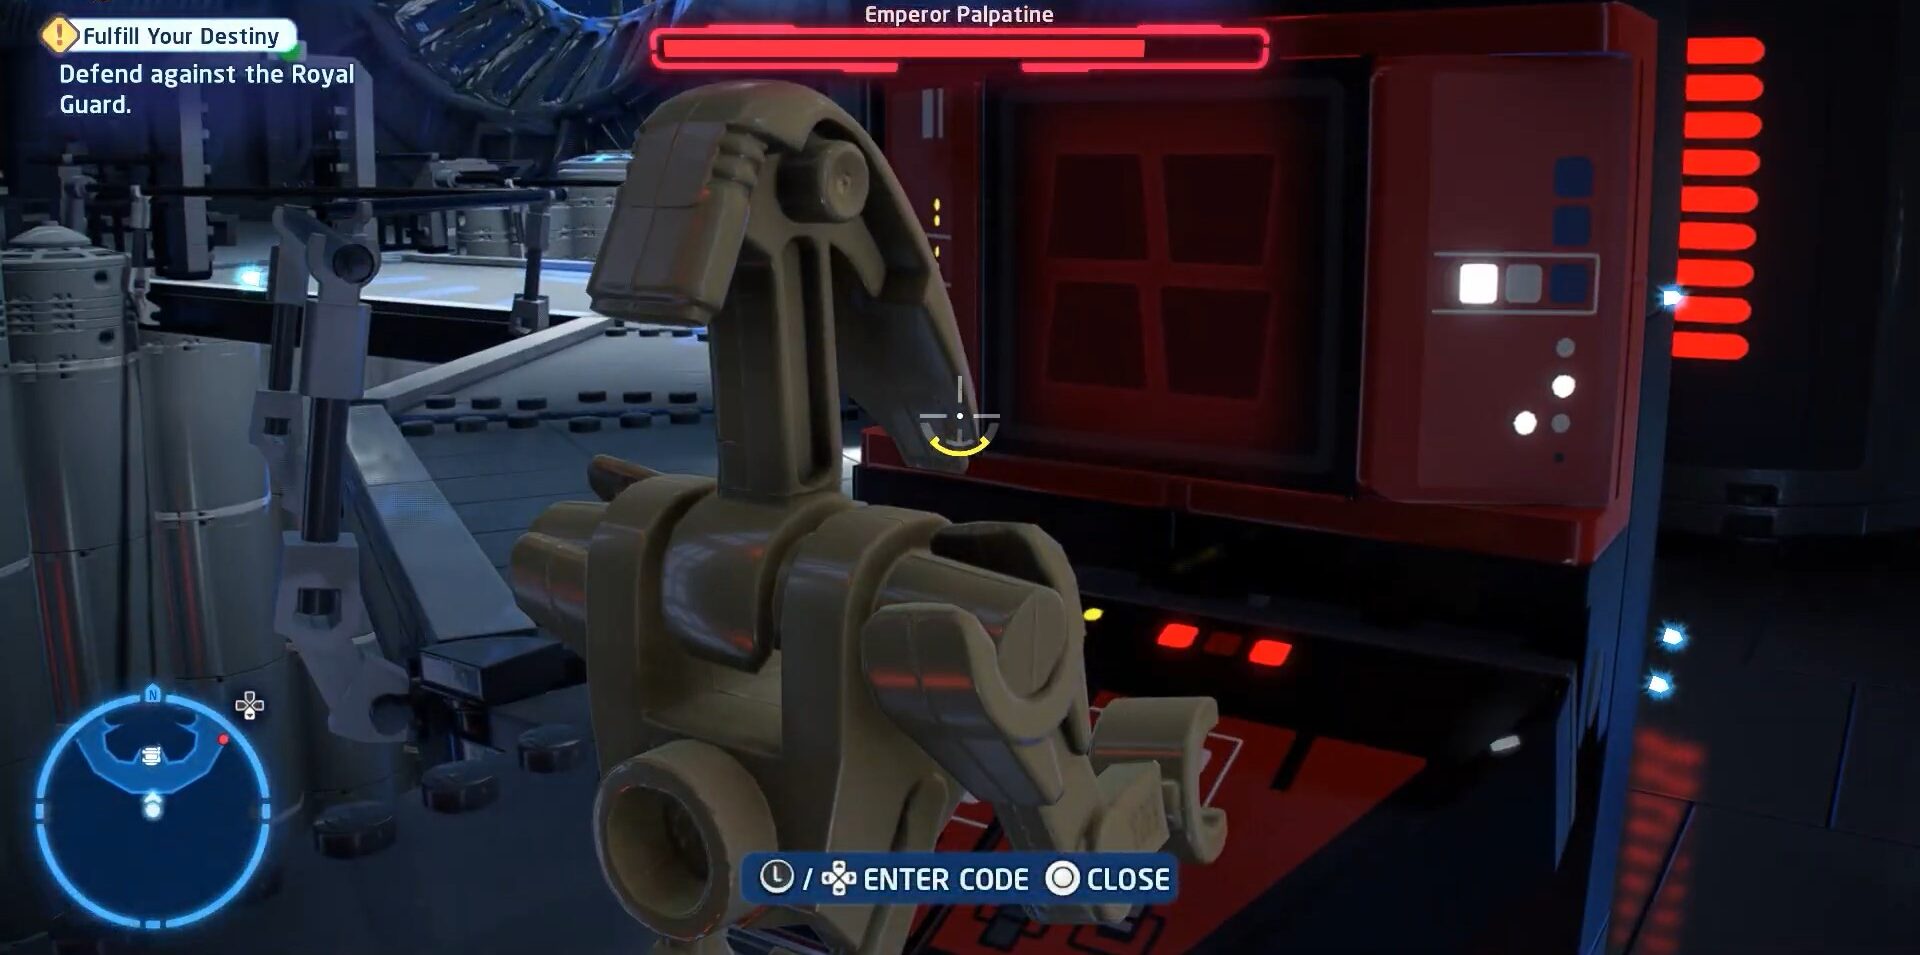
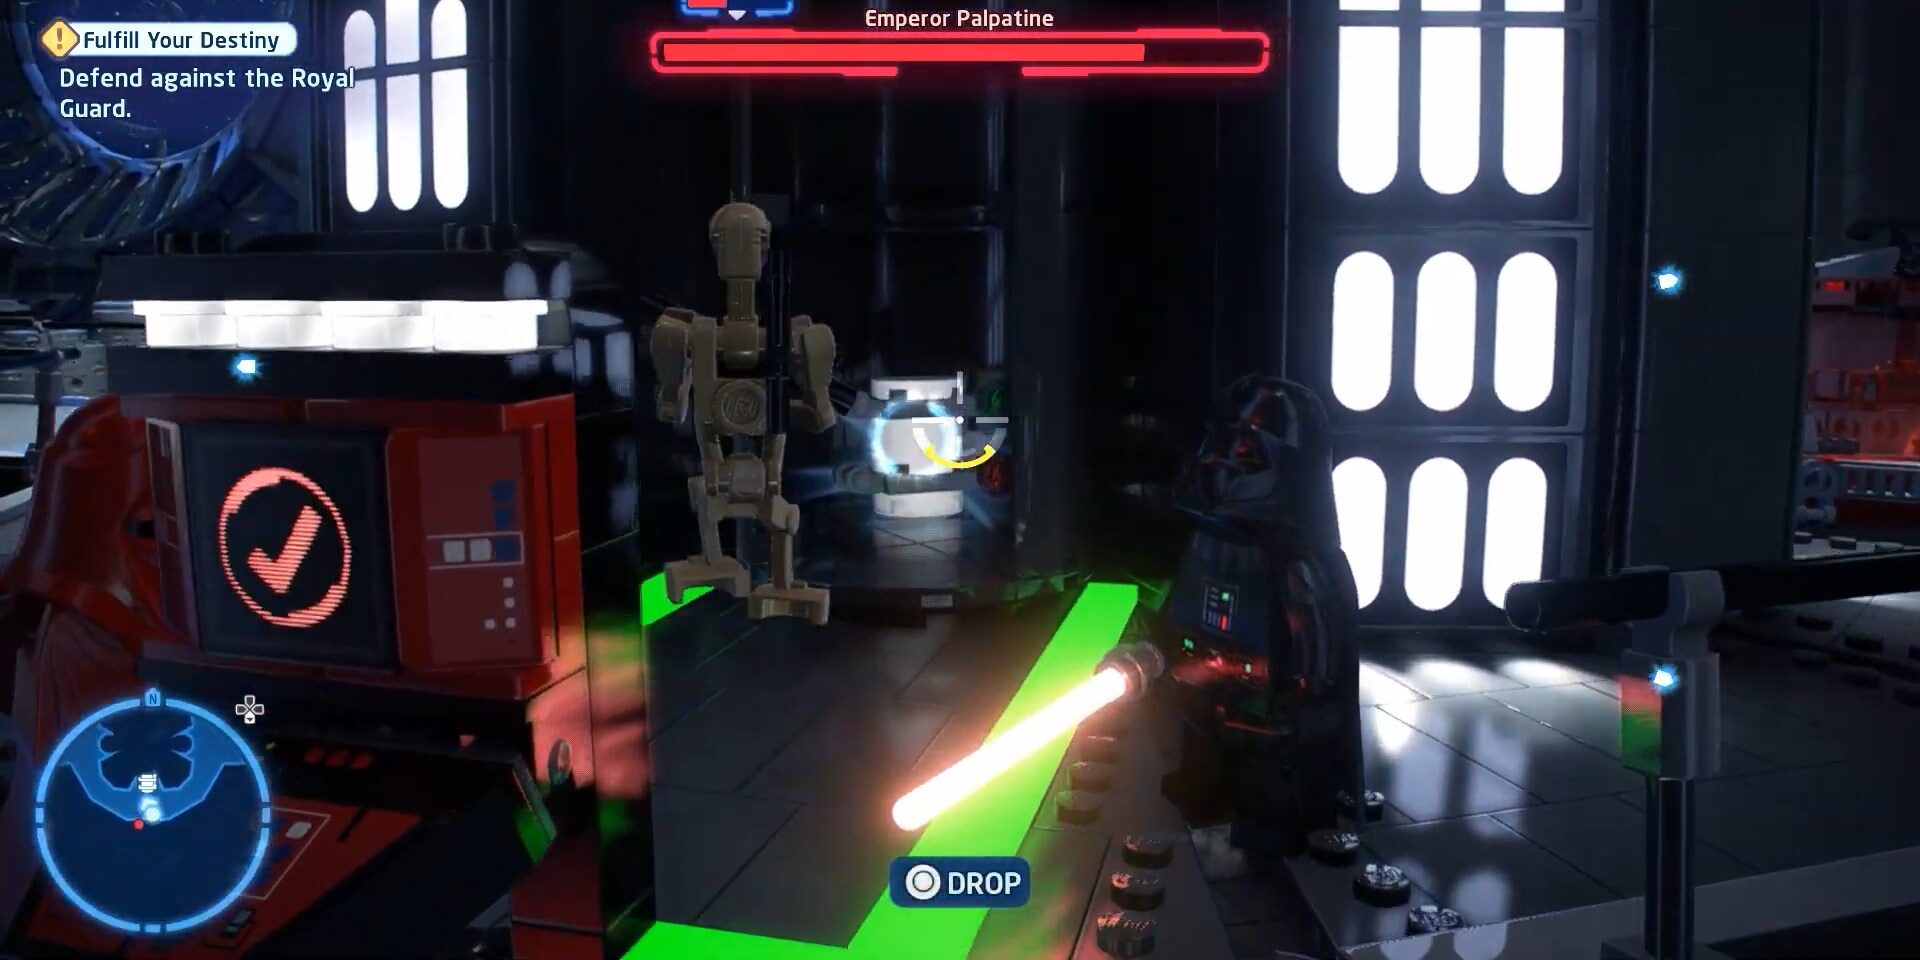
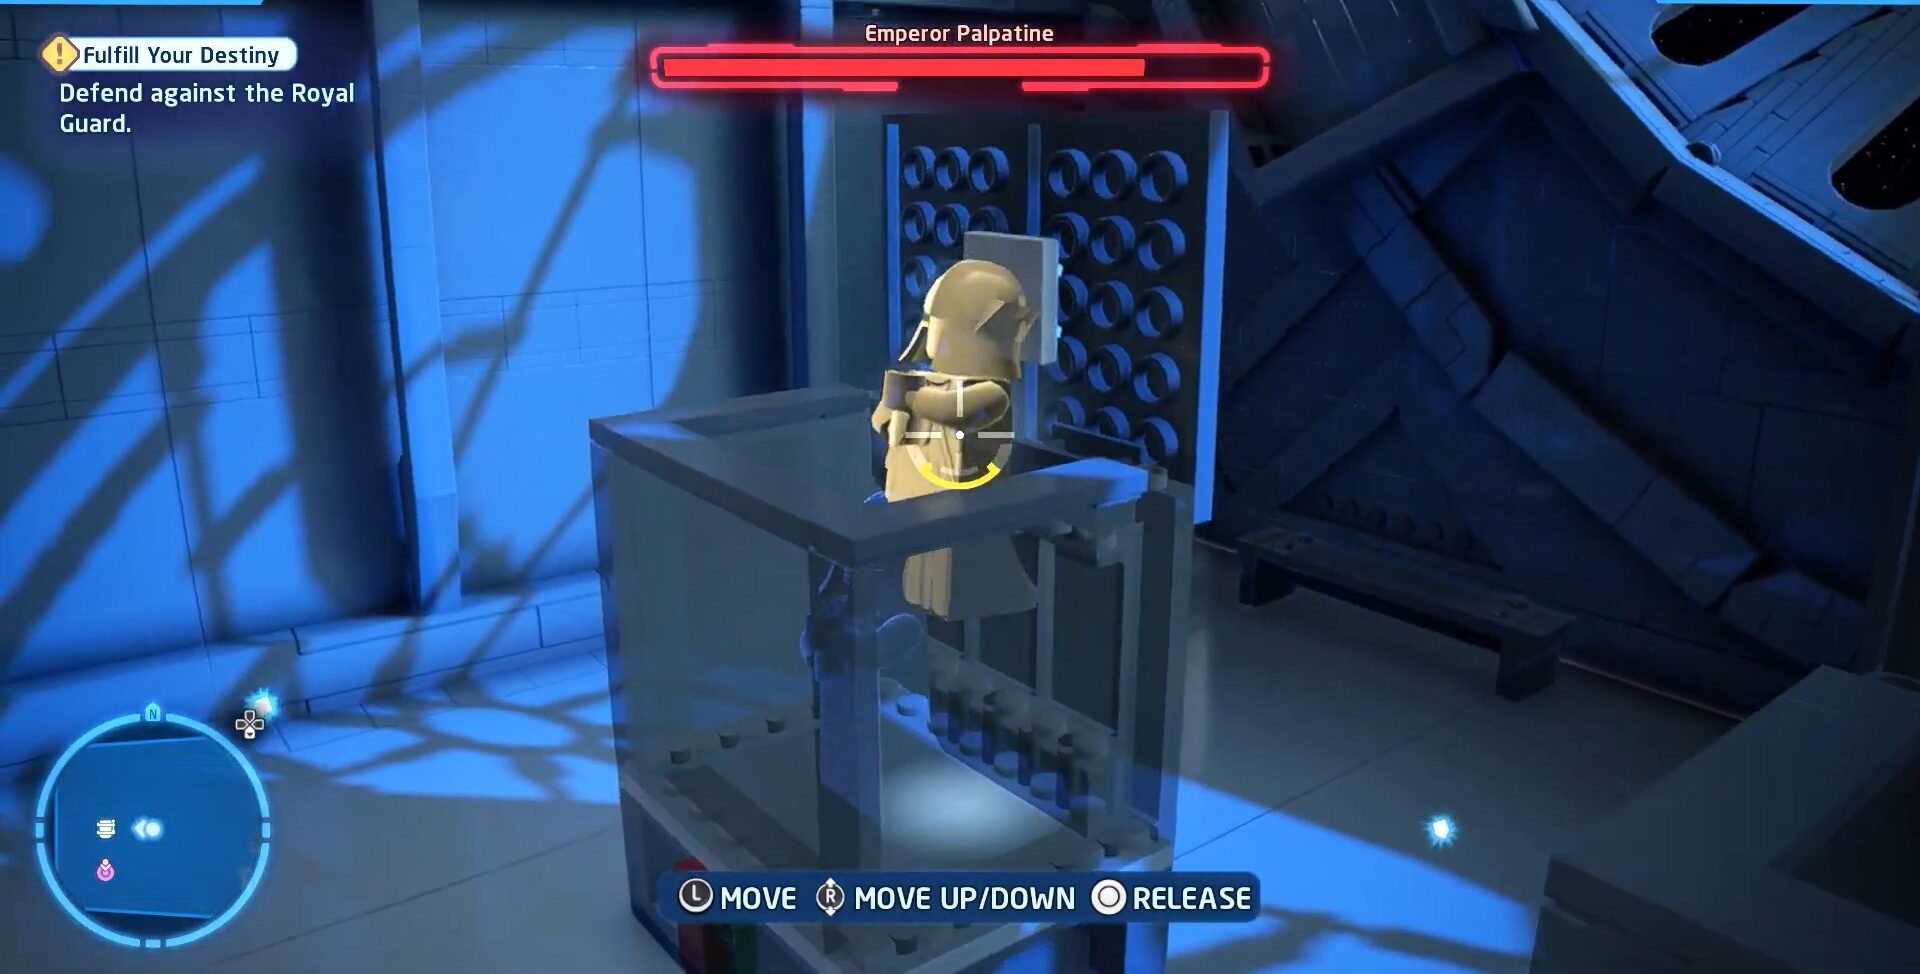
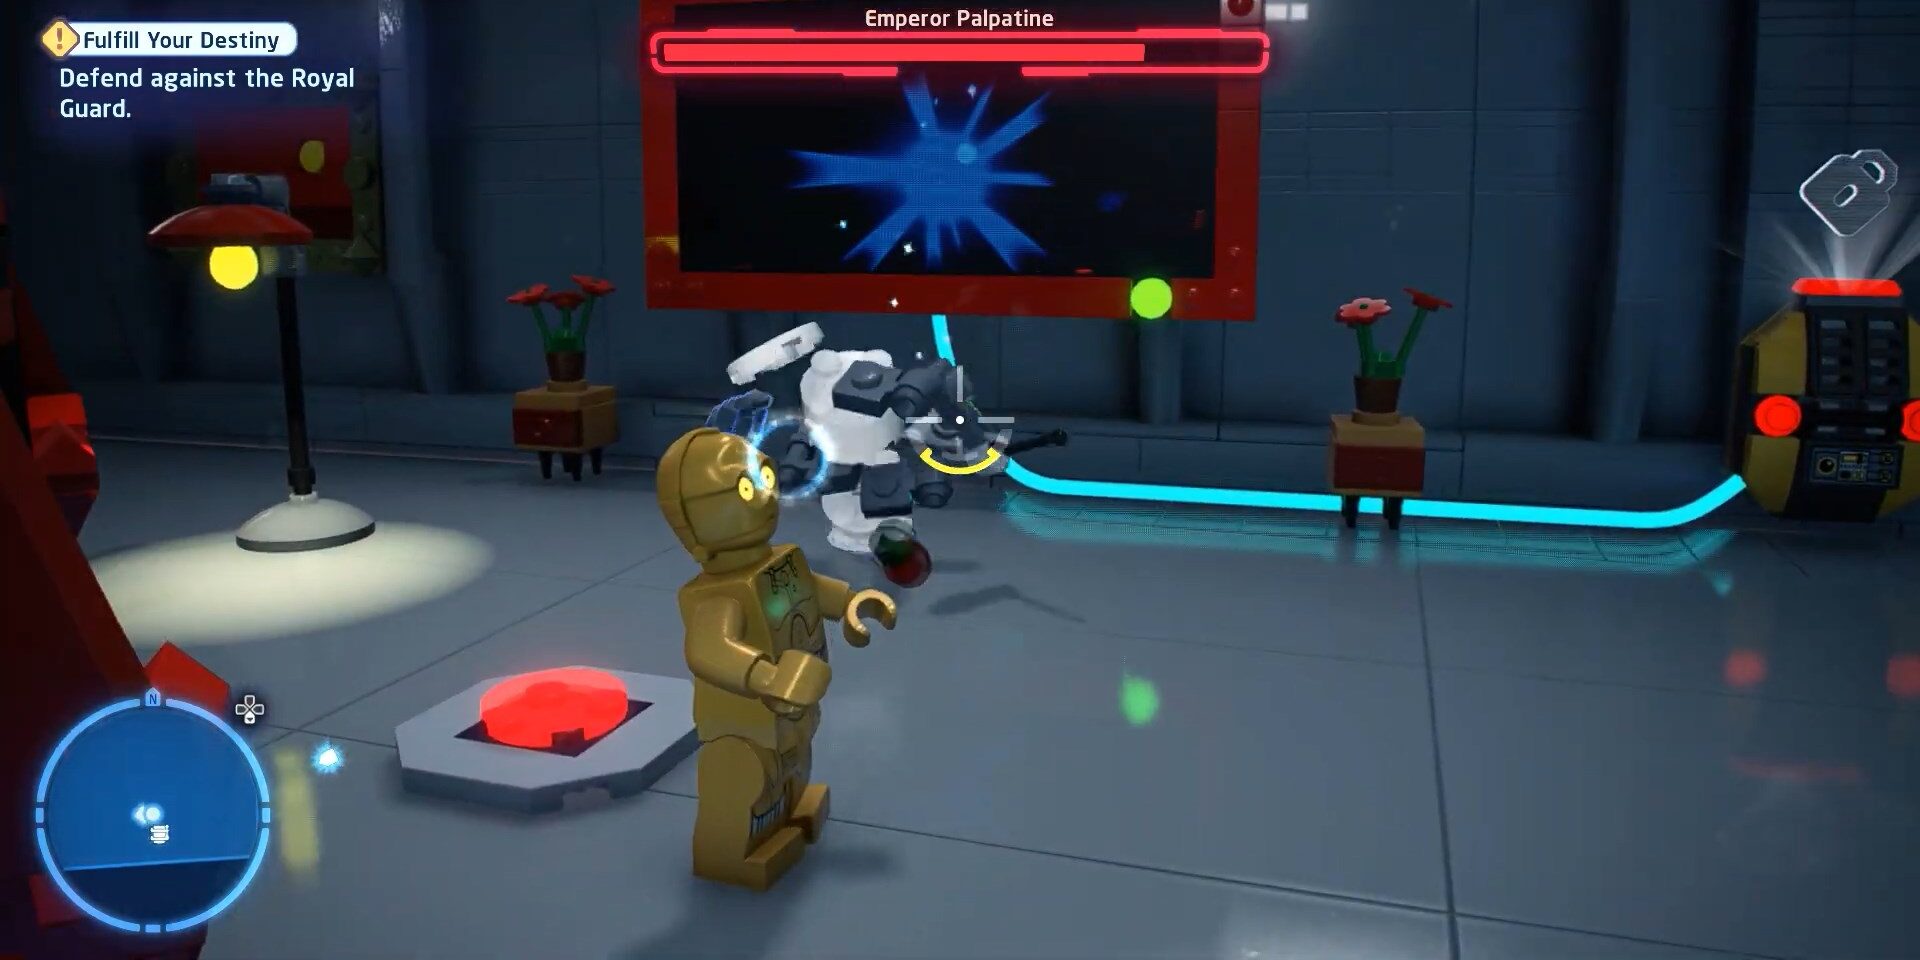
This is an epic mission where you can have five Minikits. You will be fighting here with Darth Vader and Emperor Palpatine face to face which is exciting as they are the main villains in the star wars movie saga. All in all in this very busy and engaging mission.
You will be fighting with Darth Vader at the start of the mission and the Emperor will be sitting right there on a chair. You can collect the first Minikit behind the chair of the Emperor. We have attached images below as a guide.

Now when your main objective is to get Minikit then it is pointless to involve in combat just sneak past the Darth Vader and Emperor and shift the character to Battle Droid and solve the puzzle once you solve it another Minikit will appear in front of you let me remind you that you have to solve puzzle quick as there will be enemies attacking you that time. We have attached images for Lego Star Wars The Skywalker Saga Minikit locations below to make it easier for you.
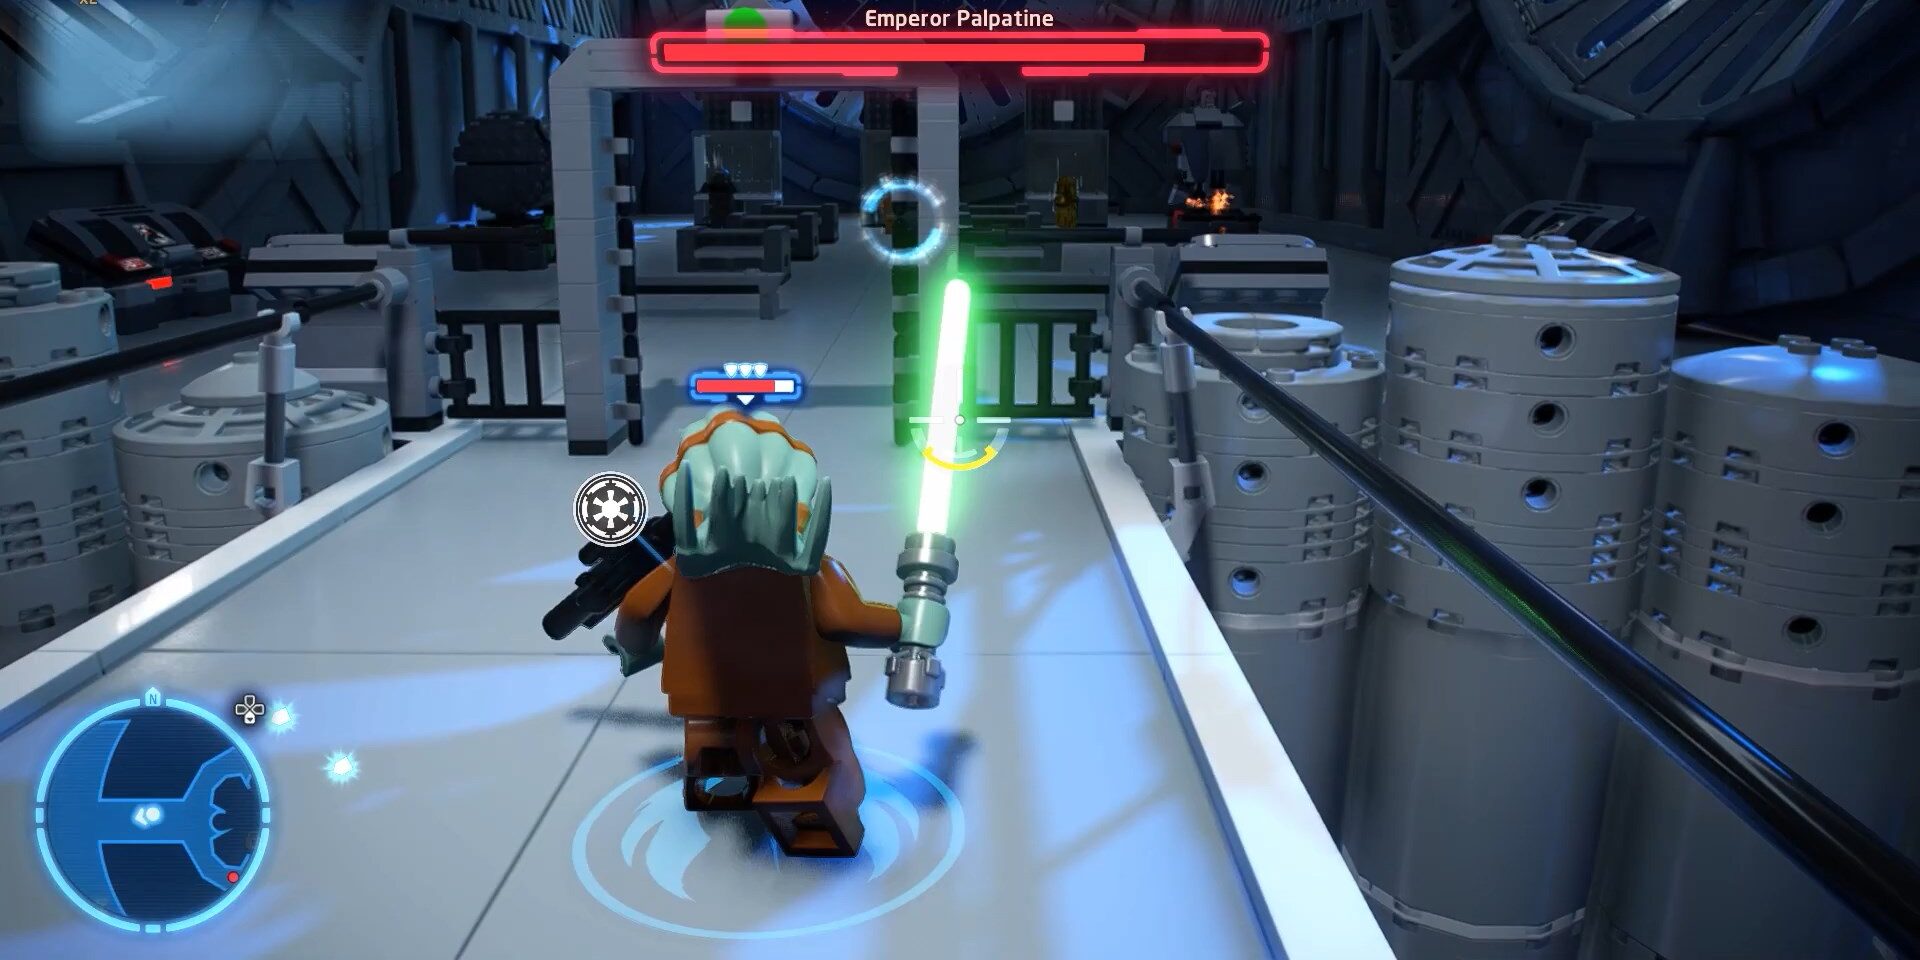
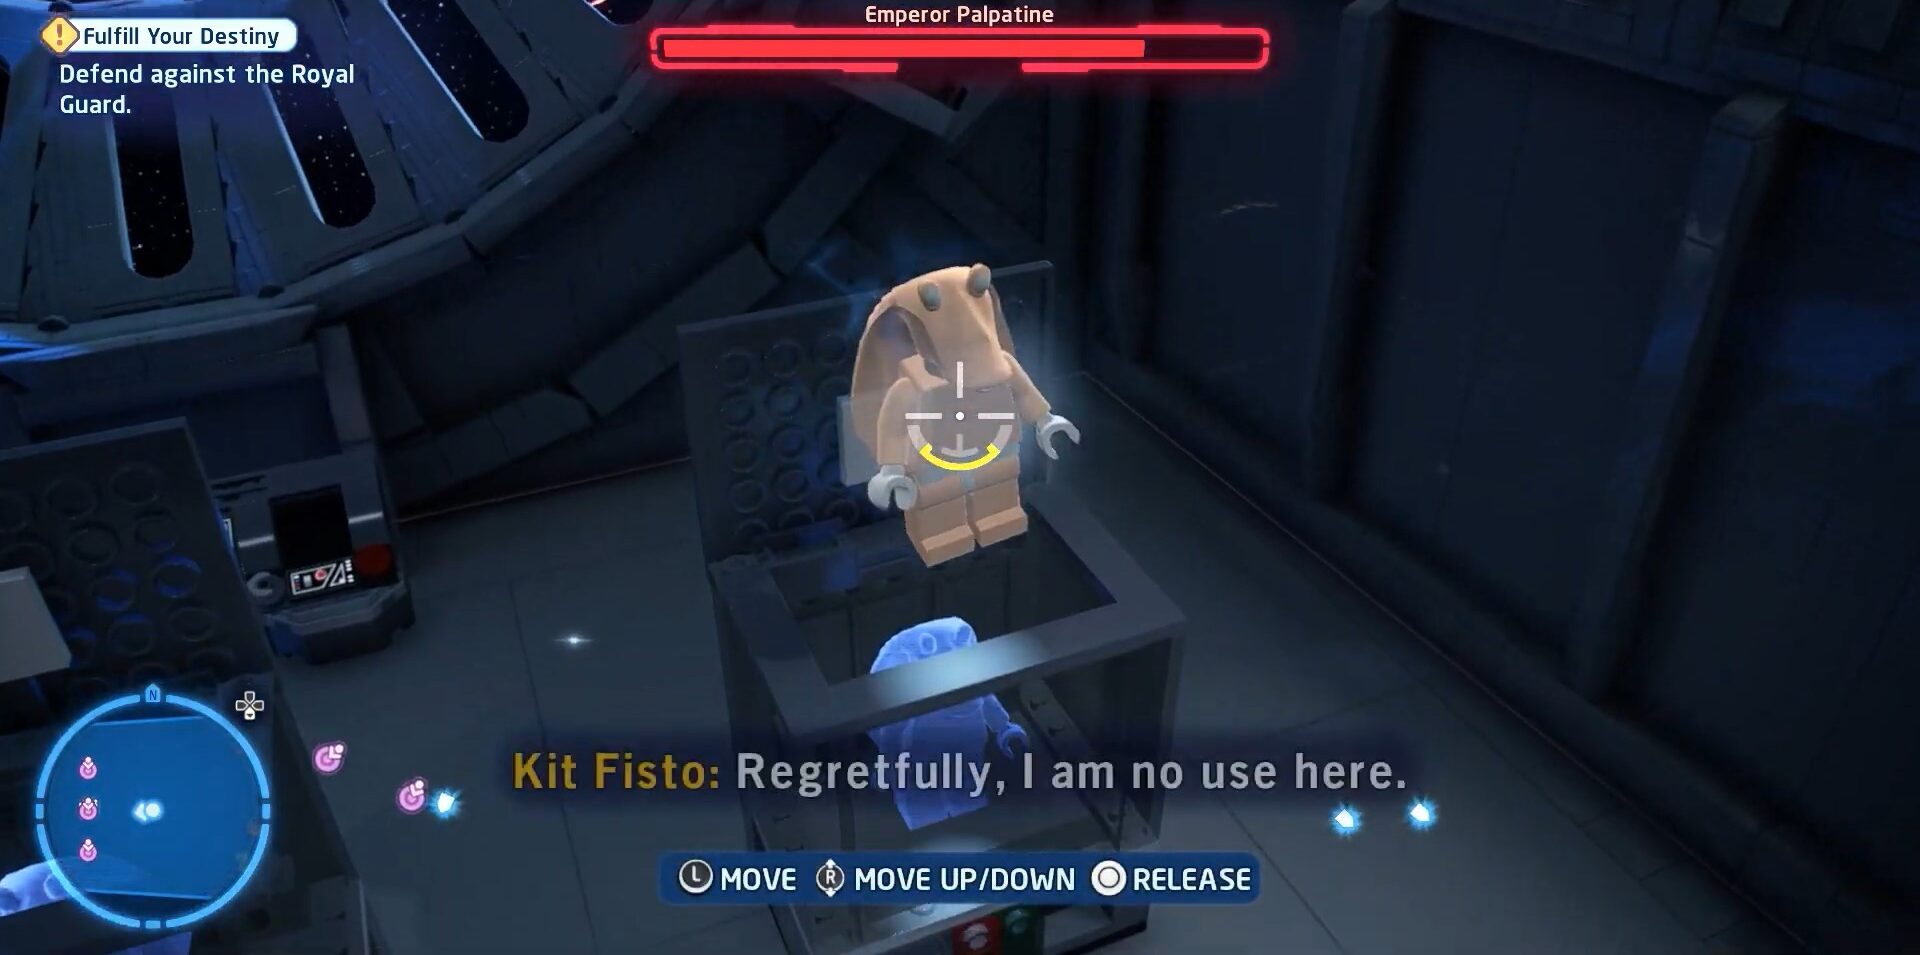
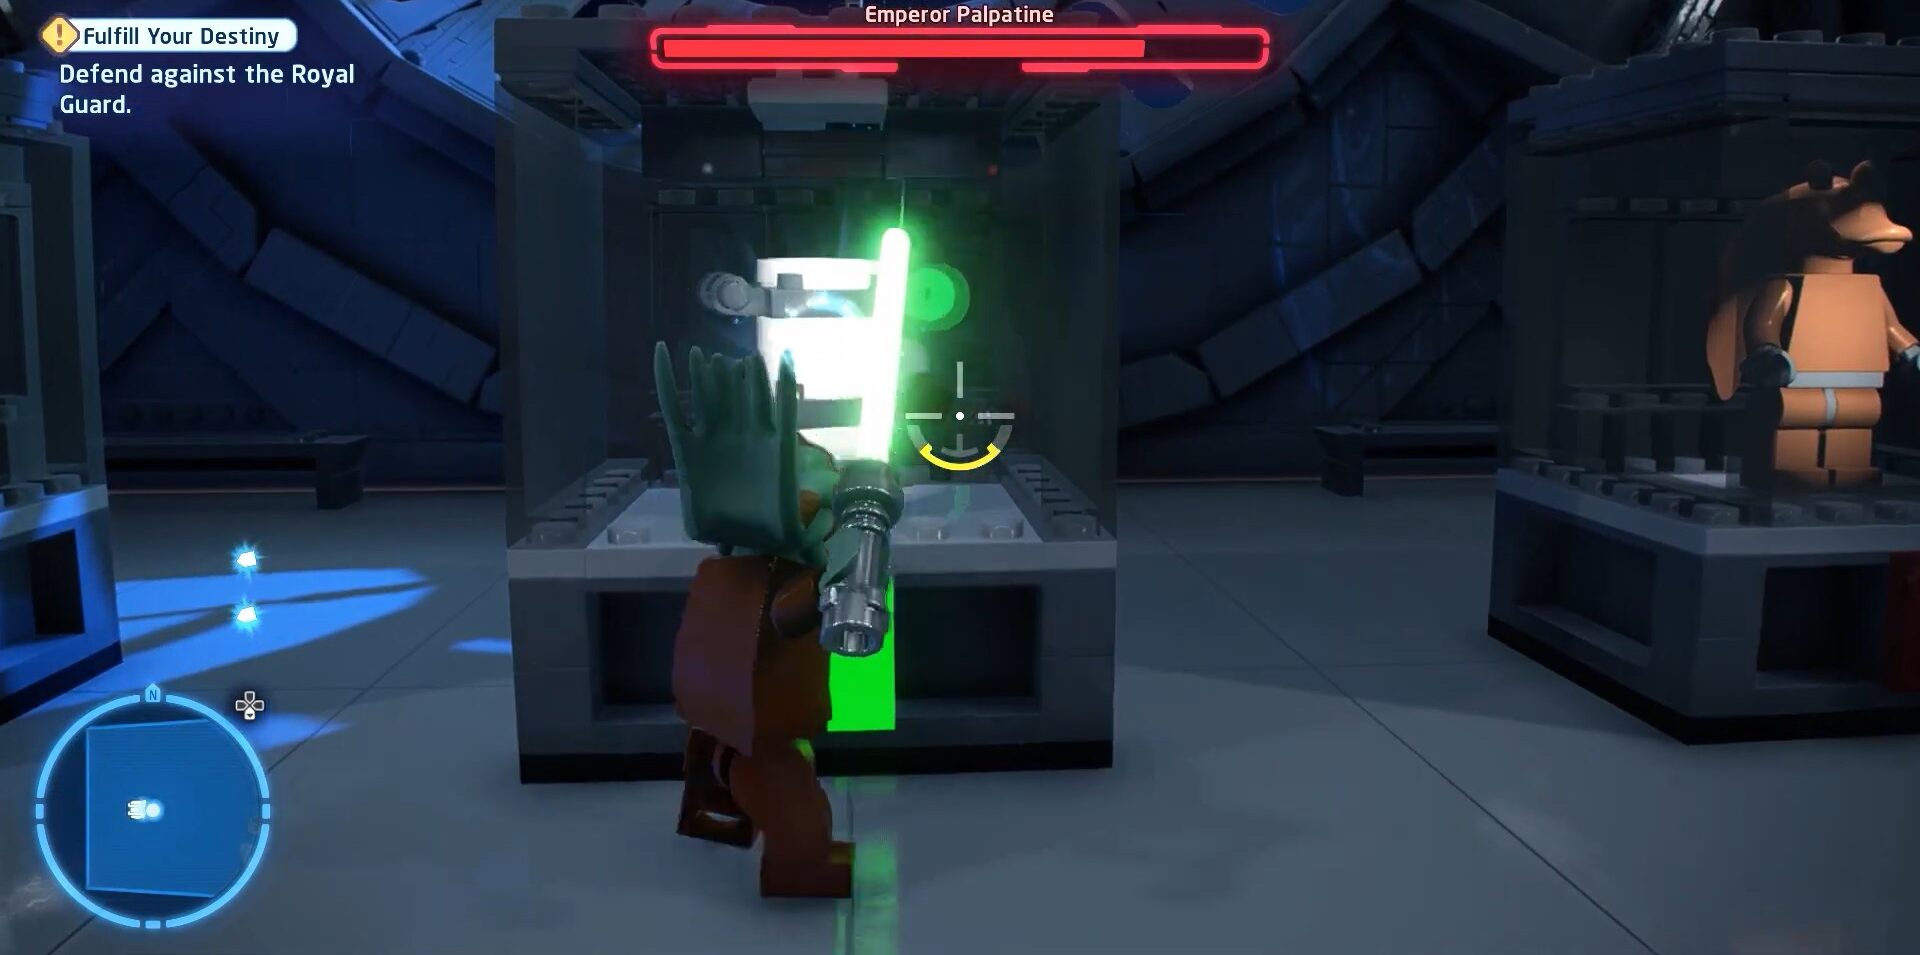
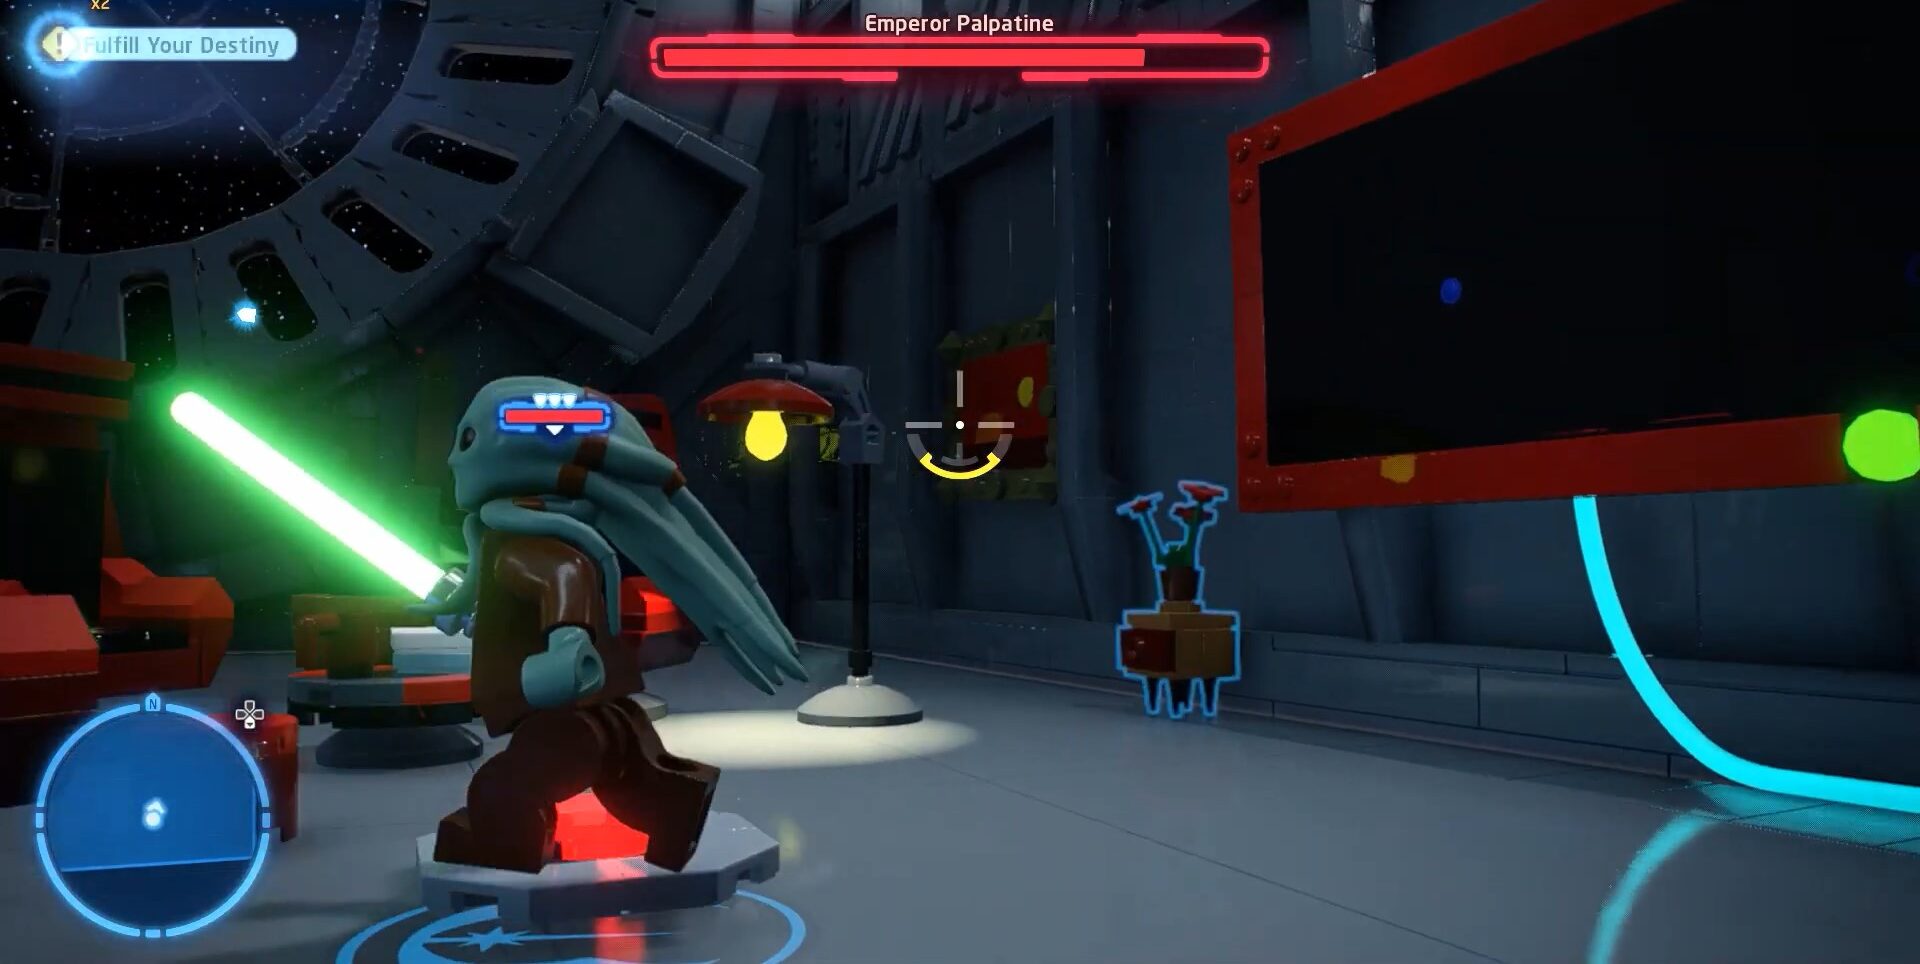
Shift the character first to Jedi Master Kit Fisto than you will find three statues and three boxes these statues are meant to lift in the air and then put in the boxes once done you will get the Minikit.
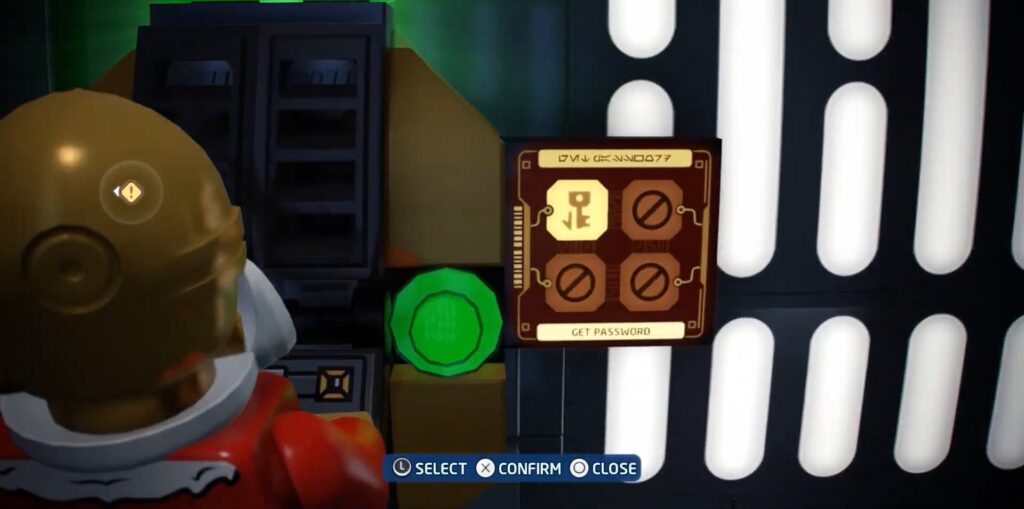
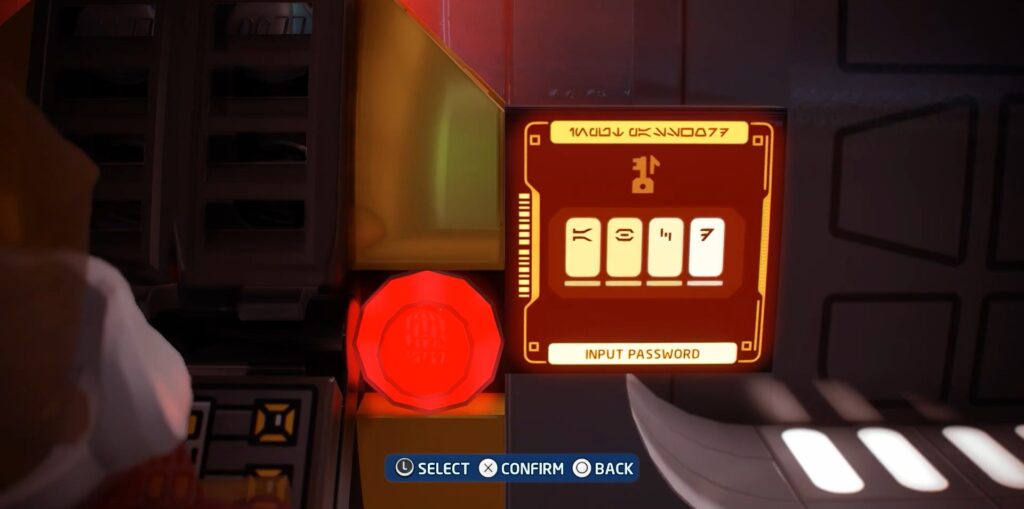
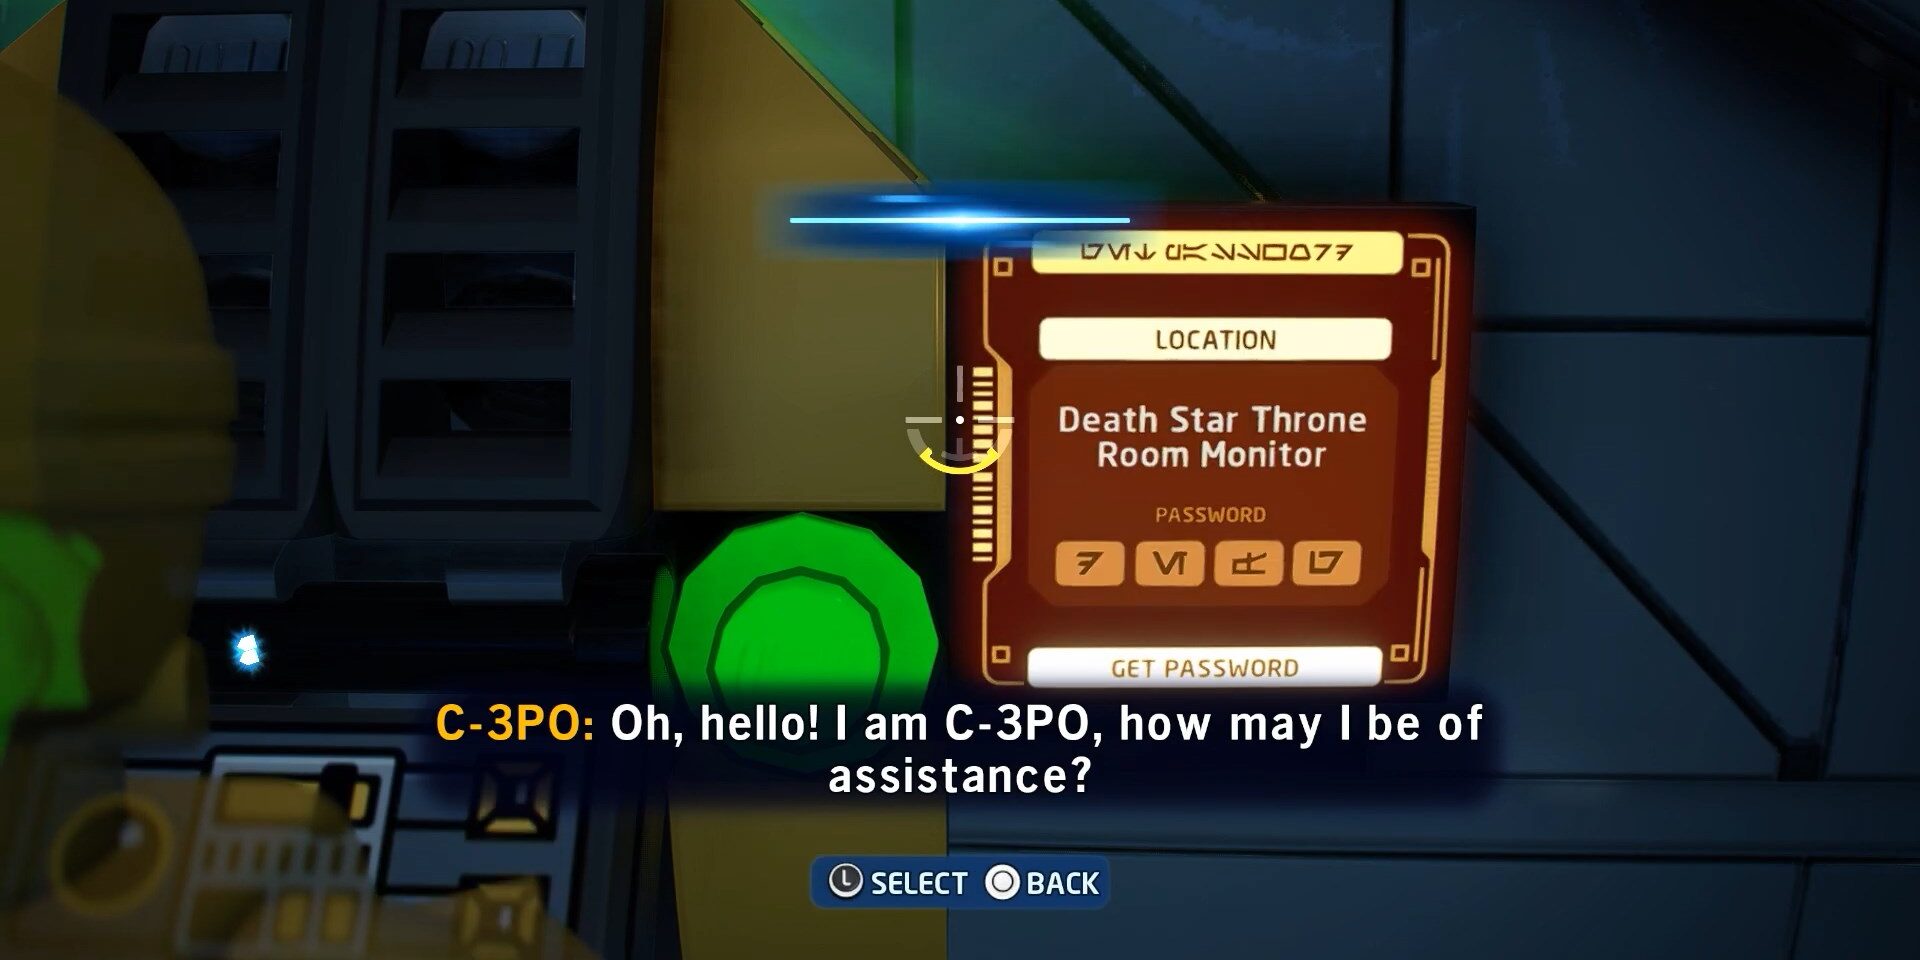
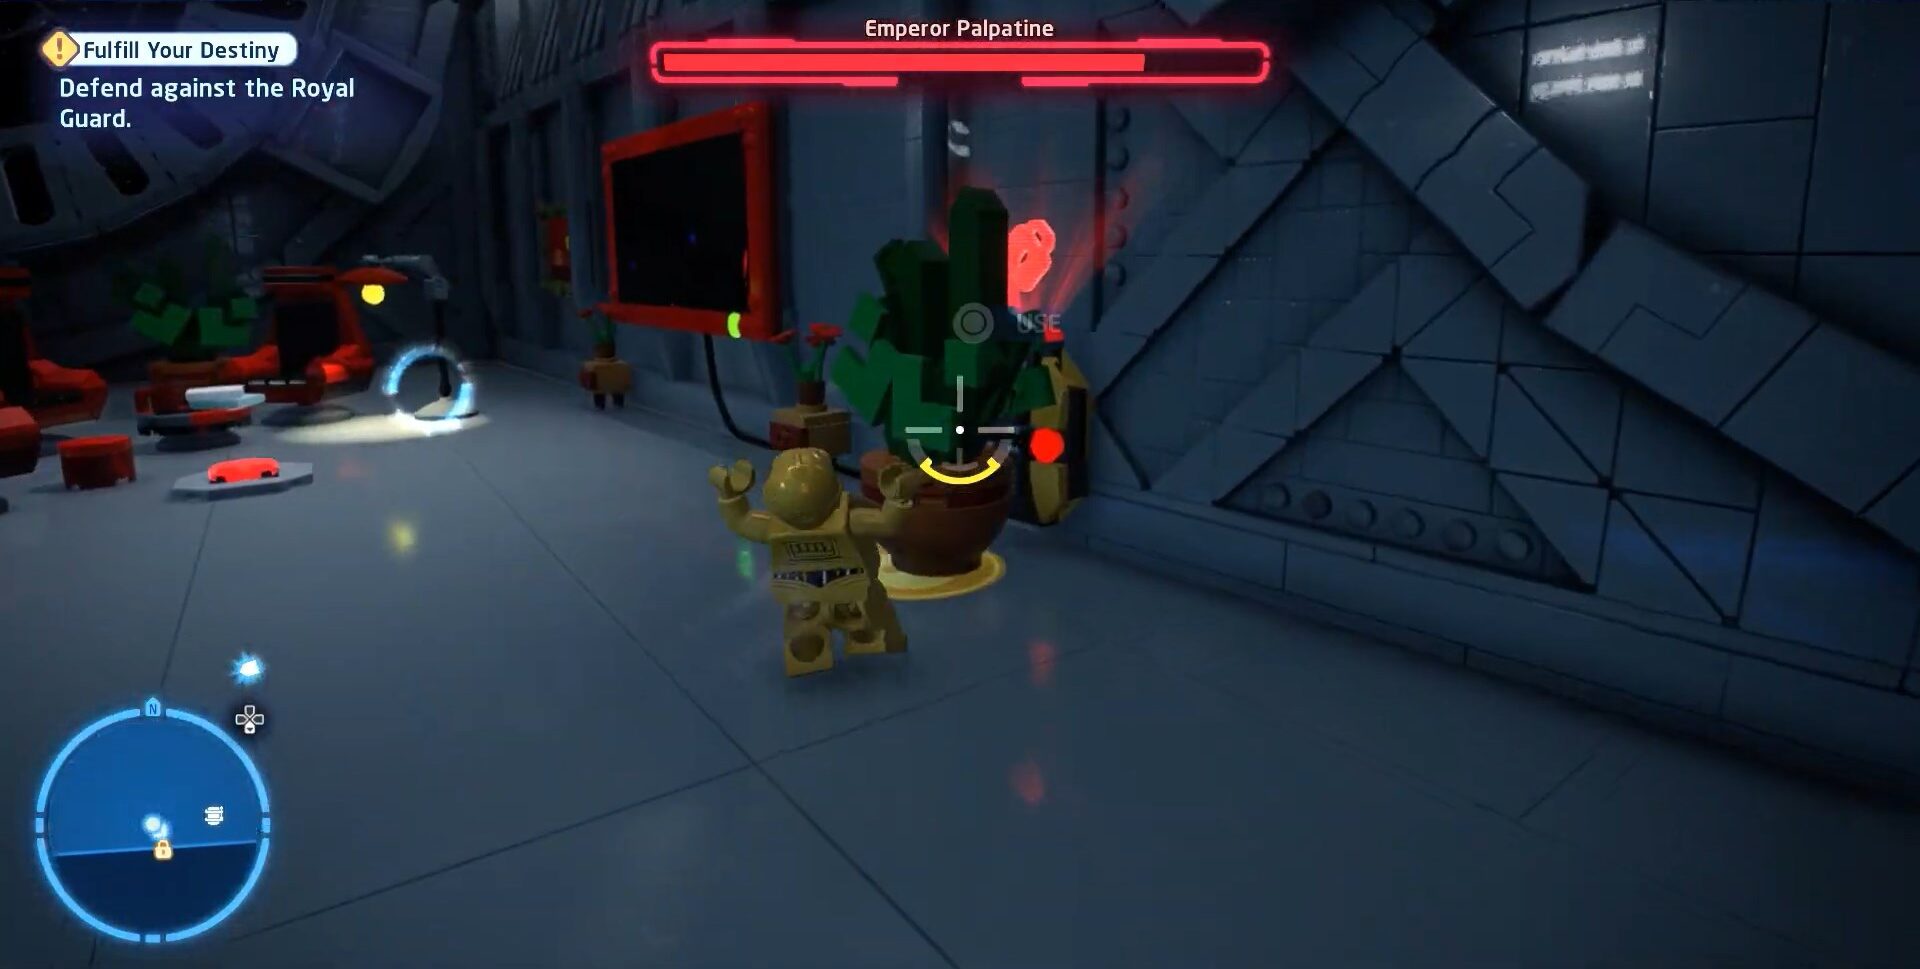
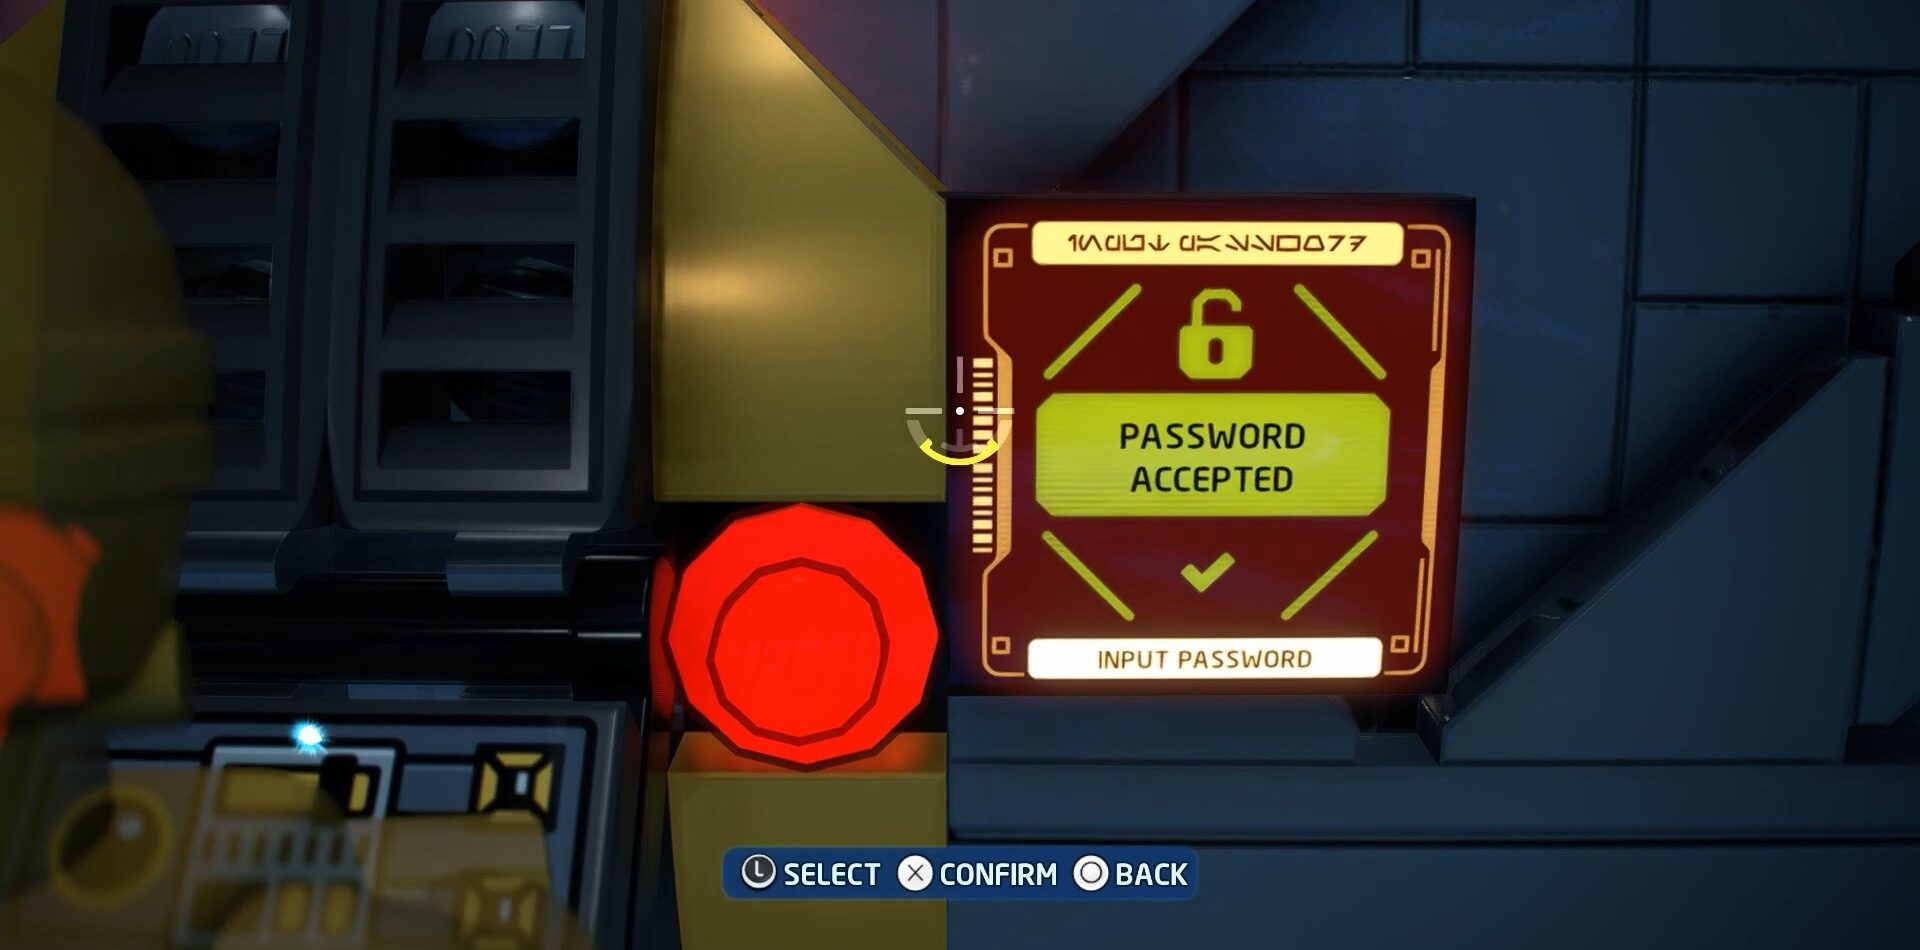
To get the fourth Minikit we need to solve the puzzle and 3-CPO is a character that mostly does that for us. But here we have a different situation than usual first we have to obtain the password by solving one puzzle then we will have a little walk and we will put the obtained password into another machine, as a result, Minikit will appear out of the big screen on its left. We have attached images below as a guide.
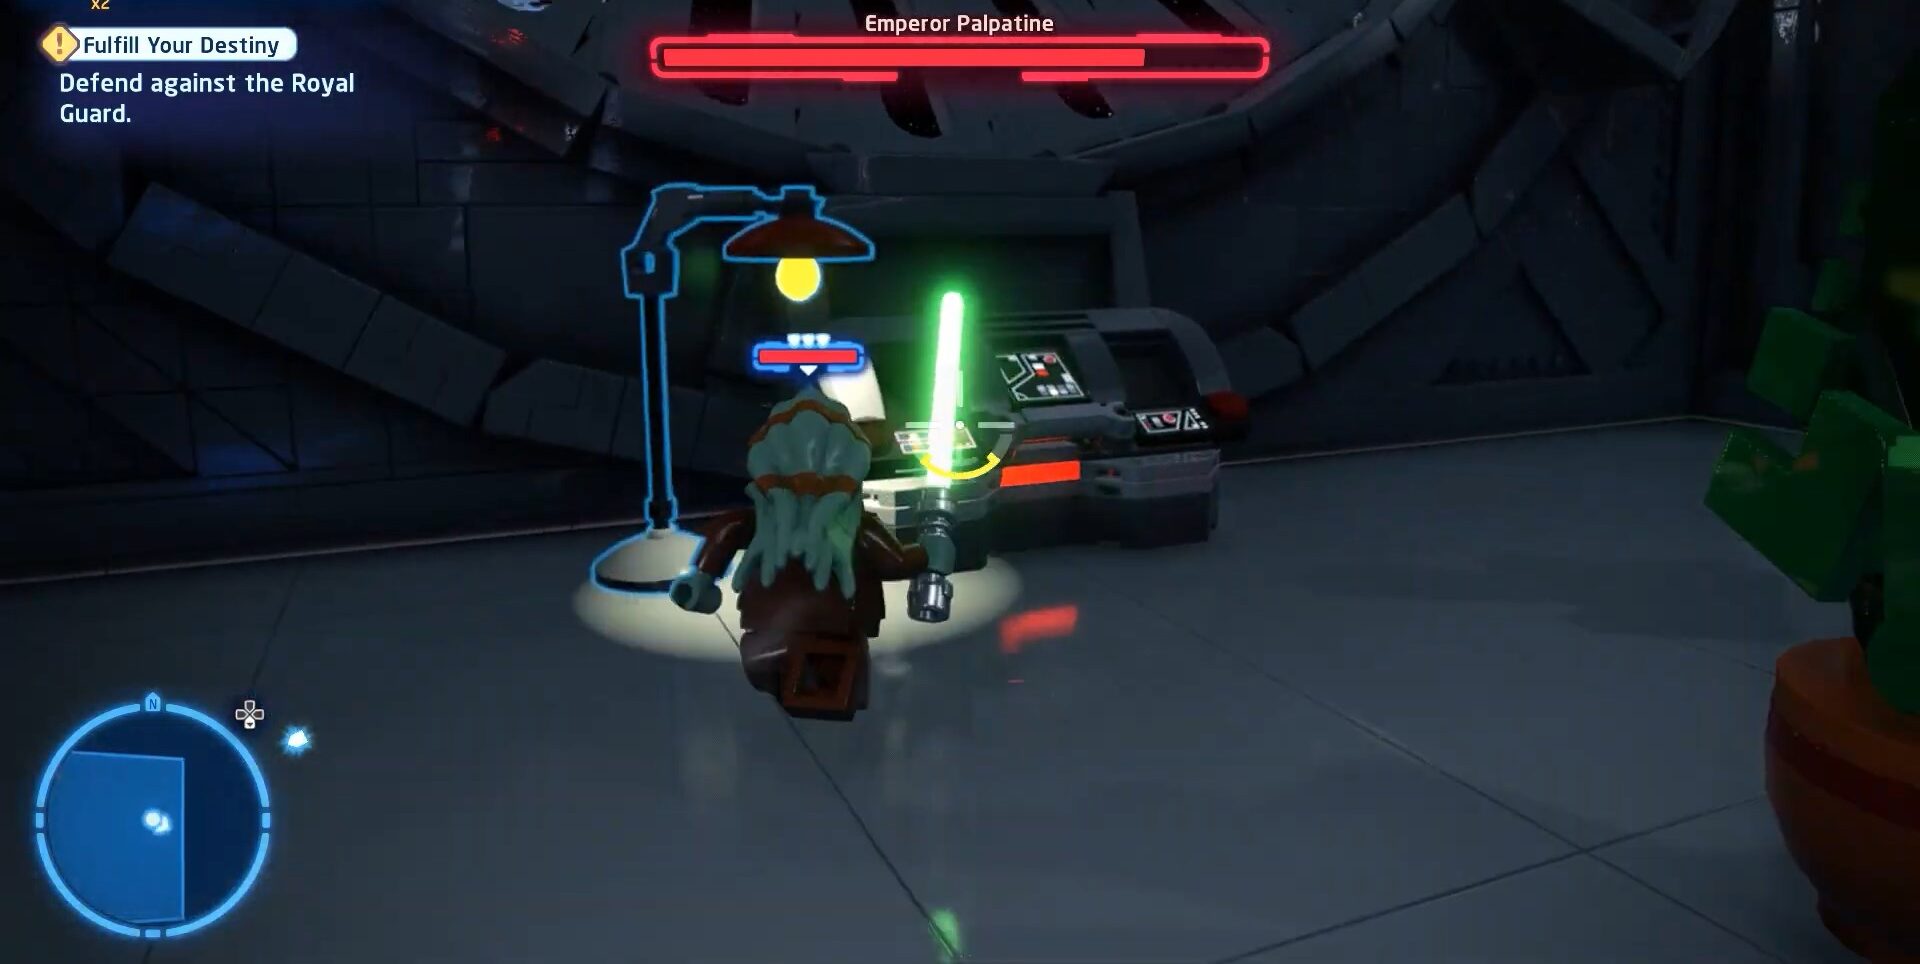
To get the fifth Minikit again we have to shift character to Kit Fisto and break a table shape machine to get a light object by putting it in a certain slot will gain us the last Minikit of this mission
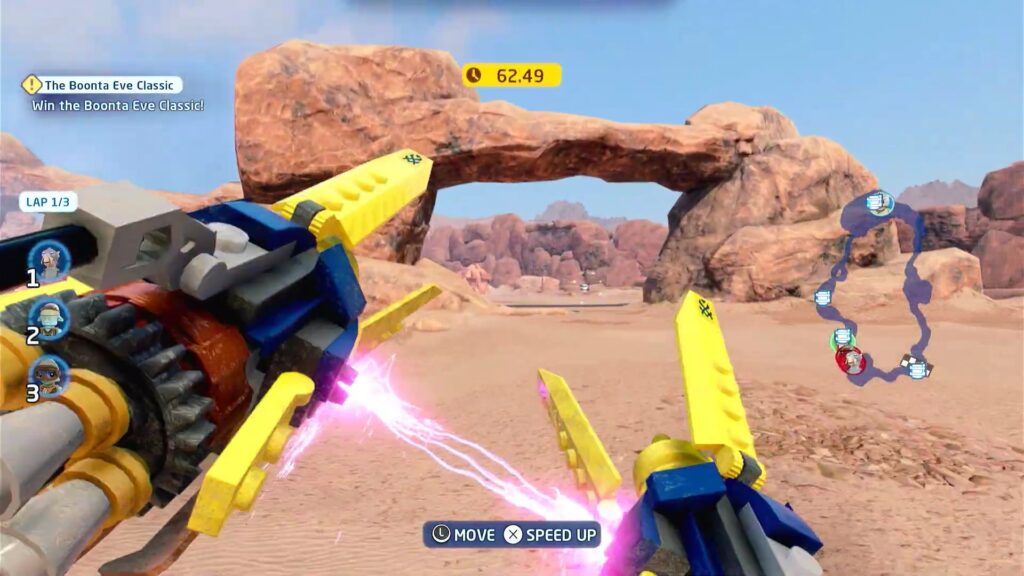
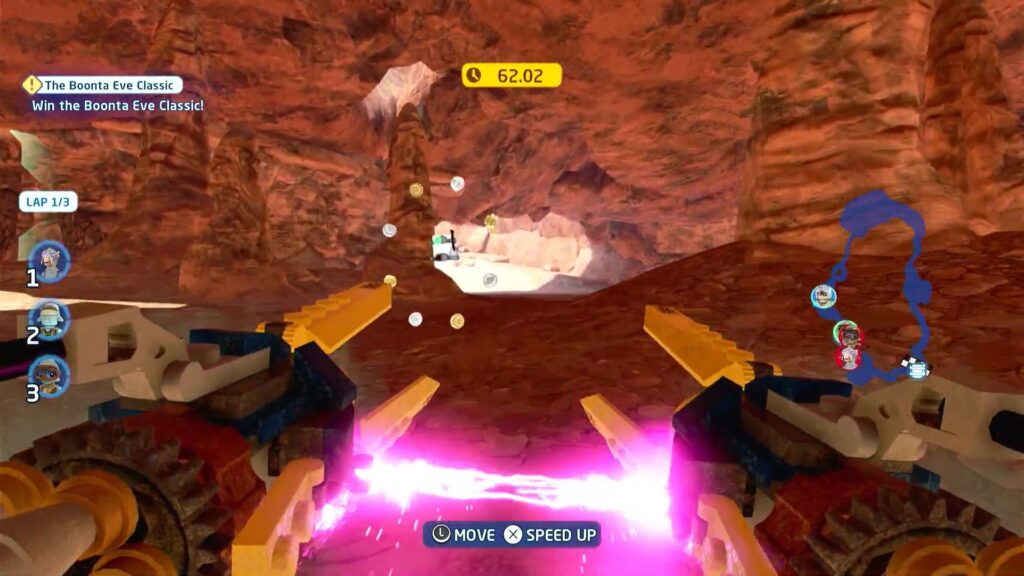
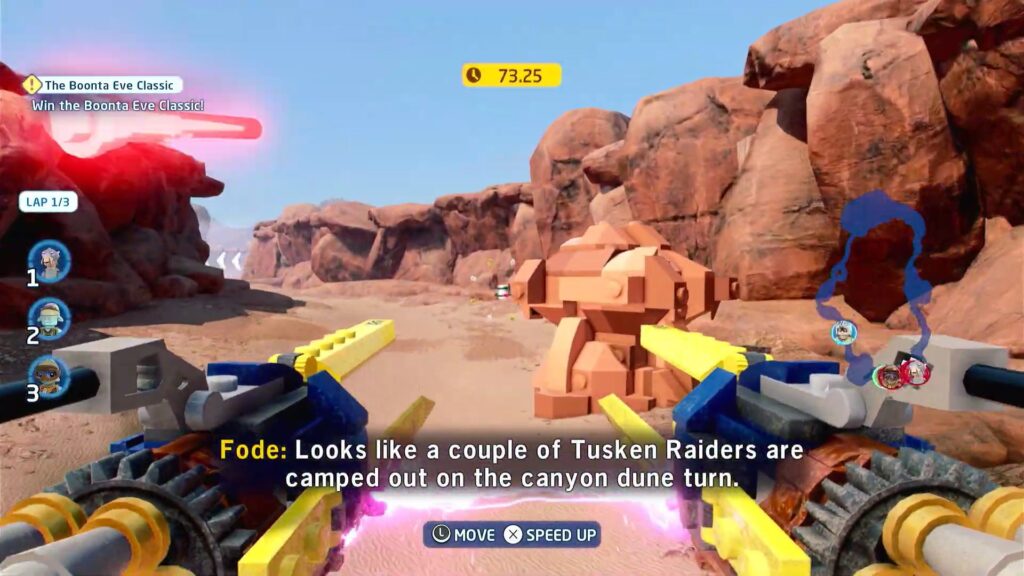
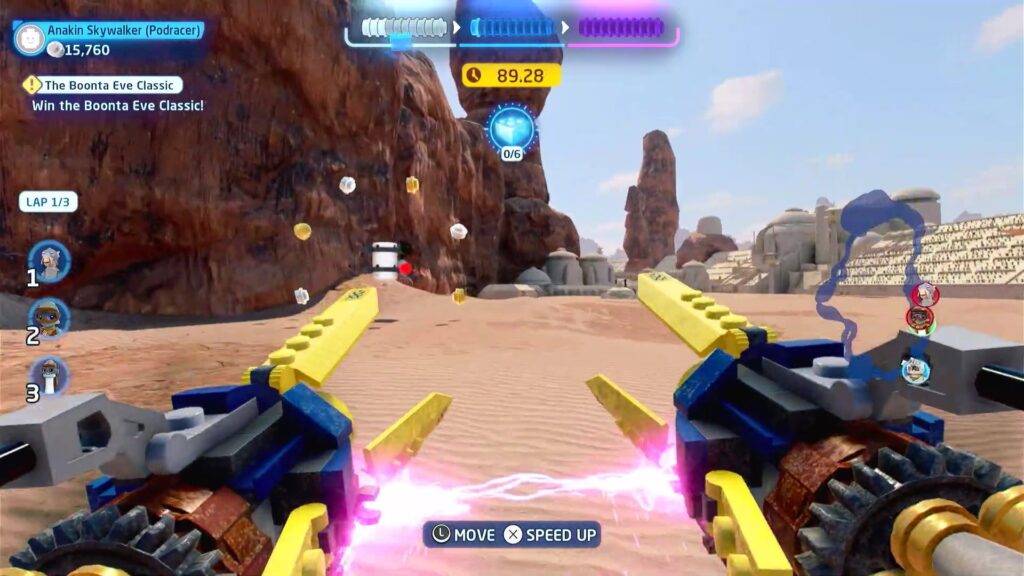
The Boonta EVE classic
This whole mission is all about racing this mission is a race with challenges and what we are after is Minikits. There are five Minikits in this mission all can be collected while having a race and surprisingly you will be able to collect all inside the first lap. The race is not highly difficult mostly players have to drive straight. We have attached images below of each Minikit in this mission to make it easier for you to collect.

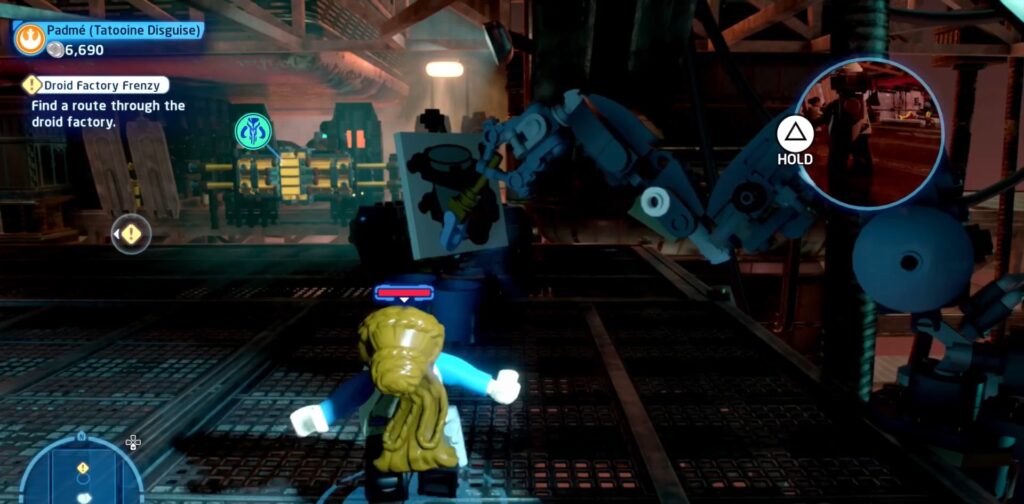
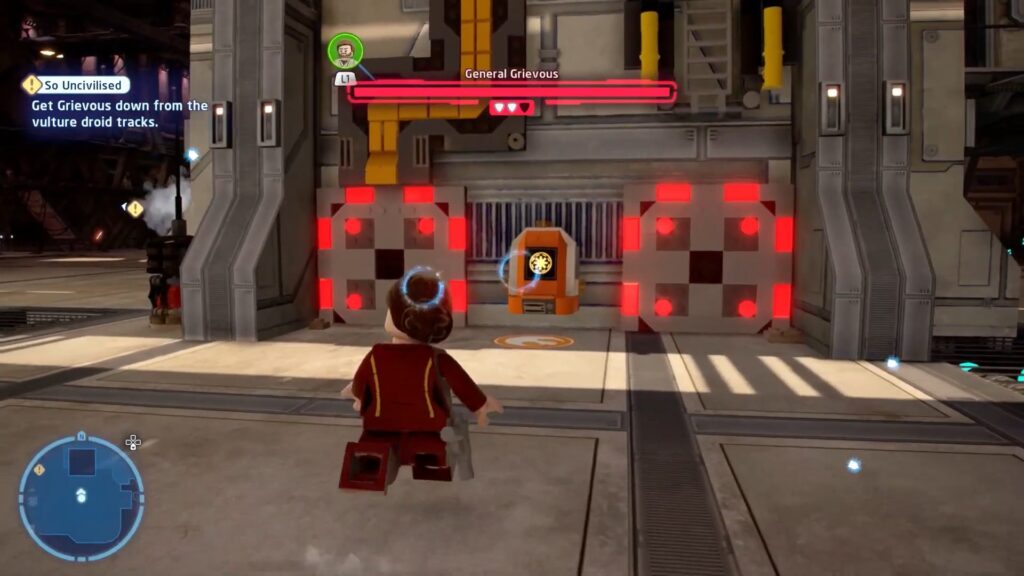
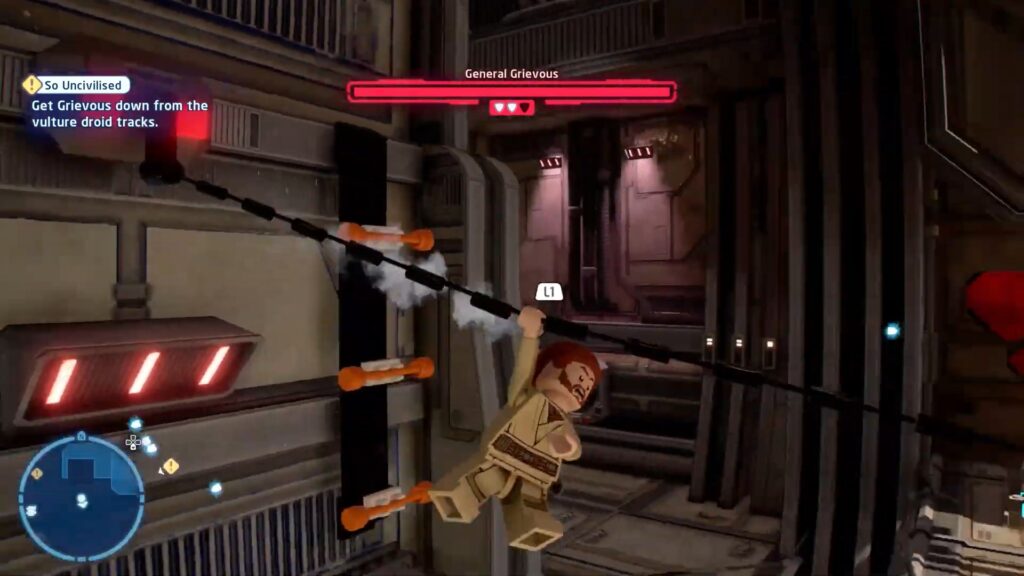
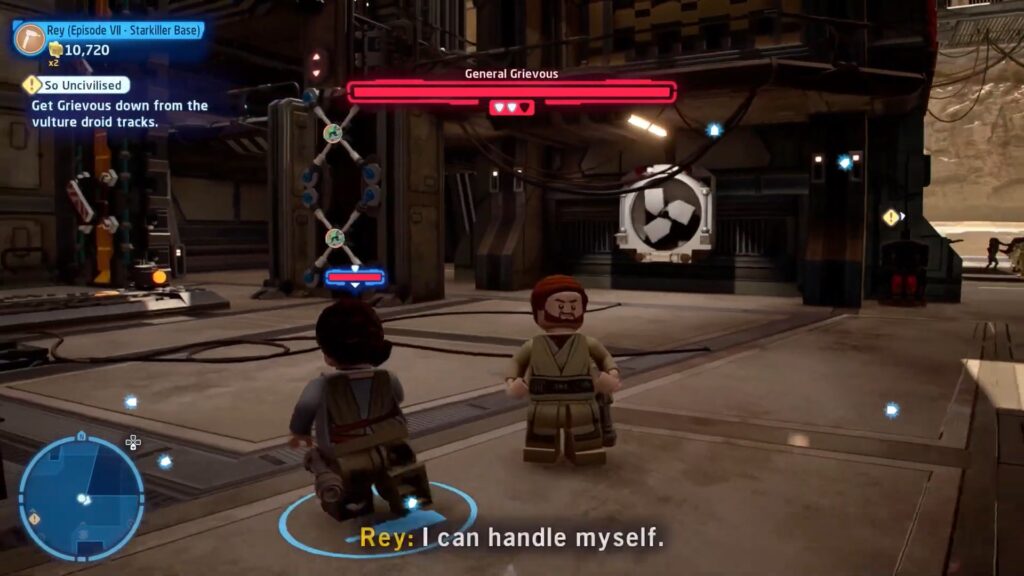
So Uncivilised
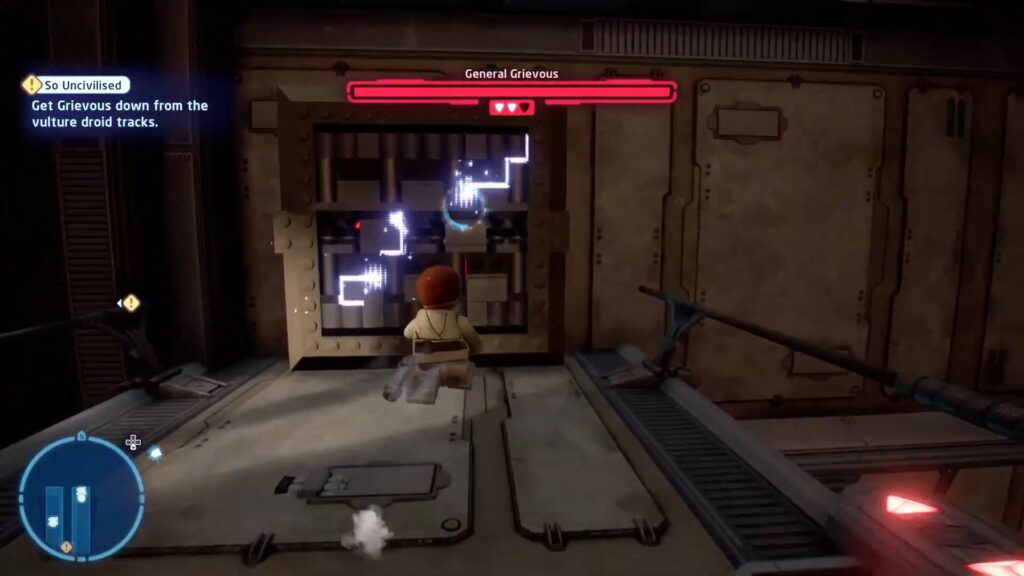
This is the mission right during the war-like atmosphere in the Star Wars world. During this whole happening, we have to collect five Minikits by using different methods and characters.
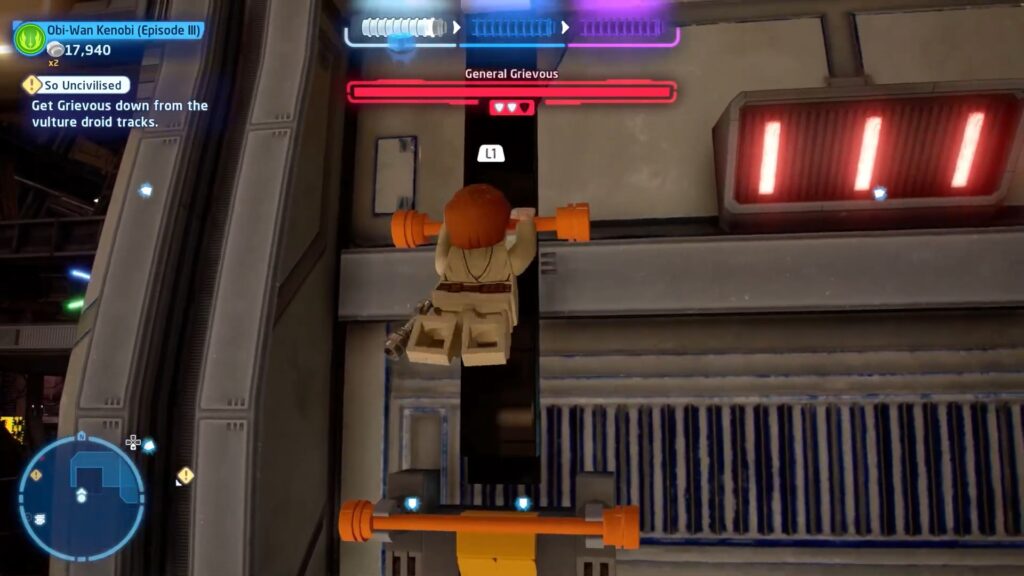
First Minikit is located near the entrance of the hanger where we need someone who can interact with the machine. For instance, we are using the Star Wars character Padme who can do that once it’s done you will have access to the wall but you need a character either Jedi or Sith who has a Lightsaber. Then you have to use a lightsaber against the wall and then climb up to the rope which will lead you to the catwalk in the middle of the catwalk looks more as bridge you will have the first Minikit in our list.

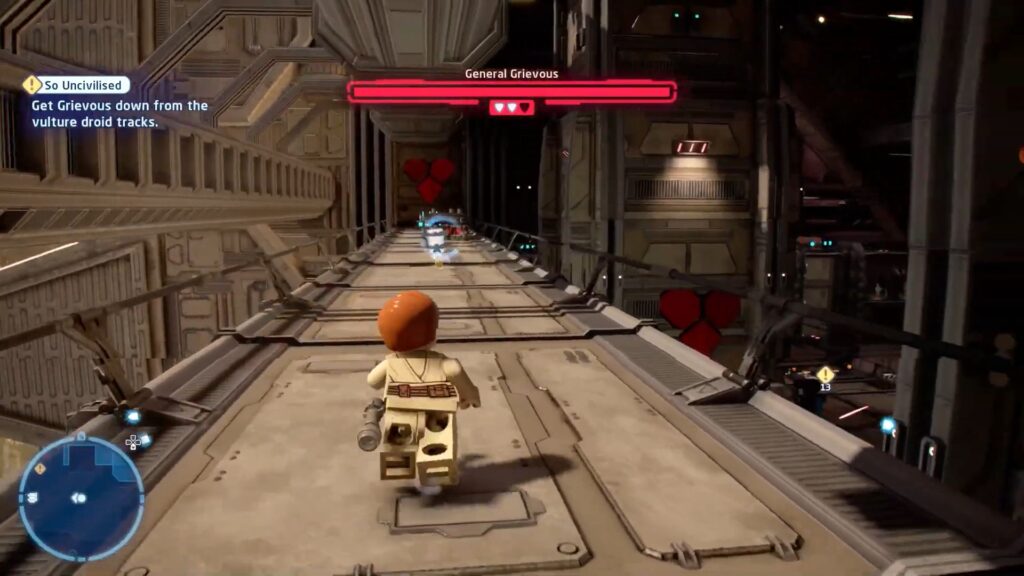
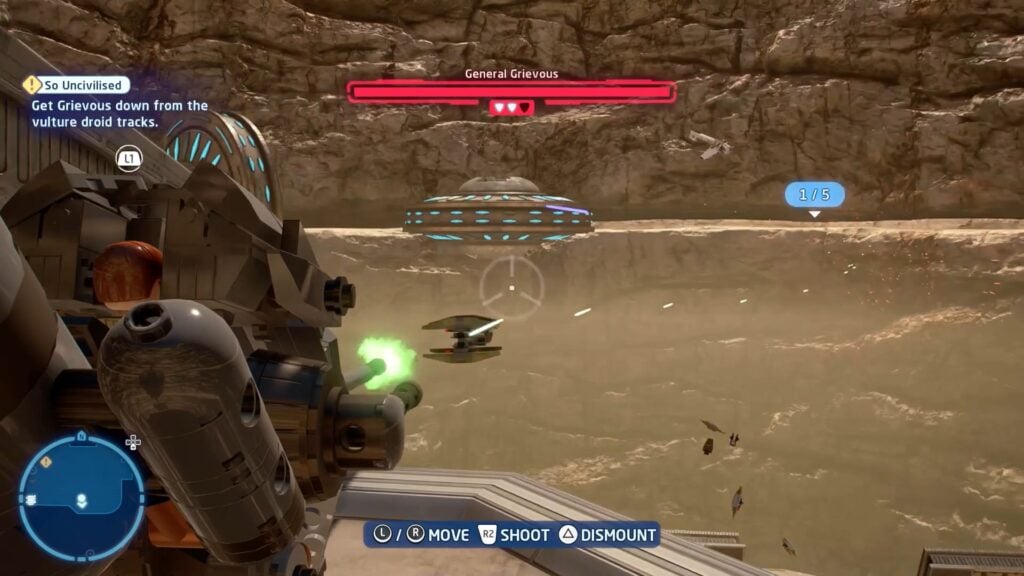
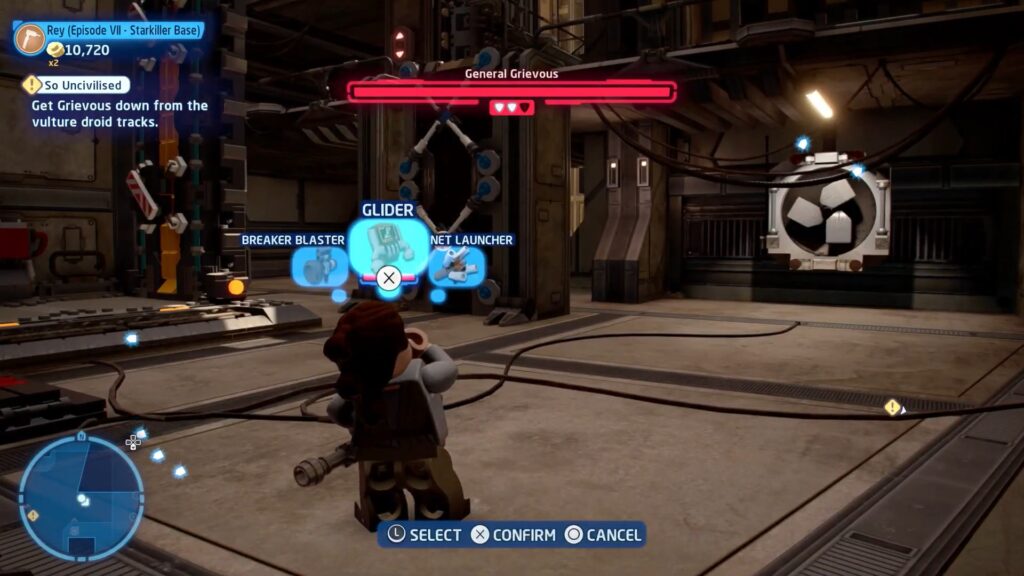
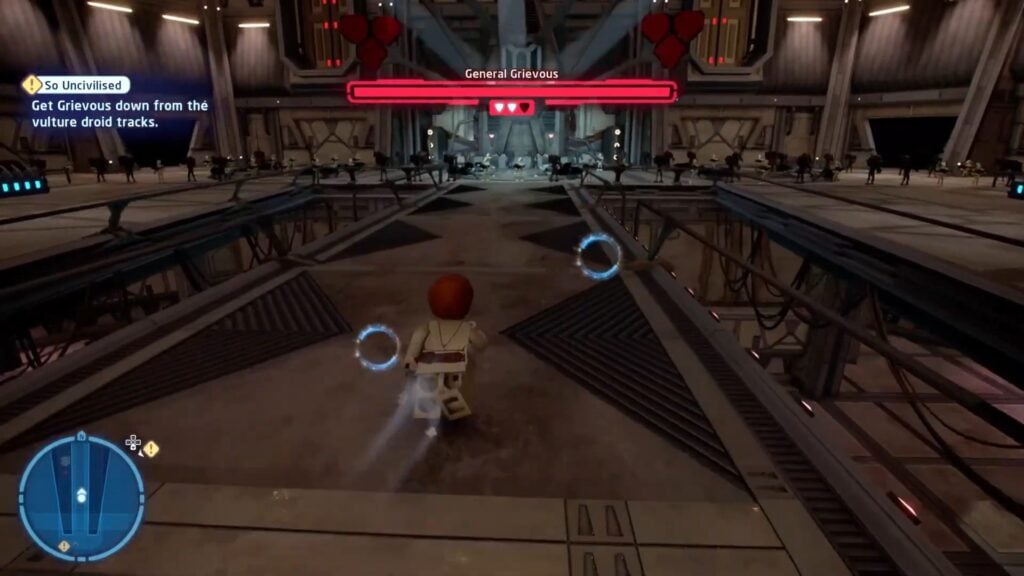
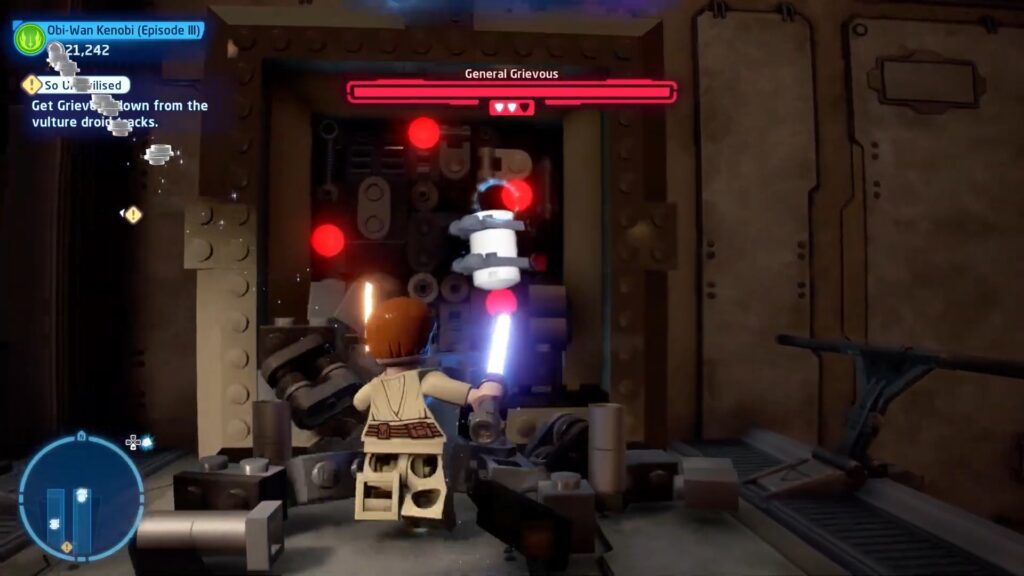
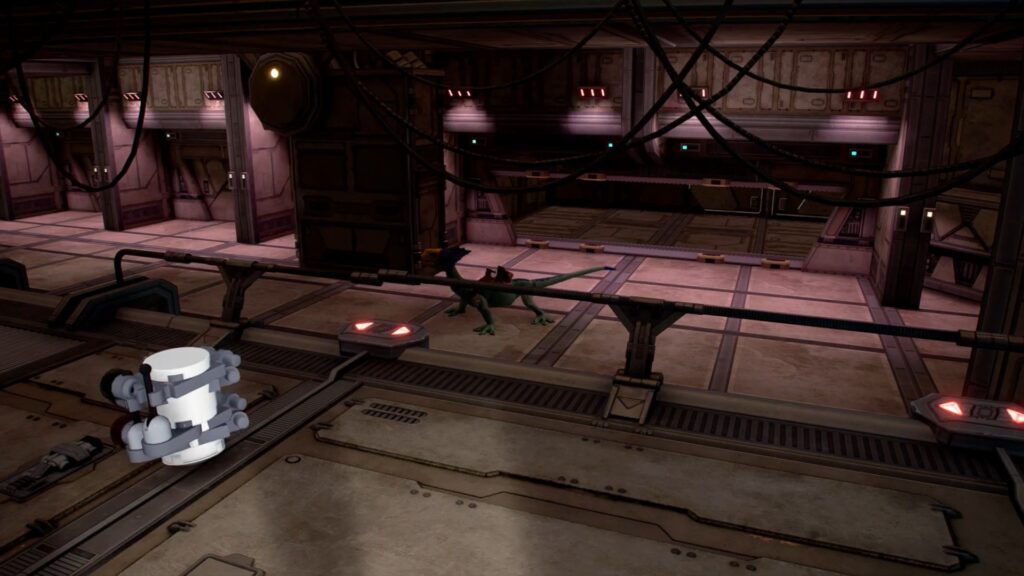
Next Minikit is also located near the first Minikit near the Entrance of the hanger. To get the second Minikit in our list you have to shoot down the five vulture droids with a gun the important thing to discuss here is that there will be different kinds of droids and ships will be flying at the same place you need to shoot down vulture droids to get the Minikit we have attached image below of one of vulture droid as a guide.
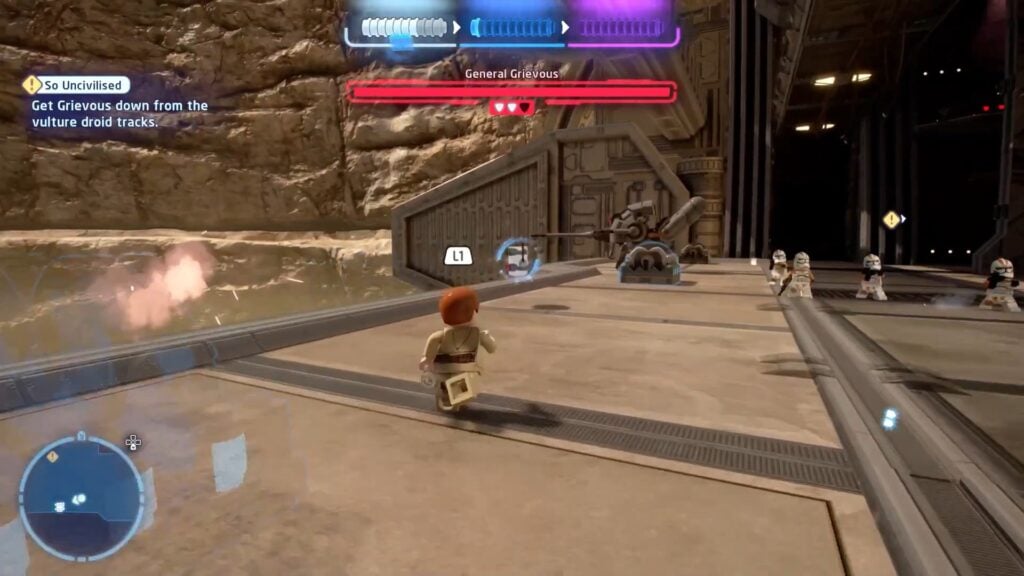
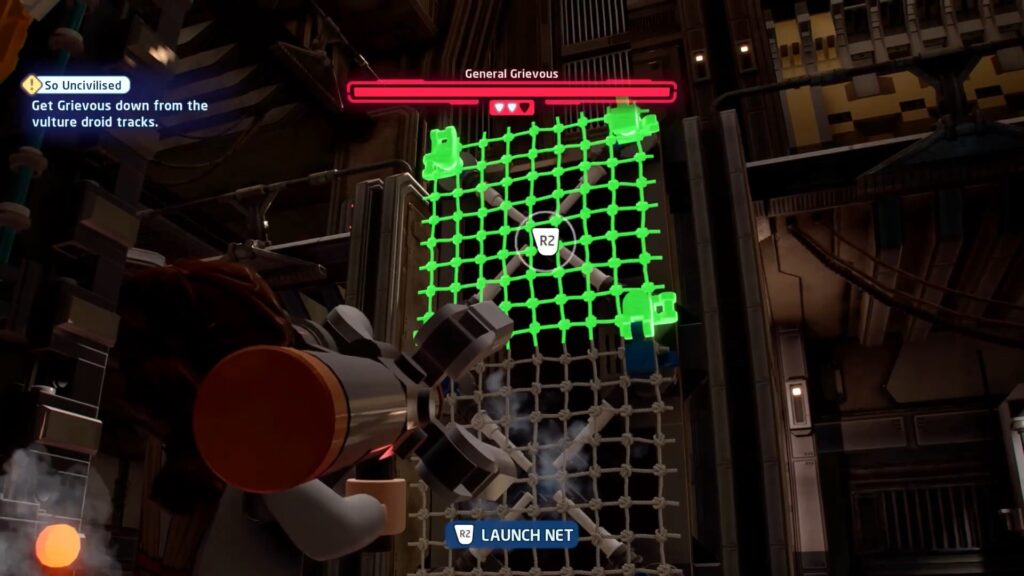
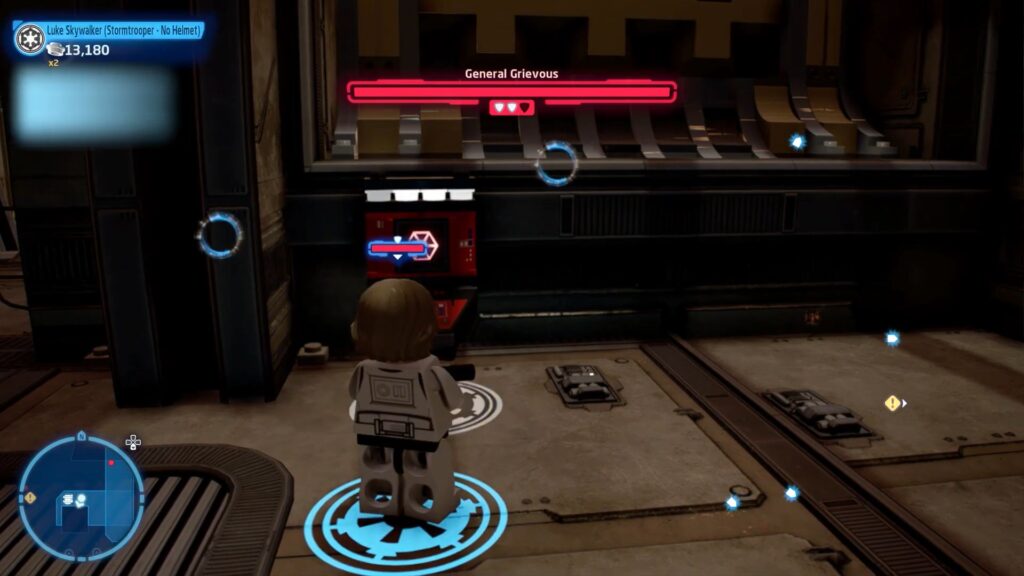
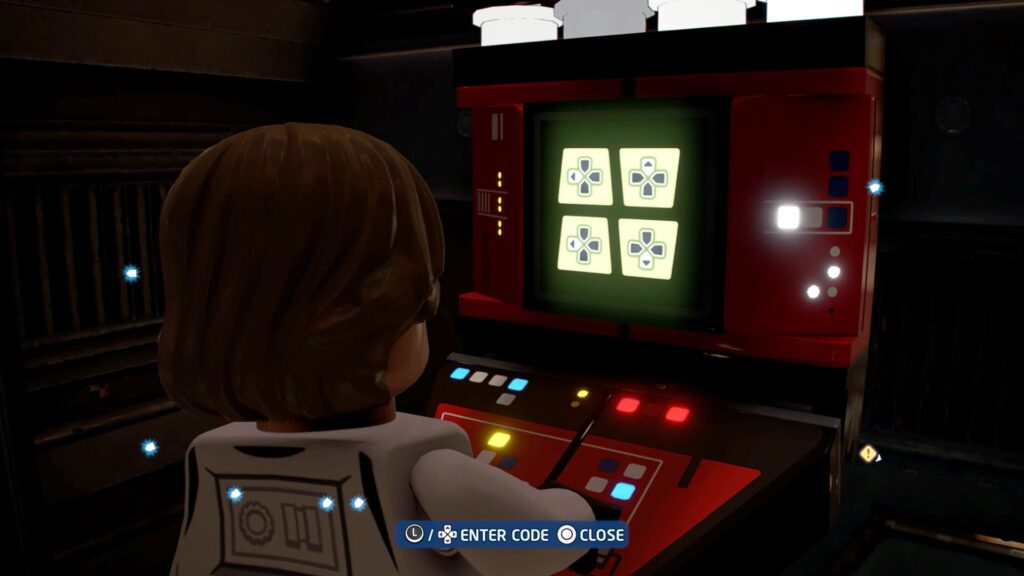
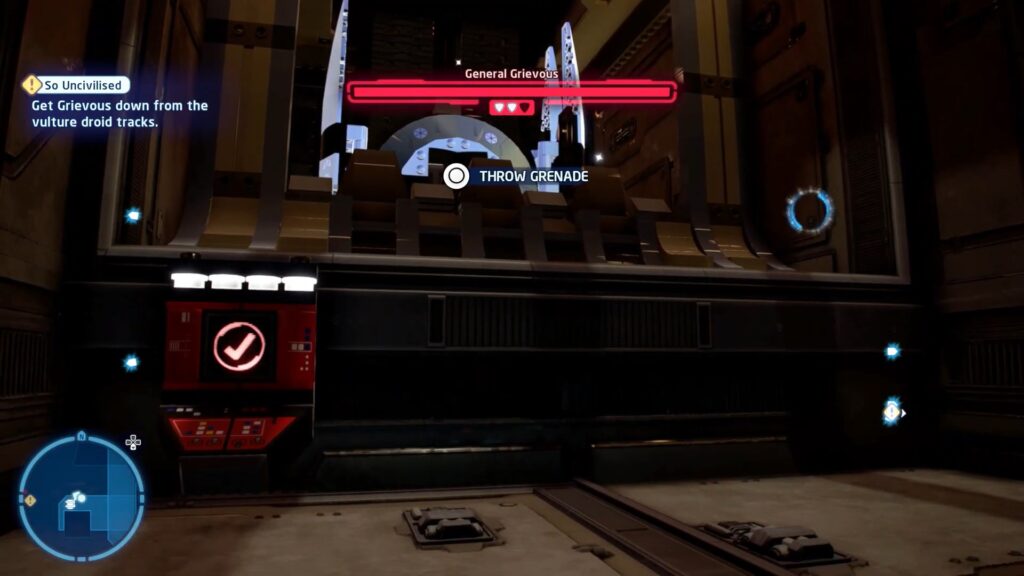
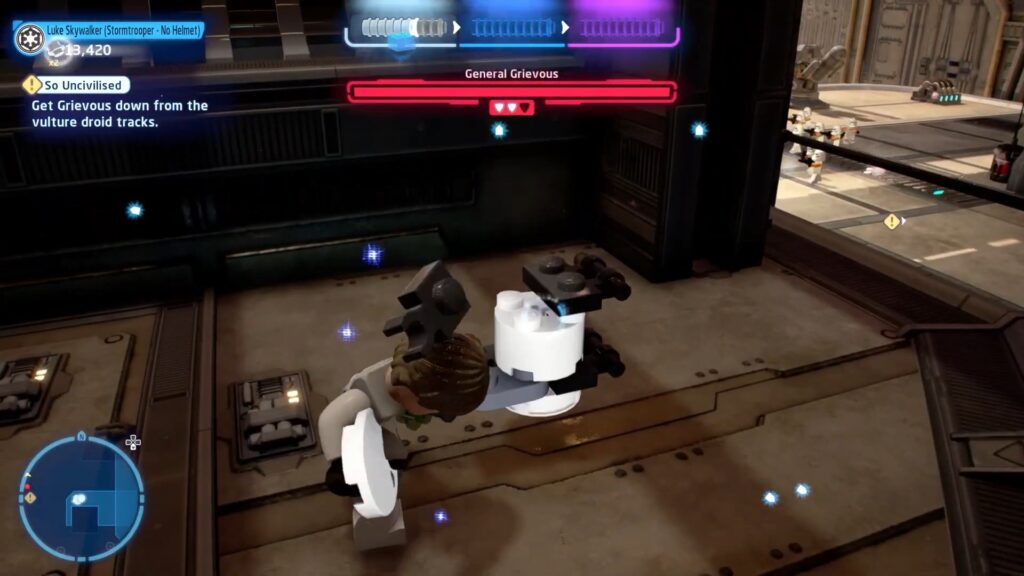
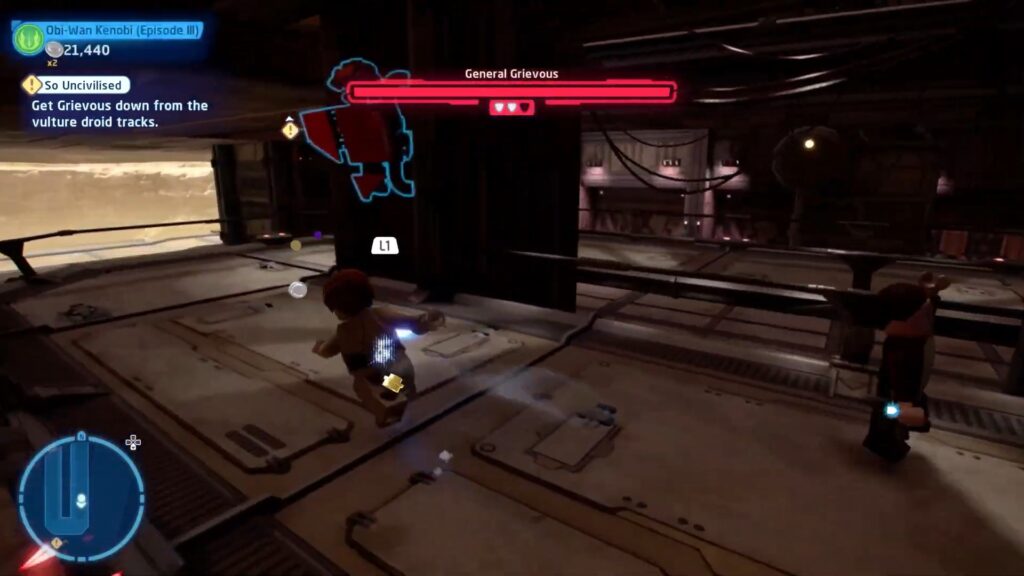
The third Minikit of this mission is located near the right side of the hanger. Get there and change a character to the scavenger. There will be a wall having across you need to the diploid net by using the gun on the area of the wall and top of it will be platform reach to the platform by climbing on the net. On the top will be the console you have to activate it but you can’t do it with scavenger so change to the character who can be any villain or even Luke Skywalker. The Console will unveil the silver object you need to throw a grenade at the silver object once it is destroyed on your side you will be able to build Minikit.
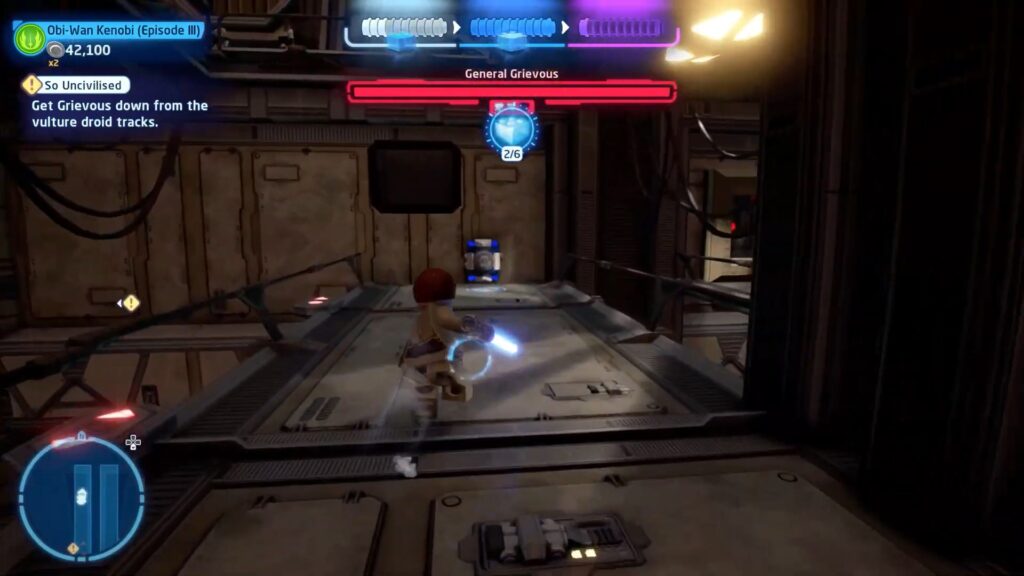
The fourth and fifth Minikits are located right next to each other for the fourth Minikit you will see there is a lower platform on the right side of the hanger at end of that platform there is a wall you have to cut open with a character that has lightsaber either Sith or Jedi such as Obi-Wan Kenobi will work perfectly fine. Once you cut down the wall you will have the fourth Minikit.

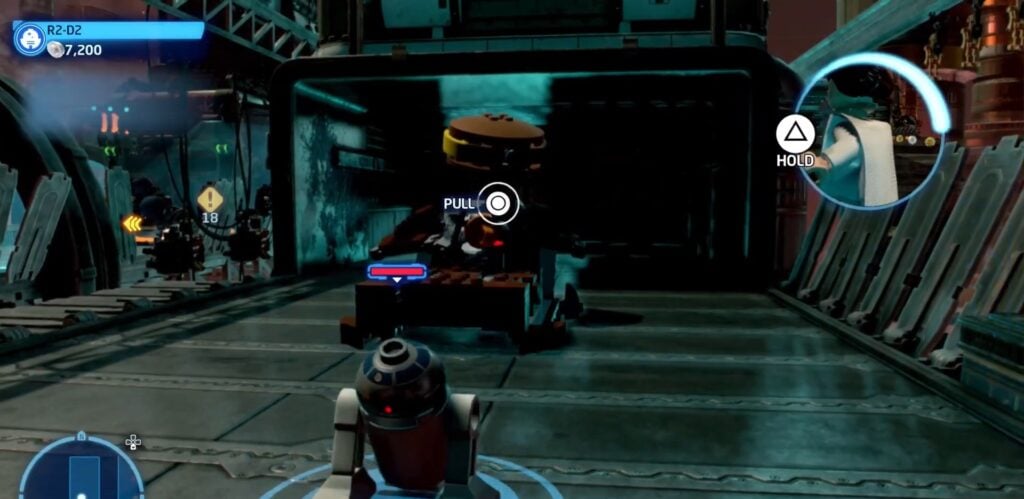
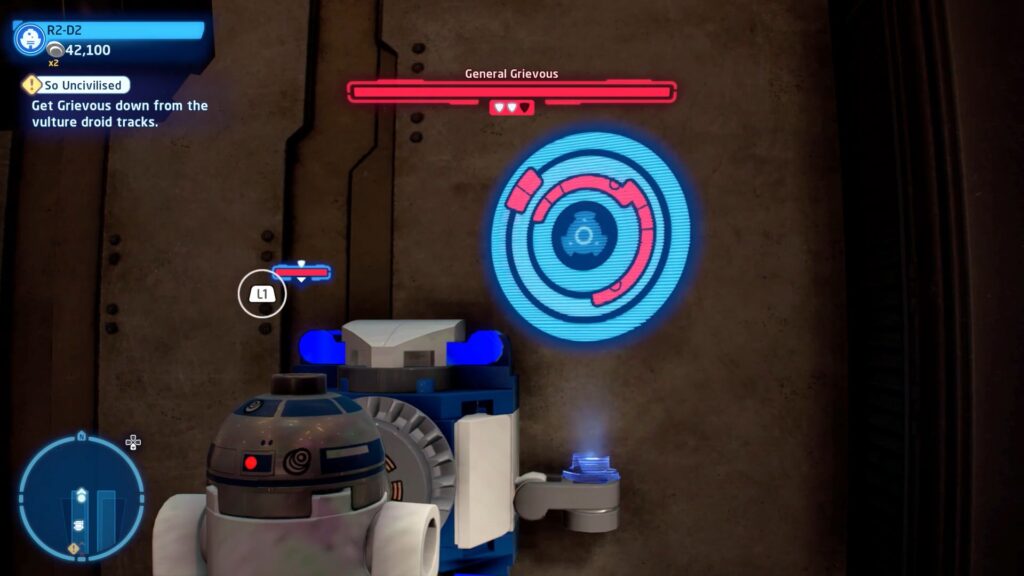
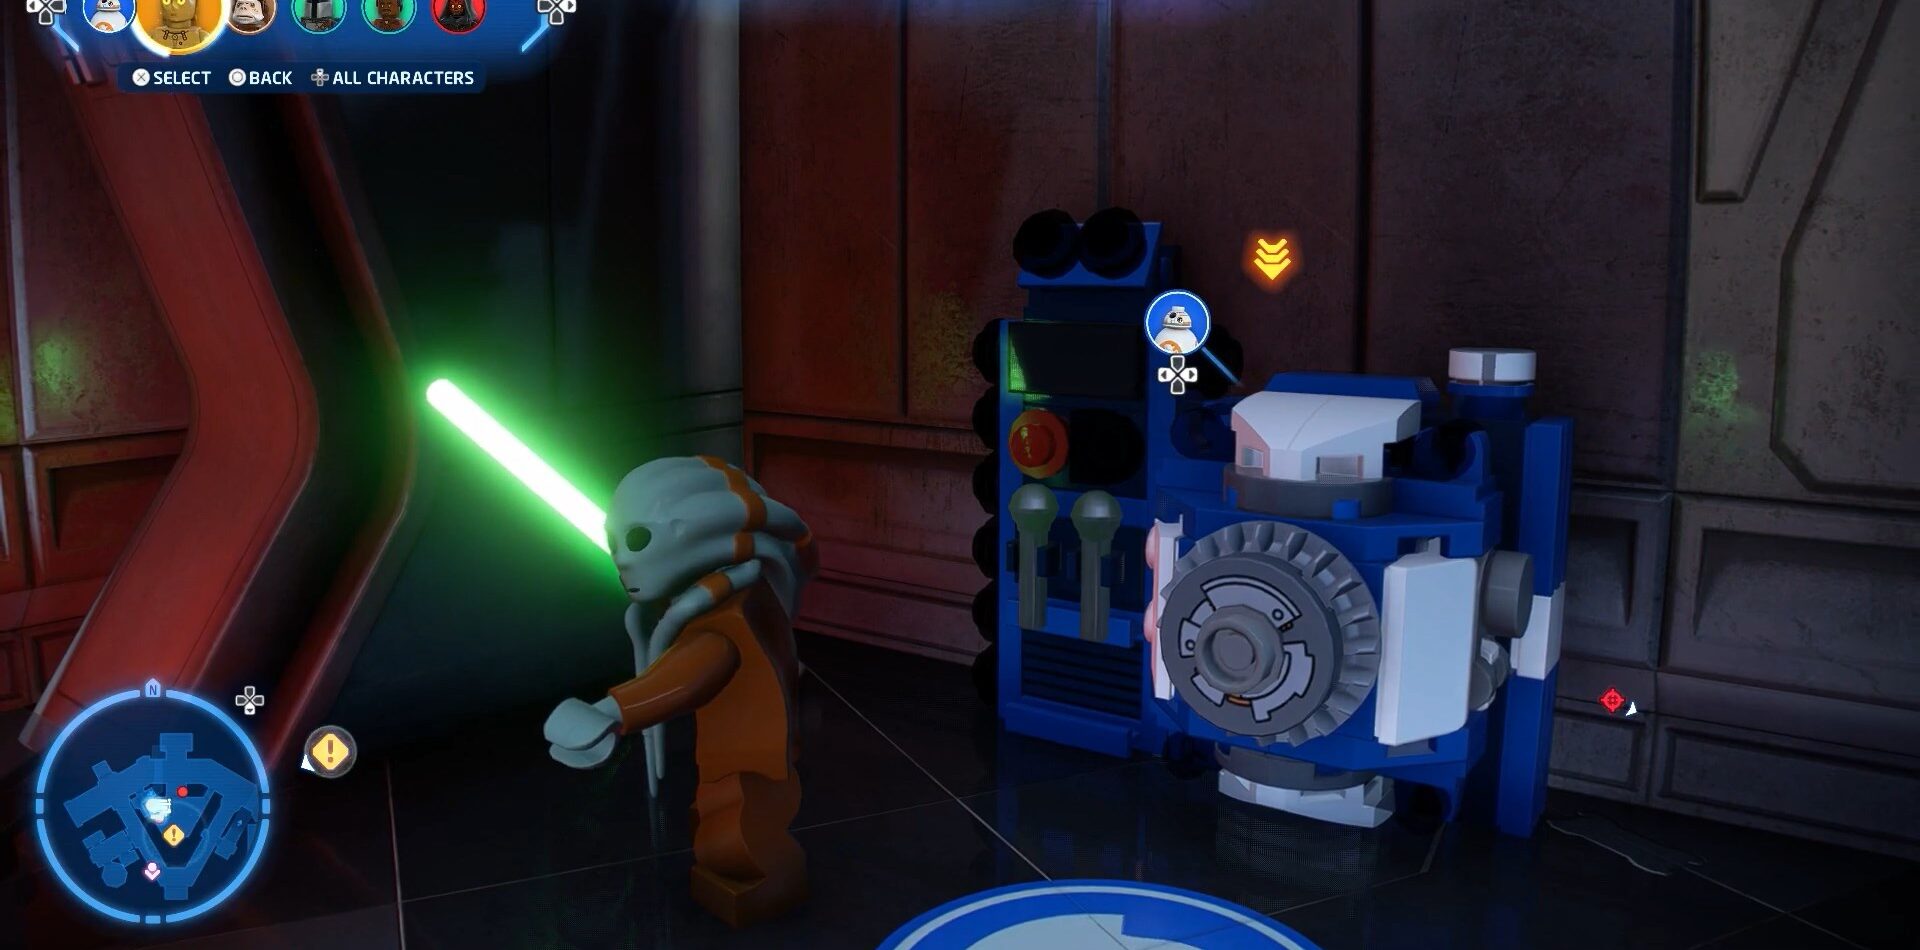
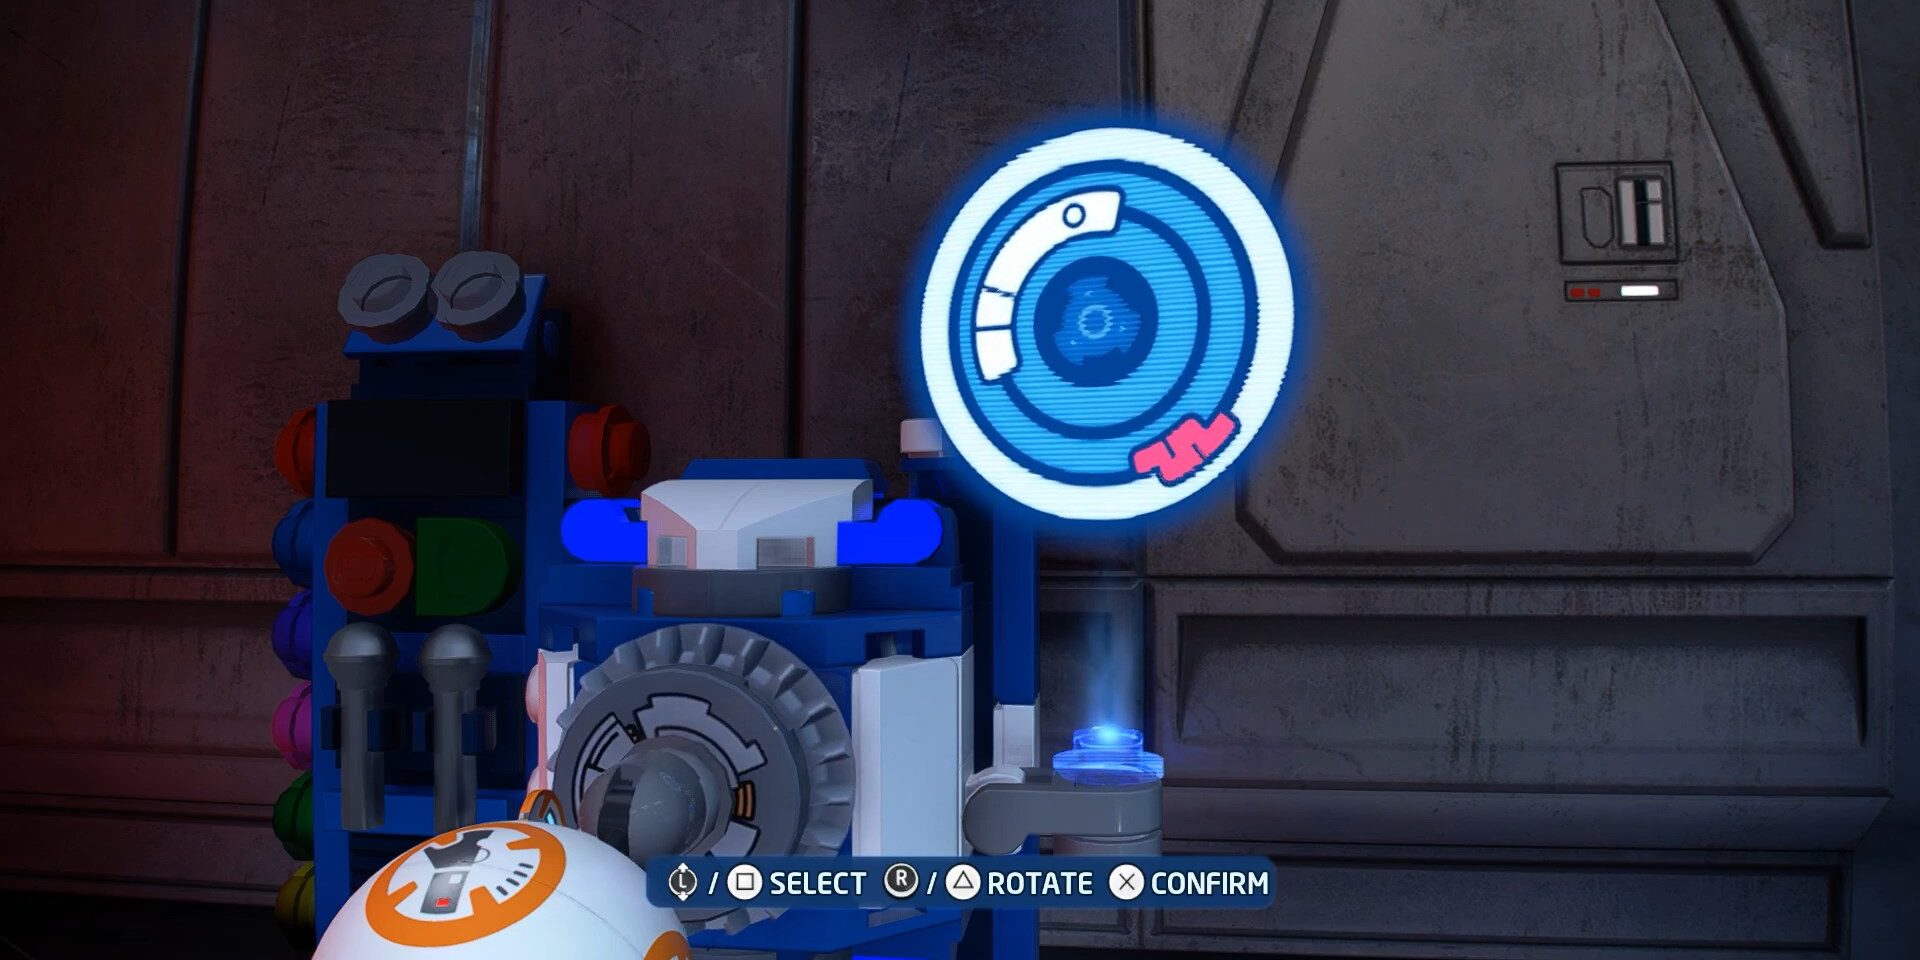
Fifth Minikit is in the same area at the lower-left platform once you get there you will notice the machine to interact with the droid so you have to change the character to Droid R2-D2 who will interact as result little creature will bring you the fifth Minikit.
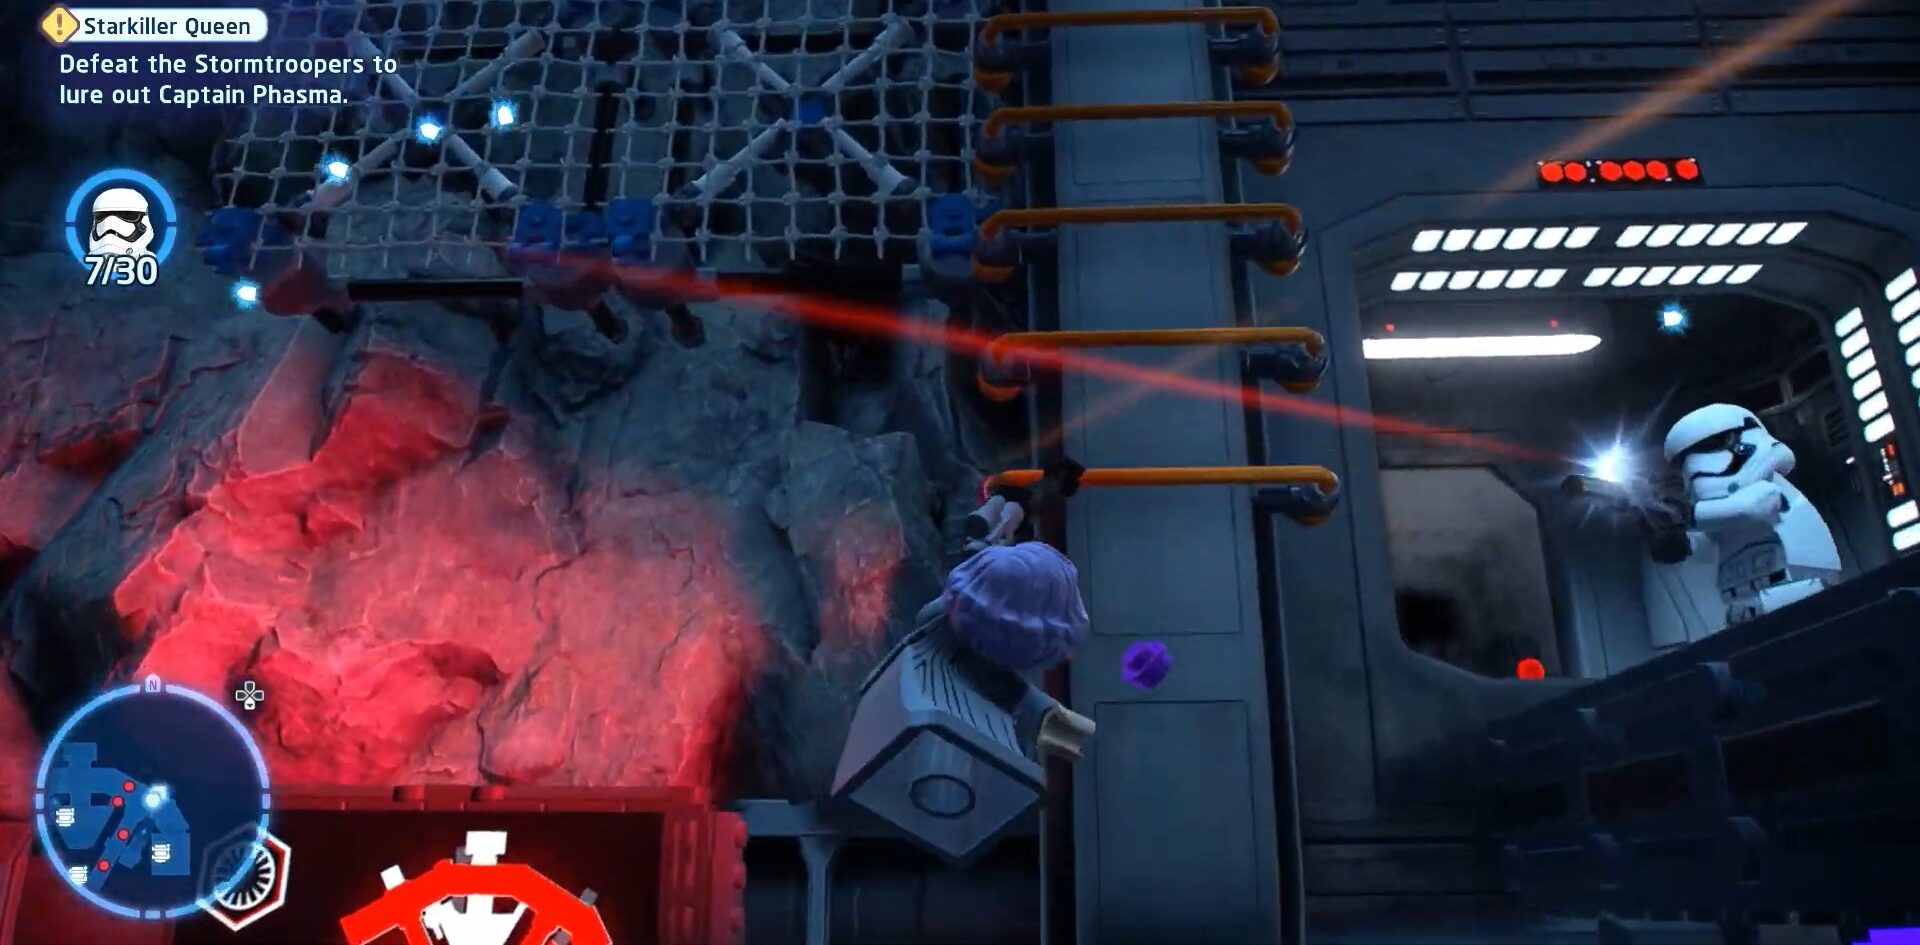
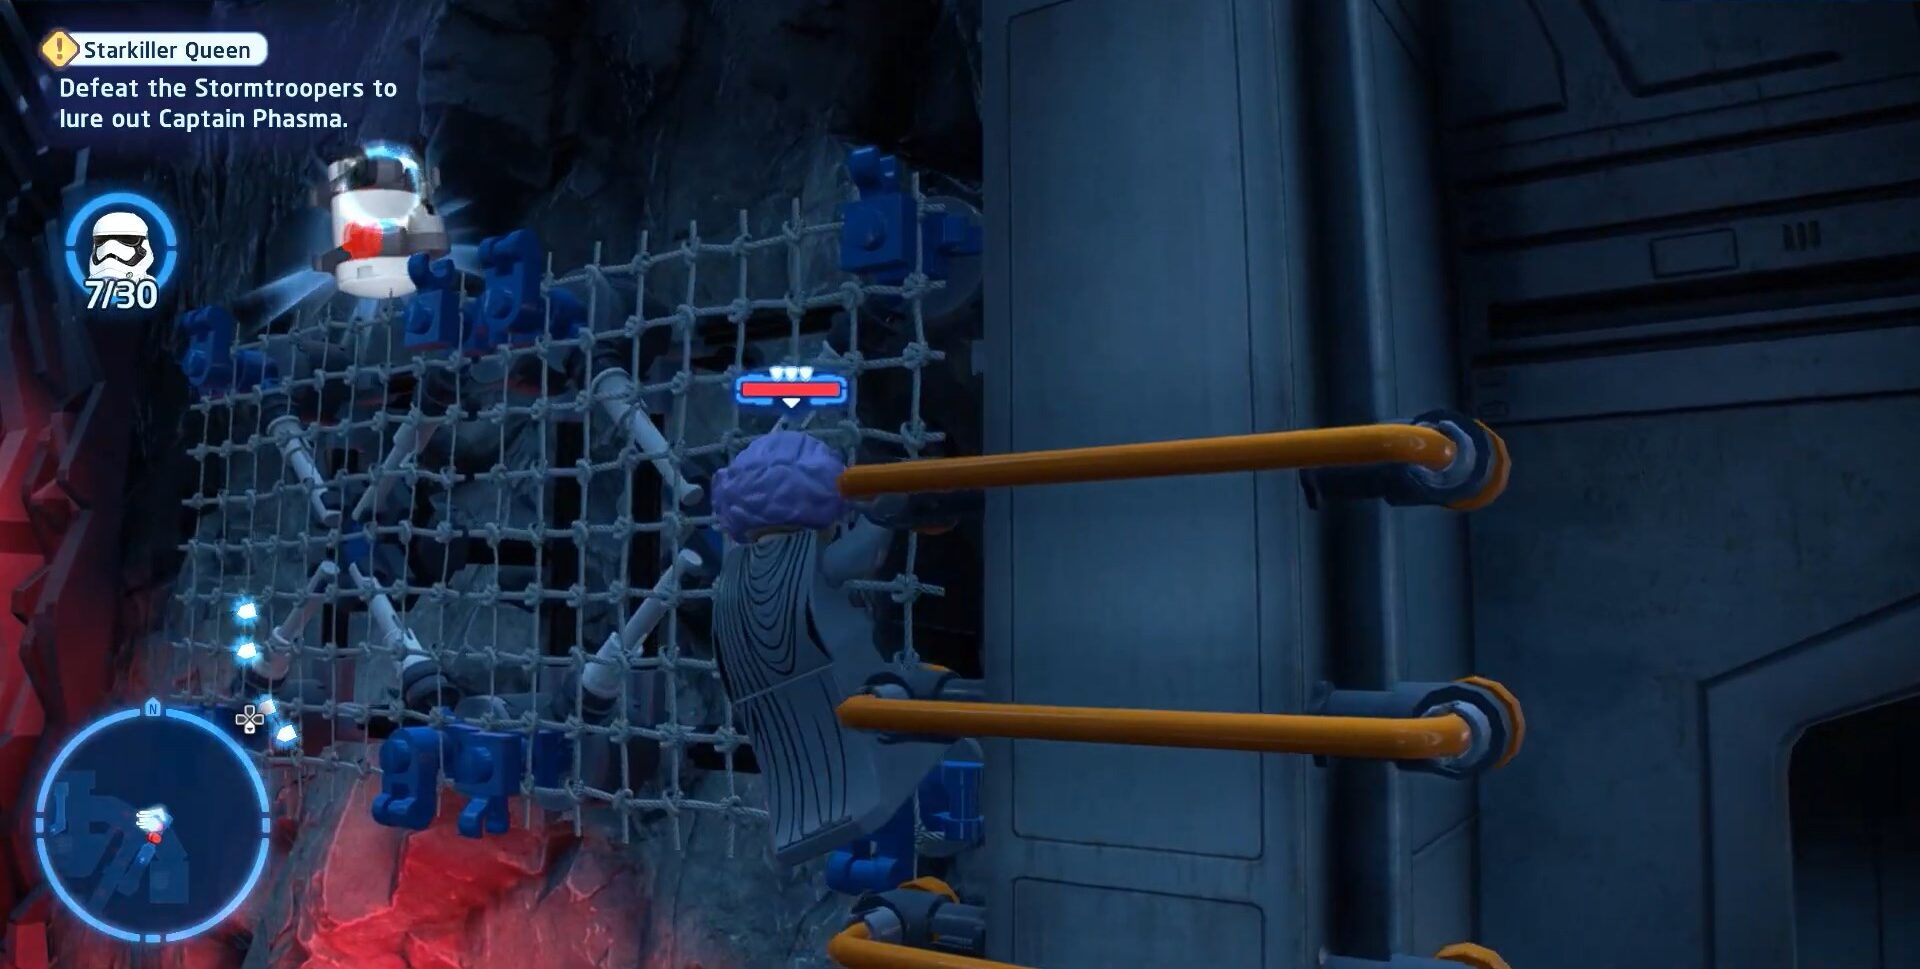
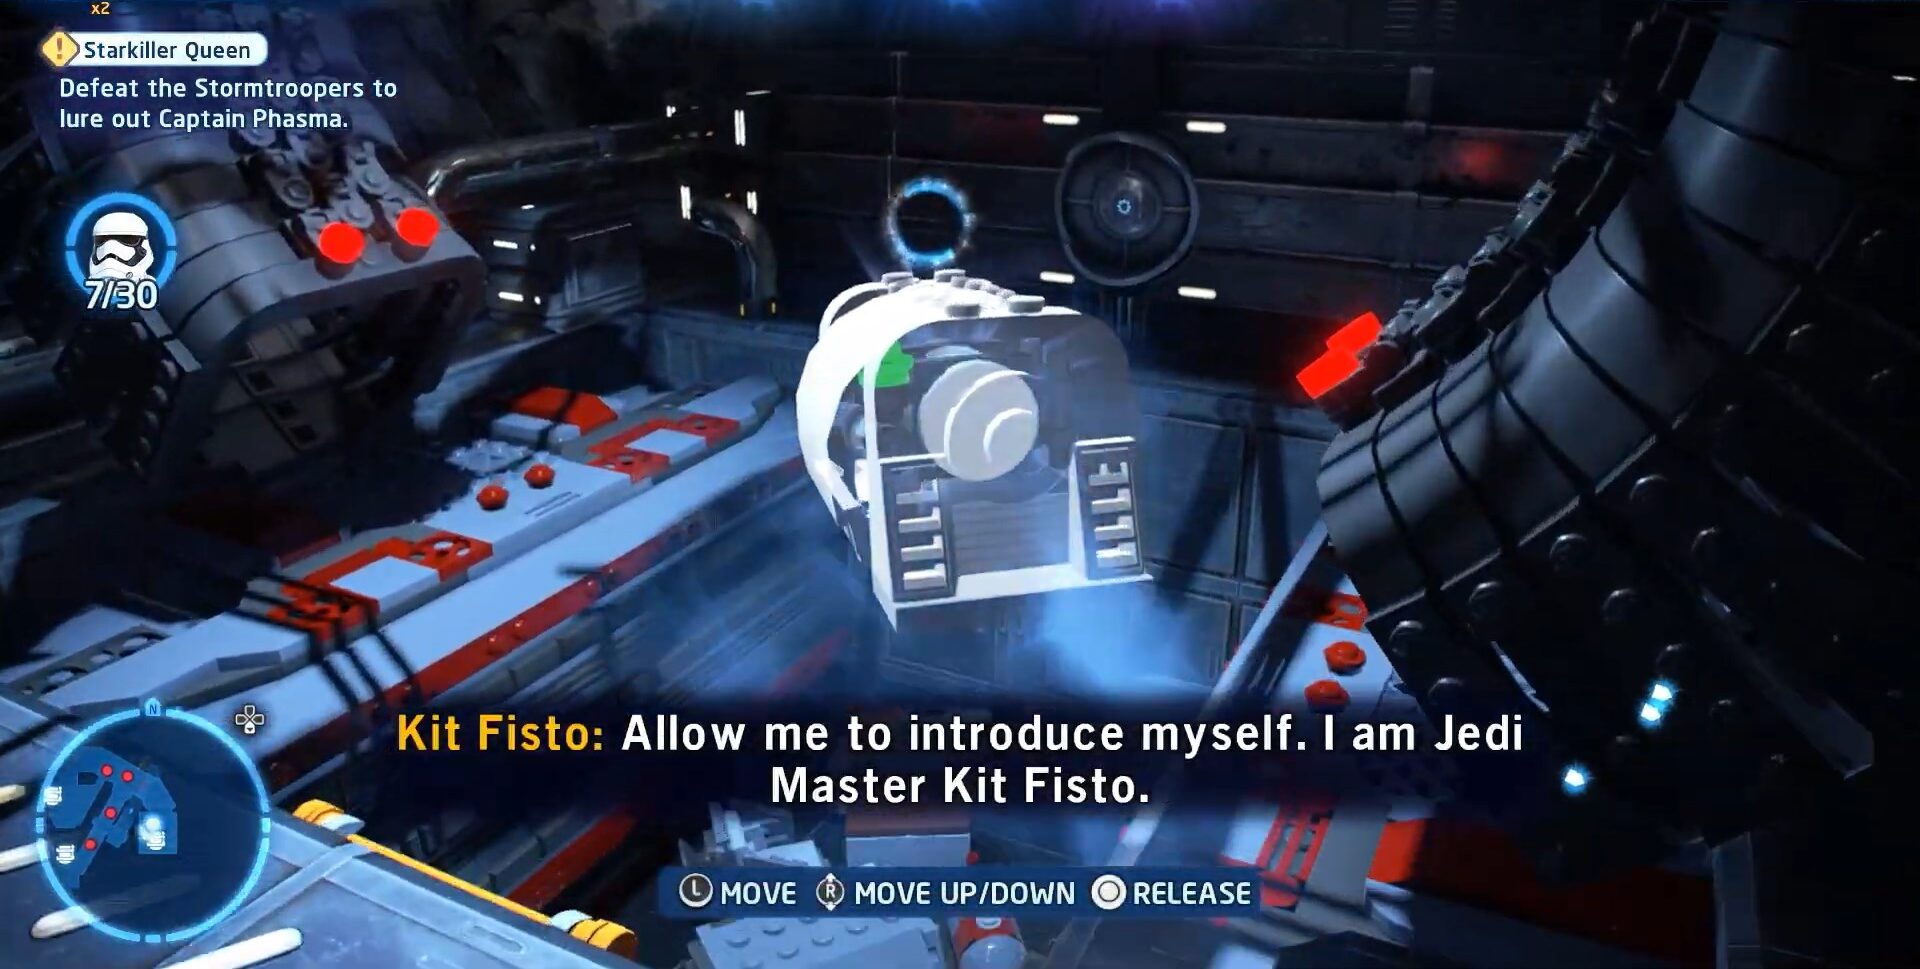
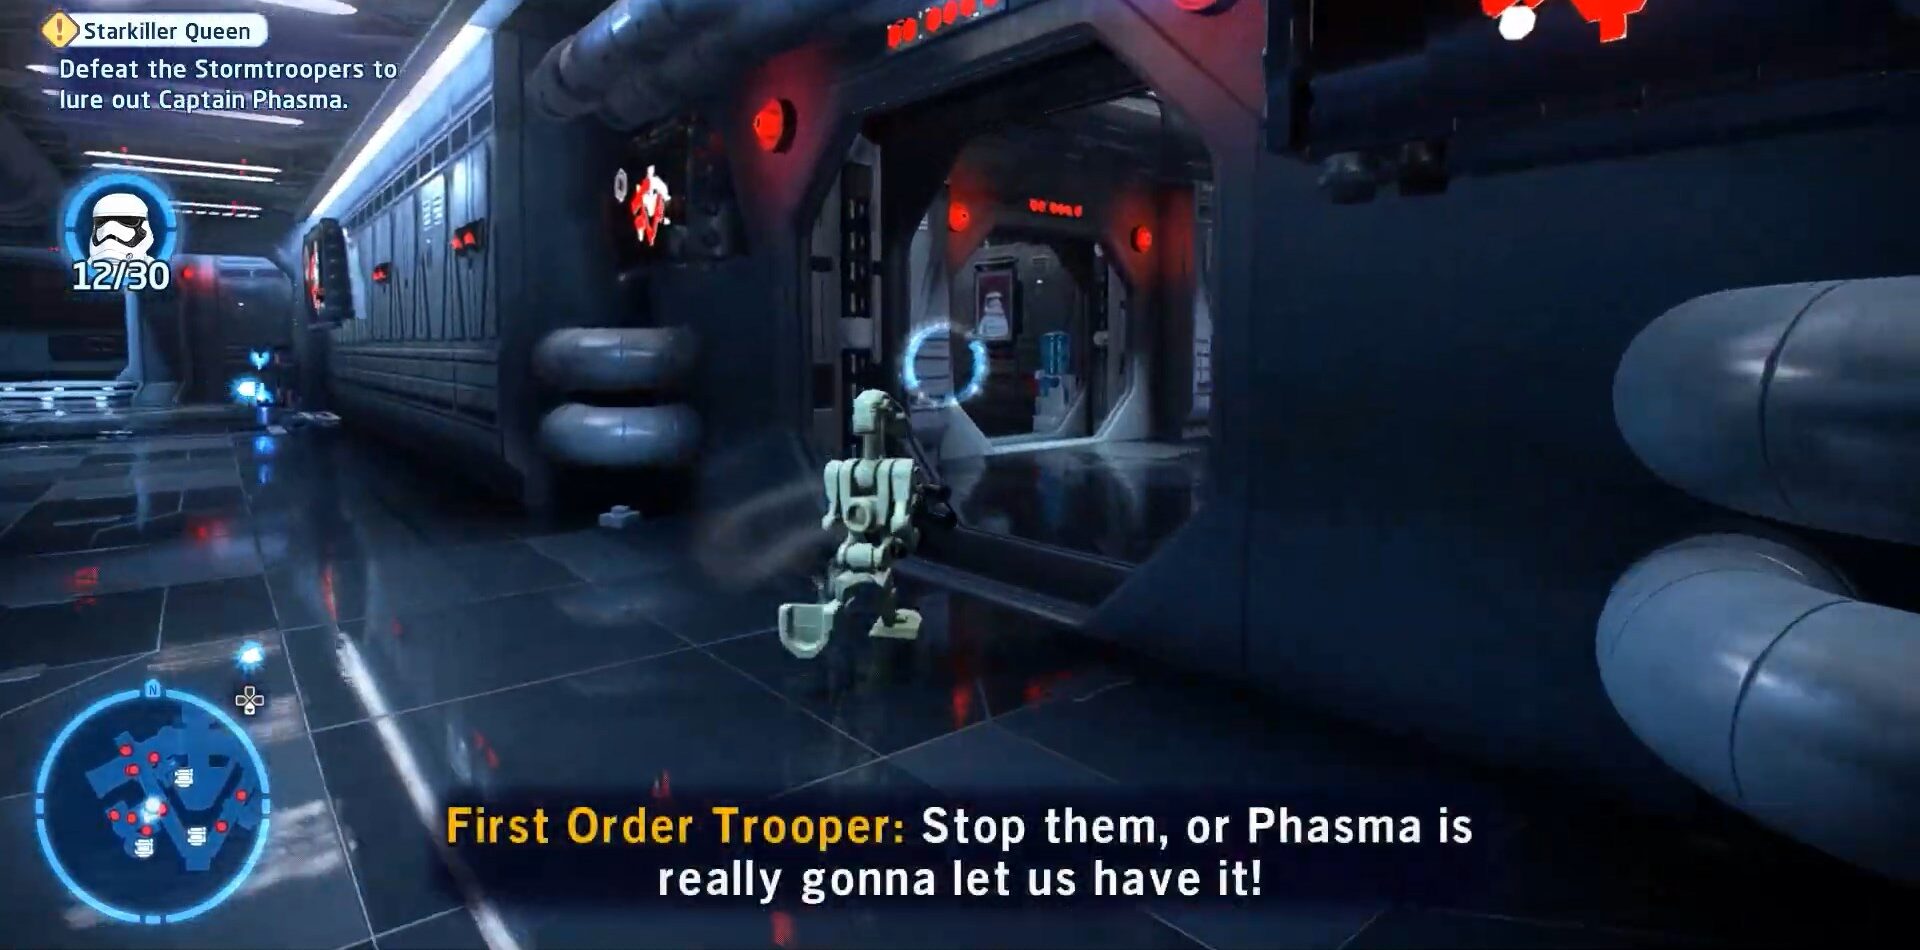
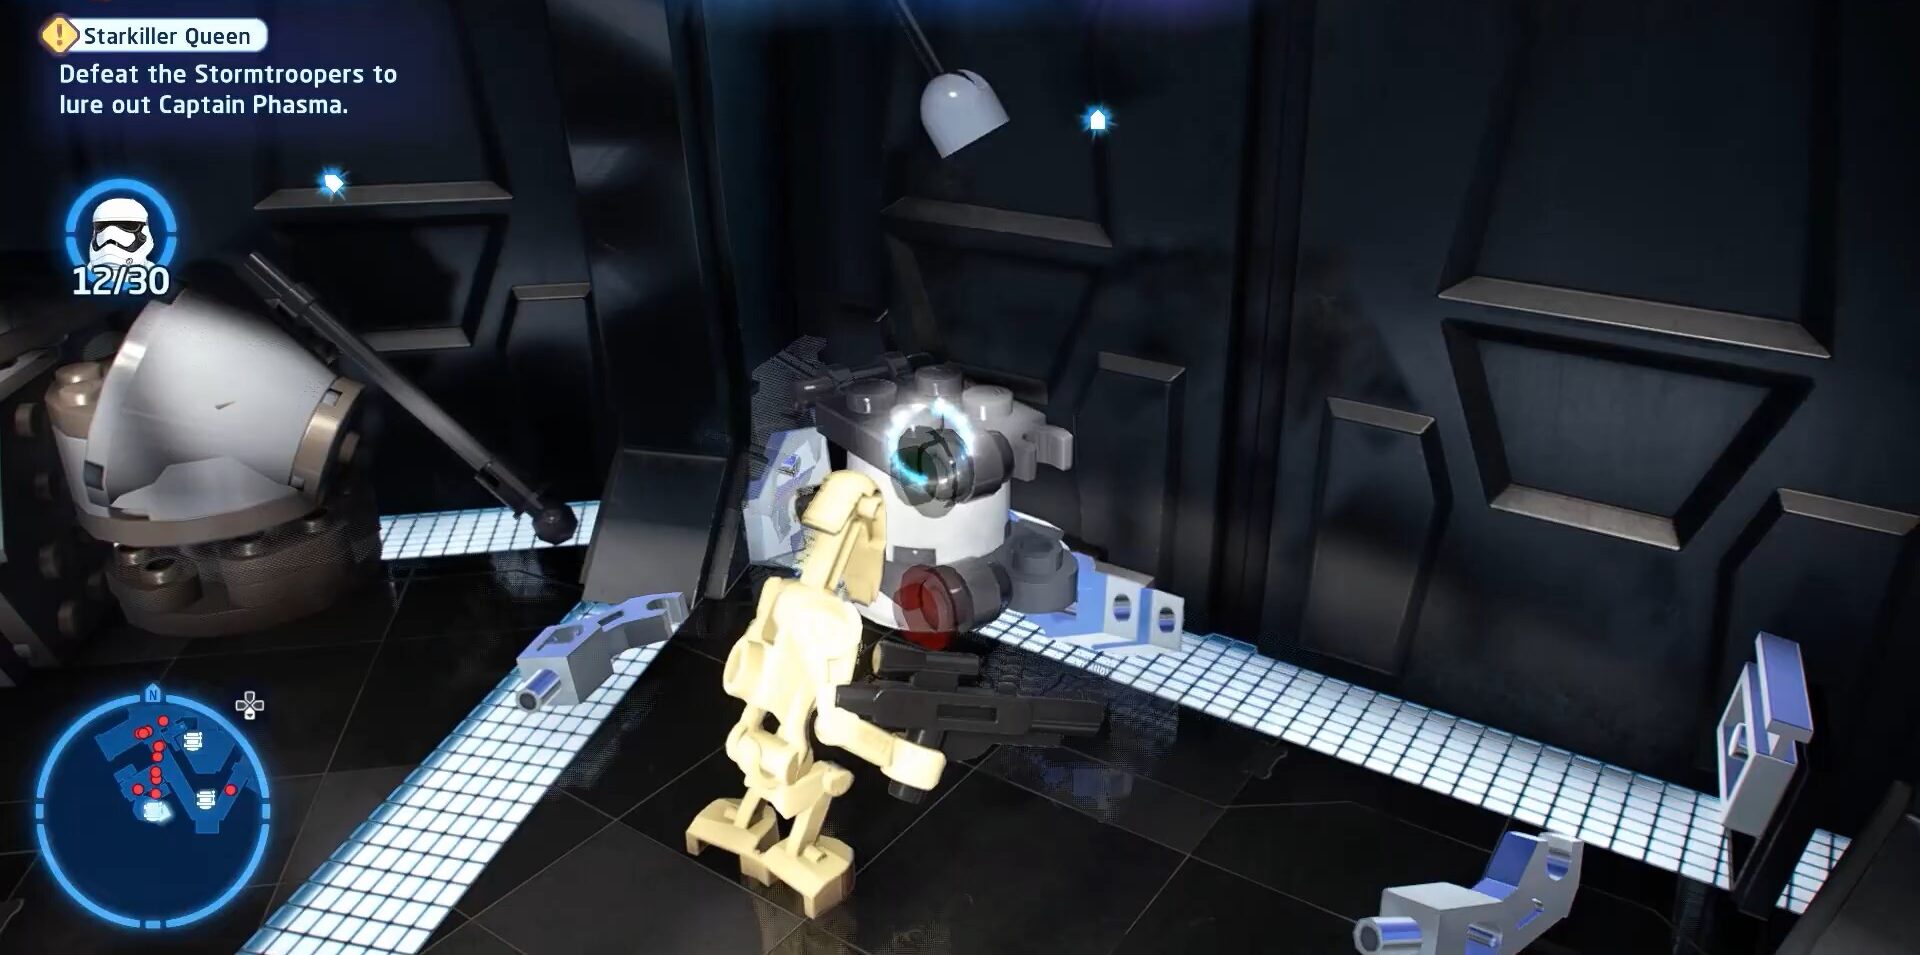
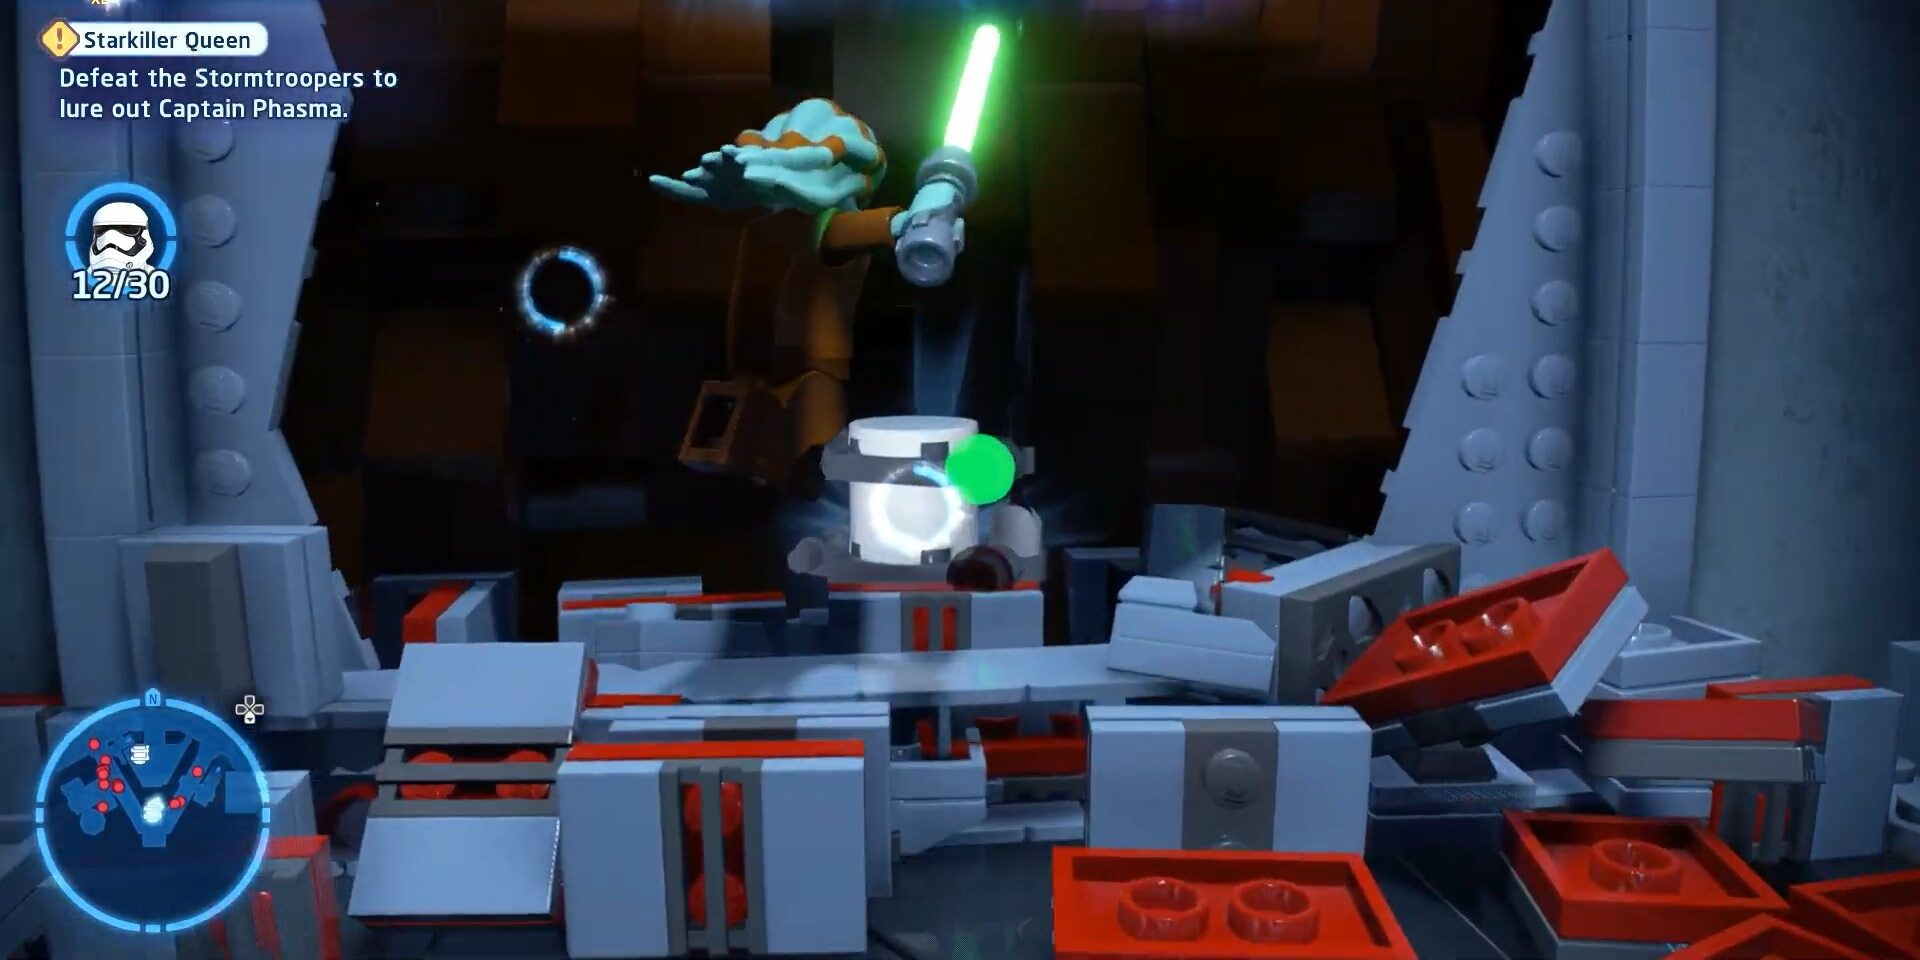
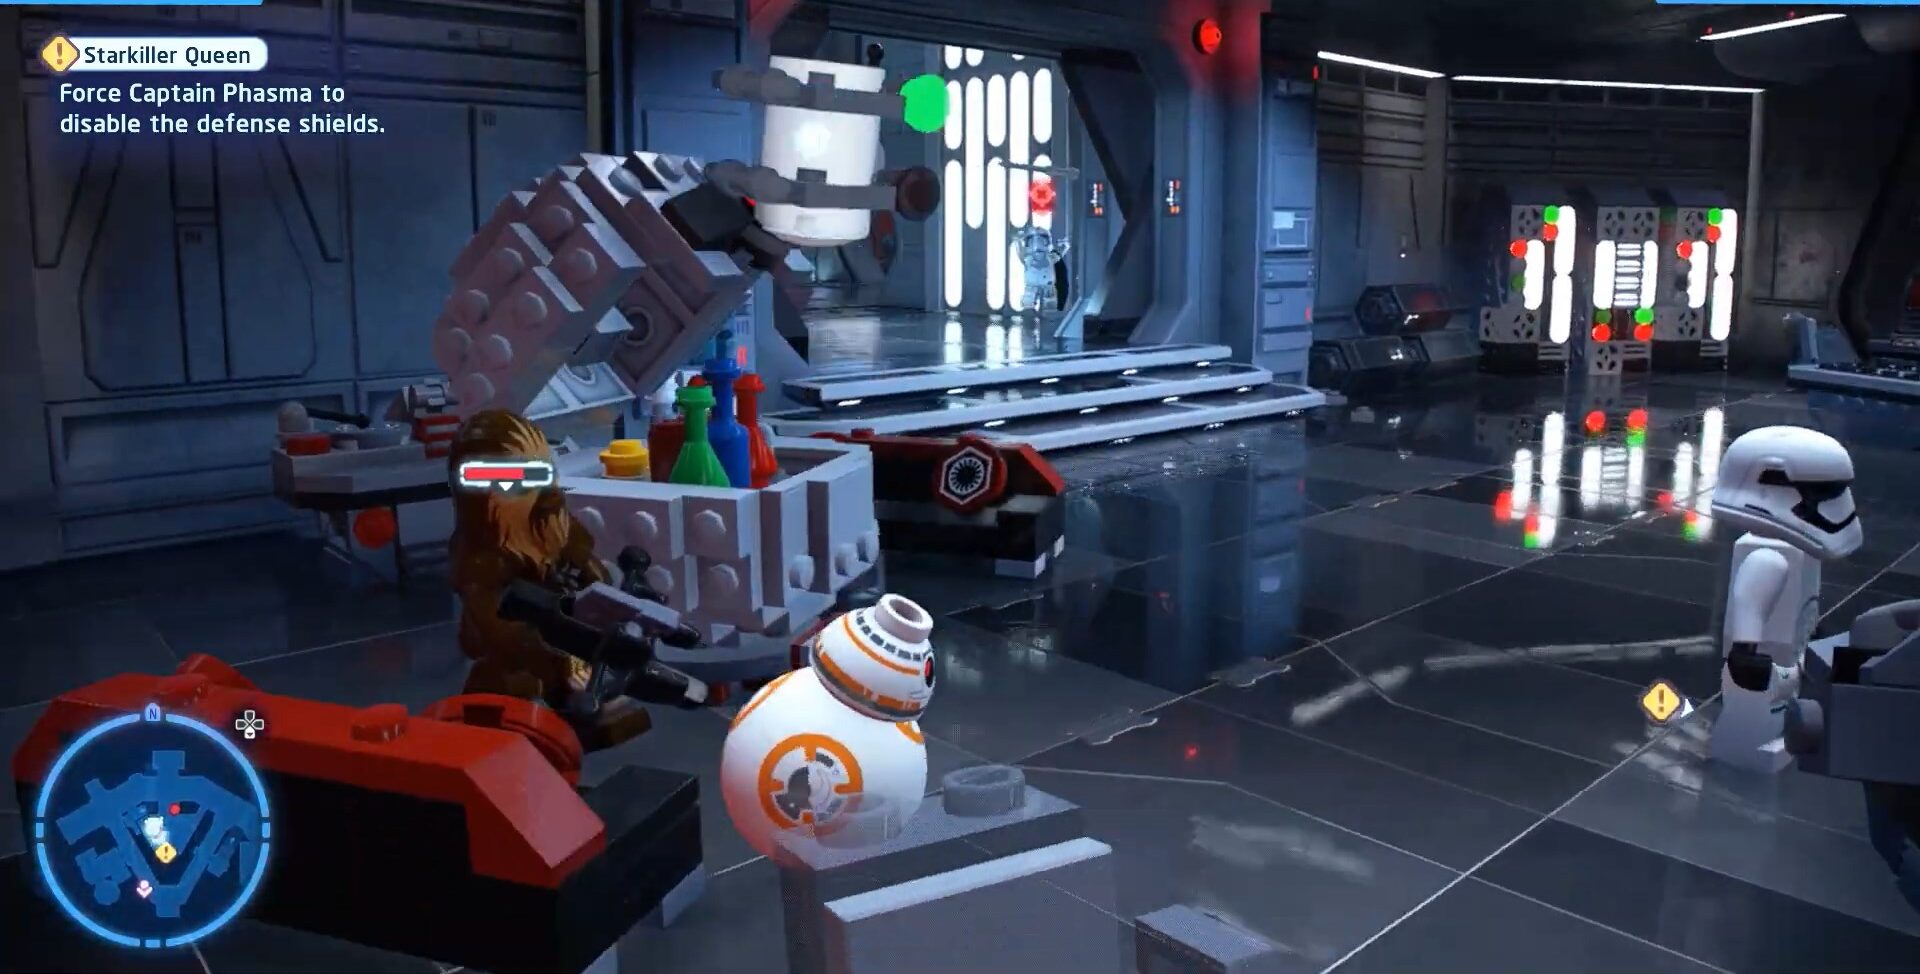
Starkiller Queen
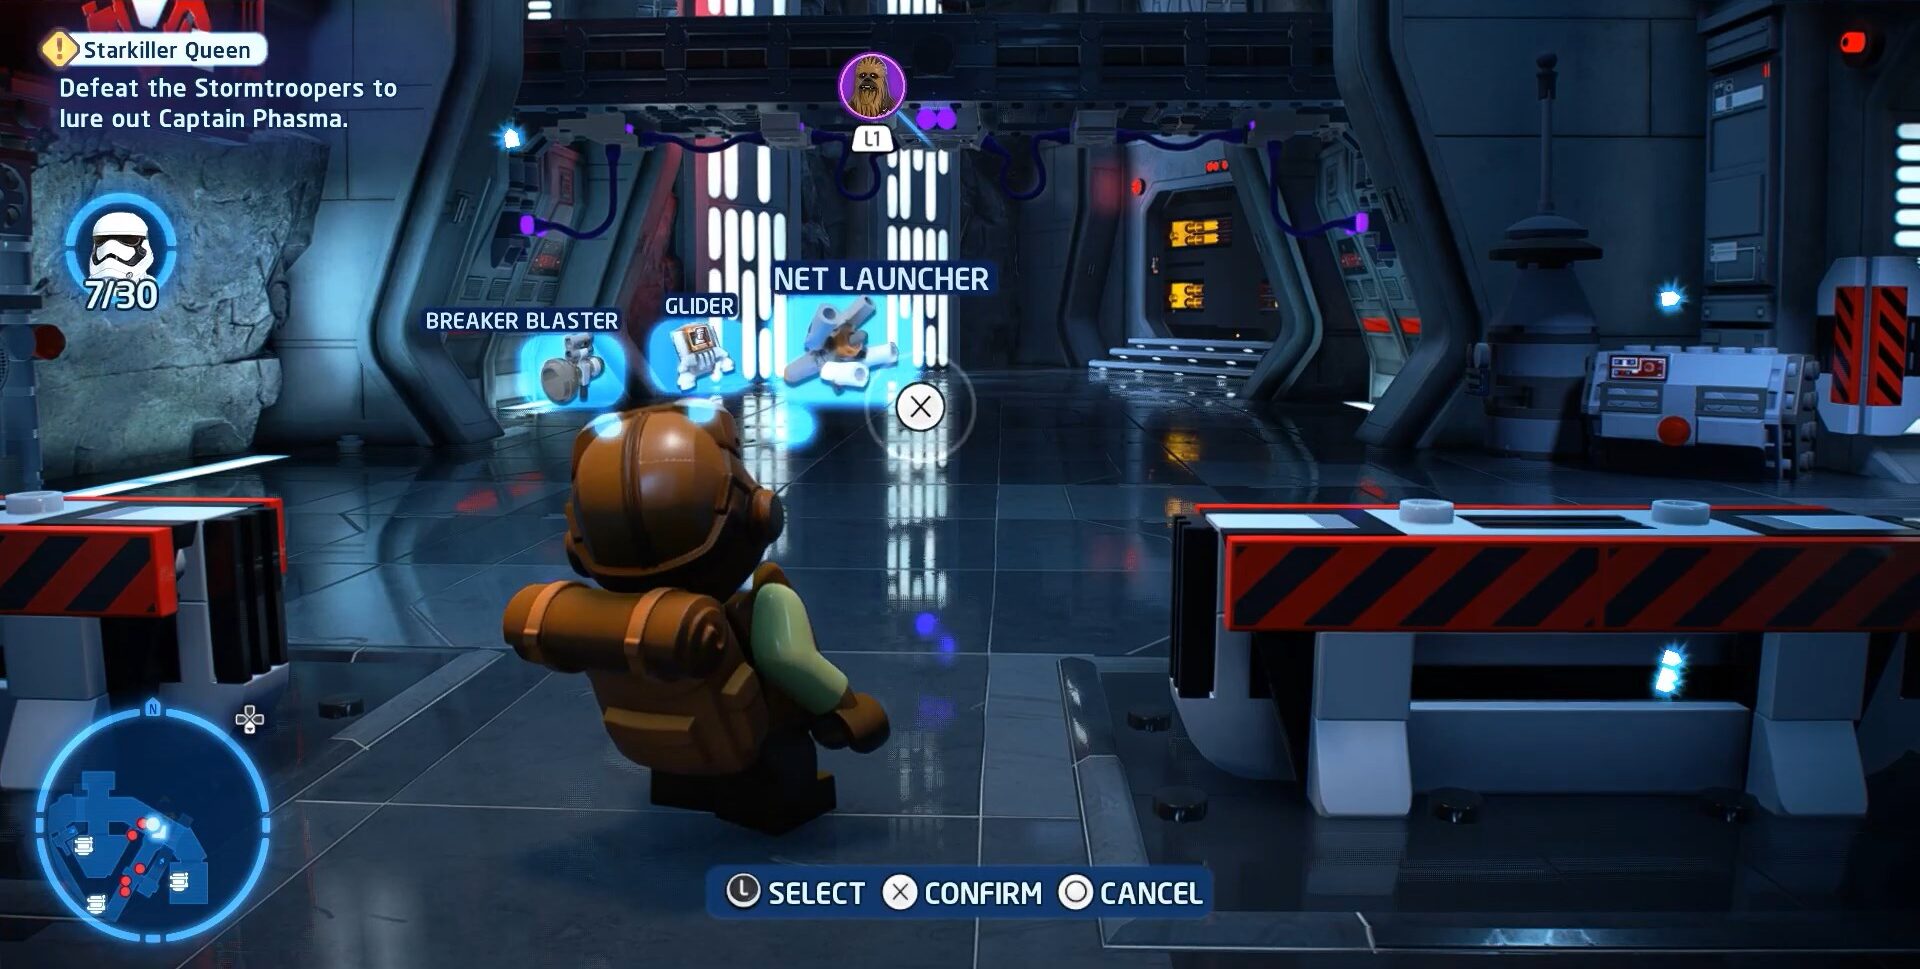
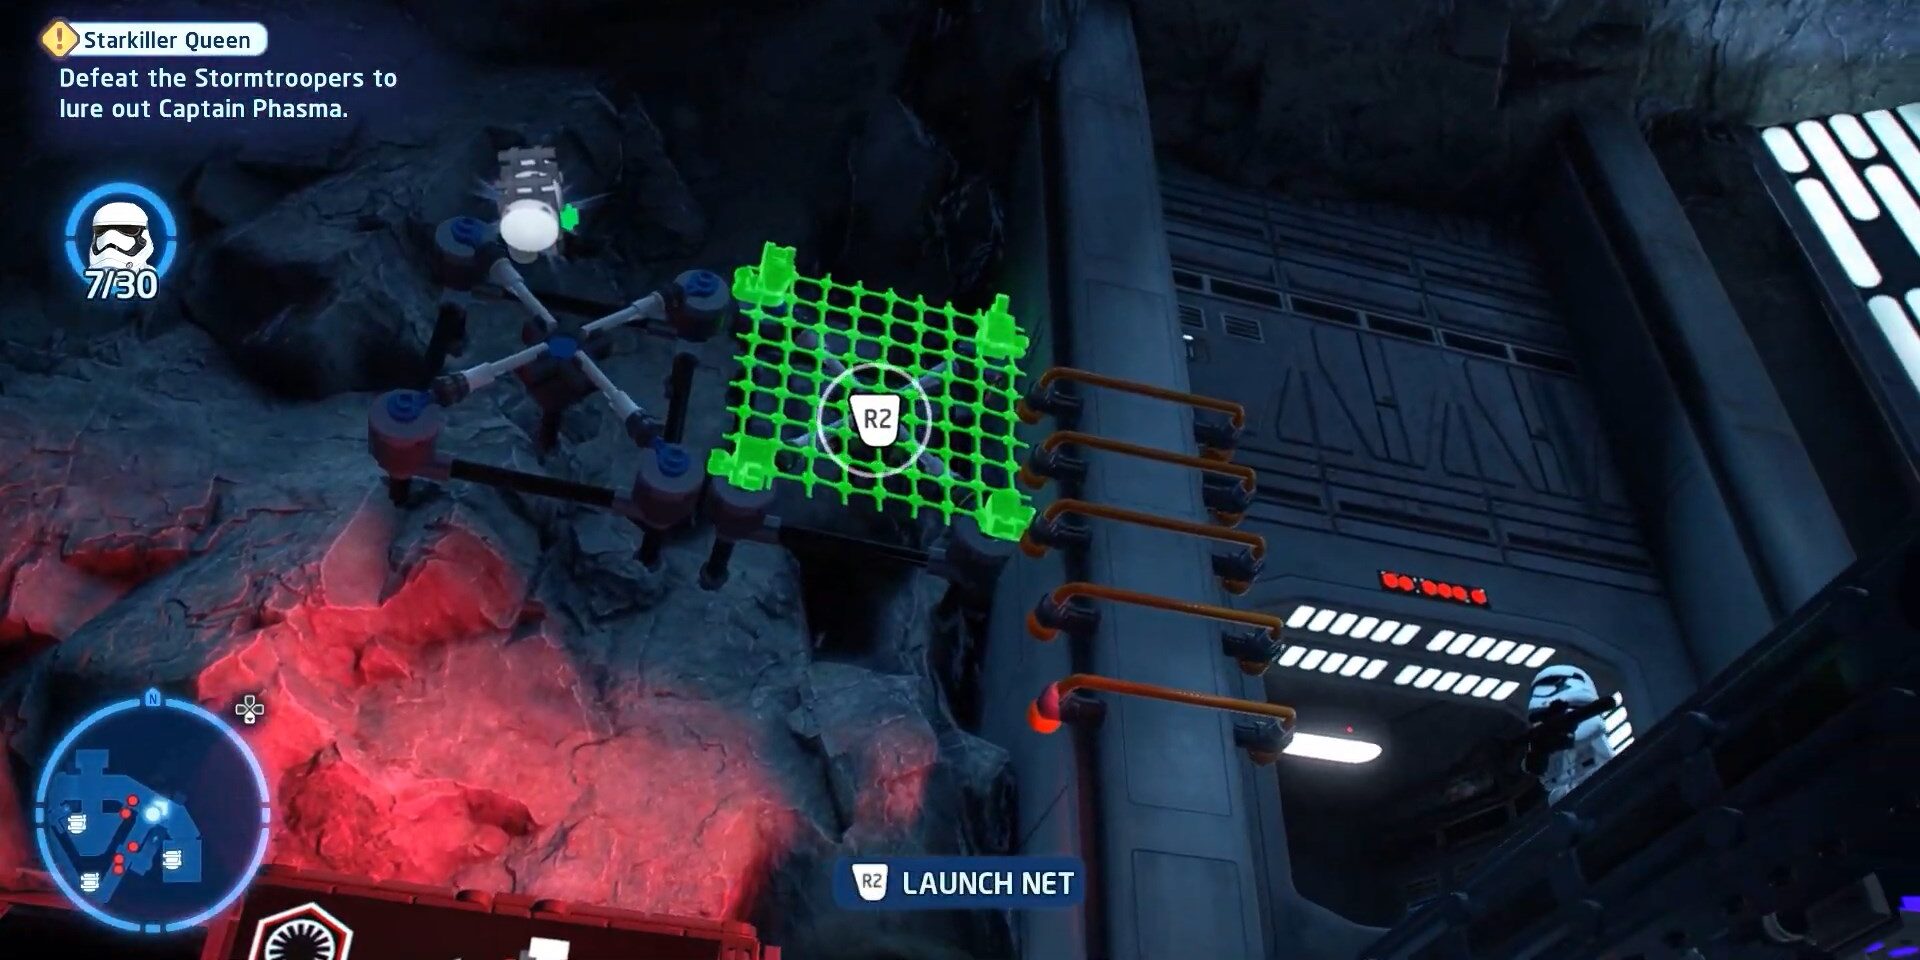
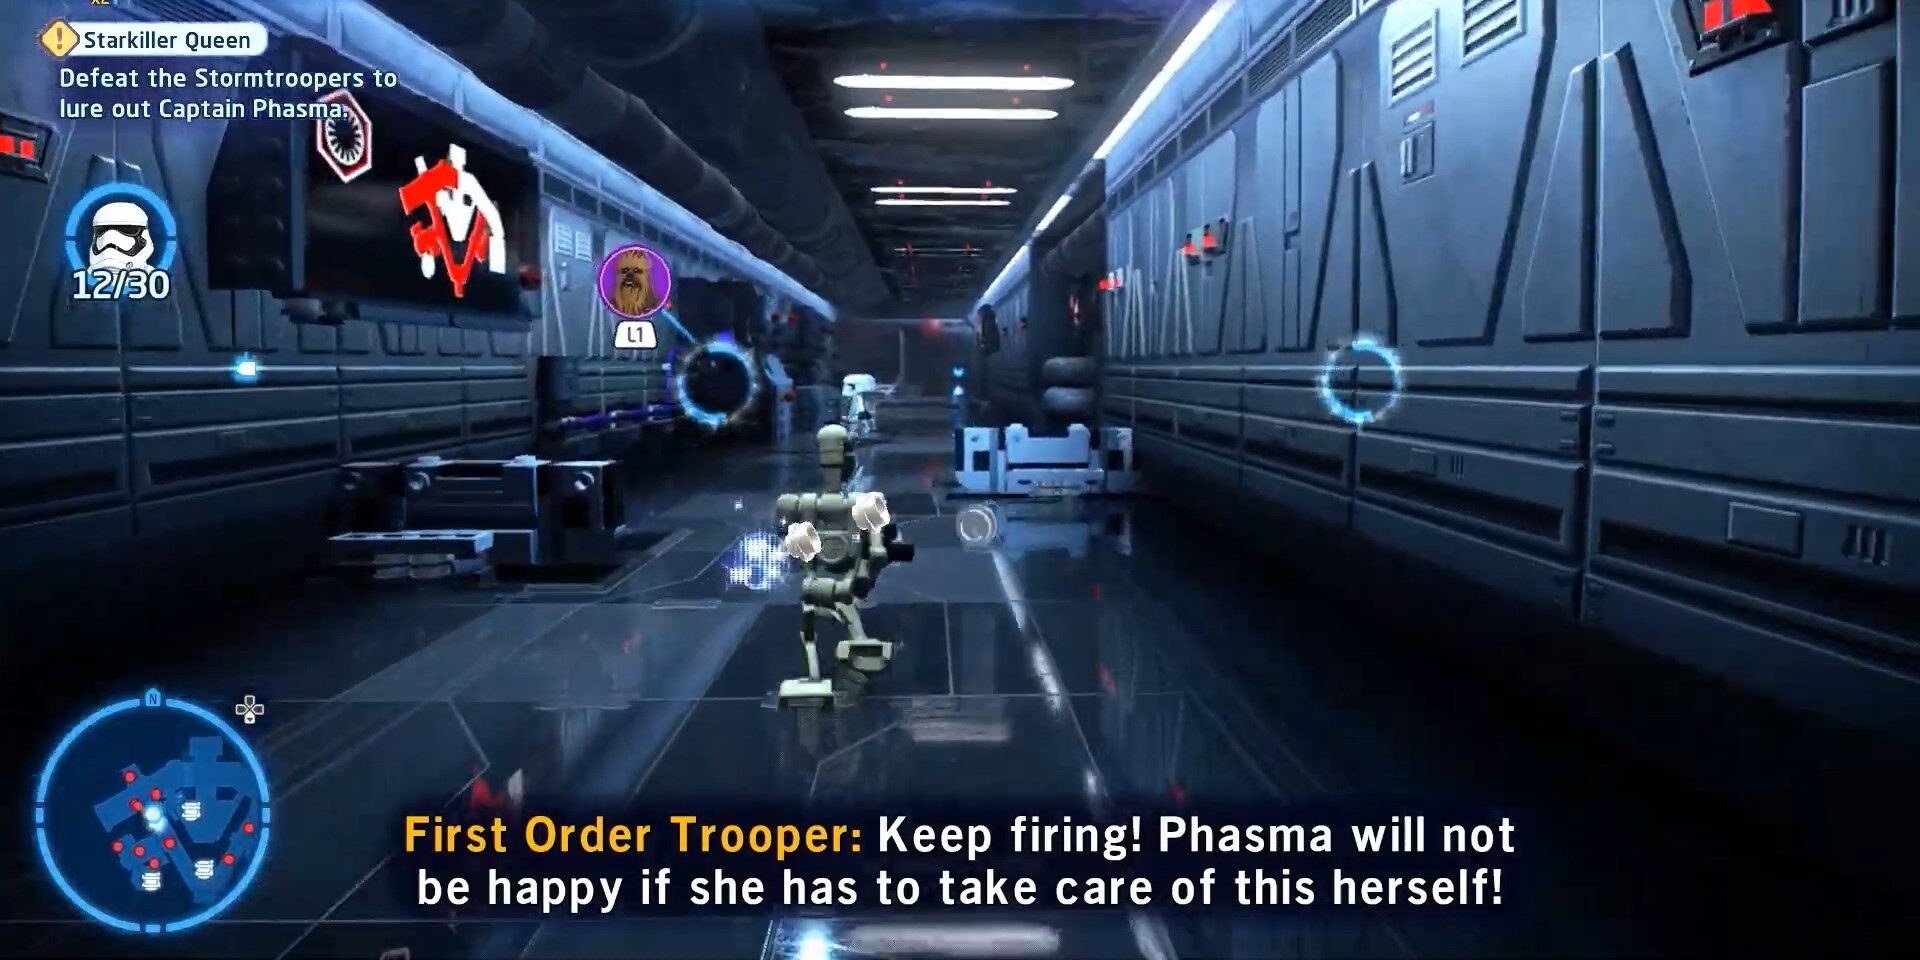
There are five Minikits to get in this mission to during ongoing action between star wars characters. To get the first Minikit which is hanging at the top of the wall there are iron sticks built to climb up but then further up you need the character Scanvanger Rey to shoot a net couple of times and start climbing over there during your pursuit of getting the first Minikit it is possible that enemies might attack you but you can ignore them and take a couple of light bullets that won’t take life. We have attached images below to make it easier to understand for you.
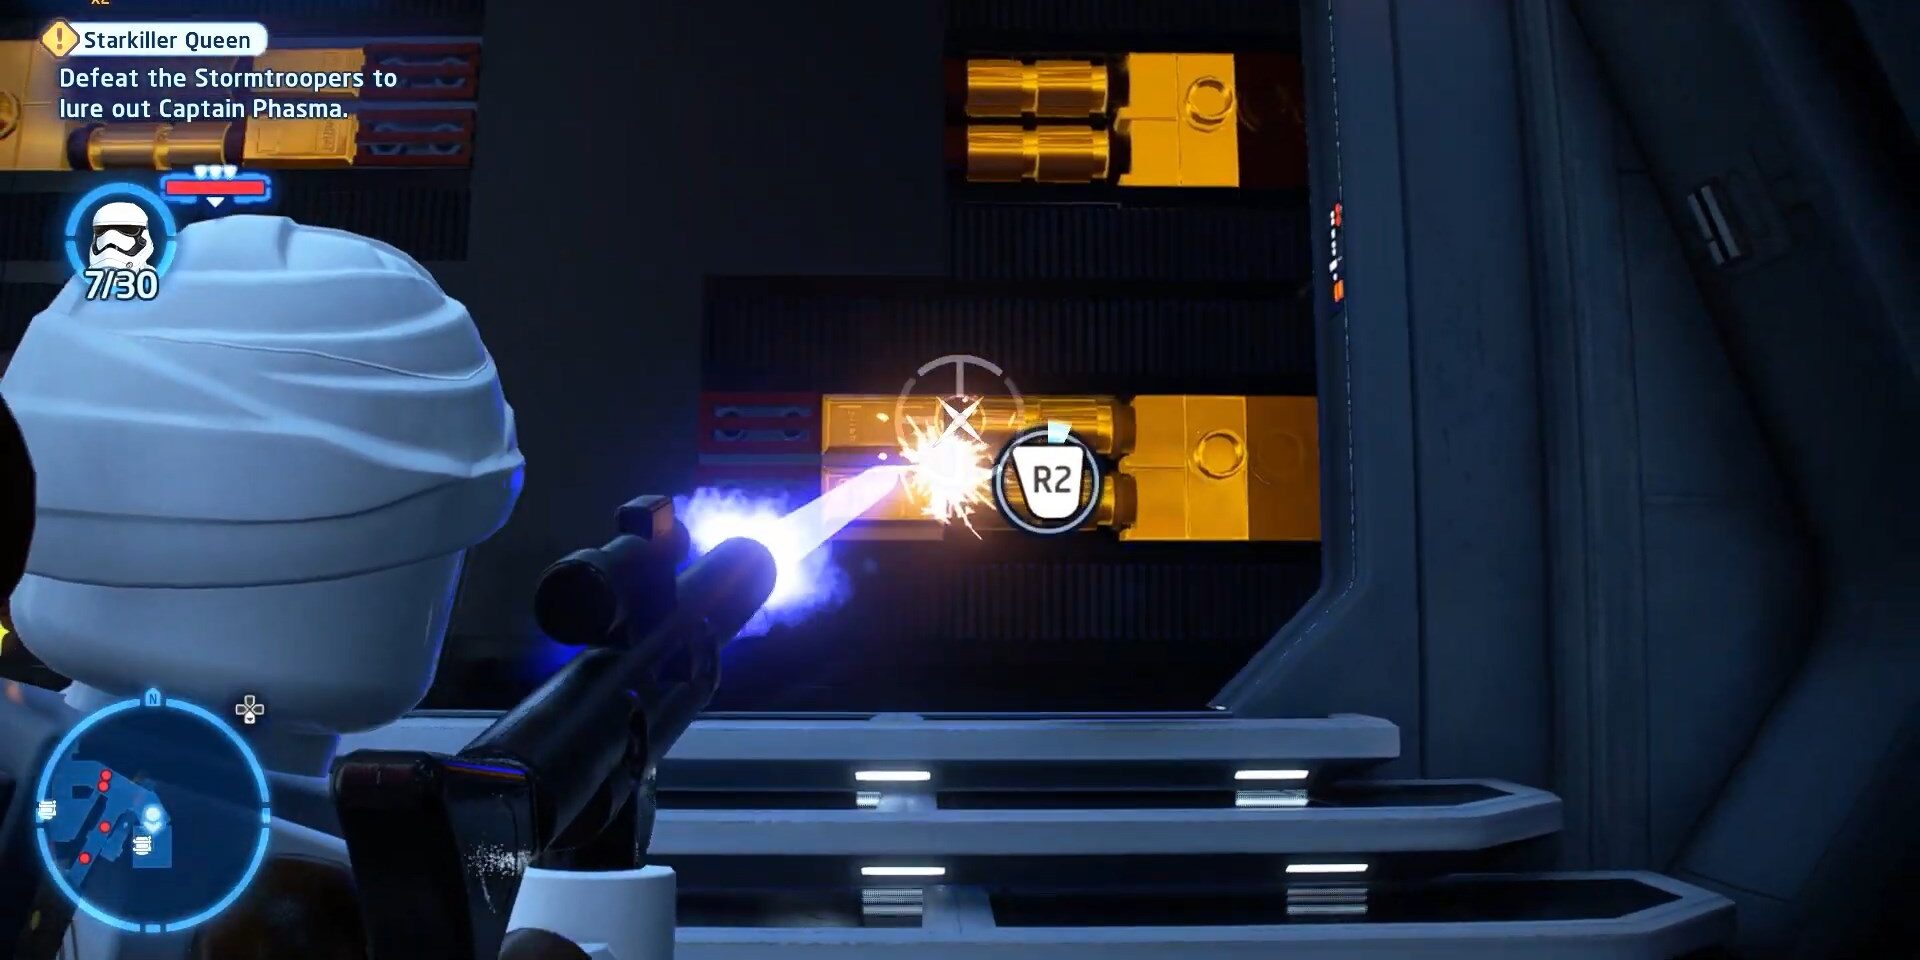
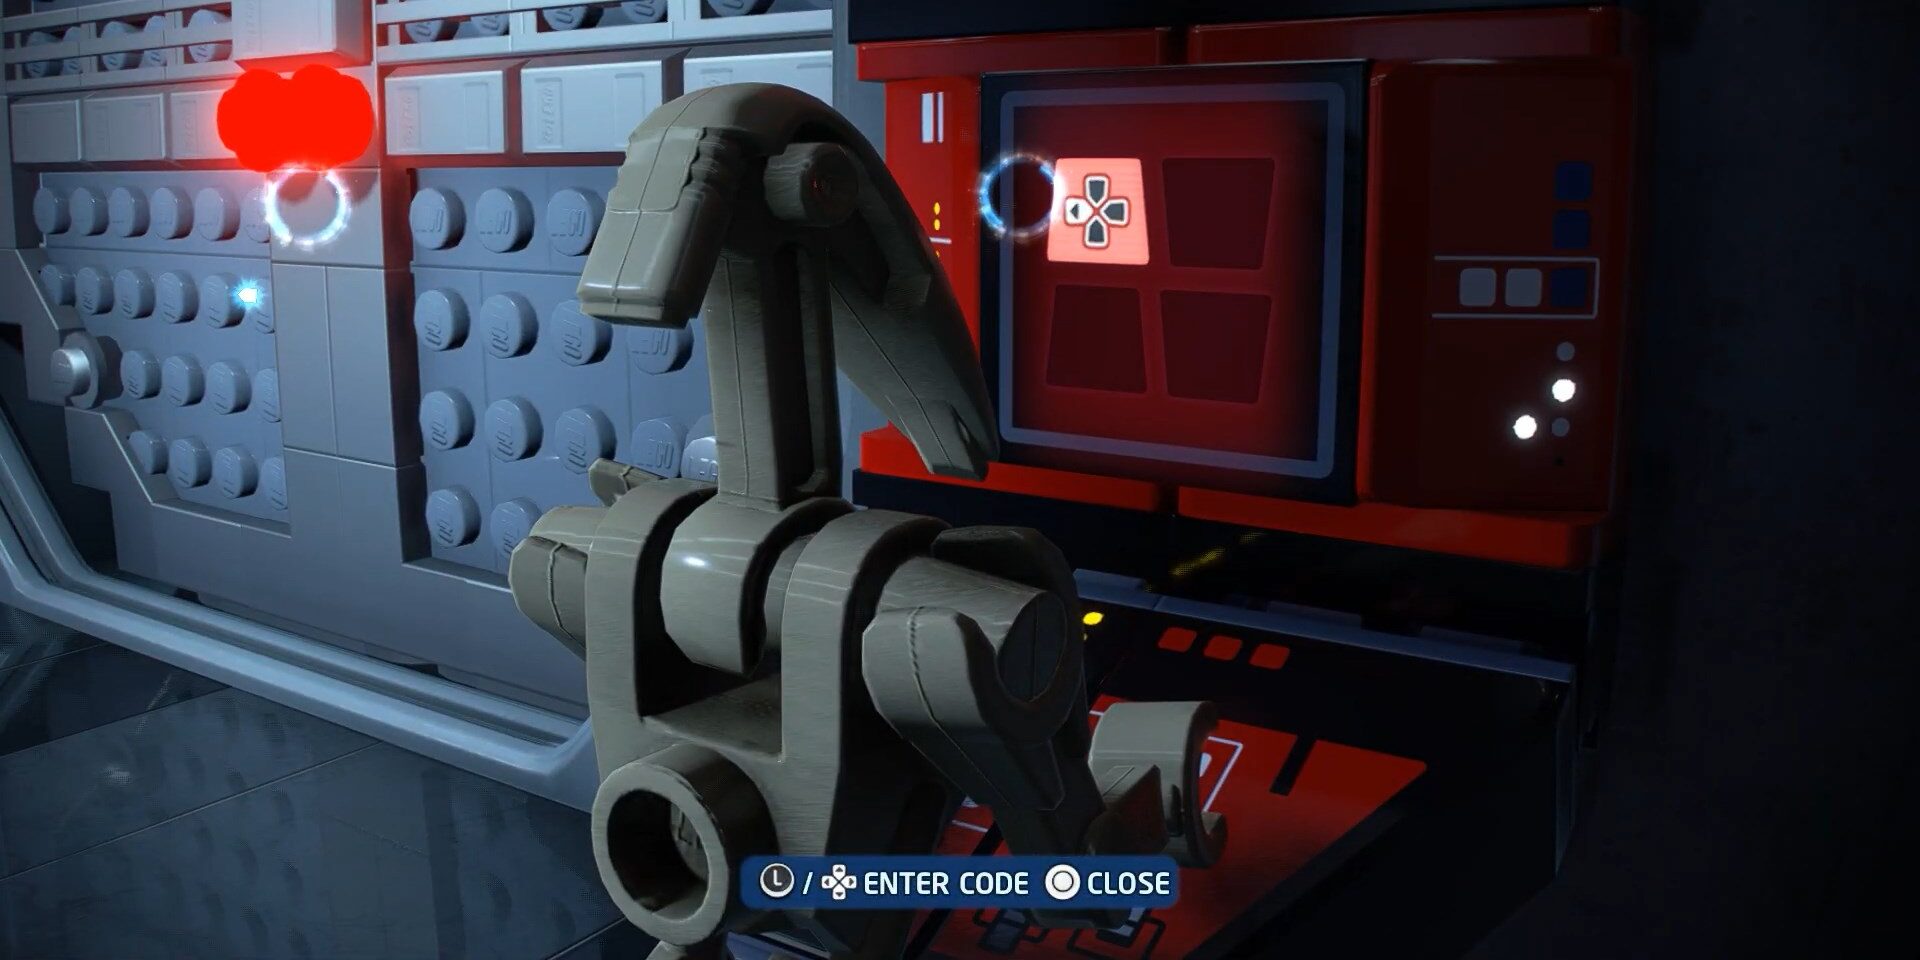
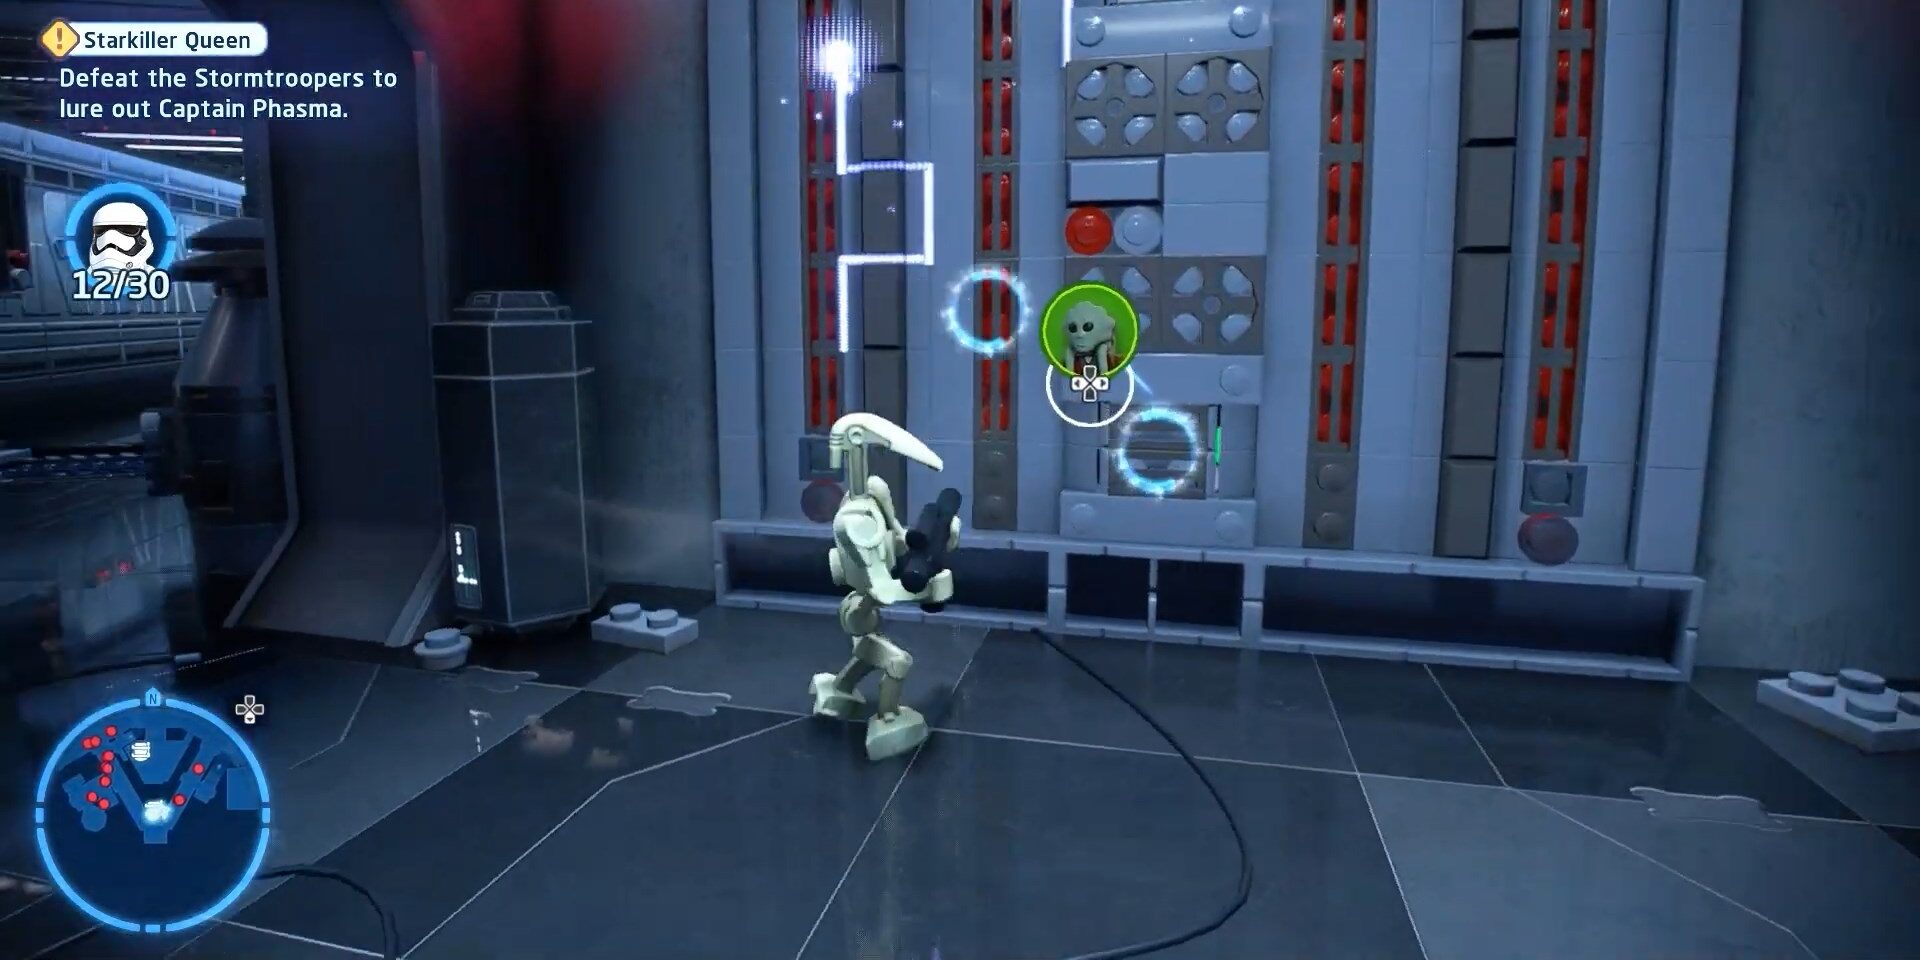
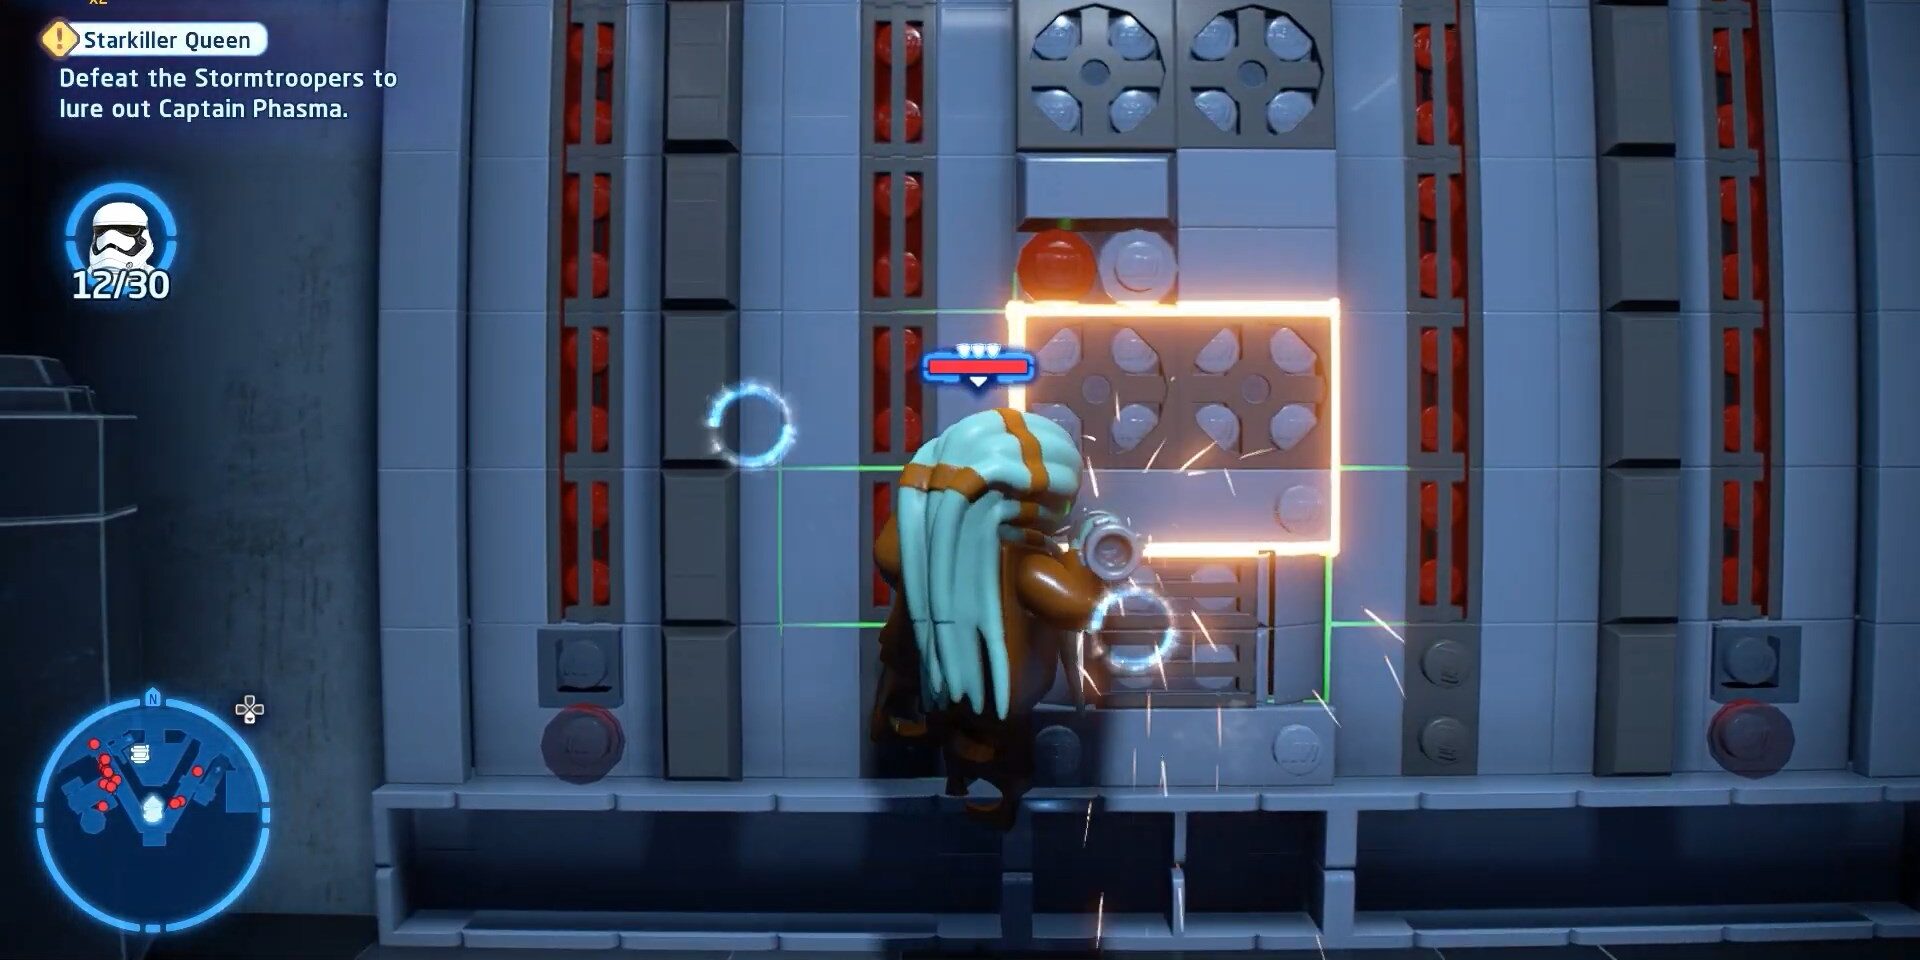
Just a few steps away there will be a door you have to break. It has kind of golden color locks, therefore, having a character with a big gun would be great so shift the character to Dengar who is on the bounty hunter list and shoot to break those golden locks. Inside the door will be a Minikit but it is in the locked box you need a crusher which is also down there you need to use star force to move the locked Minikit down there so change the character who can use star force such as Jedi Master Kit Fisto and use the iron handle to crush the locked box of Minikit and then jump down to collect the second Minikit. We have attached images below as step by step guide.
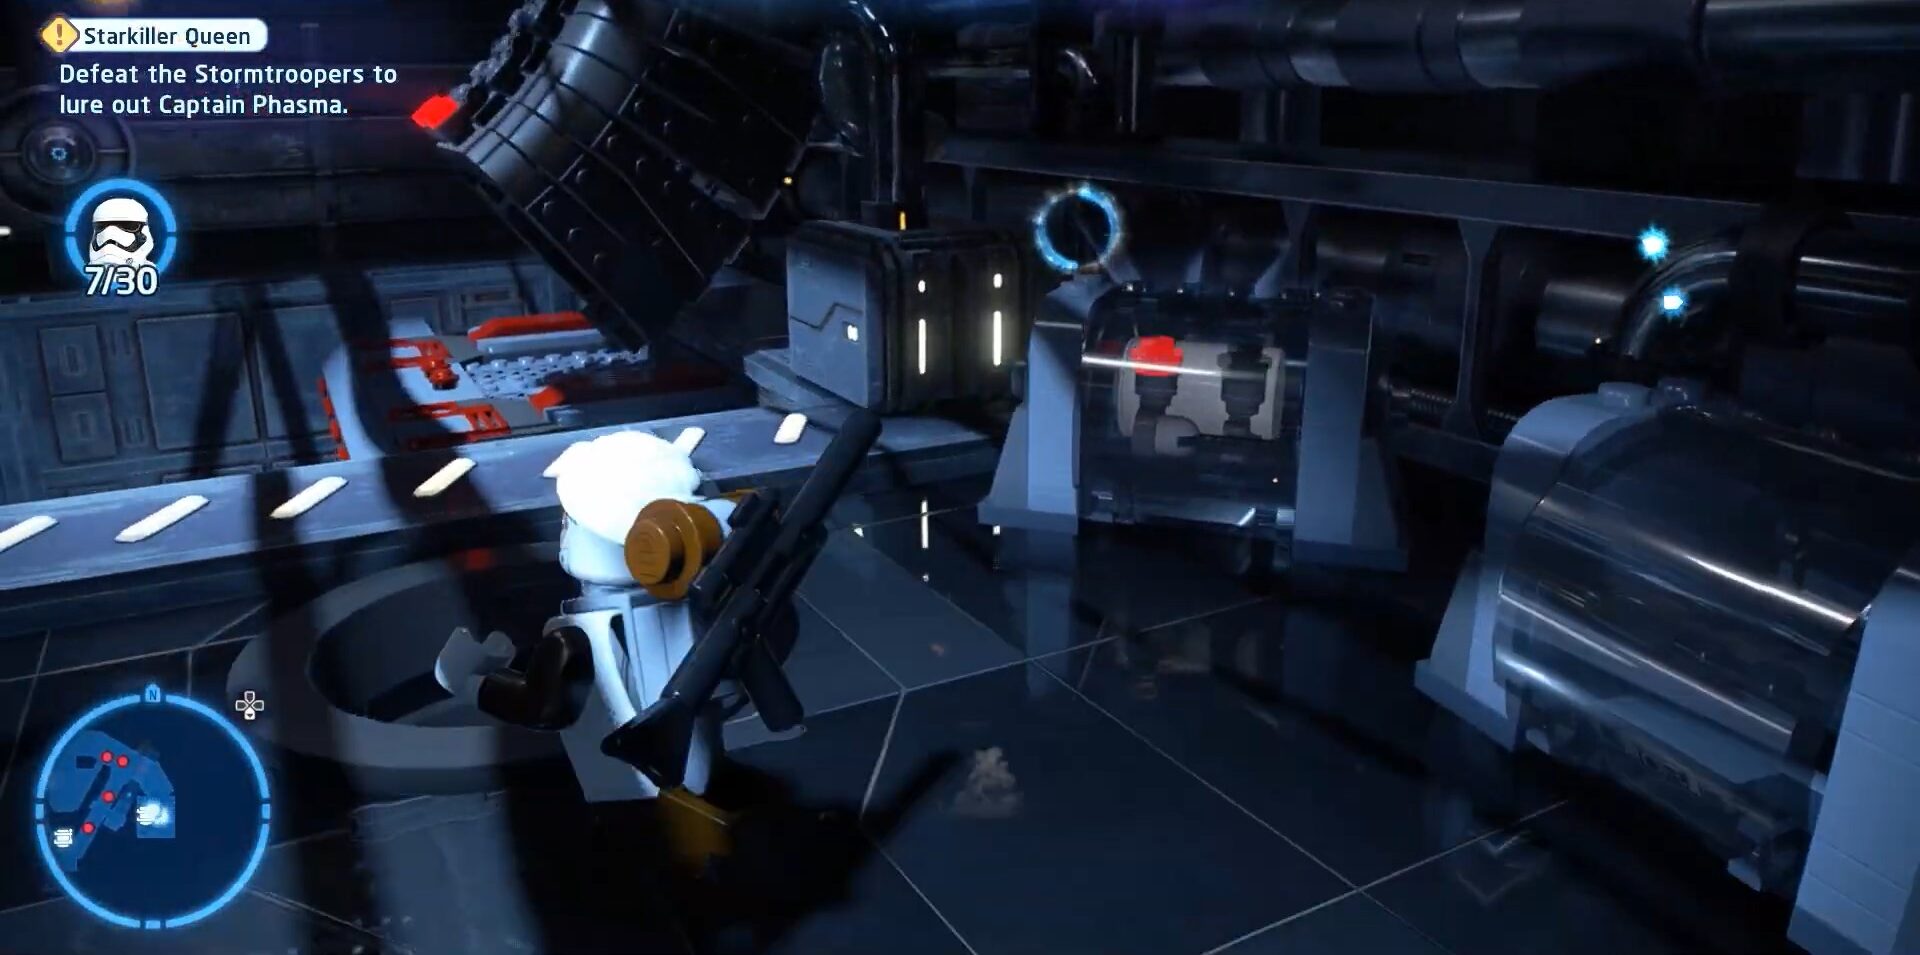
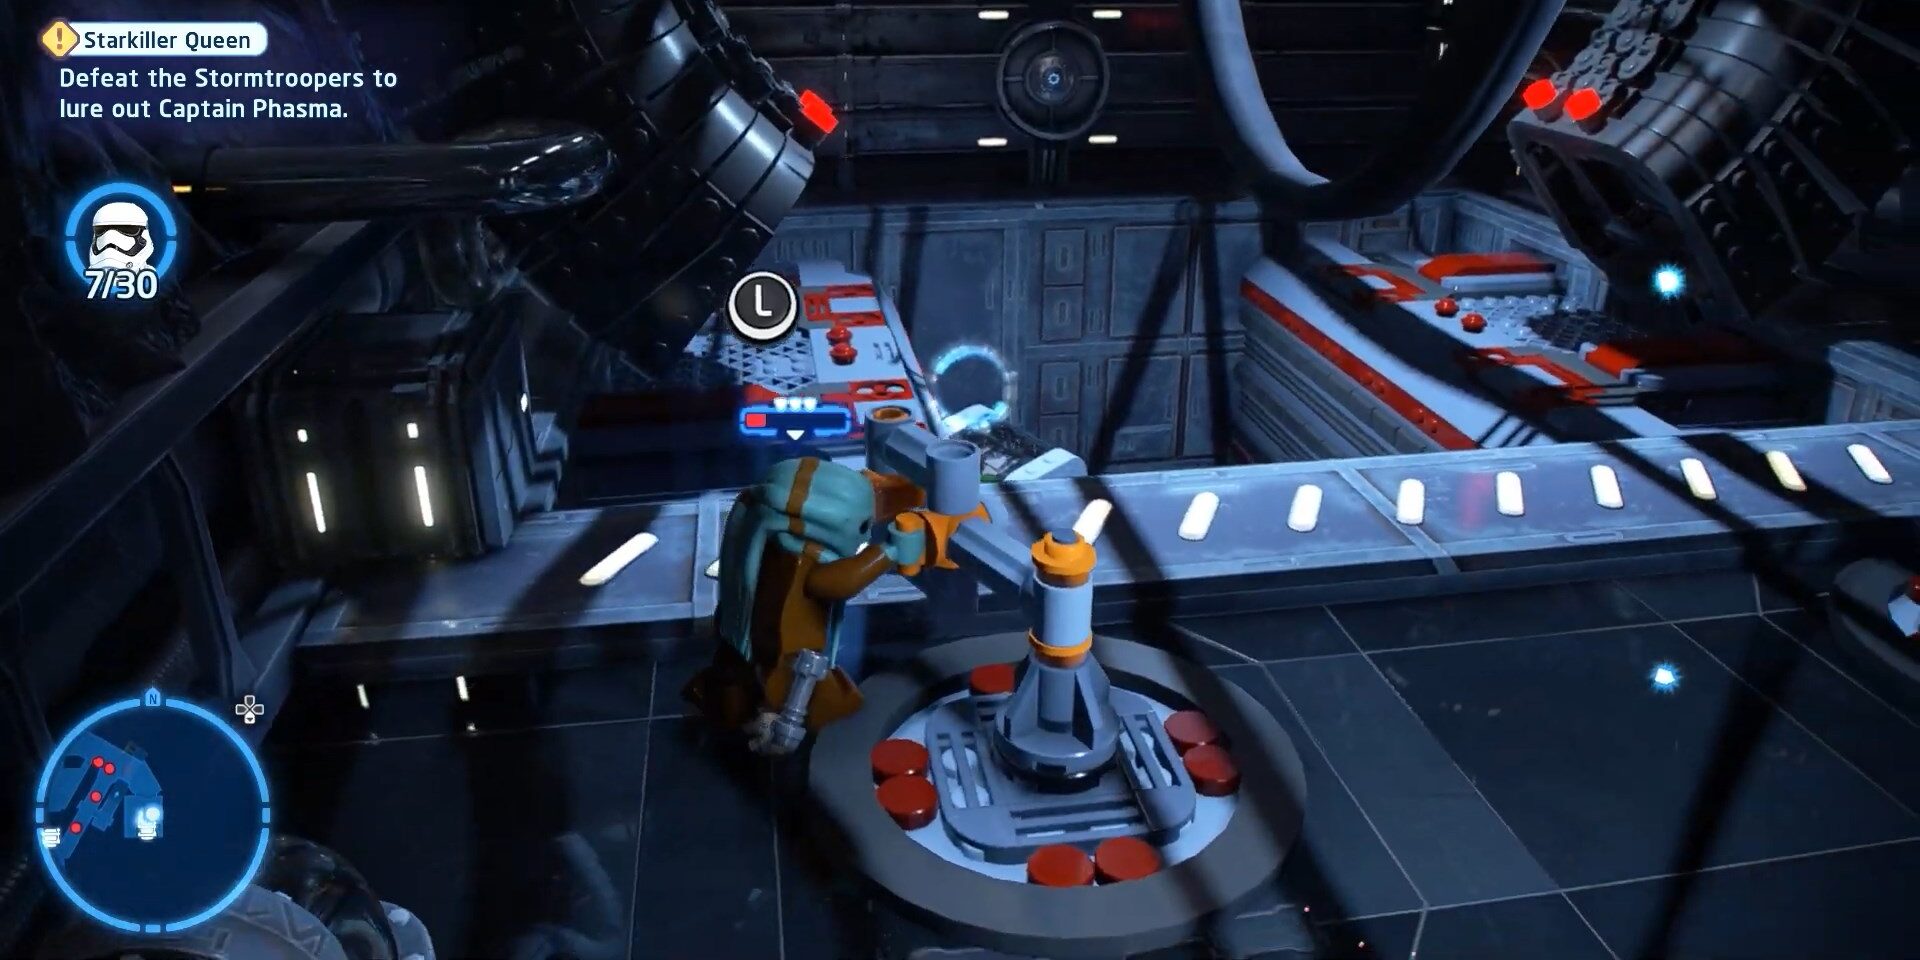
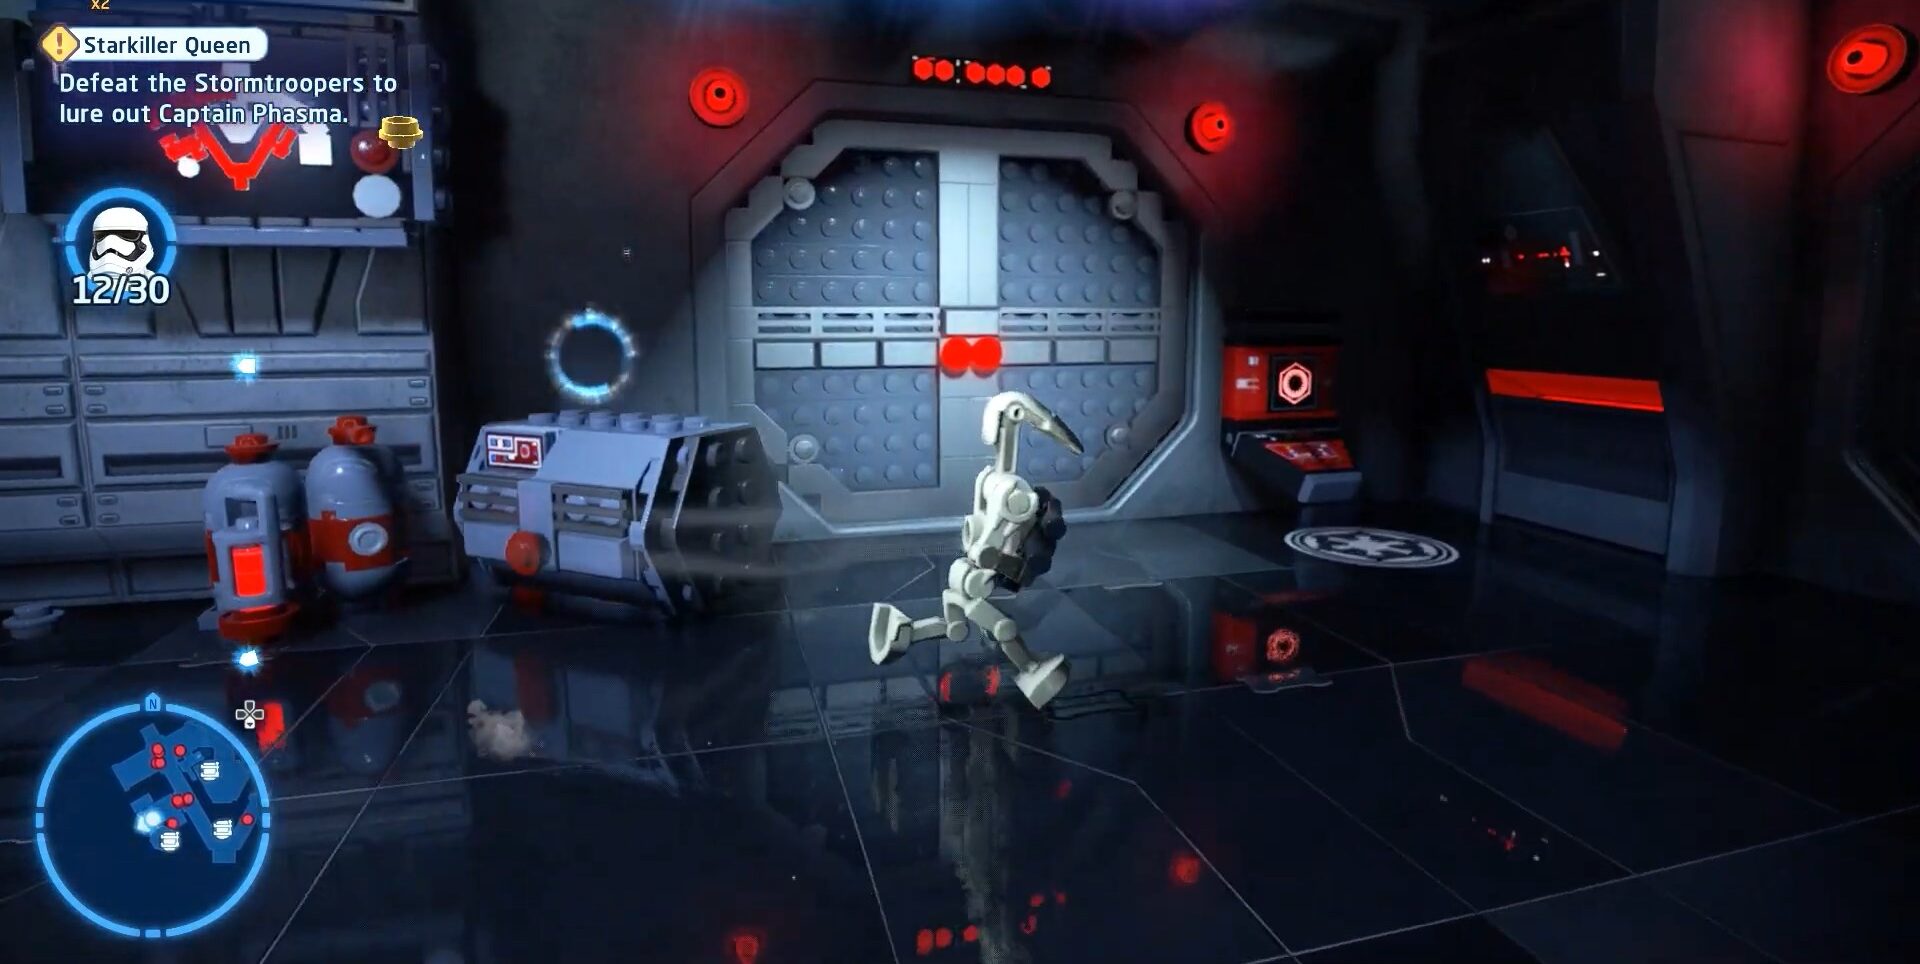
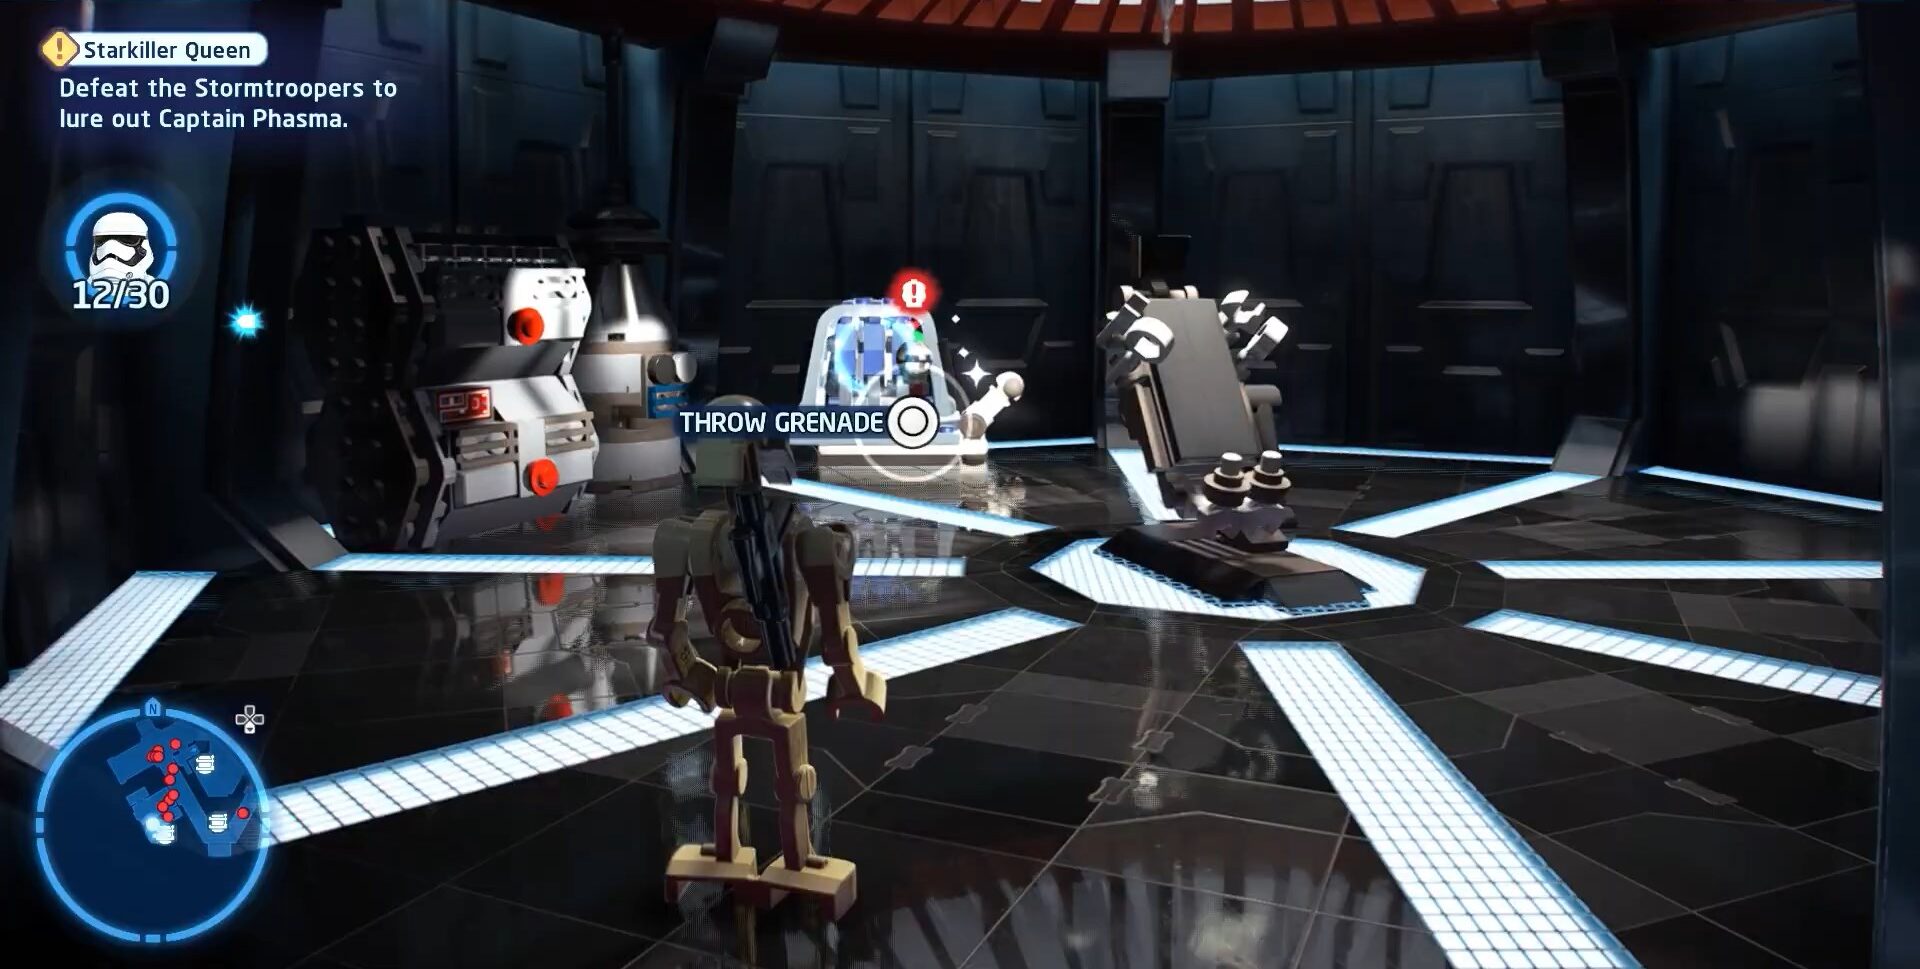
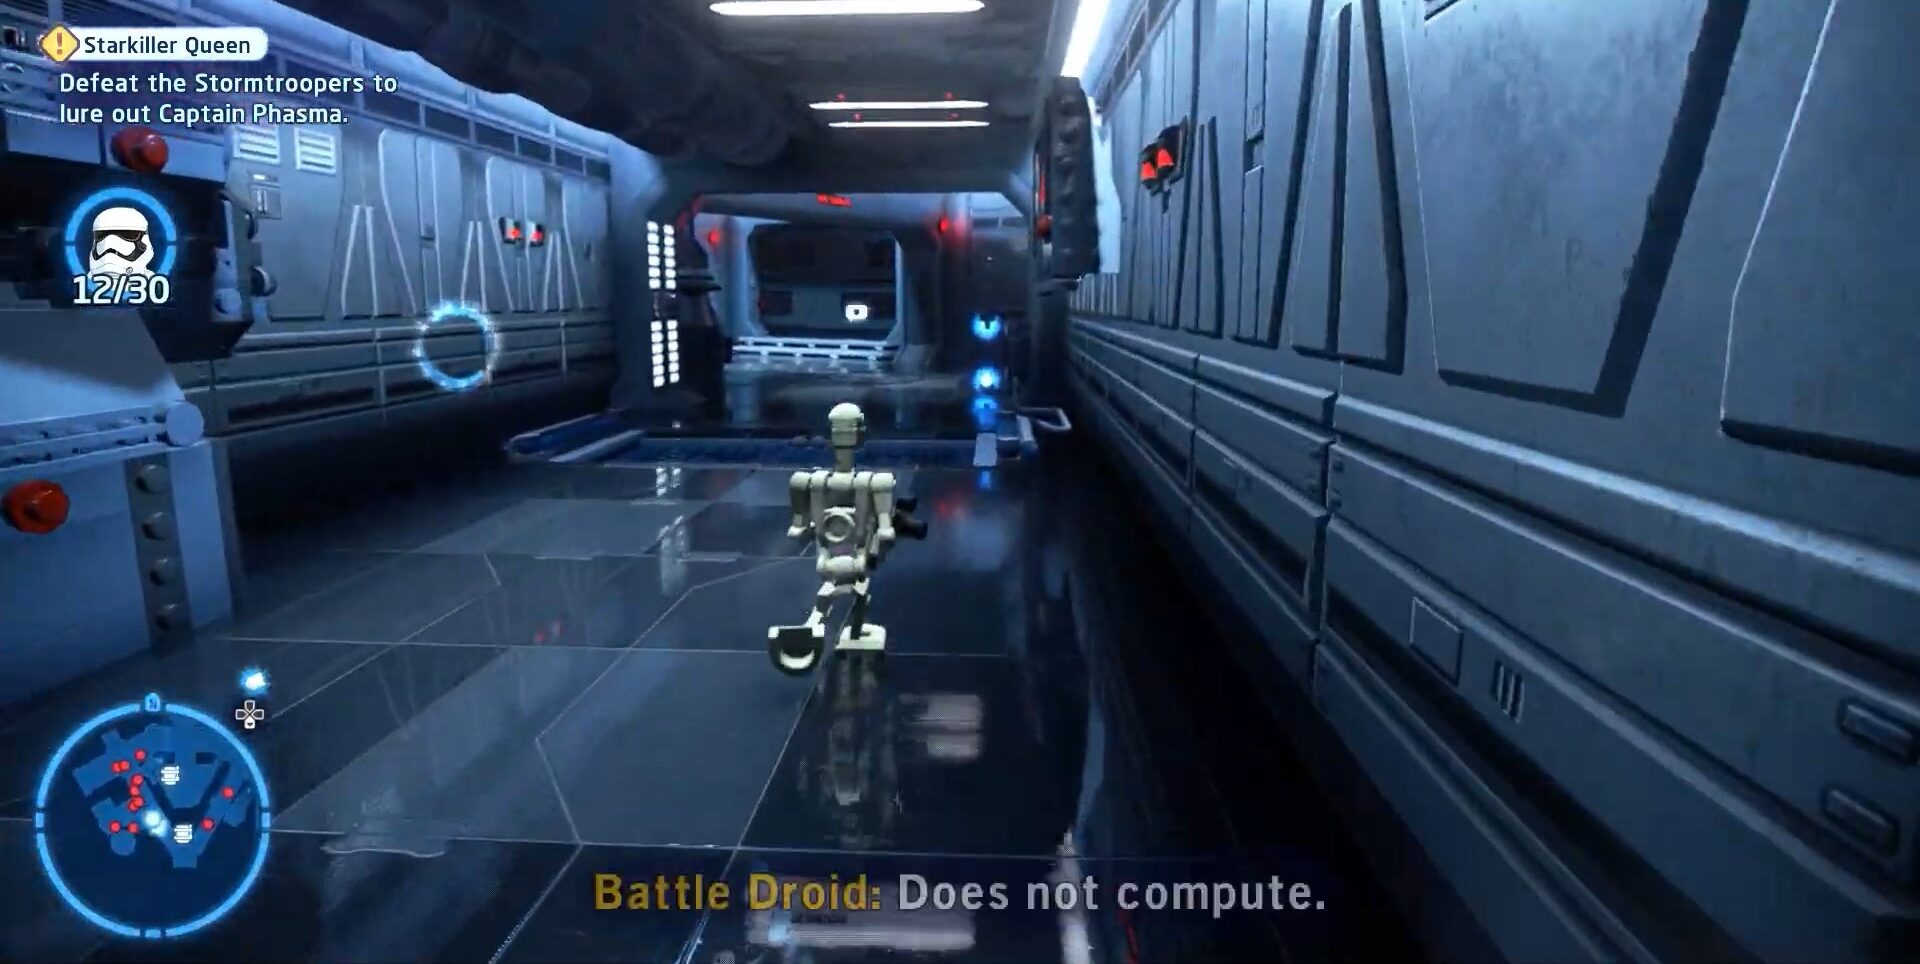
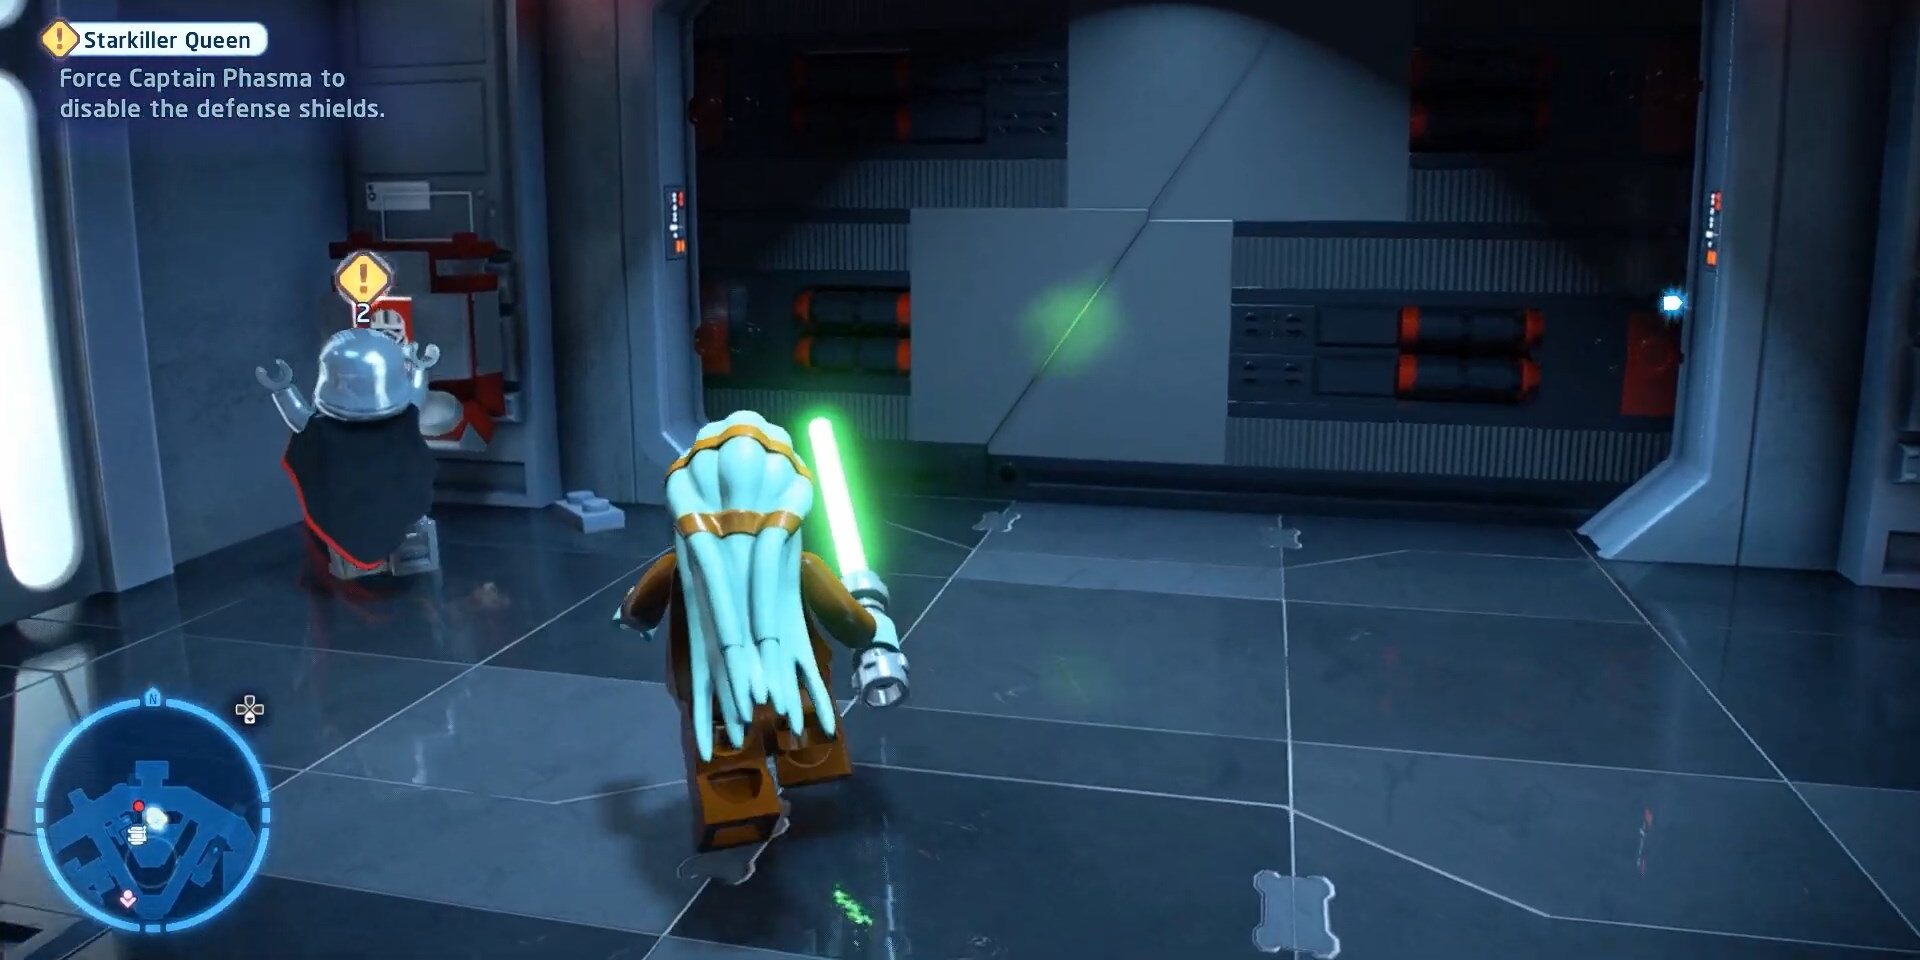
At the central channel, there will be a long corridor on turning right side of it will lead you to another two doors one is opened and one will be locked we are looking for Minikit so it will be in locked but that can be unlocked by interacting with the machine in its side you need to switch to any villain character for it after entering in you need to throw a grenade to destroy whatever is there and there will be Minikit to rebuild that’s your third Minikit. We have attached images with the caption of it to make it easy for you.
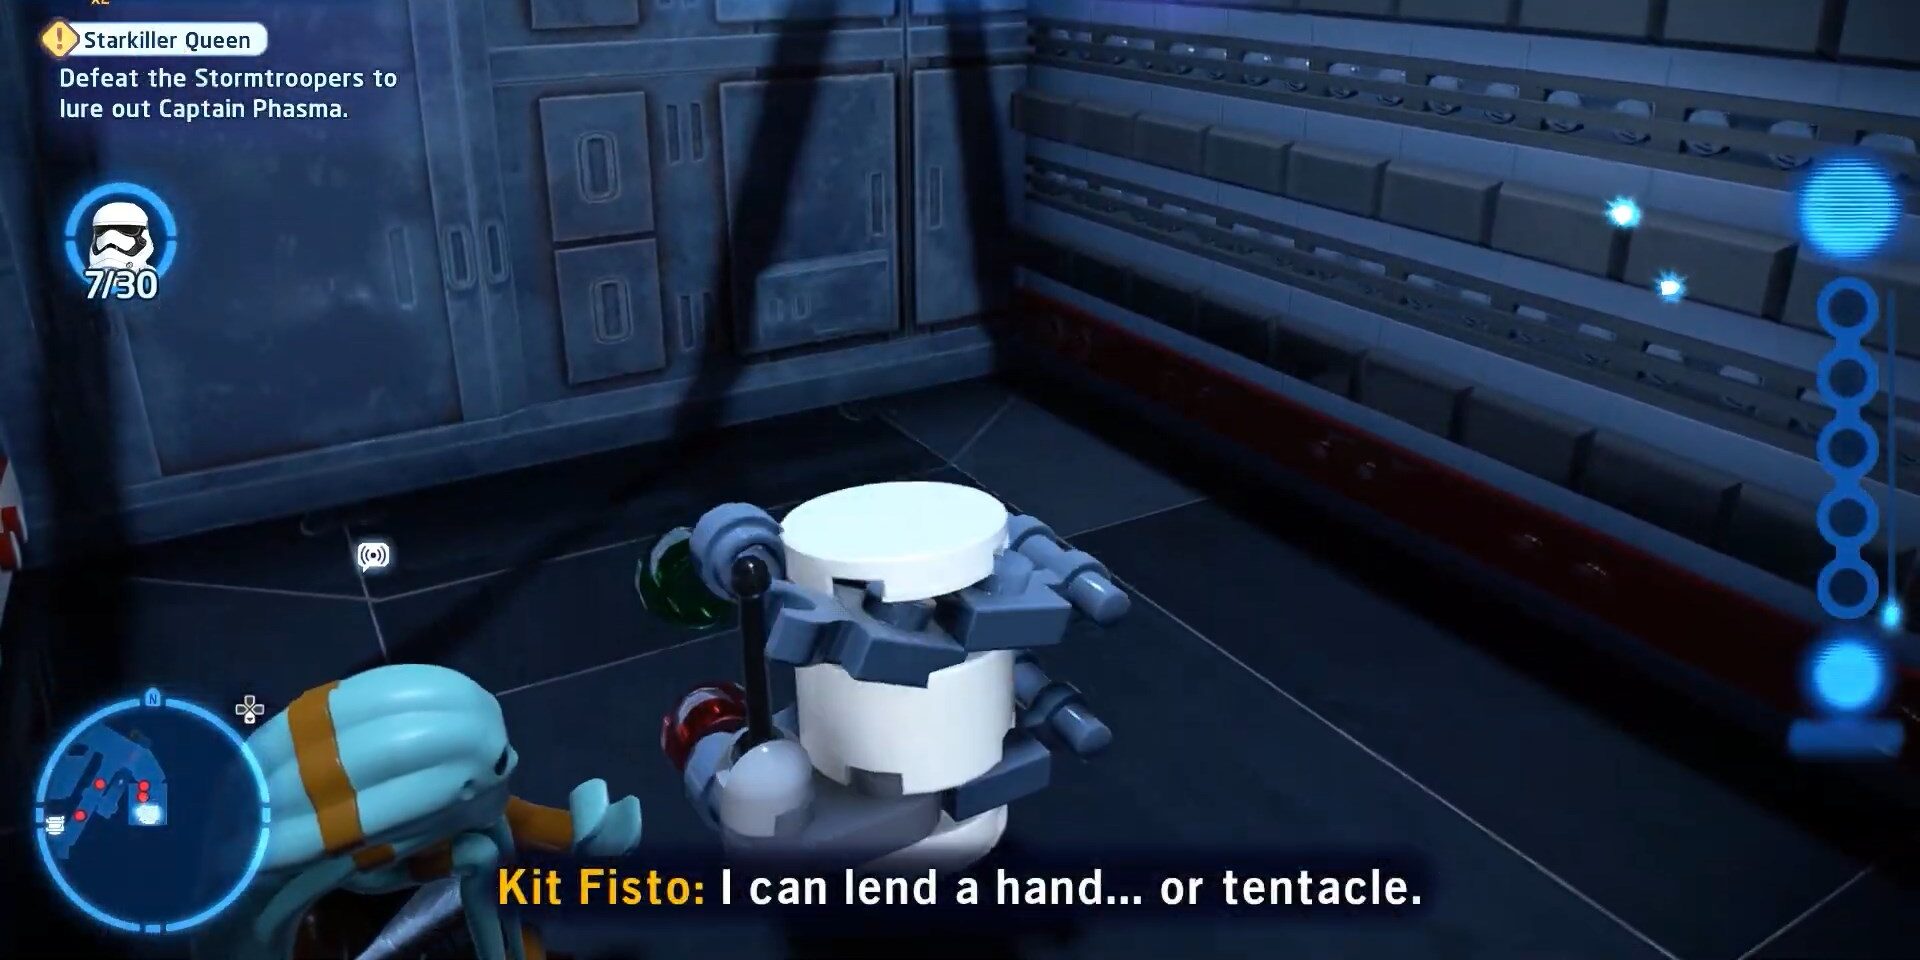
To get the fourth Minikit head back to the main corridor and continue walking within a short passage you will find a wall to cut with a lightsaber. That means you need Sith or Jedi for that so change the character such as Kit Fisto to cut down once it’s cut you will have a fourth Minikit.

To get the fifth Minikit we have attached images with captions below as step by step guide to get the final Minikit of this mission.

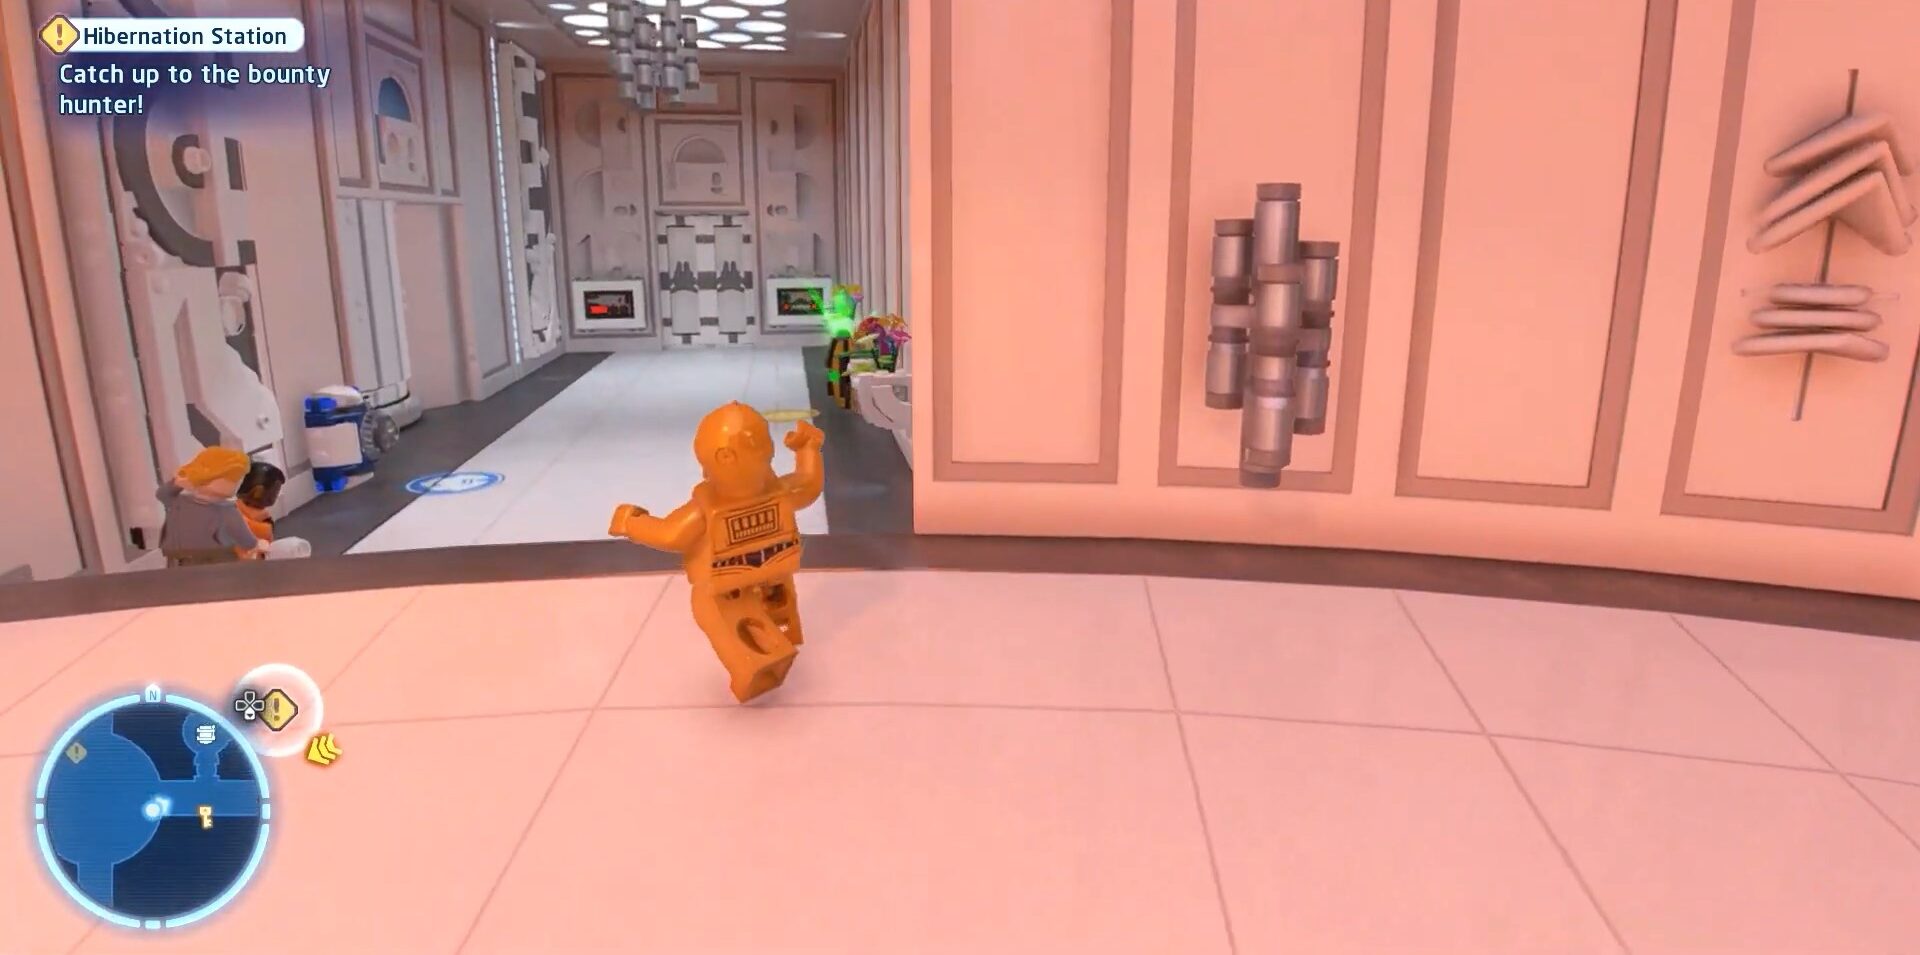
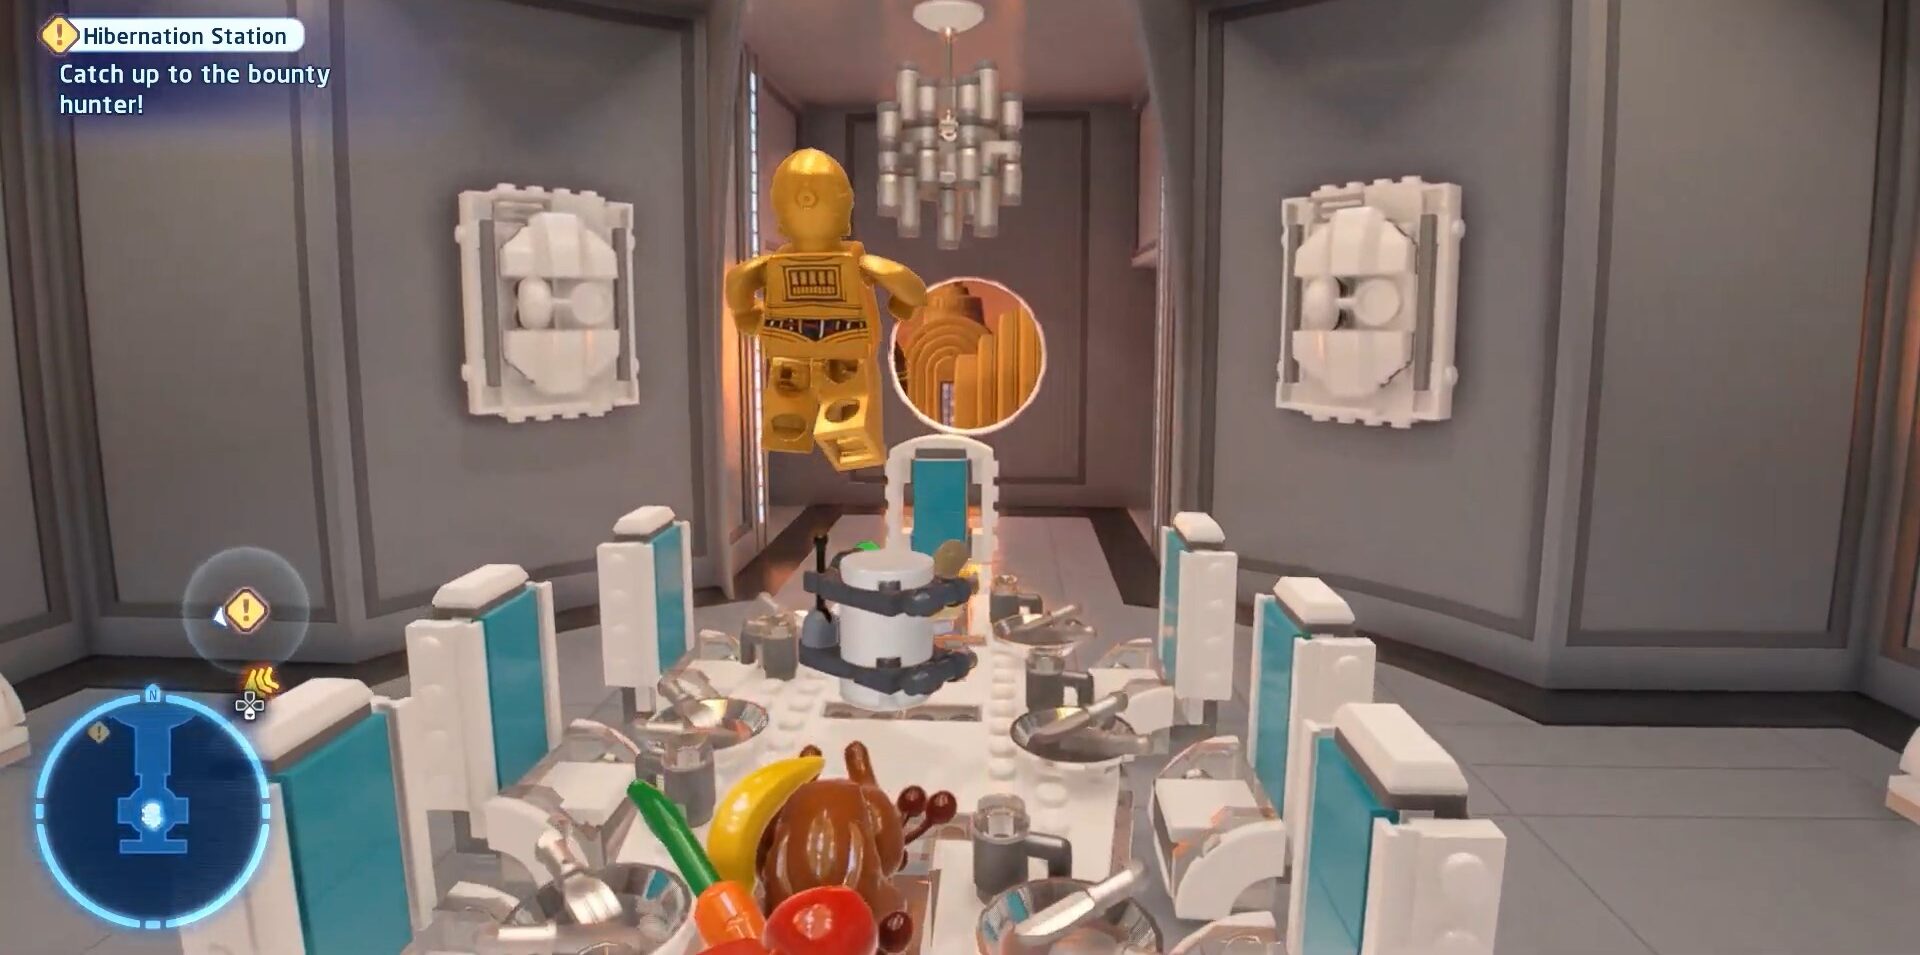
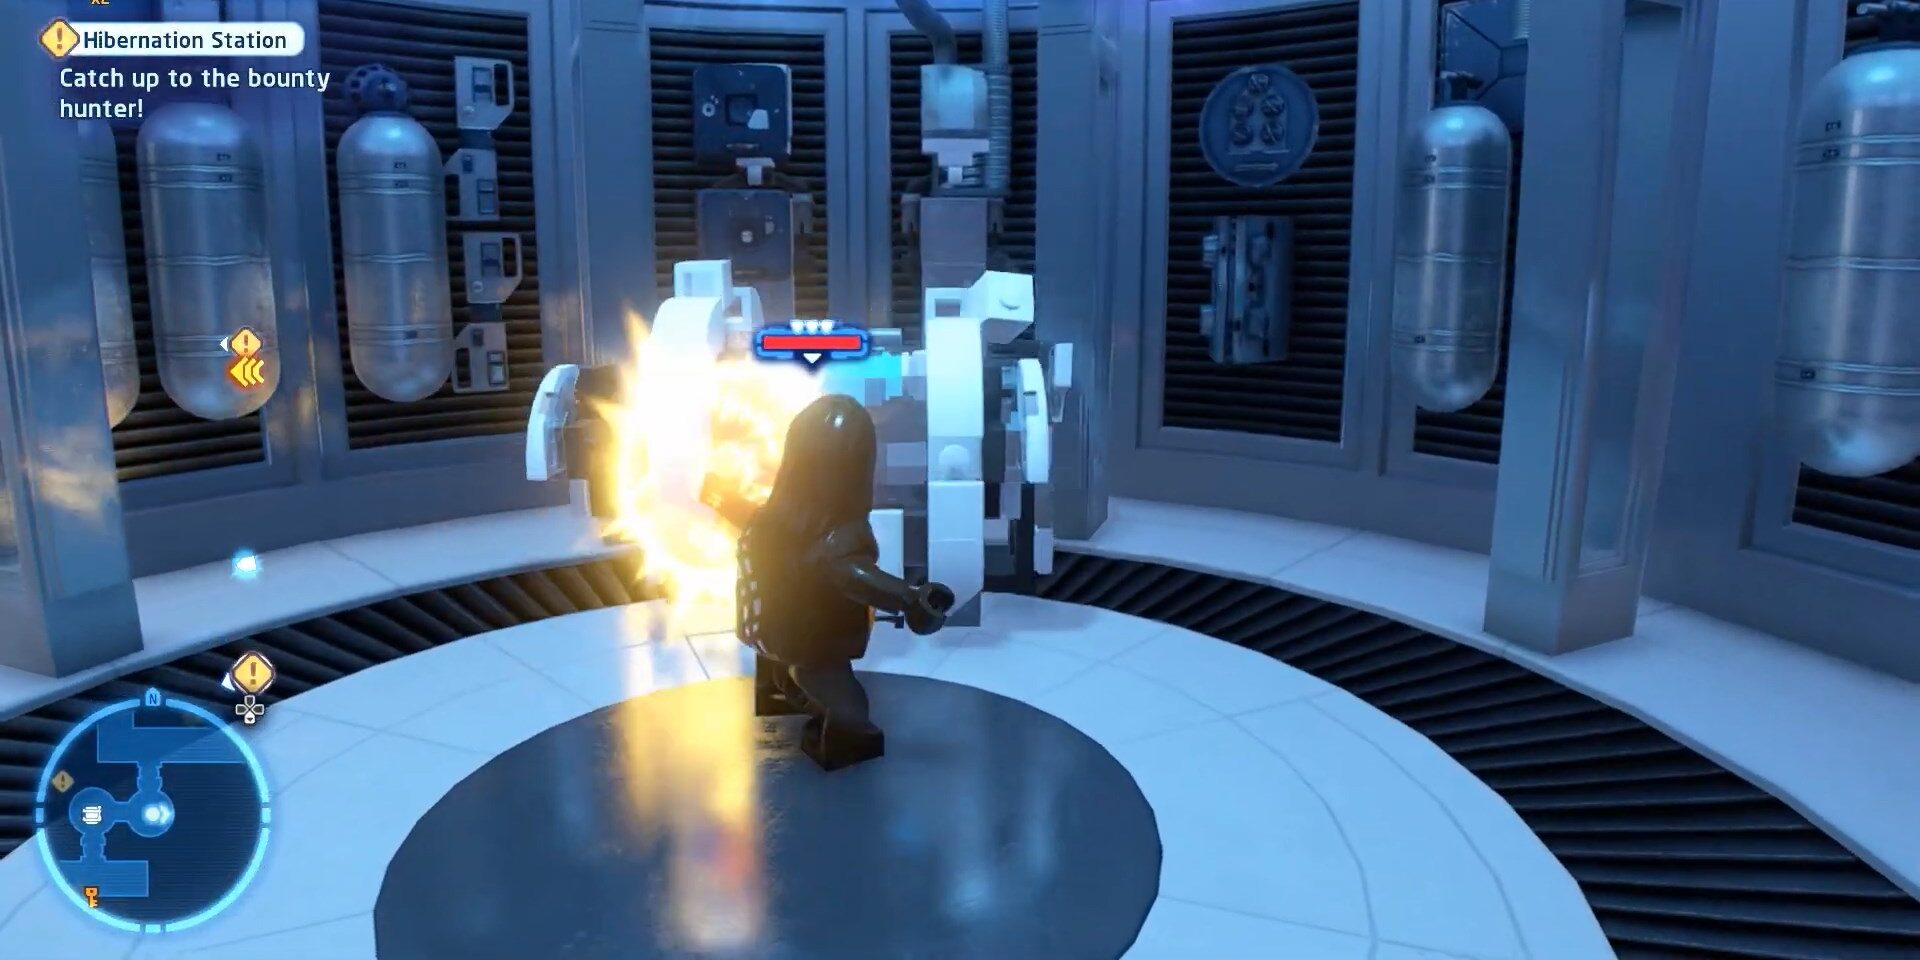
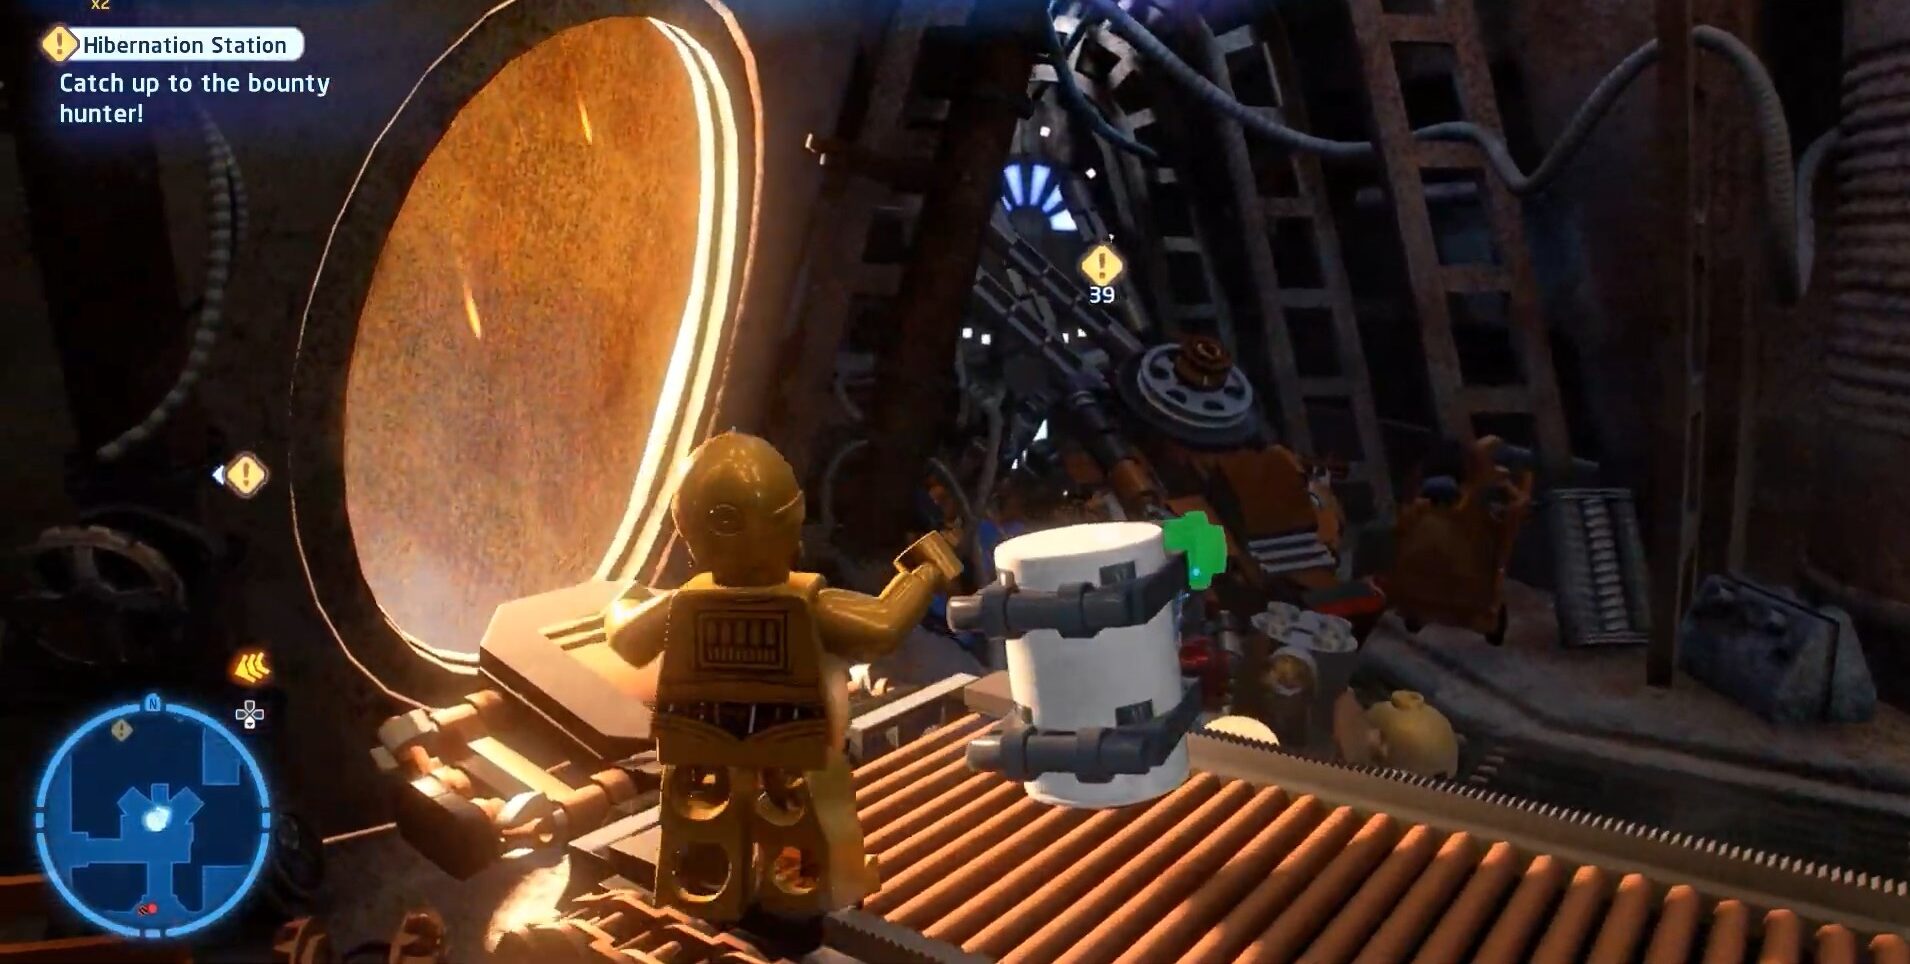
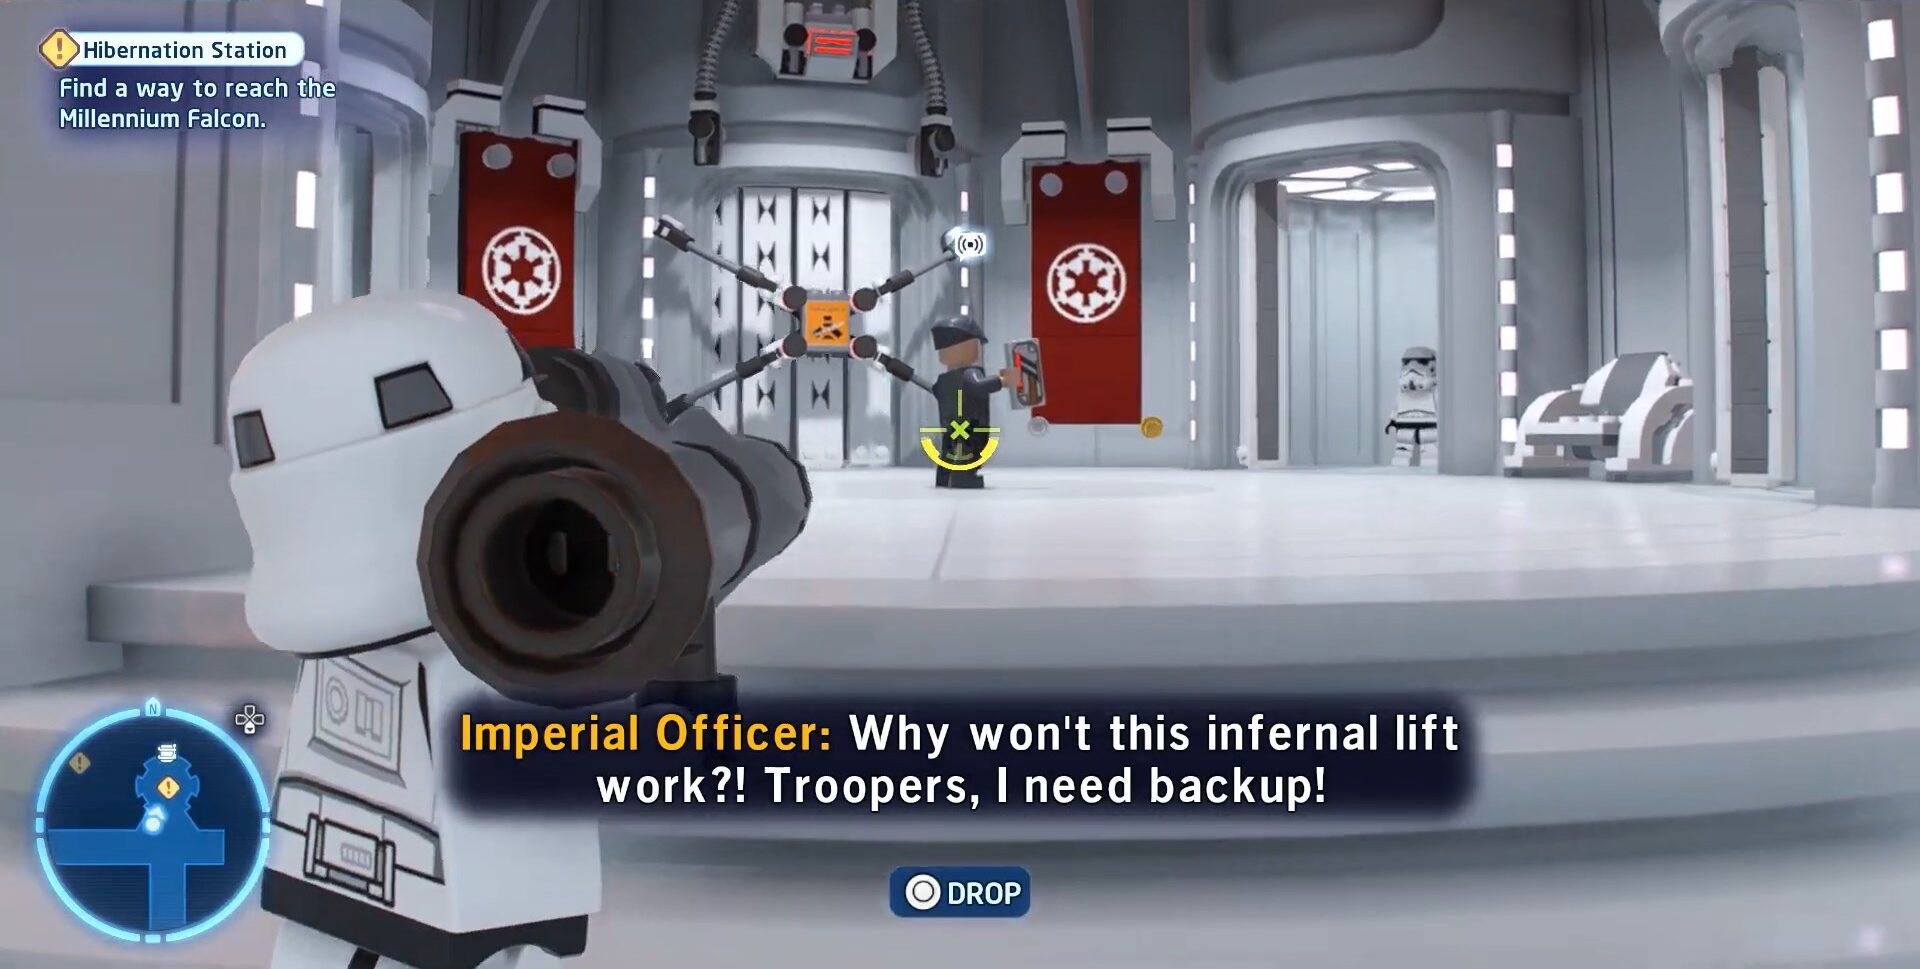
Hibernation Station
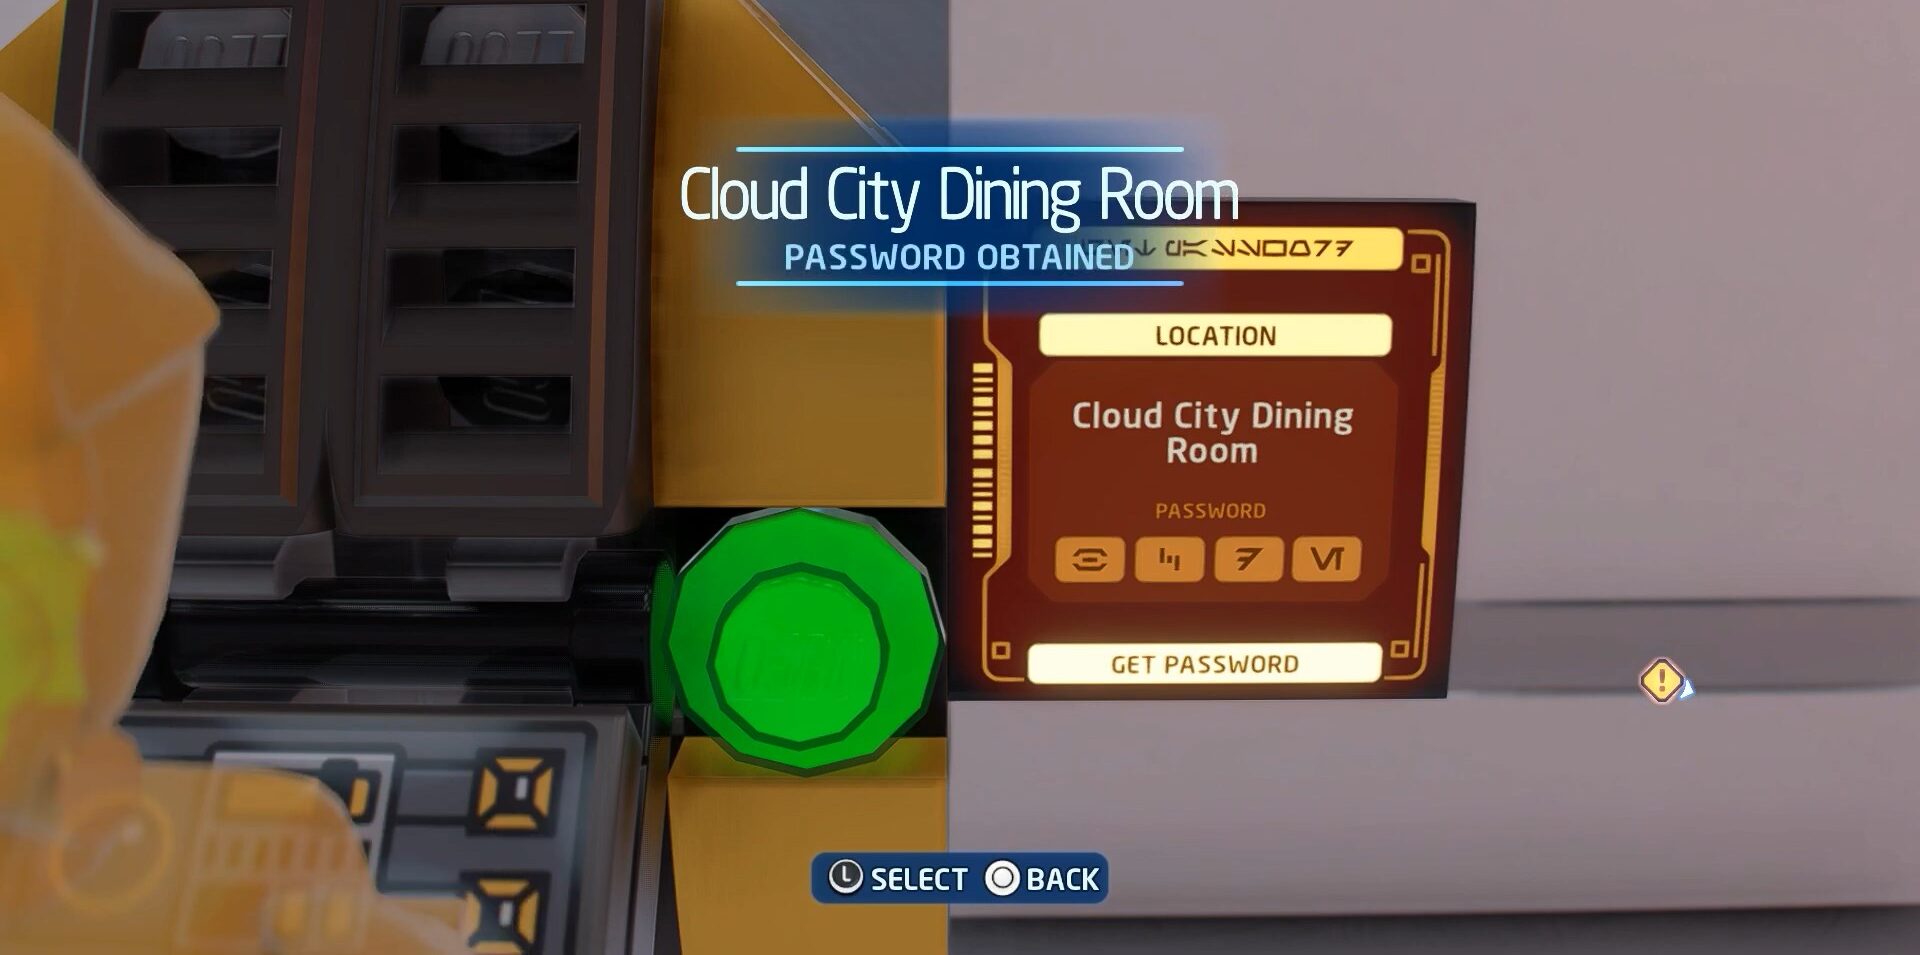
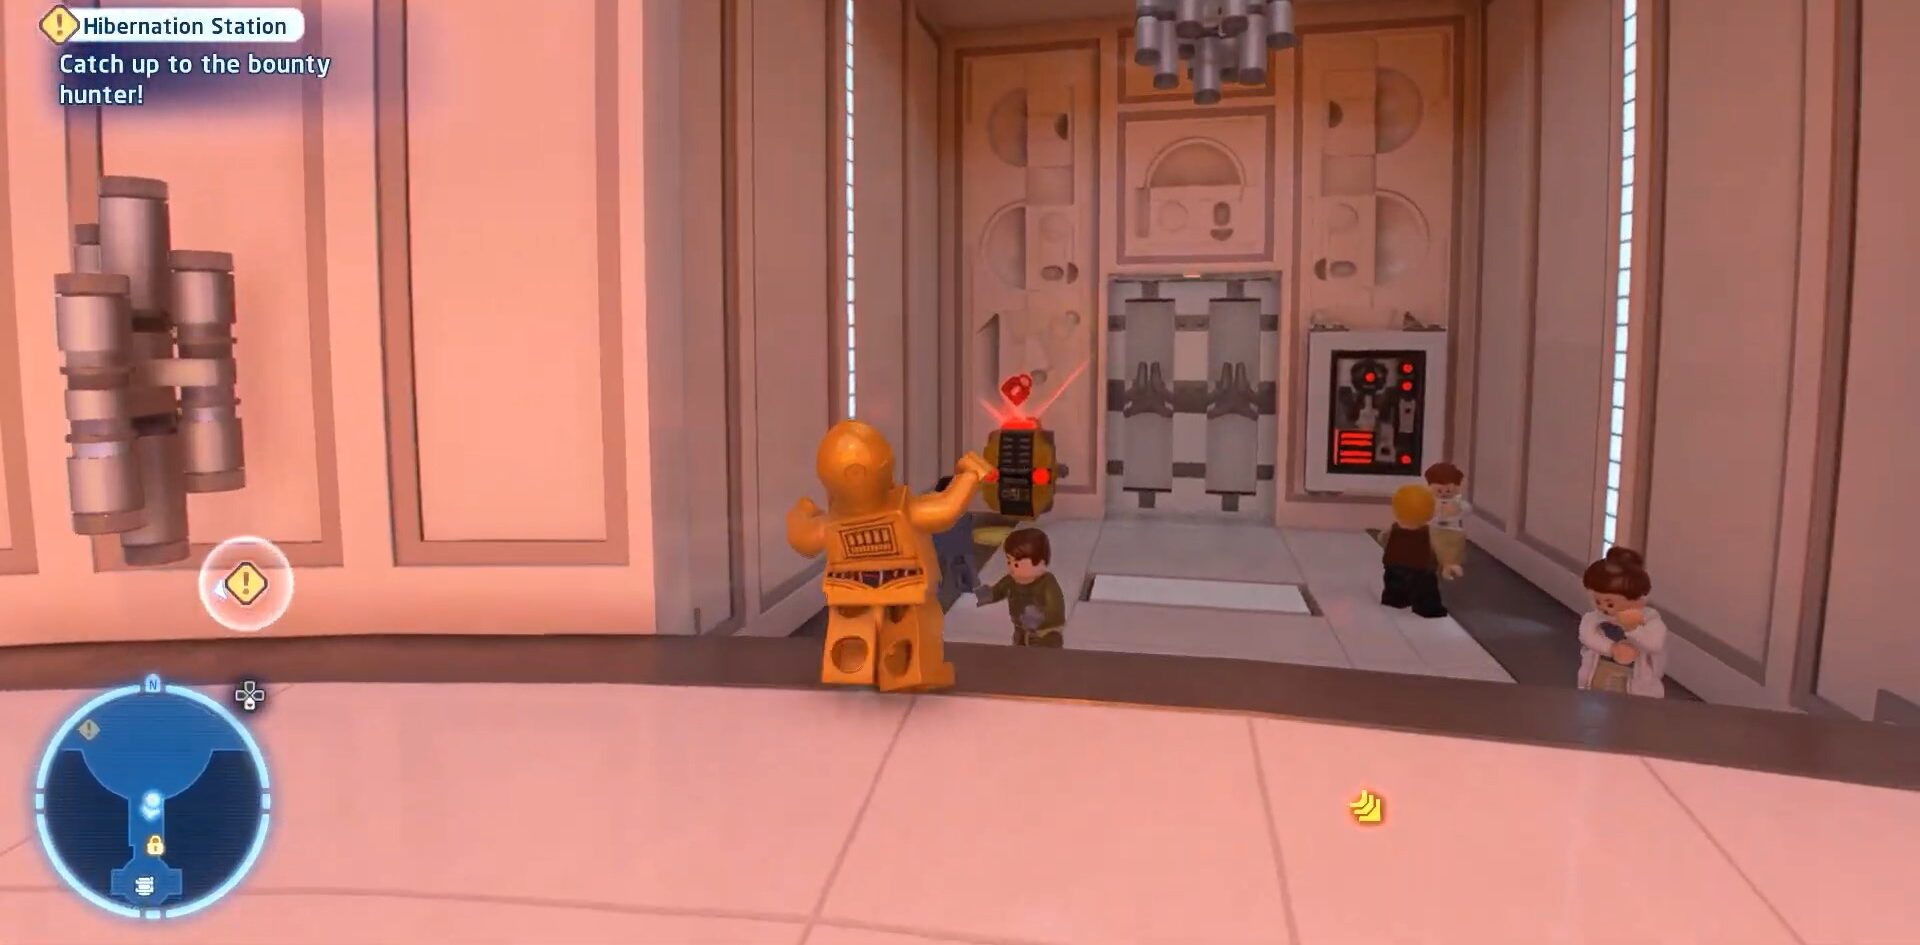
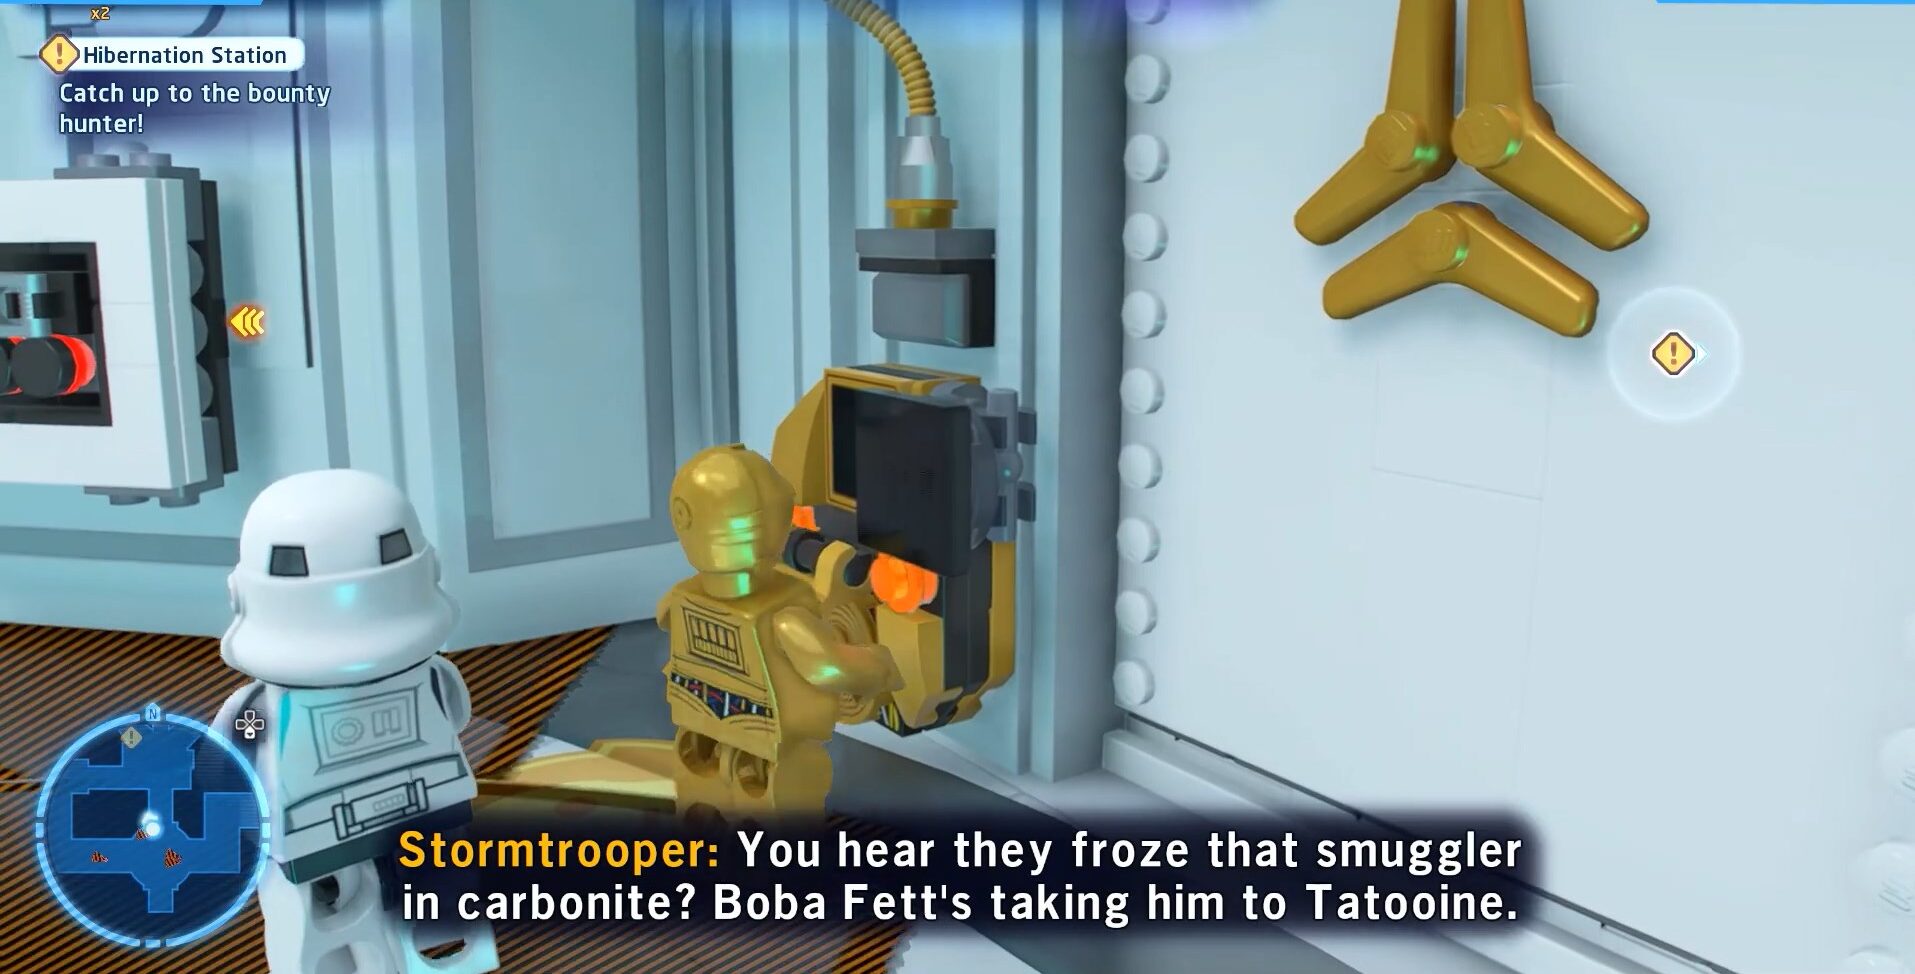
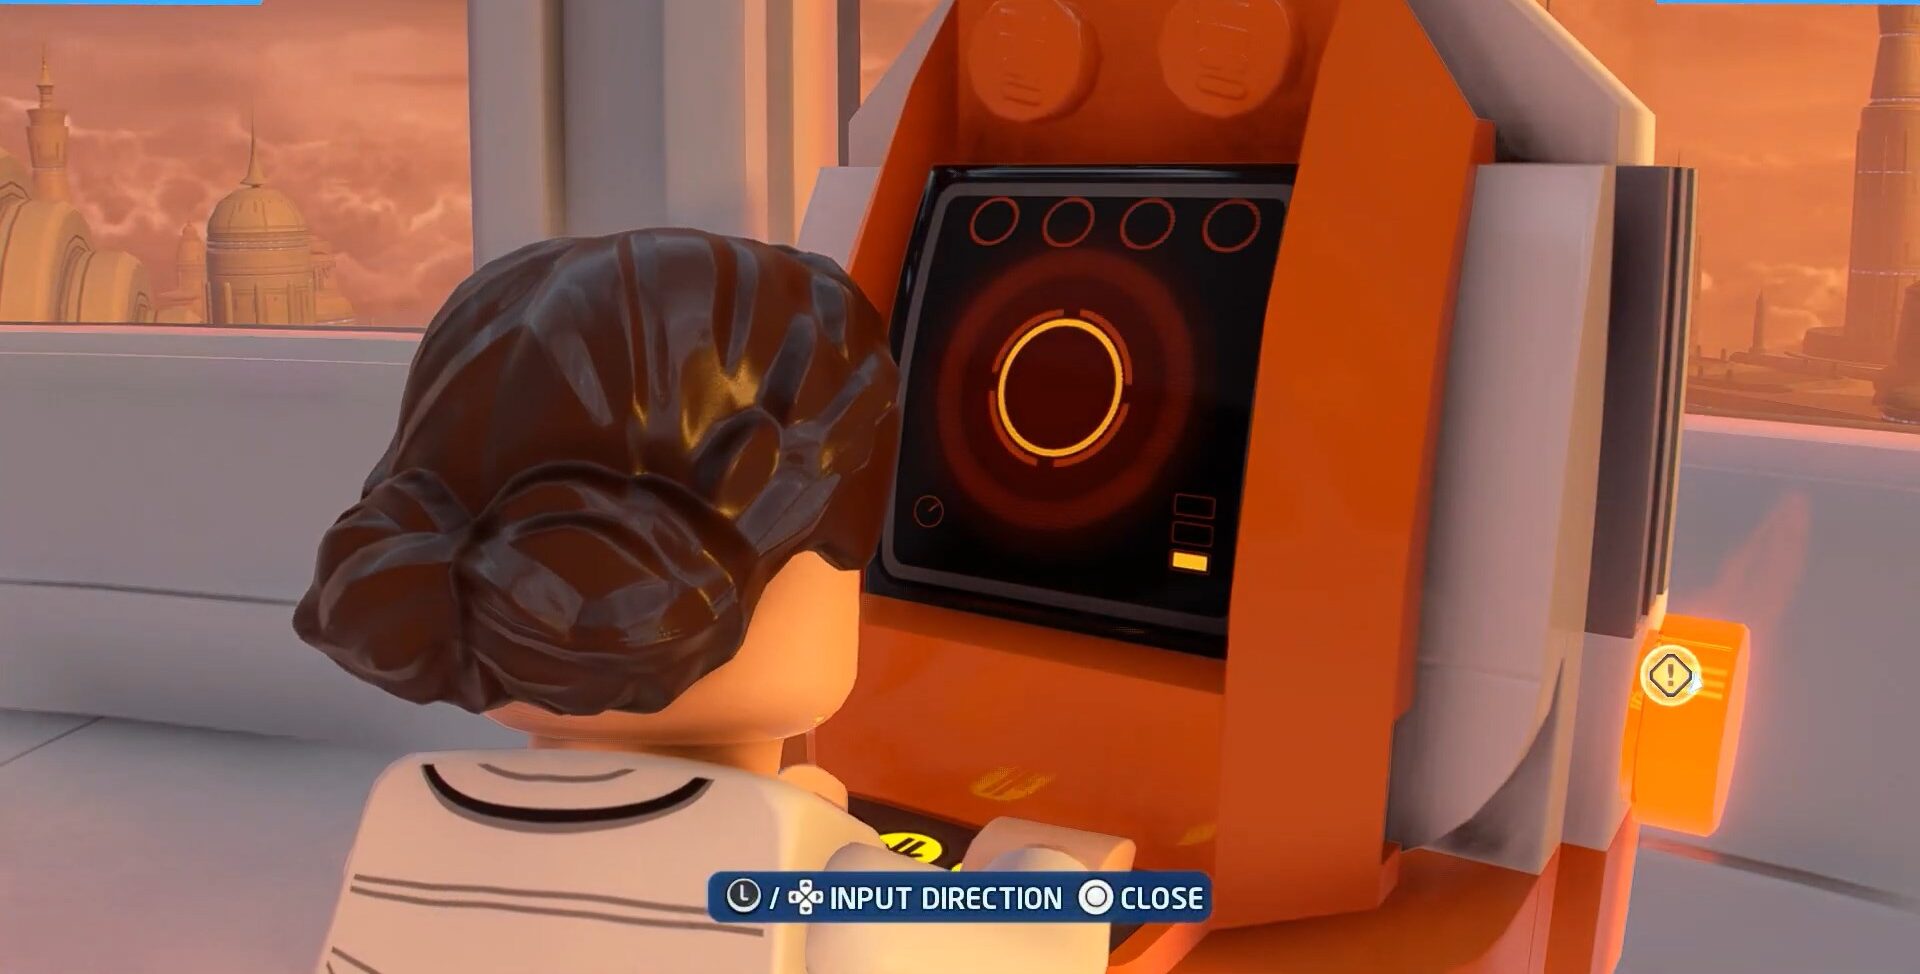
- In the “Hibernation Station” mission of Lego Star Wars: The Skywalker Saga, the first Minikit location is in the cloud city dining room.
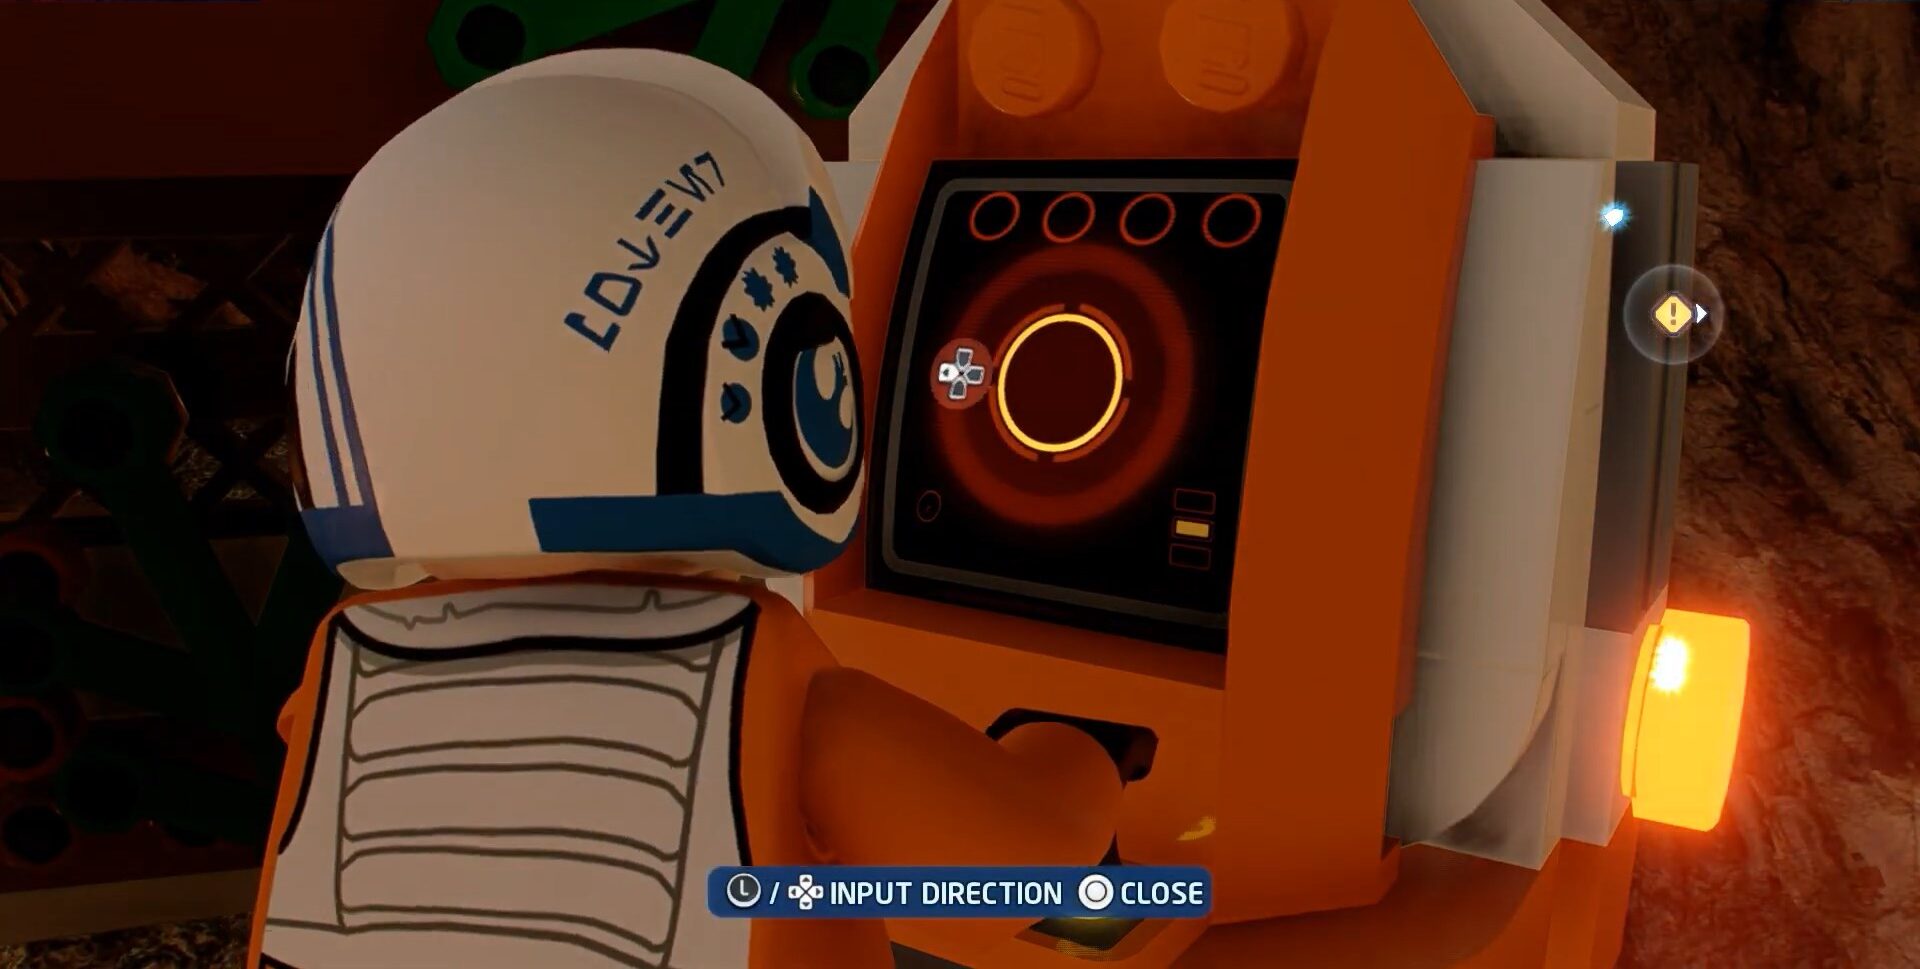
- To access the dining room, players need to obtain a password from a machine in the corridor using 3-CPO.
- Once the password is obtained, enter it into a machine outside the locked dining room door to open it.
- Collect the Minikit from the middle of the dining table.
- Visual aids are provided below for reference.

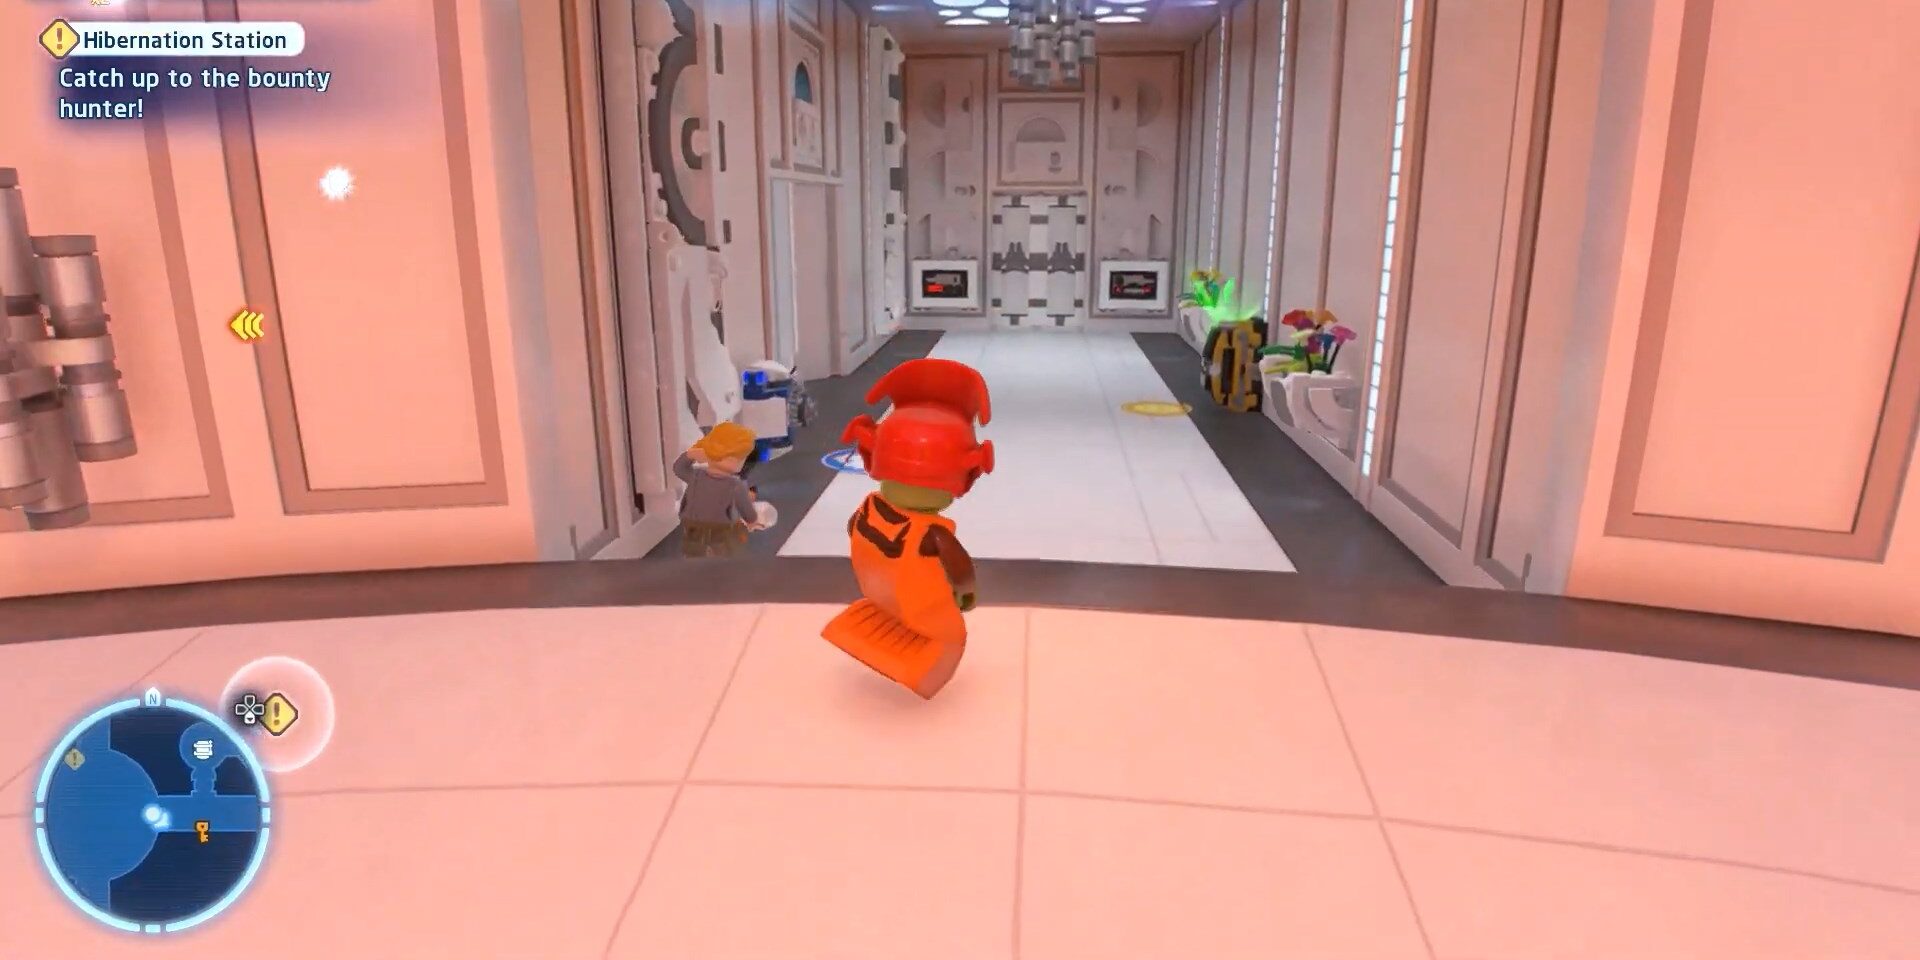
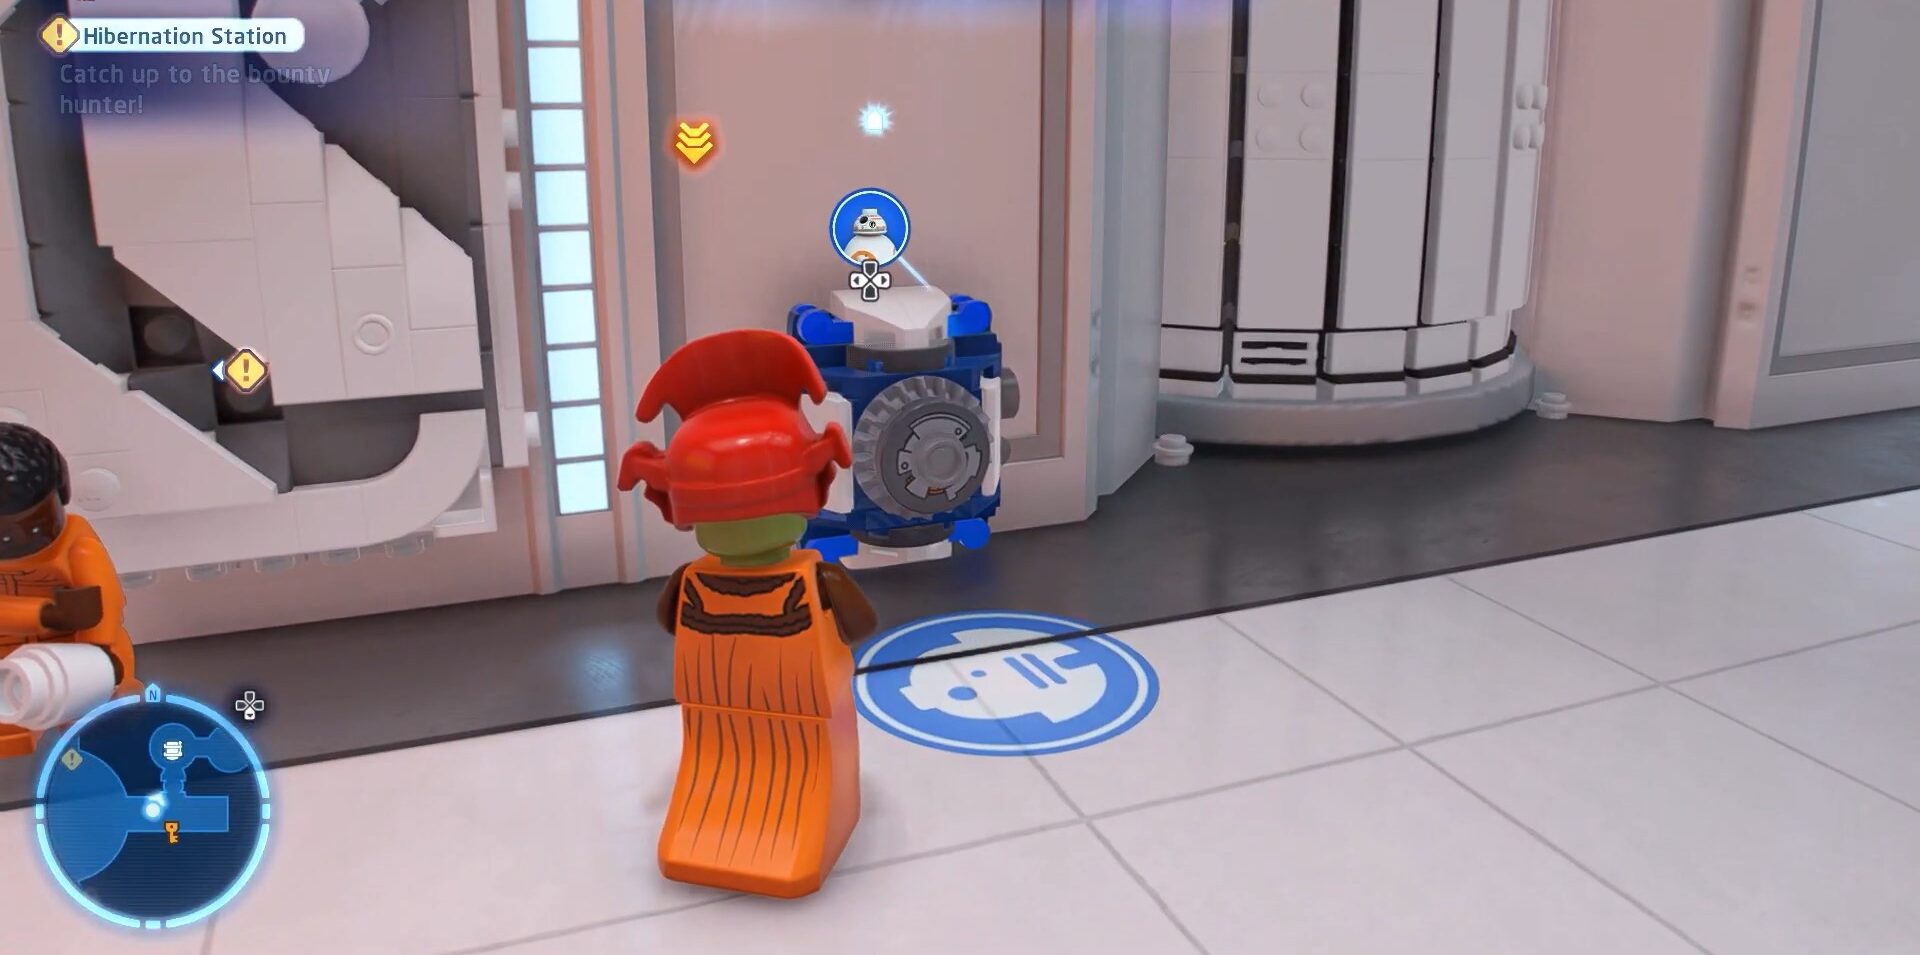
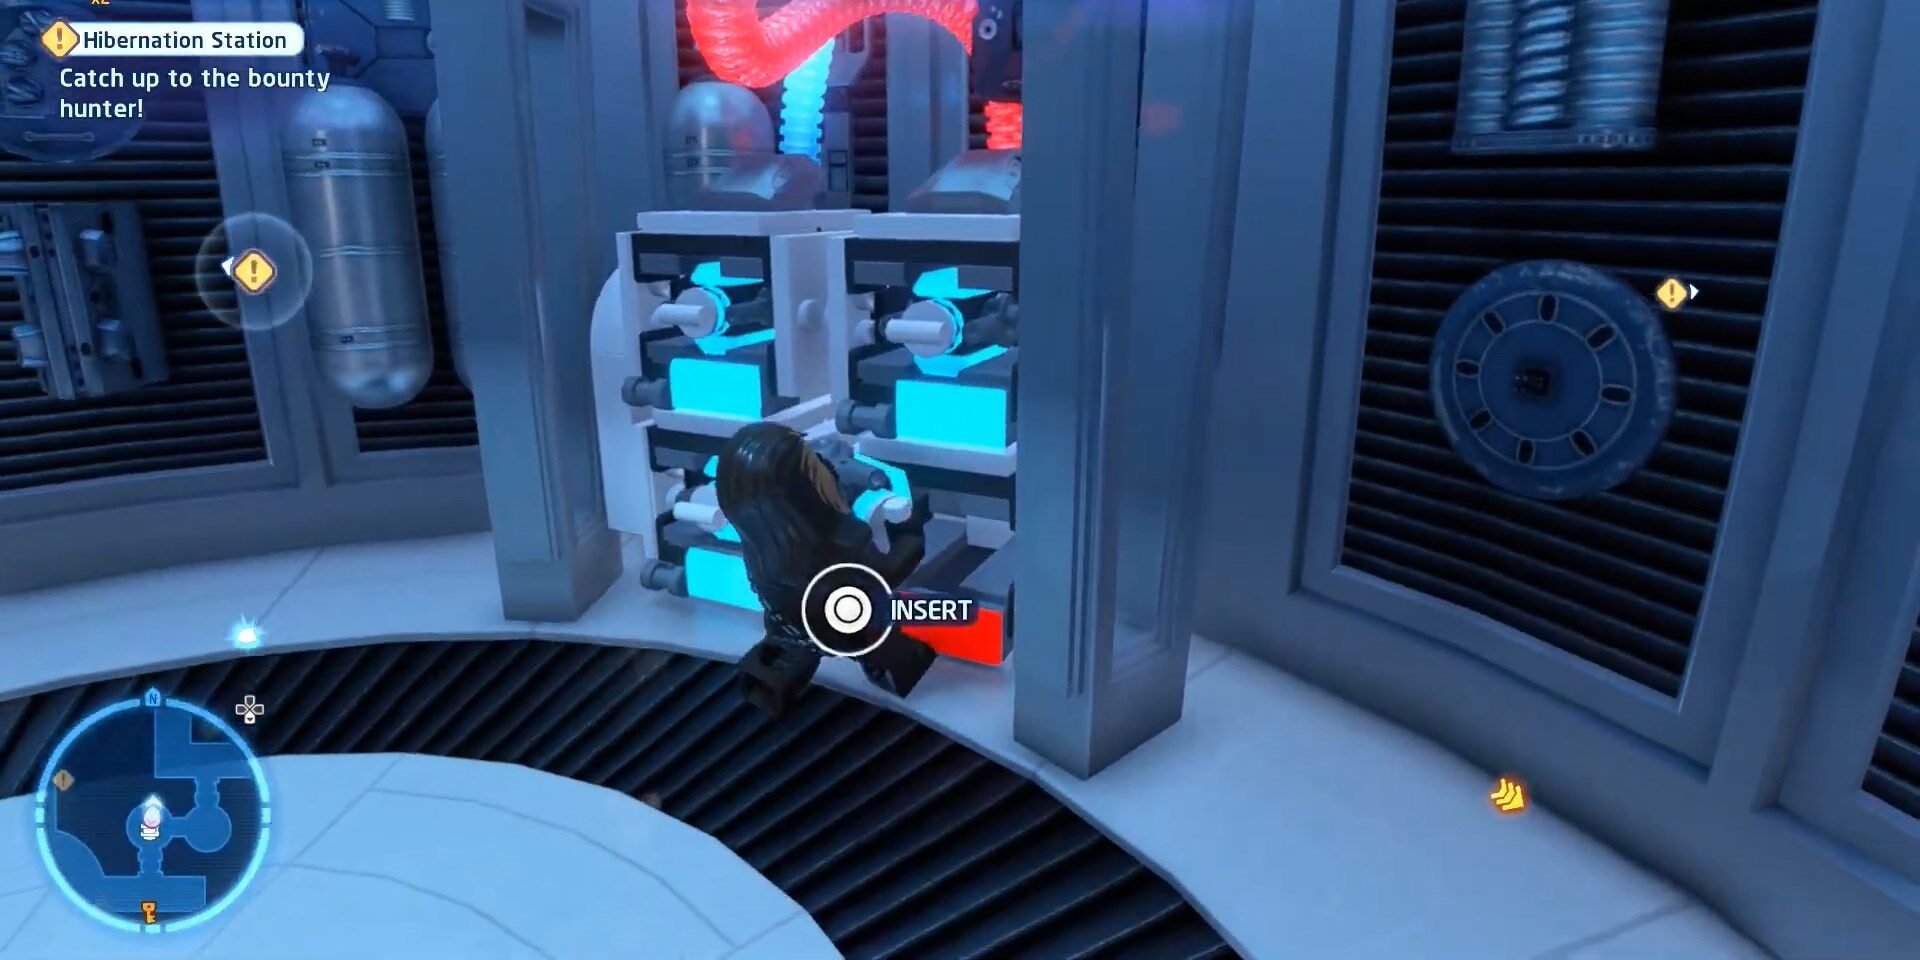
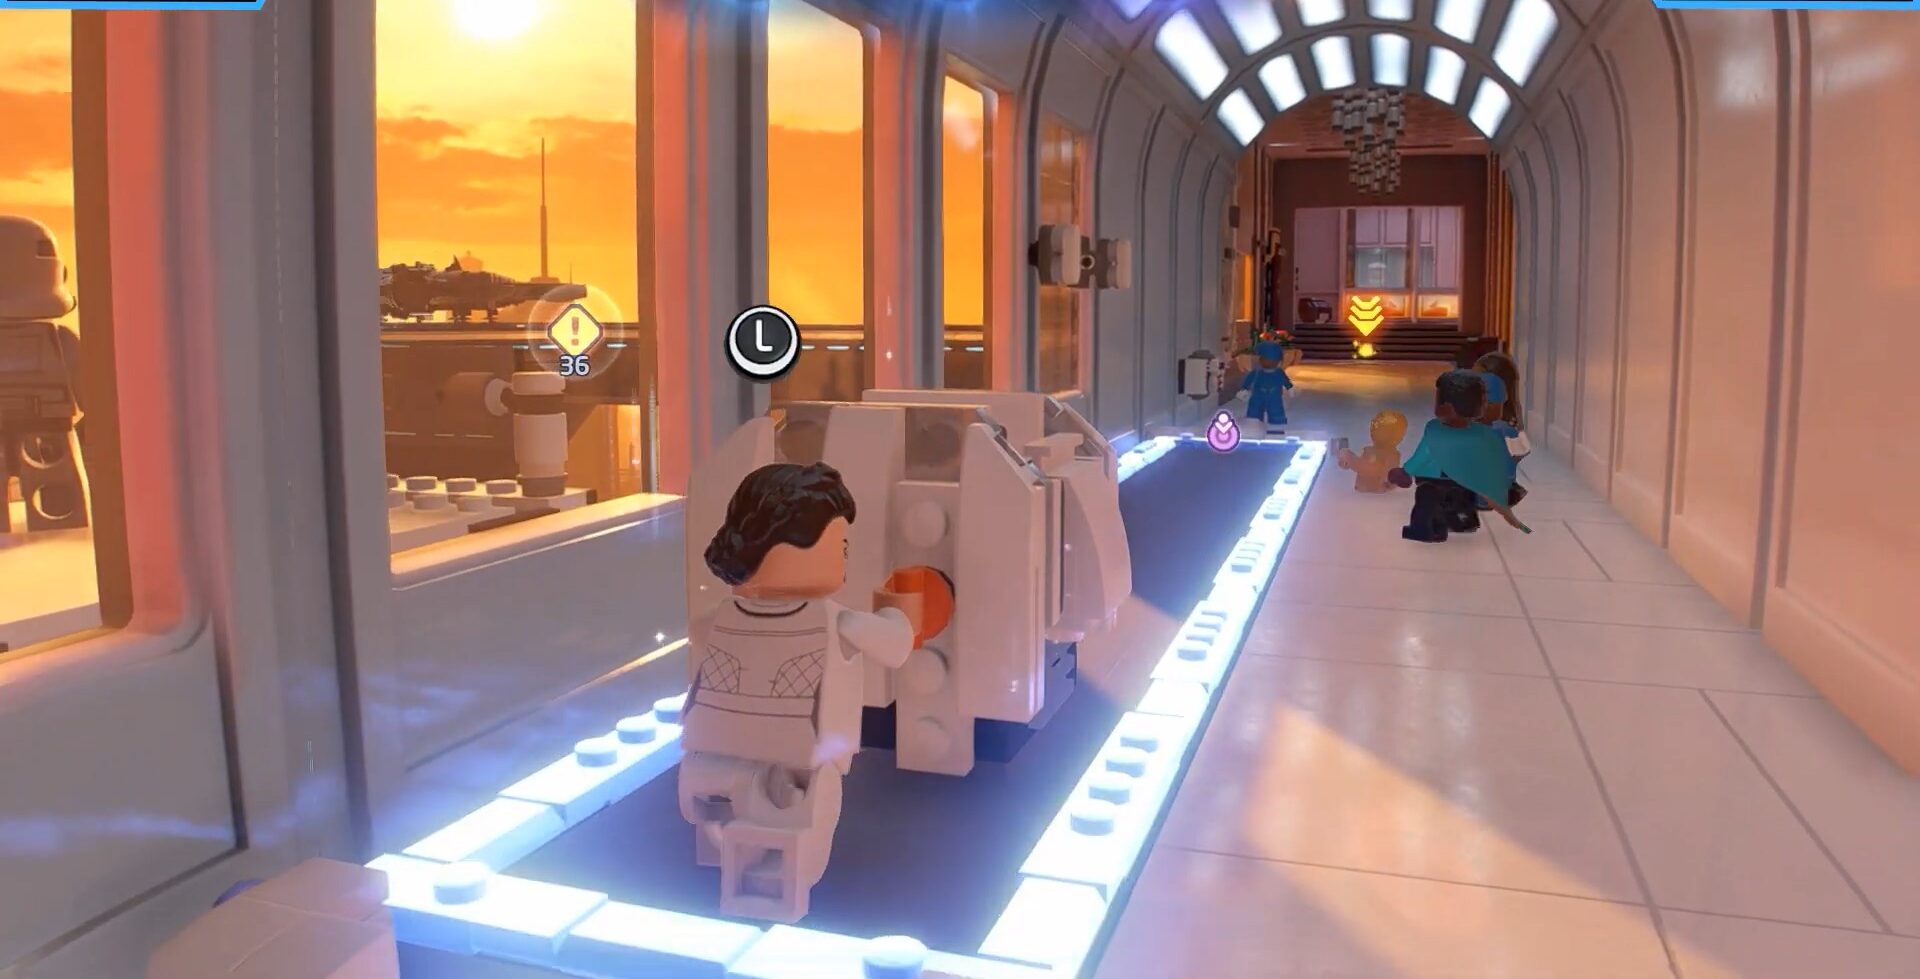
- The second Minikit in the “Hibernation Station” mission is also behind a locked door, situated in one of the side passages of the main corridor.
- Use a droid to operate the machine next to the locked door to open it.
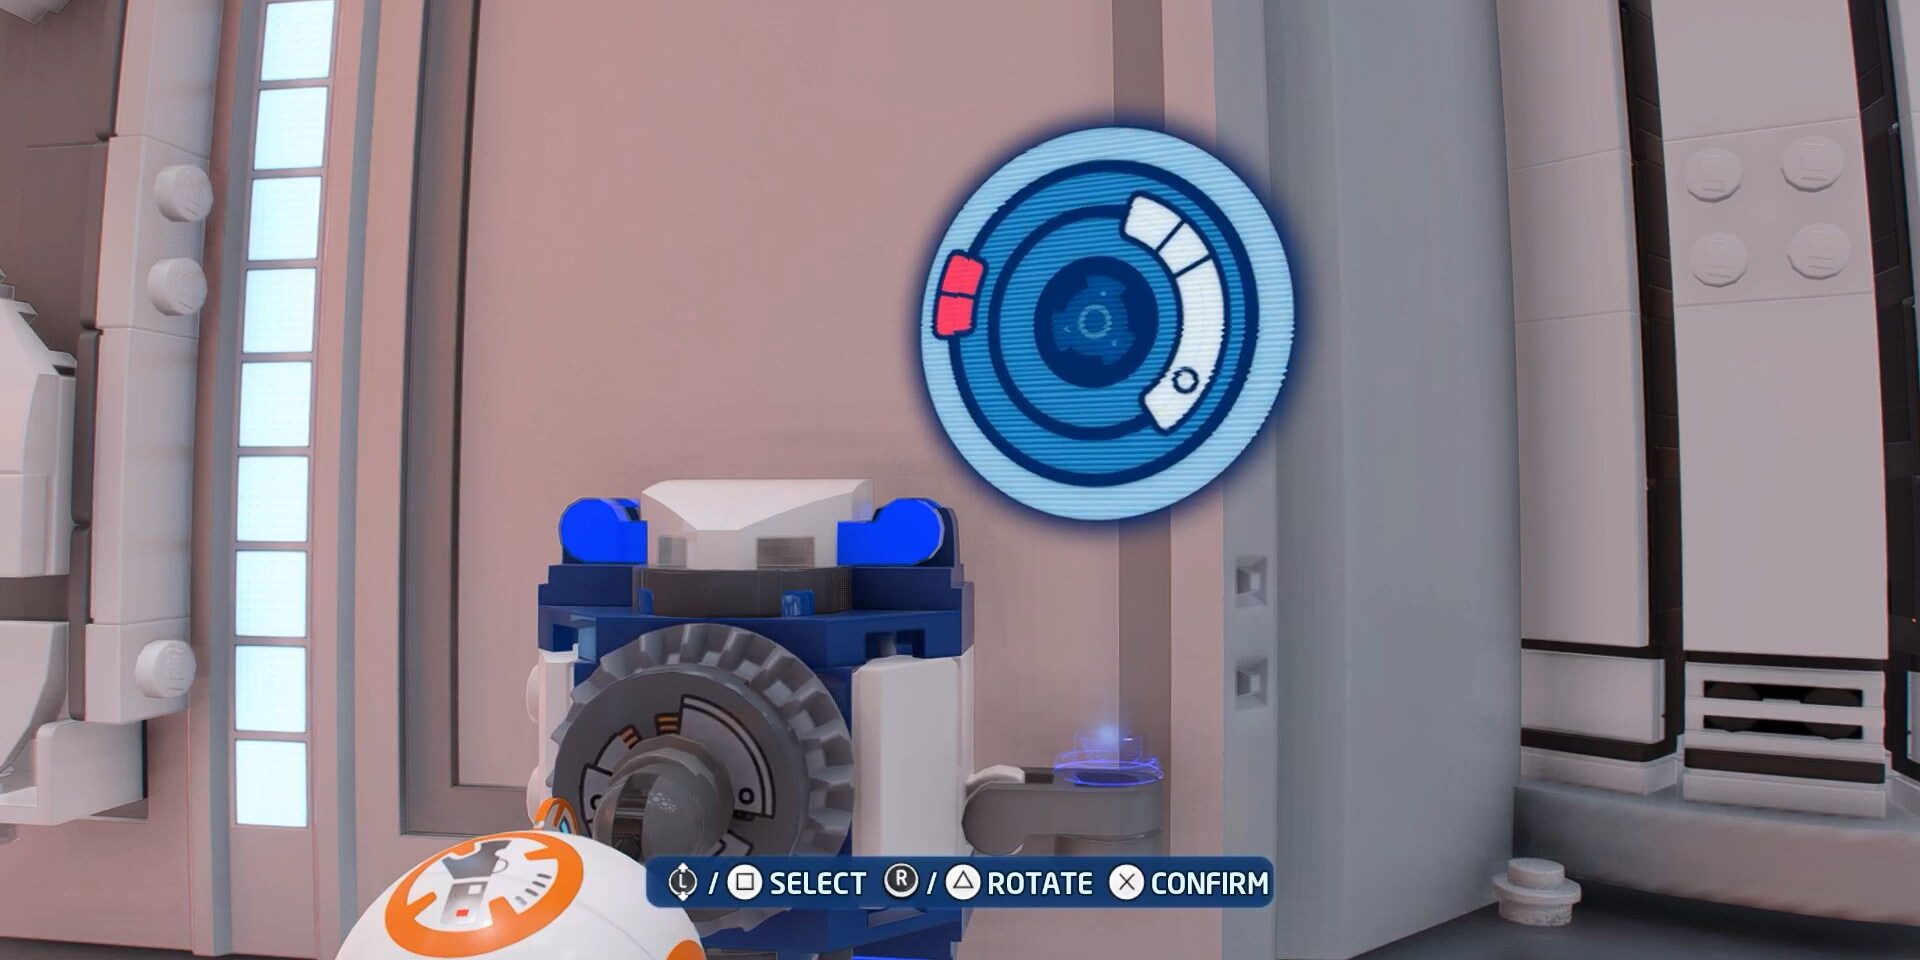
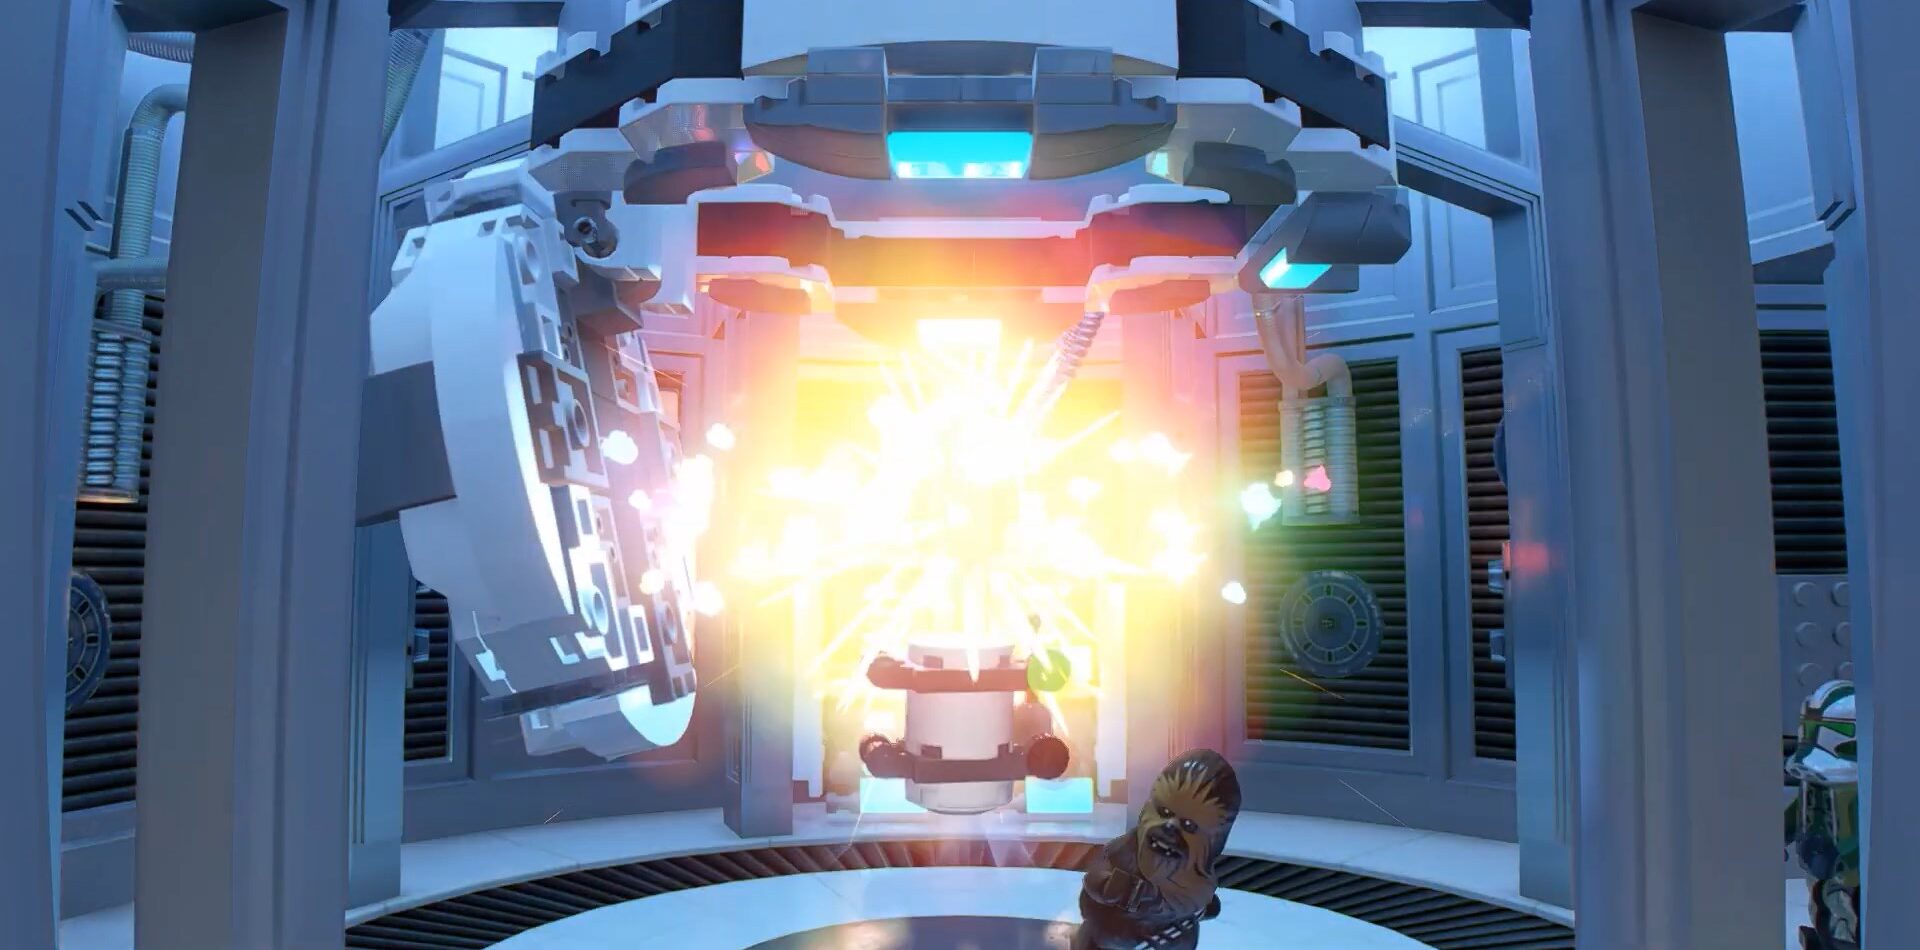
- Inside, locate a power cell with one missing. Use Chewbacca to find and insert the missing power cell.
- Inserting the power cell rewards you with the second Minikit.
- Refer to the attached images below for visual guidance.


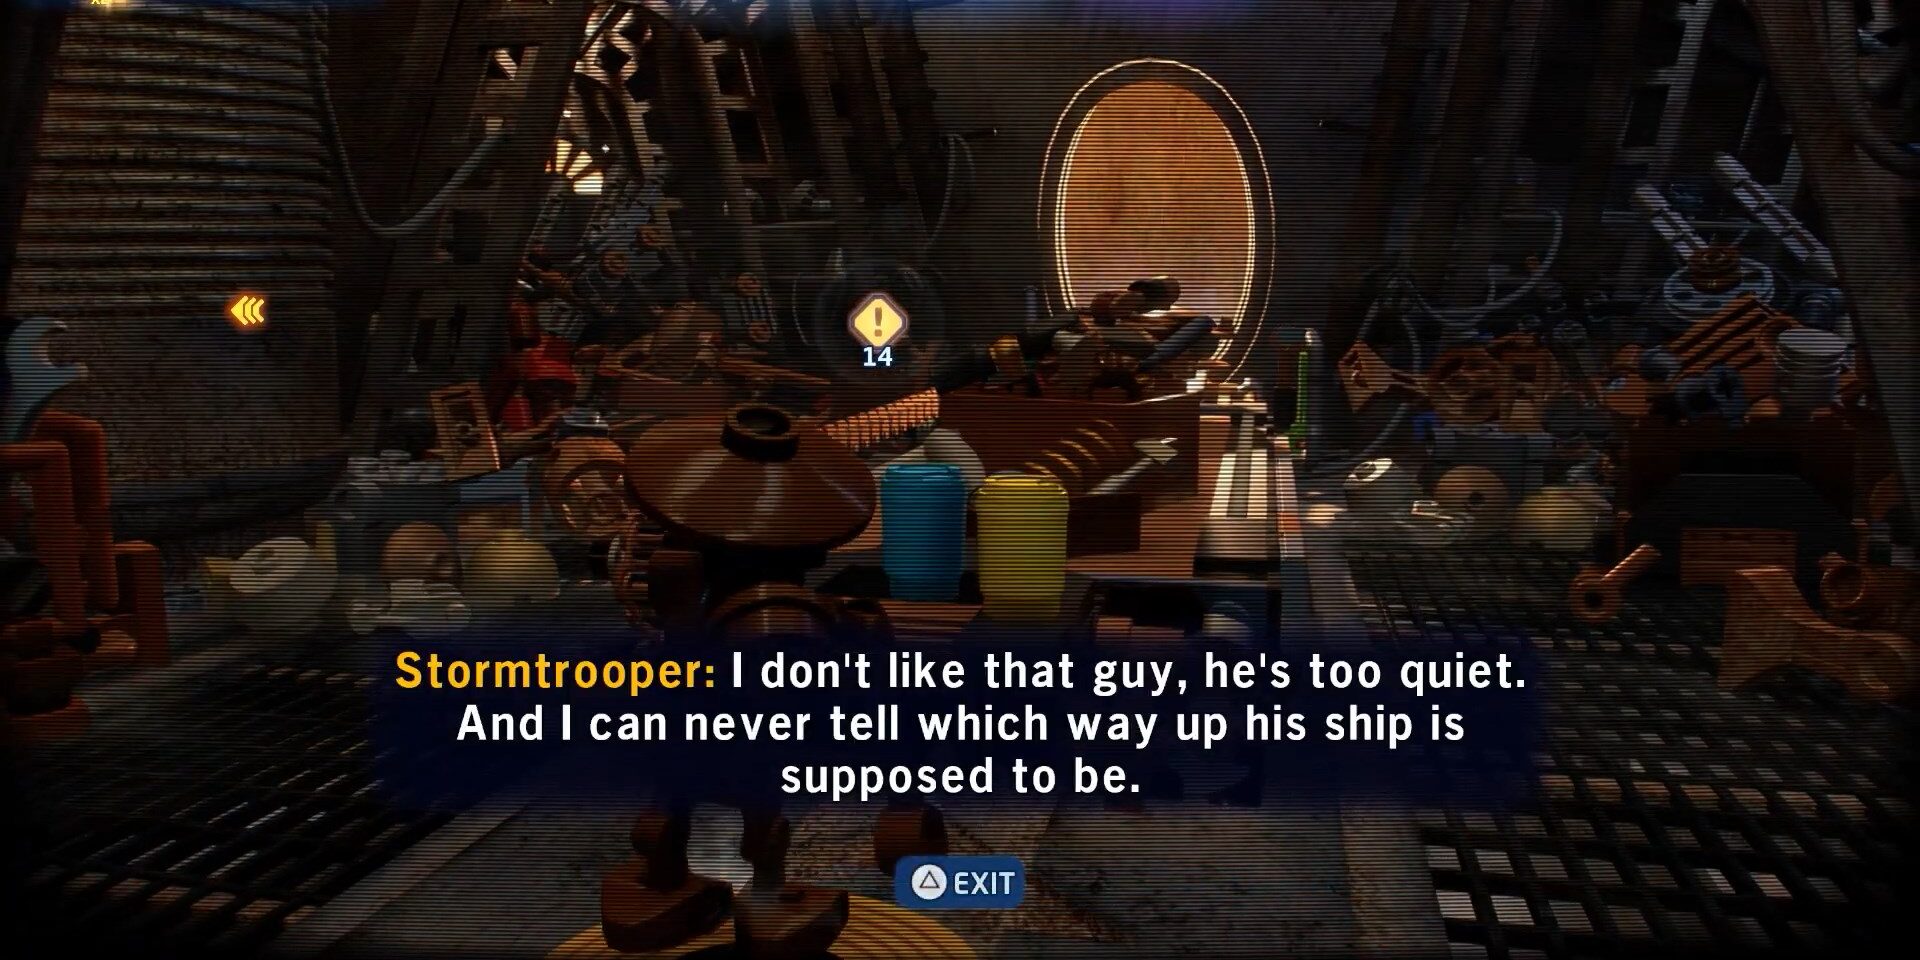
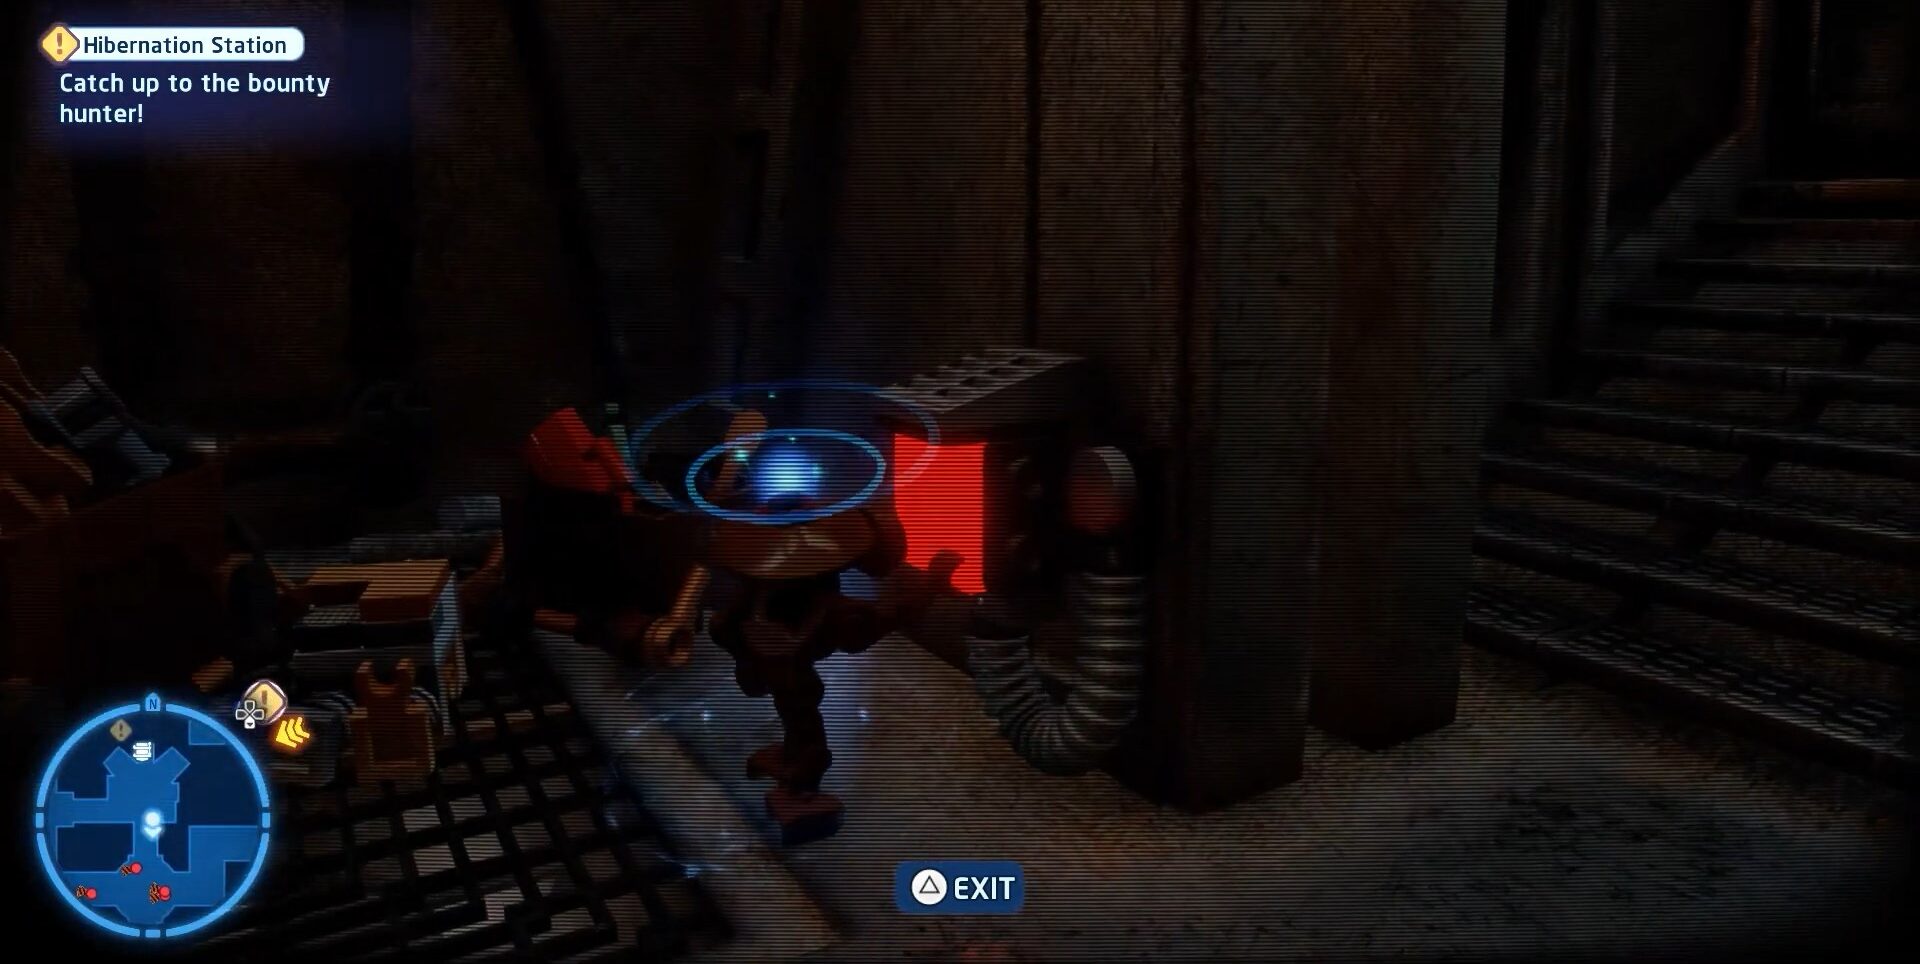
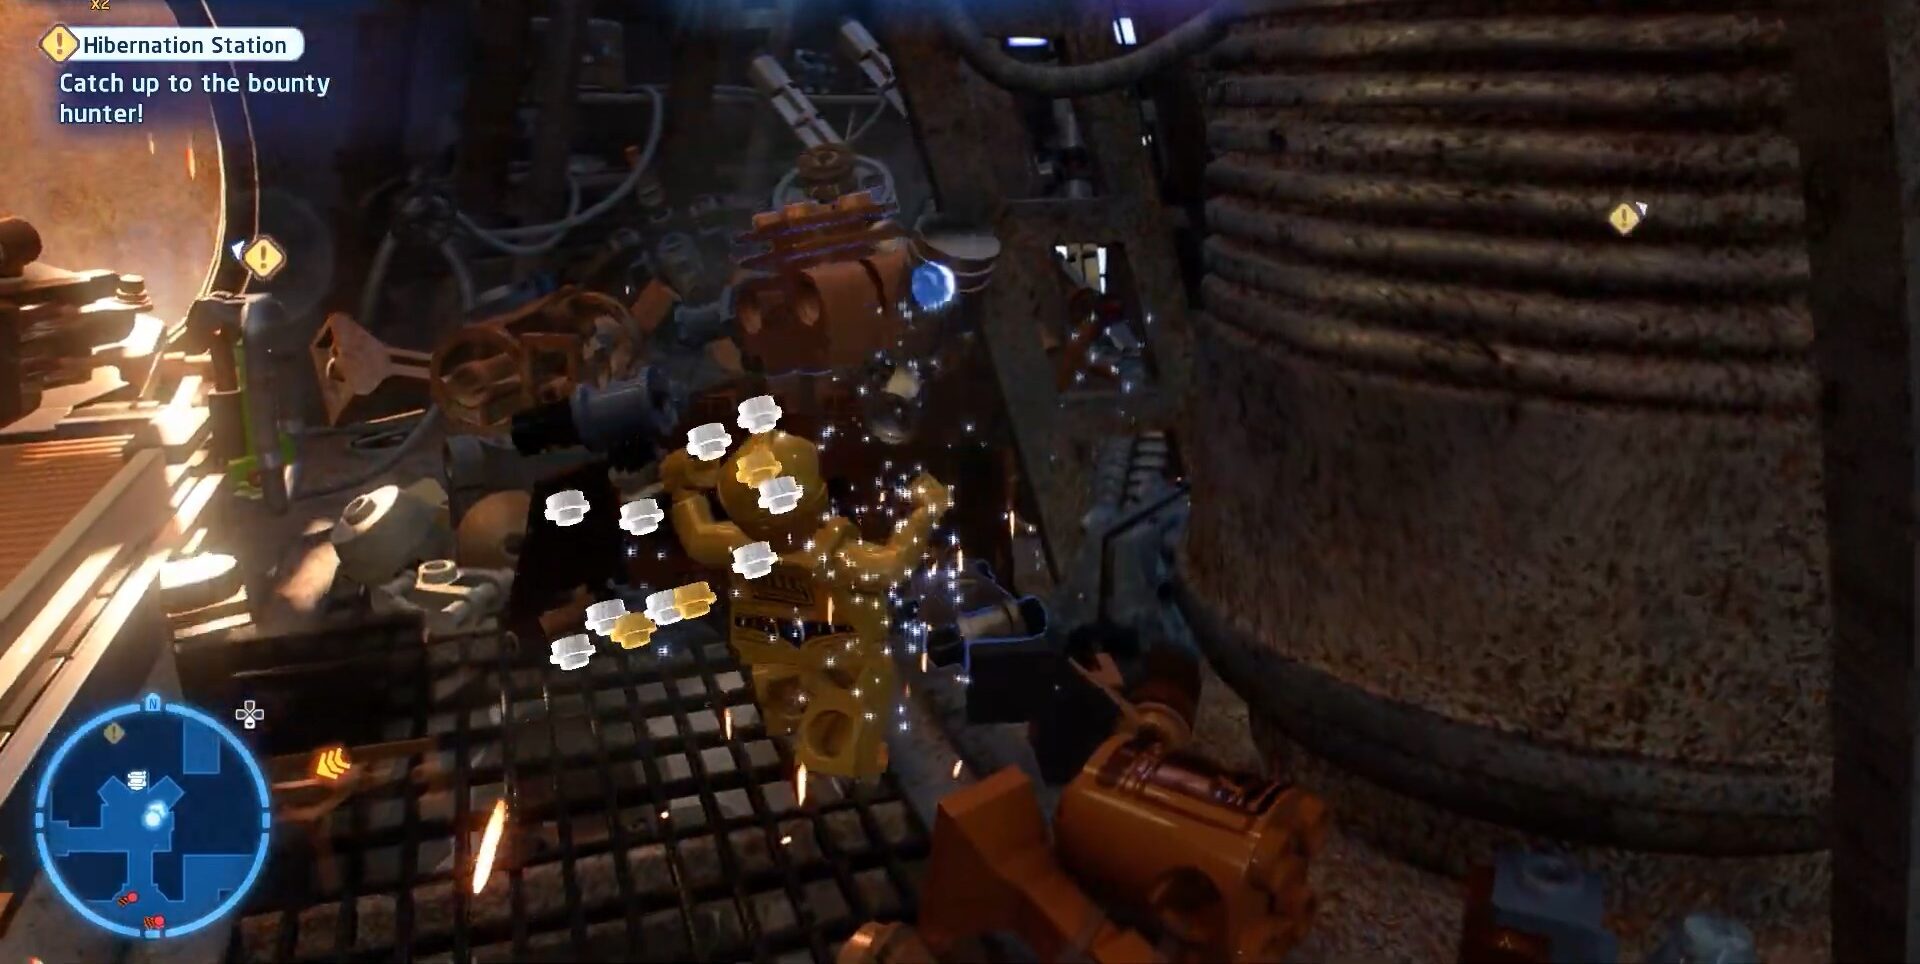
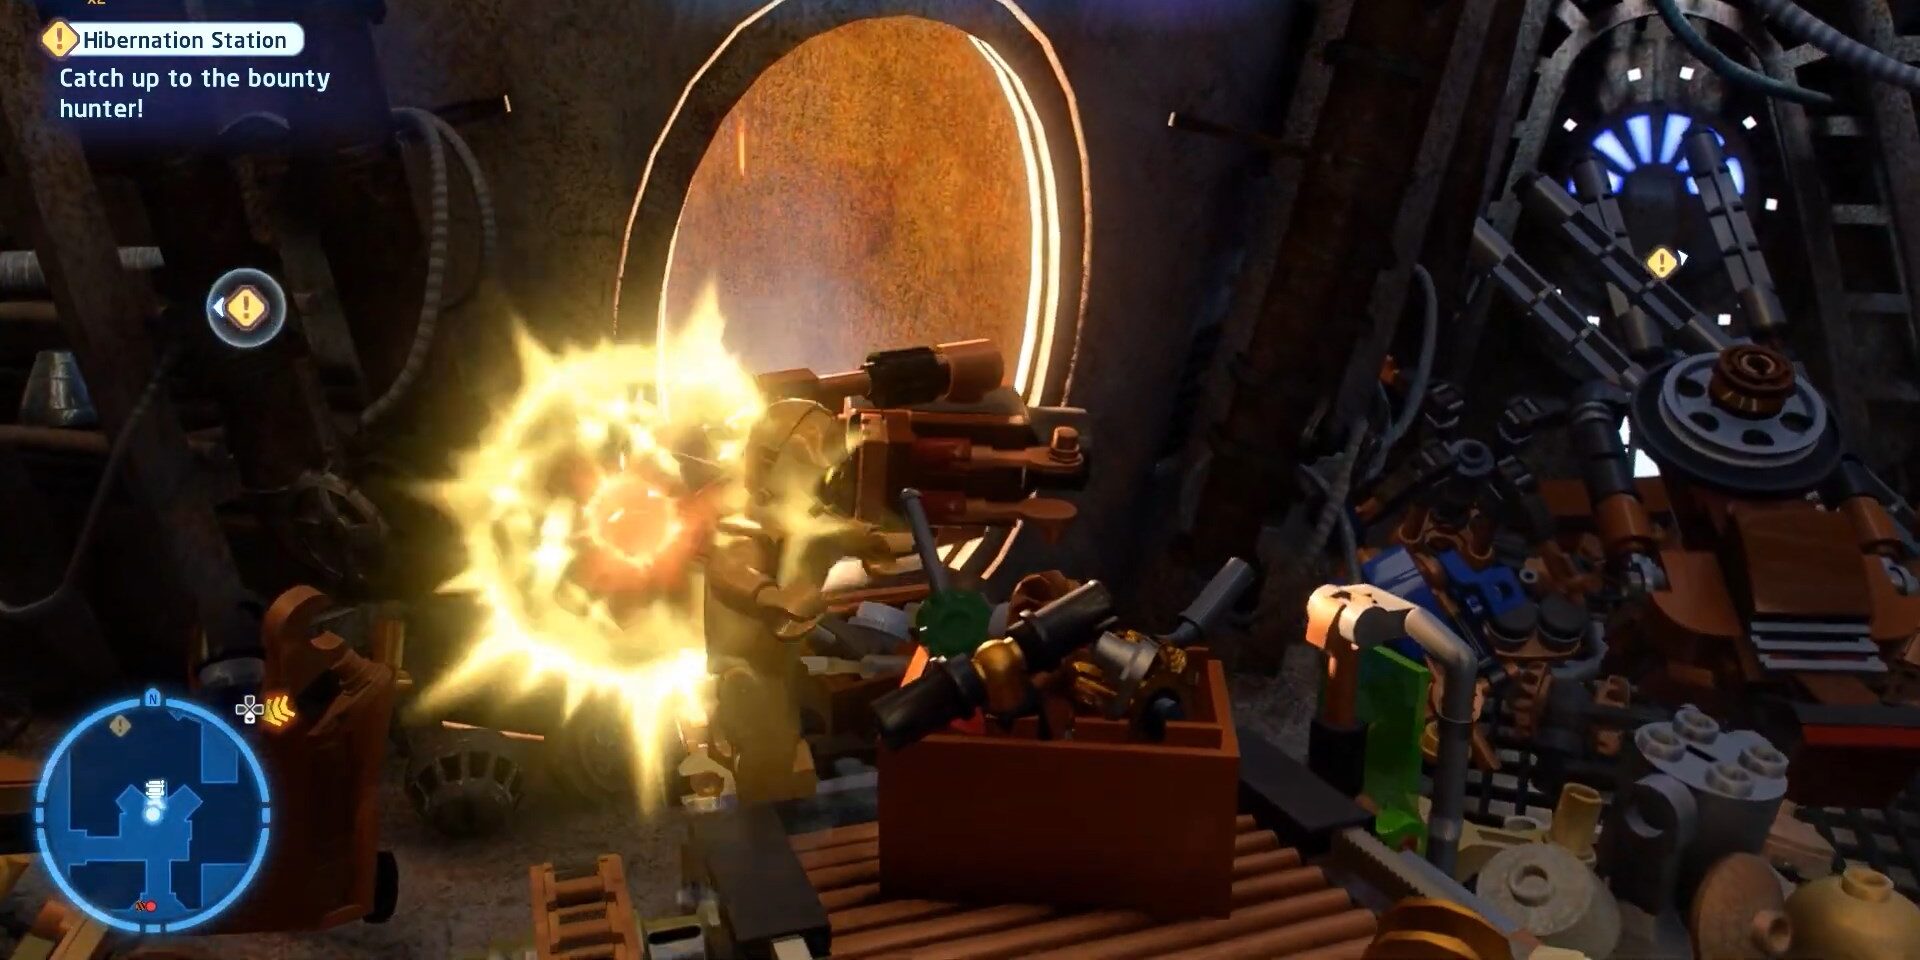
- The third Minikit in the “Hibernation Station” mission is located in a scrapyard.
- Use 3-CPO to hack a machine outside, granting access to another area.
- Inside, find a droid that opens the door for other characters to enter the scrapyard.
- Break a few scraps to reveal a machine that moves through the scrapes, yielding a Minikit.
- Refer to the attached images below for visual assistance.
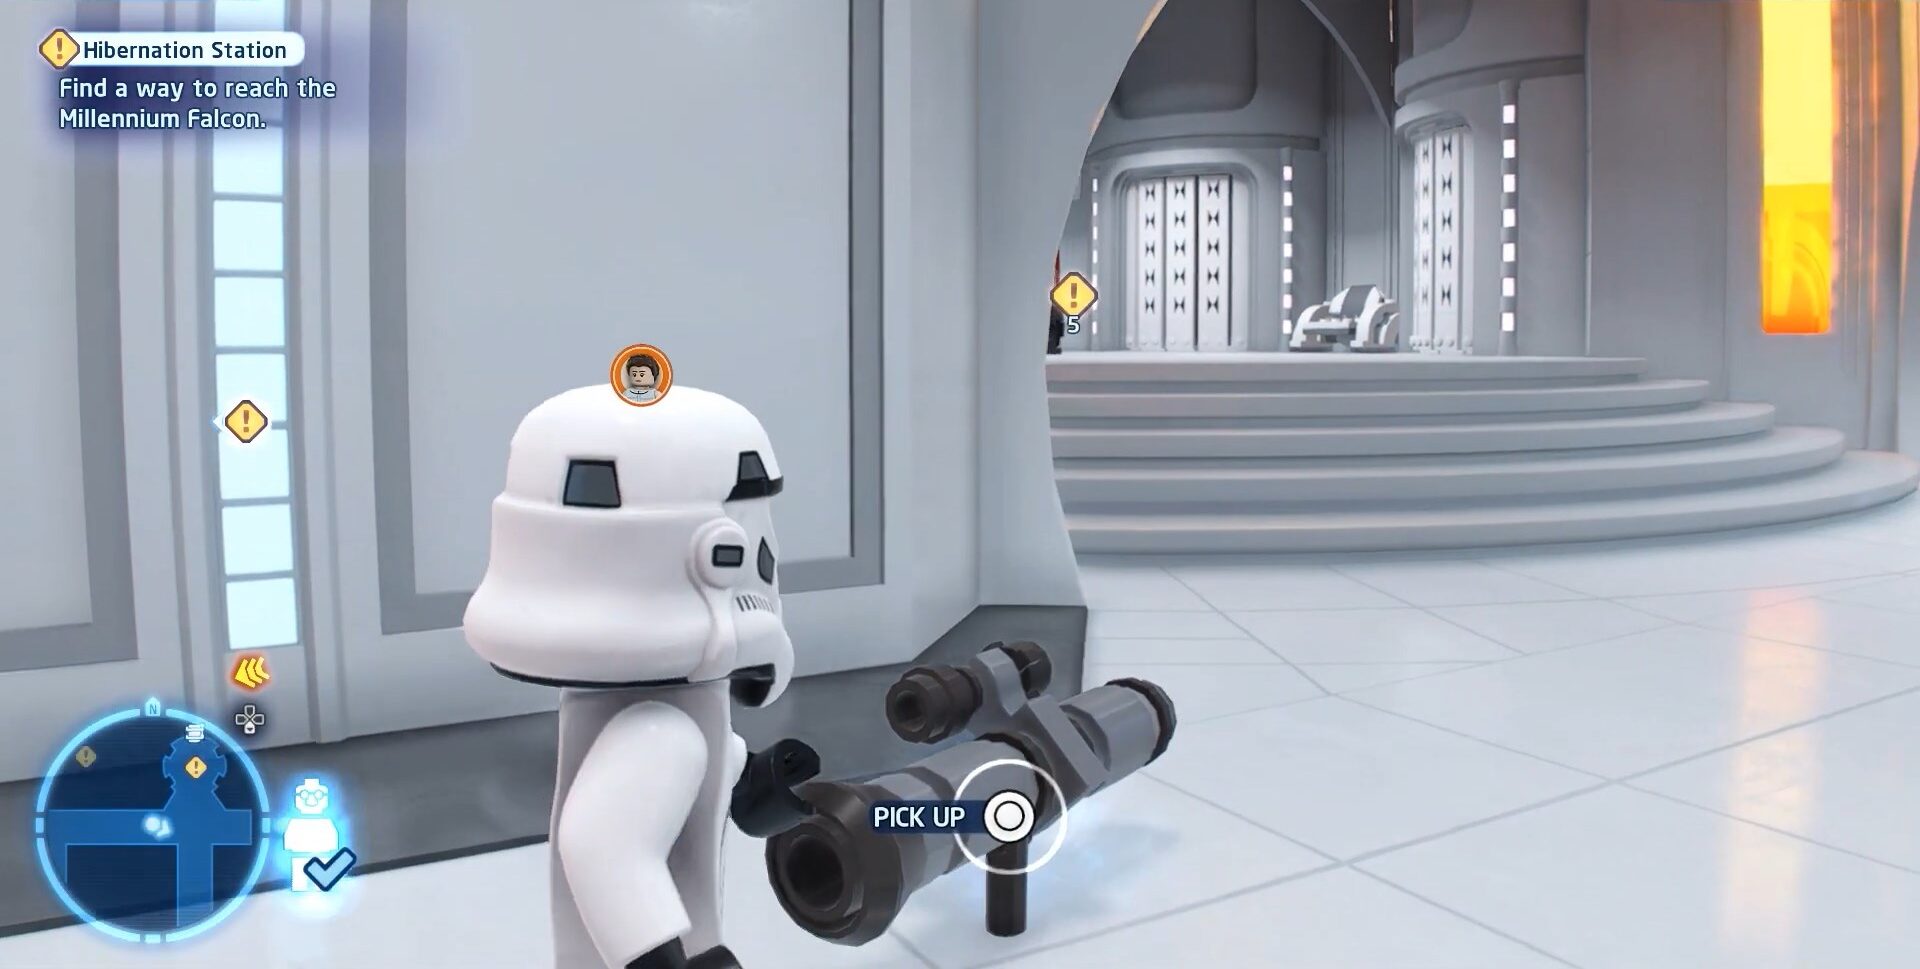
Getting the fourth Minikit is the easiest of all the previous three in our list all you need to do is activate the console and push the block and the Minikit will be yours check out the images we have attached below you will get more easily.

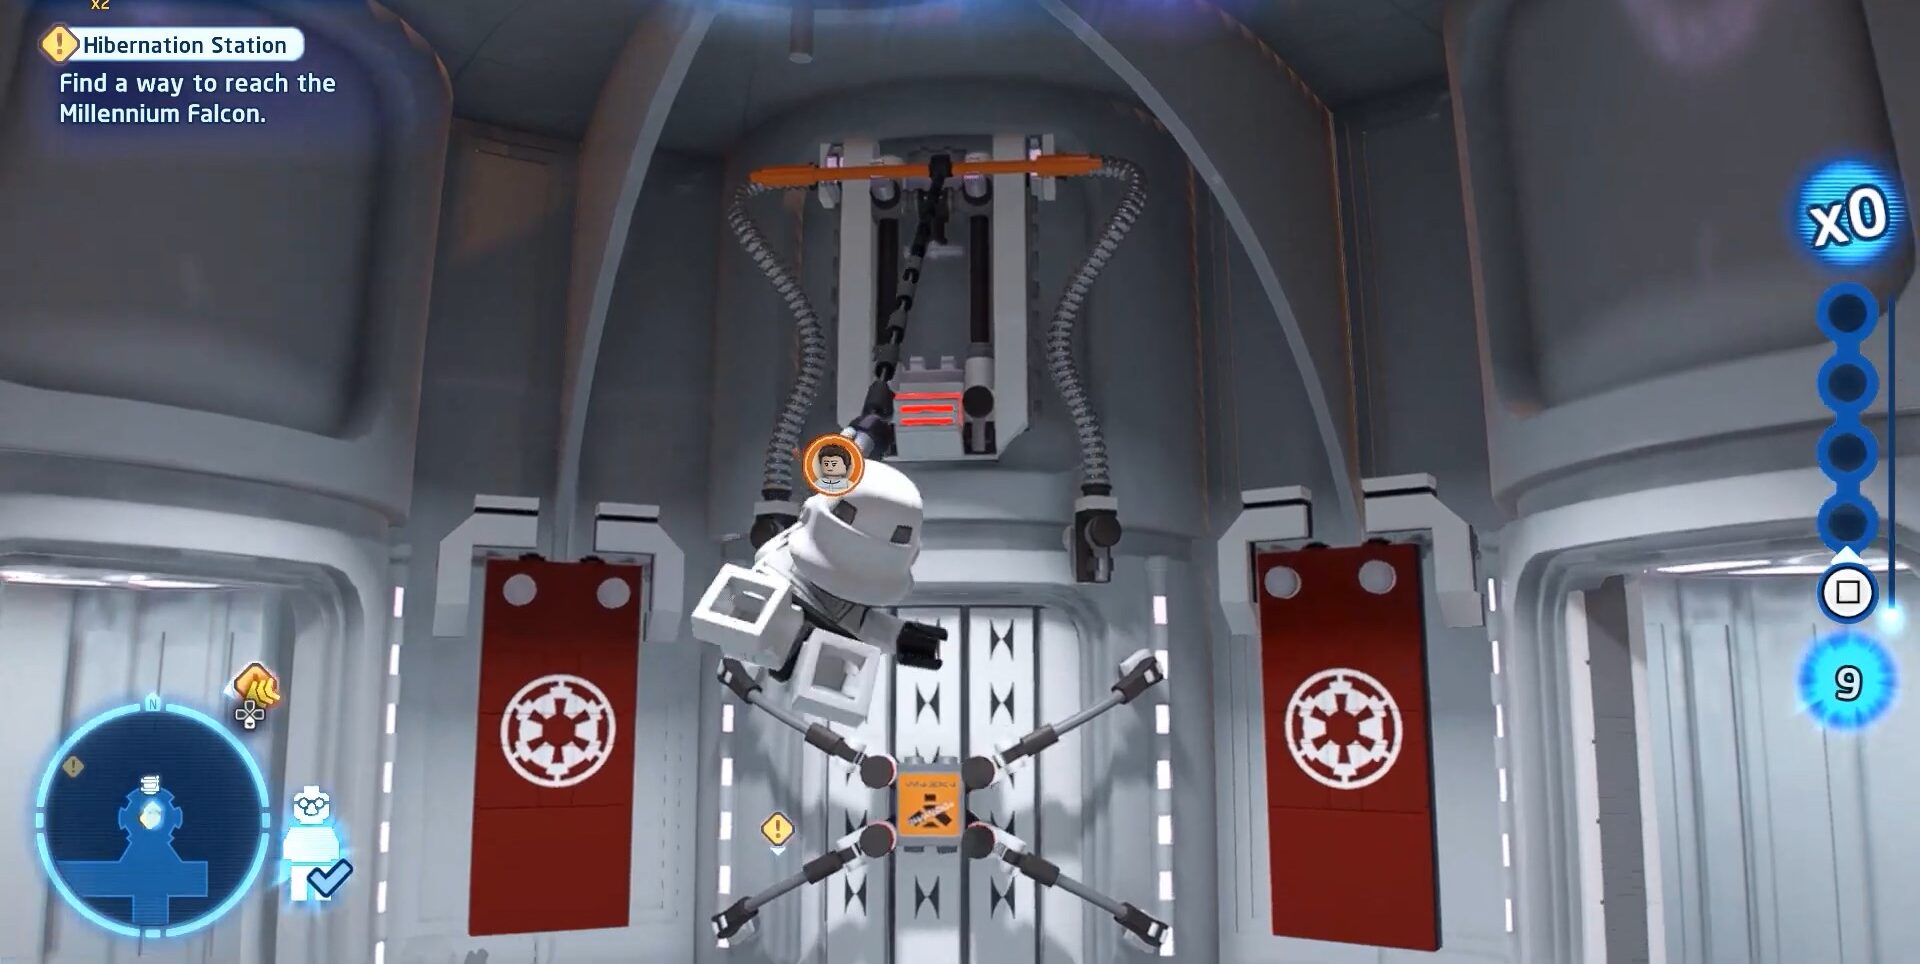
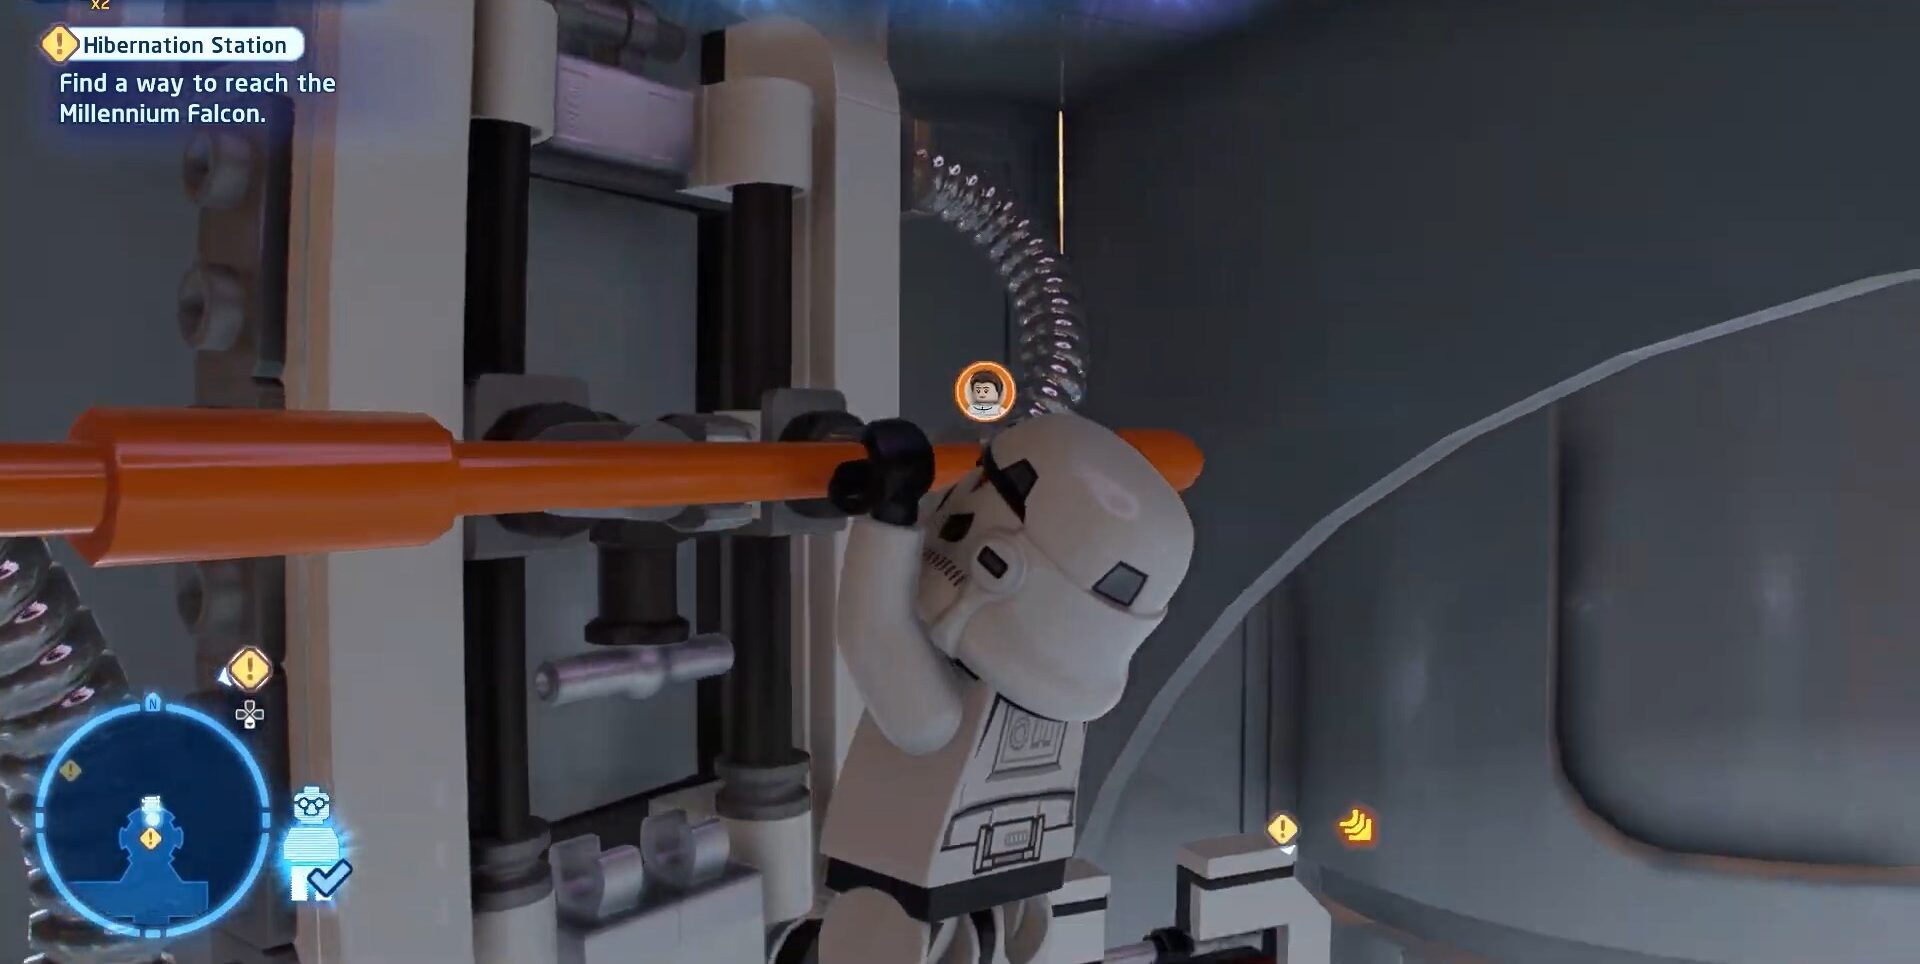
There is some action to do in getting the fifth Minikit first you have to pick a gun and shoot the imperial officer and soldiers then grapple to the handle at the top move it down and you will get the Minikit.
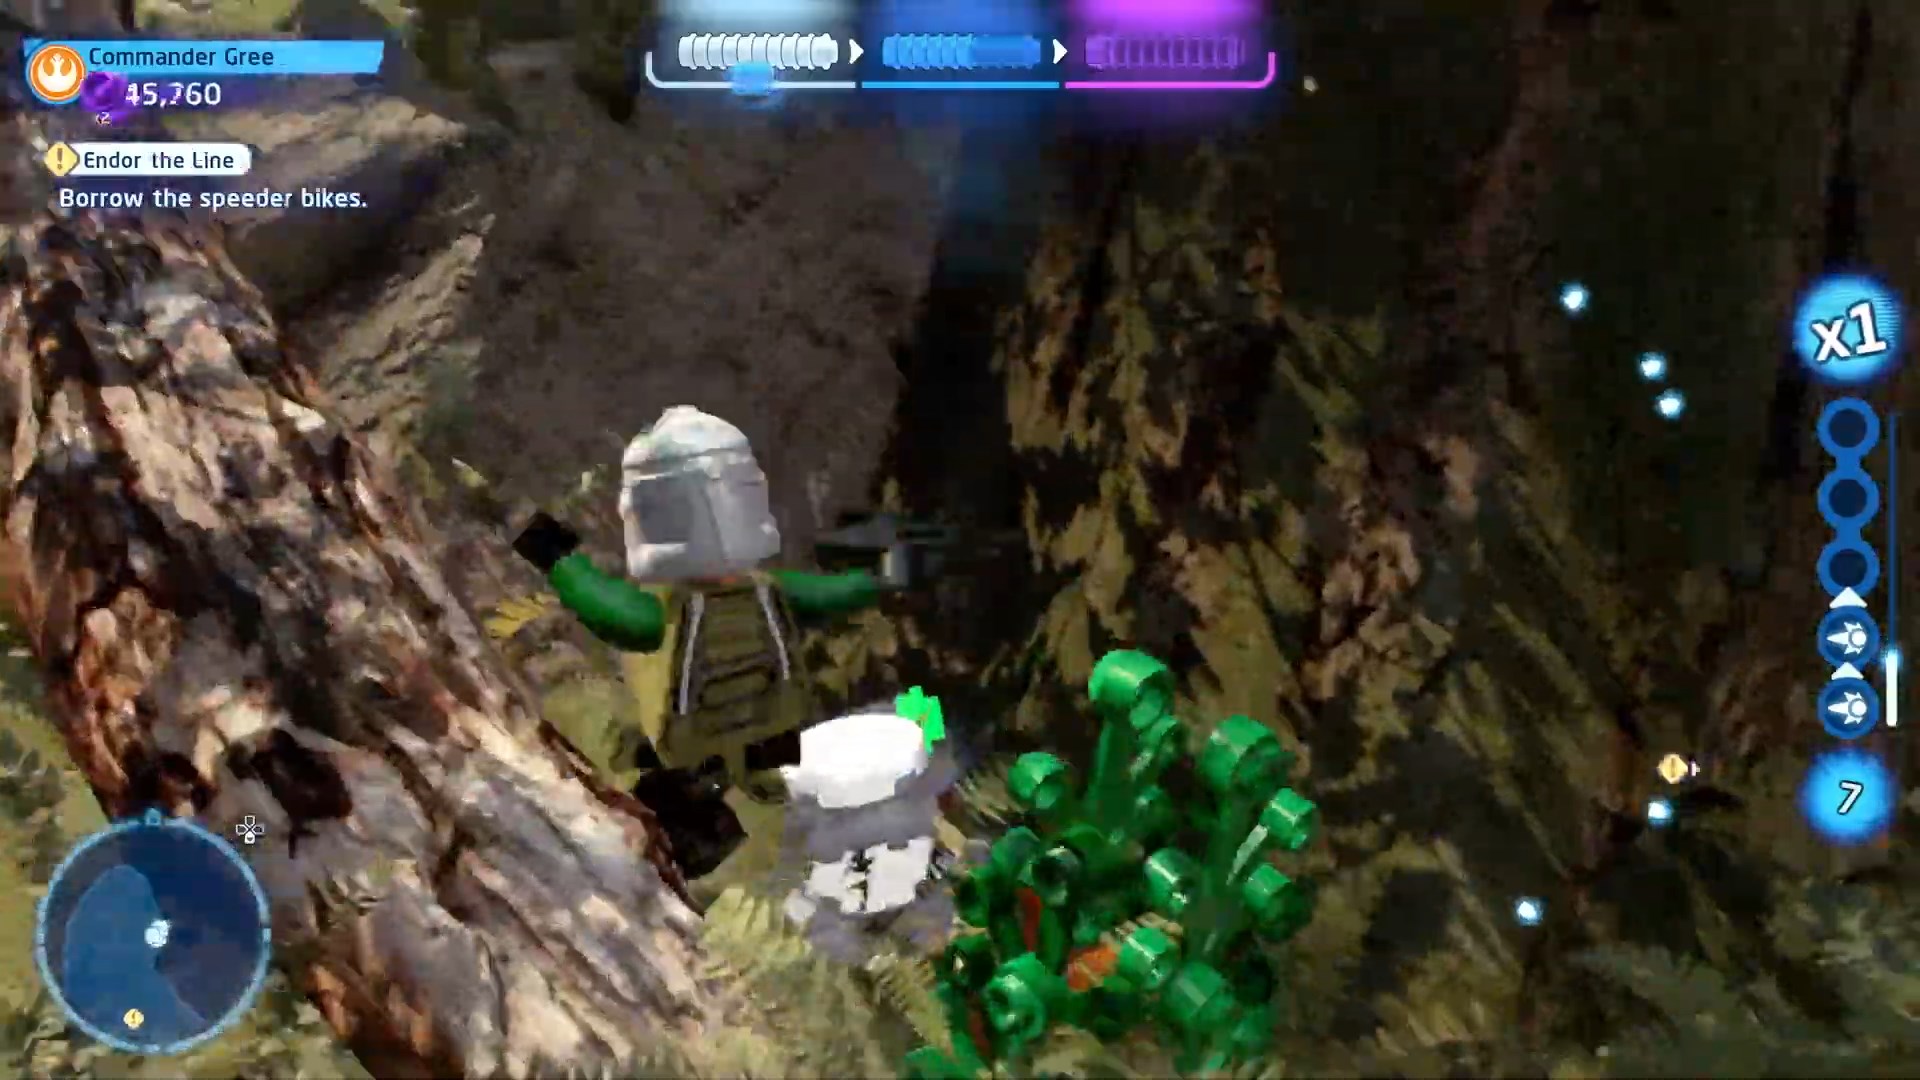
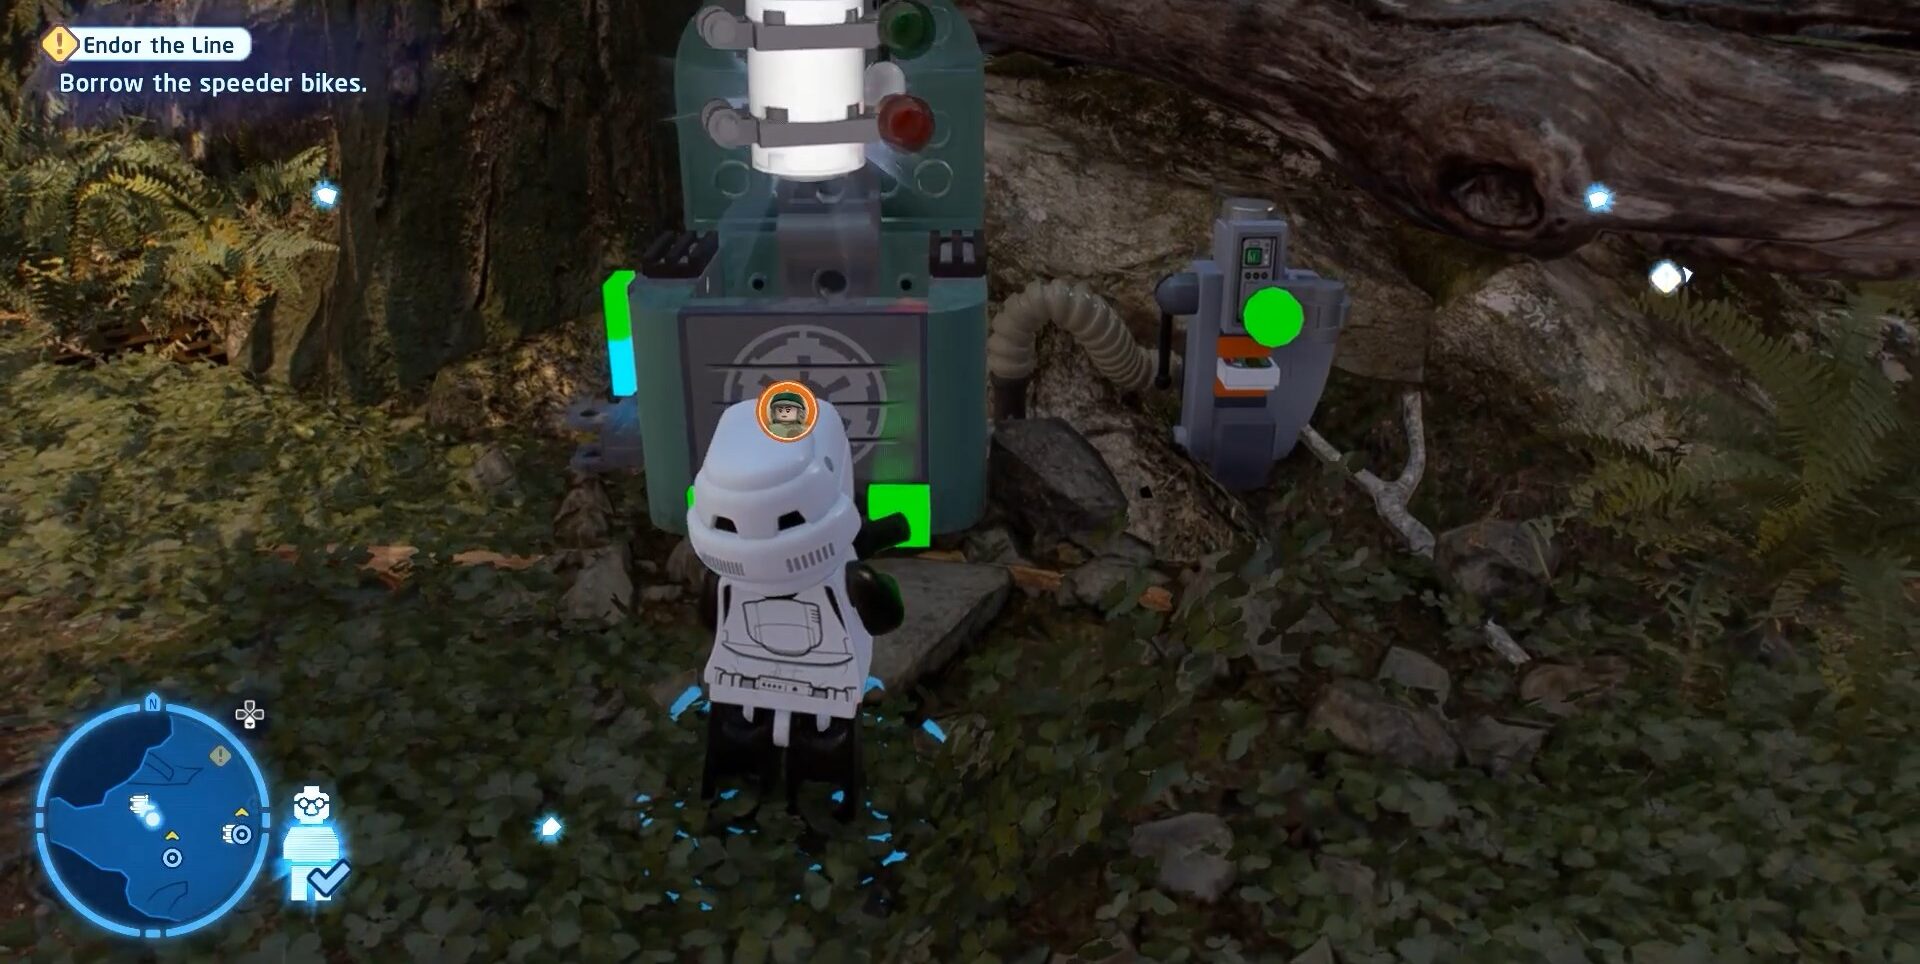
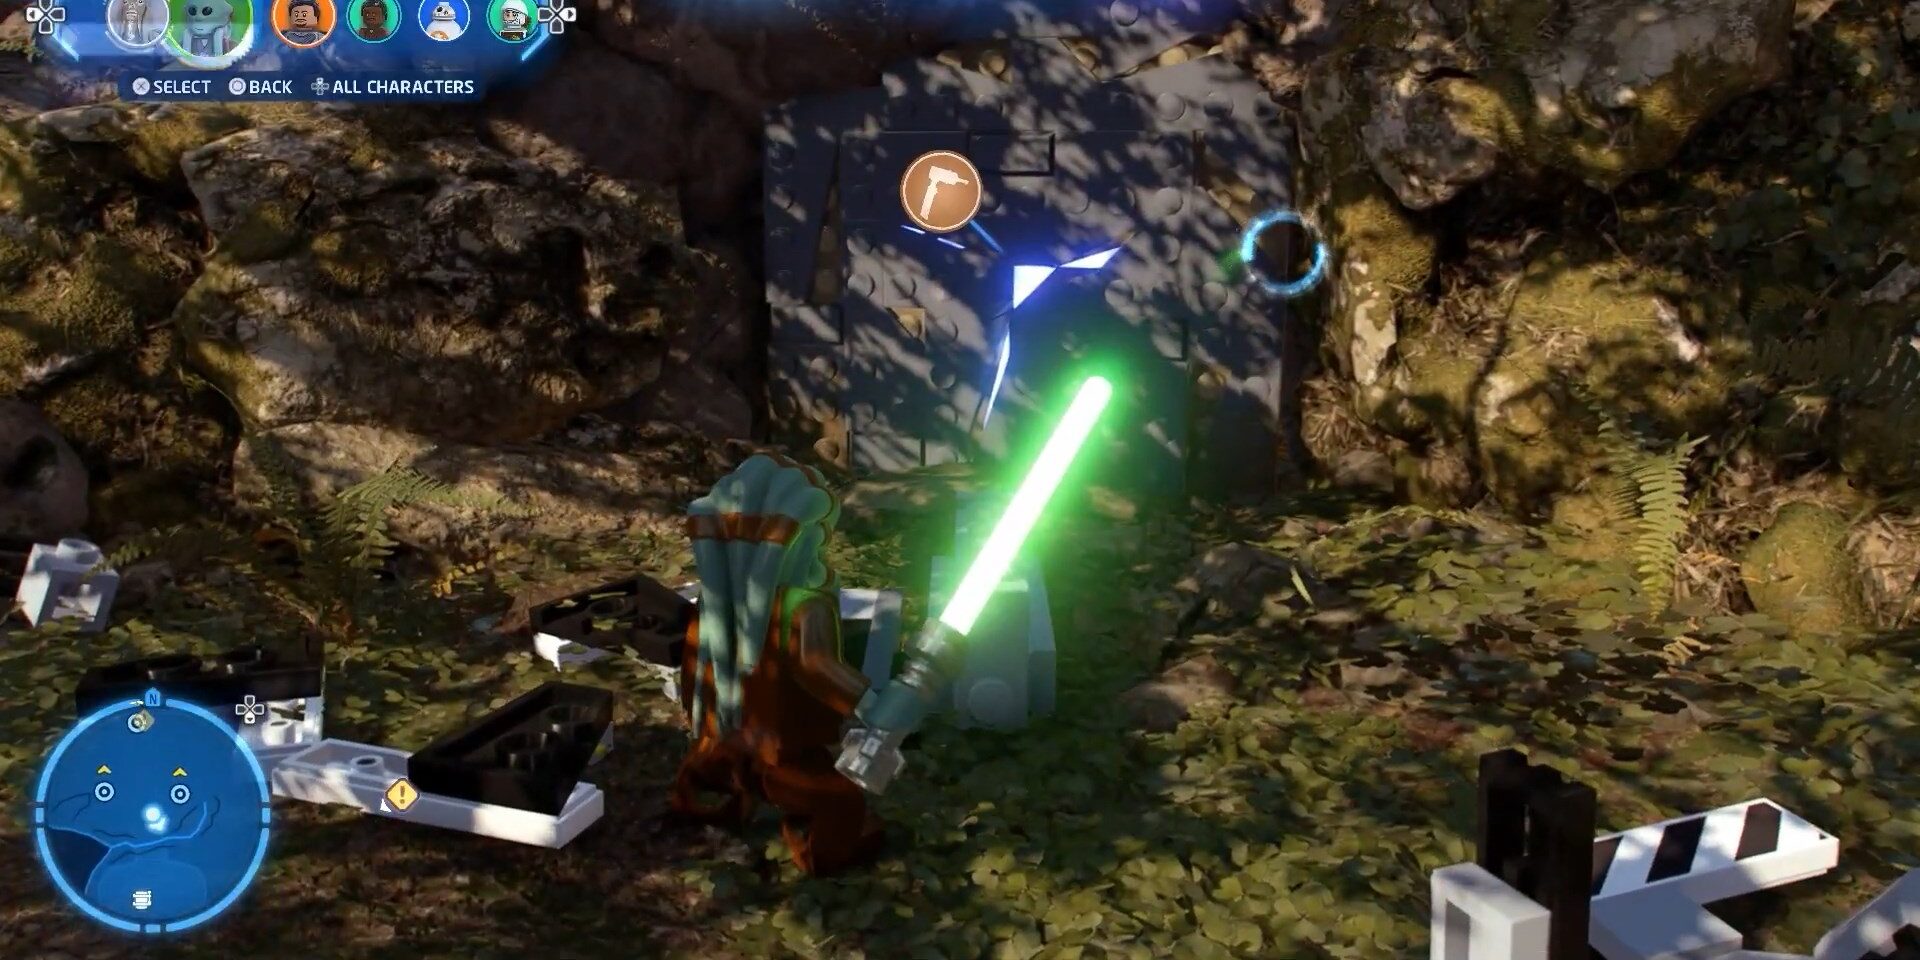
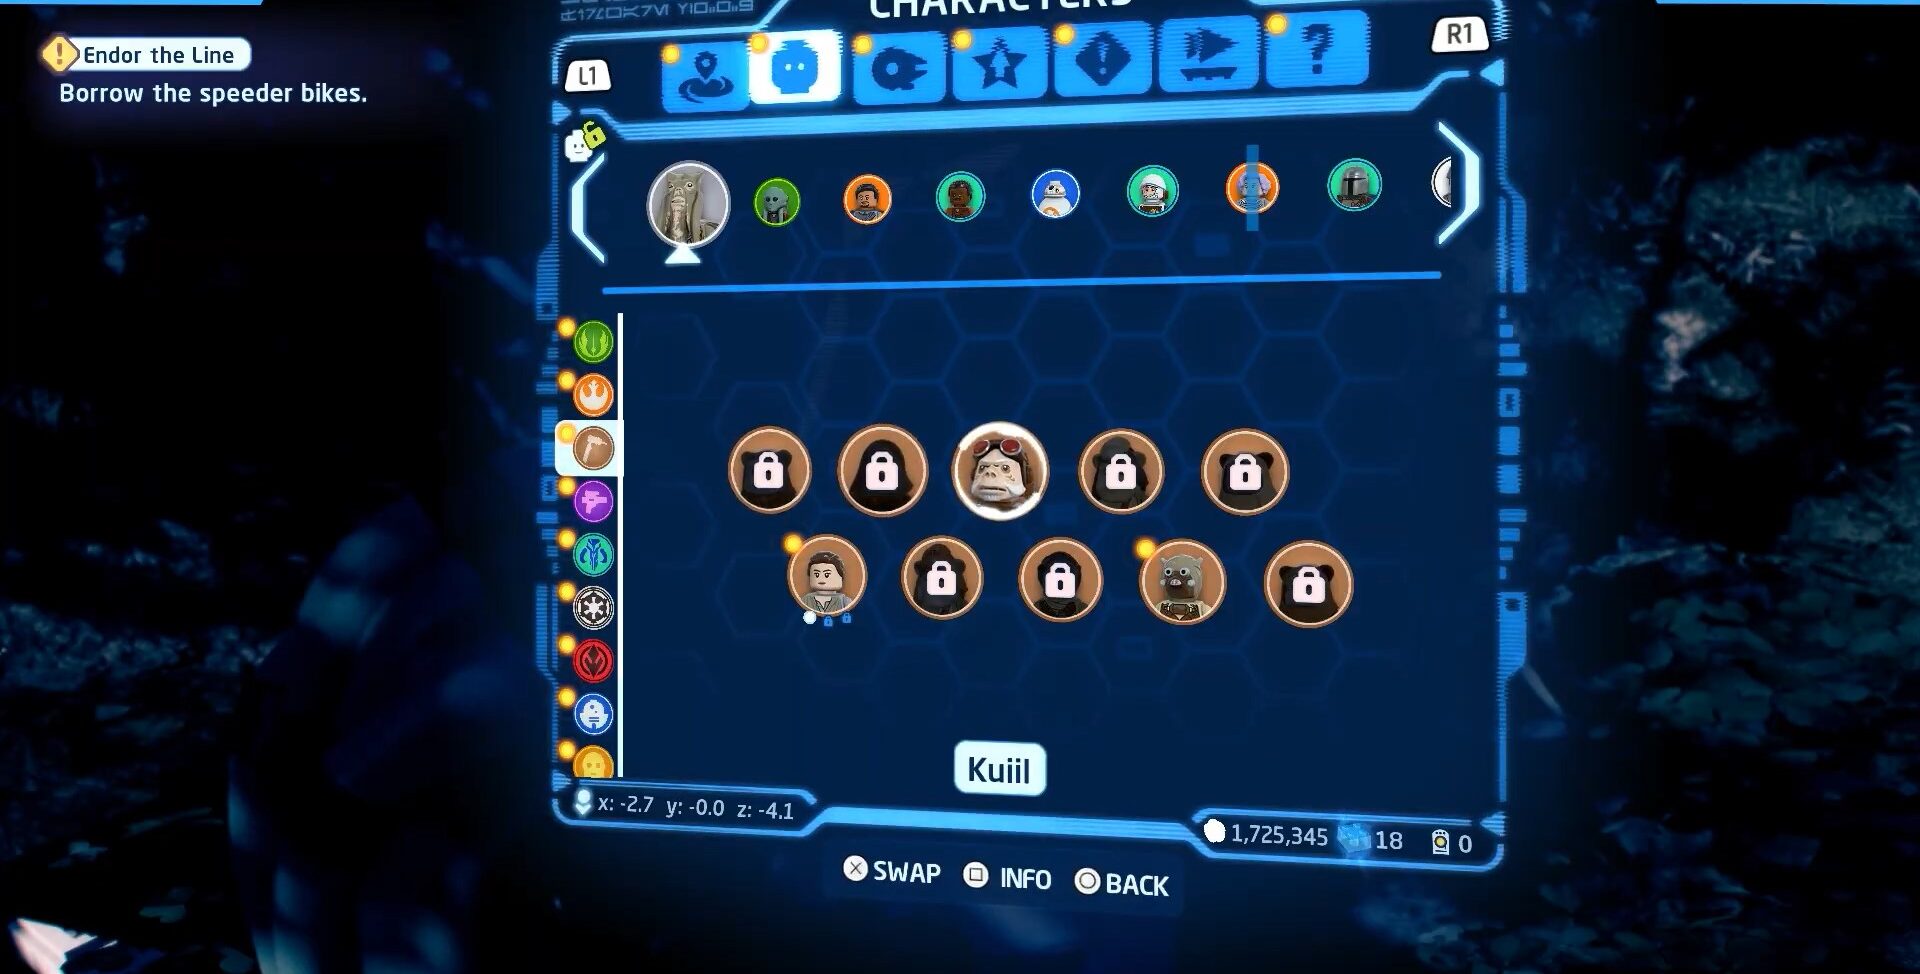
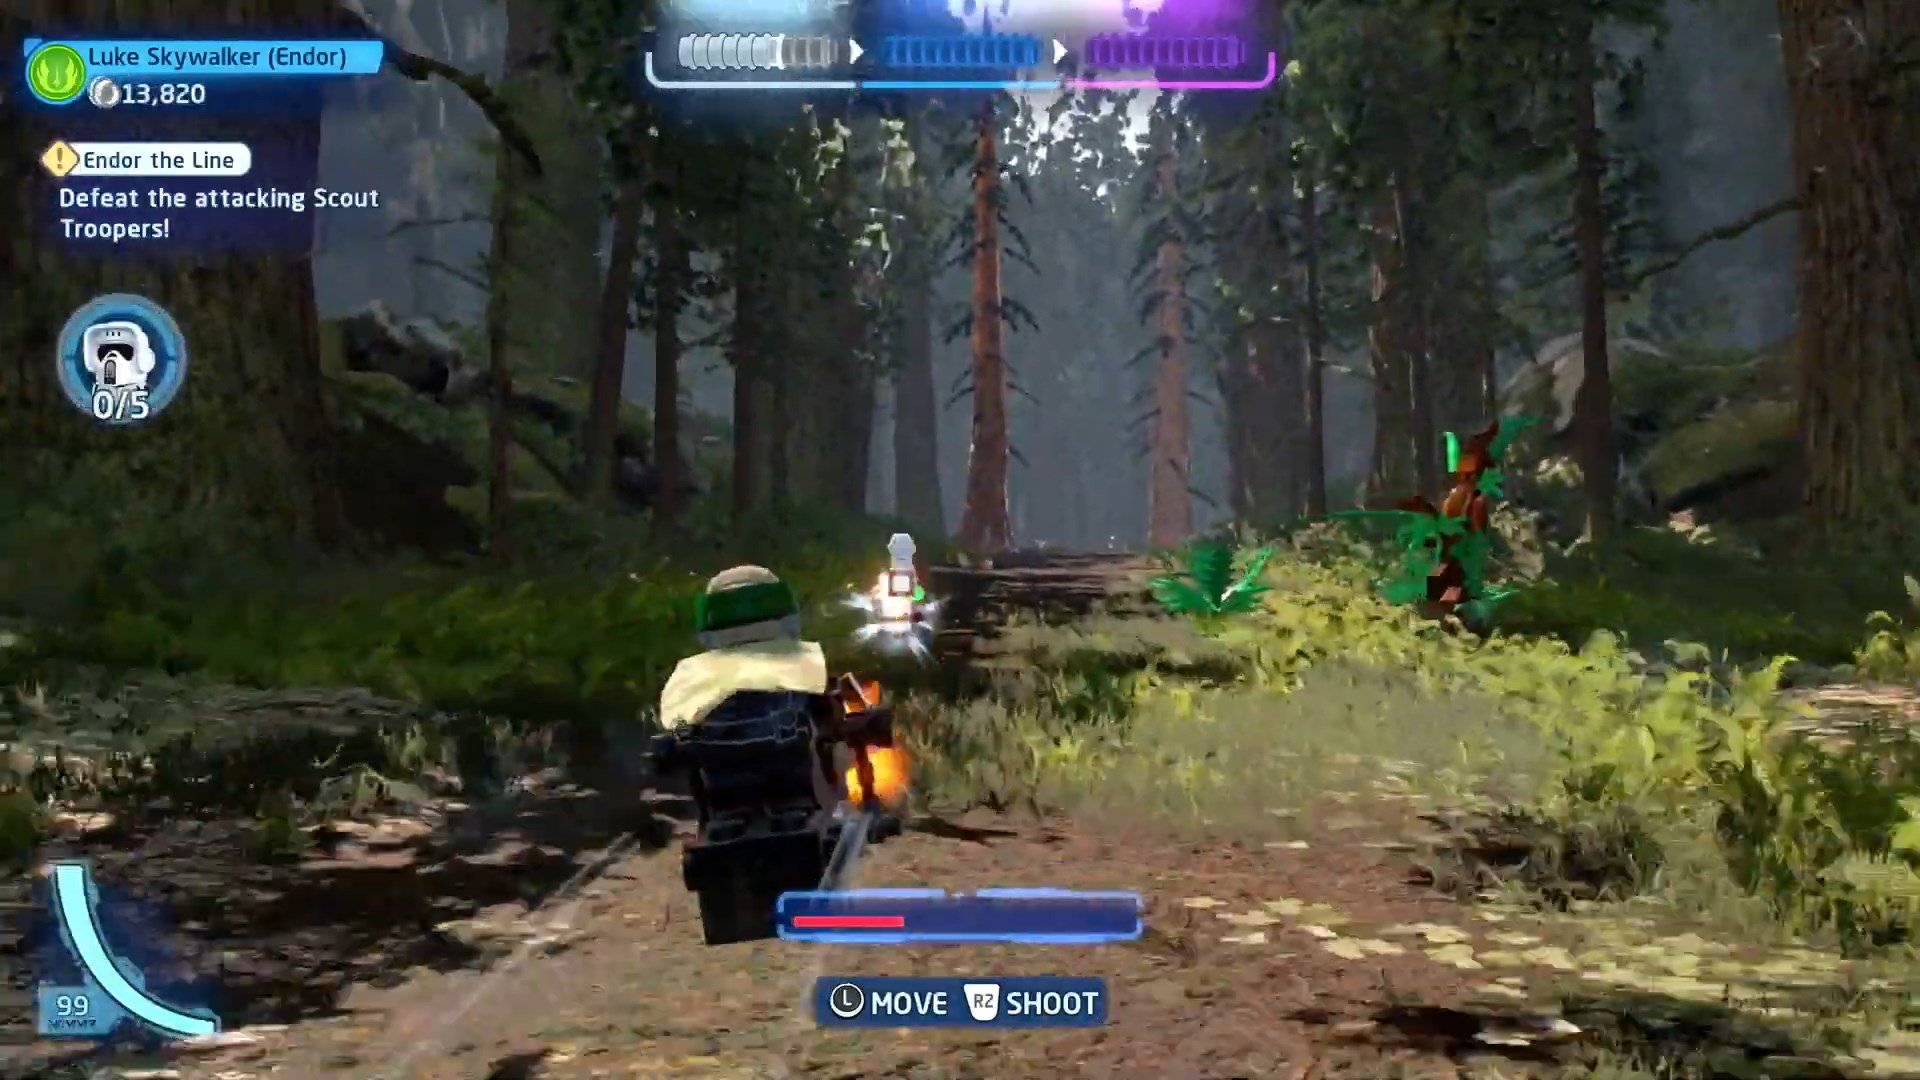
Endor The Line
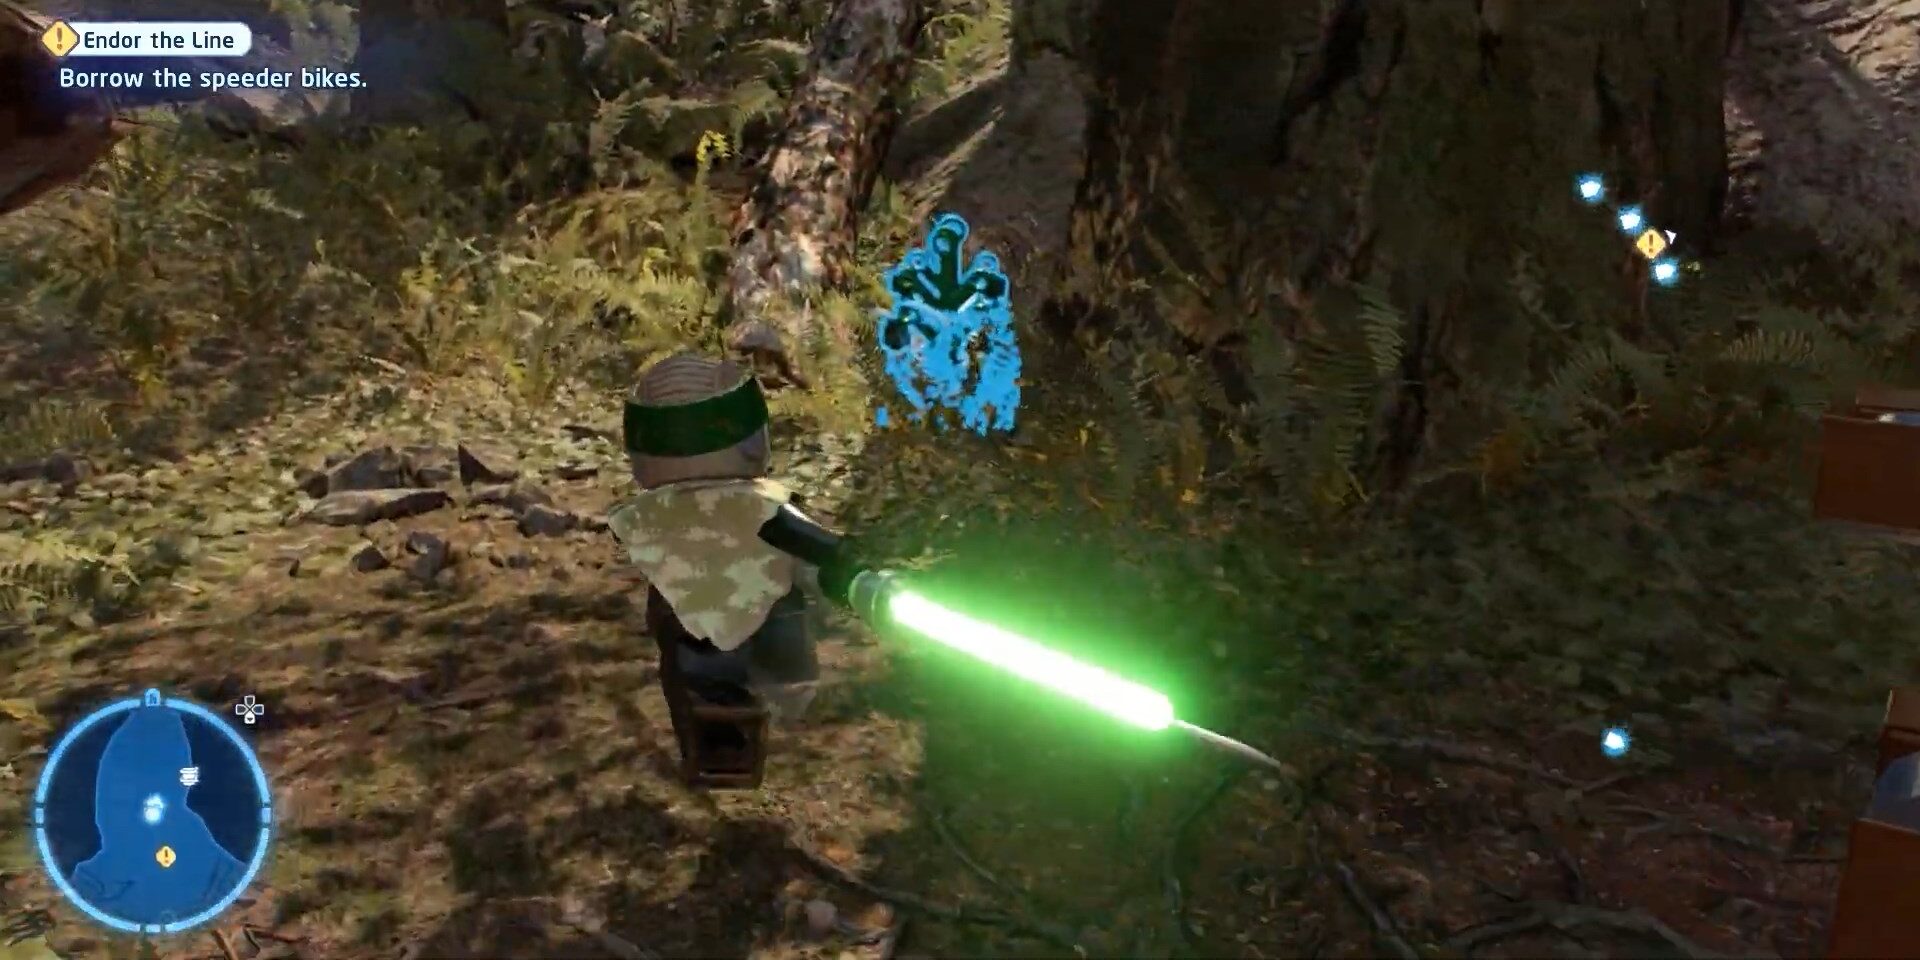
Getting the first Minikit in this mission is easy there will be a plant behind which is placed our first Minikit. We have attached an image of it below to make it easy to recognize.
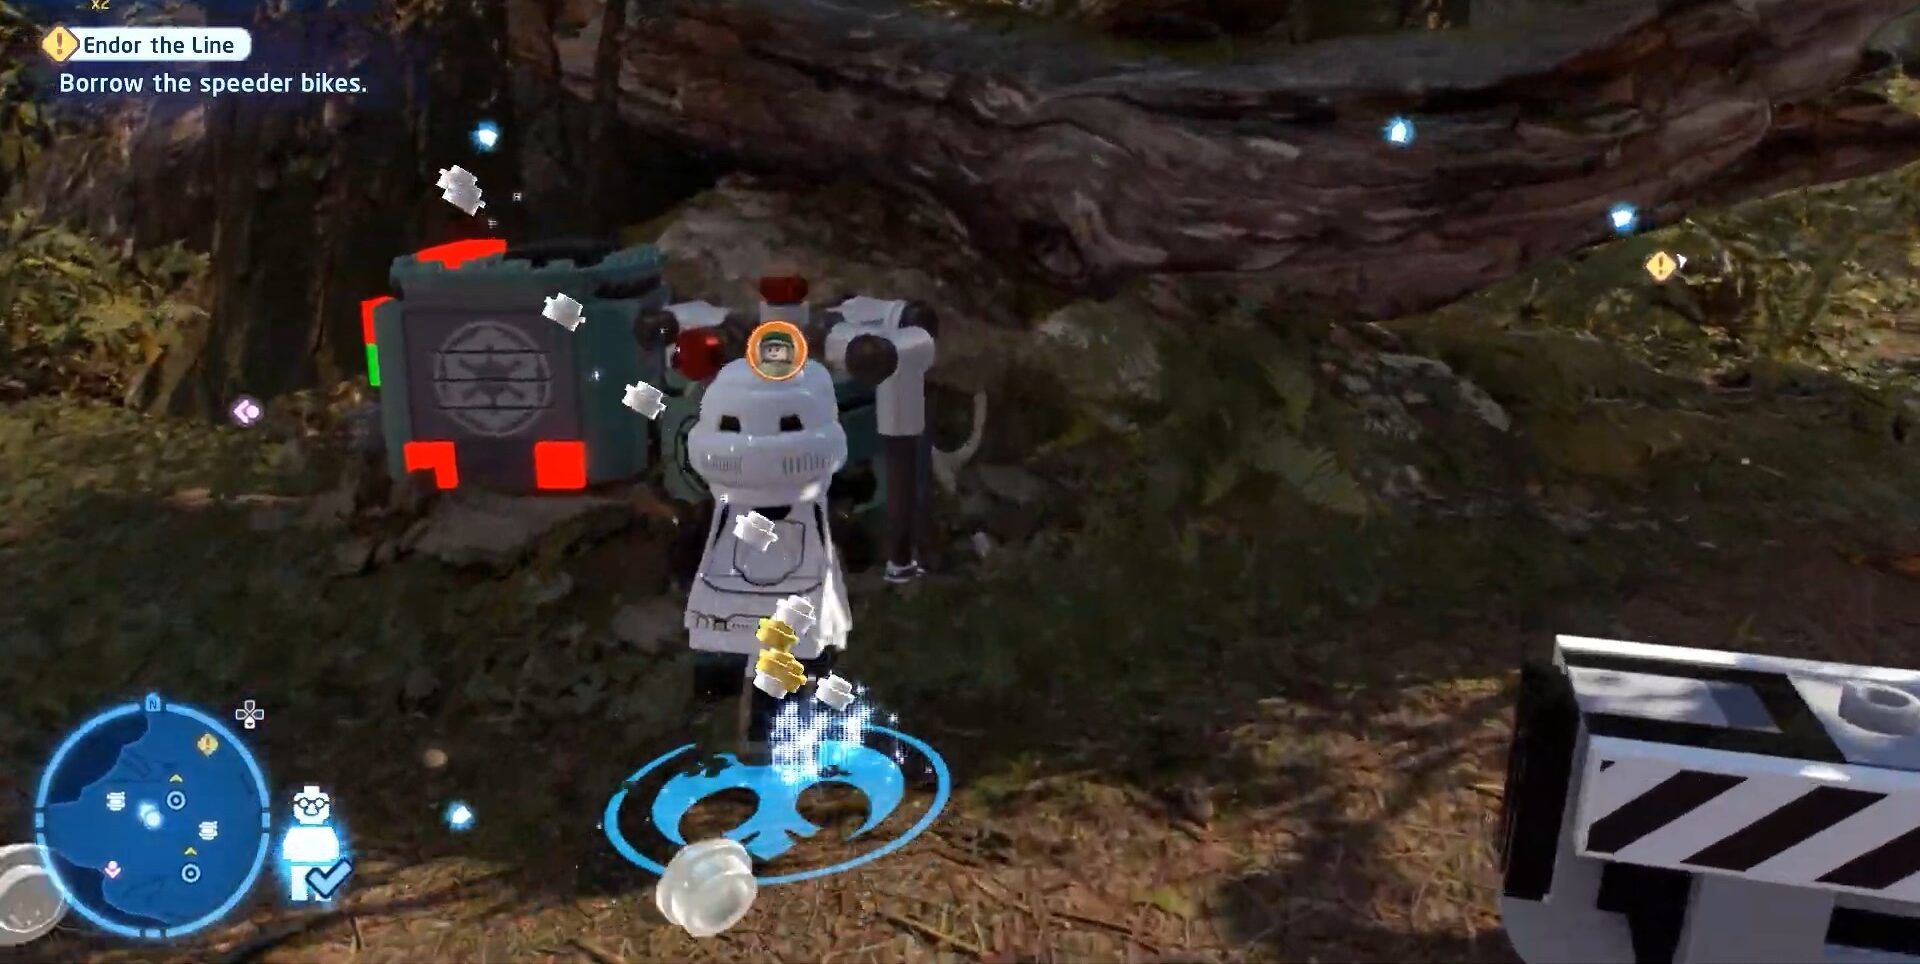
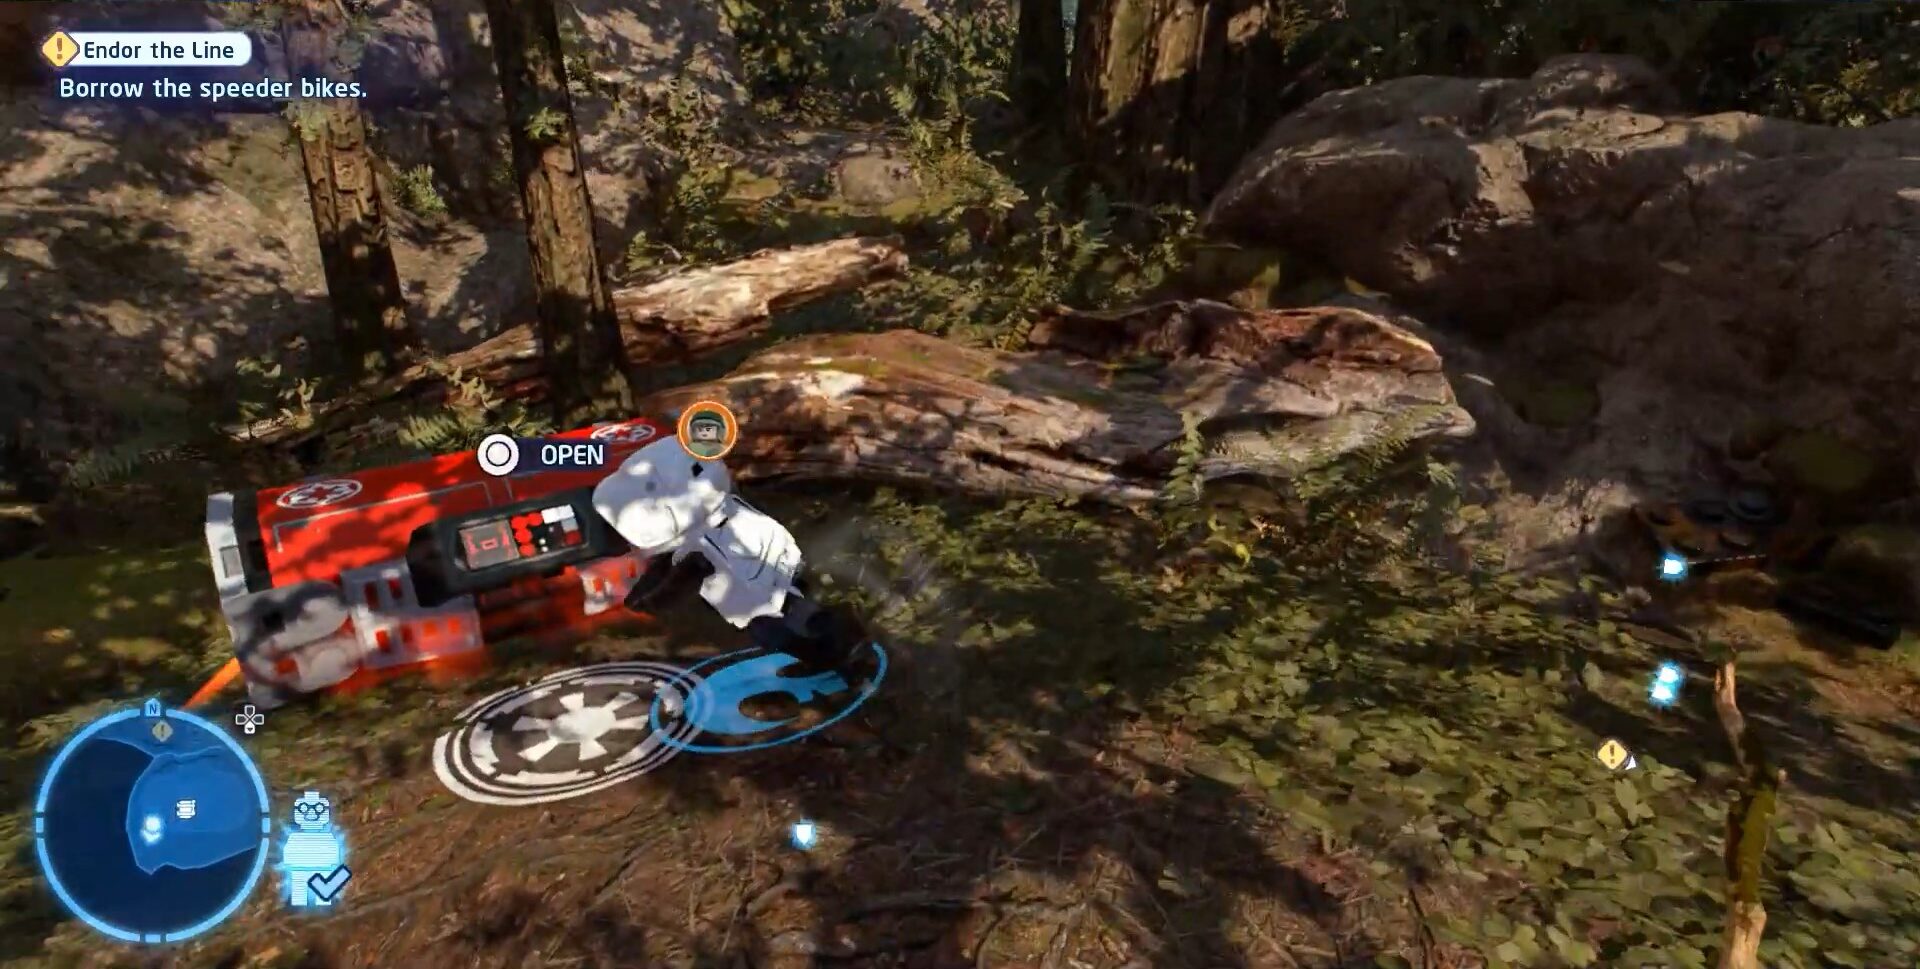
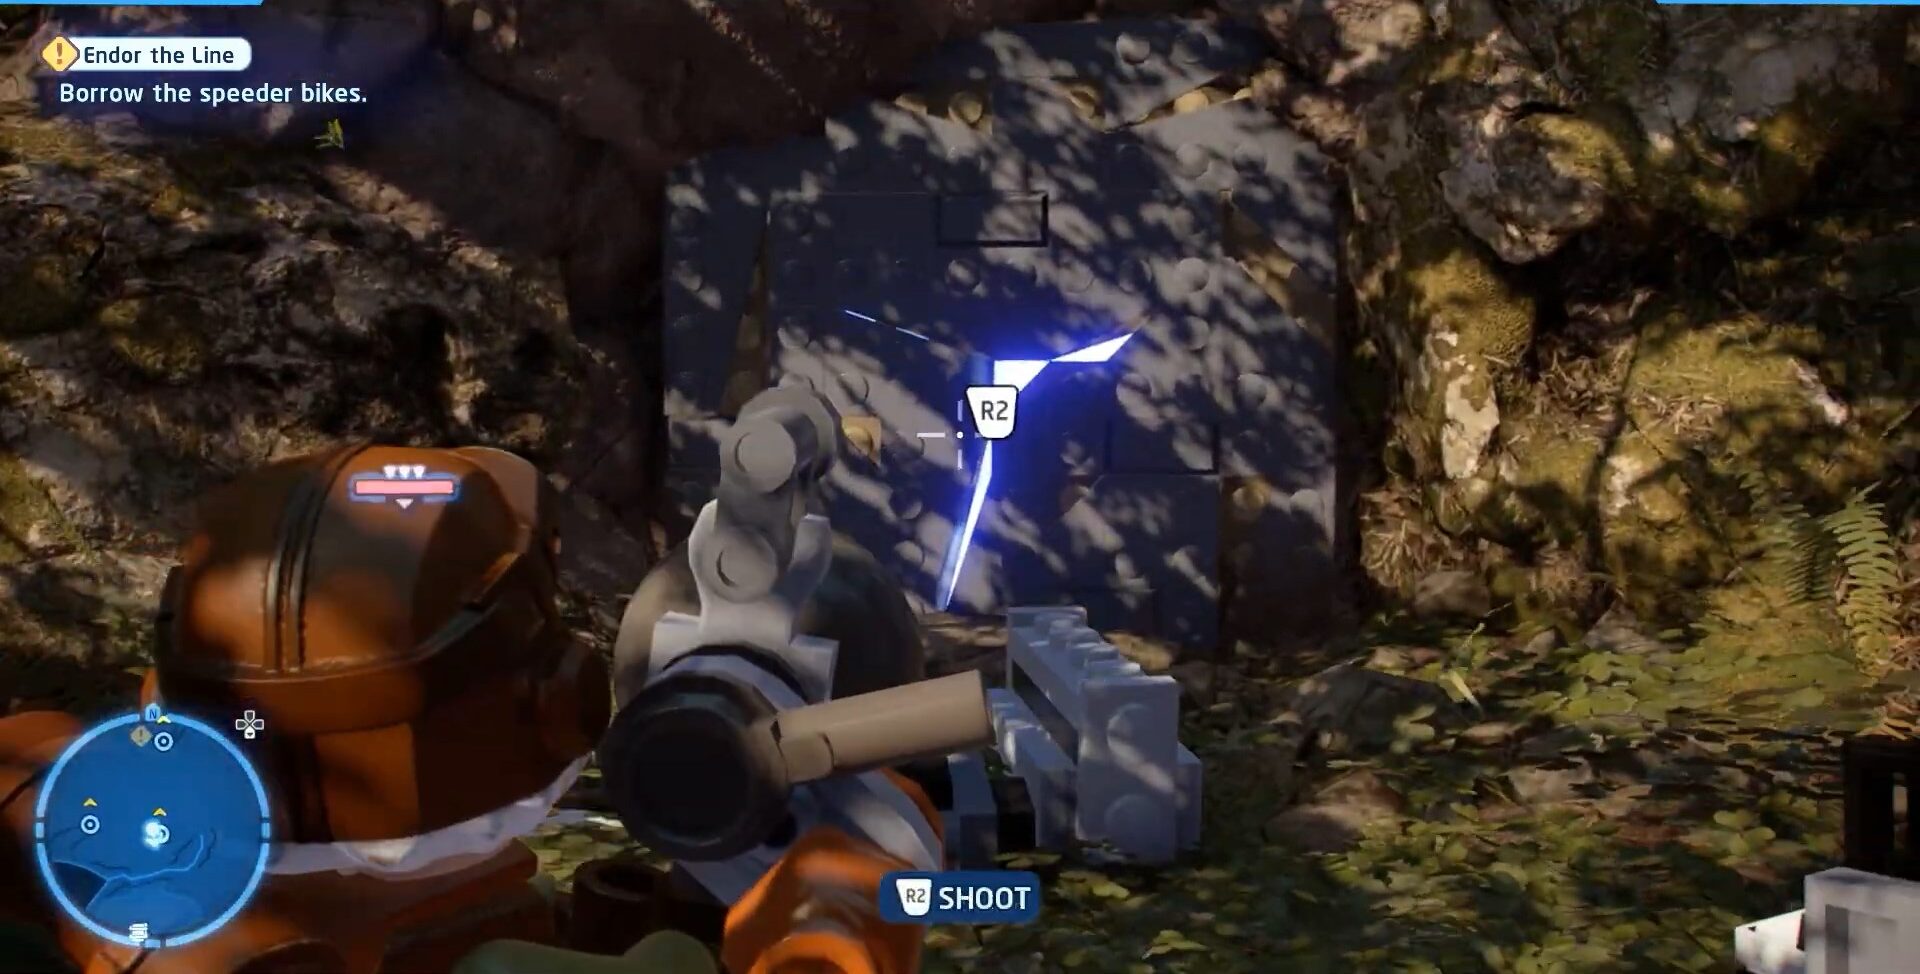
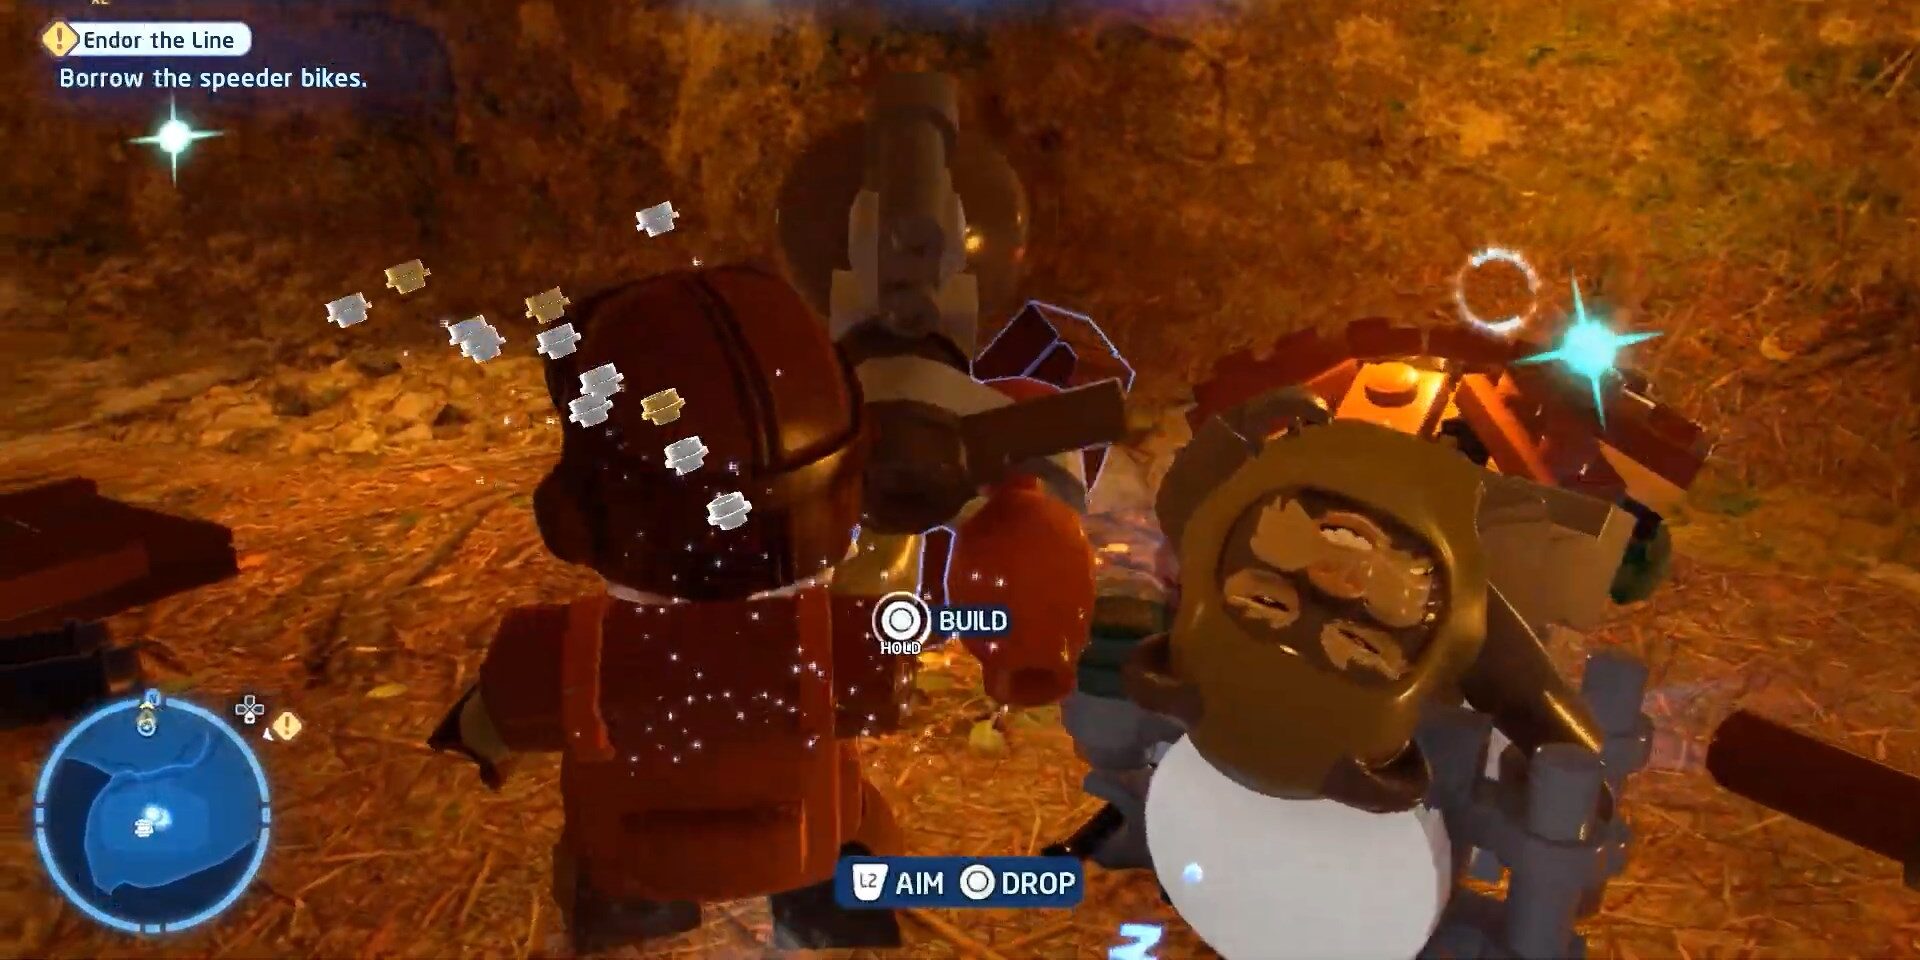
After getting the first Minikit head back to a central area where you have to break and rebuild something we have attached images of that below. After breaking and rebuilding it you need to insert something into it which you can get by throwing a grenade at a cage hanging near there. Once you insert that you will get the second Minikit. We have attached images of the whole process of getting a second Minikit with captions below check it out.
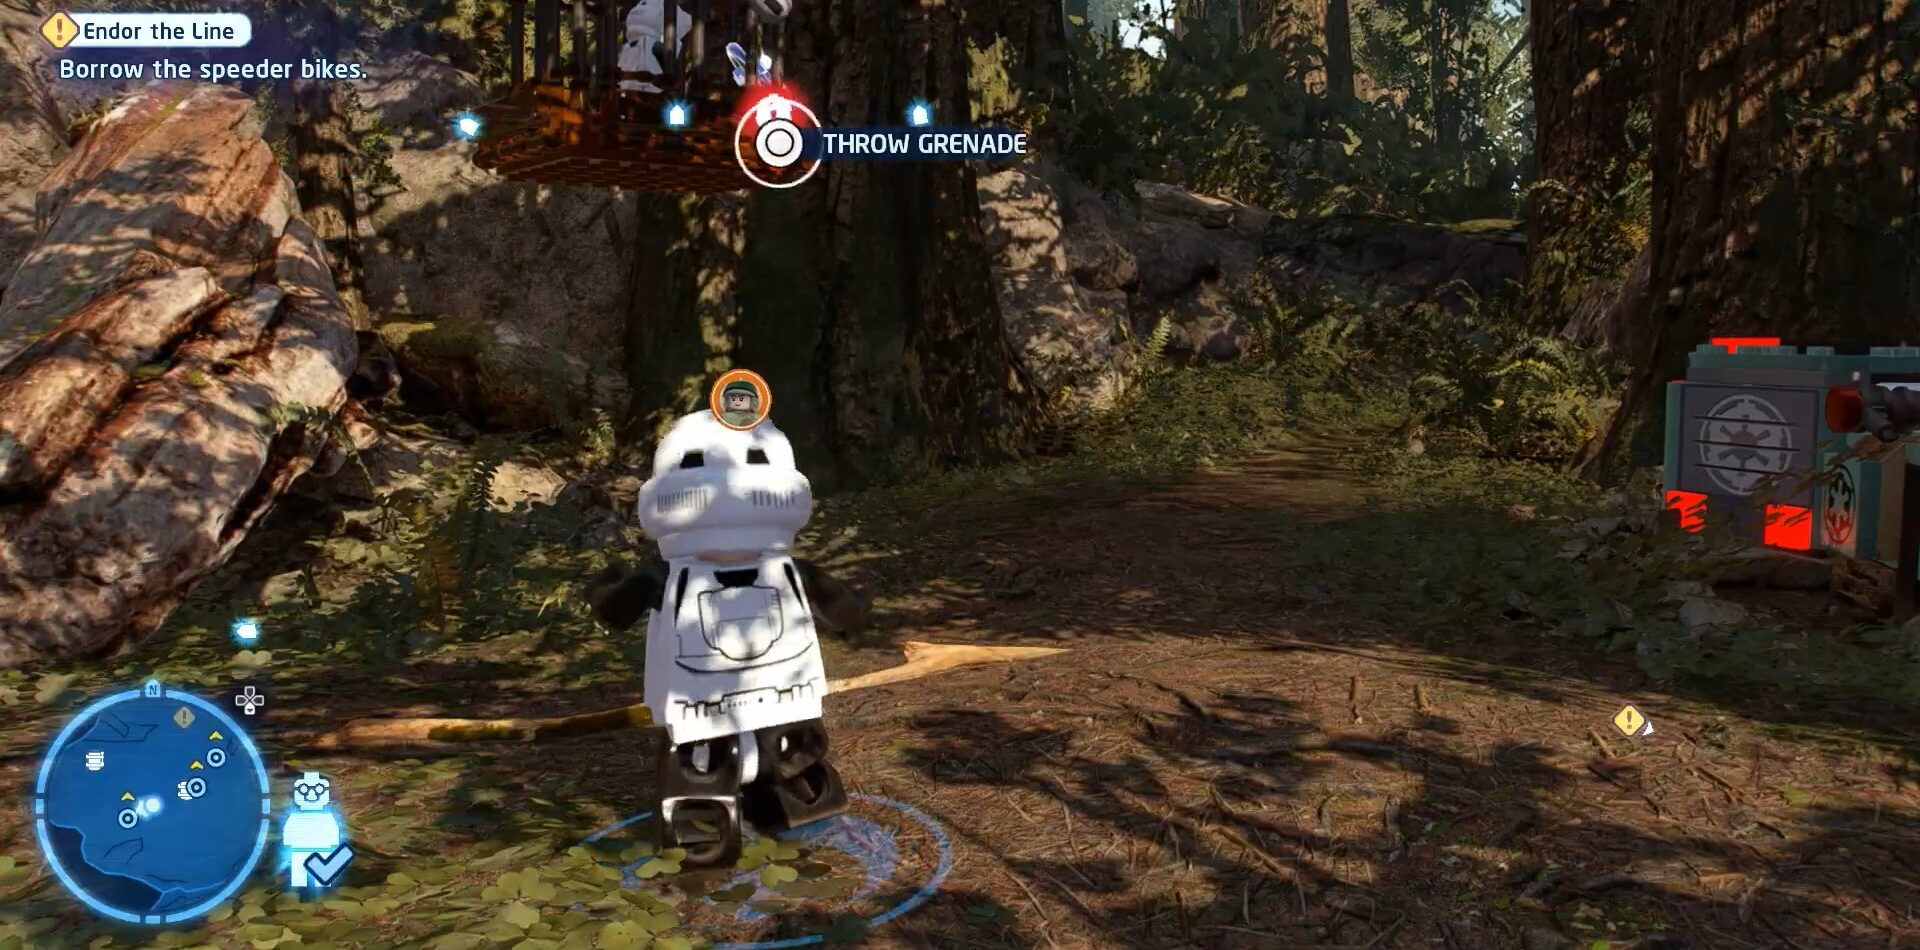

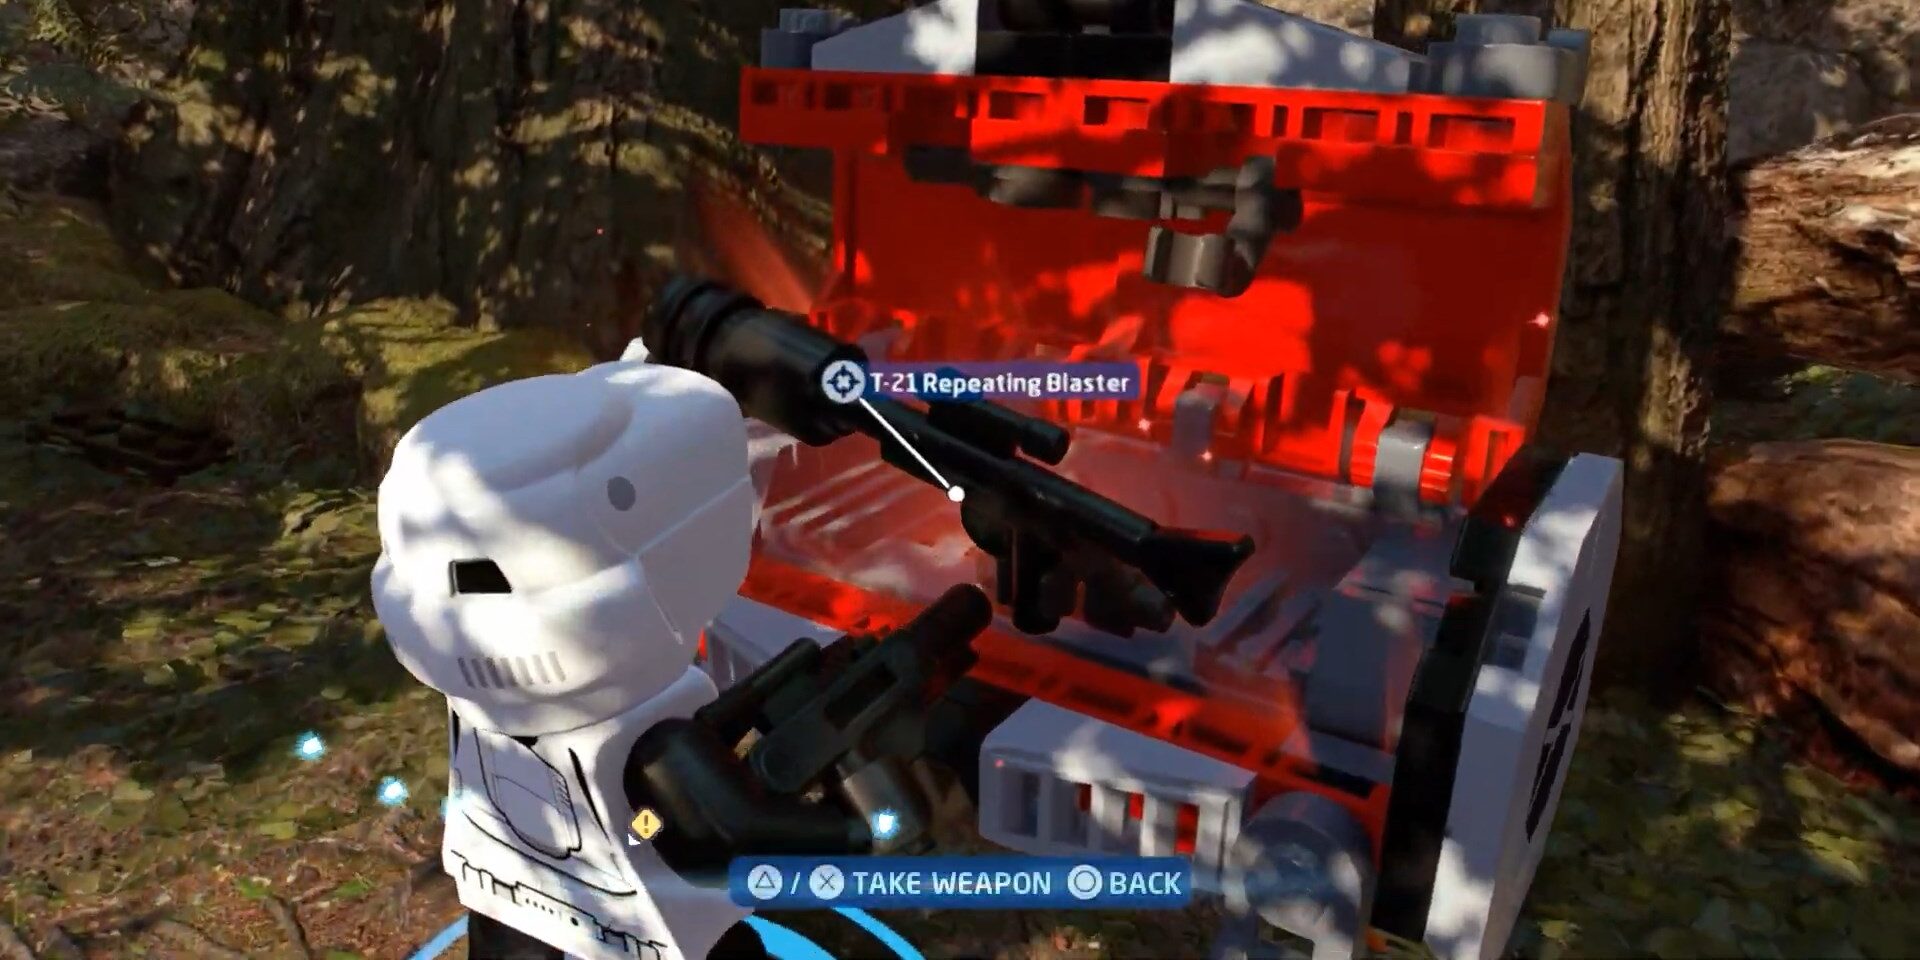
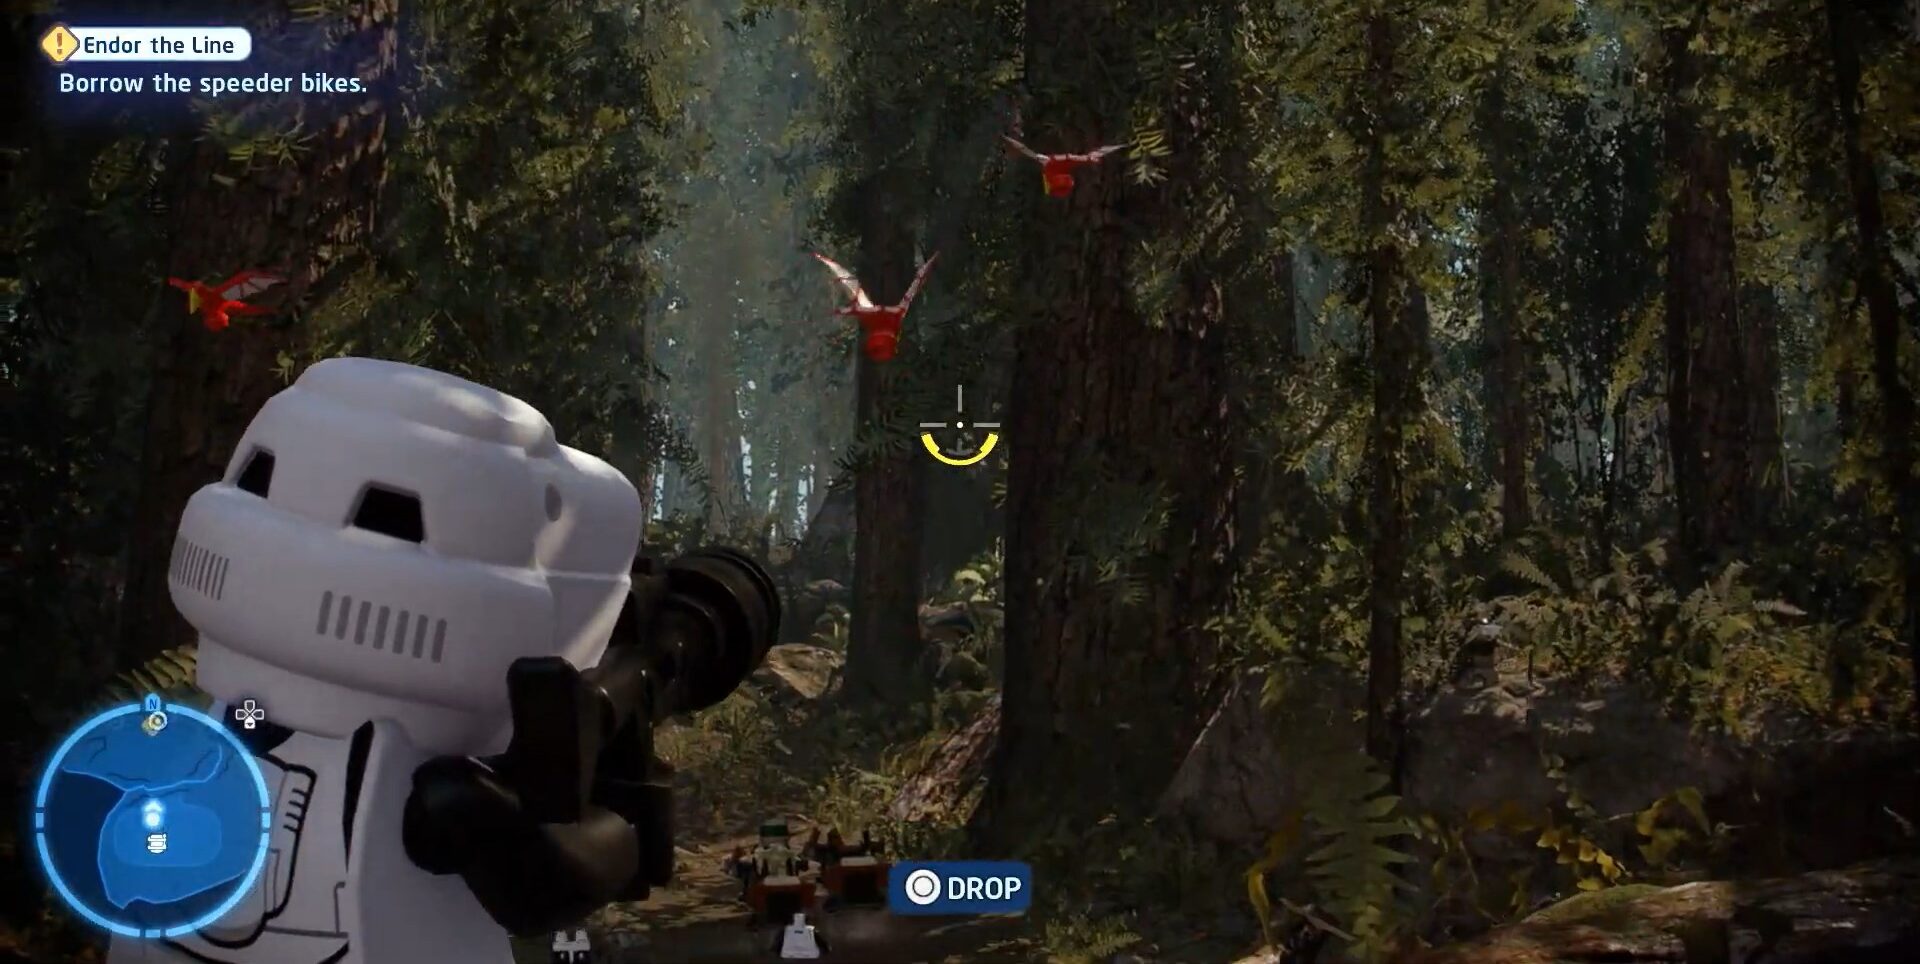
To get the third Lego Star Wars The Skywalker Saga Minikit location on our list you need to shoot down birds with a repeating blaster which you will get inside the orange box. We have attached images below as a guide.
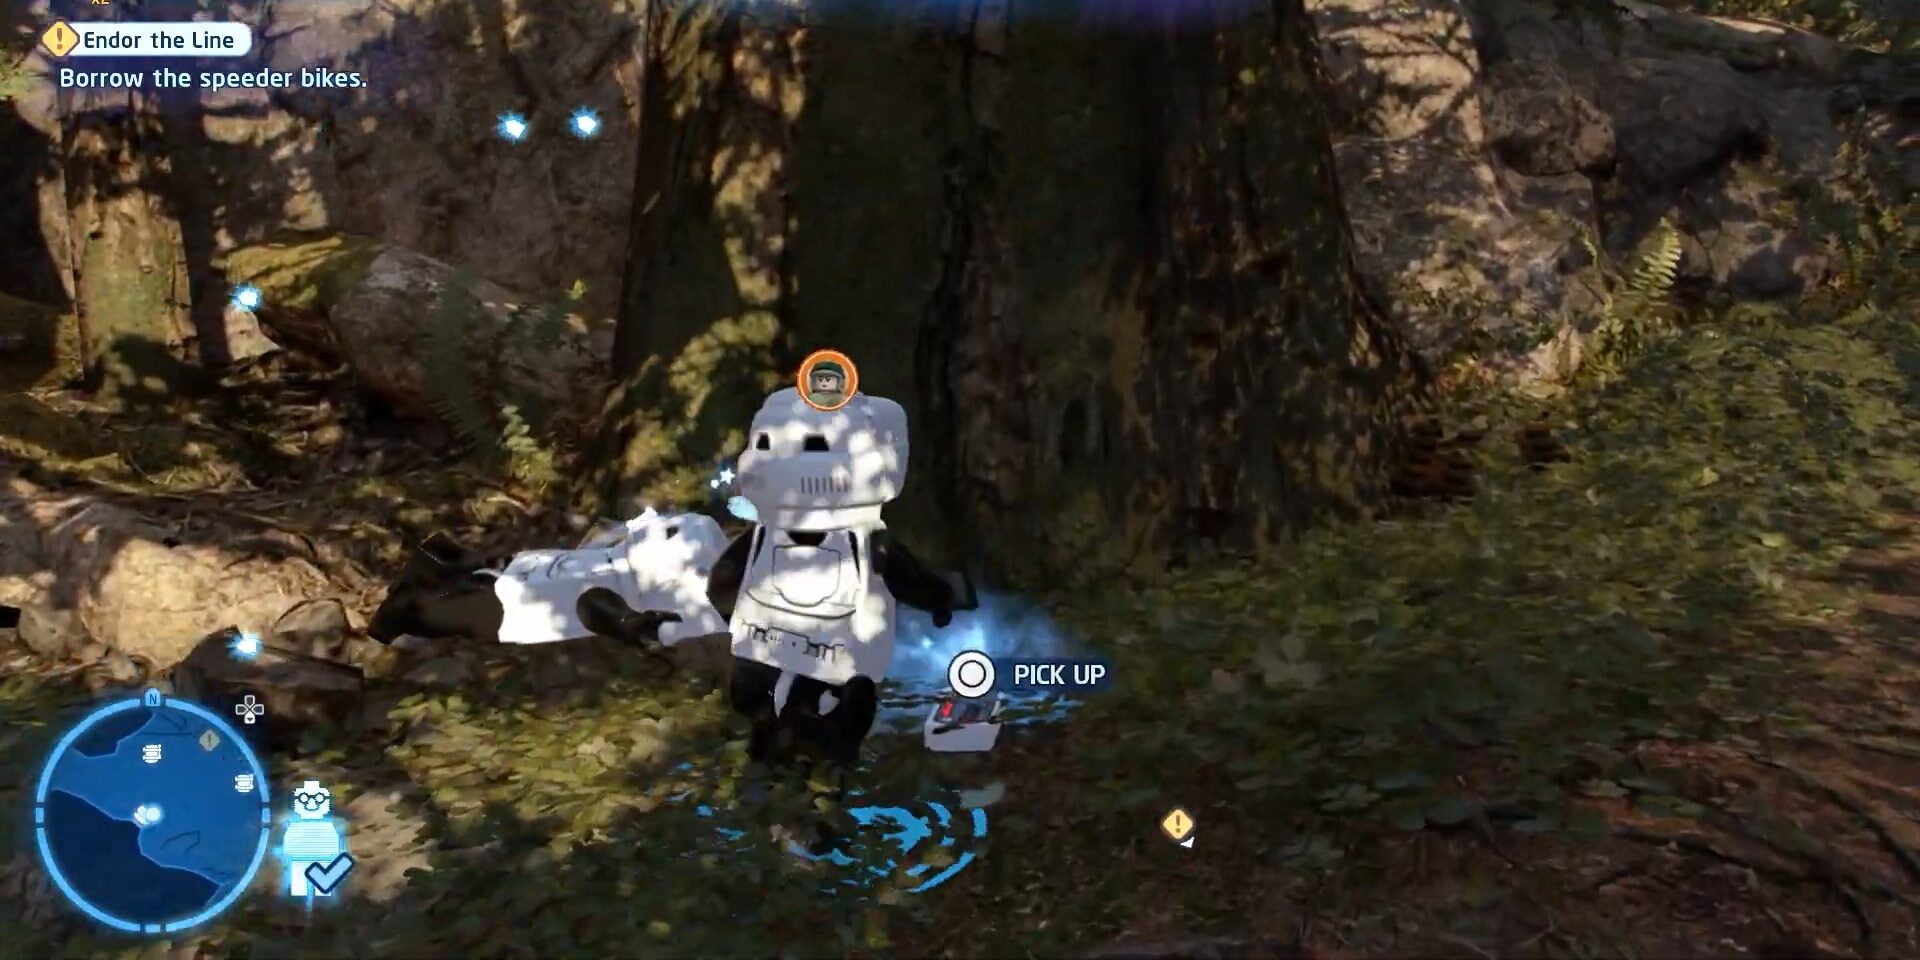
Fourth Minikit is inside the cave which is closed with a wall to be destroyed you need Scavenger to shoot and destroy the entrance wall.
To get the fifth and final Minikit of this mission you need to chase and shoot down the Minikit at the same time because you will be on a speed flyer so will be the Minikit. We have attached image below to make it easy.
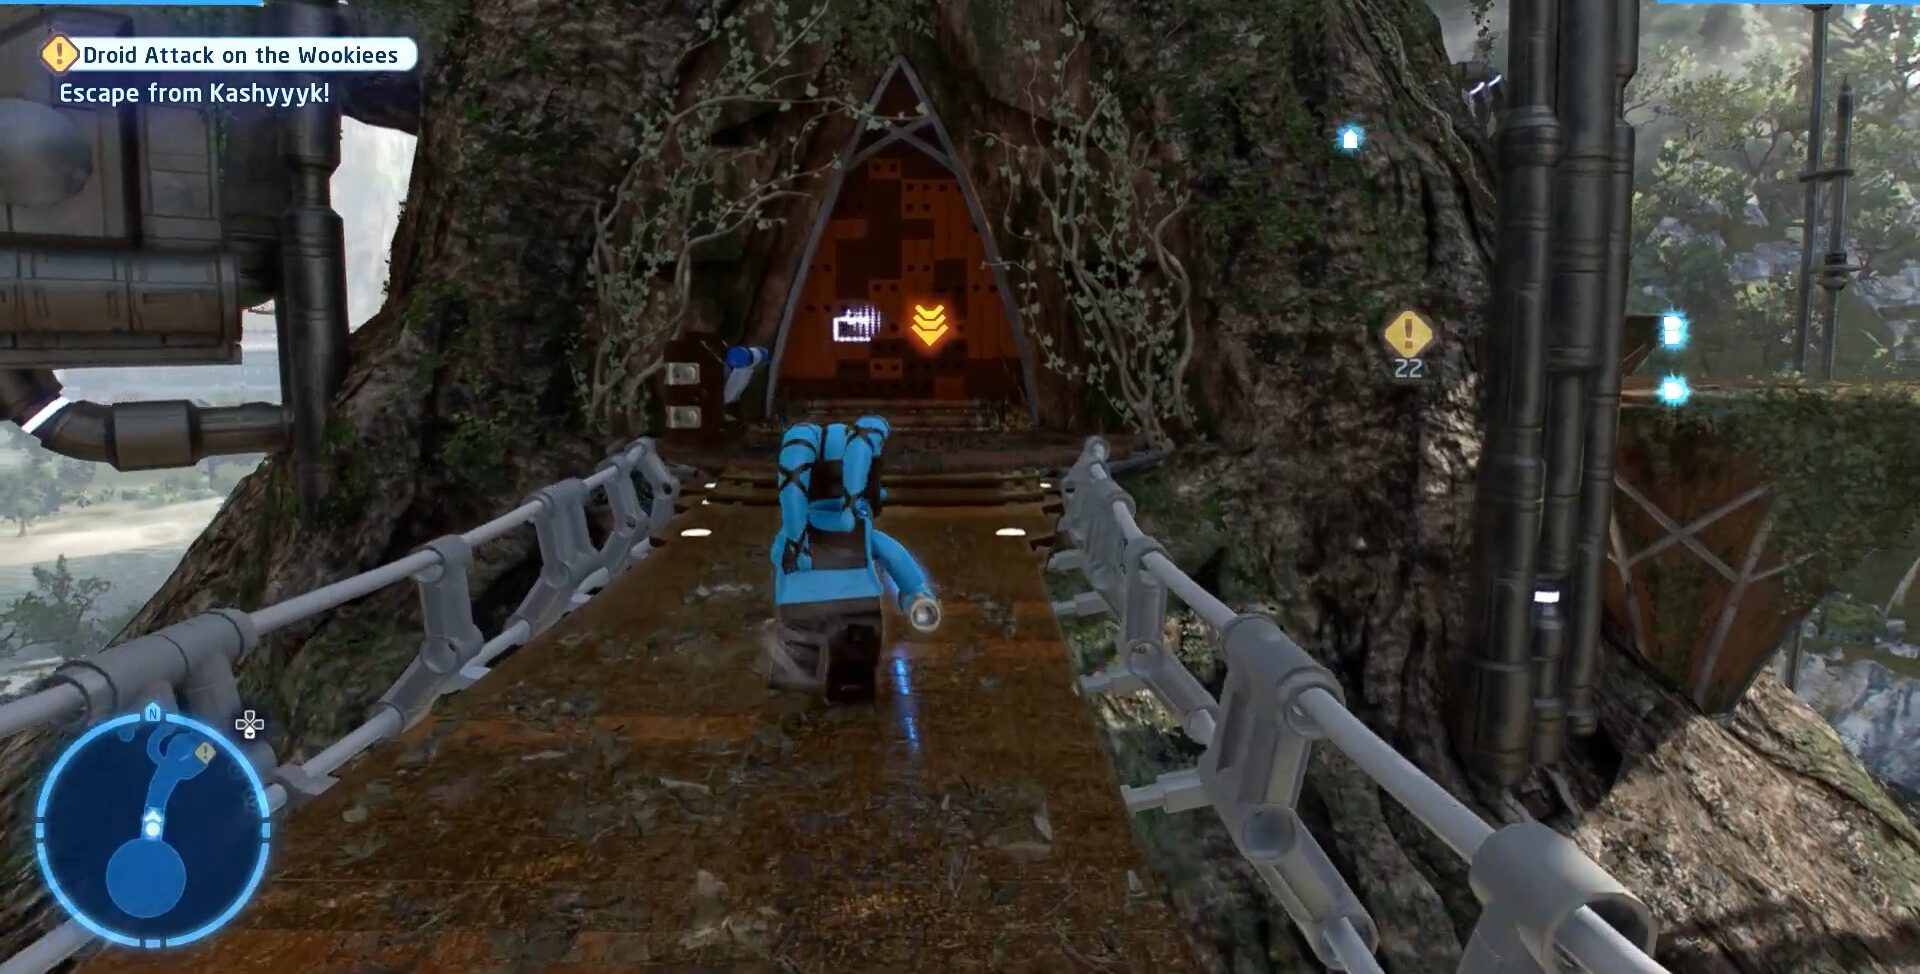
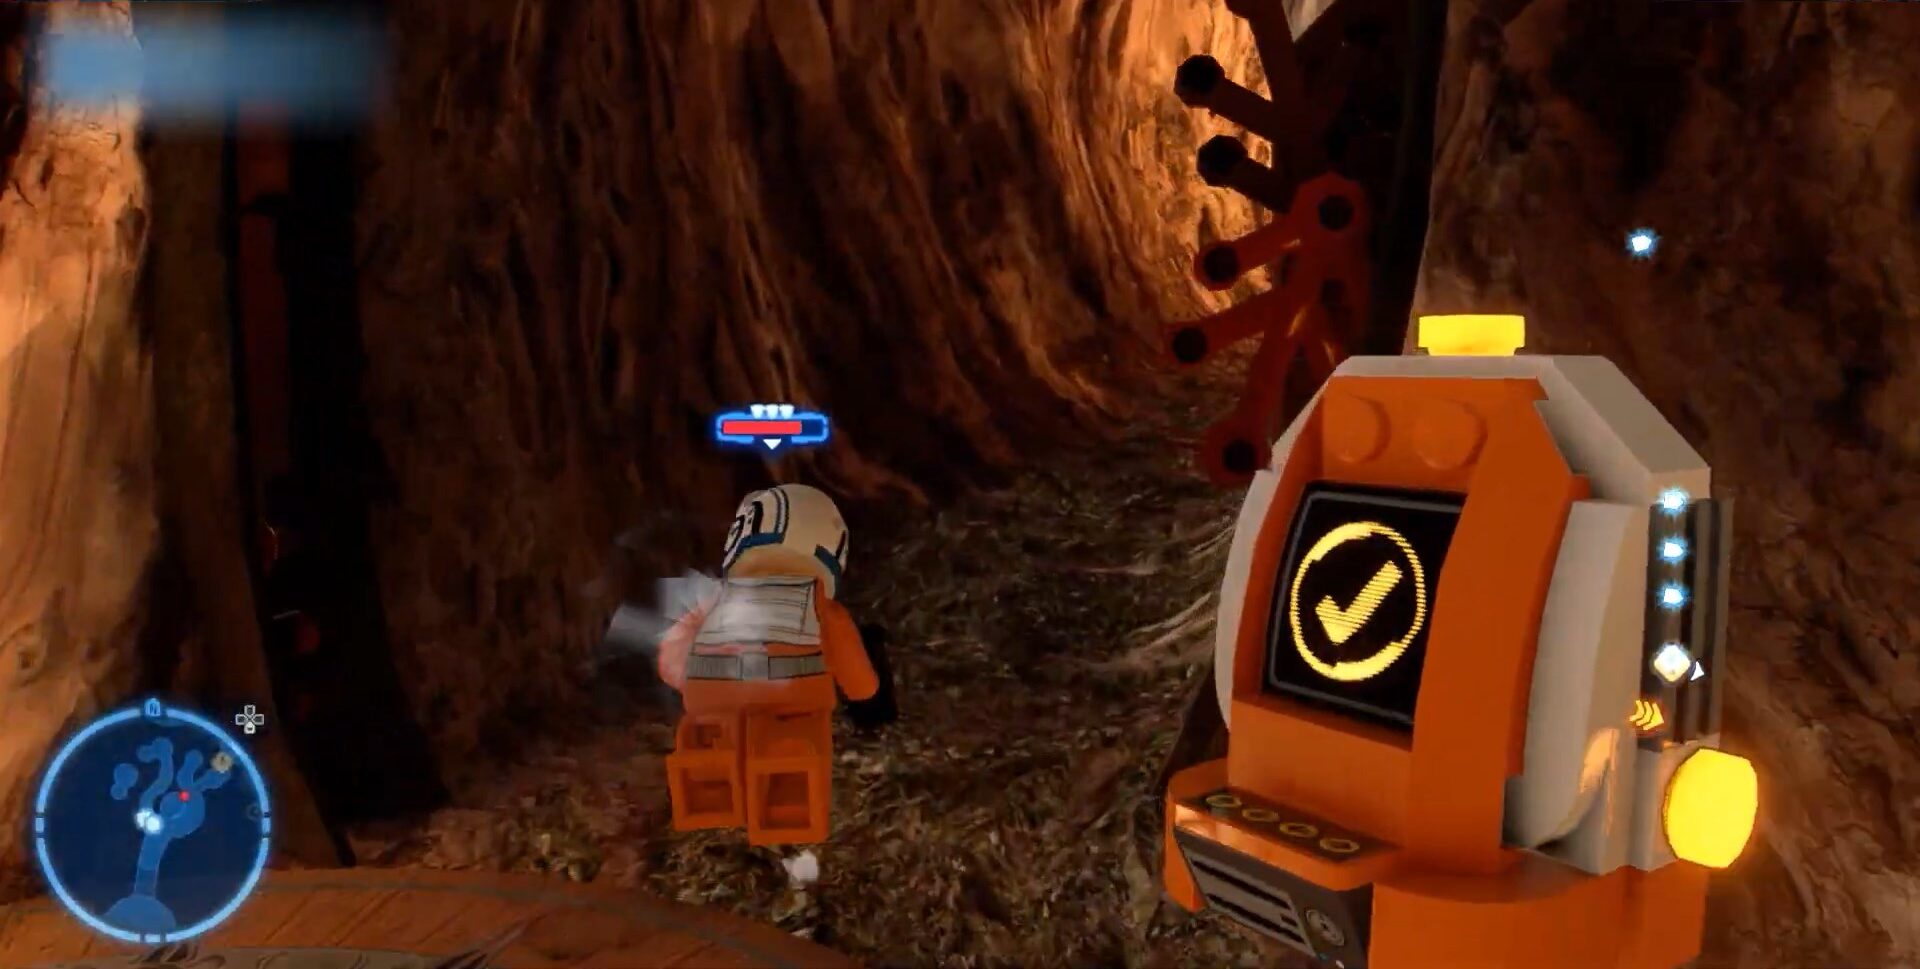
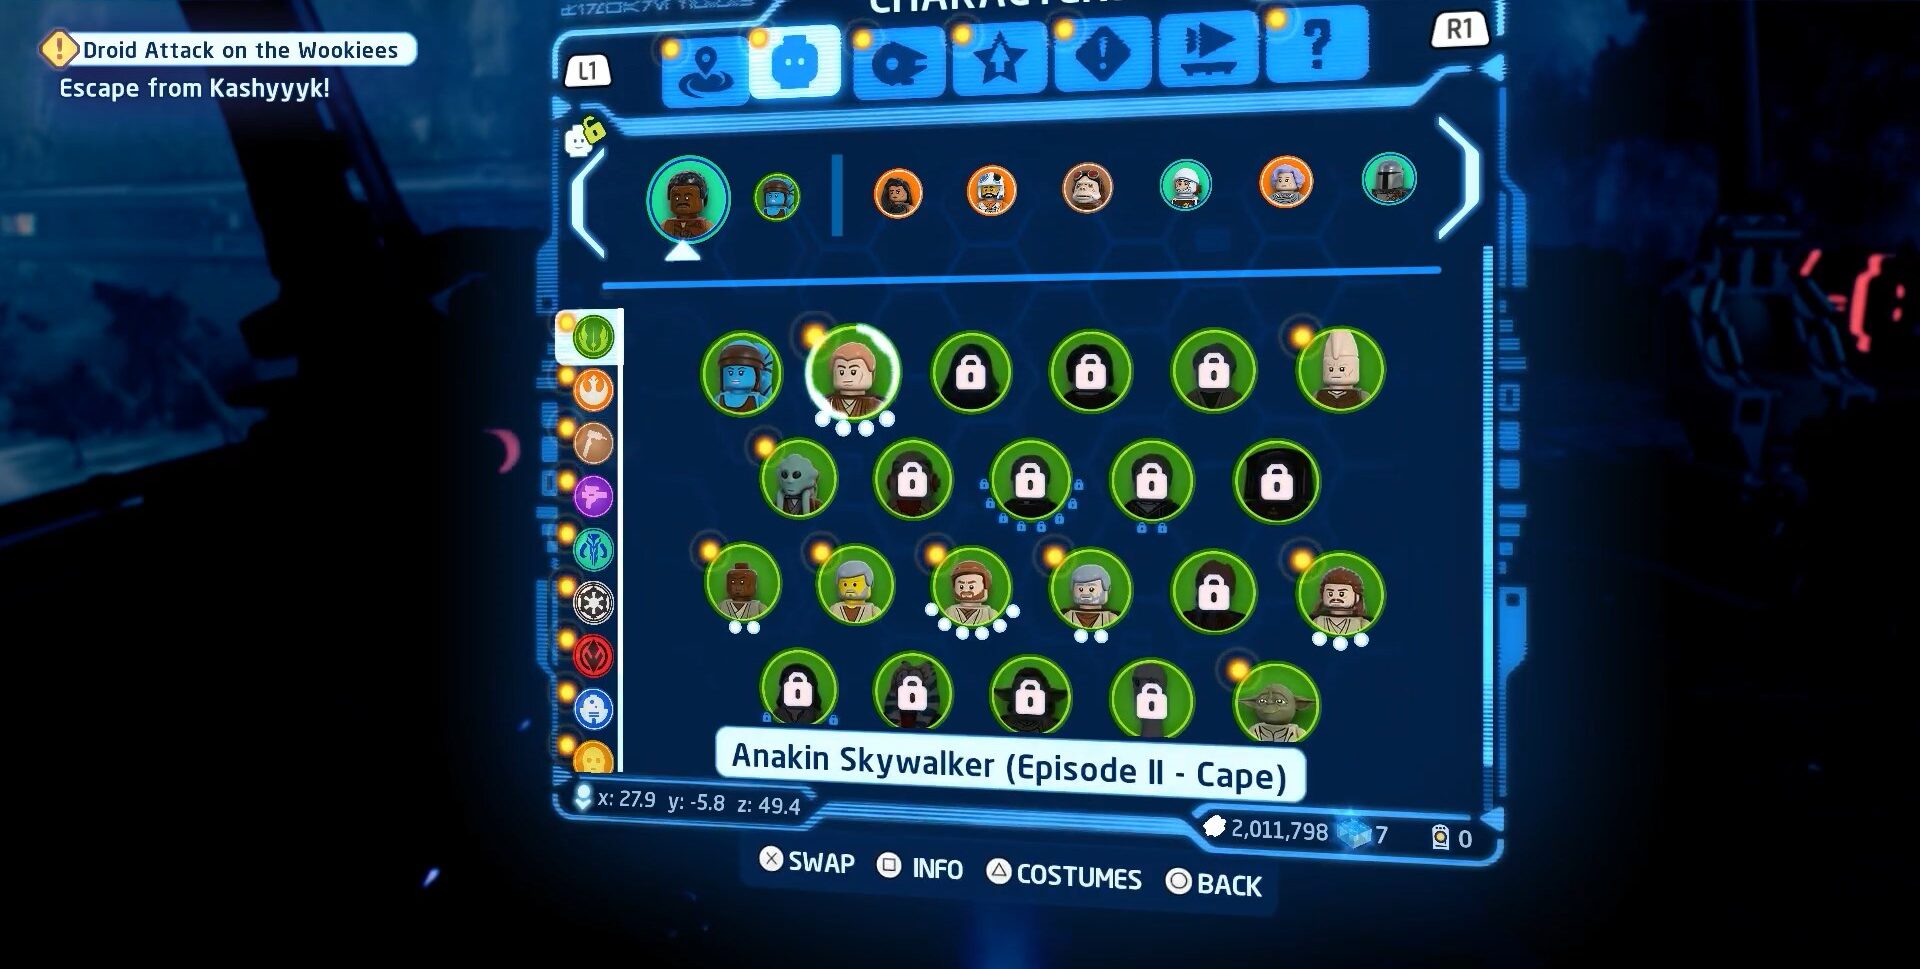
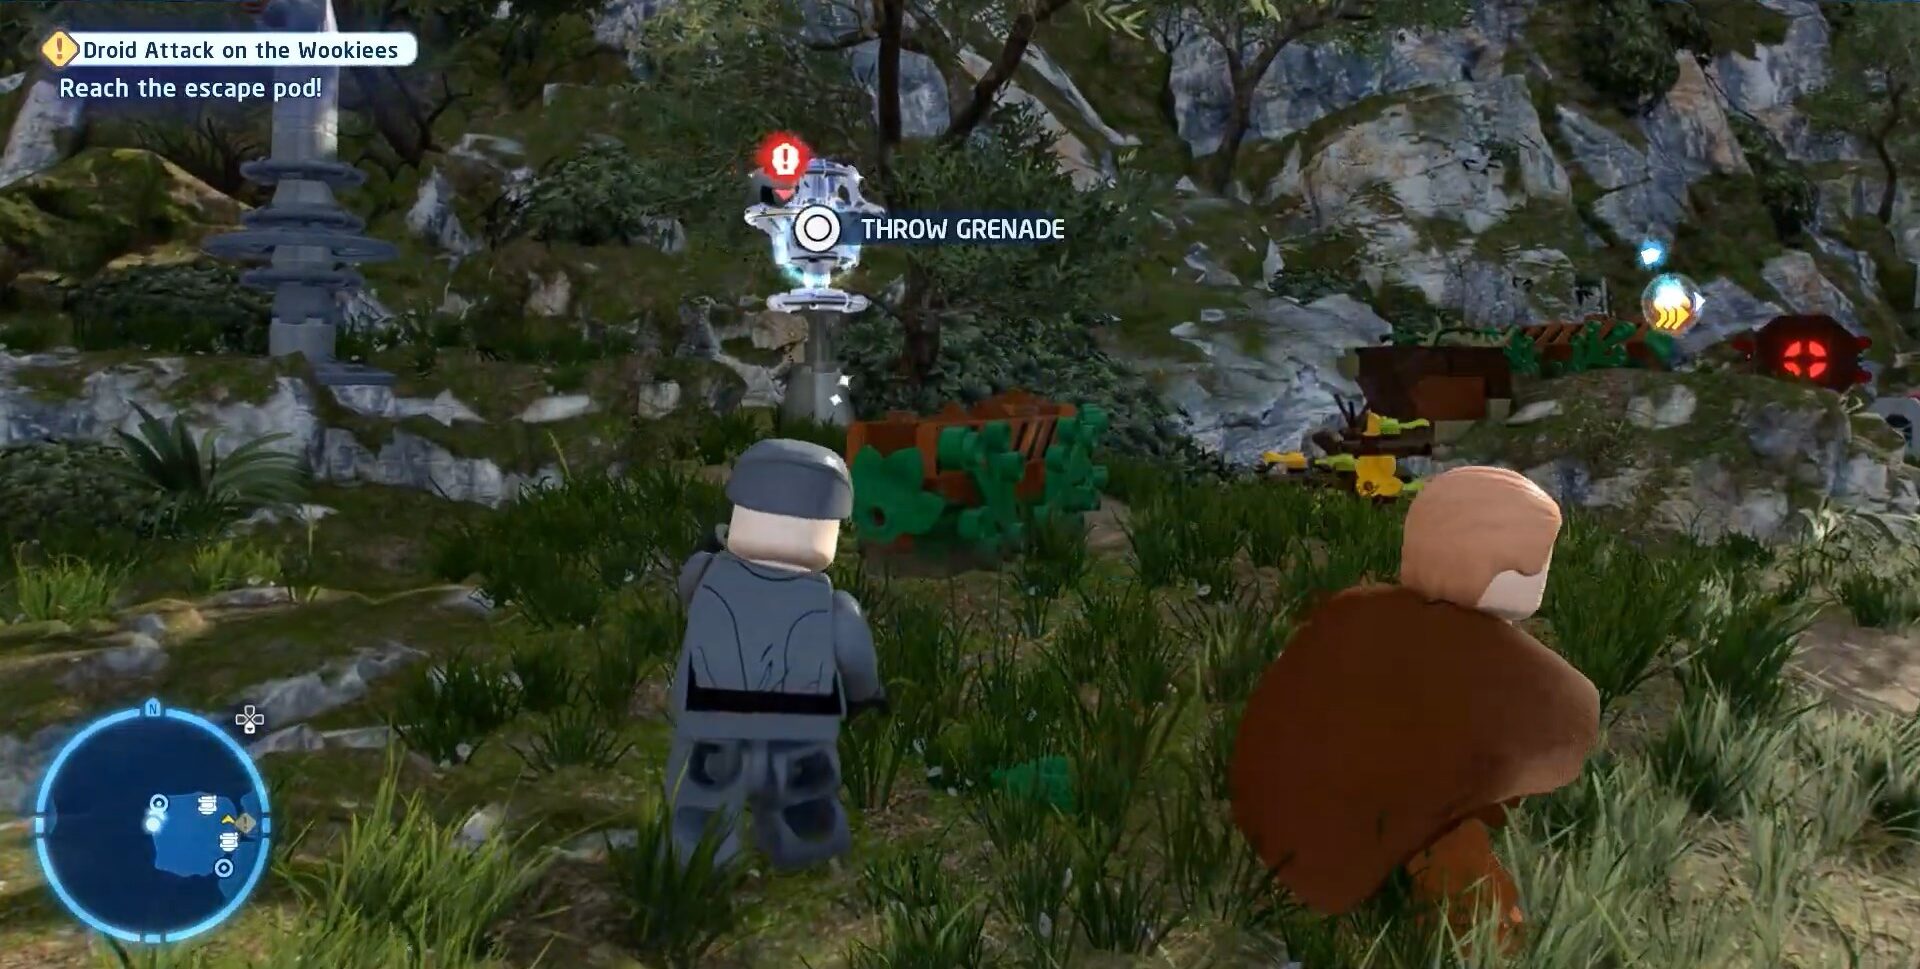
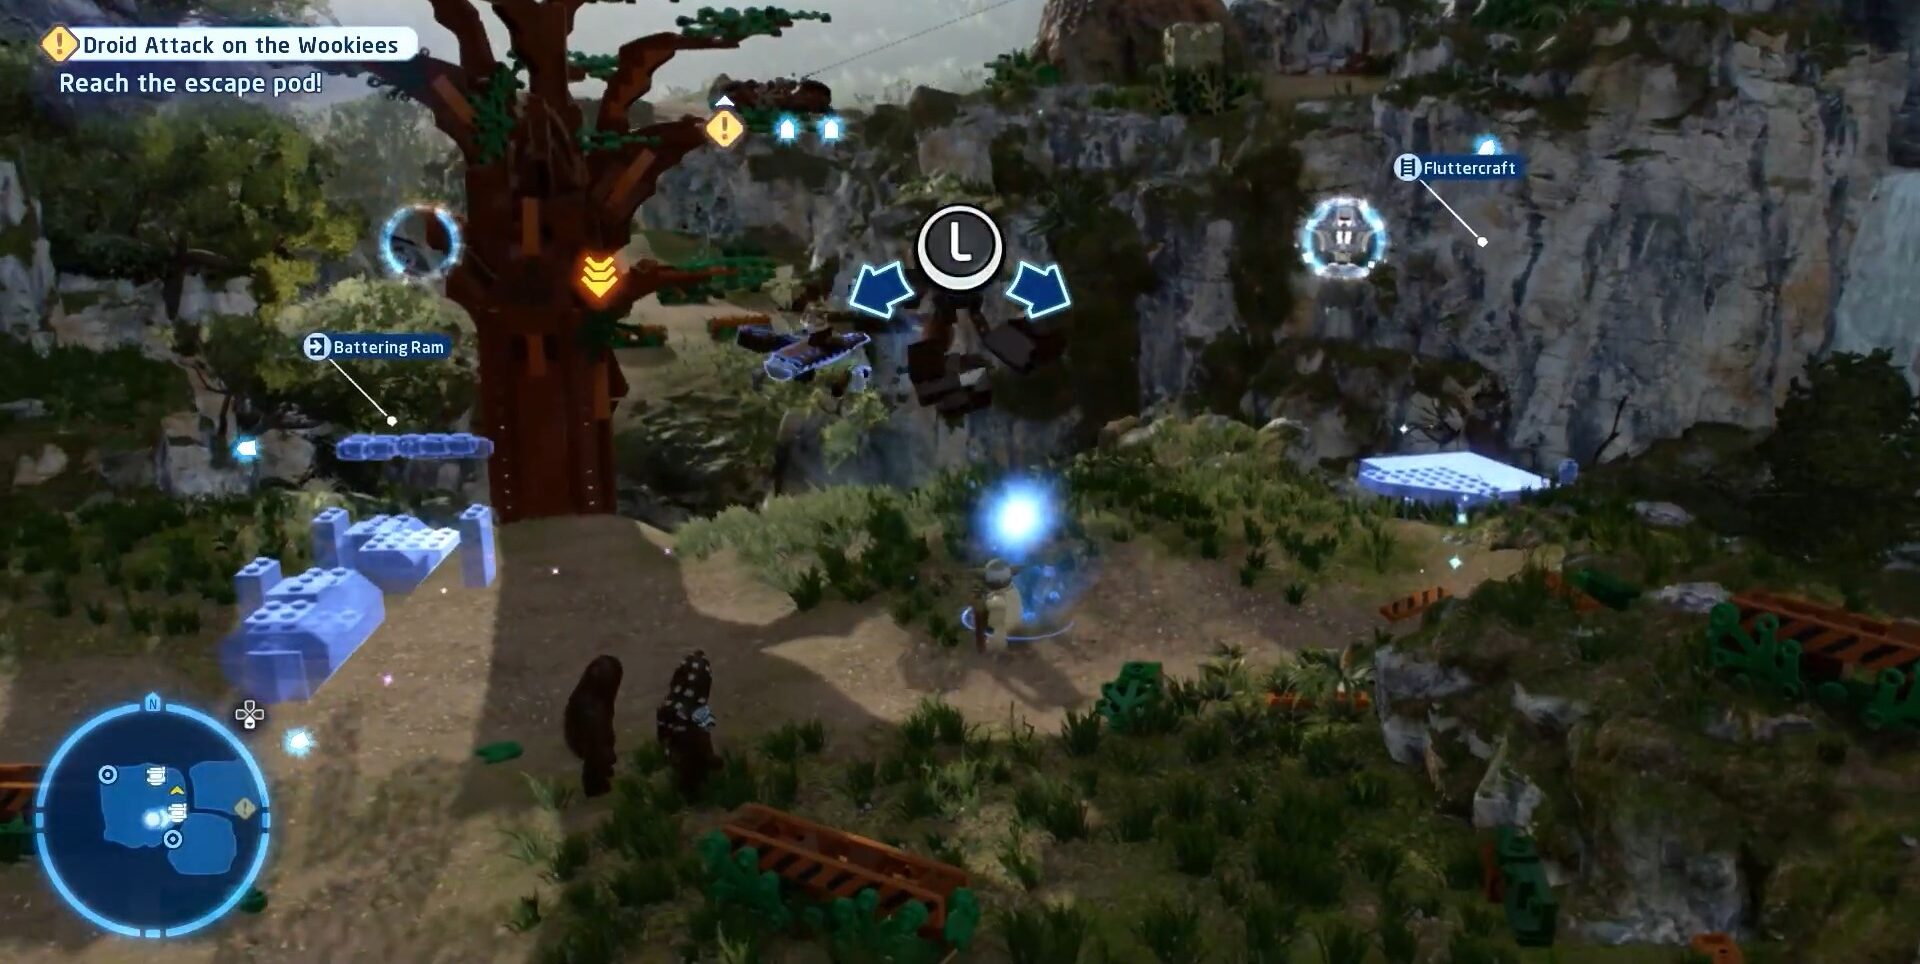
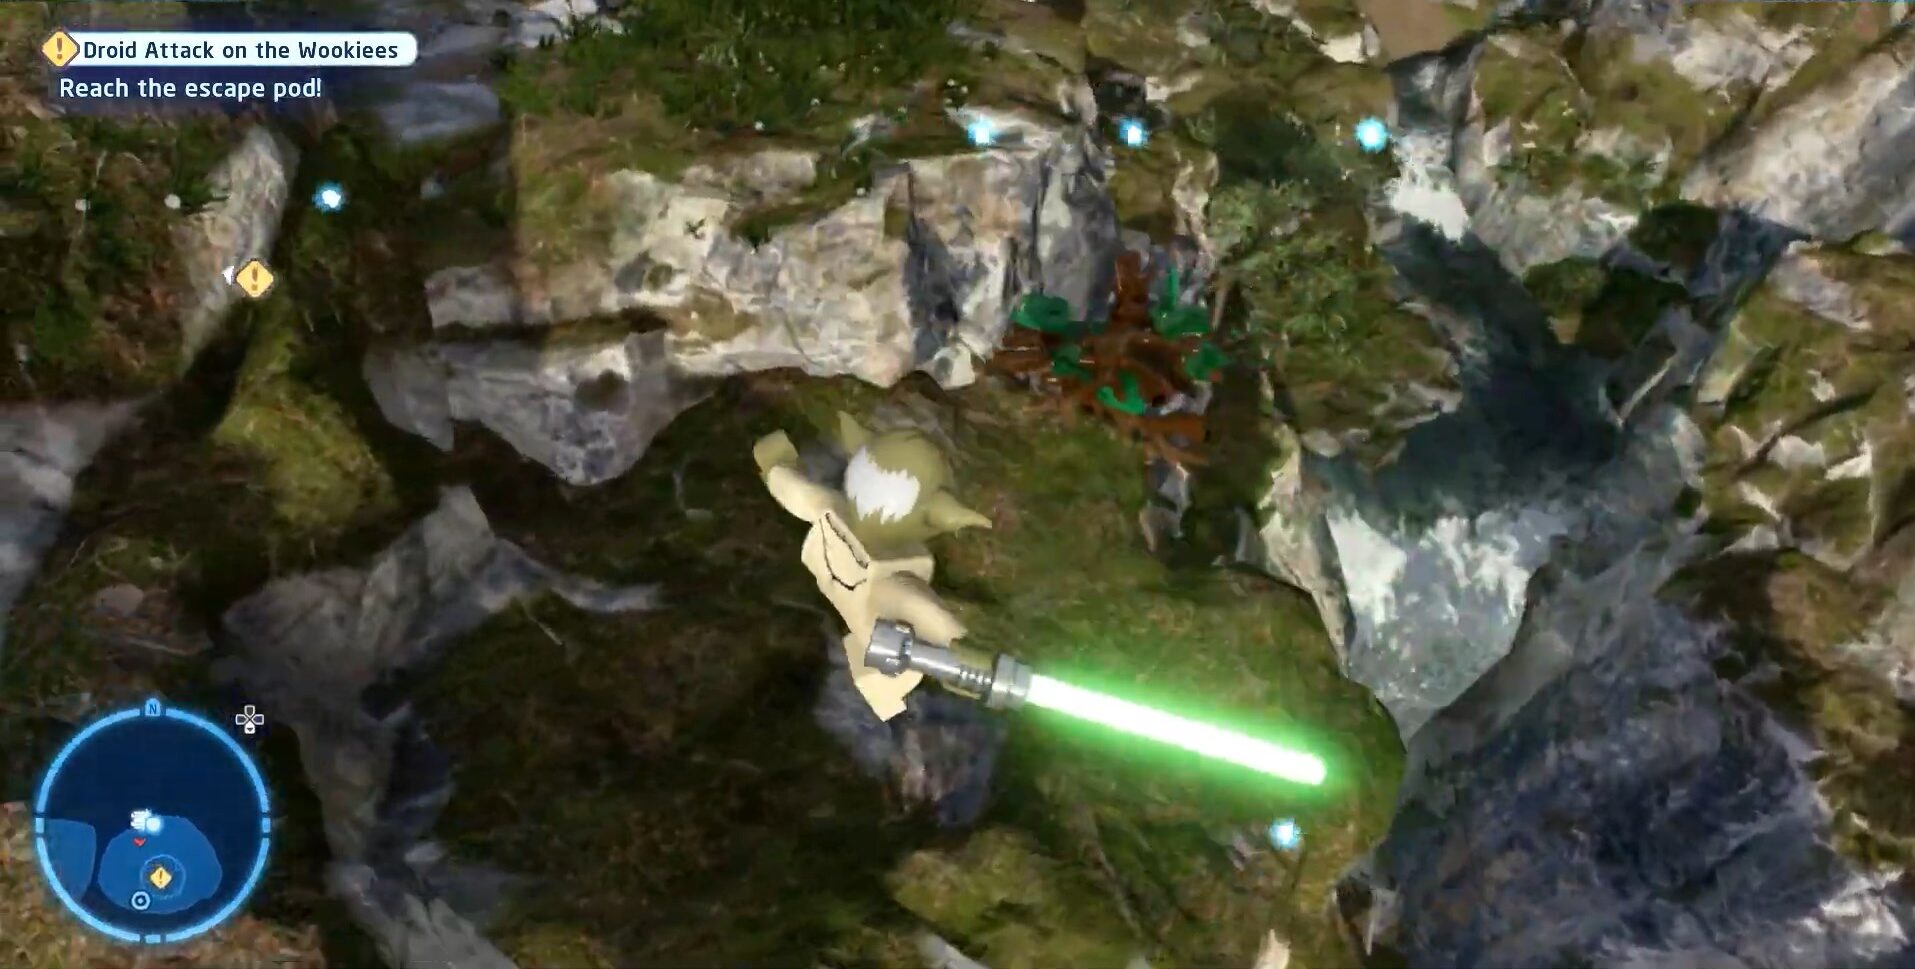
Droid Attack On The Wookiees
Follow the below-given images with captions to get the First Minikit of this mission in our list.

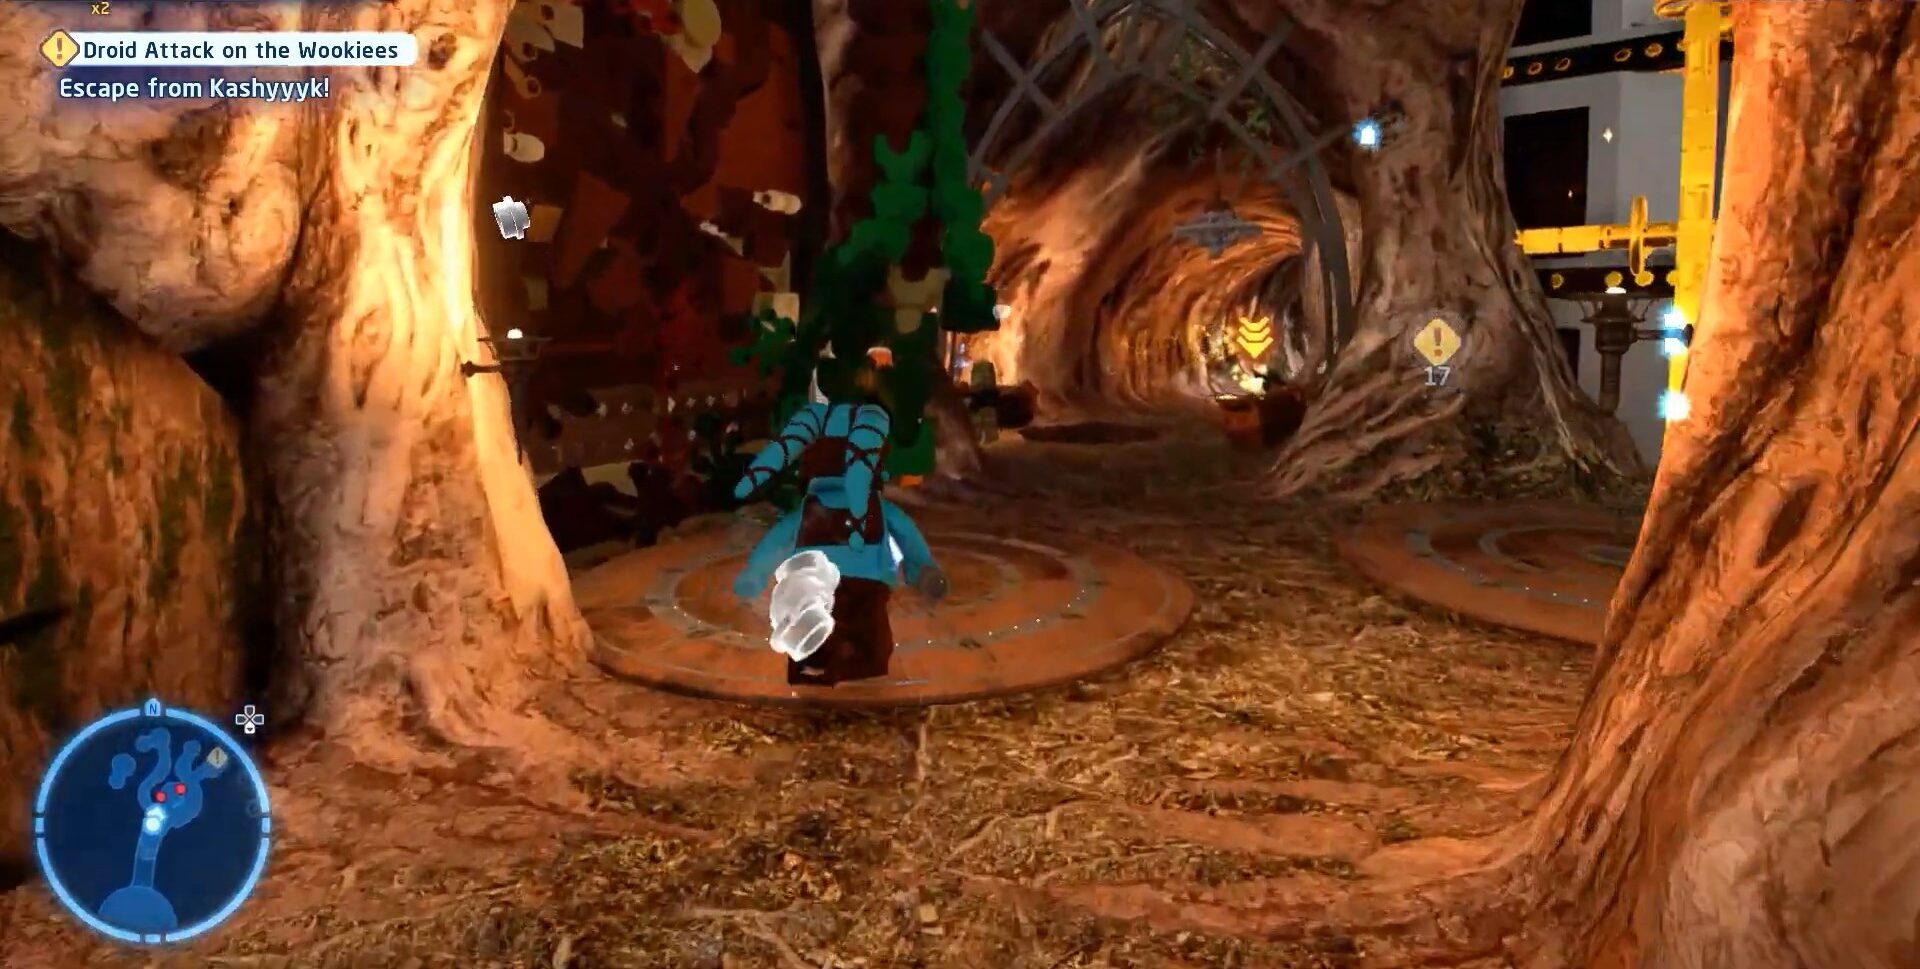
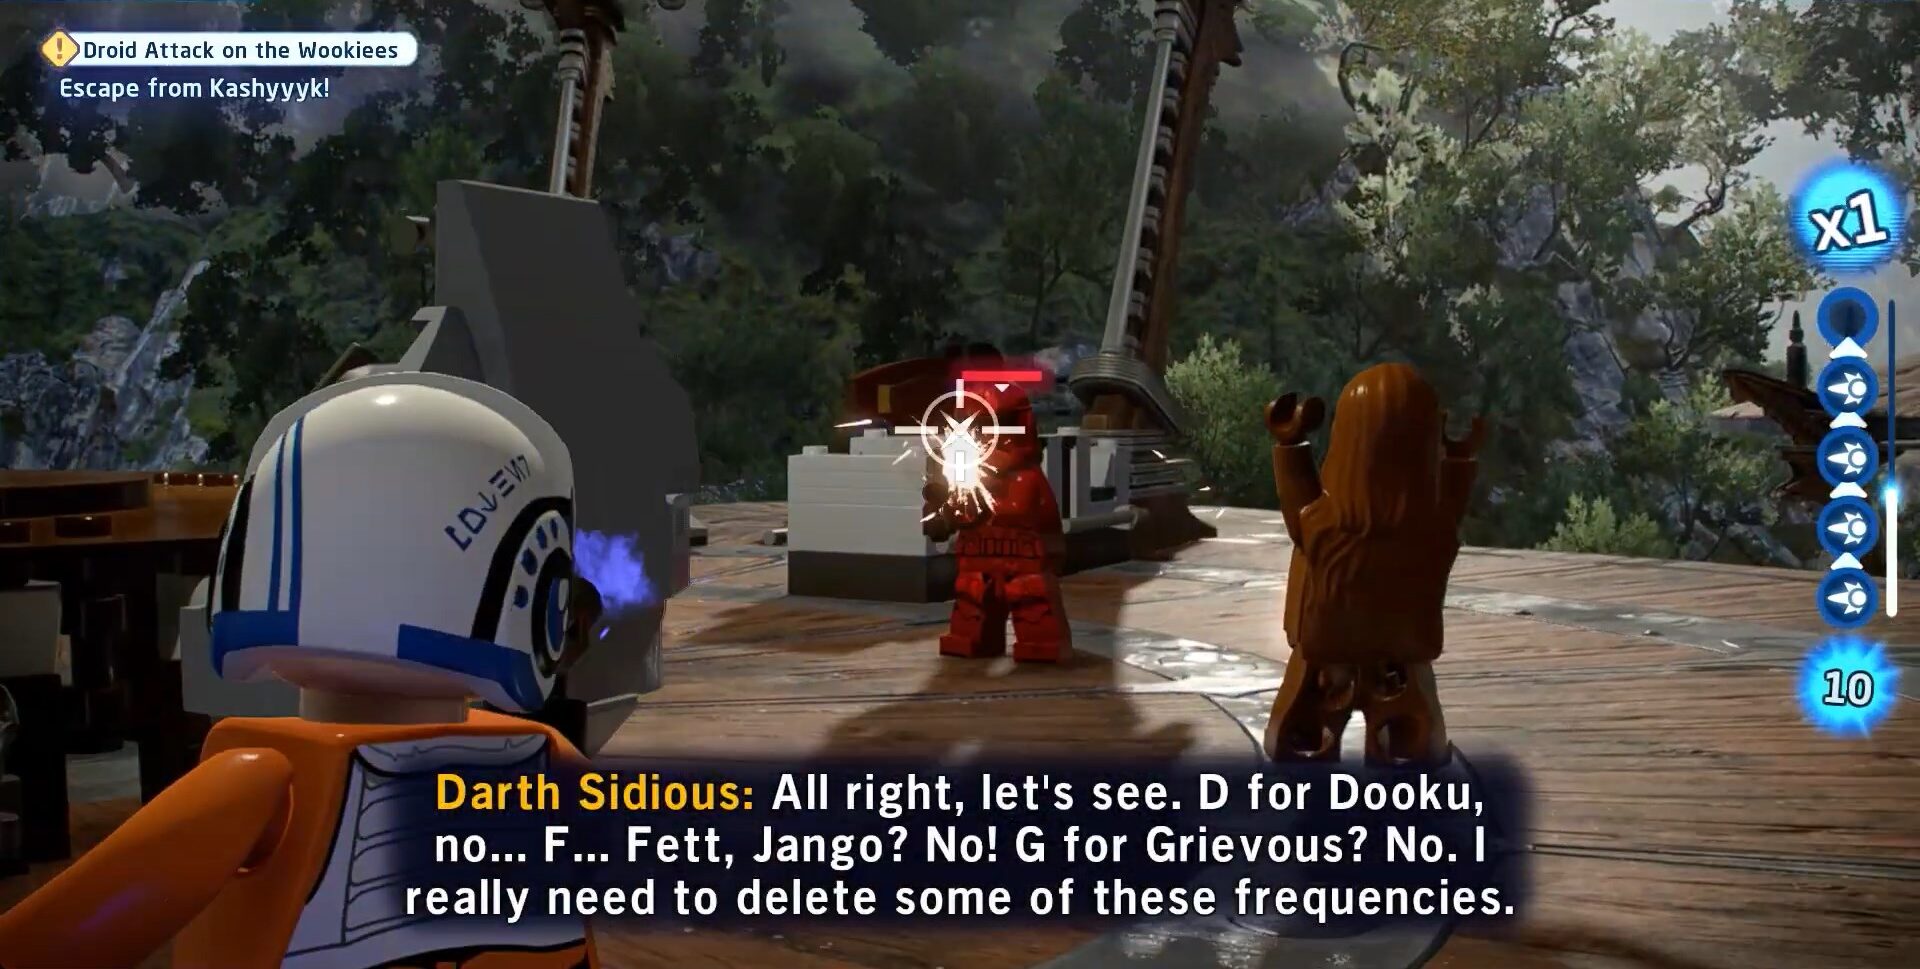
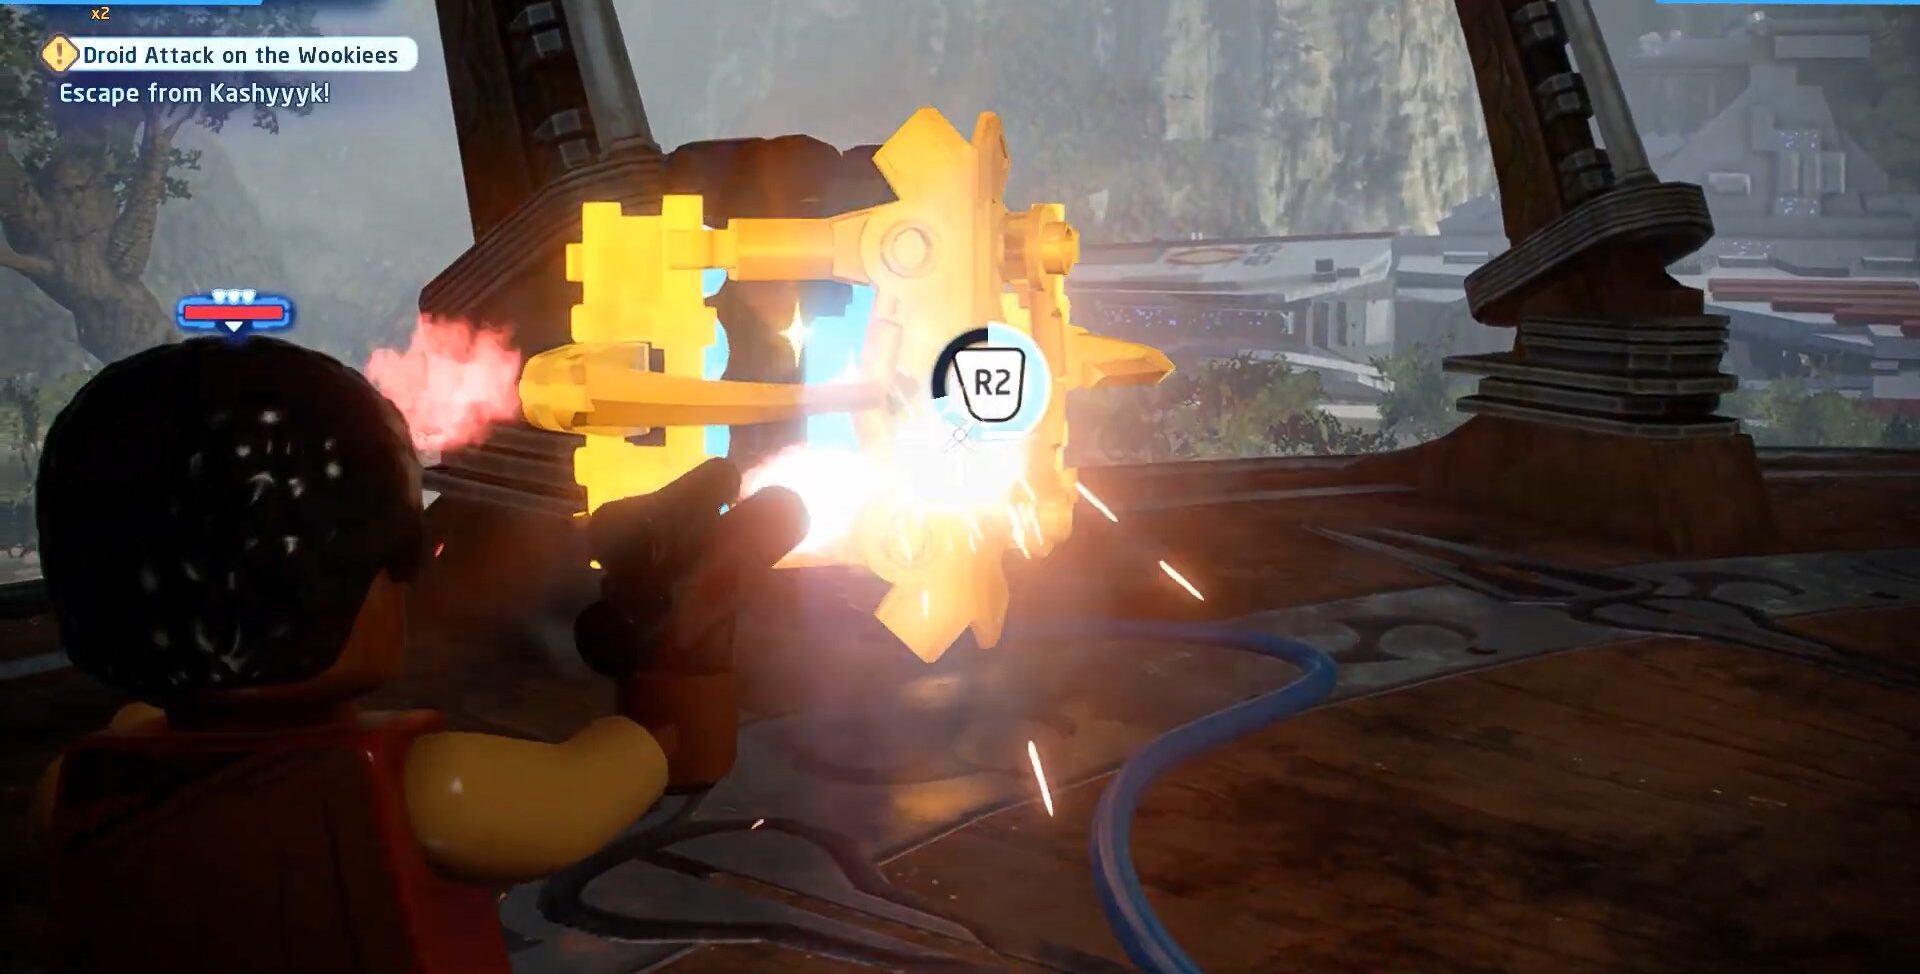
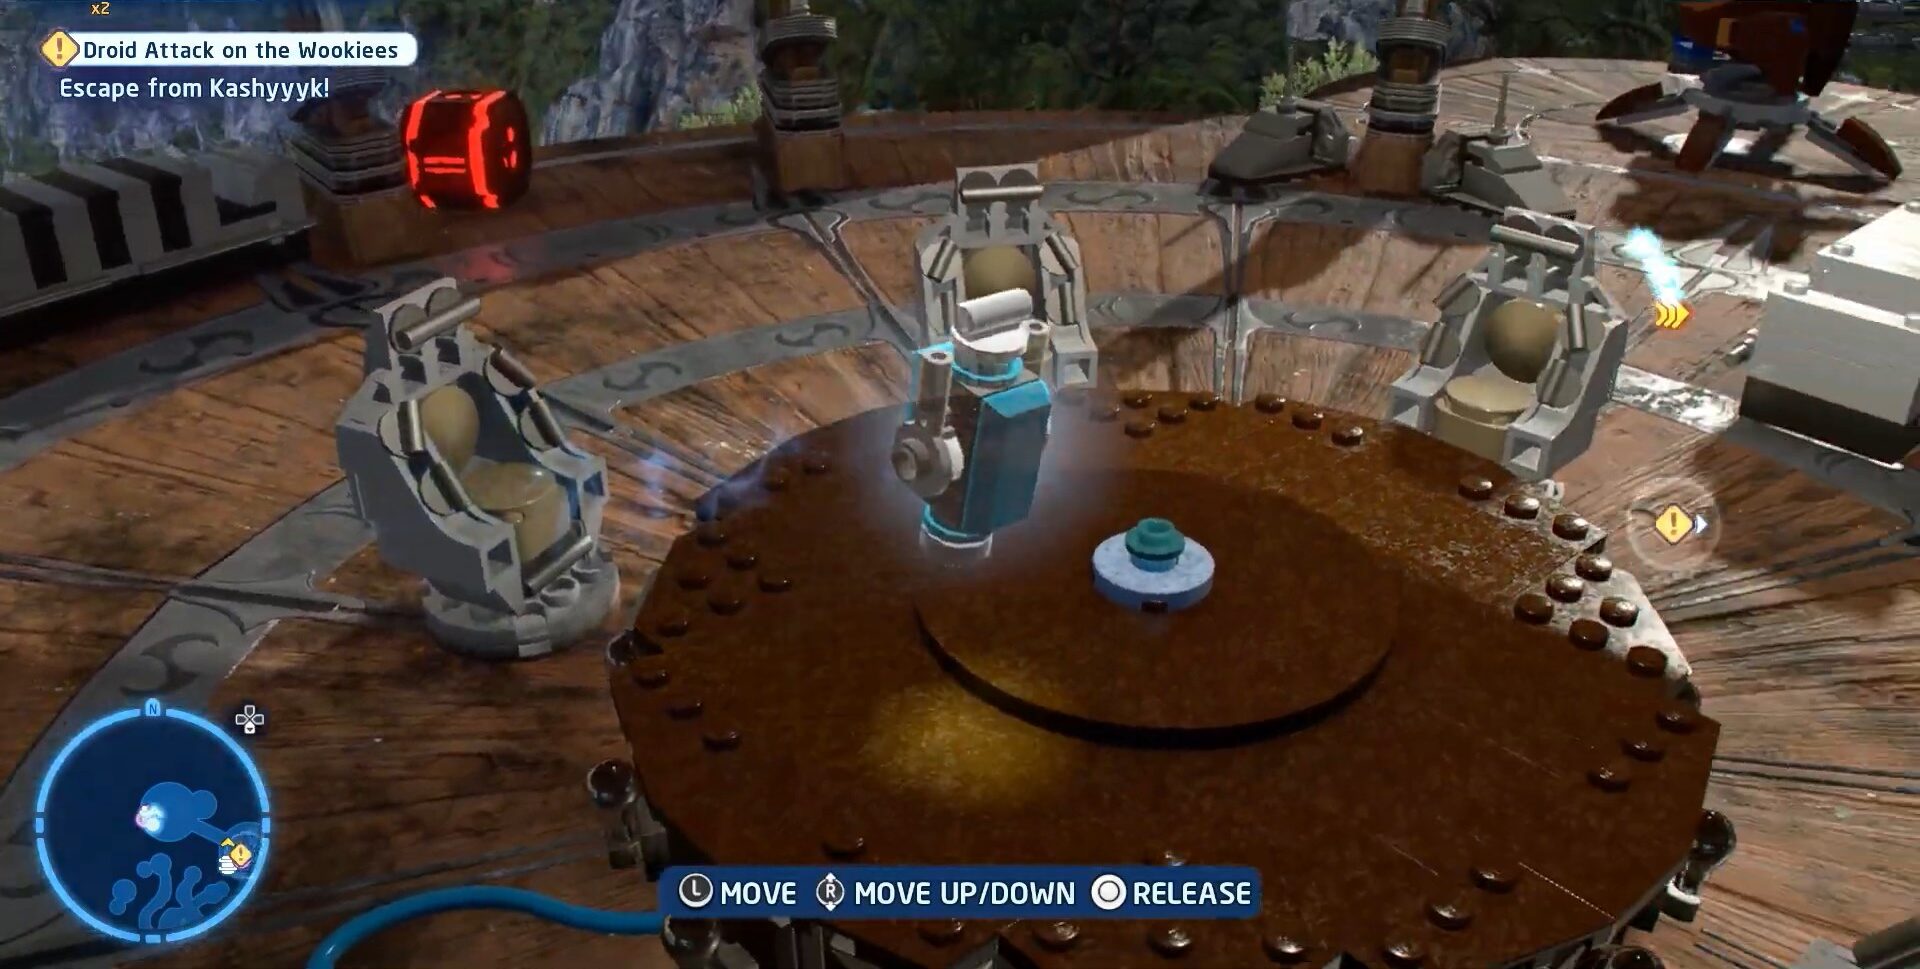
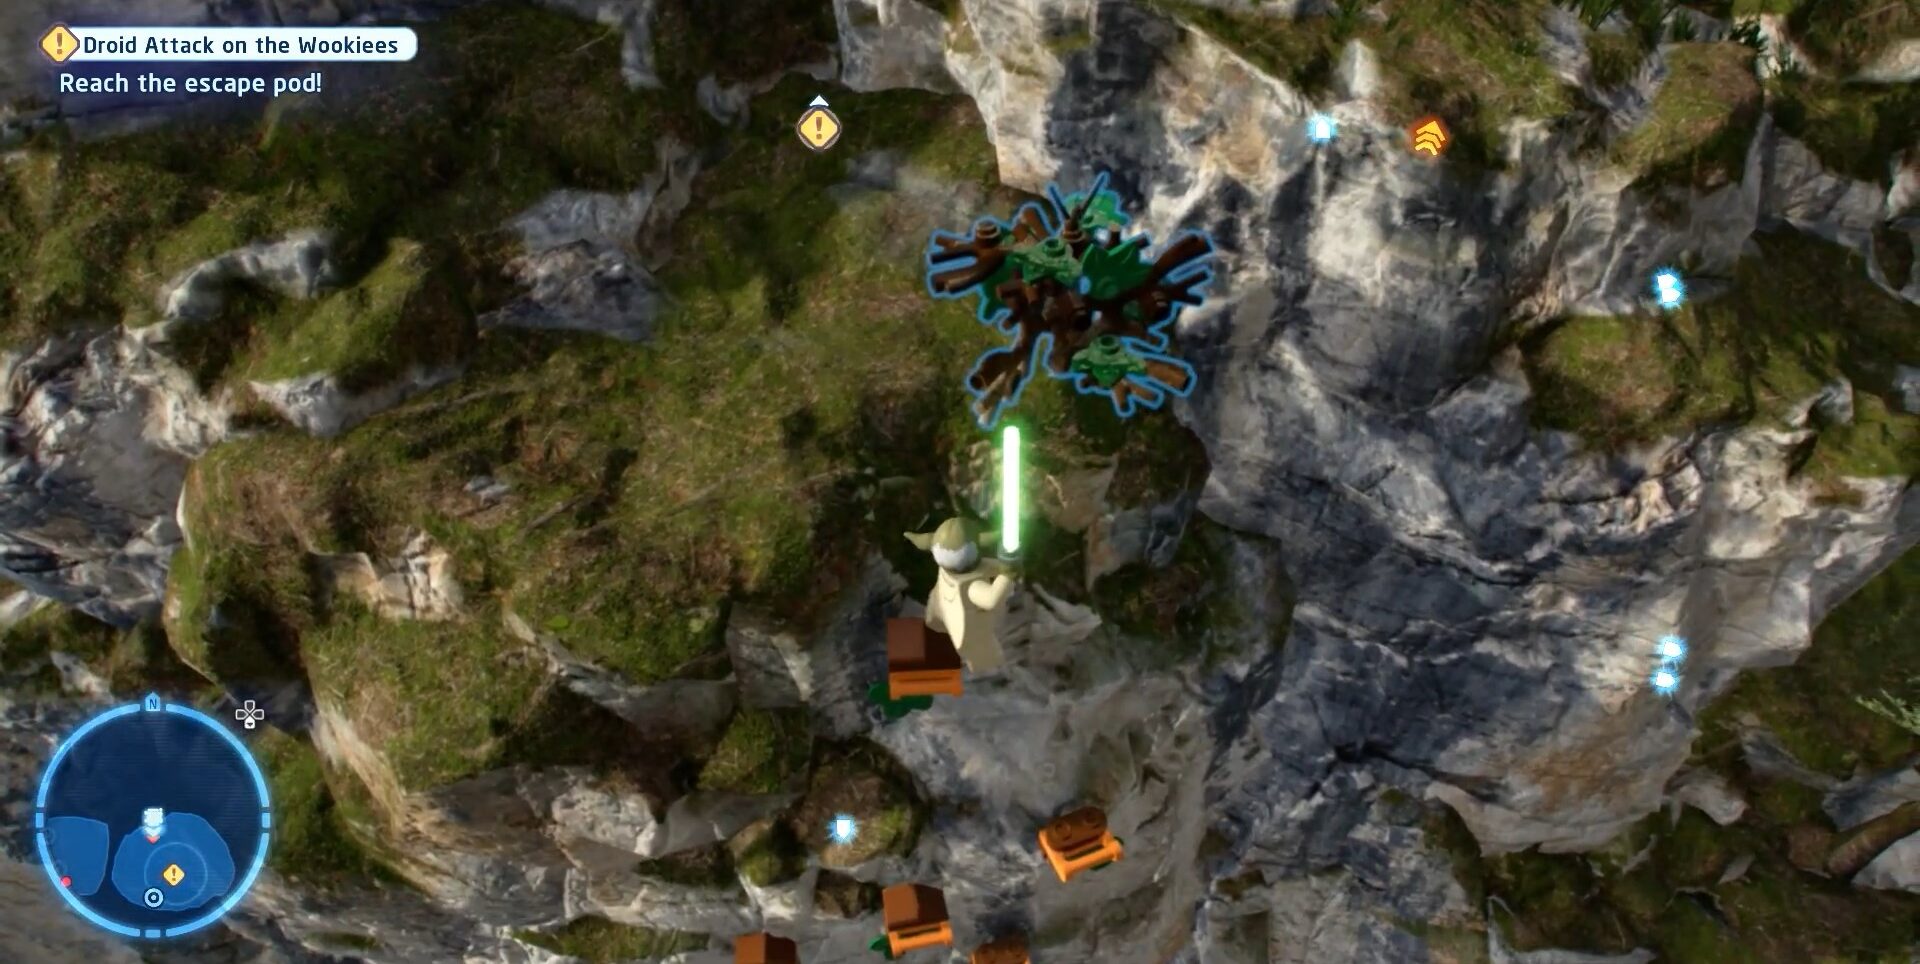
The next four Minikits can be obtained in the same area. To get the second Minikit you have to destroy the three silver objects by throwing a grenade toward them it is better if you choose a character from the villain category. Below are the images of it.

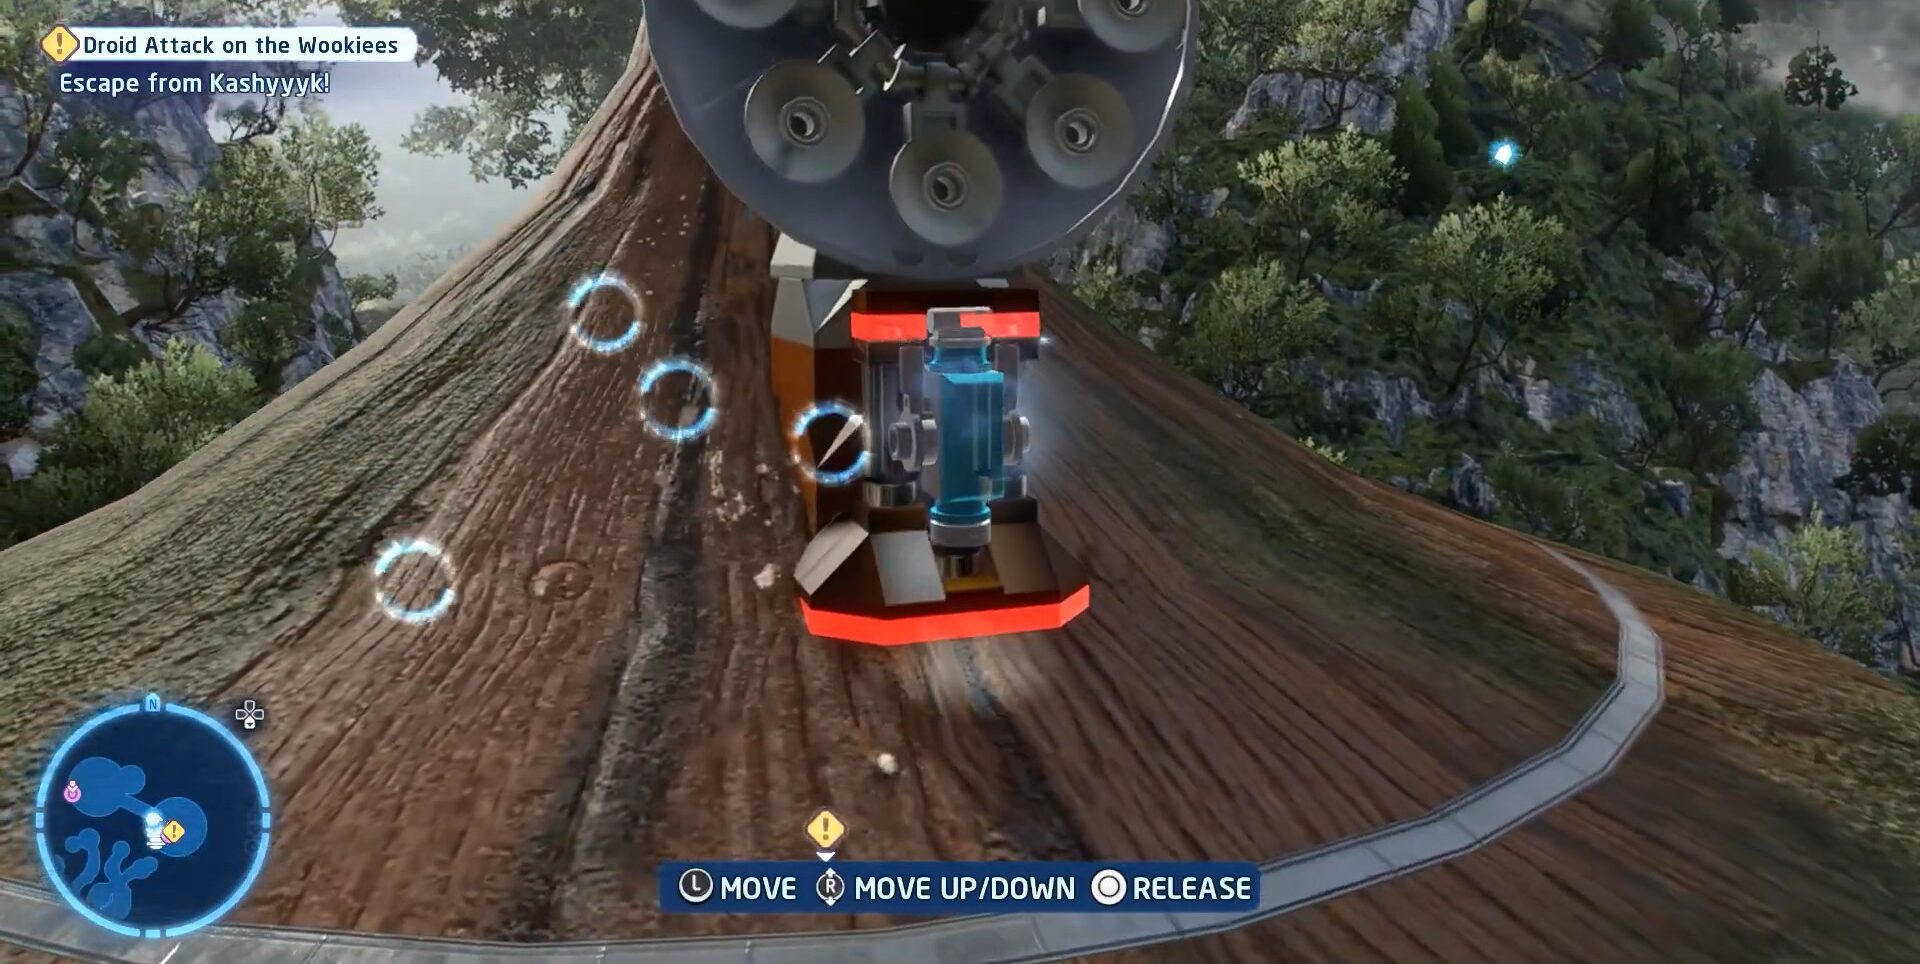
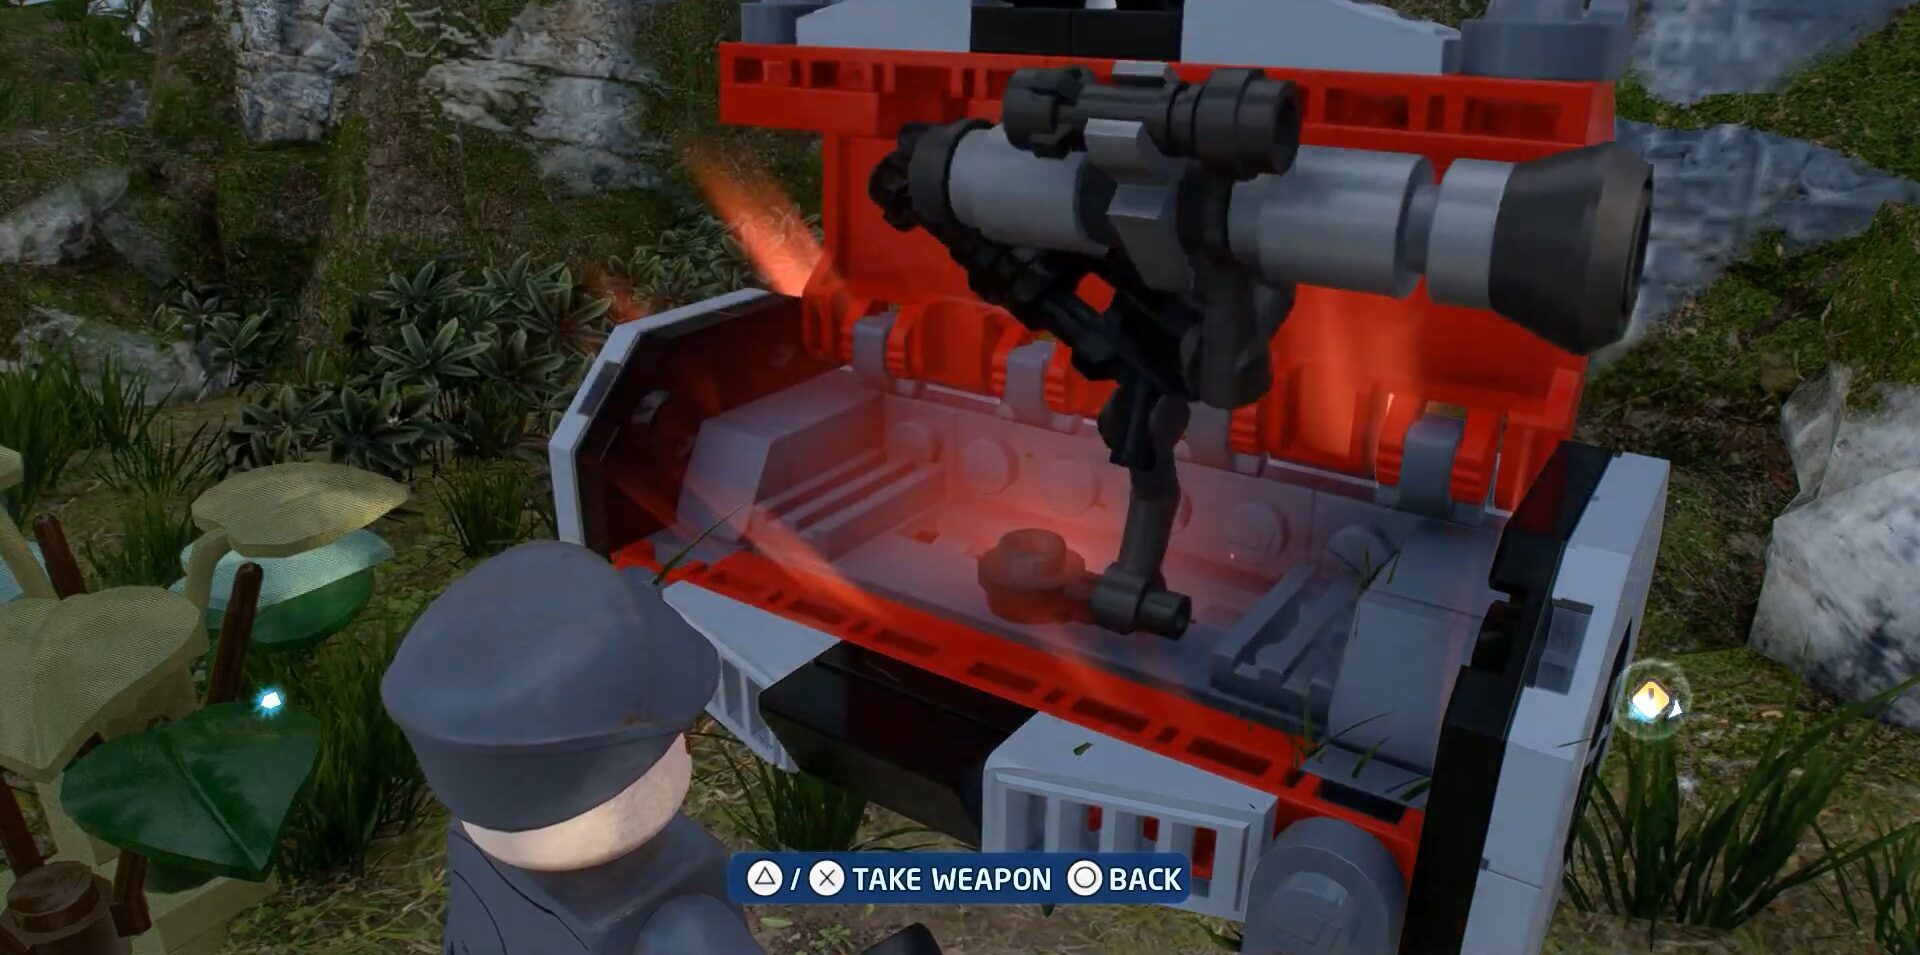
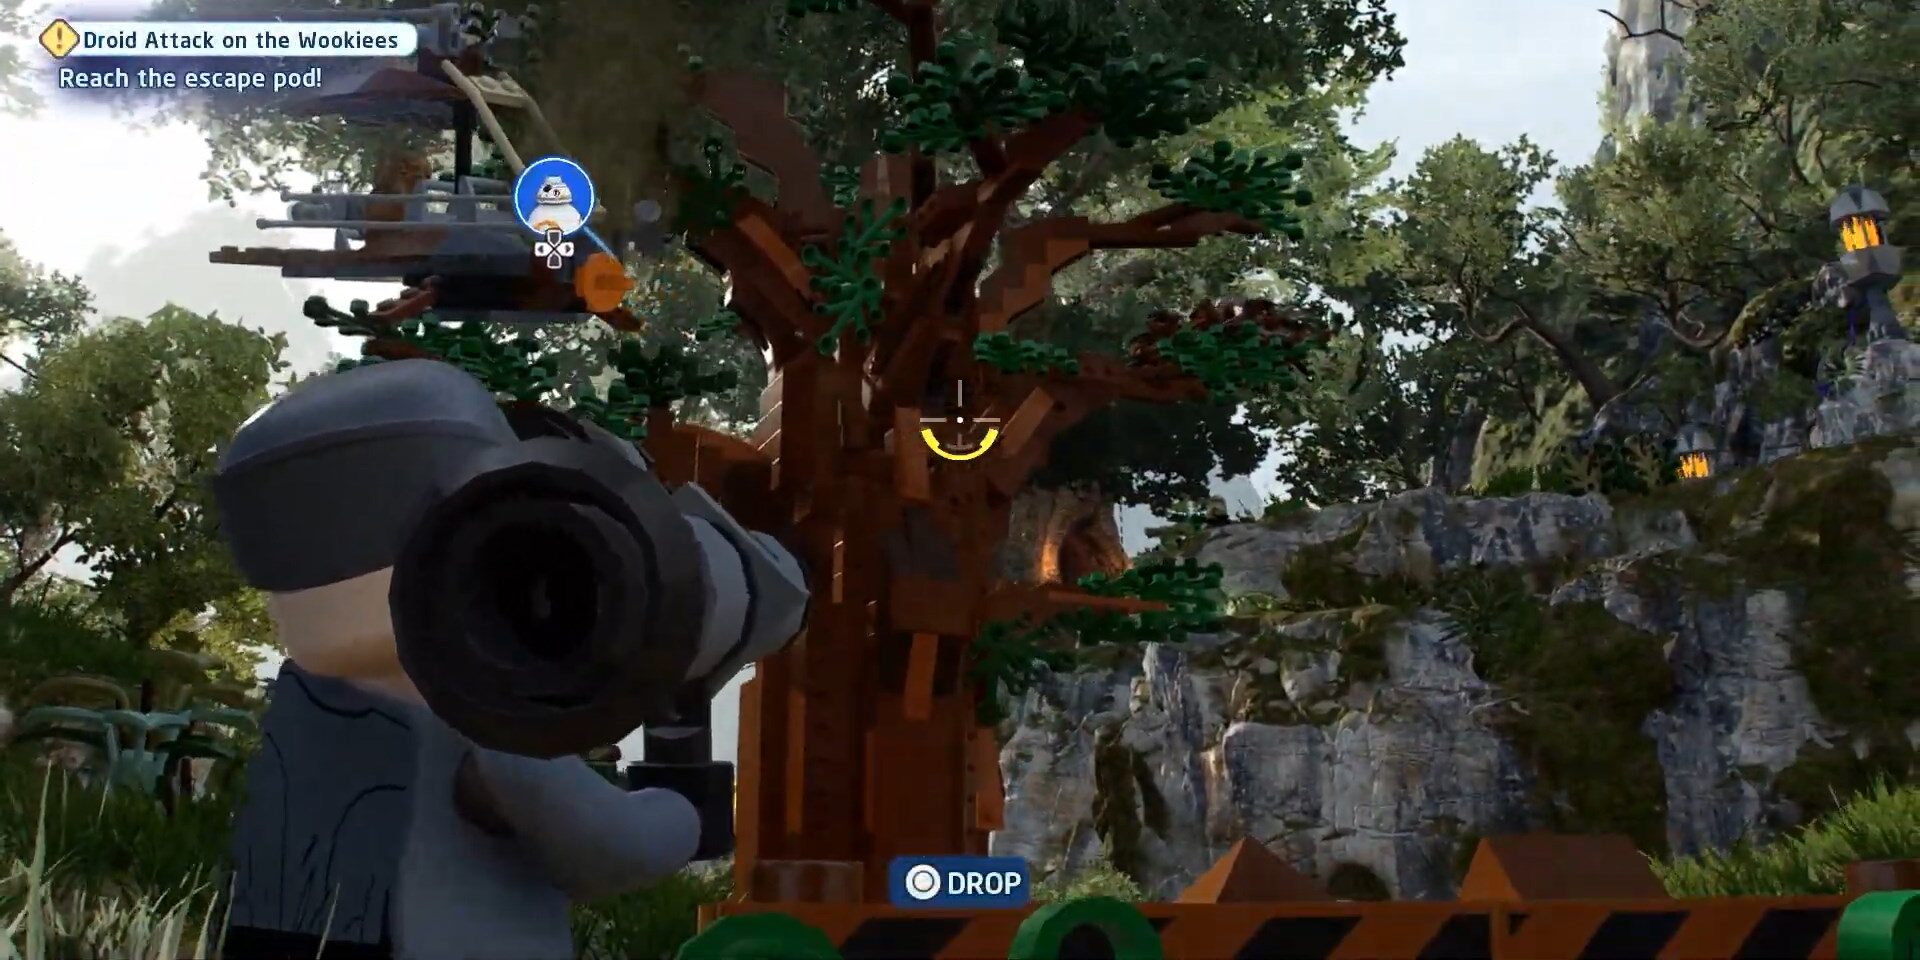
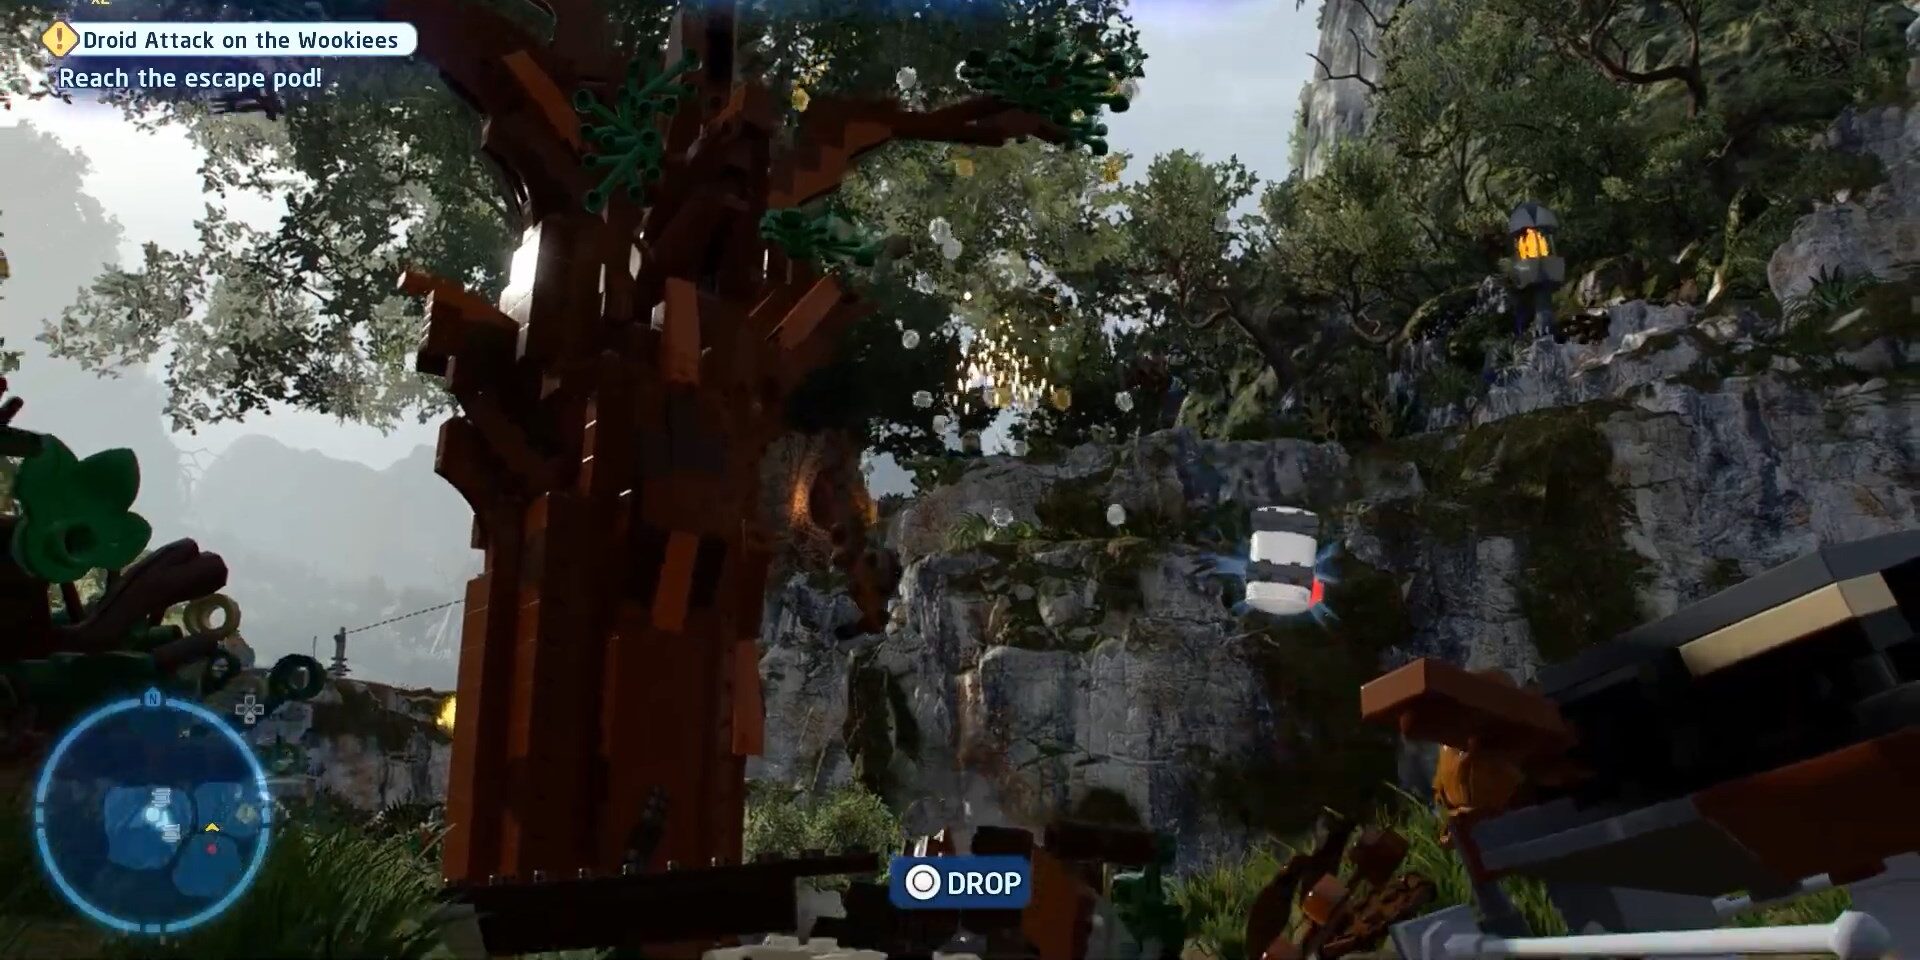
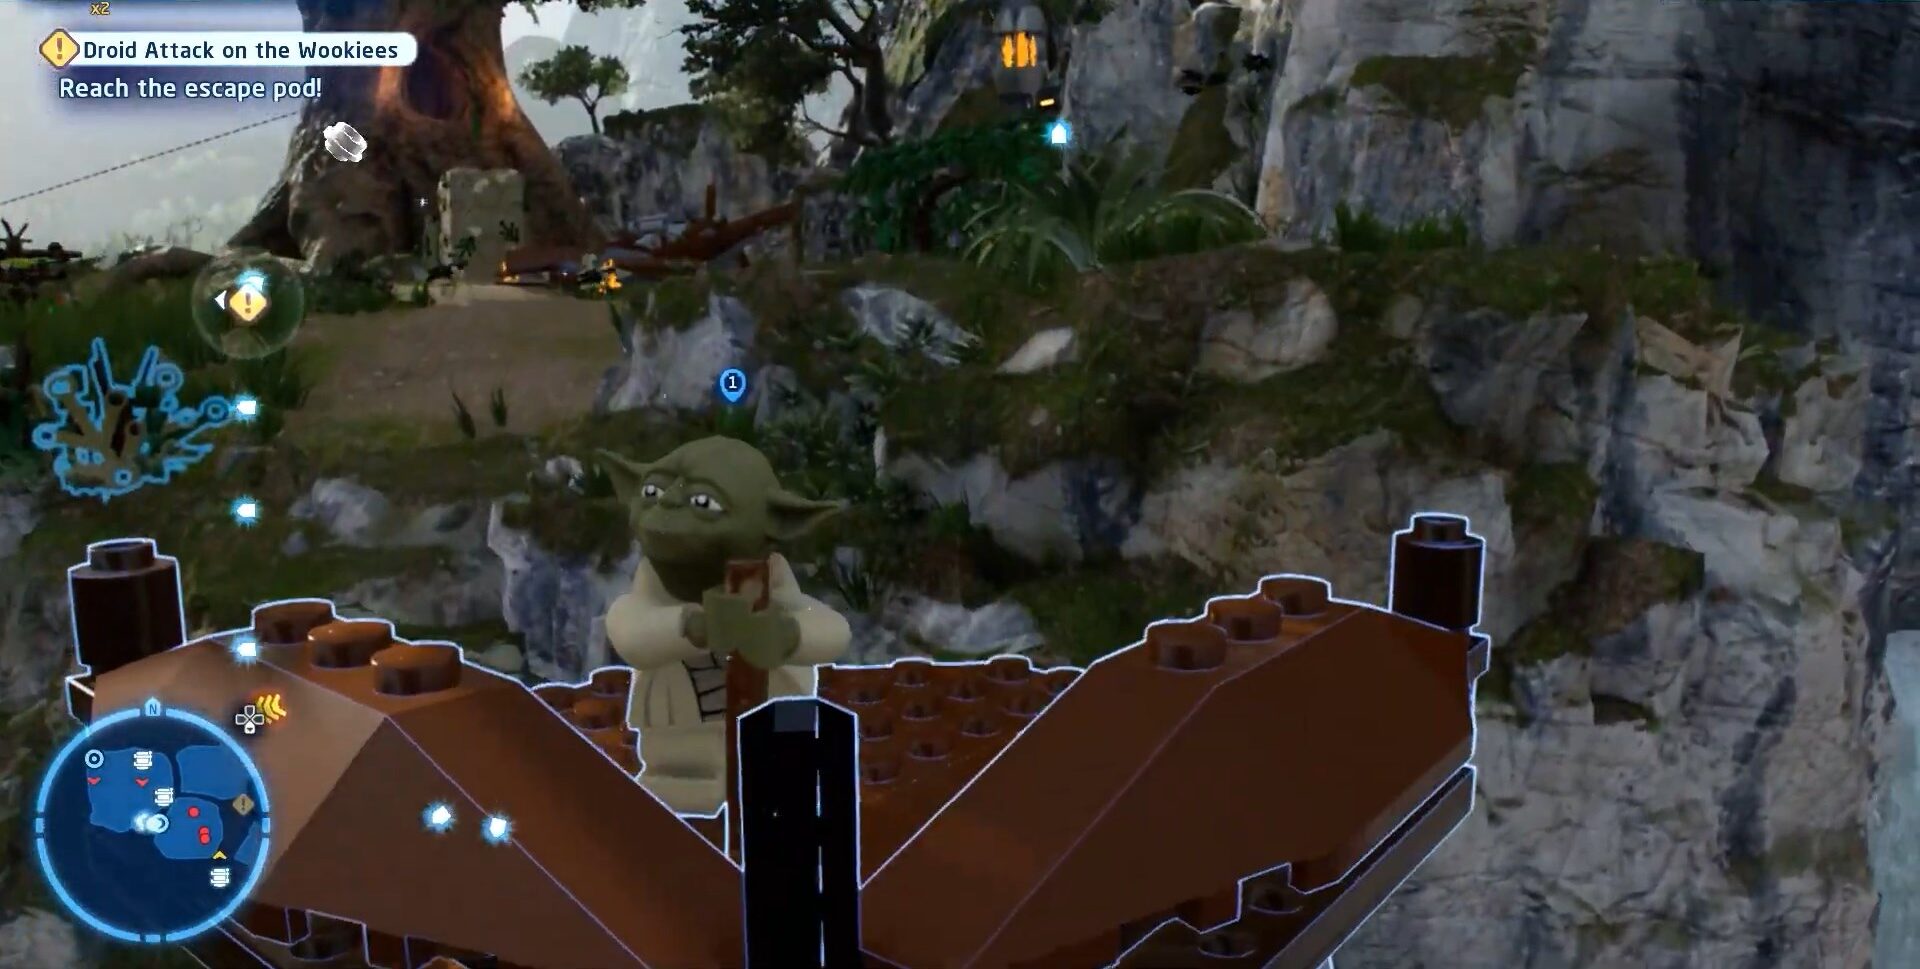
Third Minikit is placed on the tree you can get it by shooting its branches then it will fell from the top of the tree and you can grab it so pick up the bazooka from the box first.
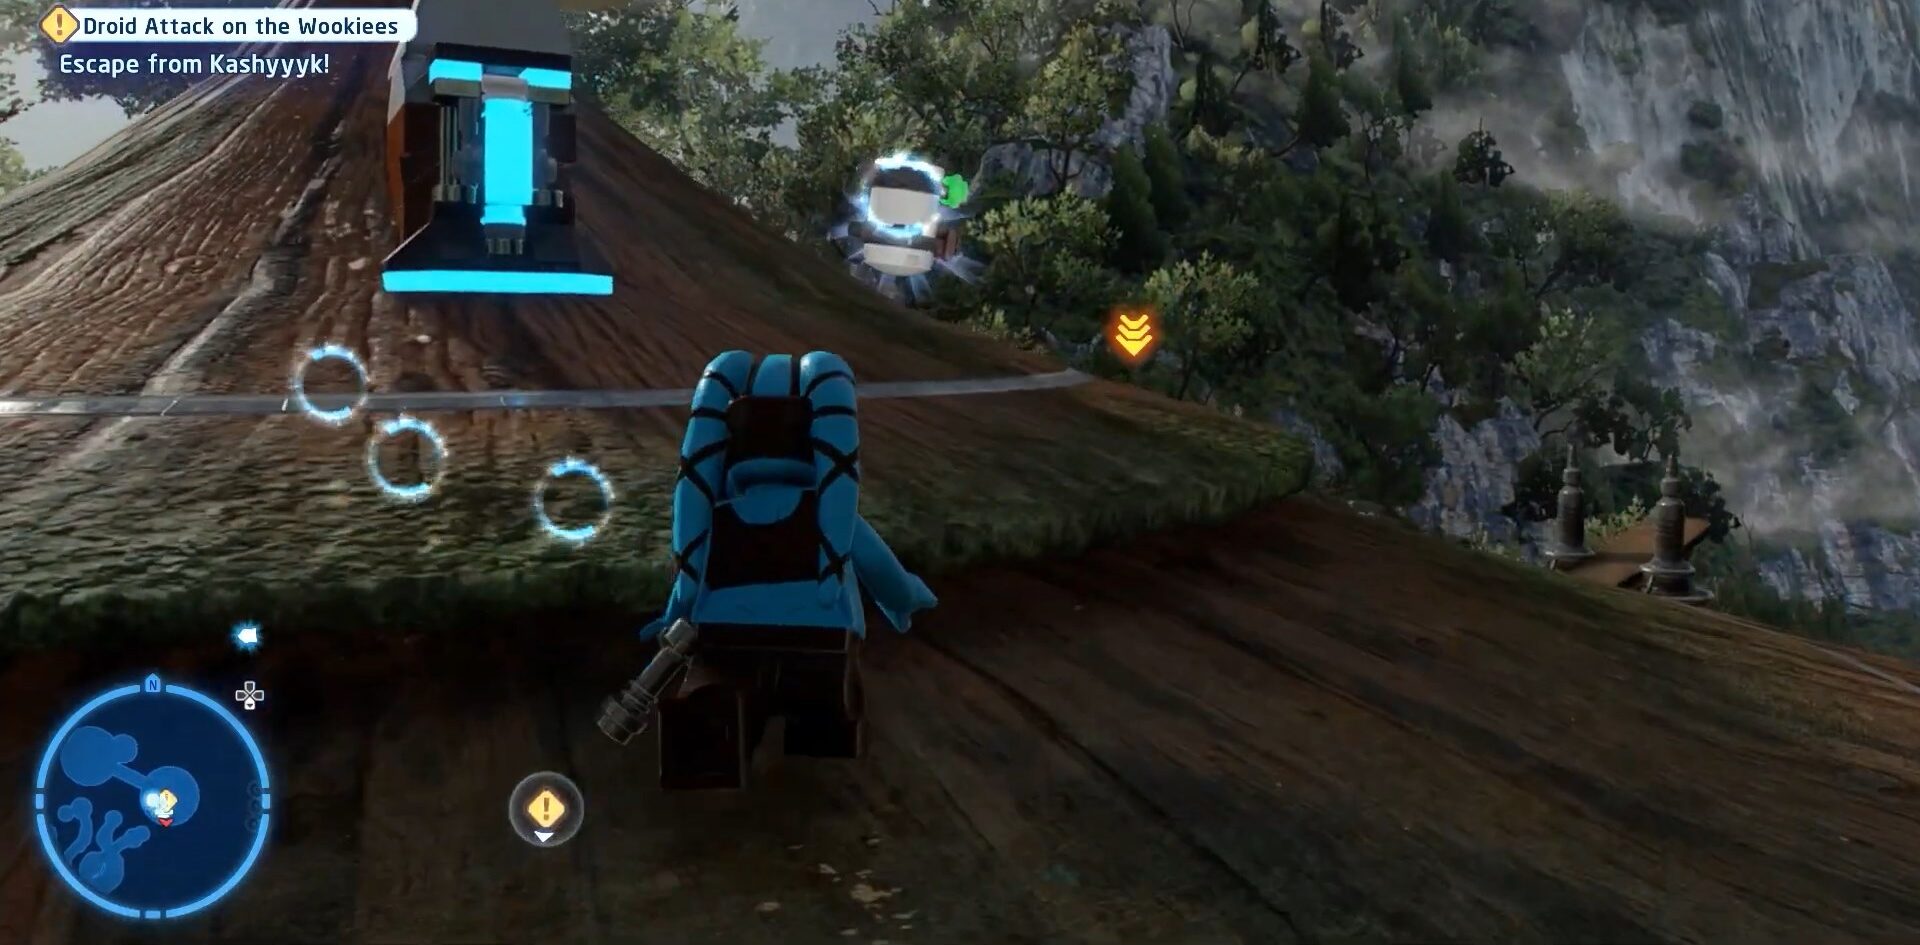
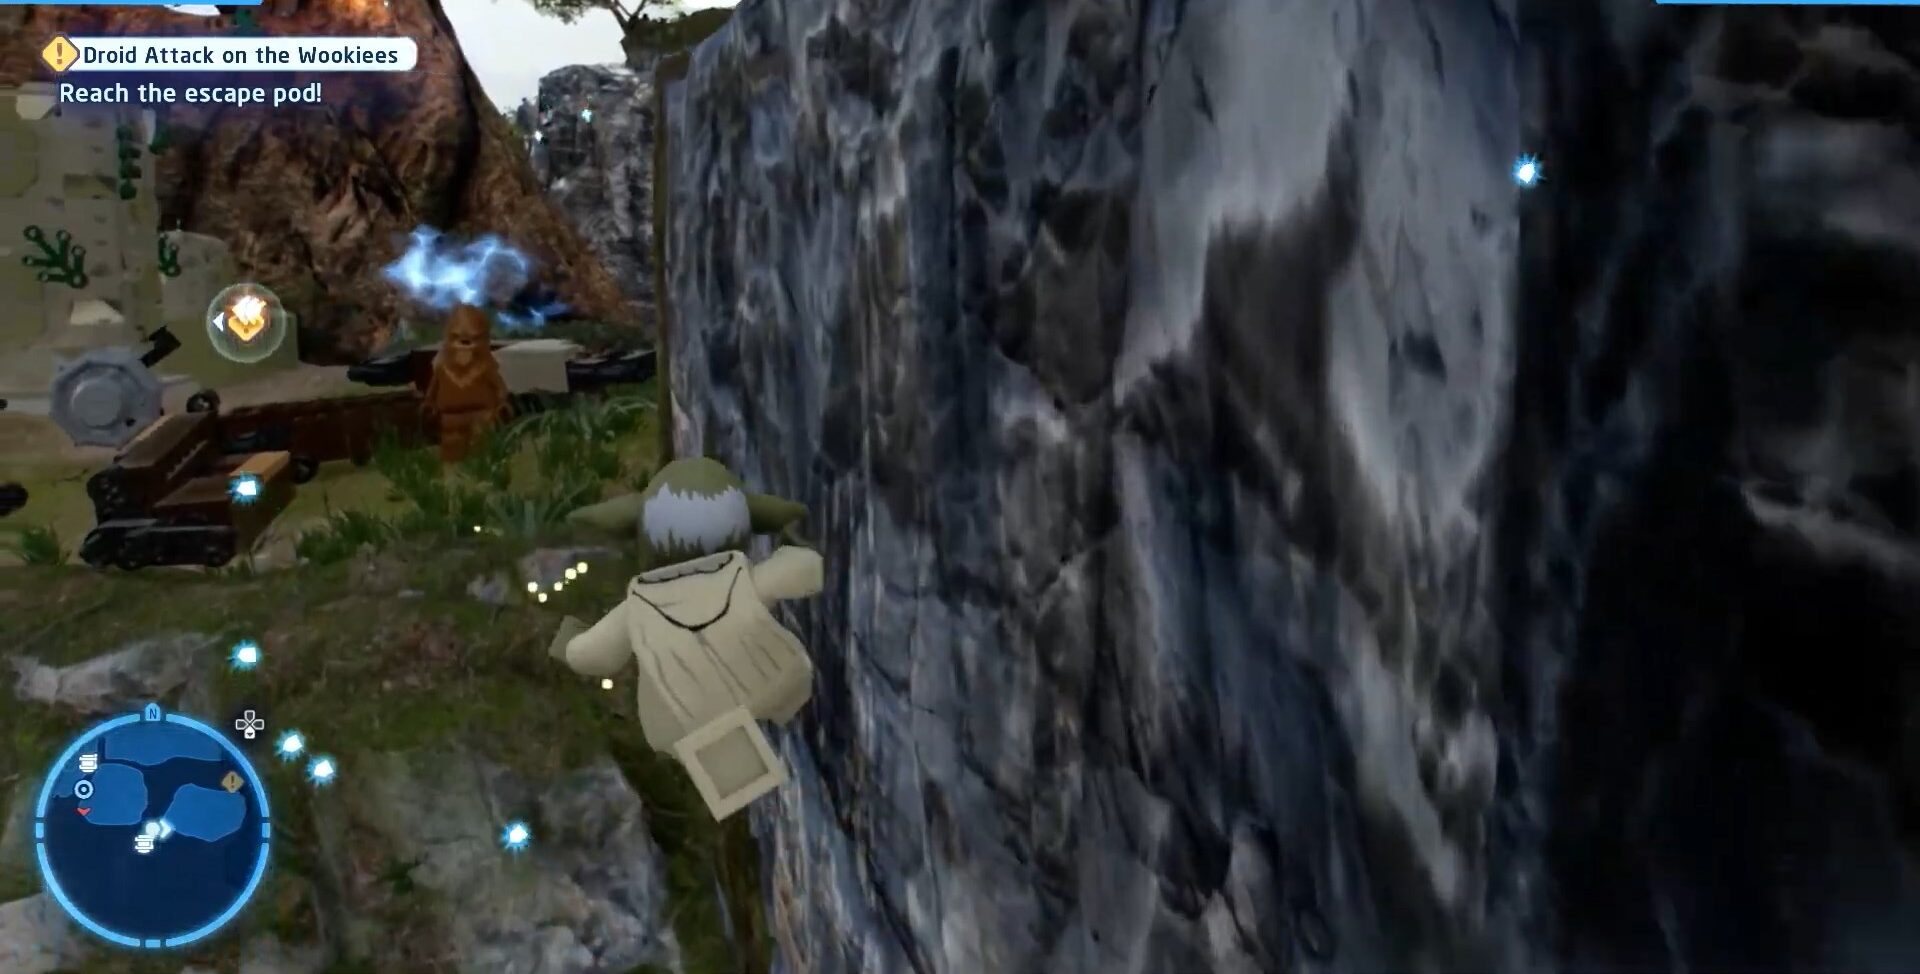
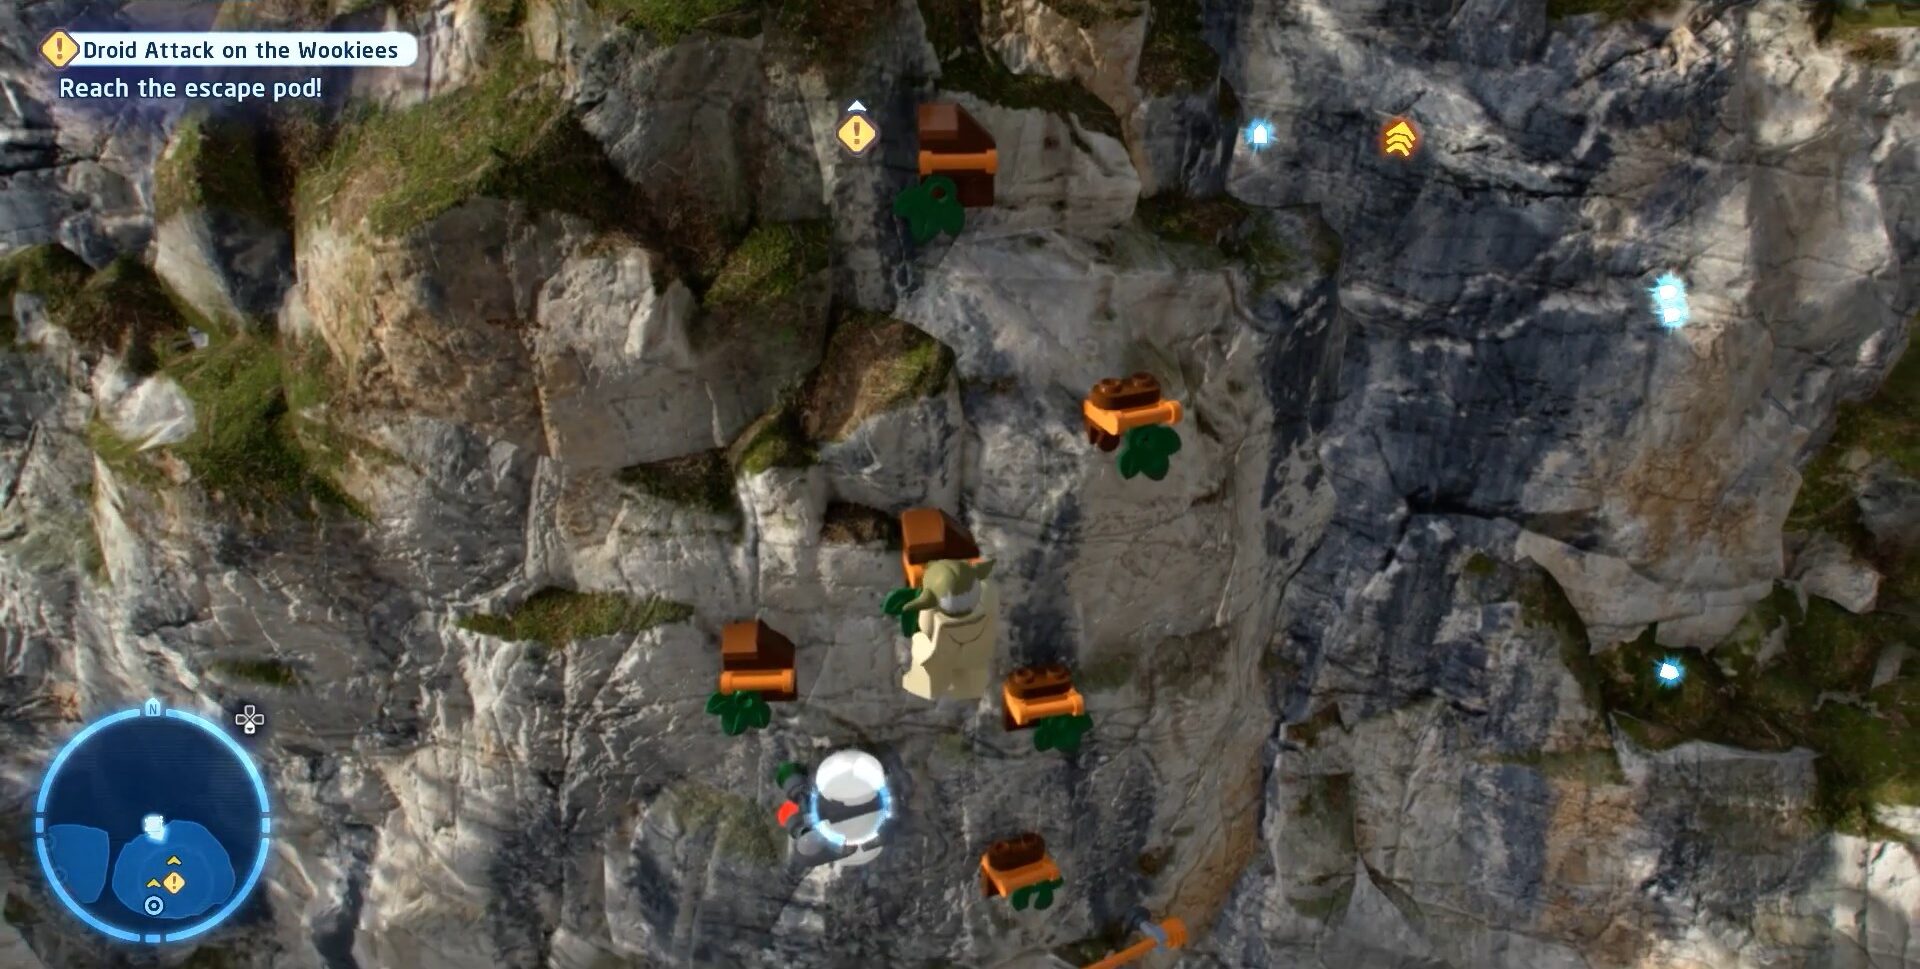
Fourth Minikit is located at the cliff. Multiple things have to be done to get it such as building the elevator which will take us to the other side and then shooting at the fire by controlling Chewbacca as a result fire will clear our way by burning the trees on the way to Minikit.

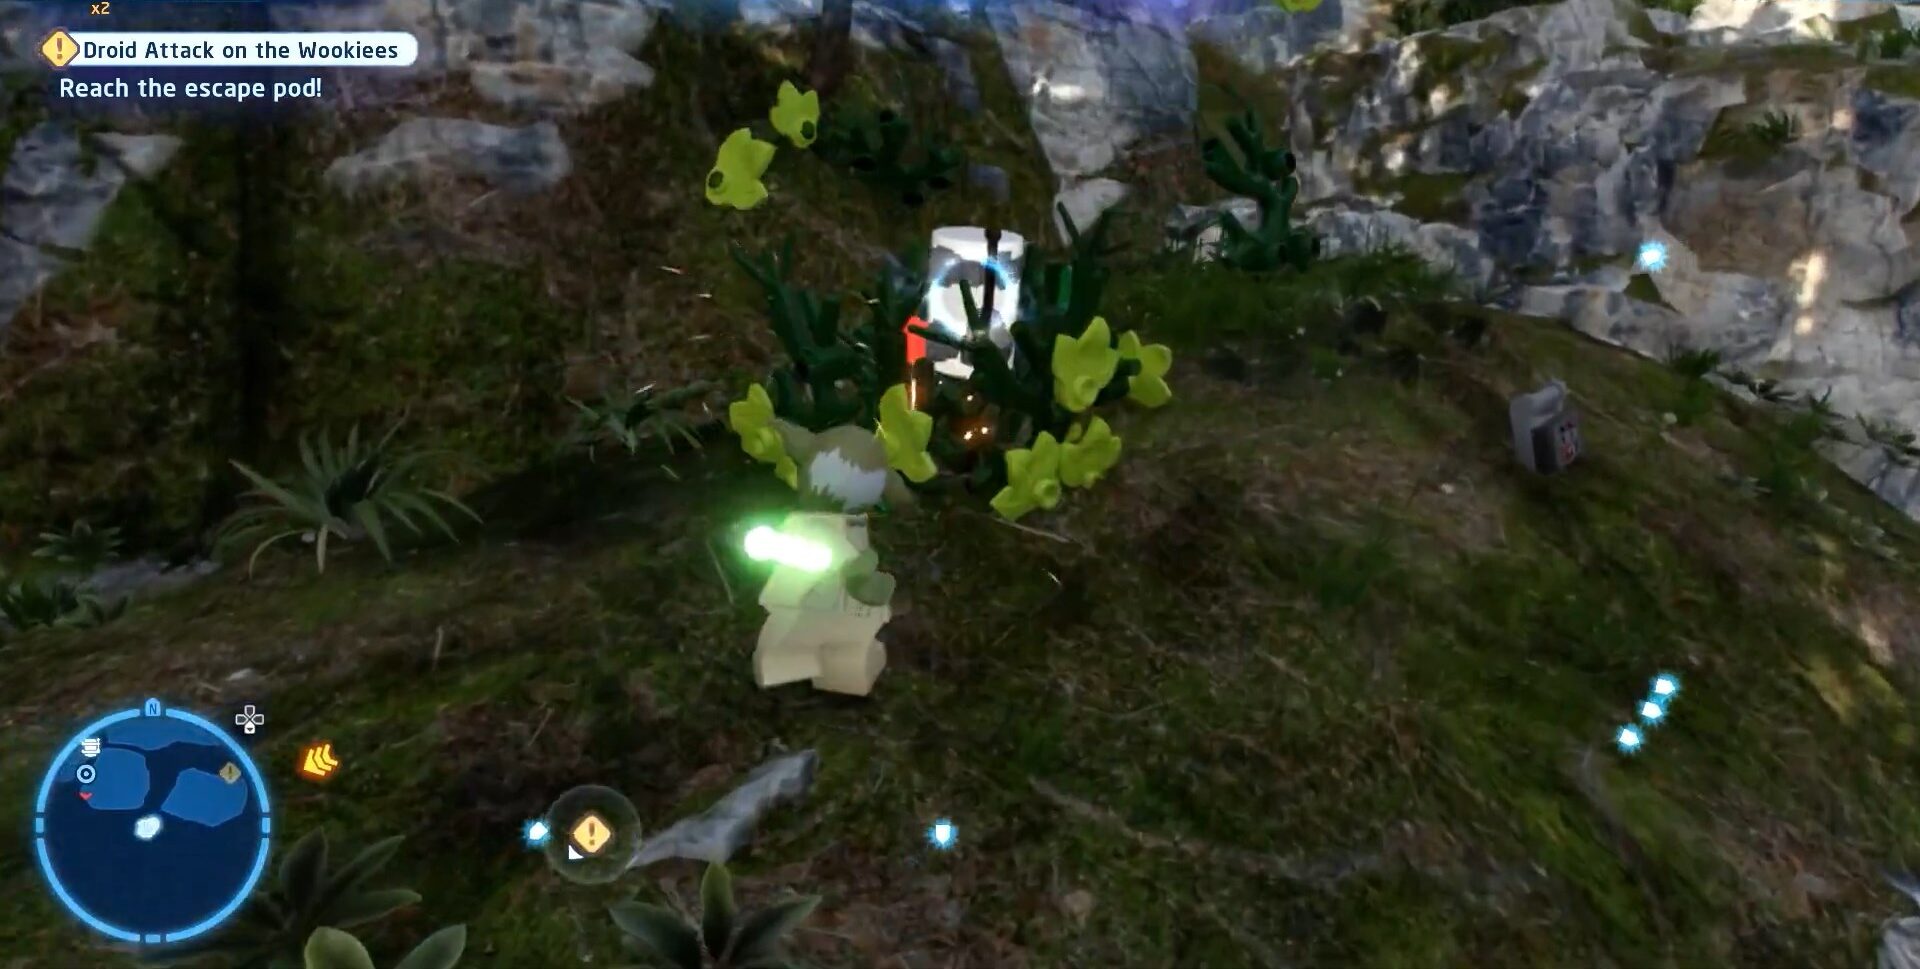
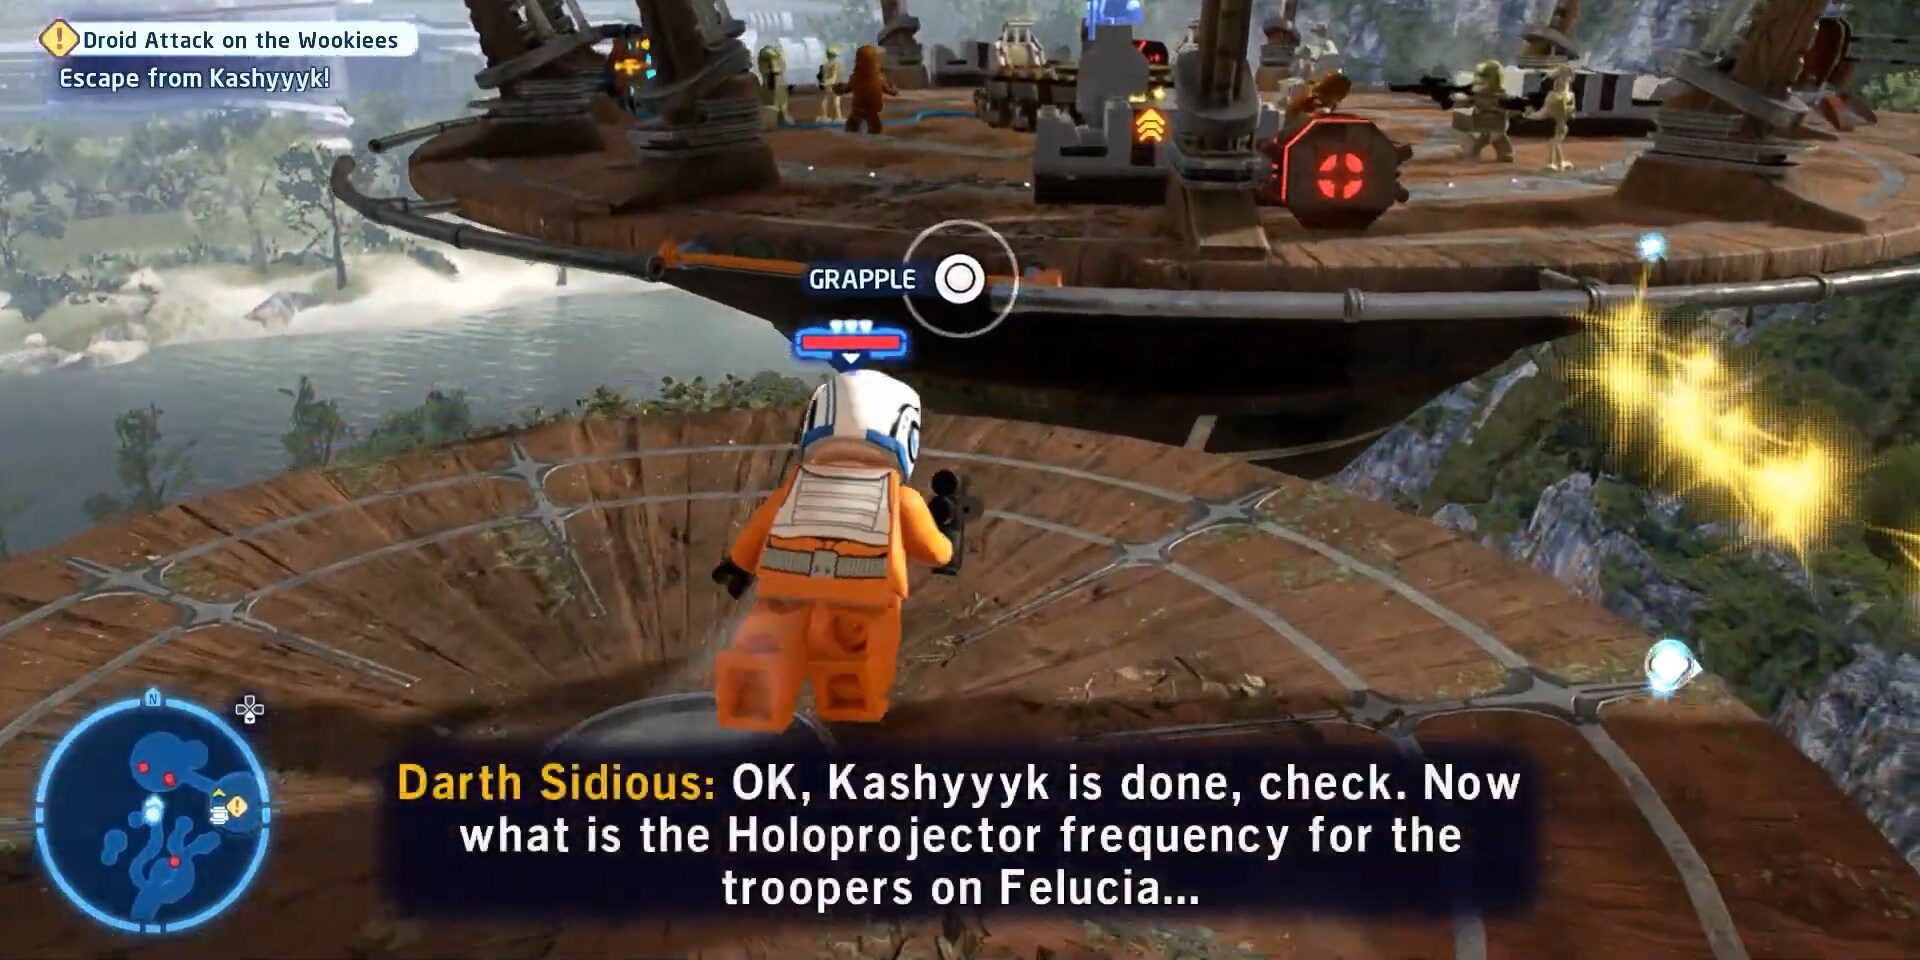
The fifth Minikit is hanging at the mountain you need to reach the top spot there you will find a small tree and then bricks-like steps are made up which will lead you down to the fifth and final Minikit of this mission hanging at the mountain however it is tricky to collect it. We have attached images below to make it easier to understand.
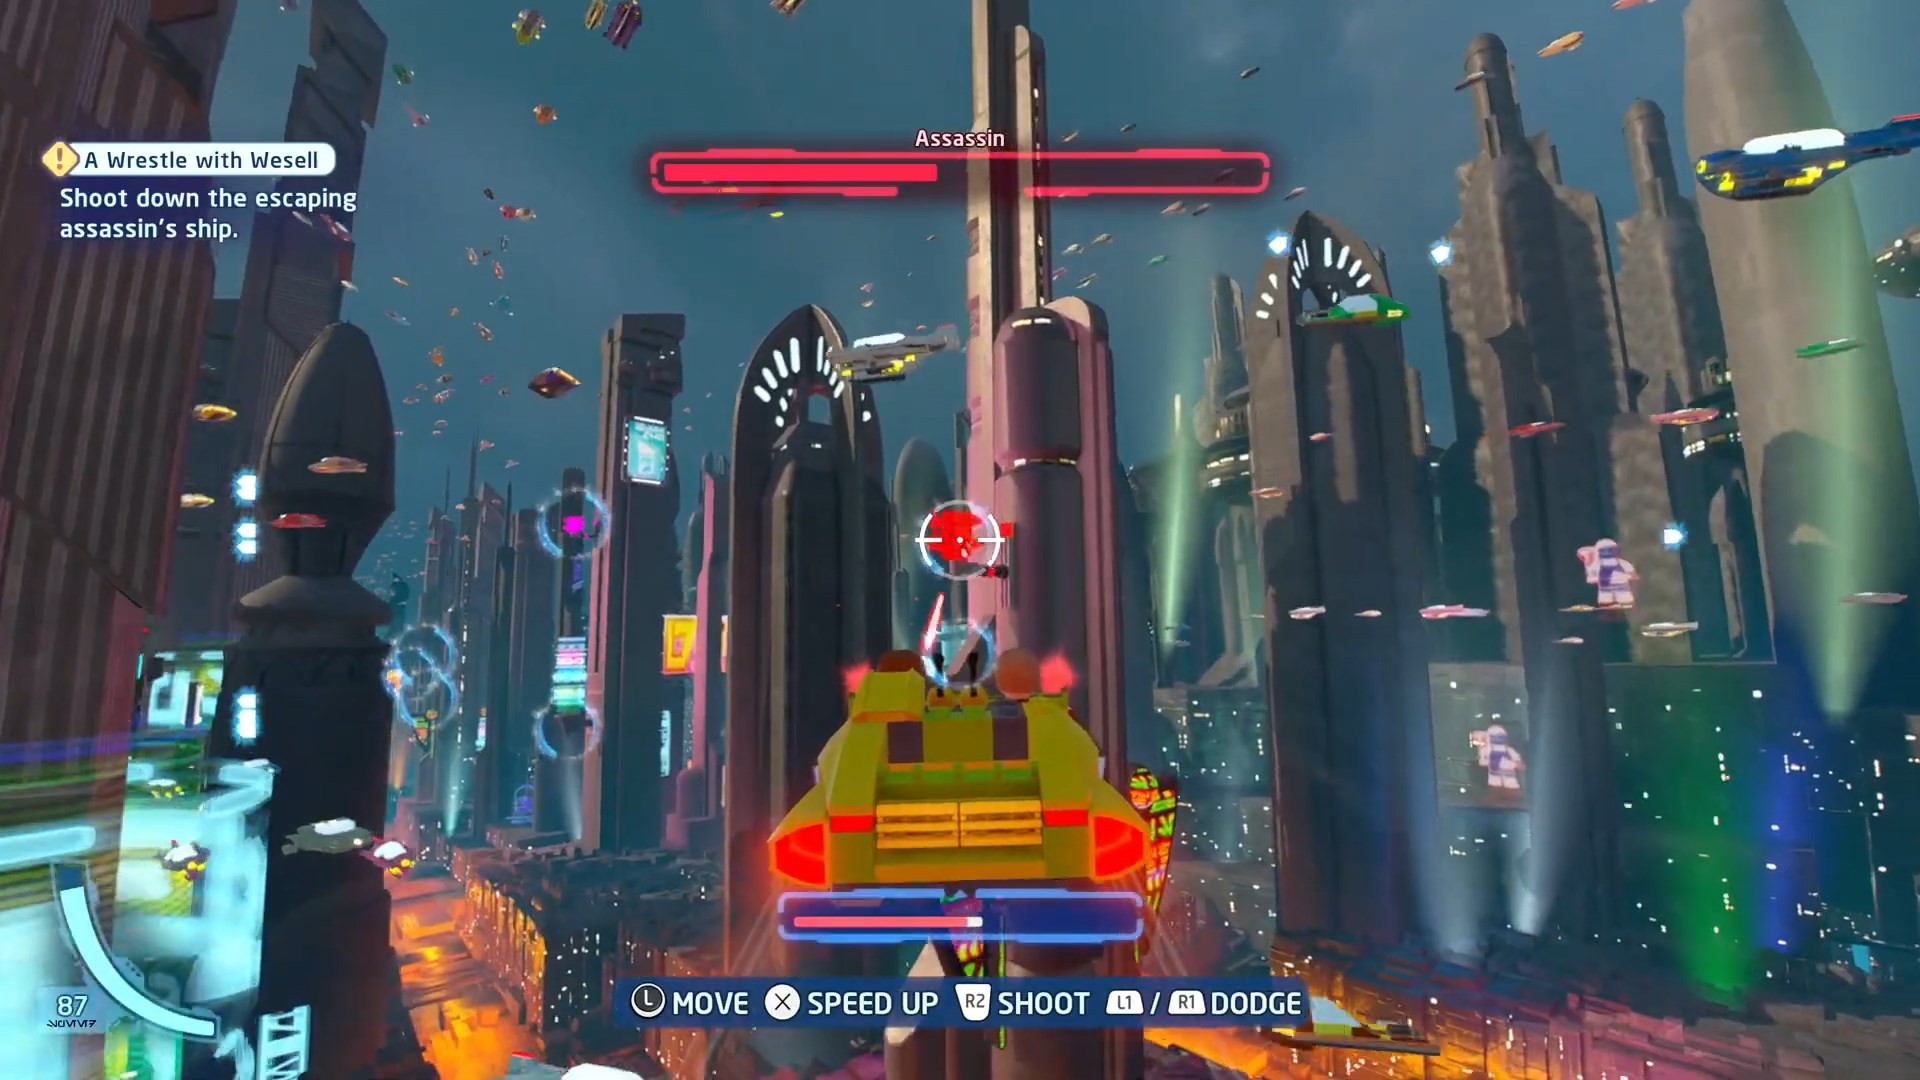
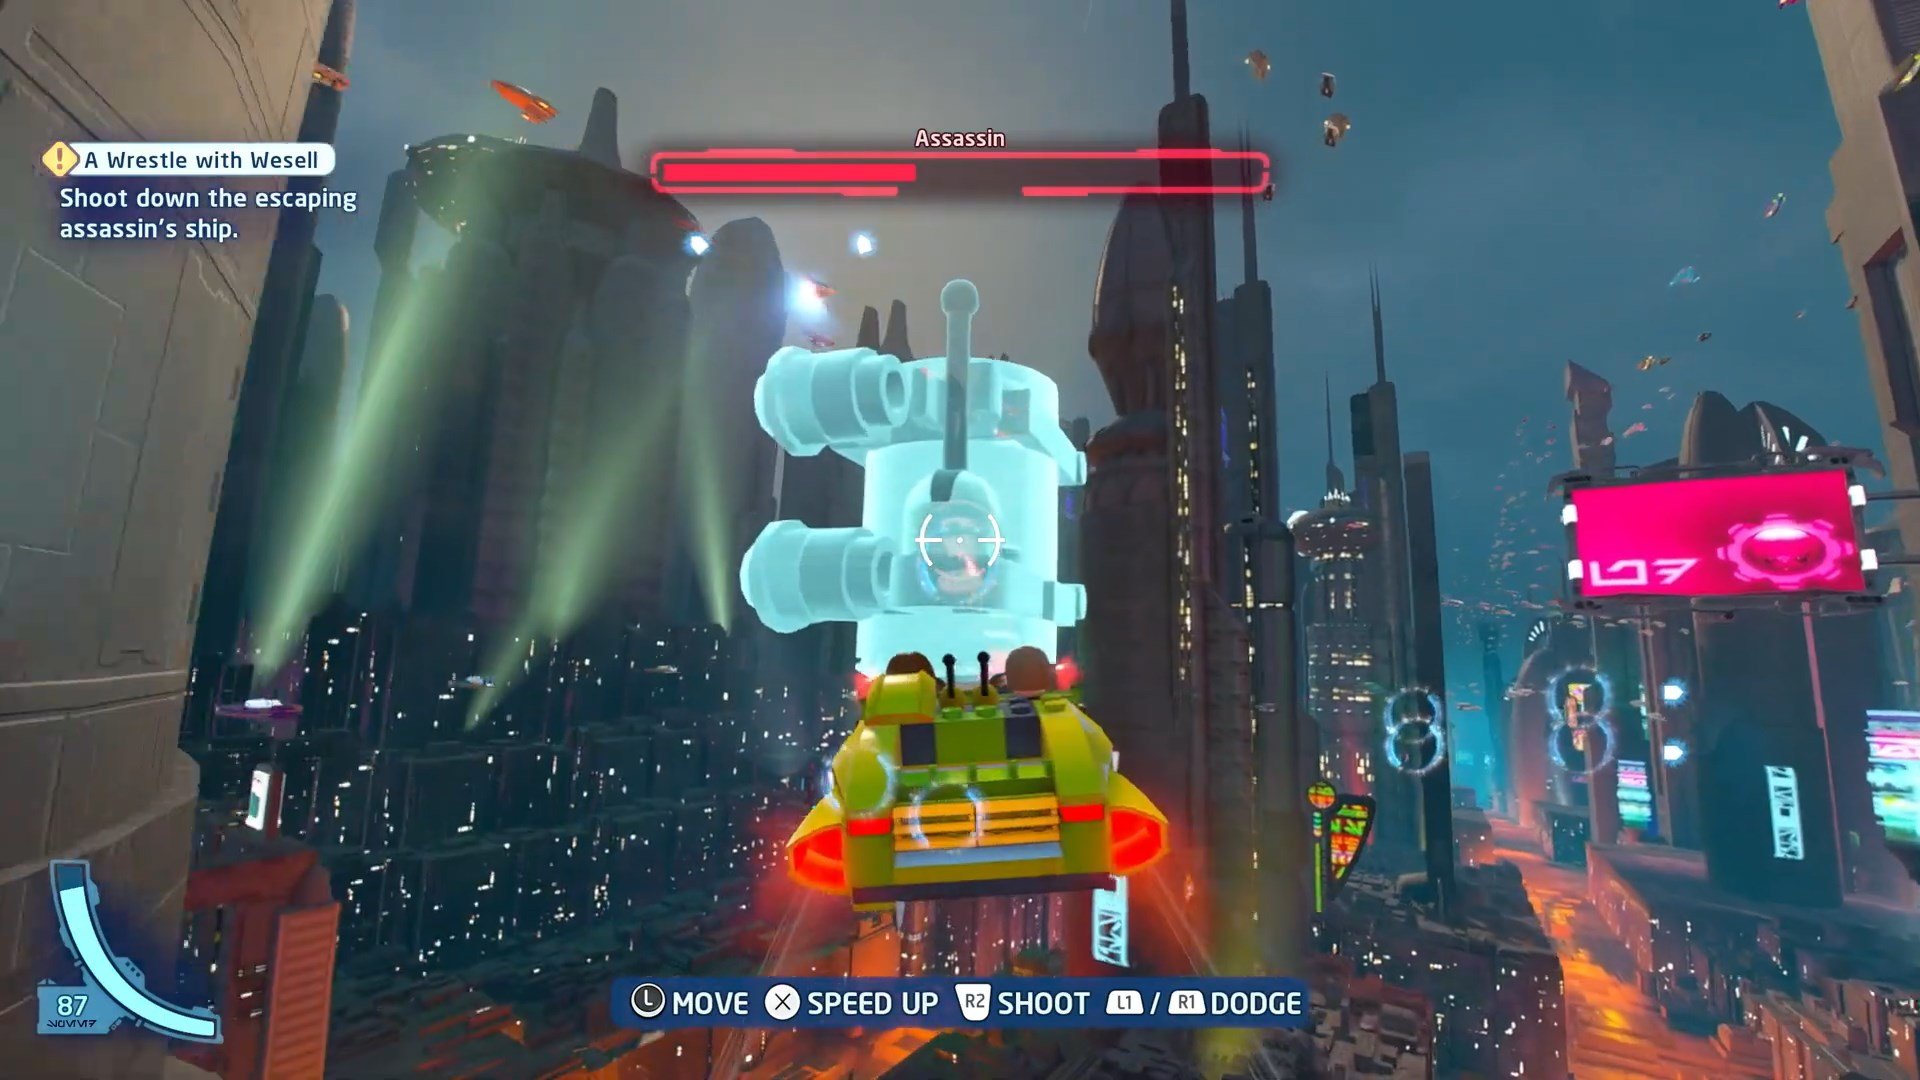
A Wrestle With Wesel
In this mission, you will be flying a jet and shooting the enemies. At the same time, you can reach Lego Star Wars The Skywalker Saga Minikit locations in this mission also. You will get your first Minikit when you enter the area with Power couplings there you will see the blocks you got to destroy by shooting at them and you will get your first Minikit. We have attached image of it below to make it easier

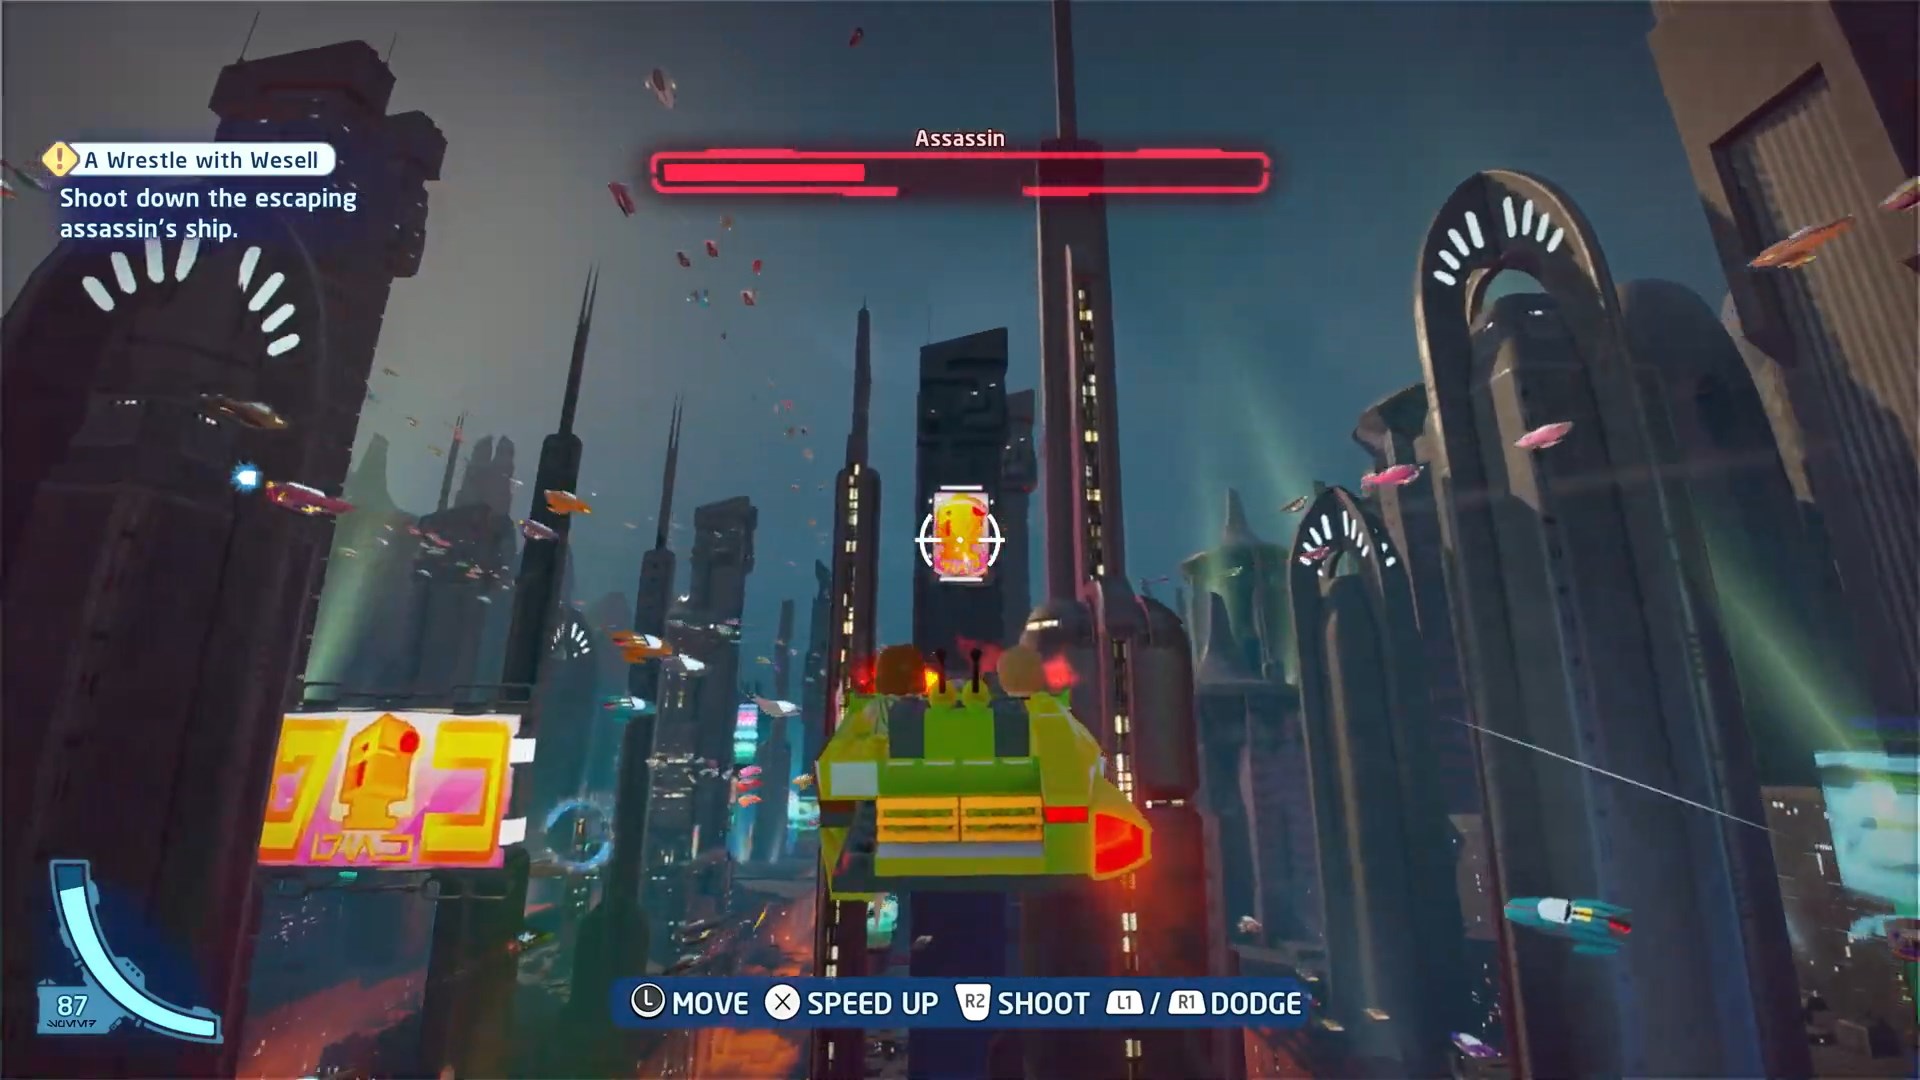
At the end of the power couplings in this area, you will get another Minikit by shooting the tower. We have attached an image of it below check it out.

For the rest of the three Minikits check out the images below with captions.

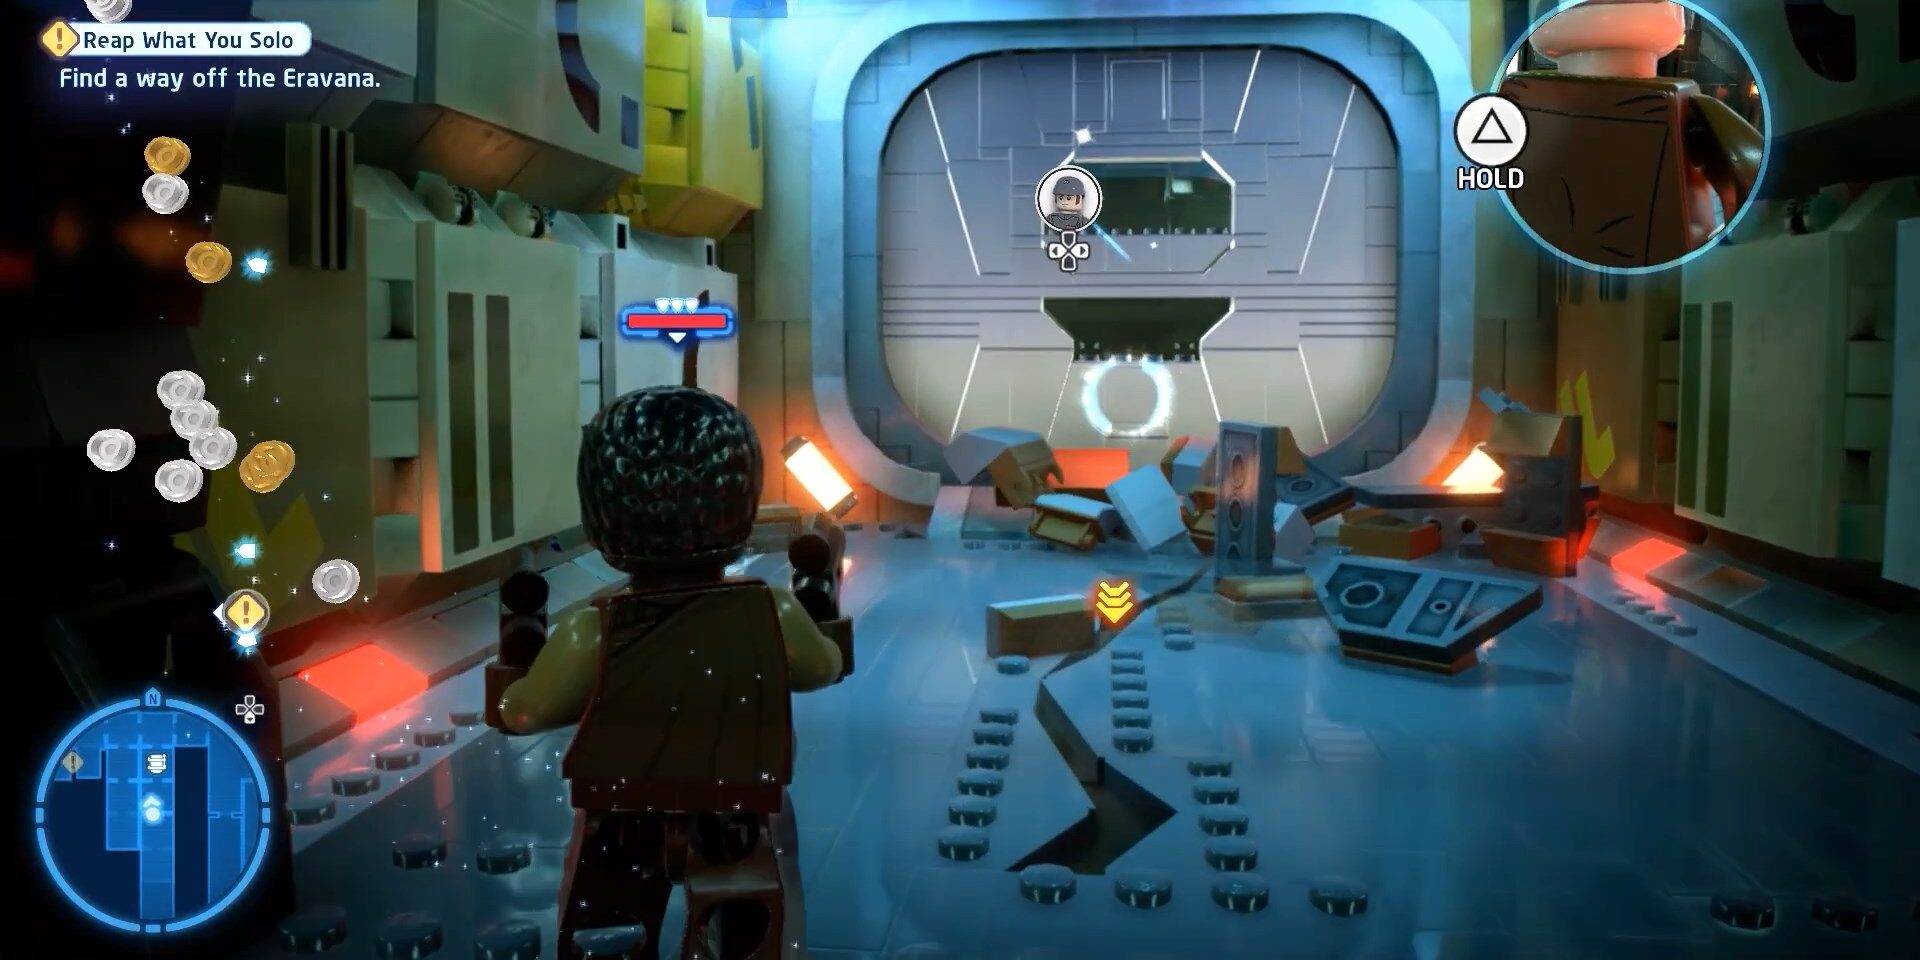
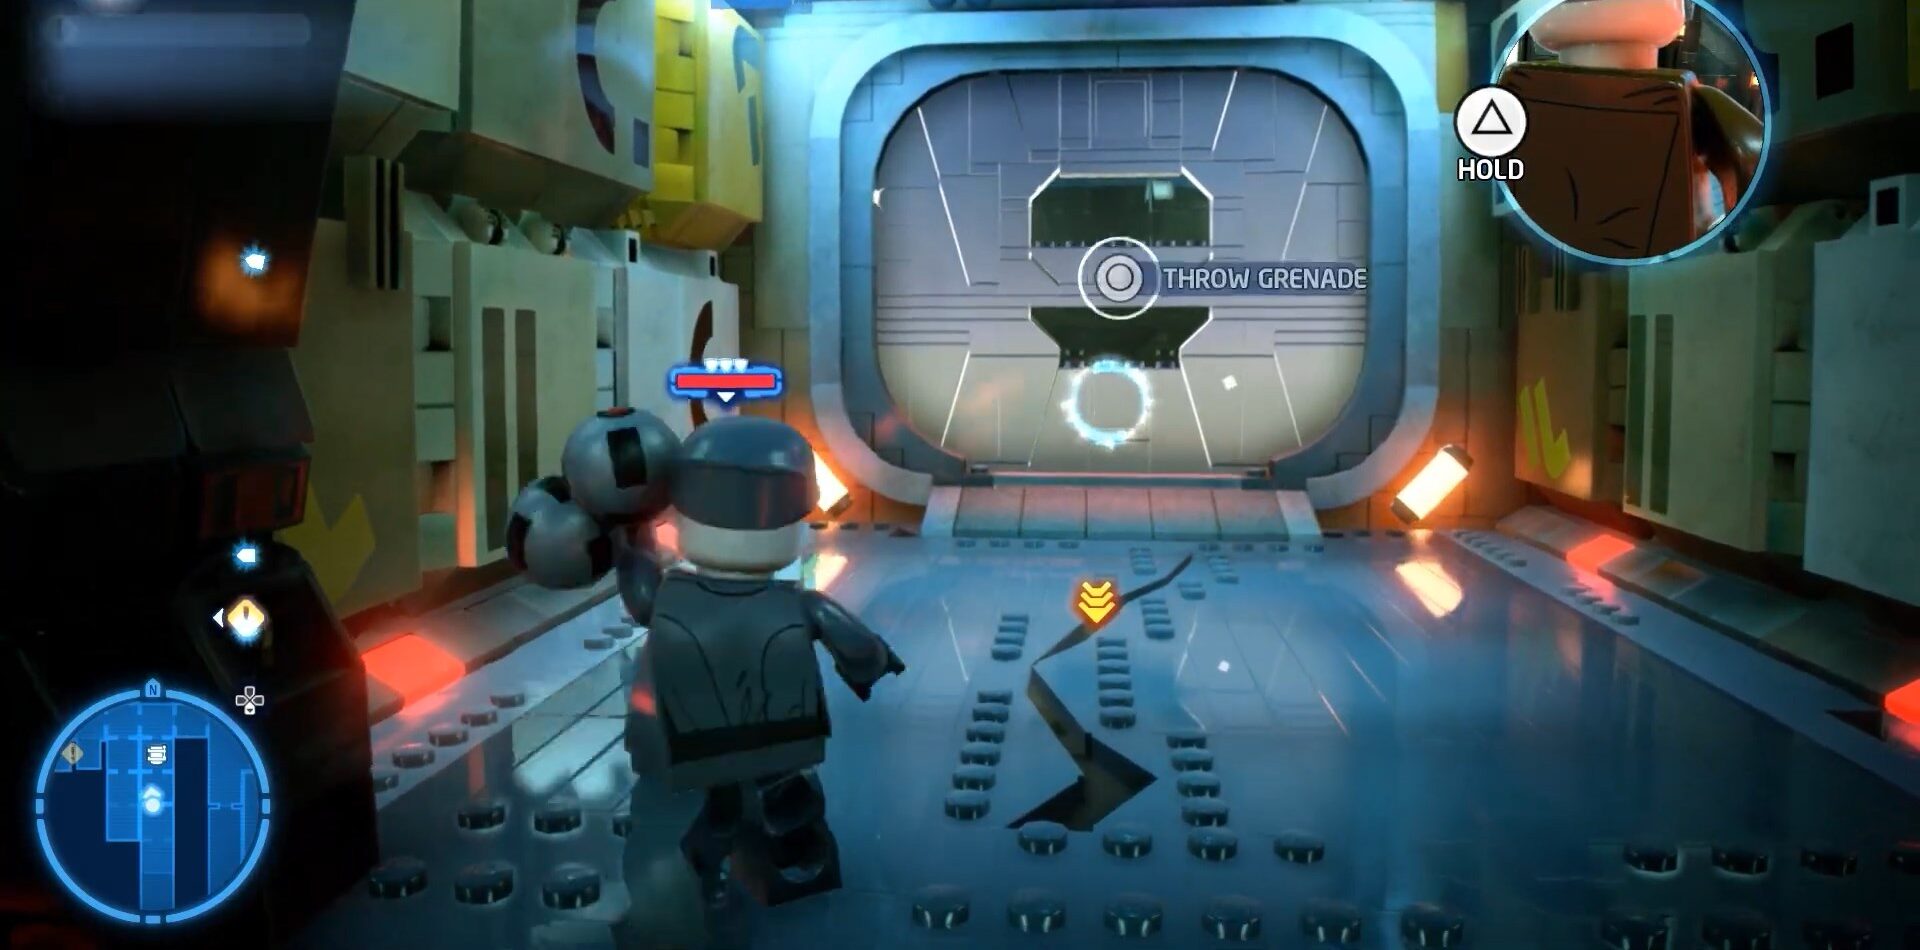
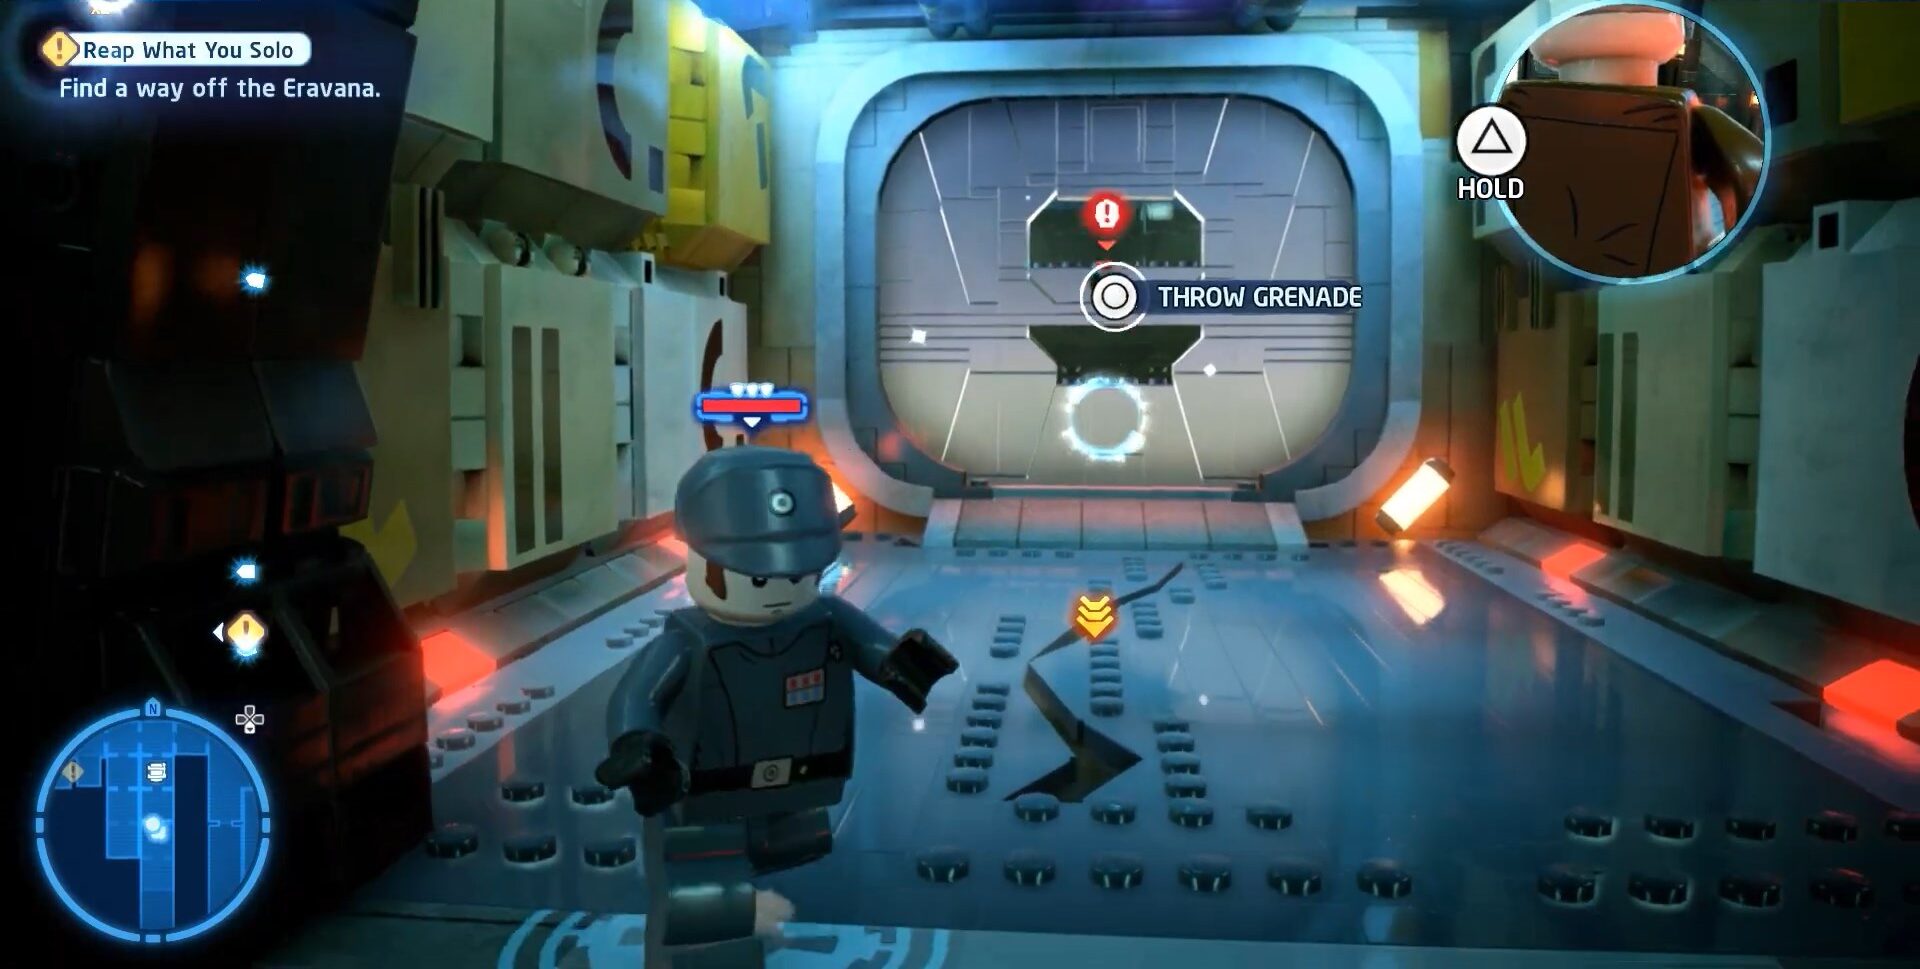
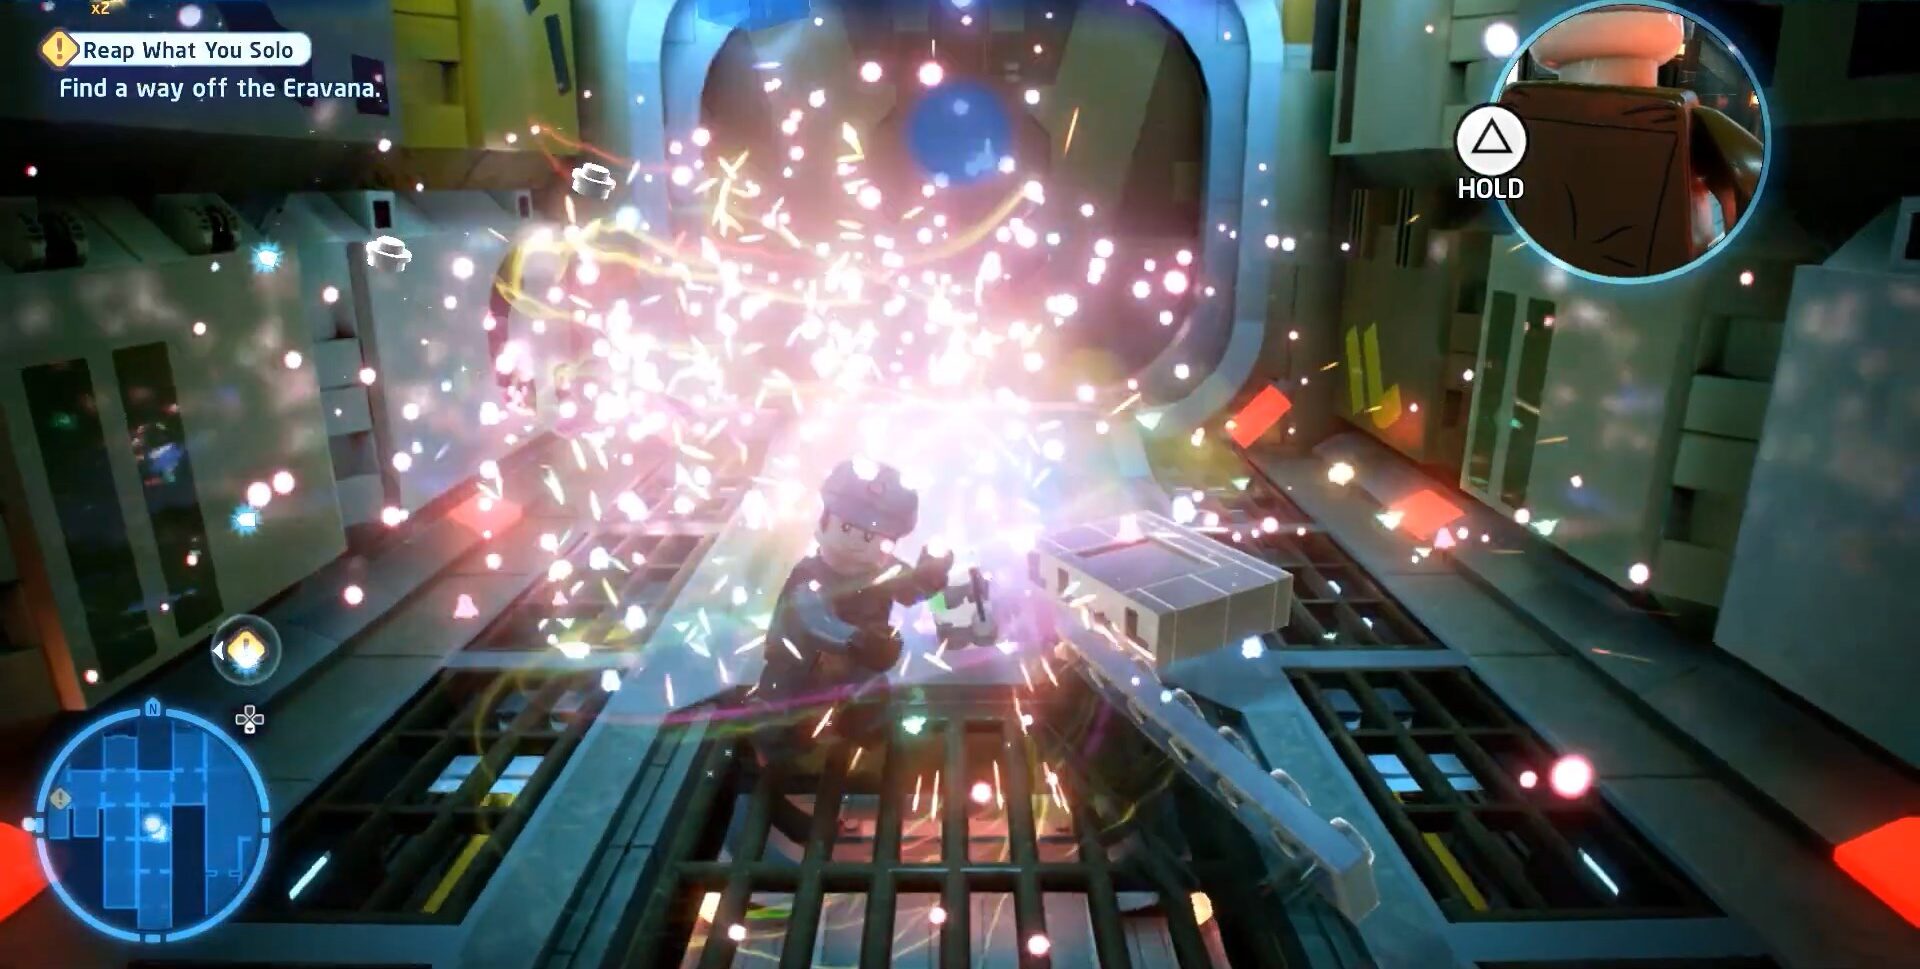
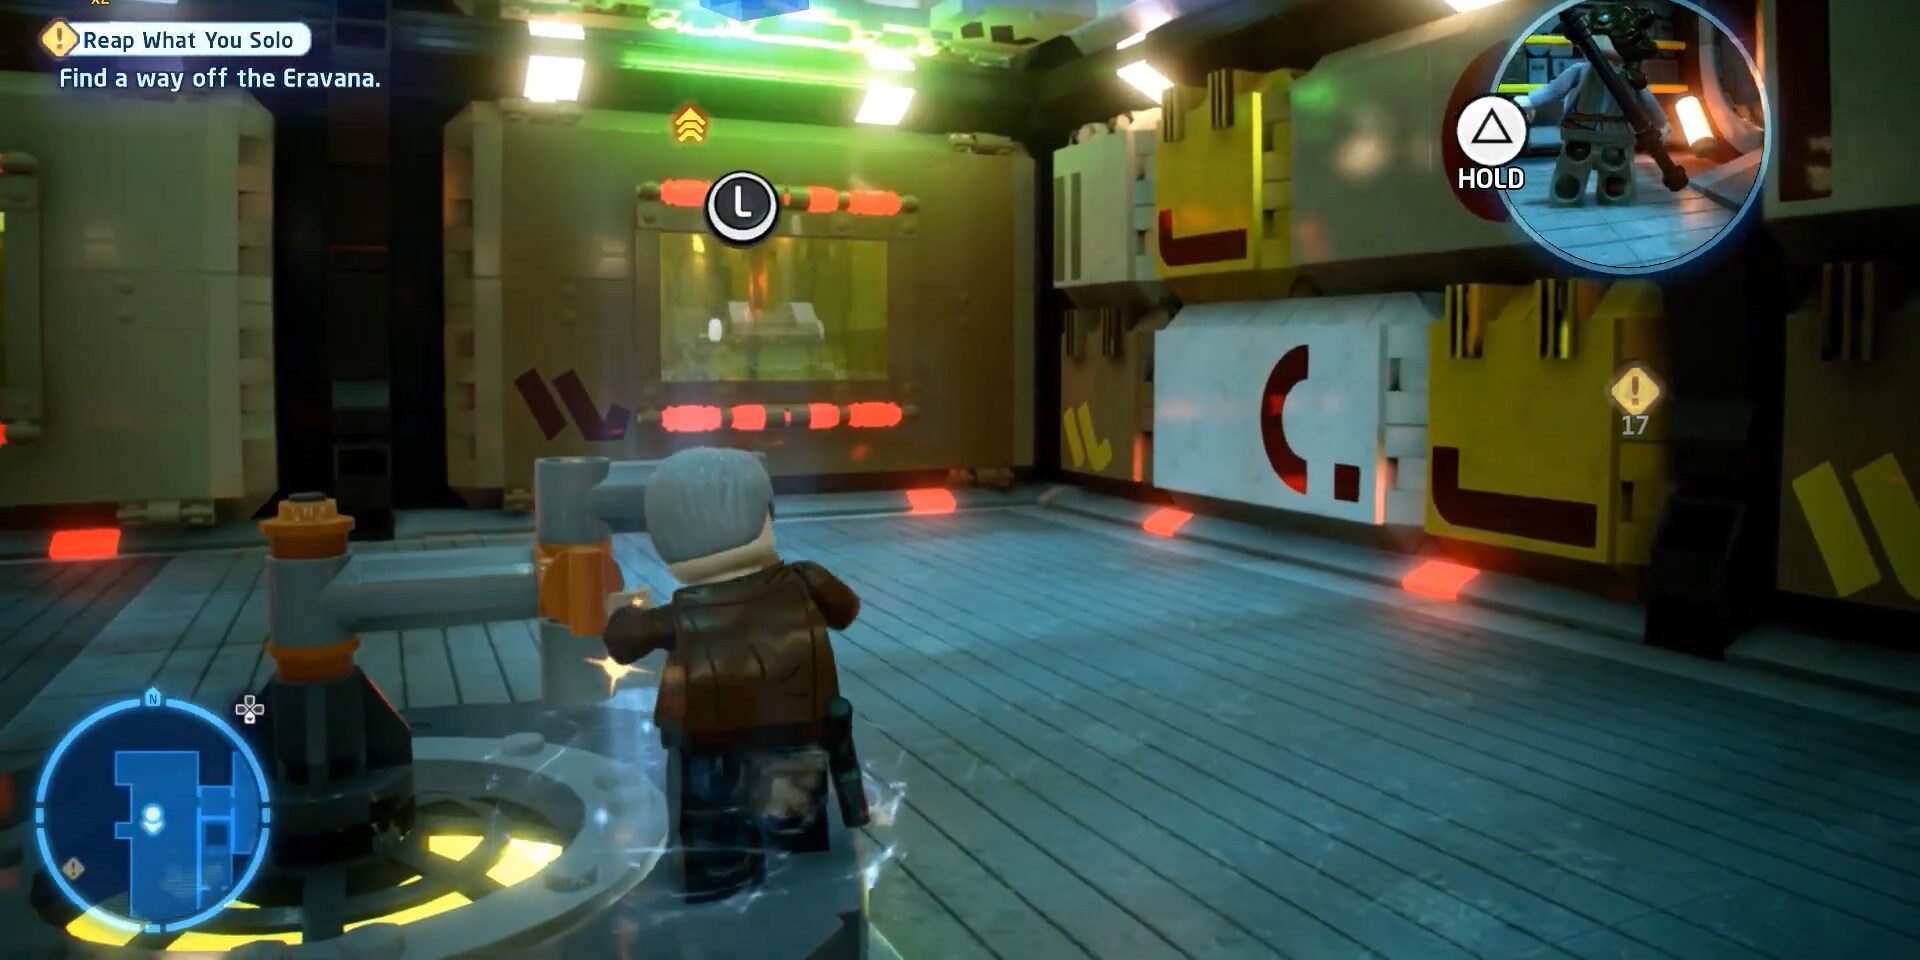
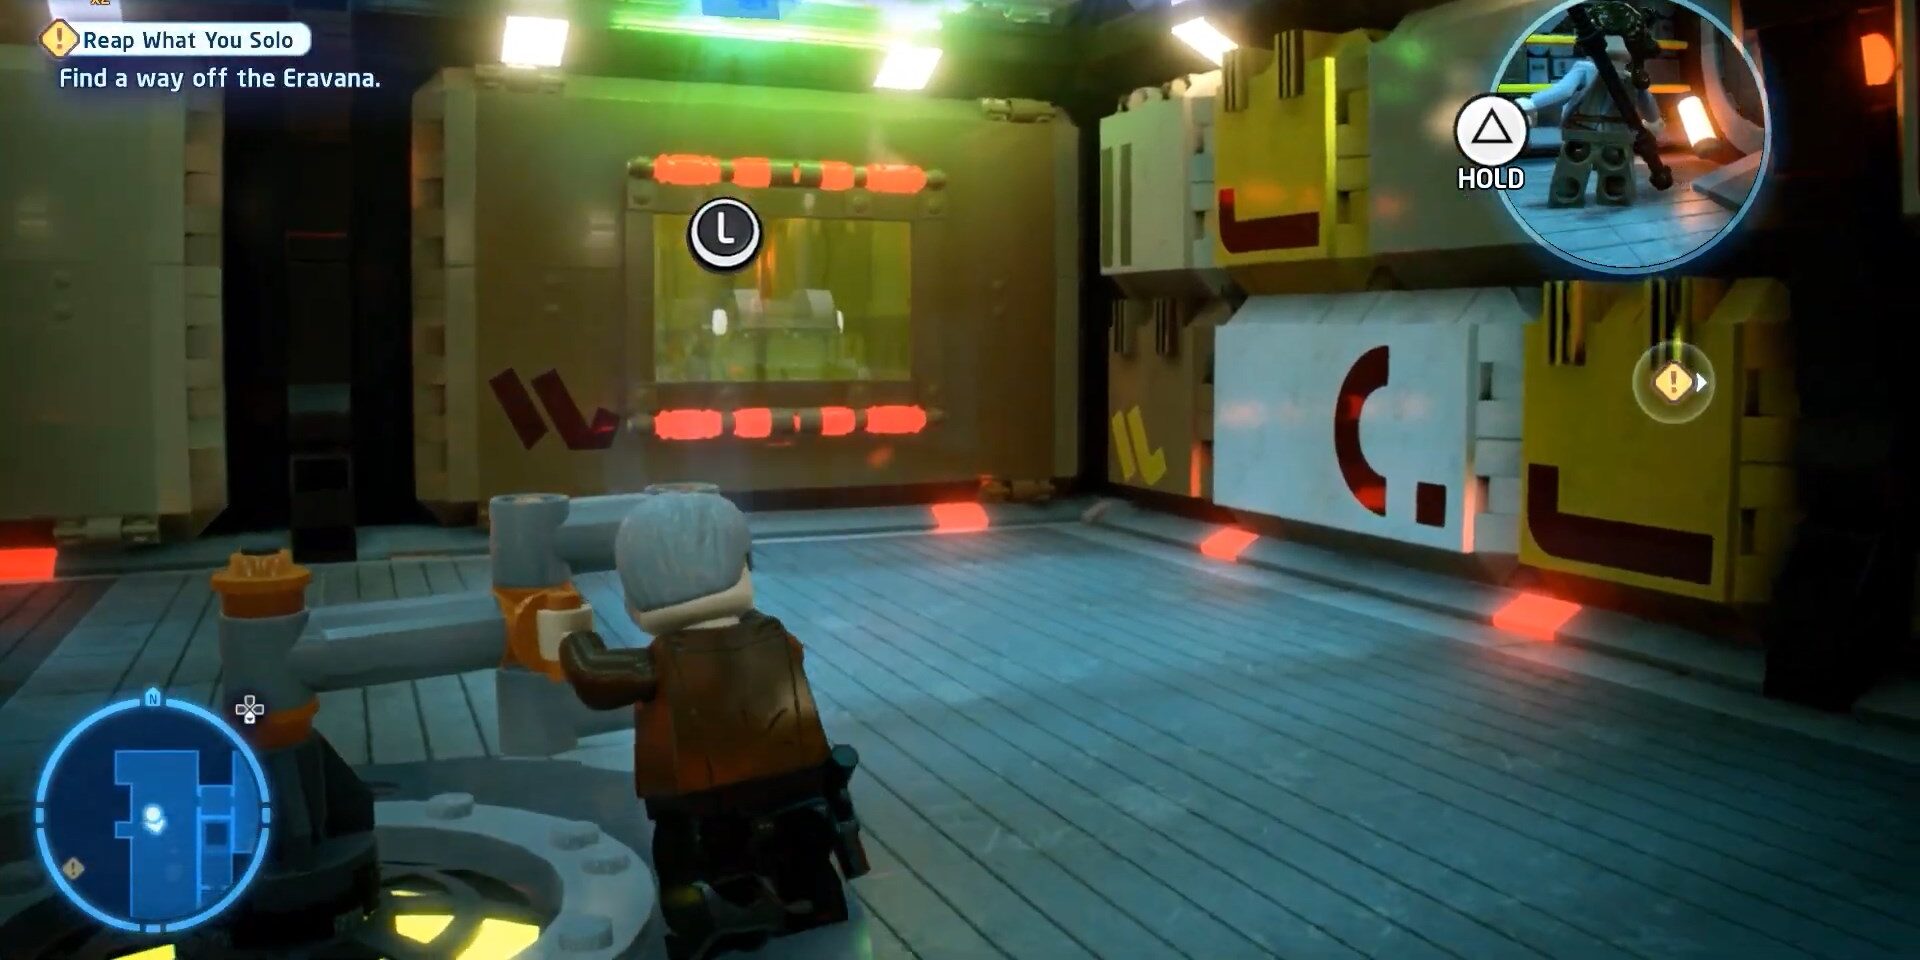
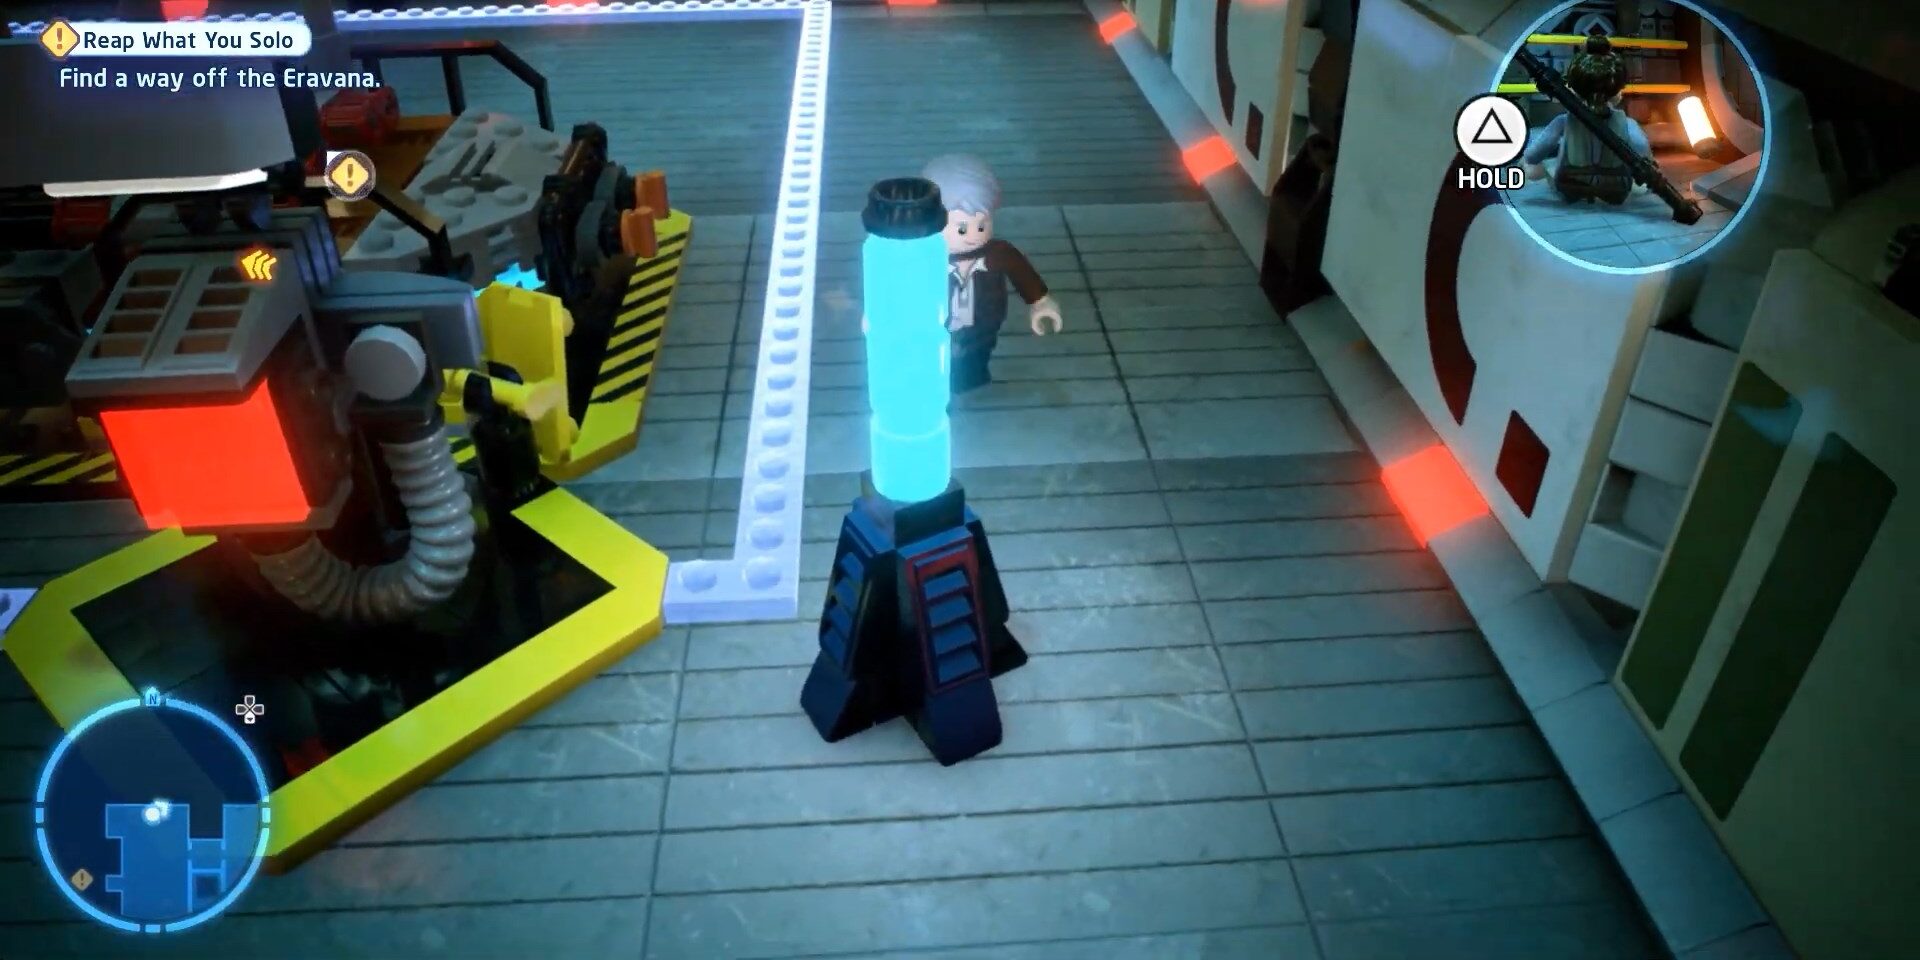
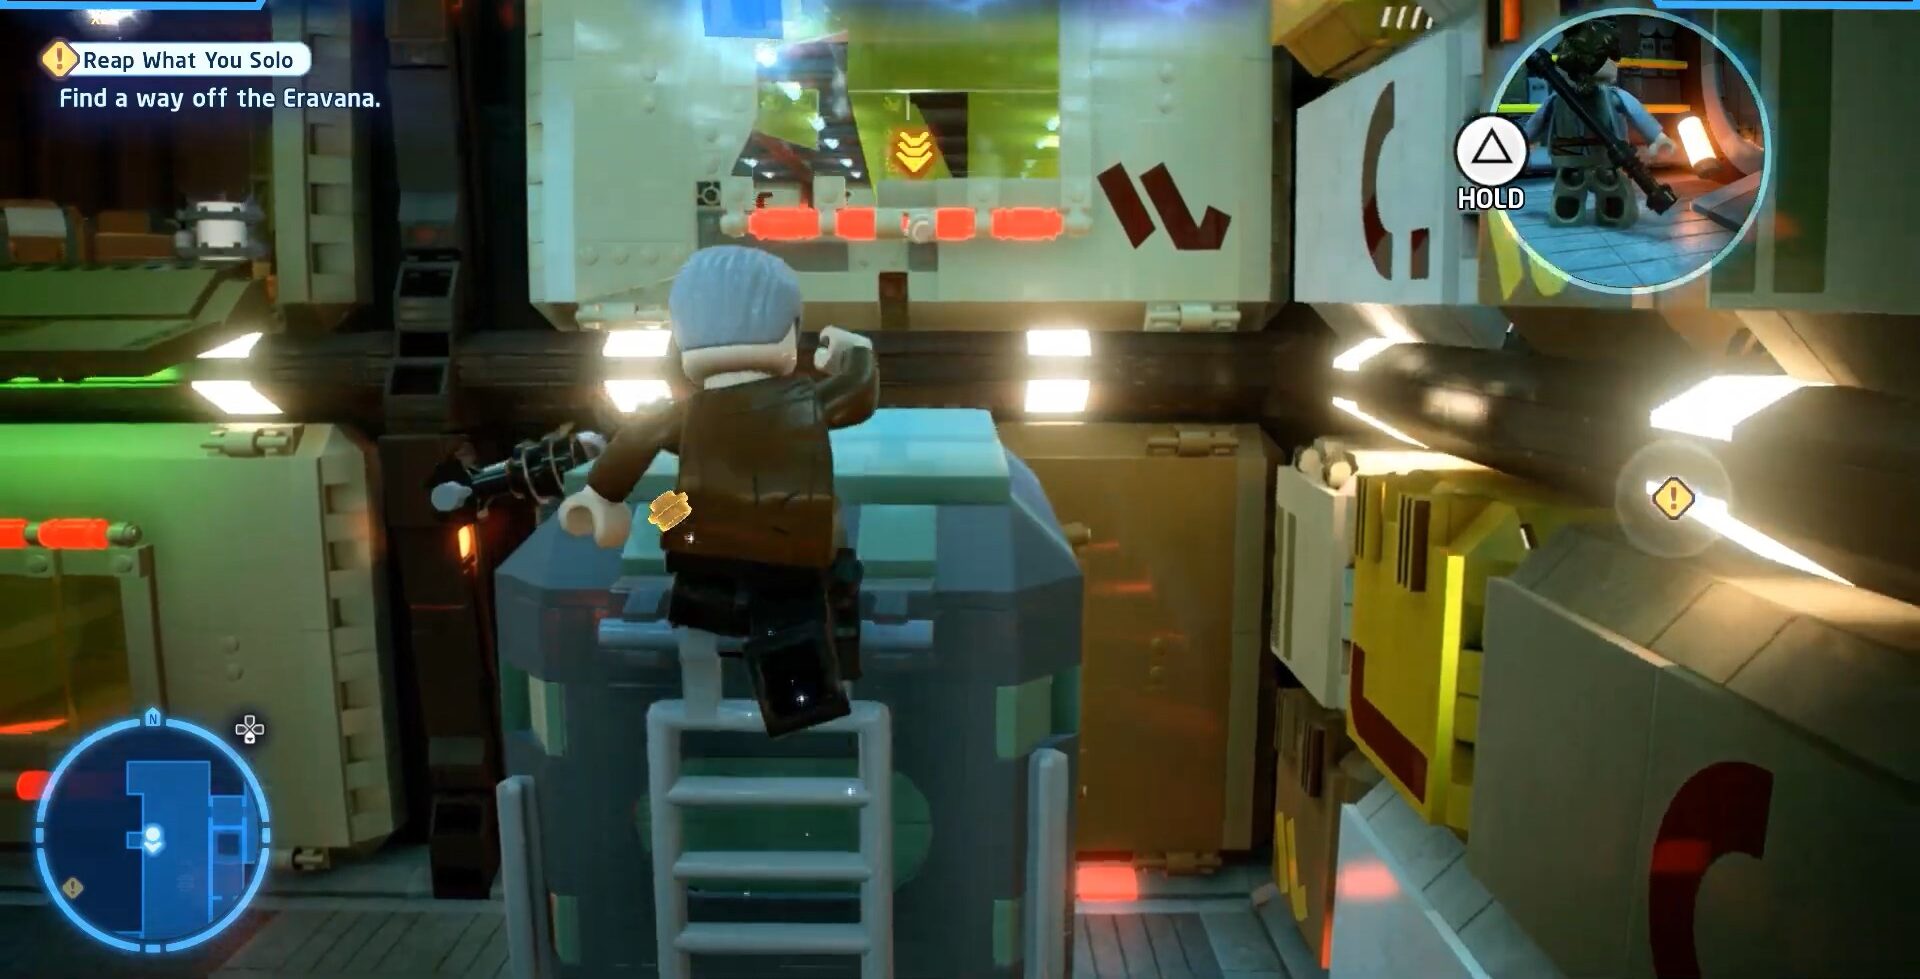
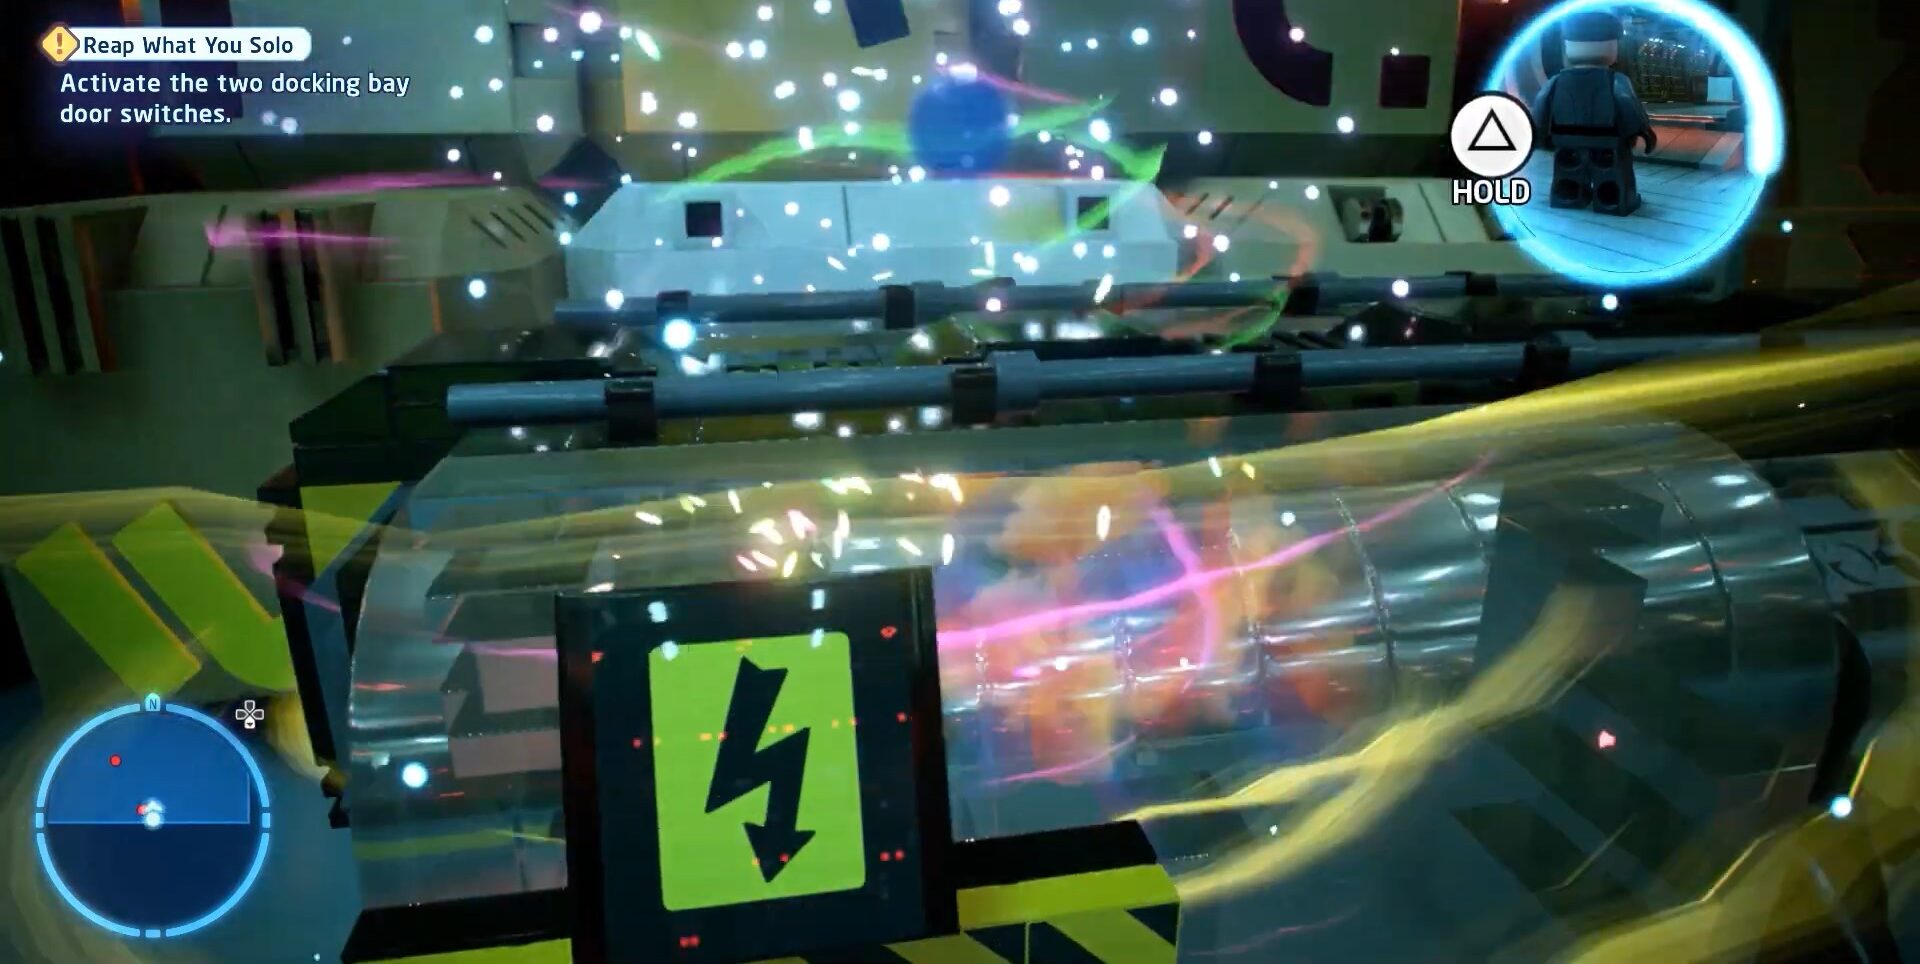
Reap What You Solo
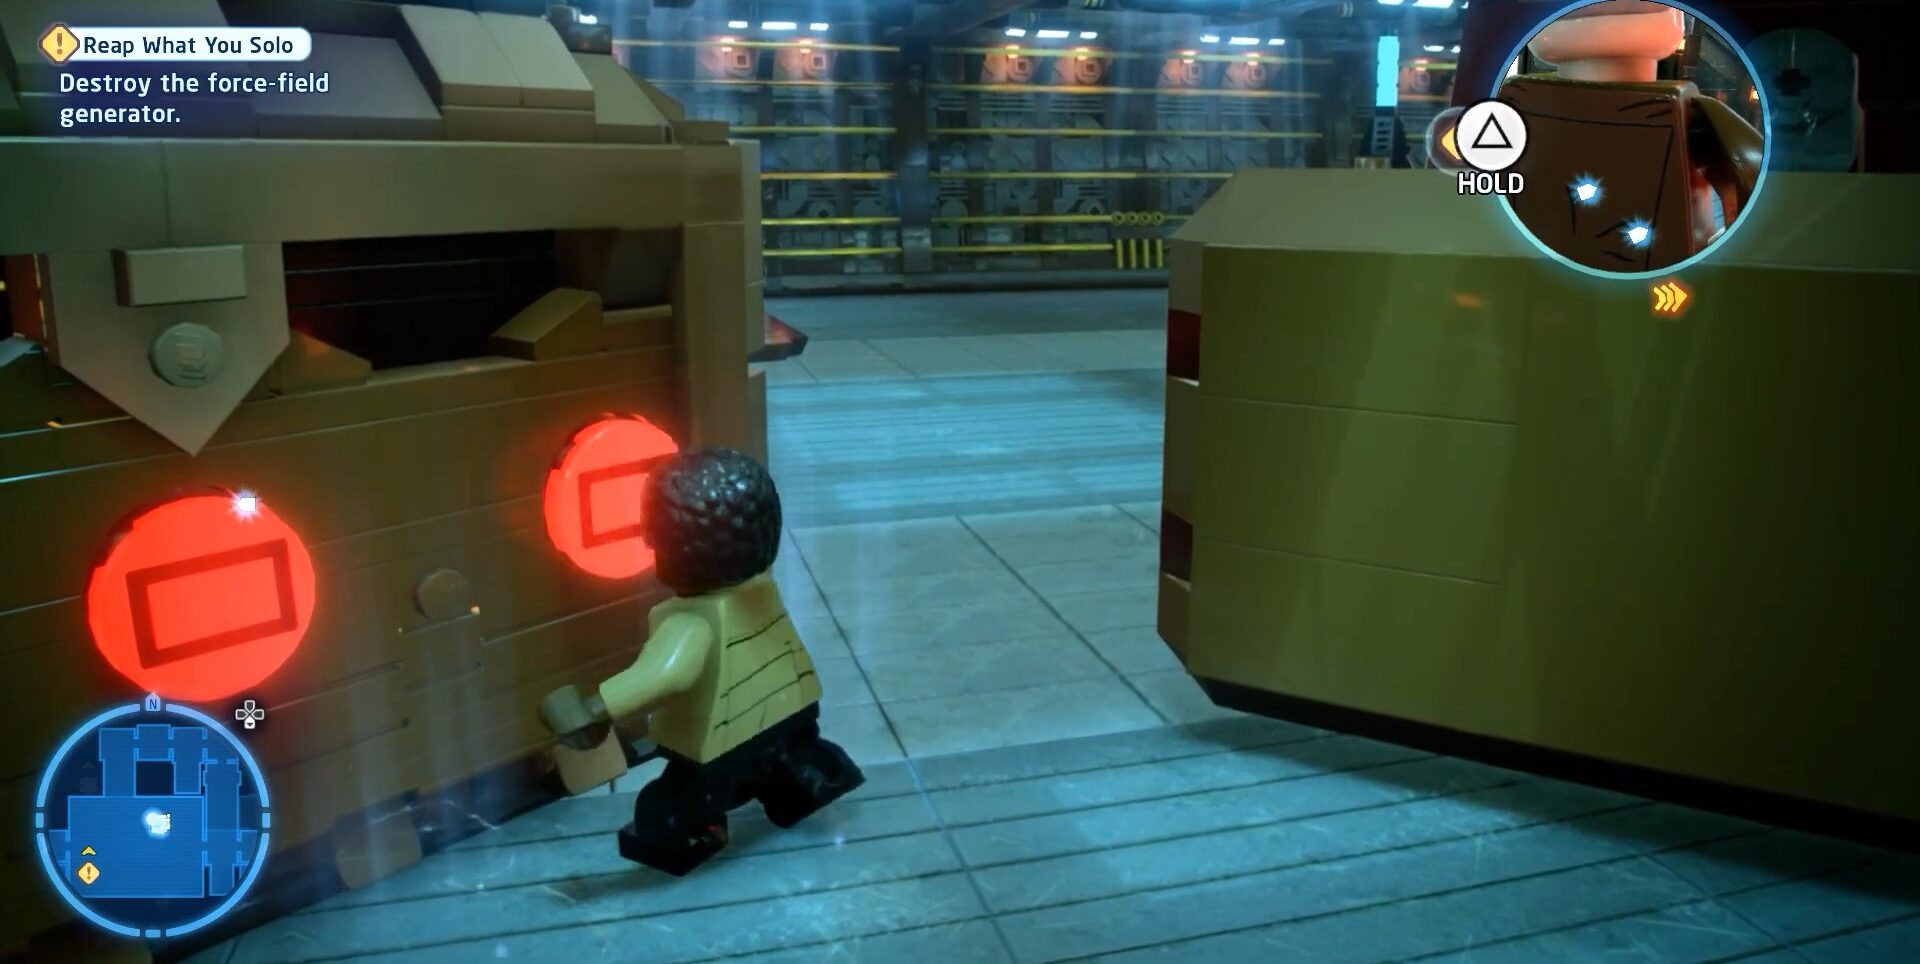
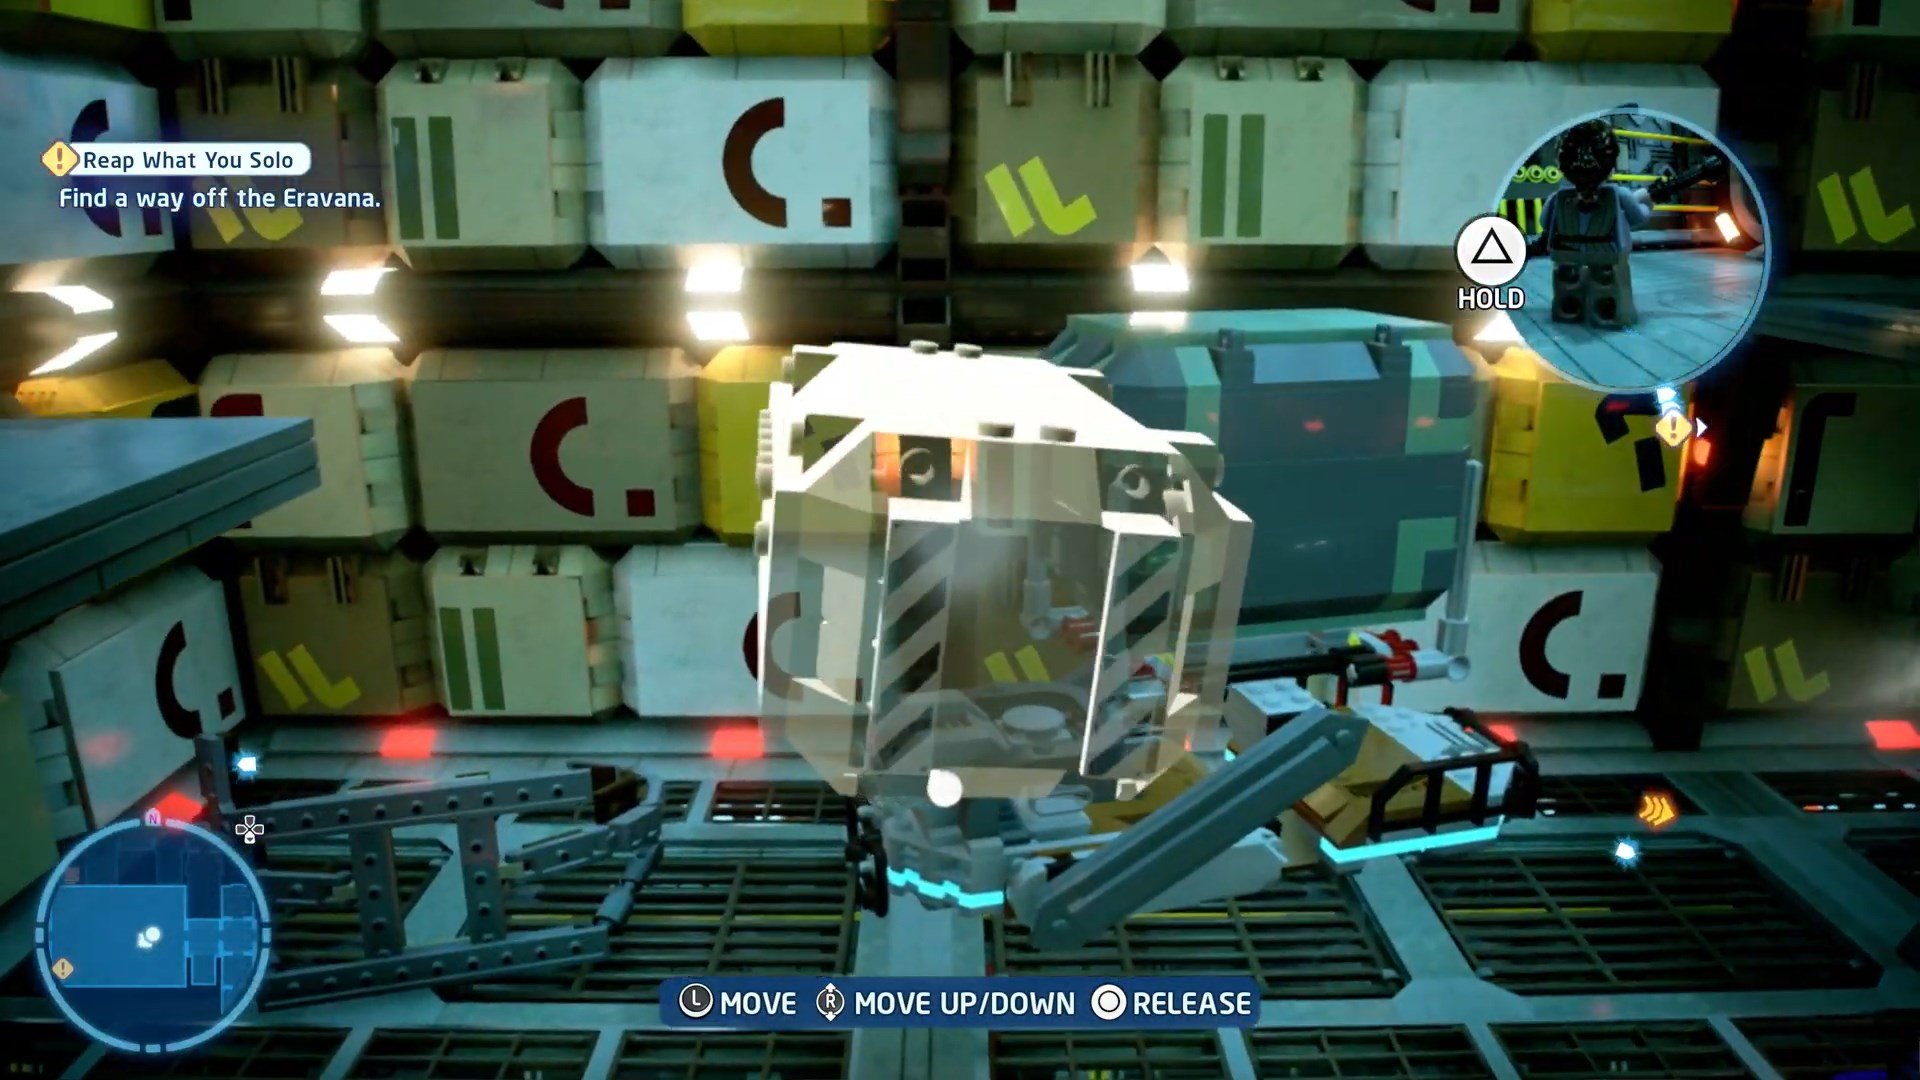
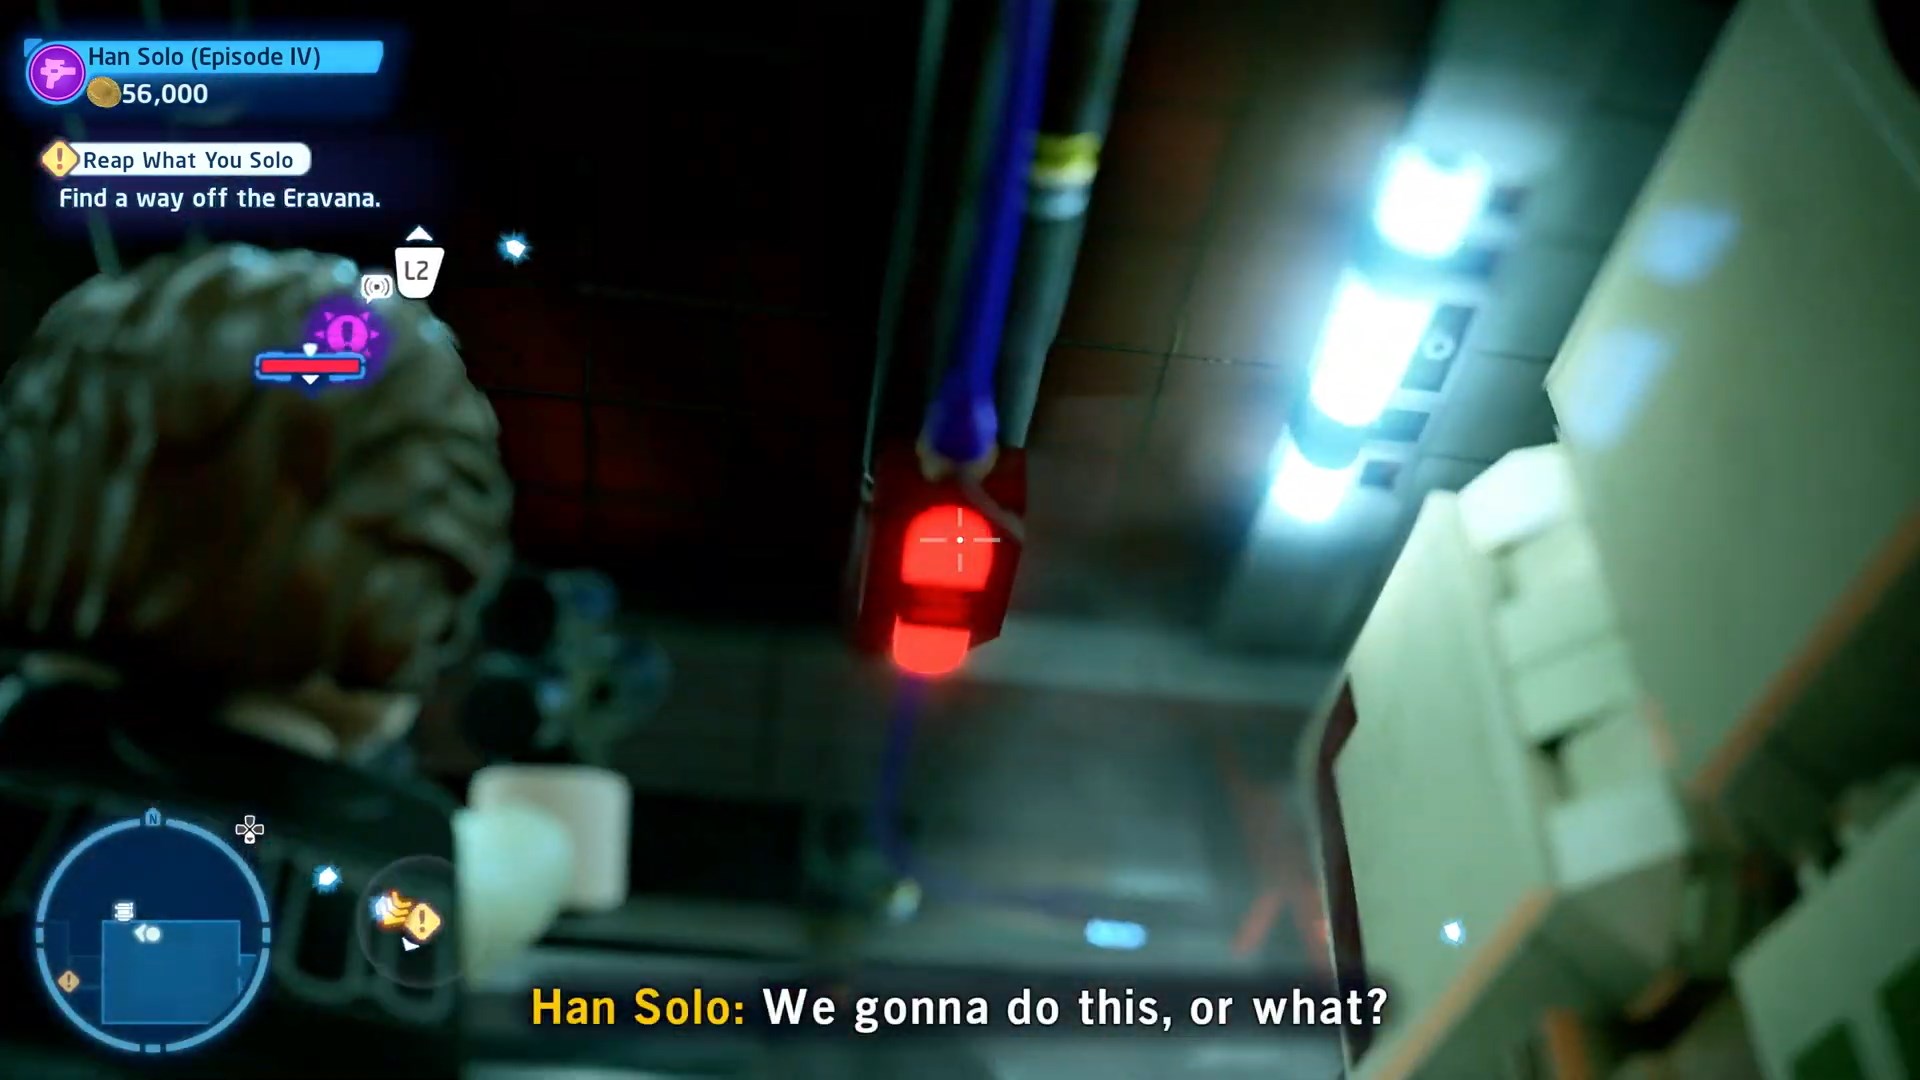
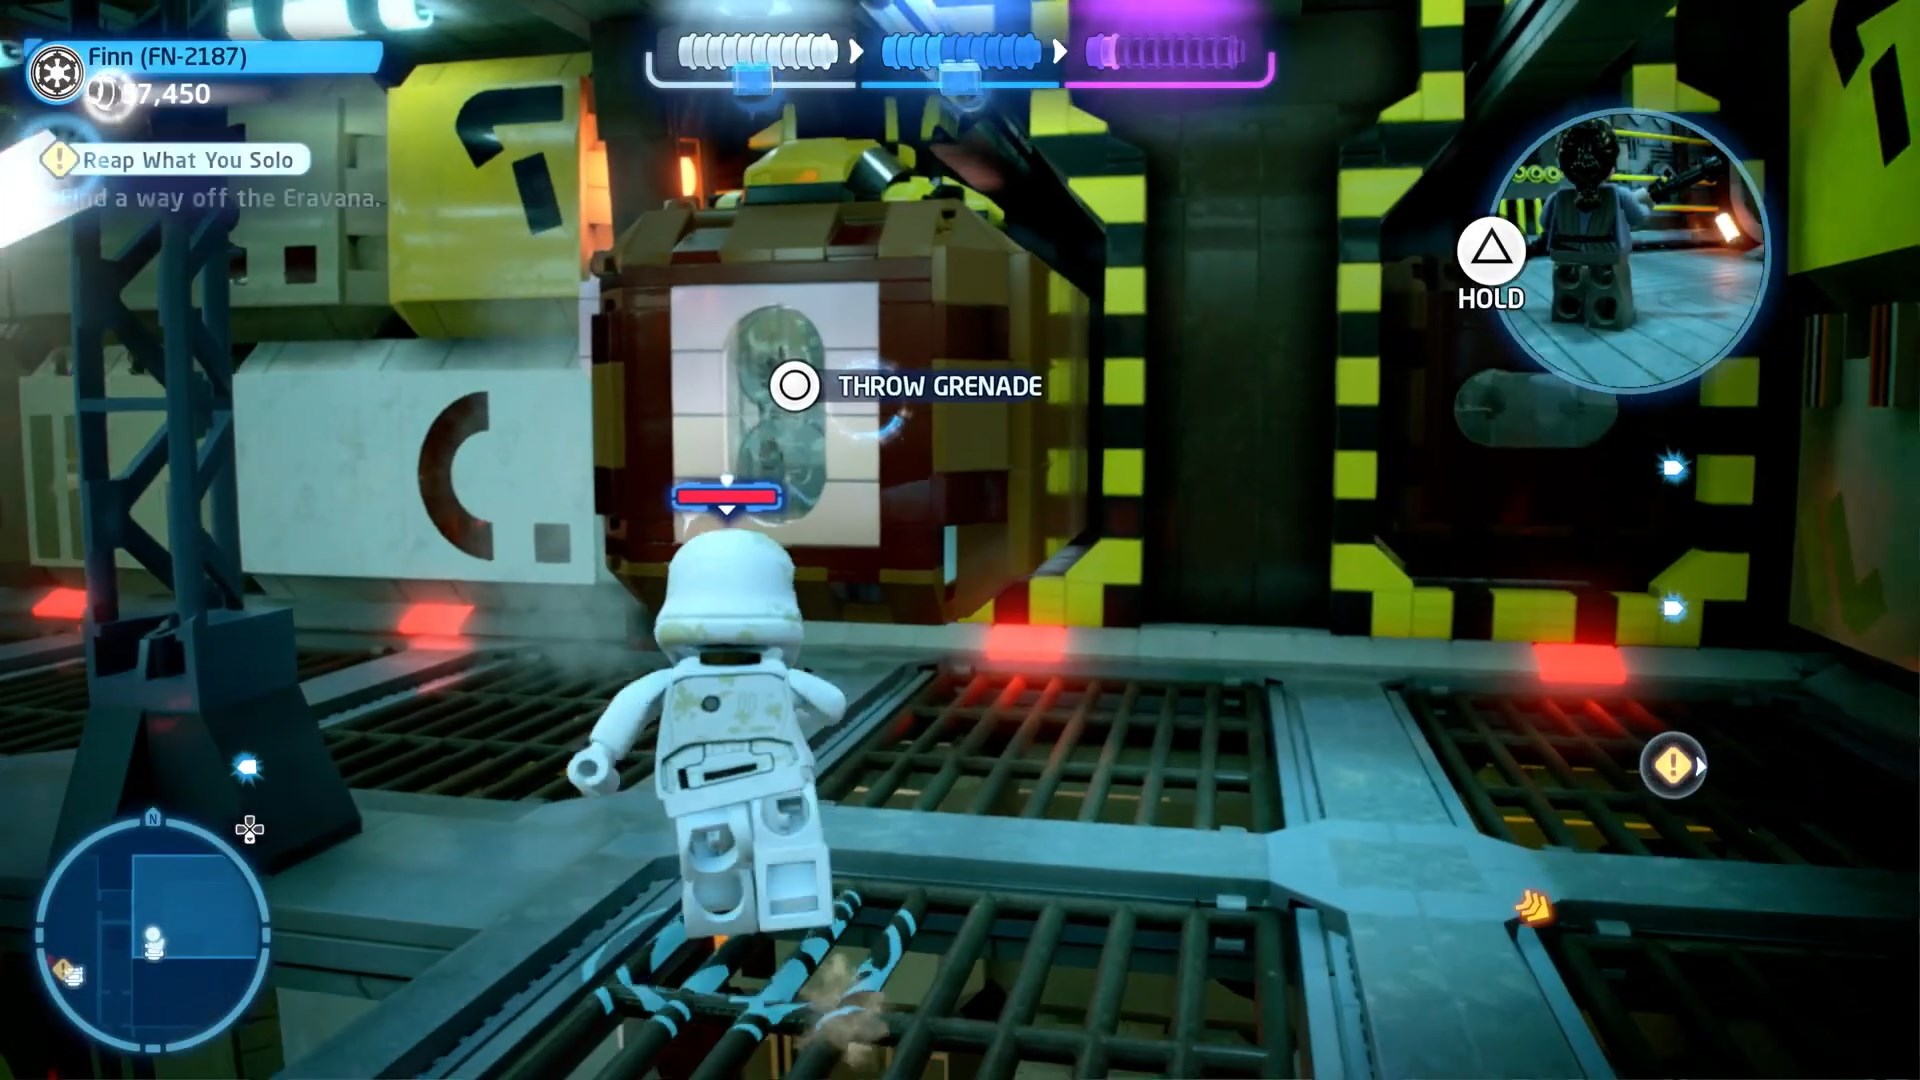
To get the first Minikit of this mission in our list you need a villian character because you will have to destroy the door with grenade behind that door is little space than again another door first Minikit is placed at that little space after destroying that door you need to jump over there because surface underneath you will atomatically destroyed. We have attached images below to make it easier to understand

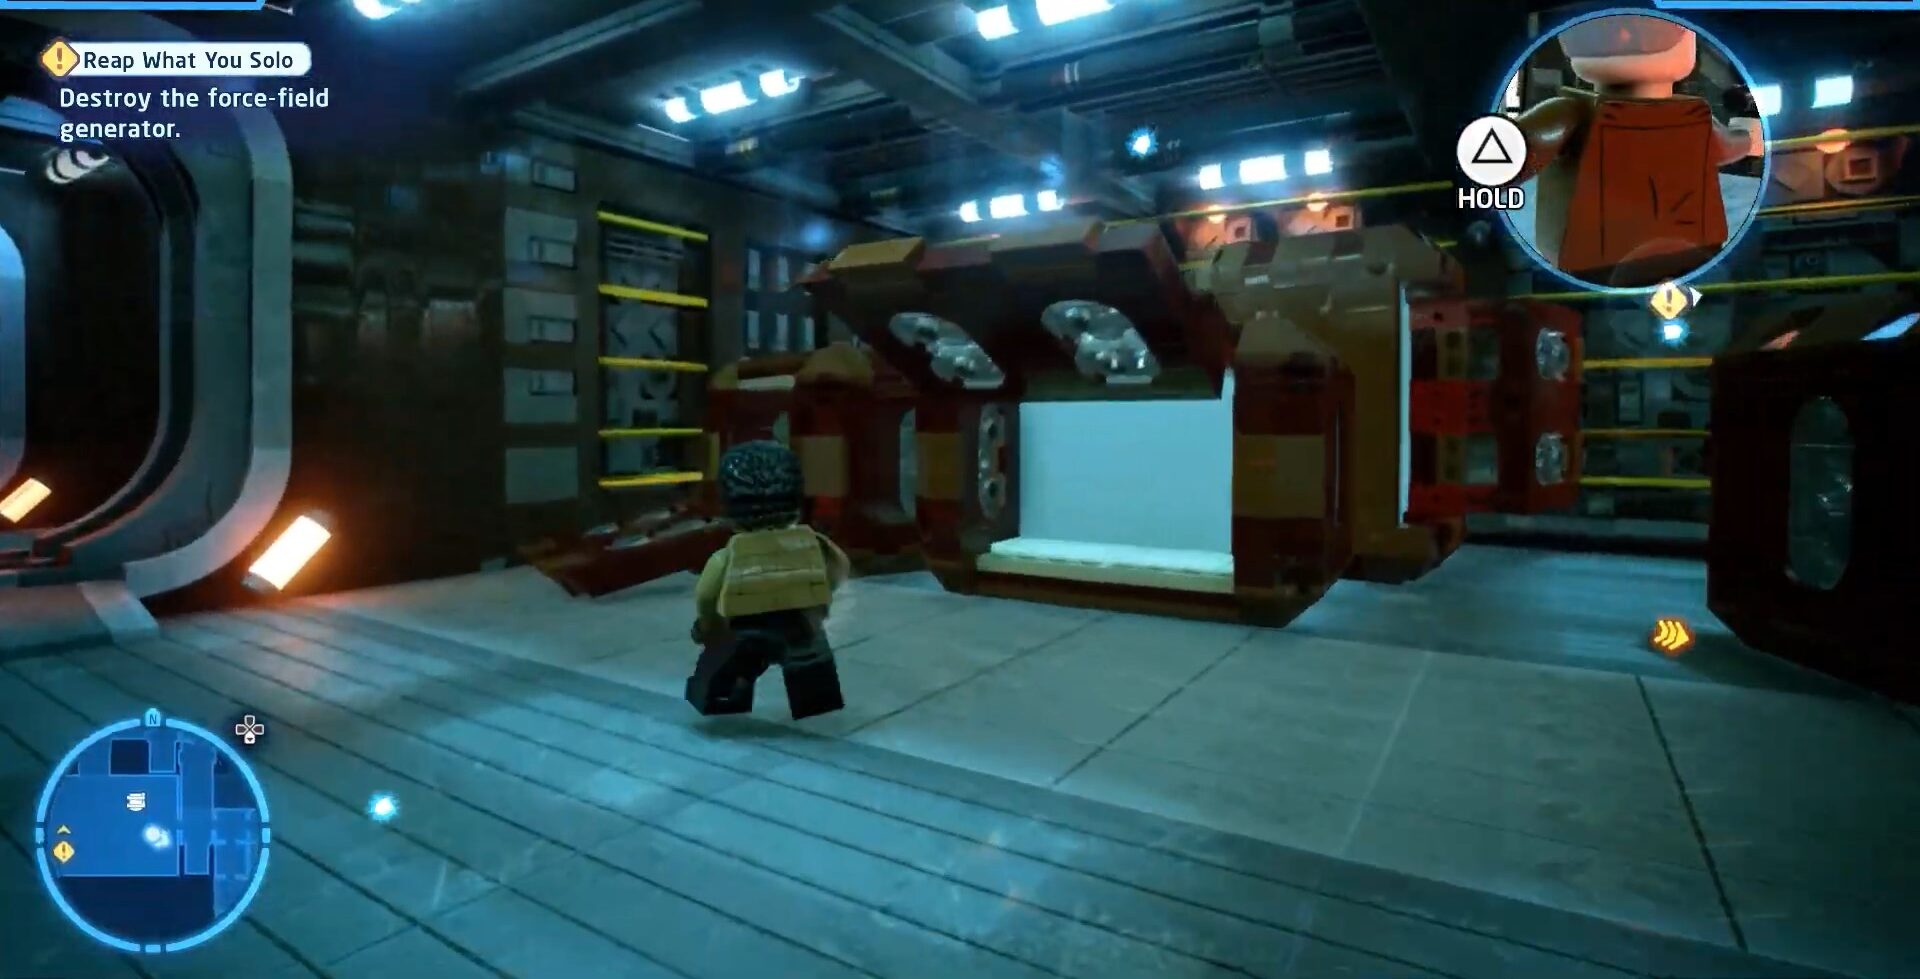
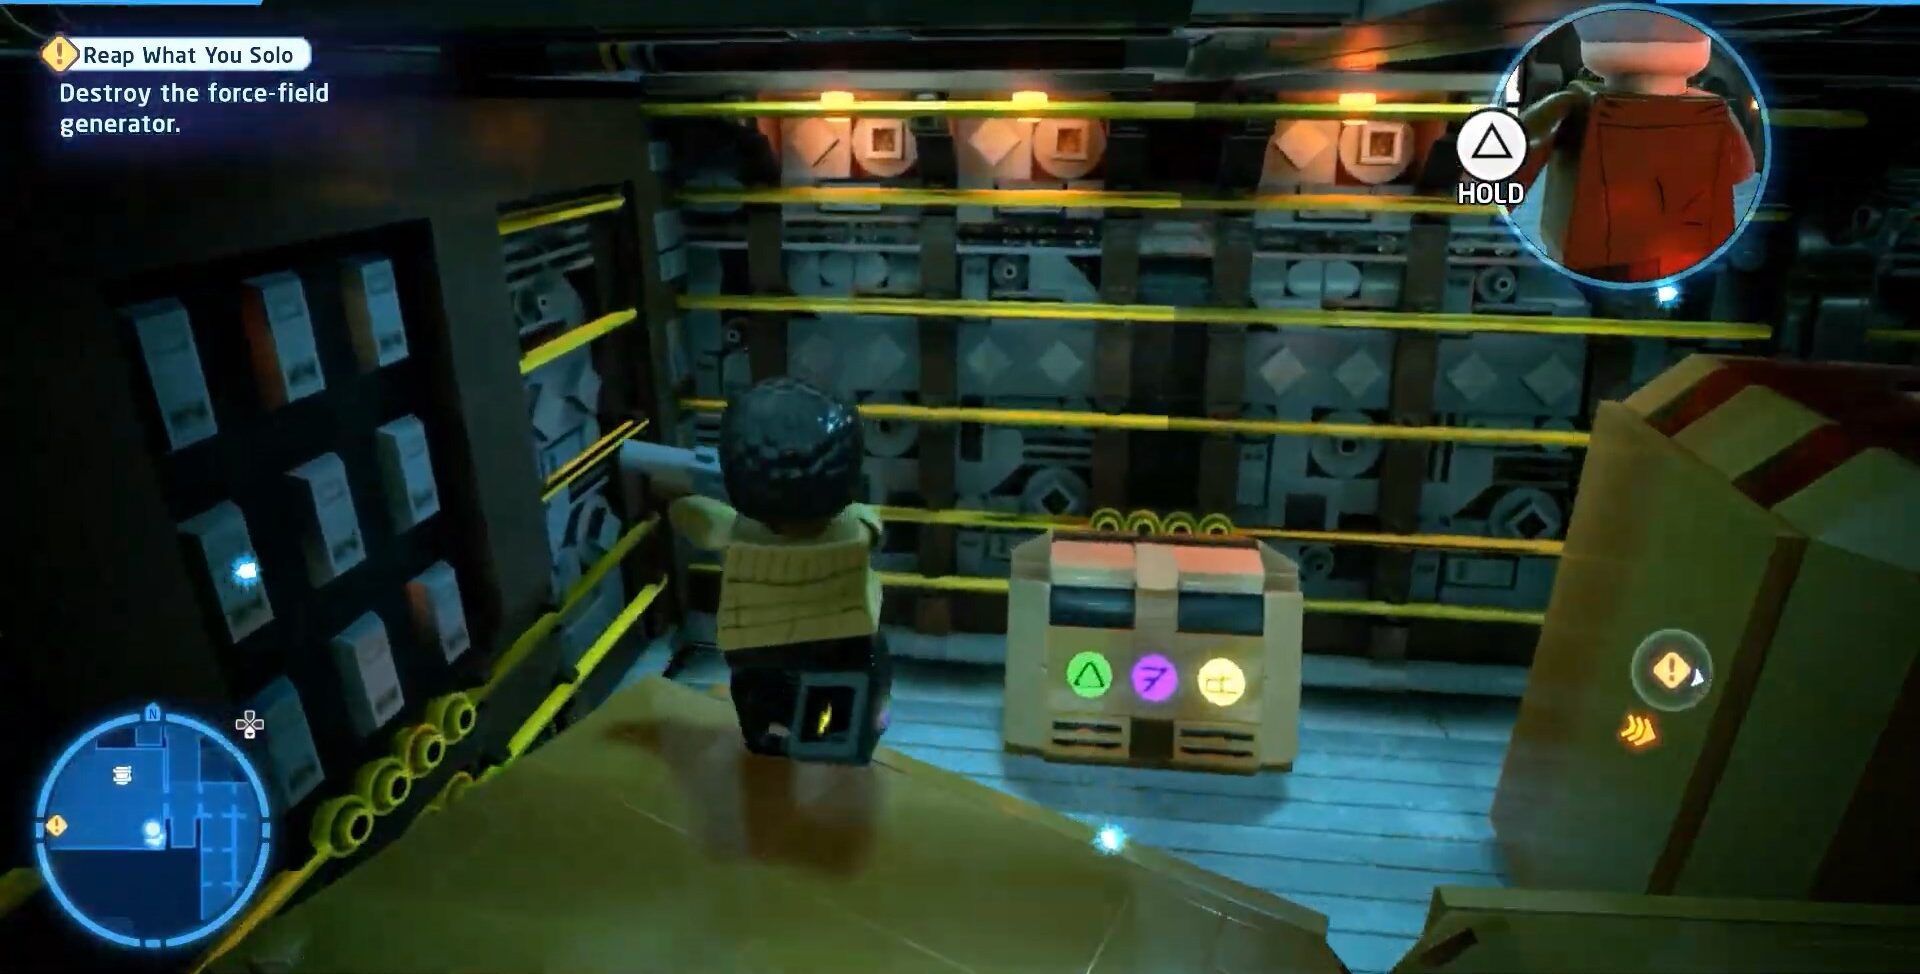
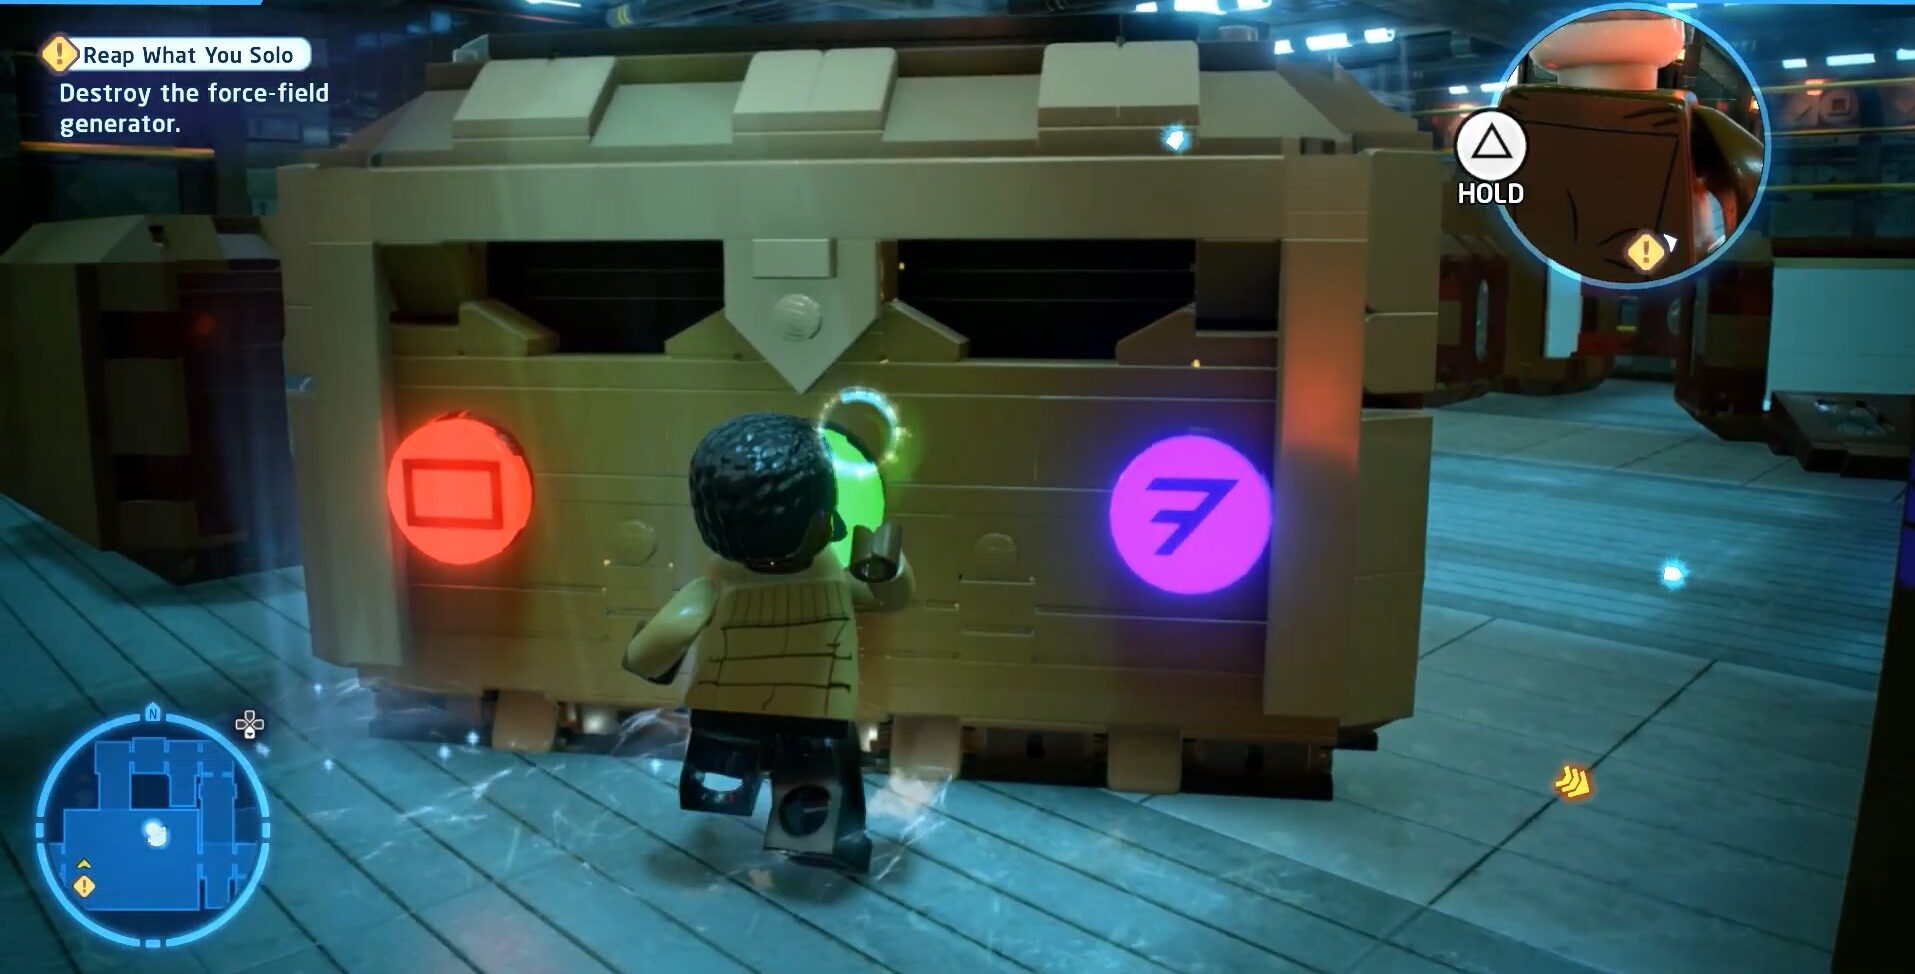
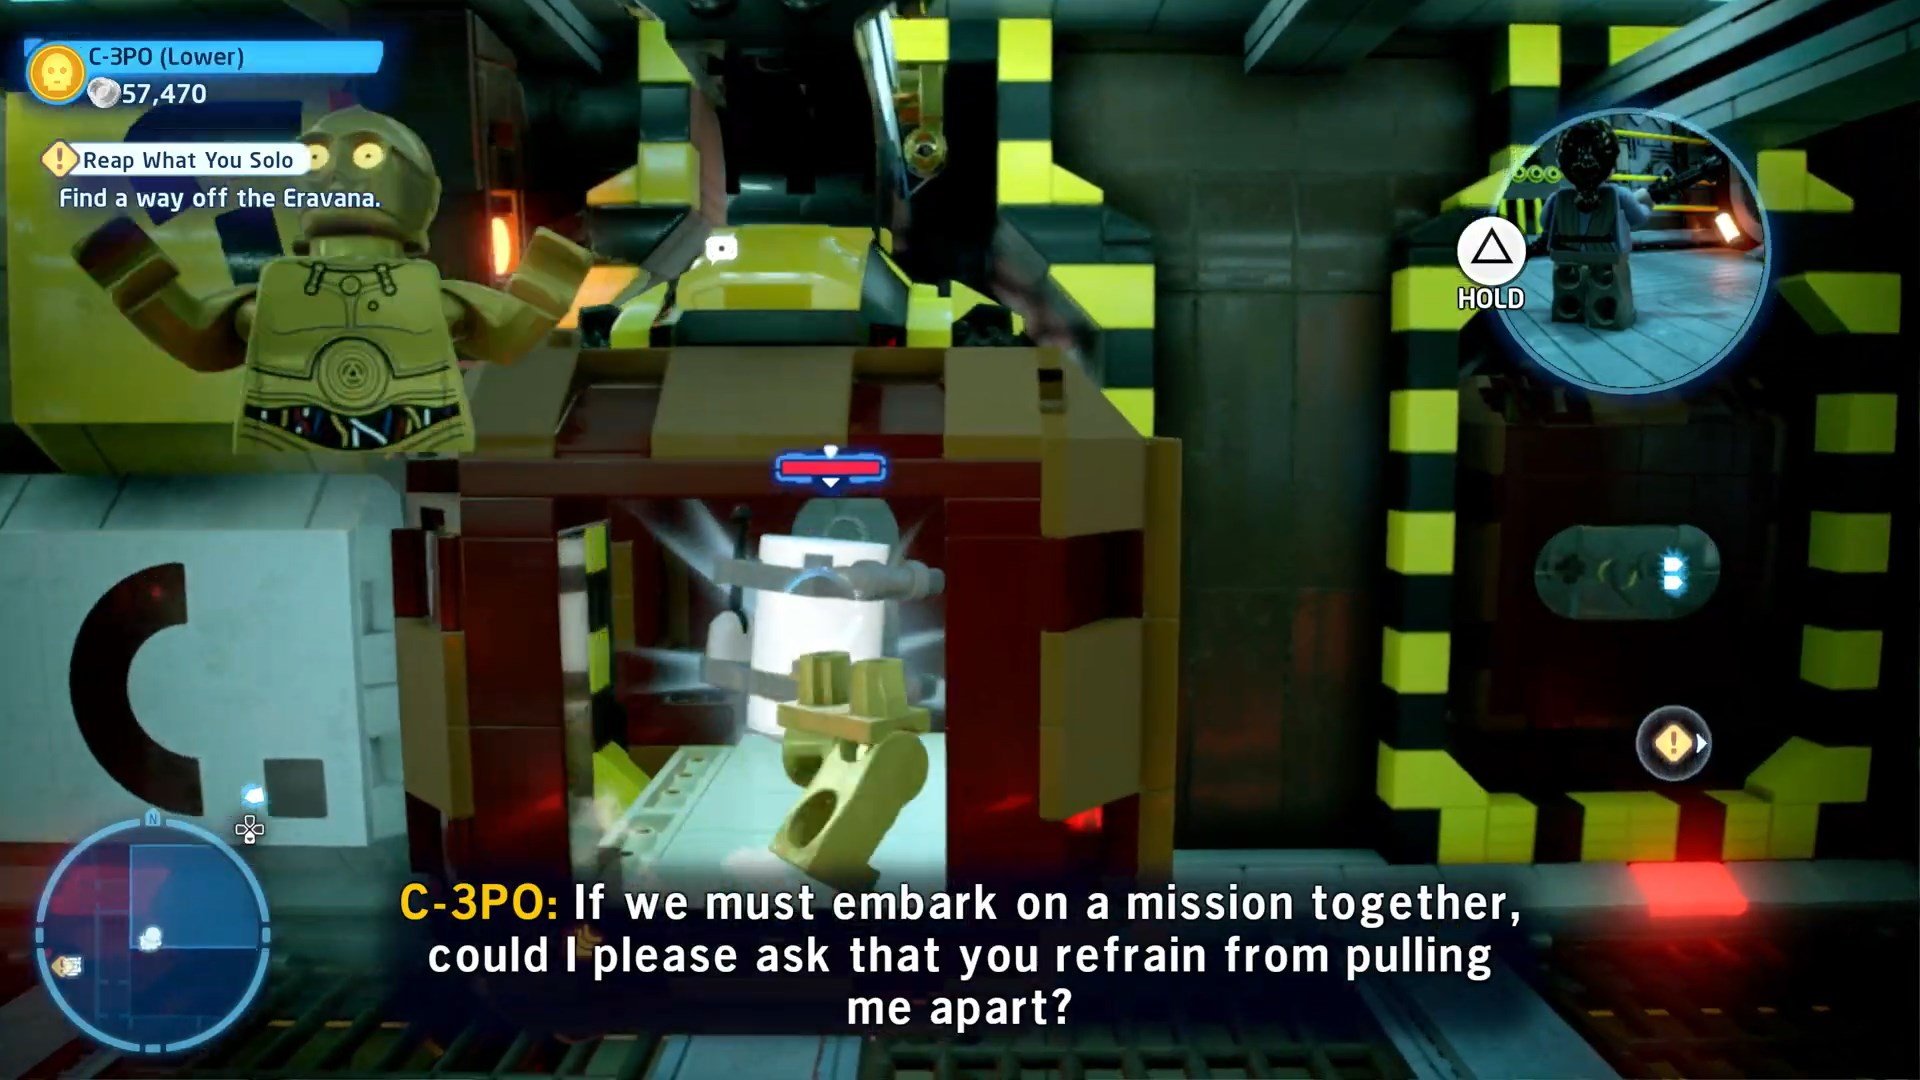
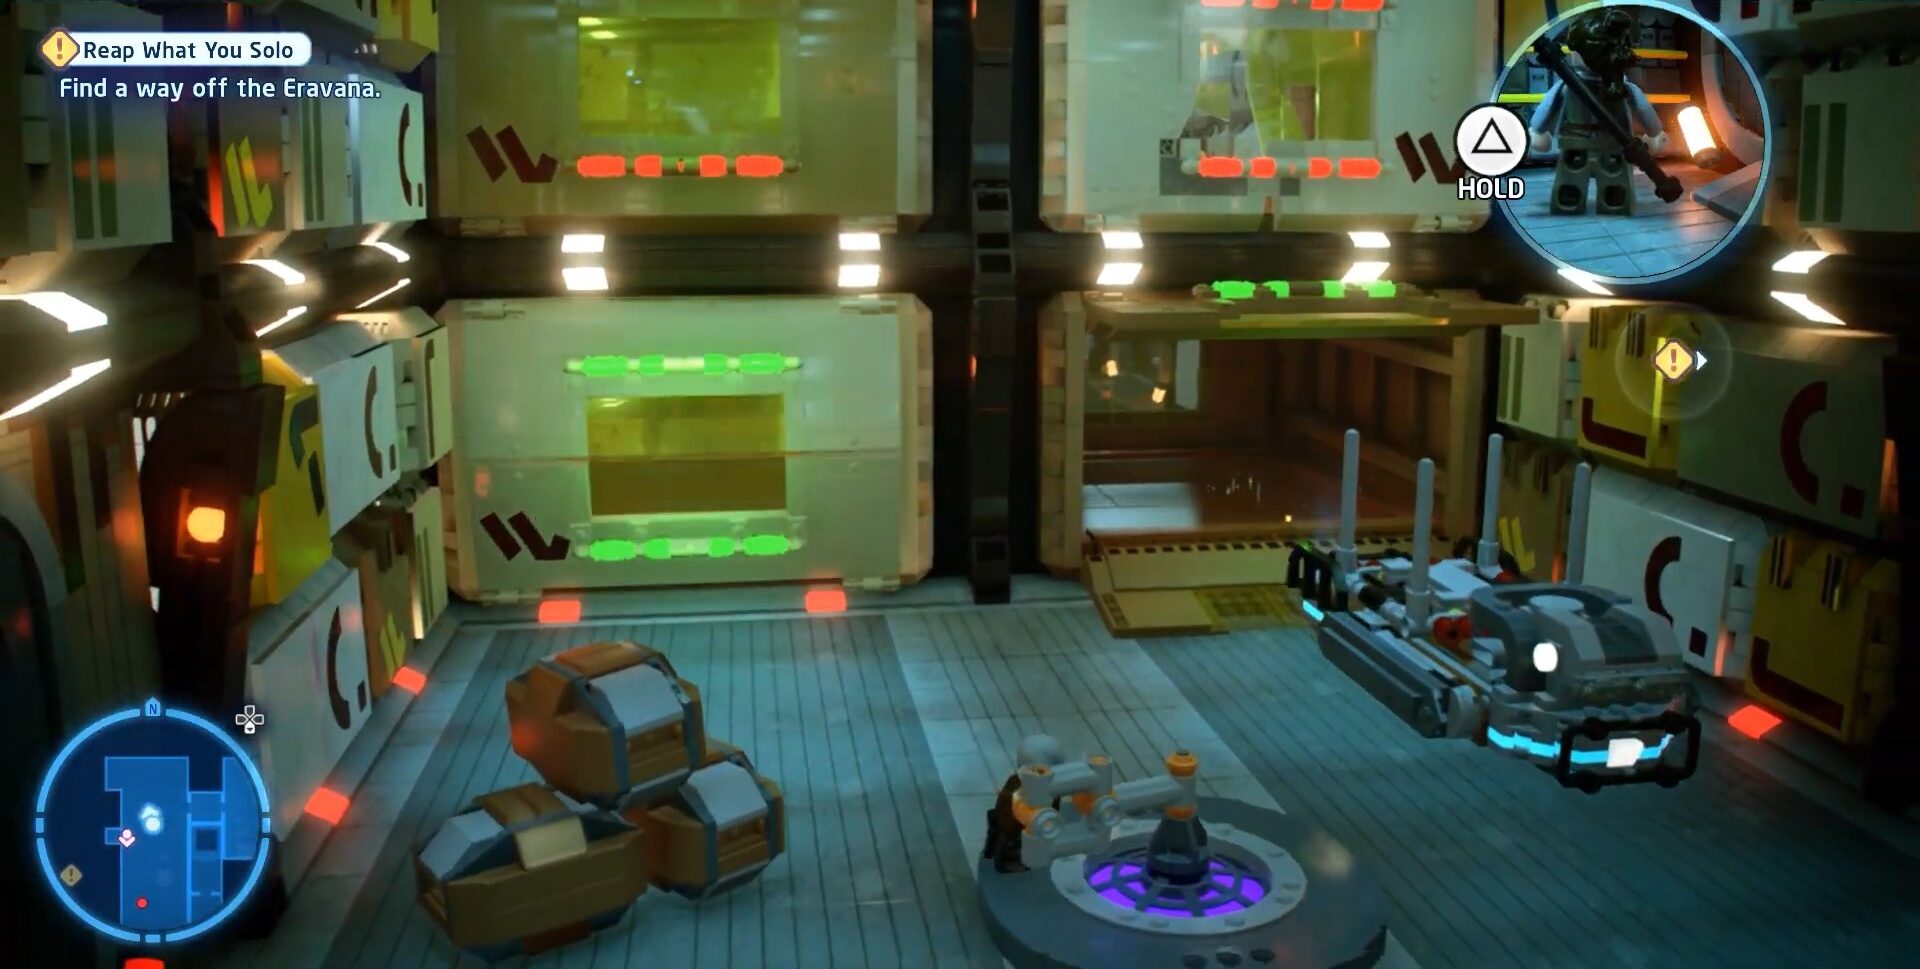
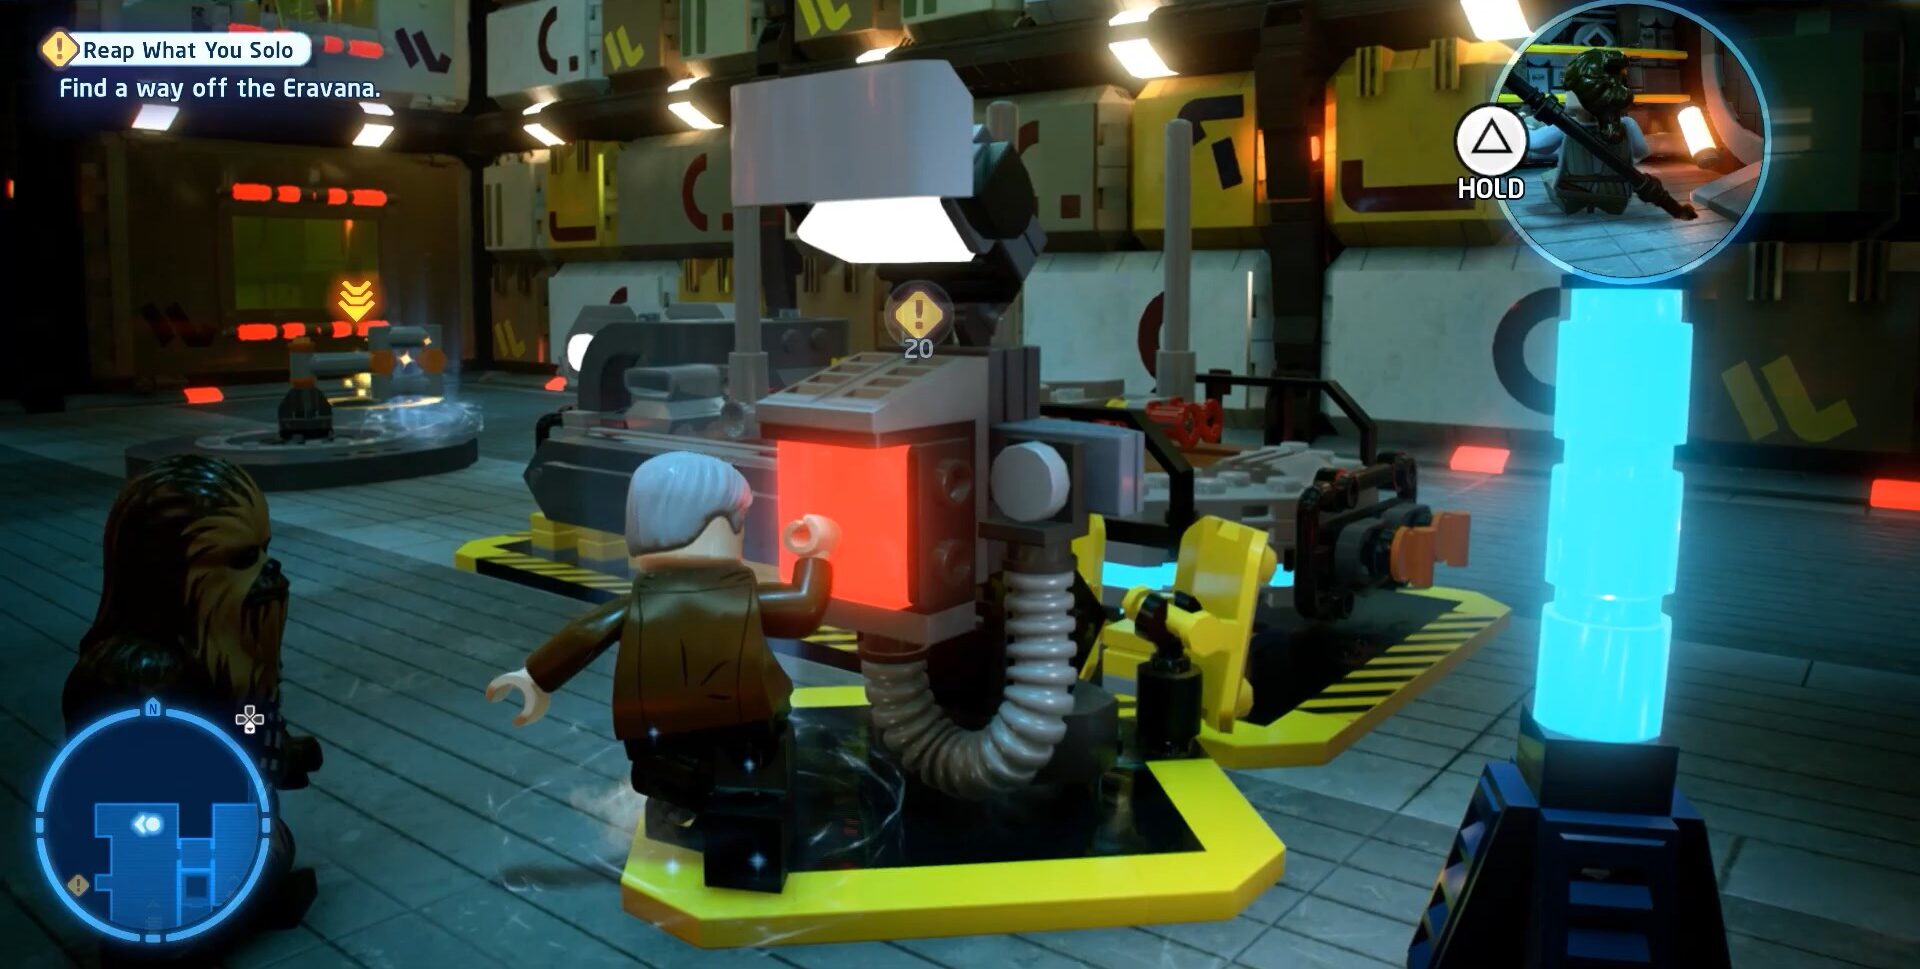
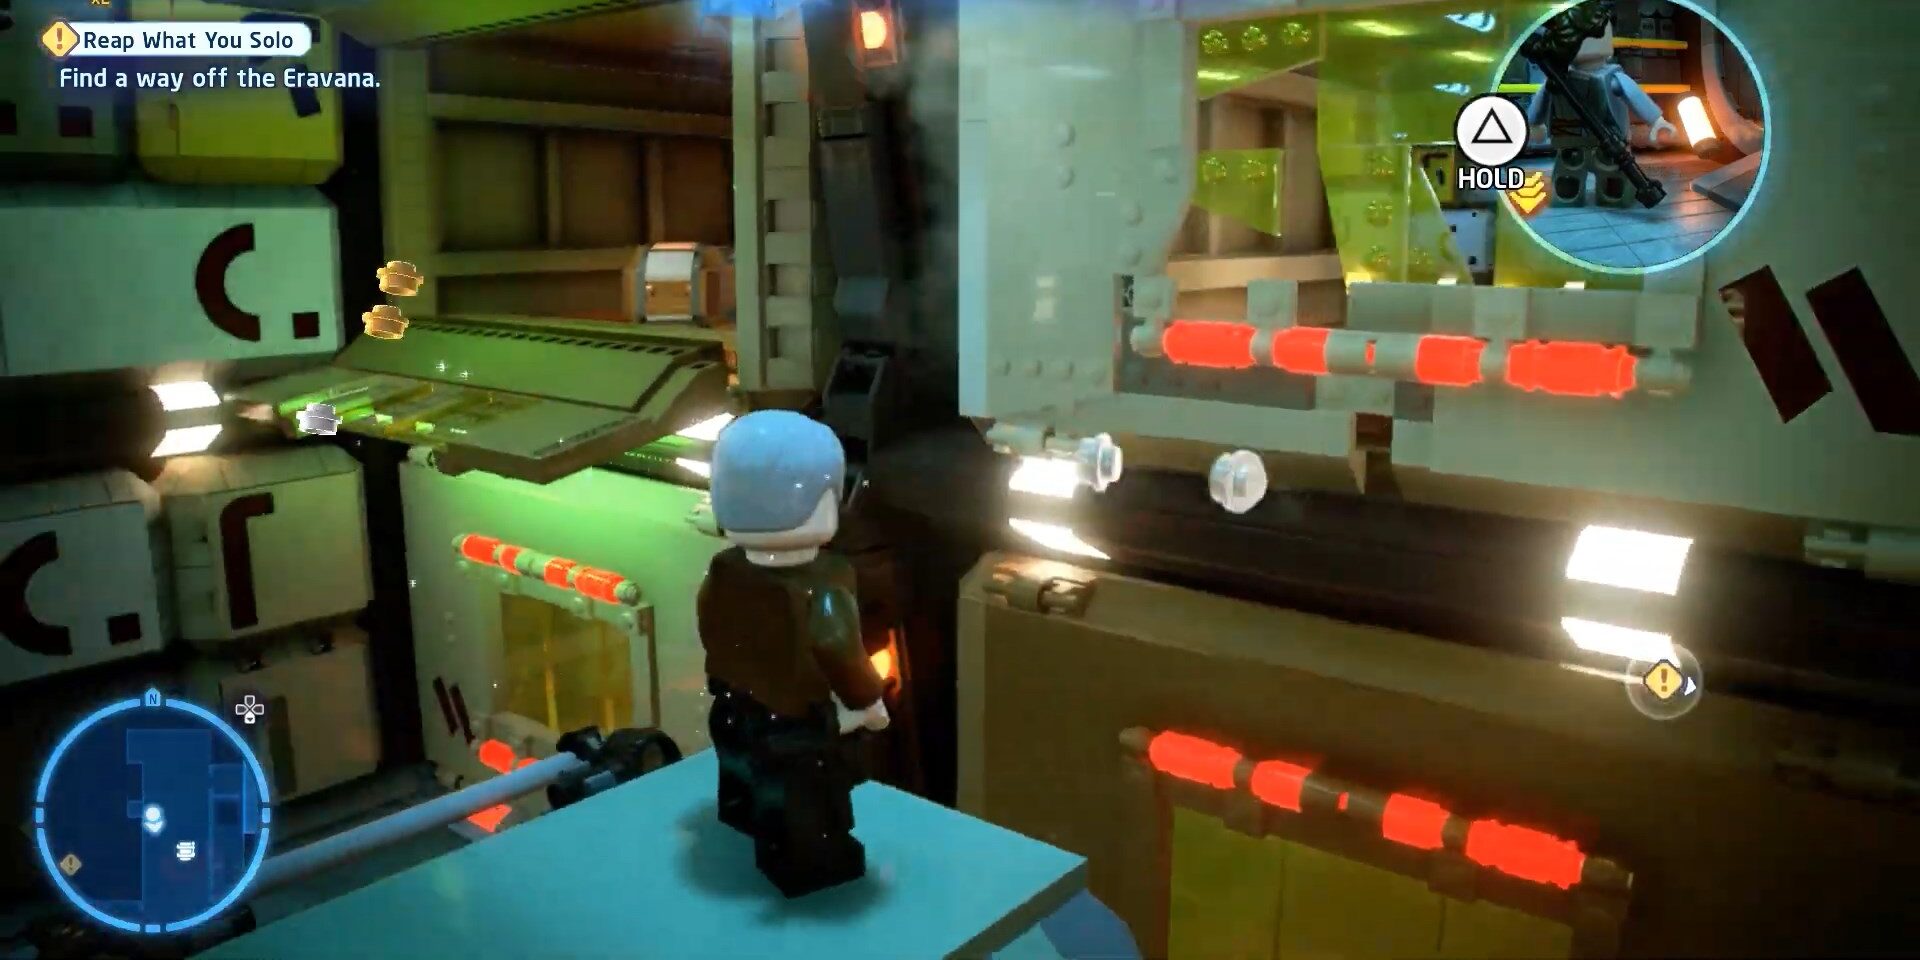
The second Minikit is inside the golden color-locked box. You have to set the exact code on it to open it or maybe it is a kind of puzzle. How you have to set it well that you can find one of the same box located among many boxes near each other. We have attached images below to make it easier for you
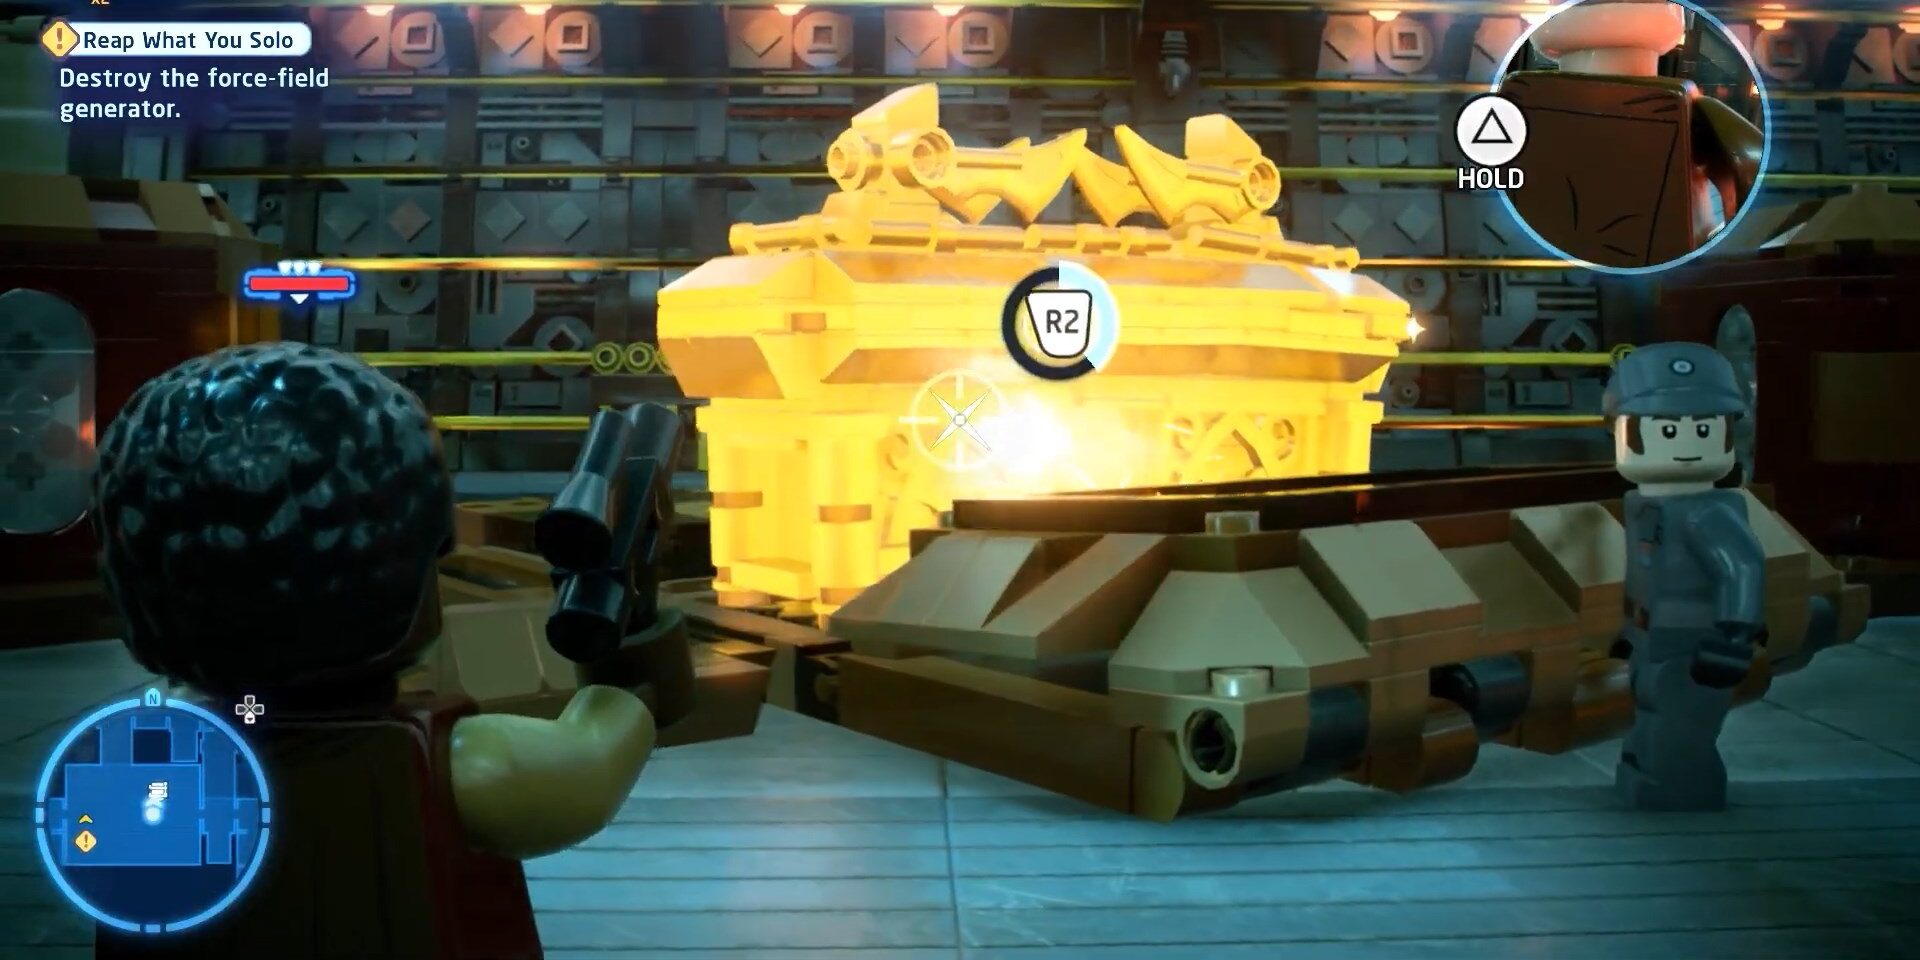
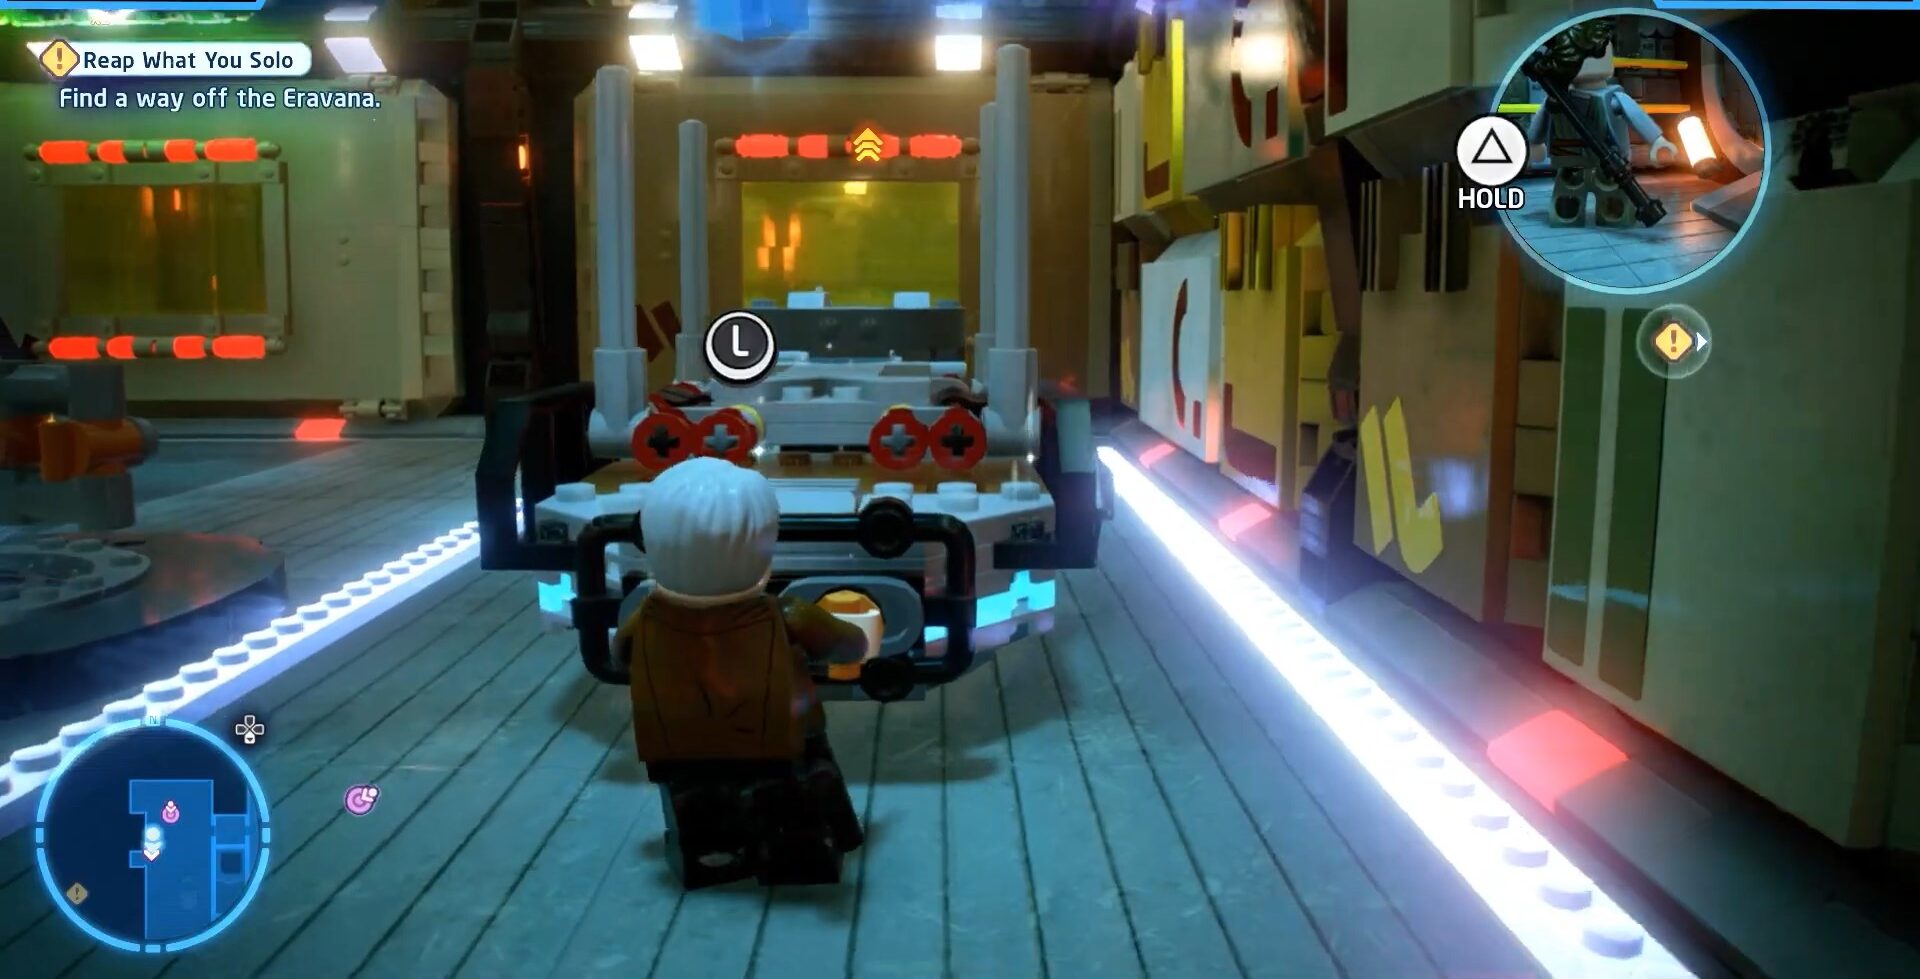
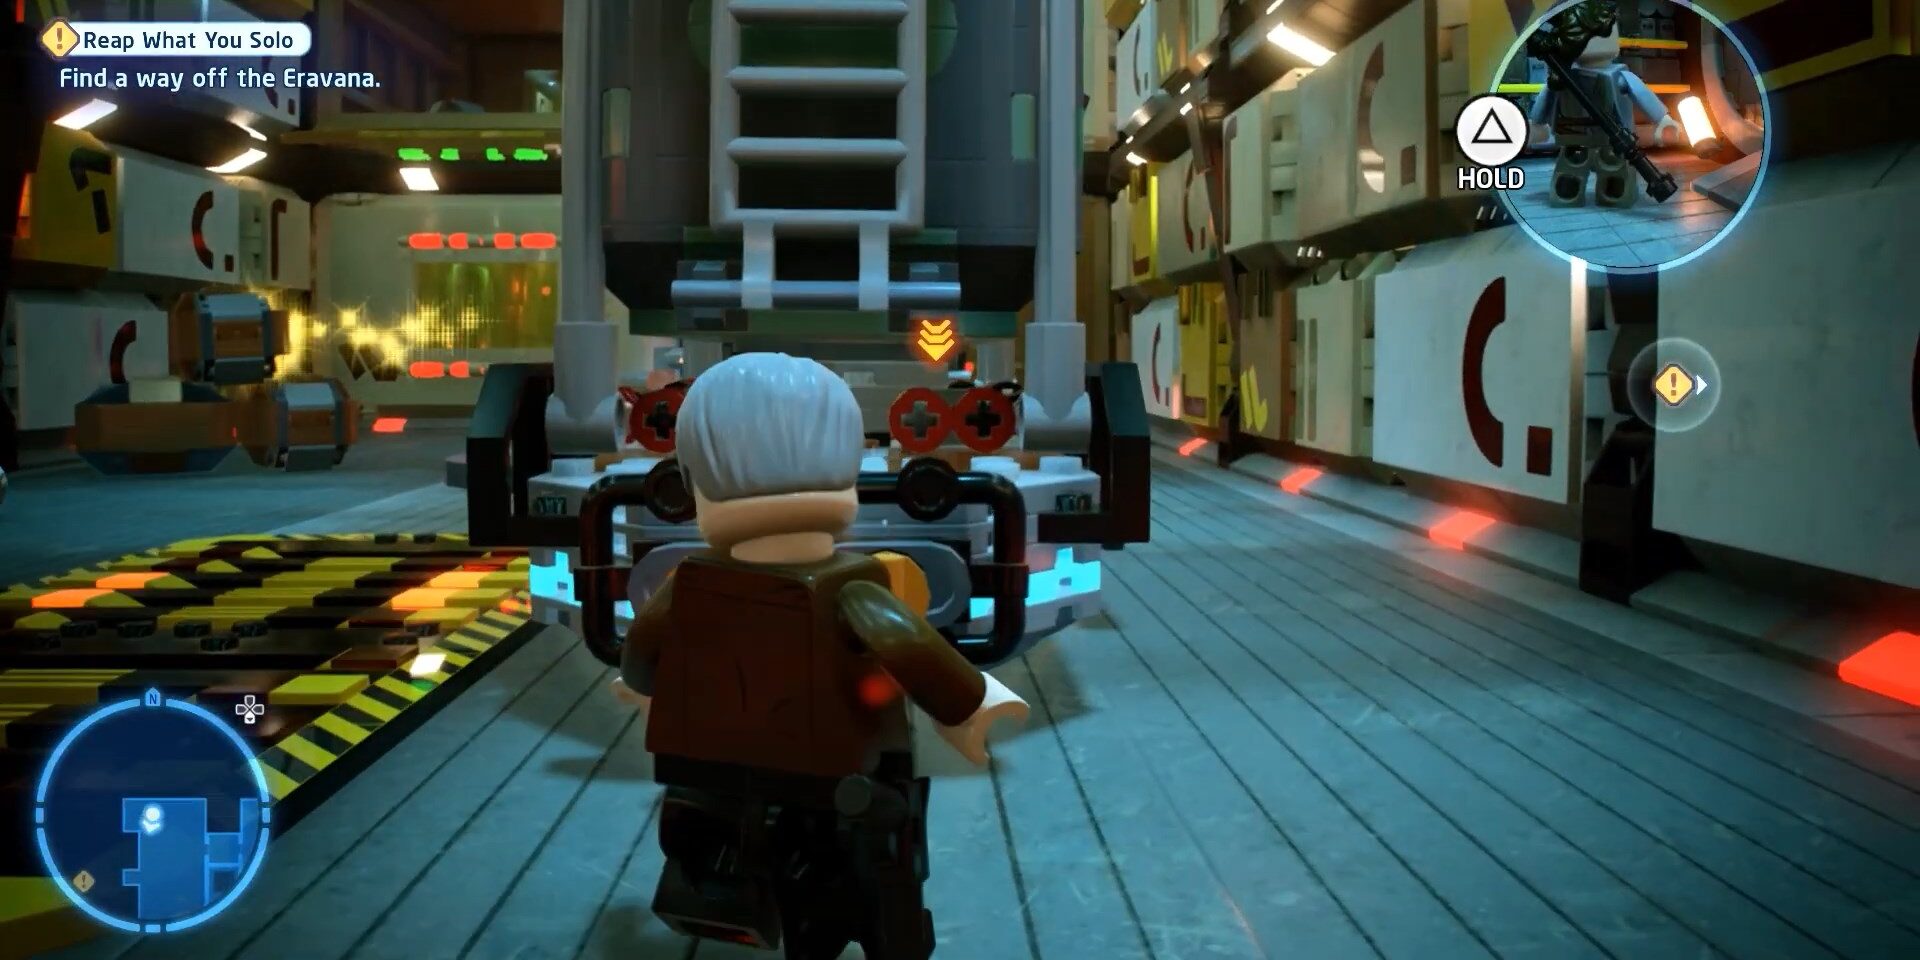
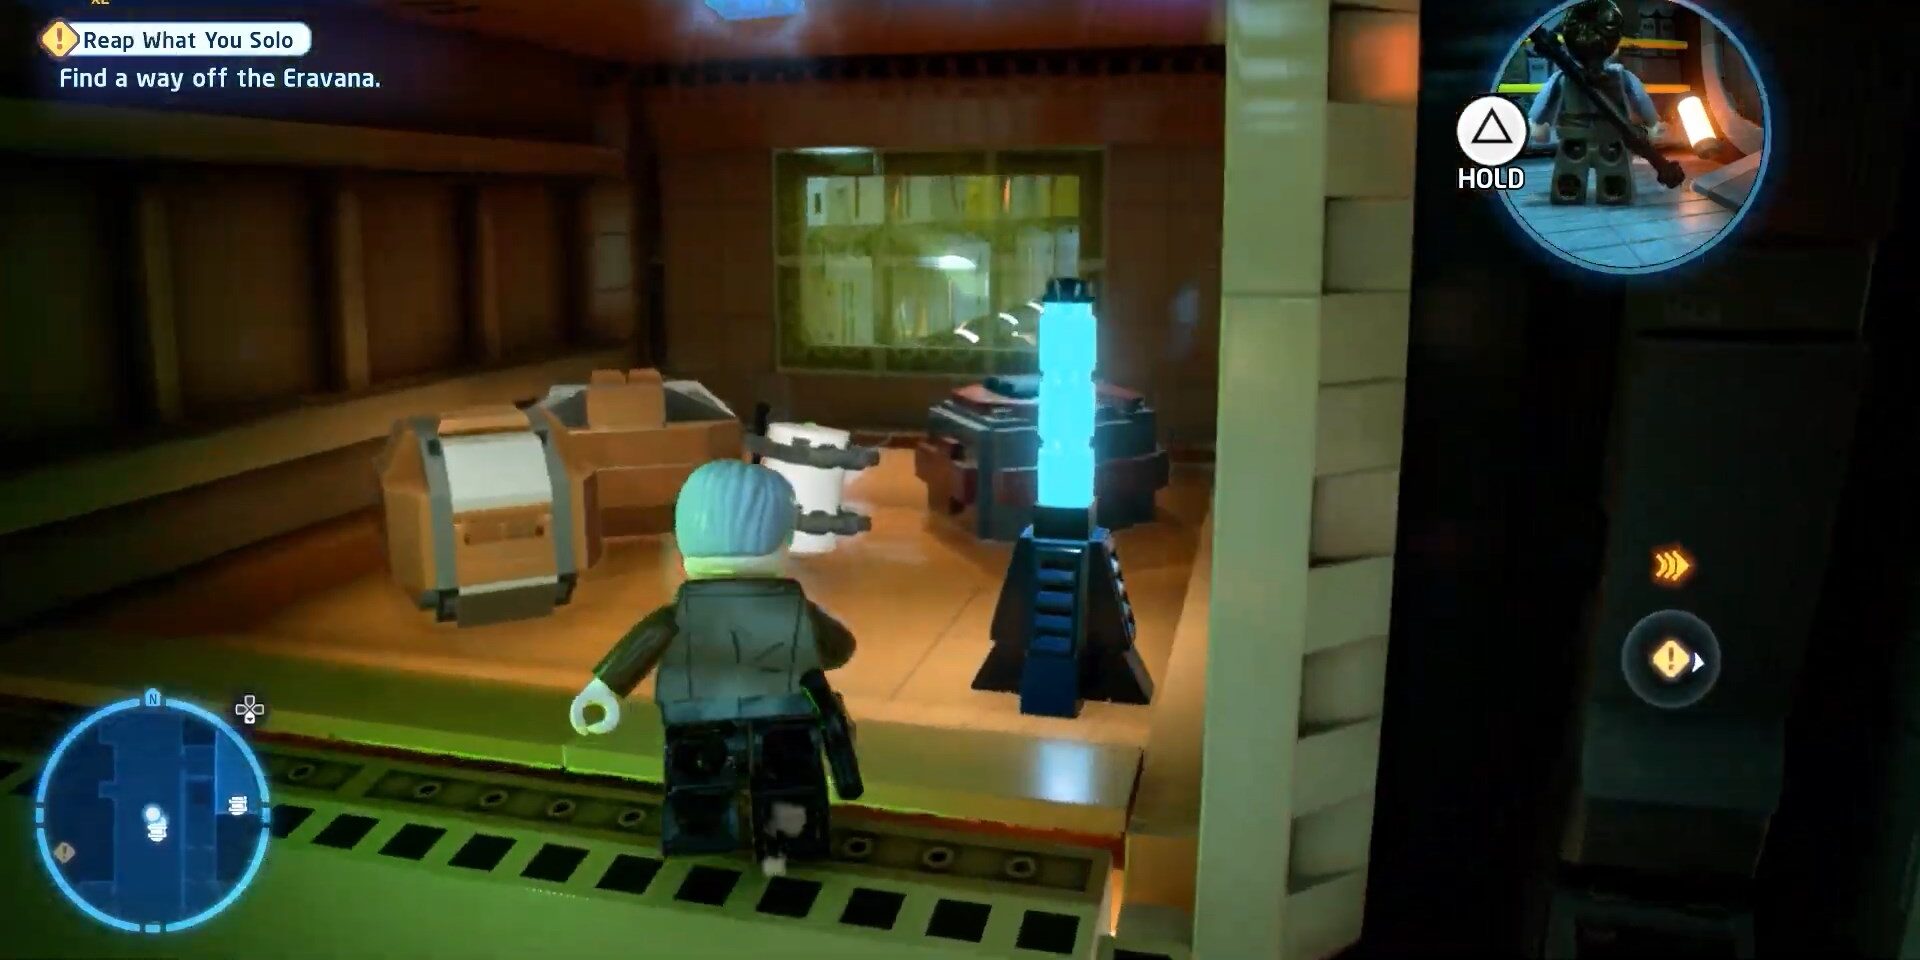
Third Minikit is at the top area inside the block you need to reach there in multiple ways once you reach the top area shoot to move the block and then use the grenade to destroy the box inside which you can find the Miniki.
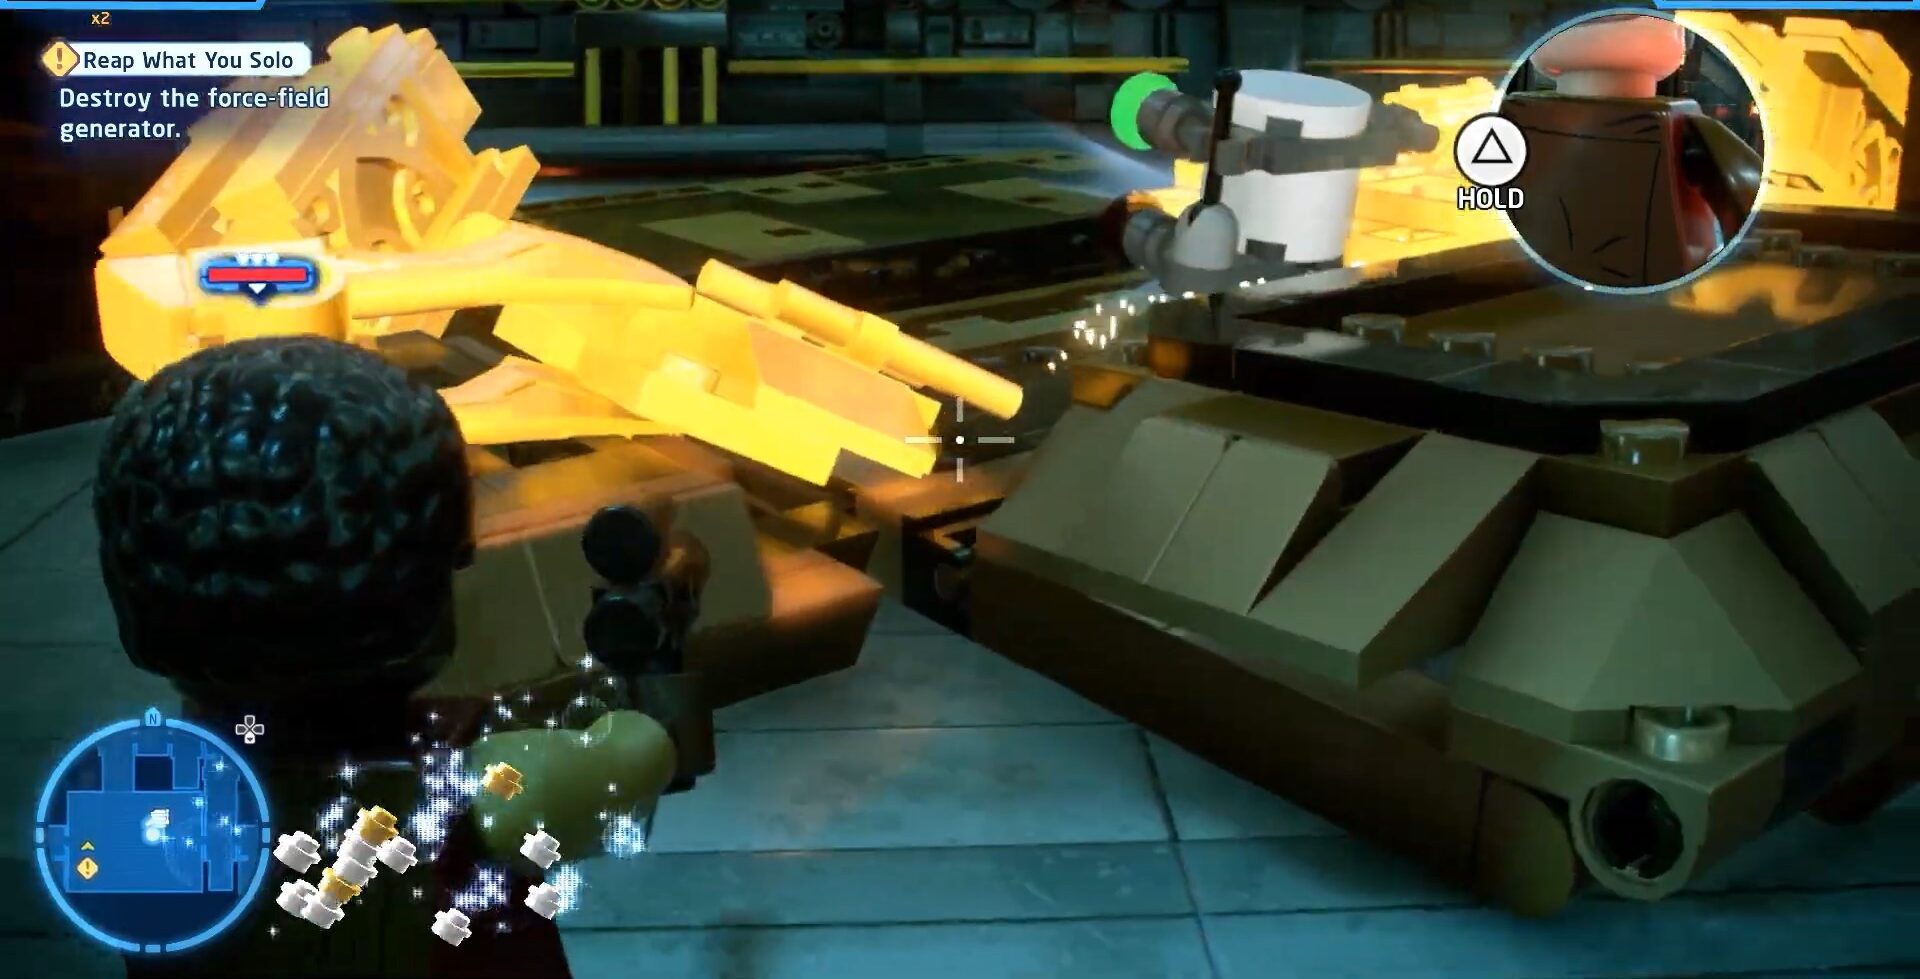
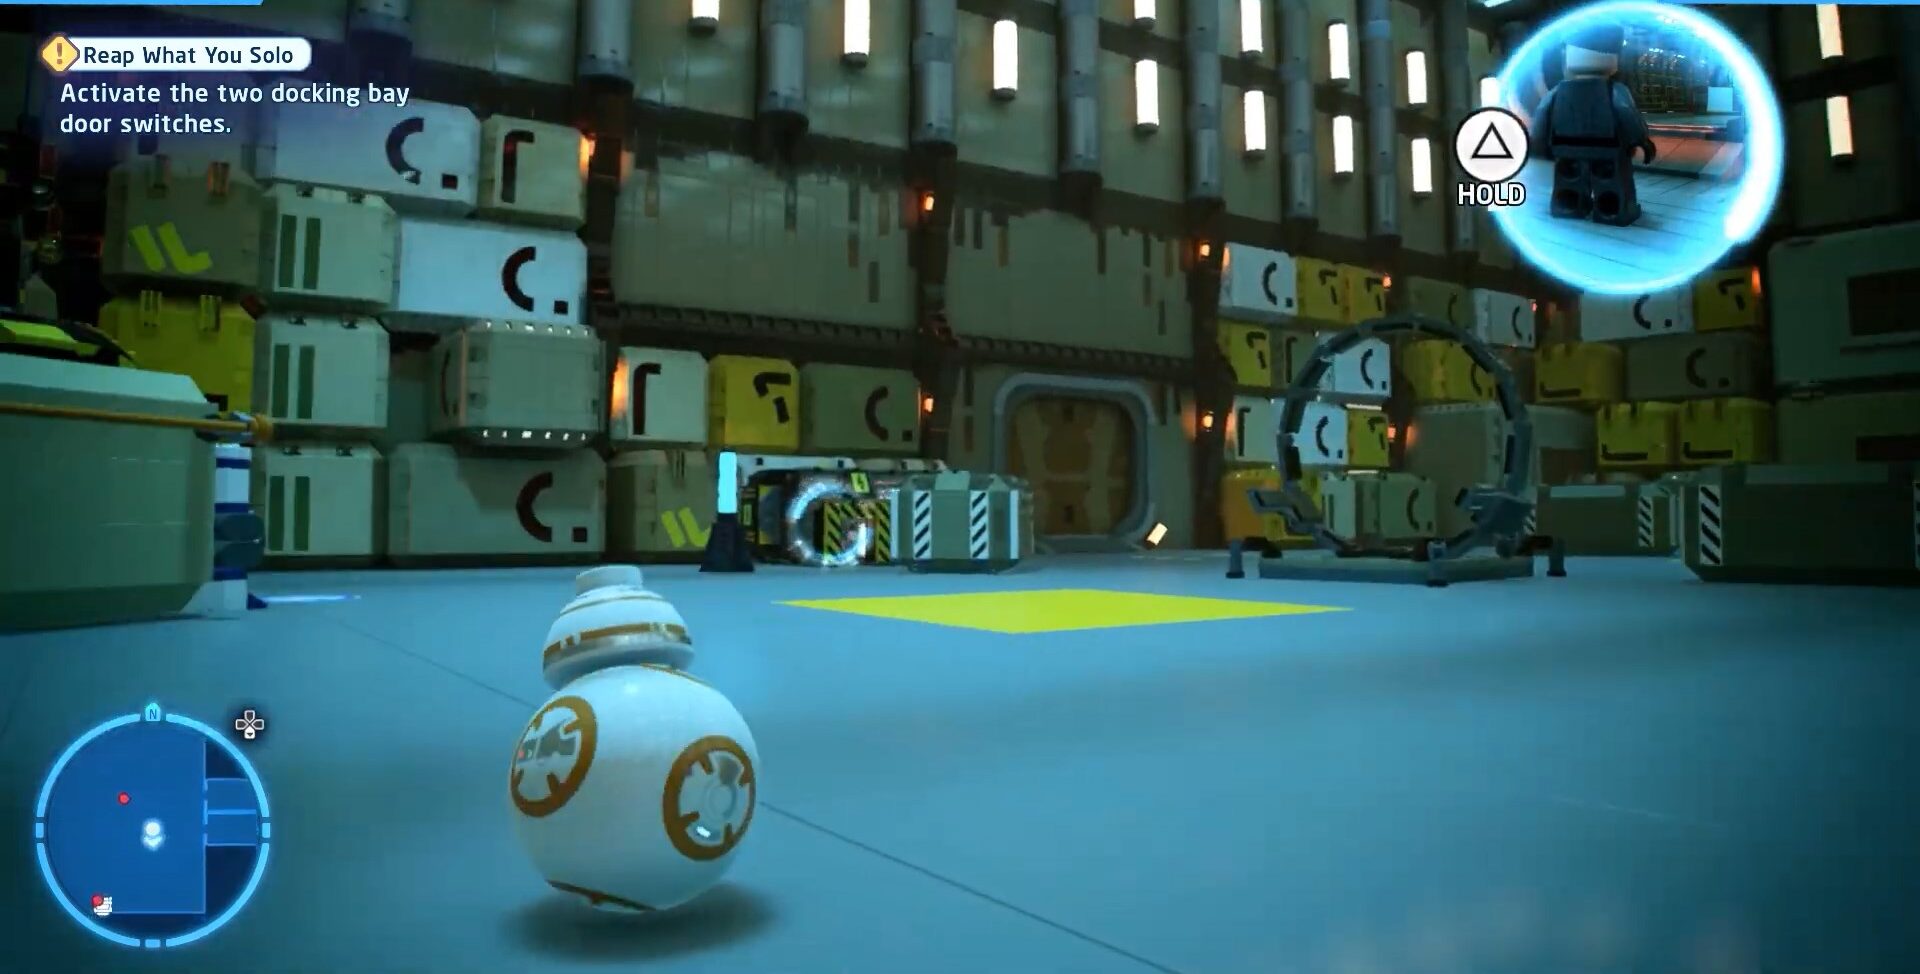
Follow the images attached below to get the fourth Minikit
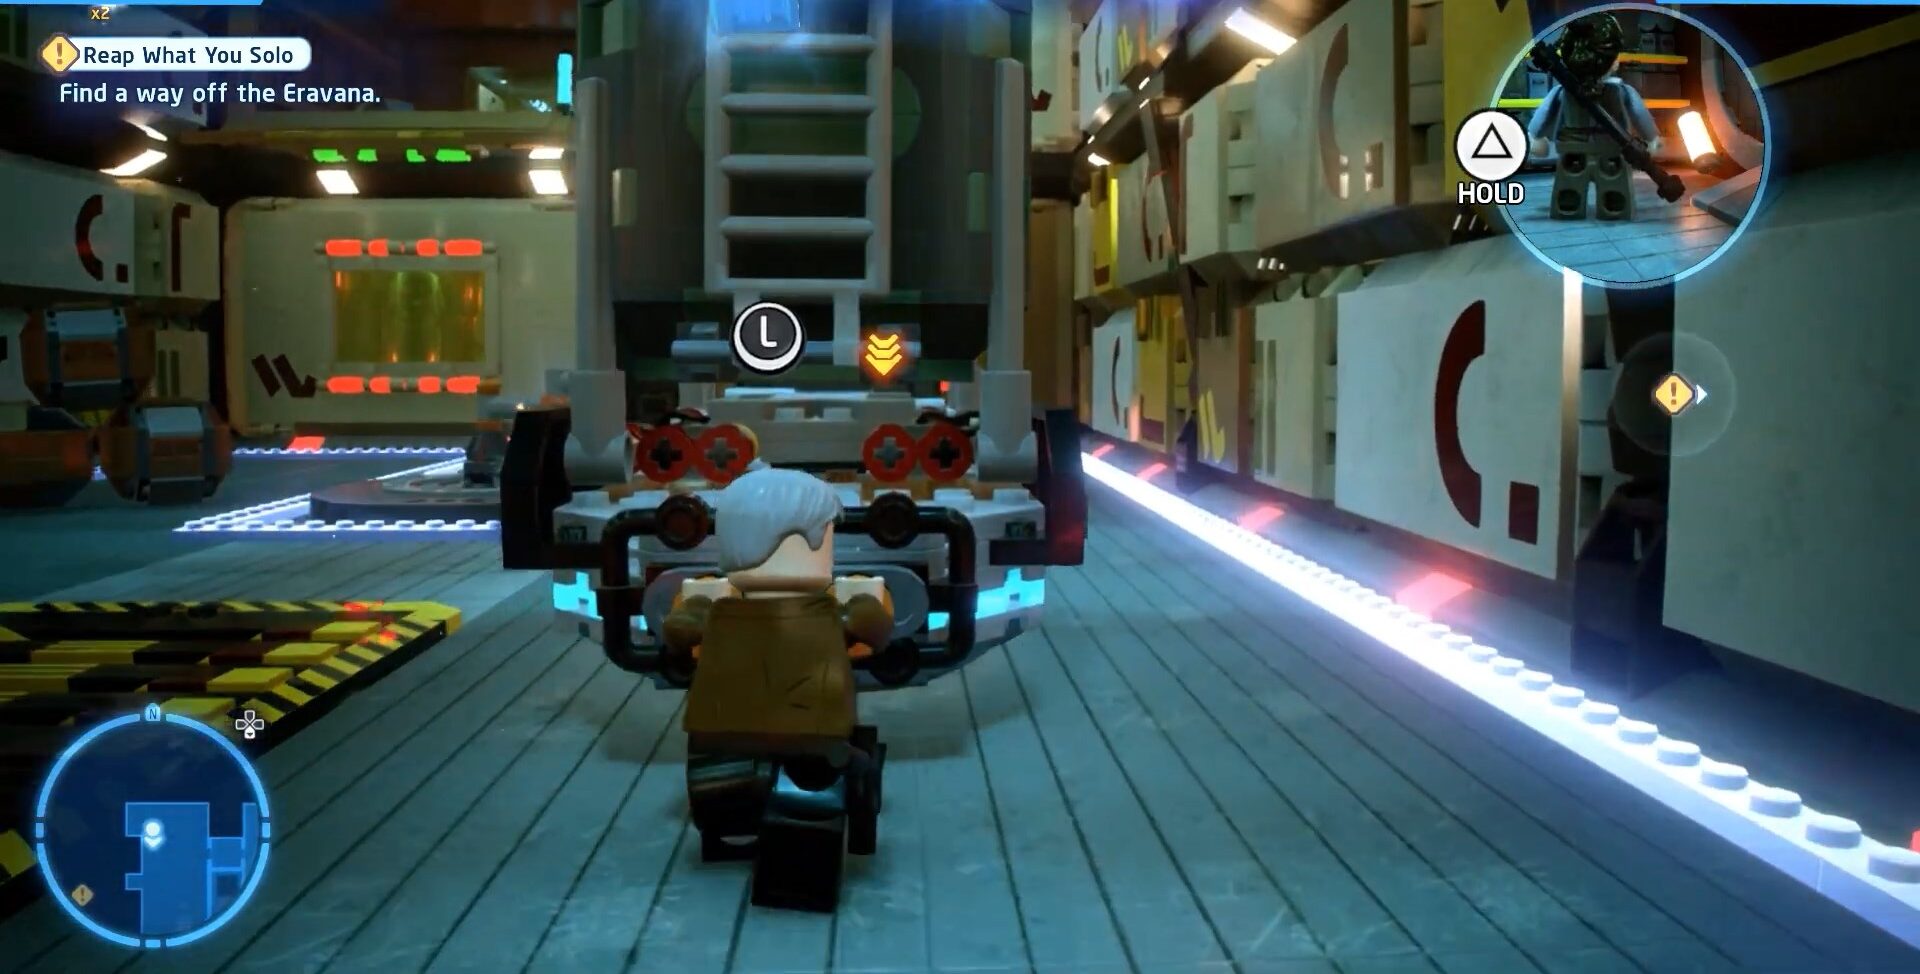
Follow the images attached below to get fifth Minikit

This sums up our Lego Star Wars The Skywalker Saga Minikit locations guide. We’ve tried to get every single Minikit’s location in the game and if you think we missed a few then let us know more about it in the comments section below.
Lego Star Wars: The Skywalker Saga is a part of a series of video games based on the Star Wars movie franchise with lego themes. These games expanded and increased in numbers by big time because of their success in the last two decades due to their initiation of adding a high range of interesting elements from unique weapons to Minikit. Our Lego Star Wars The Skywalker Saga Minikit locations guide entails a step-by-step method of acquiring the most important Minikits in the game. Also, read our LEGO Star Wars Skywalker Saga Level Challenges and learn about all of them.
Thanks! Do share your feedback with us. ⚡
How can we make this post better? Your help would be appreciated. ✍