5 BEST Monster Hunter Rise Sunbreak Builds
The comprehensive guide to crafting the Top 5 builds found in Monster Hunter Rise and the Sunbreak Expansion.
Monster Hunter Rise has rich and complex combat provided by its 14 different types of Weapons. You can combine these weapons with the Best Armor in the game to create powerful builds for your characters. Today I will be discussing the Top 5 unique builds you can craft with some of the strongest weapons and armor sets found in Monster Hunter Rise Sunbreak.
- Monster Hunter Rise features over 14 weapons, and players can create powerful builds with each weapon along with powerful armor.
- Players can customize and craft these builds according to their preferences.
- These builds are designed to get you through the content of the Sunbreak expansion without any worries.
- Most importantly, gathering the necessary materials for each armor piece and the weapons can be a time-consuming task to do in the game.
Let us first review the summary of each Build in our article from MHR Sunbreak:
| Build | Weapons | Weapon Decorations | Armor | Decorations |
|---|---|---|---|---|
| Tank DPS Gunlance Build | - Canyne Gunlance - Mighty Cornpopper | - Breath Jewel 3 - Medicine Jewel 2 | - Bazelgeuse Helm X - Hoplite's Armor - Kushala Grip X - Malzeno Coil - Kushala Crus X | - Redirection Jewel 3 (Helm) - 2x Defense Jewel 1 (Chest Piece) - Defense Jewel 1 (Arms) - Medicine Jewel+ 4 & Defense Jewel 1 (Leg Armor) - 2x Magazine Jewel 2 (Talisman) |
| Mighty Battle Hammer Build | - Mighty Pronged Hammer - Mighty Souldevourer (mid game) | - Tenderizer Jewel 2 - Anti-Dragon Jewel 2 | - Yakumo Sky Kasa - Ingot Mail X - Velociprey Braces - Hermitaur Coil - Ingot Greaves X | - Tenderizer Jewel 2 (Helm) - Tenderizer Jewel 2 & Grinder Jewel 1 (Chest Piece) - Critical Jewel 2 & Brace Jewel 1 (Arms) - 2x Critical Jewel 2 (Coils) - 2x Grinder Jewel 1 (Greaves) - Expert Jewel 2 (Talisman) |
| Elemental Dual Blades Build | - Magma Shredders - Mud Shredders - Gelid Heart - Double Discharge | - | - Lunagaron Helm - Aelucanth Thorax X - Utsushi True Braces (H) - Rathalos Coil X - Ingot Greaves X | - x2 Critical Jewel 2 (Helm) - Any x2 Elemental Jewel 1 | Fire, Water, Thunder (Chest) - Tenderizer Jewel 2 (Arms) - Crit Element Jewel 2 (Coil) - x2 Attack Boost Jewel 1 (Leg Armor) - x1 Attack Jewel 2 & Brace Jewel 1 (Talisman) |
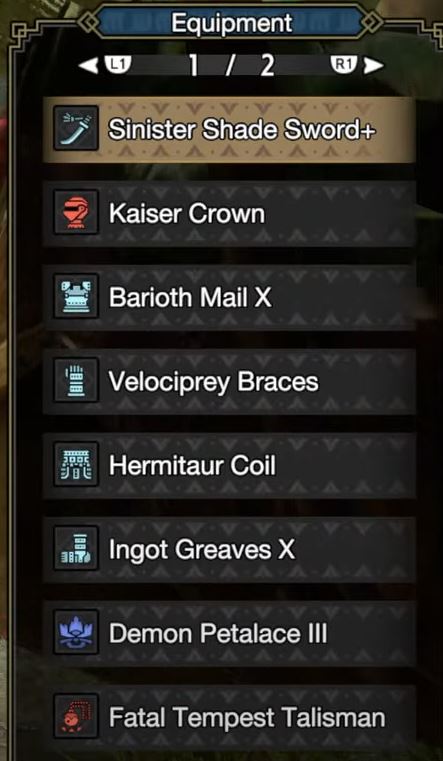
| Mile High-Affinity Longsword Build | Sinister Shade Sword+ | - Critical Jewel 2 - Grinder Jewel 1 | - Kaiser Crown - Barioth Mail X - Velociprey Braces - Hermitaur Coil - Ingot Greaves X | - Satiated Jewel 1 (Helm) - Tenderizer Jewel 2, Sheathe Jewel 2, Satiated Jewel 1 (Chest) - Handicraft Jewel 3 & Grinder Jewel 1 (Arms) - Expert Jewel 2, Attack Jewel 2 (Coil) - Grinder Jewel 1 & Steadfast Jewel 1 (Leg Armor) |
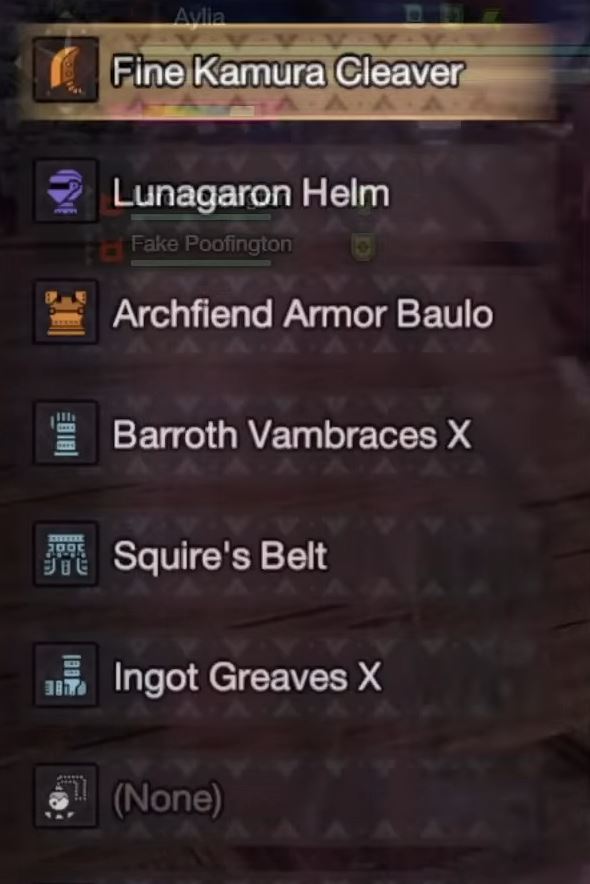
| The Ultimate Damage Greatsword Build | Fine Kamura Cleaver | - Expert Jewel 2 - Critical Jewel 2 - Anti-Dragon Jewel | - Lunagaron Helm - Archfiend Armor Baulo - Barroth Vambraces X - Squire’s Belt - Ingot Greaves X | - 2x Expert Jewel 2 (Helm) - Attack Jewel 2 & Tenderizer Jewel 2 (Chest Piece) - Critical Jewel 2 & Steadfast Jewel 1 (Arms) - Guardian Jewel 3 (Coil) - 2x Steadfast Jewel 1 (Greaves) |
Tank DPS Gunlance Build
The Gunlance is undoubtedly the most underrated weapon of the game, which is utilized to deal damage at ranges with powerful shots from your super cannon weapon dishing out chunks of damage. The weapon is based on military cannons but in the form of a rifle or Bayonet.
Our tanky build for the weapon is designed to pour out as much DPS as possible without the need for healing. Gunlance players will excel at any openings they can get on their target. The most advantageous aspect is that you do not have to get too up close and personal with the monsters.
So most of the time, you are at ease with shooting bursts of explosive shots to wear down monsters. The Tank build relies upon dealing successful chain damage to stagger and brutalize monsters.
Weapon

Ideally, you have options to use the Canyne or Cornhopper Gunlance for the build. Both weapons are great for getting the job done, but I’m primarily looking to get the job done faster since the build is all about being a tank. The weapon has excellent flexibility to boost its raw attack without sacrificing too much from your build.
The weapon can be viable solely because it has great damage from the start, and you only need to attach some jewels or efficient silk bind skills to make it work even better. The two Gunlances will require the following materials to craft them in the game:
Now for the decoration slots on these weapons, which are essentially the mods you can equip on your weapons to make them even stronger. You should use Breath Jewel 3 and Medicine Jewel 2. The breath jewel will allow you to receive health when you recover from a status ailment. Meanwhile, you can boost these effects with the medicine 2 Jewel, which will simply boost your health and help you recover from various sources.
Armor
The armor set is a mix of various types of equipment that I have listed above. You should be able to find and craft these with ease if you are preparing to enter Sunbreak’s endgame.
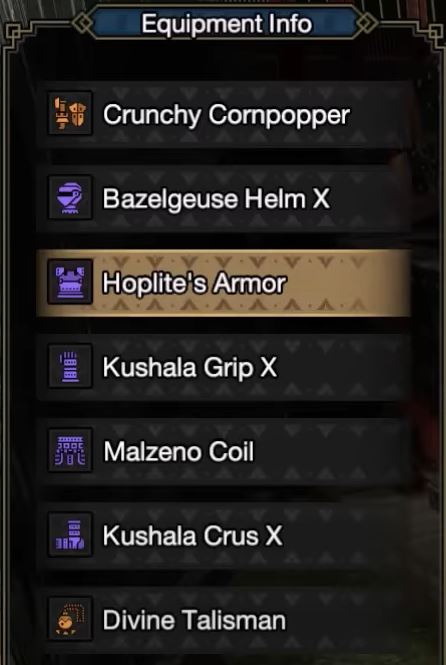
Each set piece includes:
- Bazelgeuse helm X
- Hoplite’s Armor
- Kushala Grip X
- Malzeno Coil
- Kushala Crus X
Lastly, I’ve added in the Divine Talisman, which rolled with the Evade extender and load shells skills to help pout with our damage and dodges. Talisman drops are also RNG and luck-dependant.
The important ones to keep track of are called:
- Defense Boost Level 7
- Guard Level 3
- Artillery Level 3
- Recovery up Level 3
- Kushala’s Blessing Level 3
Decorations For The Armor
You will want to be mindful of some of the decorations because a few of the skills in your status will be generated or boosted via the jewels in your different armor slots.
The decorations I recommend on each piece include:
- Helm: Redirection jewel 3
- Chest piece: 2x Defense Jewel 1
- Arms: Defense jewel 1
- Waist: 2x Defense Jewel 1
- Leg armor: Medicine Jewel+4, Defense jewel 1
- Talisman: 2x Magazine Jewel 2
Mighty Battle Hammer Build
The hammer distinguishes itself with potent offense in various combos and attacks, with users capitalizing on sliding and jump attacks. Though considered spammy, these moves yield substantial damage, making it easier for hammer users to swiftly break hard-skinned monster parts, particularly in group hunts where their role is often to stagger or break tough areas.
My featured Hammer build prioritizes pure critical attacks, maximizing damage with every hit. Players are assumed to have a stock of Critical and Attack jewels, vital components for heavy damage builds in MHR.
Weapons
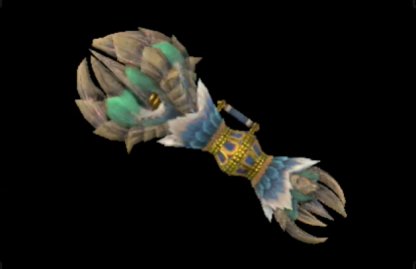
Introducing the Mighty Pronged Hammer, a recent addition from the Sunbreak expansion, boasting 240 raw attack power, natural white sharpness, Level 3 jewel slots, and a rampage jewel slot. An excellent choice for early Sunbreak content, with the option to transition to the Mighty Souldevourer hammer for the mid-to-late game.
Notable features include a Level 3 jewel slot and a sweet rampage jewel slot. For optimal performance, slot in a Tenderizer Jewel 2 to enhance damage to monster weak points. In the rampage jewel slot, consider an Anti-Dragon Jewel 2 for increased damage against dragon species. Ideal for both new players and skilled veterans tackling Sunbreak’s challenges.
Armor
Again, I am using a mixed set of armor to accommodate the usage of various skills. Having each piece different provides flexibility in your skills arsenal.
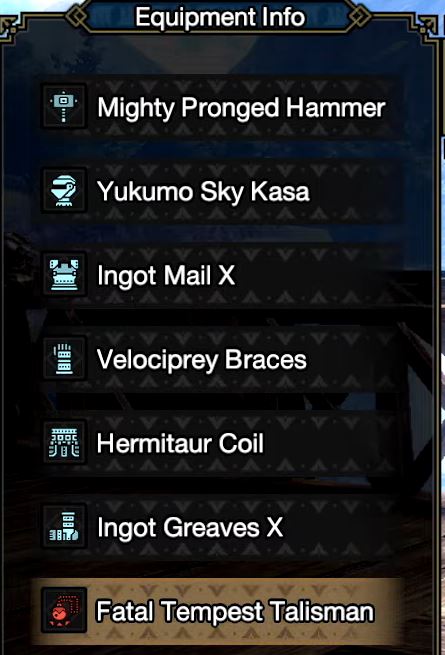
So, let’s discuss what materials are needed to craft the armor pieces:
- Yakumo Sky Kasa
- Ingot Mail X
- Velociprey Braces
- Hermitaur Coil
- Ingot Greaves X
For the Talisman, I had one dropped with Wirebug Whisperer Level 3 with a level 3 jewel slot. While it may have been a lucky drop. I guarantee that most players can get away with lighter skills on it, like wirebug whisperer level 1 with 2x level 2 jewel slots.
The main skills that will appear on your status with the armor set equipped are:
- Critical Eye Level 7
- Attack Boost Level 4
- Critical Boost Level 3
- Weakness Exploit Level 3
- Speed Sharpening Level 3
- Wirebug Whisperer Level 3
Decoration For The Armor
You can reach the skill thresholds I mentioned just now by using these decorations on your various armor pieces:
- Helm: Tenderizer Jewel 2
- Chest piece: Tenderizer Jewel 2, Grinder Jewel 1
- Arms: Critical Jewel 2, Brace Jewel 1
- Coil: 2x Critical Jewel 2
- Greaves: 2x Grinder Jewel 1
- Talisman: Expert Jewel 2
The maximum range of critical levels will keep your hammer damage stacked on tough Monsters who might just ruin your day in a few attacks. No doubt, the Mighty pronged hammer build is one of the top 5 in our list that will make your beginning hours in Monster Hunter Rise Sunbreak a breeze with the right playstyle.
Elemental Dual Blades Build
The dual blades stand out as one of the game’s deadliest weapons, enabling swift, high-speed strikes that effortlessly chip through monster armor. Noteworthy switch skills, like Demon Flurry Rush and Demon Mode, enhance its capabilities.
The build centers on a potent Elemental Build, proving effective from mid-game to late-game and gaining popularity in the fanbase. Mastering dual blades, like any weapon, involves learning combos and move sets. Demon Mode unleashes a hurricane of rush attacks, and Arch Demon Mode amplifies your attack arsenal for increased damage.
Utilize every small opening in a fight to deliver precise strikes swiftly and evade harm, making dual blades a must-play for those seeking a super speedy and agile playstyle in MHR.
Weapons
Crafting each of these weapons can be a daunting task at first, but once you craft and focus on one, earning the rest will be a piece of cake for skilled hunters and dual-blade users alike.
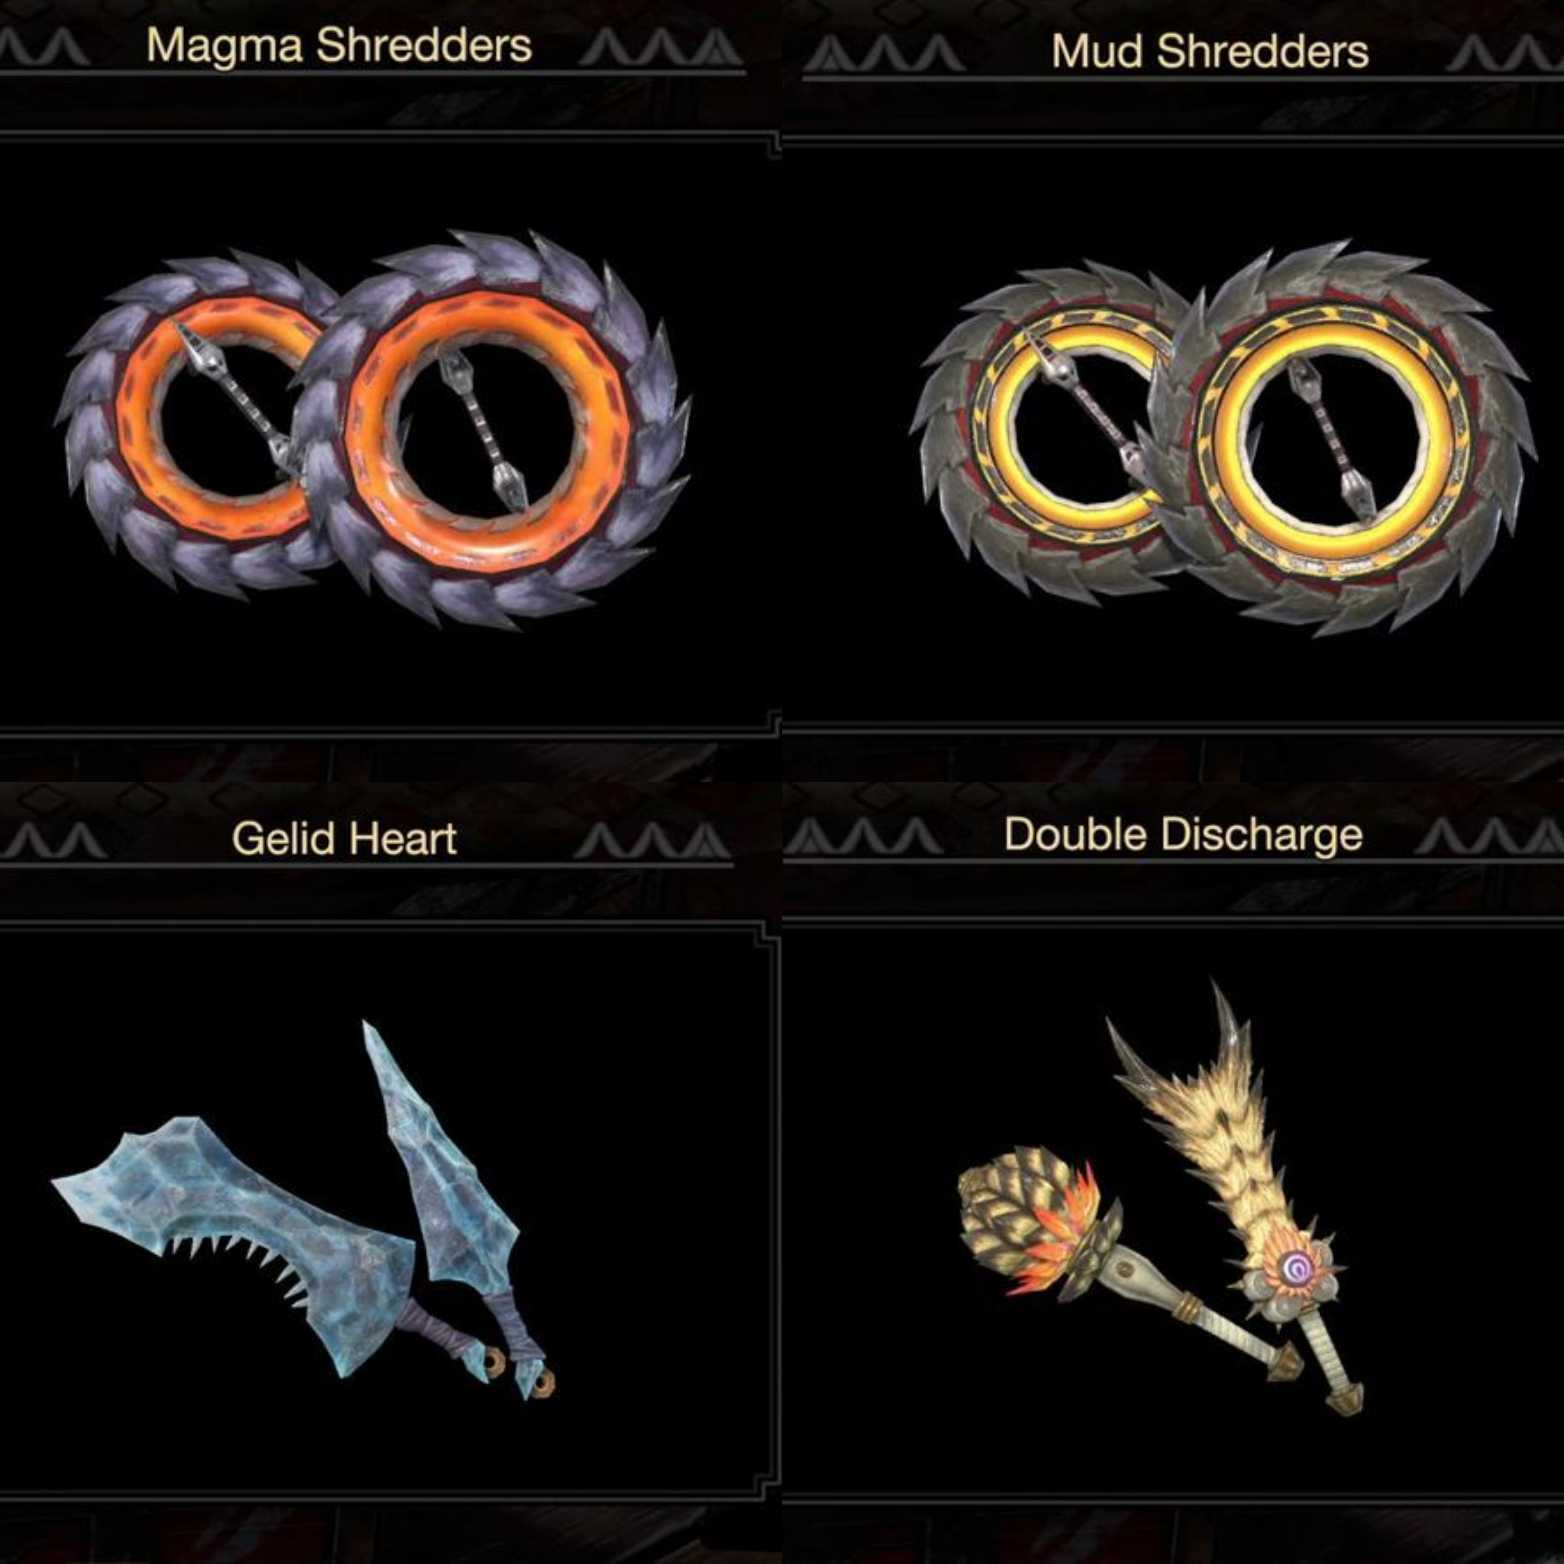
I highly suggest doing so because the build solely revolves around swapping between each of these blades:
- Magma Shredders
- Mud shredders
- Gelid Heart
- Double Discharge
Armor
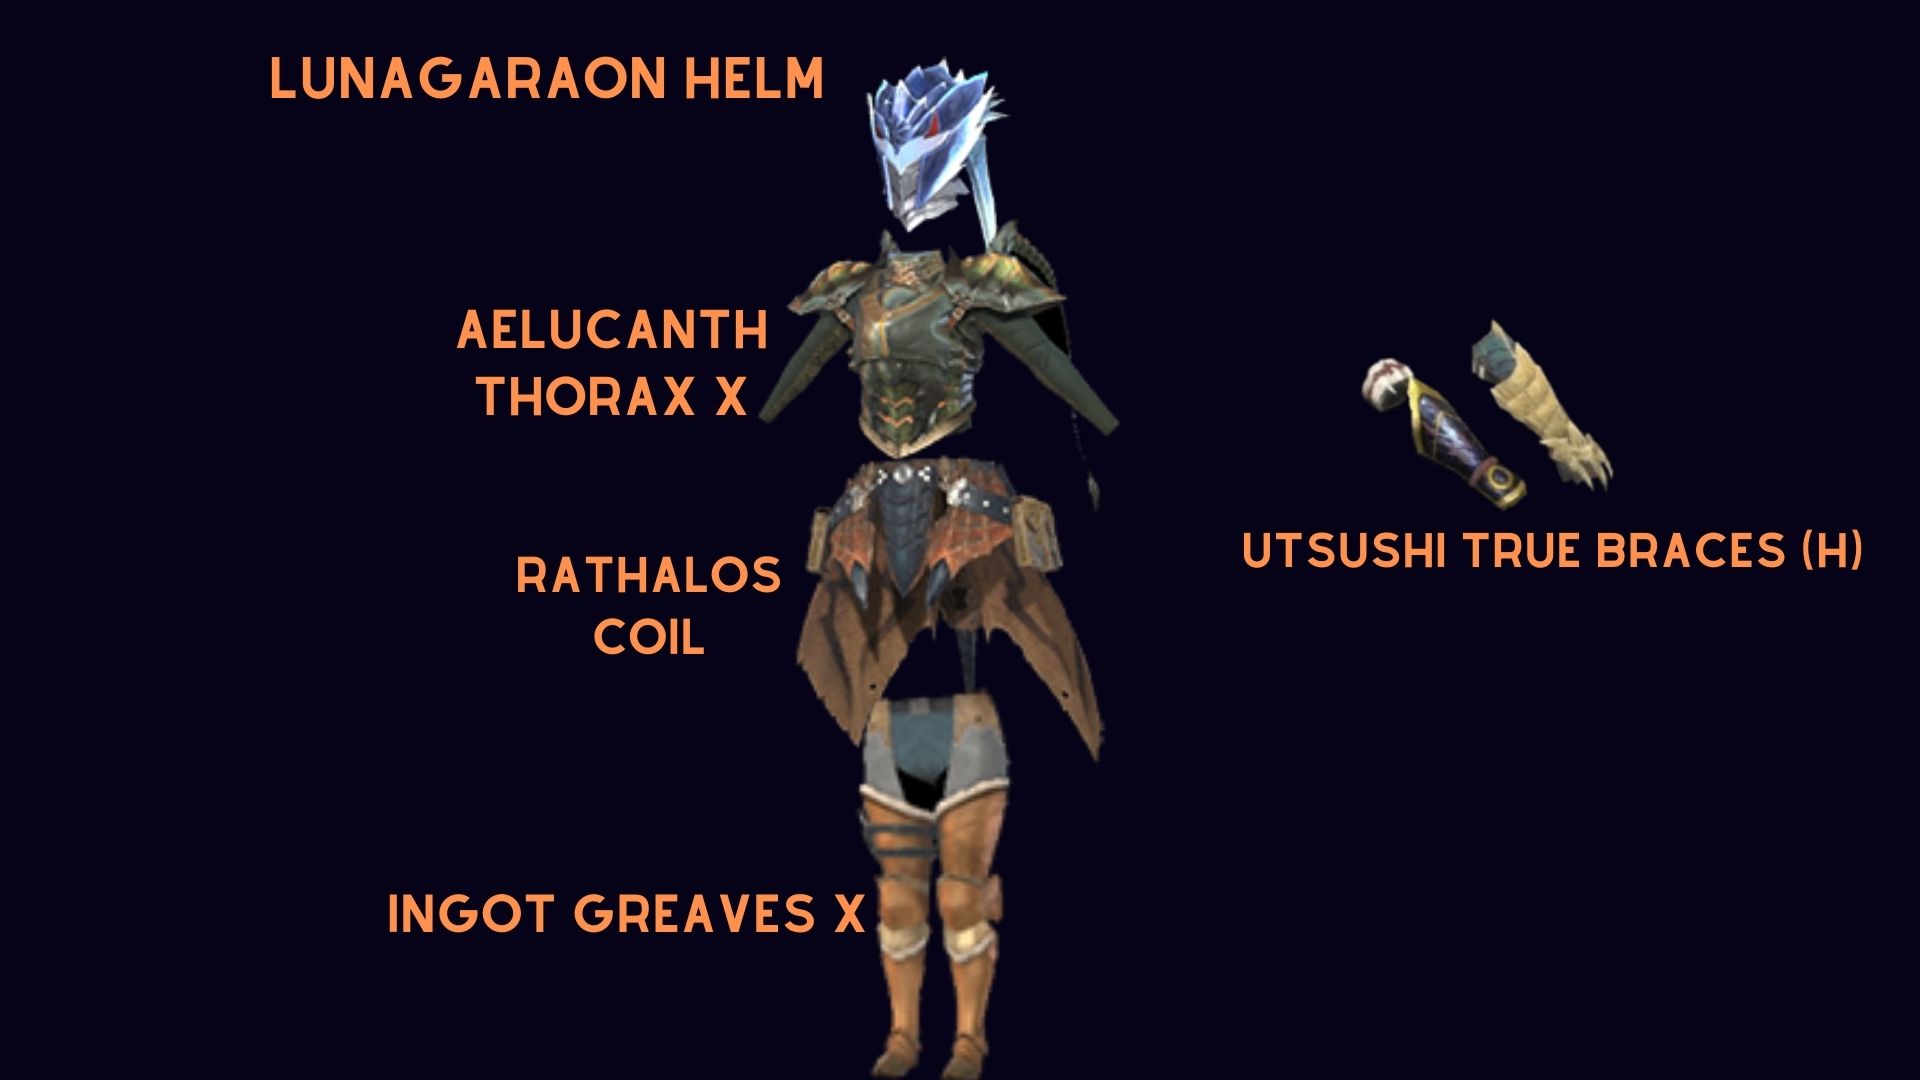
The Dual Blades elemental attacks need a boost in their attack, so I’m using a mixture of armor pieces to craft a set that will provide all the compatibility to the build:
- Lunagaron Helm
- Aelucanth Thorax X
- Utsushi True Braces (H)
- Rathalos Coil X
- Ingot Greaves X
The talisman I’m using was dropped with a weakness exploit 2 with jewel levels 2 and 1 slot. Preferably, you can also use an attack boost or something similar to boost your elemental DPS.
Going forward, you will receive the following skills with the decorations attached:
- Critical Eye Level 7
- Attack Boost Level 6
- Critical Element Level 3
- Critical Boost Level 3
- Weakness Exploit Level 3
- Elemental Attack Level 5
- Windproof Level 3
Decorations For The Armor
The Dual blades, luckily require decorations that heavily rely on increasing your overall attack. The blades will tear through every monster if you take the correct elemental one with you on your hunts. Besides that, the decorations that you want on the armor are:
- Helm: x2 Critical jewel 2
- Chest: Any x2 Elemental jewel 1 (Fire, water, thunder)
- Arm: Tenderizer Jewel 2
- Coil: Crit Element Jewel 2
- Leg armor: x2 Attack boost jewel 1
- Talisman: x1 Attack jewel 2, Brace jewel 1
All in all, the critical eye will help keep our weapon affinities topped off without the need for too much sharpening. The Critical Element and Elemental Attack will help bolster our elemental damage, so I will be fully exploiting the element weaknesses with this build. Just be sure to choose the right dual blade before each hunt.
Mile High-Affinity Longsword Build
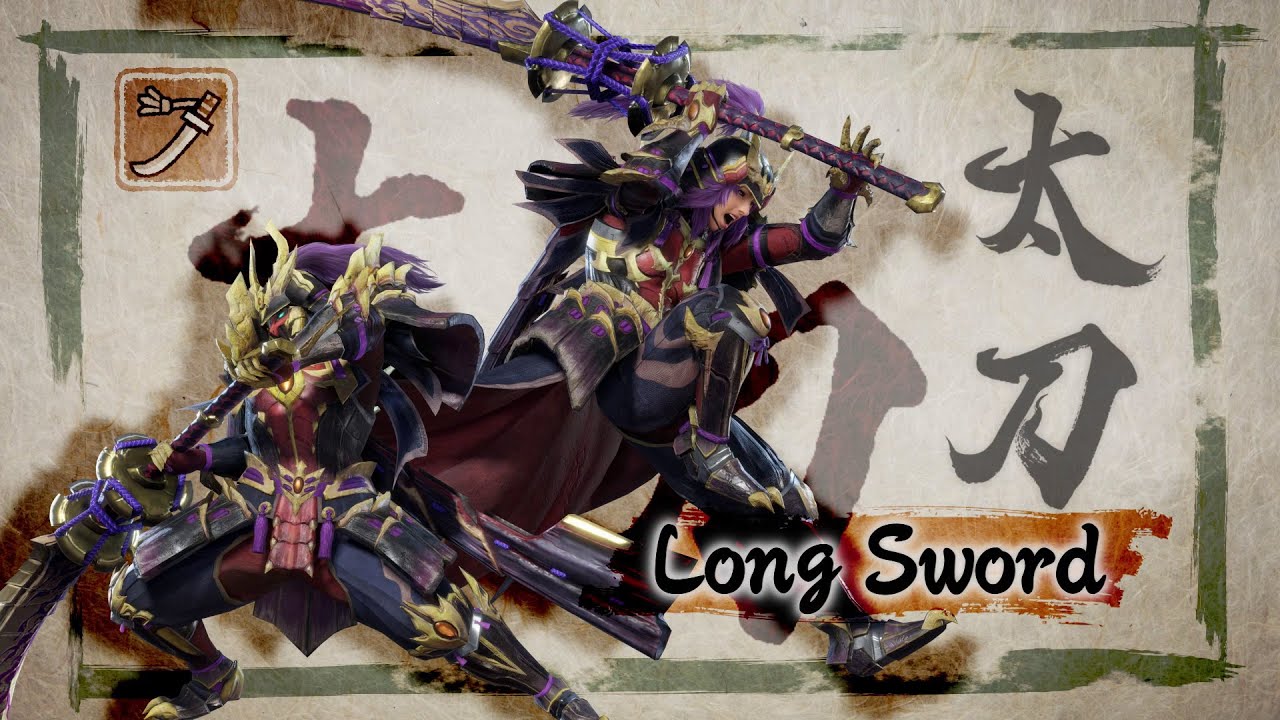
Embrace the way of the Shinobi with the iconic Longsword, a cherished weapon in the franchise known for its sleek attacks and Samurai charm. Mastering quick thinking and precise strikes, this weapon becomes the coolest choice for solo or group hunts. While new players may initially struggle, the Longsword’s simple learning curve makes it a favorite, especially for me.
Our guide features a 100% Affinity build, boosting the weapon’s total affinity to maximize critical hits using armor and decorations. This setup enhances DPS with Spirit Blade attacks, powered by the spirit sword meter, delivering significant damage. Notably, this build is tailored for Master Rank 3 and is accessible early in Sunbreak, allowing you to craft and wield the Longsword.
Weapon
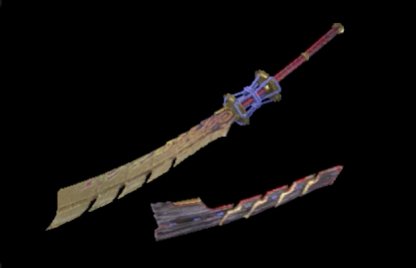
Sinister Shade Sword+: The crafting recipe for the weapon is 4x Magnamalo Cortex, 3x Magna Ascended Blade, 2x Magnamalo blade shell, and 3x Magnamalo Soulprism. The main monster that you will be farming is the Magnamalo. It is a large Fanged Wyvern that is weak to water elements.
The weapon comes loaded with minor points in the Blast element. It has an excellent sharpness level right off the bat, as well as 280 attack power on its own without anything extra on it.
The recommended decorations for the sword are Critical Jewel 2 and a Grinder Jewel 1. I want to maximize Sakura slash and spirit blade attacks as much as possible, so critical jewels will do that perfectly.
Armor
The armor set up for the Long Sword is all focused on pumping up your critical hits with it. The weapon class prioritizes punishing monsters with its long slashes and Spirit blade special attacks. No doubt, the armor pieces all work to bring the best skills to increase your critical damage and affinity.
- Kaiser Crown
- Barioth Mail X
- Velociprey Braces
- Hermitaur Coil
- Ingot Greaves X
The Talisman can be a bit tricky to find, butI managed to score, thanks to the RNG Gods. I was fortunate enough to have a Weakness Exploit Level 2 with 1x Jewel 2 and 2x Jewel 1 slots in it. Alternatively, you can also work with something that can increase affinity, like the Critical Eye skill.
The Skills given with the armor are:
- Critical Eye Level 6
- Attack Boost Level 5
- Critical Boost Level 3
- Weakness Exploit Level 3
- Quick Sheathe Level 3
- Speed Sharpening Level 3
- Free Meal Level 3
Decorations For The Armor
The skills mentioned above for my Longsword build can be granted via the following jewels in the armor pieces:
- Helm: Satiated Jewel 1
- Chest: Tenderizer Jewel 2, Sheathe Jewel 2, Satiated Jewel 1
- Arm: Handicraft Jewel 3, Grinder Jewel 1
- Coil: Expert Jewel 2, Attack Jewel 2
- Leg armor: Grinder Jewel 1, Steadfast Jewel 1
As long as you have equipped these decorations or something similar to them, you can have maximum efficiency in your attacks with the Longsword. For Beginners of the game entering the Sunbreak Expansion in Monster Hunter Rise for the first time, it can be a solid build option from our top 5 builds of the game.
The Ultimate Damage Greatsword Build
Finally, it brings me to the top of the list in our five builds of Monster Hunter Rise Sunbreak. The Greatsword is easily one of the highest damage-dealing weapons in the entire game. It perfectly replicates the same energy and sheer awe of a SoulsBorne fan destroying a boss with a strength class build.
The Greatsword may lack in speed and style like other weapon counterparts. However, where it may lack in some areas, in others, it completely outshines and outclasses weapons with pure, raw, and unfiltered damage.
The greatsword may leave beginner users open to mistakes and attacks from monsters, but it is in the hands of skilled or veteran players. You can devastate monsters in a matter of seconds. There is no better feeling than perfectly winding up an attack on slept or knocked-out Monsters to deal enormous amounts of damage.
As long as players can learn some of the simple mechanics related to the Greatsword and its Wind up attacks, the limitations on it can easily be avoided and be crowned the beefiest weapon type in Monster Hunter Rise.
Weapon
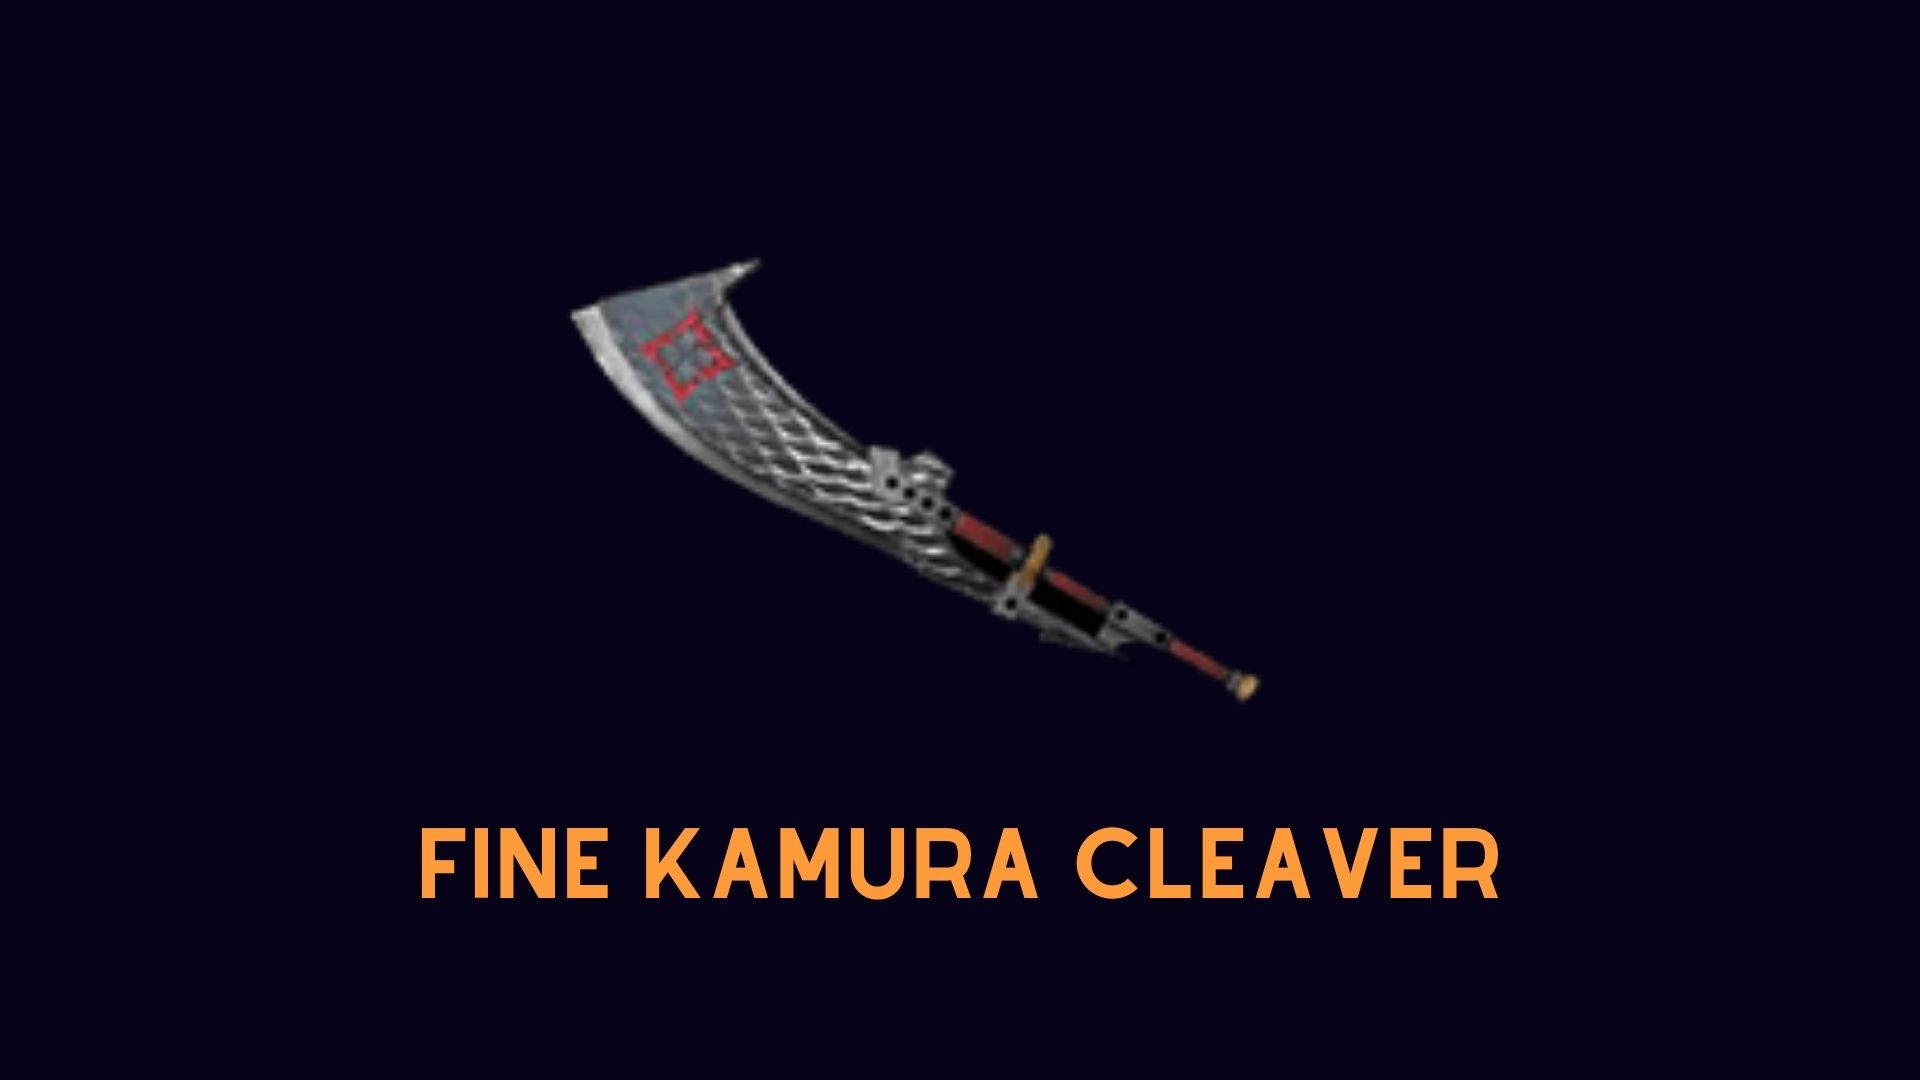
The Fine Kamura cleaver is hands down one of the most powerful greatswords in the game. It can easily deal with upwards of 8000 raw damage points in a single wind-up slam.
The base weapon damage of the cleaver is 330, with a perfect purple sharpness to top it off. You have the option to slot in 2x Jewel Level 2 in it as well as a Rampage slot for Monster species damage. We suggest slotting in an Expert Jewel 2 and Critical Jewel 2, along with an Anti-dragon jewel in the rampage slot.
These will help you push out unfathomable damage numbers combined with the armor build and its decorations, which we are going to discuss next now. The Anti-Dragon will help deal extra damage to the specific species.
Armor
We have managed to fine-tune an armor set that is mixed in pieces just like usual. The main purpose of the build is to deal with insurmountable damage.
- Lunagaron Helm
- Archfiend Armor Baulo
- Barroth Vambraces X
- Squire’s Belt
- Ingot Greaves X
Equipping this set of armor will provide valuable skills that will greatly help in boosting our damage.
So mindful that these should be your main skill stats, including the decorations:
- Critical Eye Level 7
- Attack Boost Level 5
- Critical Boost Level 3
- Weakness Exploit Level 3
- Offensive Guard Level 3
- Stun Resistance Level 3
Decorations For Your Armor
The decorations are the last piece of the puzzle you may need to complete the ultimate Greatsword build in Monster Hunter Rise Sunbreak. These decorations will multiply your damage to unimaginable standards:
- Helm: 2x Expert Jewel 2
- Chest piece: Attack Jewel 2, Tenderizer Jewel 2
- Arms: Critical Jewel 2, Steadfast Jewel 1
- Coil: Guardian Jewel 3
- Greaves: 2x Steadfast jewel 1
Now, for the Talisman, we would recommend slotting in anything that grants Critical Eye. As a substitute, you can even use Critical Boost Level 3 or Offensive Guard Level 3, which increases your attack after doing a perfect guard. The rest of the decorations, as we mentioned, will multiply your total damage by extreme measures.
I hope you are enjoying the latest expansion in Monster Hunter Rise; feel free to let us know your experience so far in the game down in the comments box, and we hope these top 5 builds will help you in taking down the fearsome beasts of the Sunbreak DLC!
Next: MHR Hunting Horn Build
Thanks! Do share your feedback with us. ⚡
How can we make this post better? Your help would be appreciated. ✍