Returnal Third Boss: Nemesis [Definitive Guide]
Nemesis is a tough boss battle, but with a weapon such as the Hollowseeker, nothing can stand in Selene's path to escape Atropos!
The Third boss in Returnal has players facing Nemesis, located at the end of the third biome called the Derelict Citadel. The fight is notorious solely due to the fact that it tends to be pretty drawn out due to his large health bar as well as the fact you can only damage him at long distances. Hence why it is pretty understandable that players can have a tough time overcoming it, especially if they bring in an inadequate loadout for the encounter.
- Nemesis, the third boss in Returnal’s Derelict Citadel, poses a challenge without a proper loadout or strategy.
- Recommended to use a long-range weapon like the Hollowseeker due to the arena layout.
- First and second phases are similar, while the third introduces chaotic platforms.
- In the last phase, players must navigate platforms to attack Nemesis while dodging its attacks.
- Optimal strategy involves saving consumables and learning to evade or dodge telegraphed attacks.
- Successfully defeating Nemesis marks the completion of the first half of Returnal, leading to a new area
The Best Loadout & Third Biome Shortcut
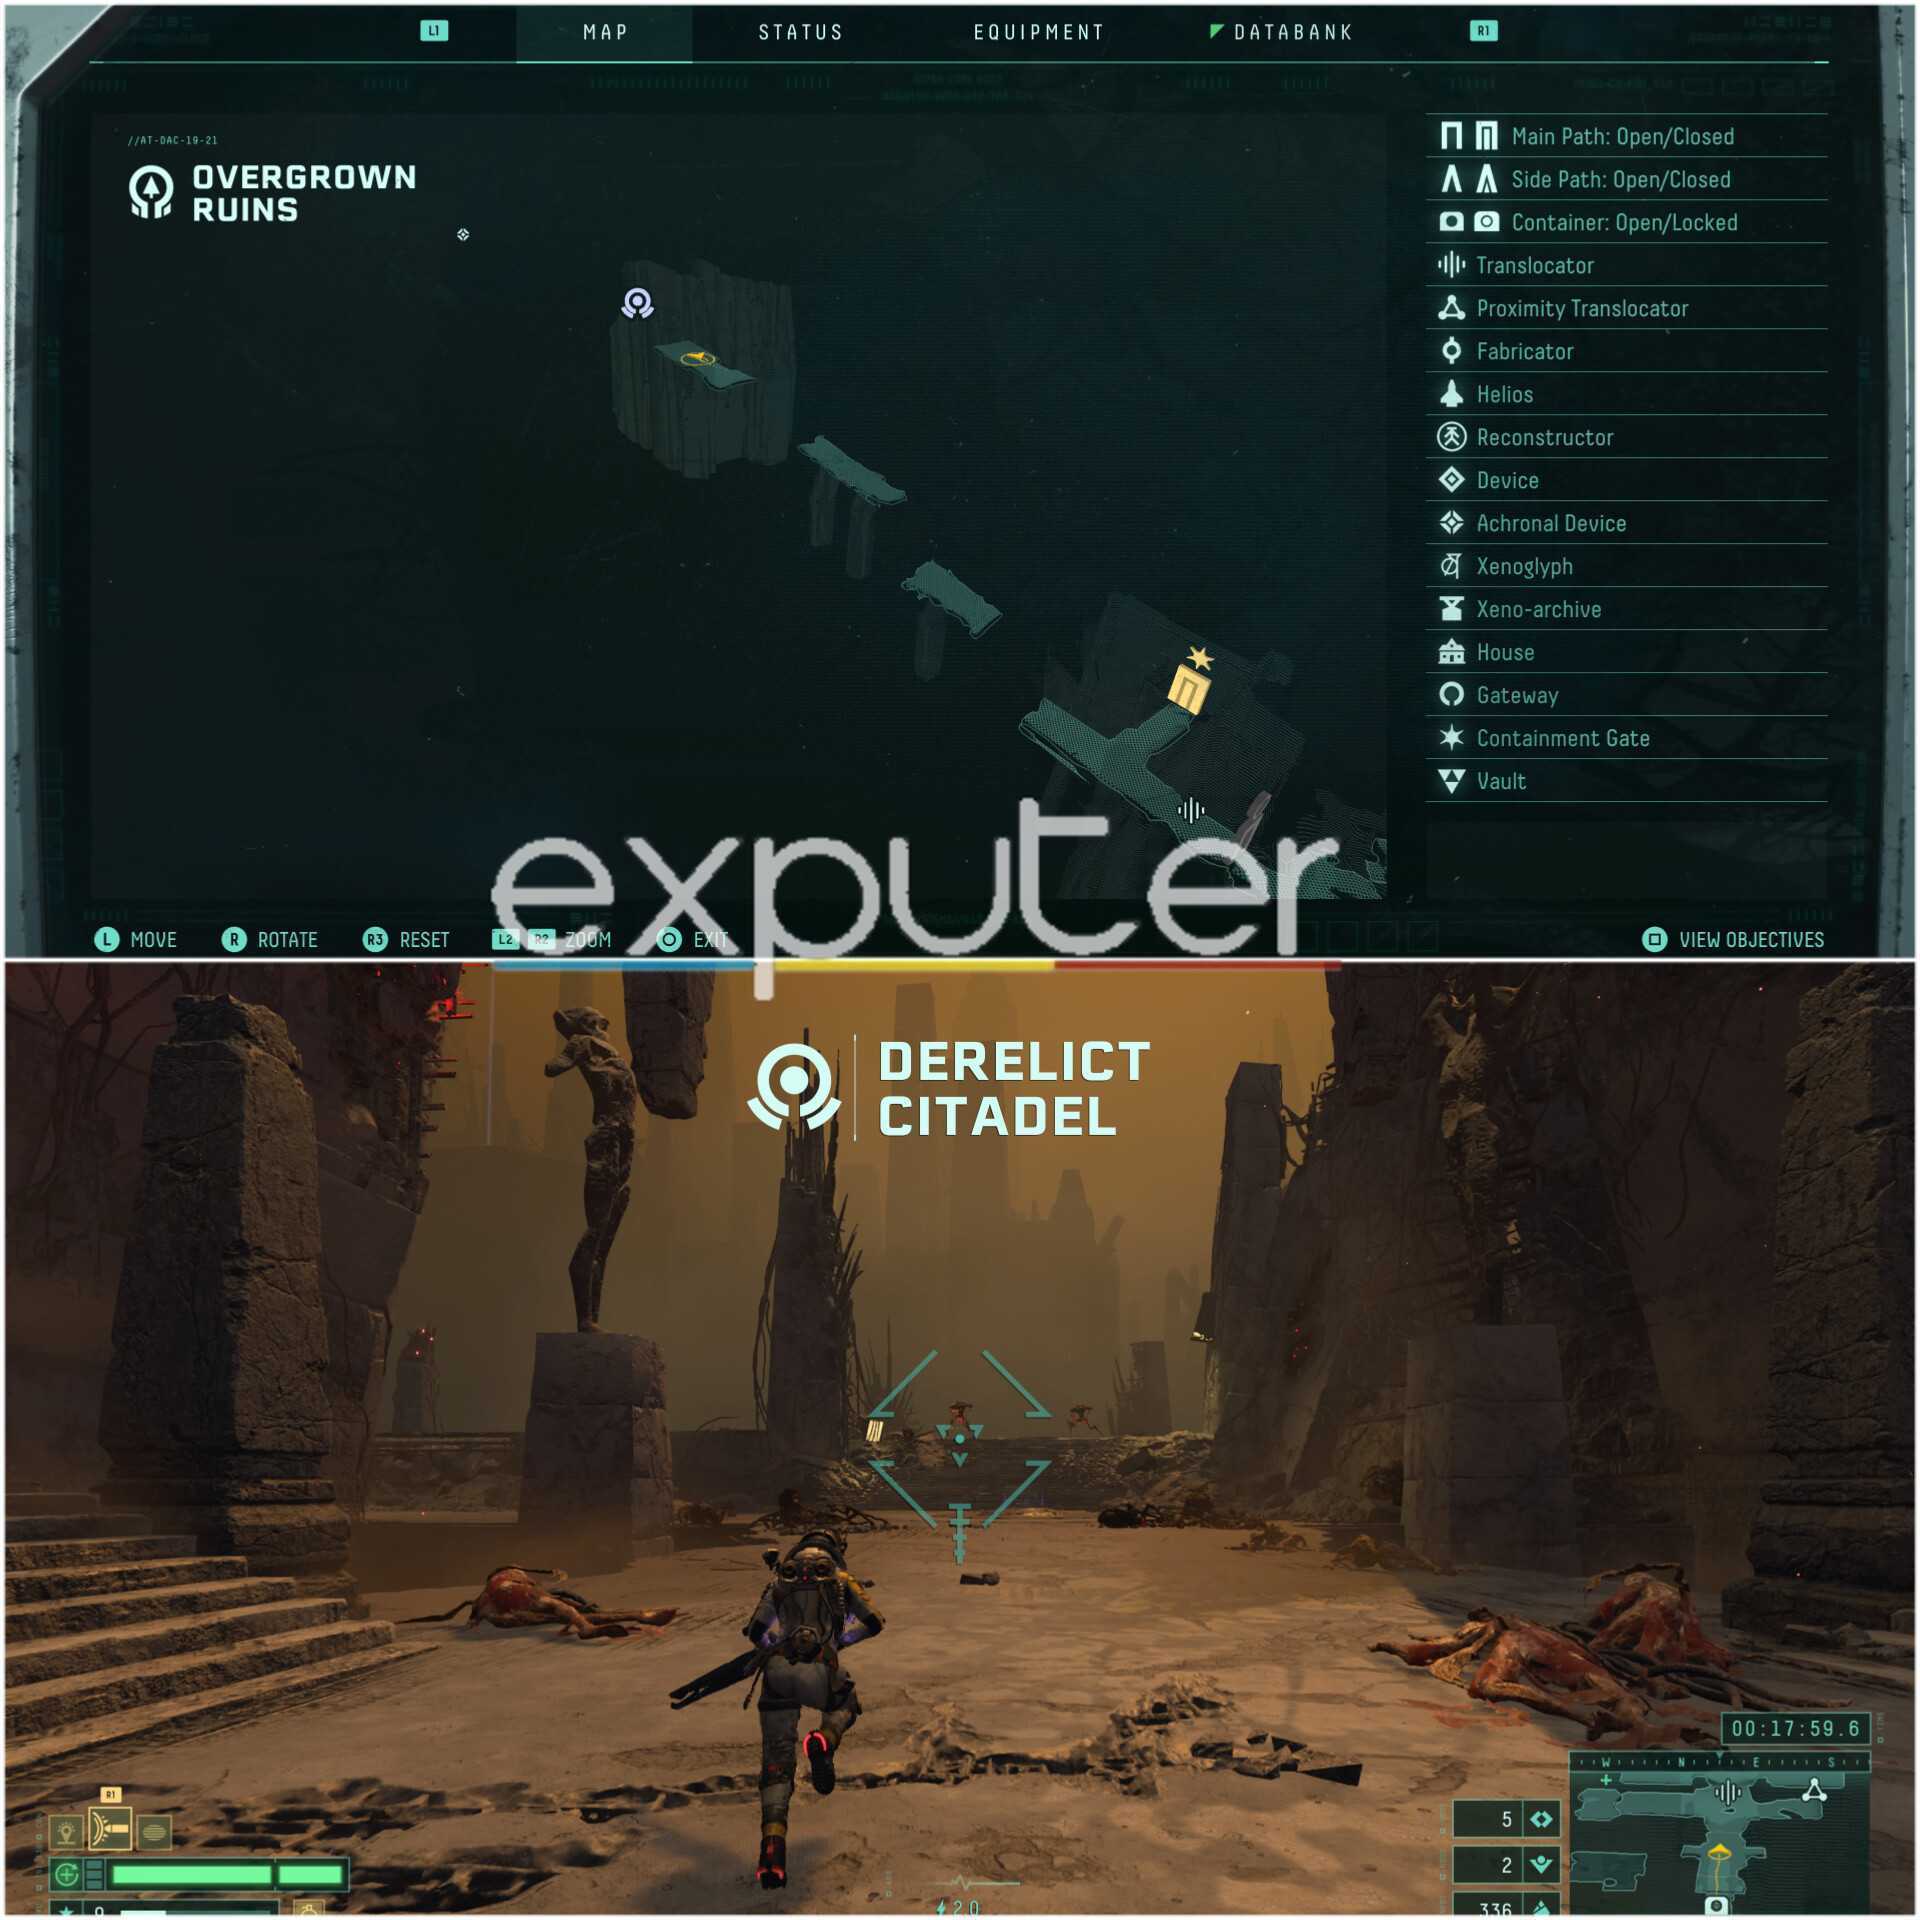
Before we begin with the loadout, we would like to remind you that you can head straight to the Derelict Citadel to take on Nemesis right from the first biome. The shortcut is shown in the image above, and you will essentially need to have the Hookshot to access it, which can be rewarded by the 2nd boss of the game, Ixion. Only the room where the shortcut will be located is randomized; the shortcut bridge itself should be the same.
While you certainly have the option to explore the 2nd biome, too, we found that preparing your loadout in the third biome should get you well-prepped for the fight against Nemesis instead of wasting extra time.
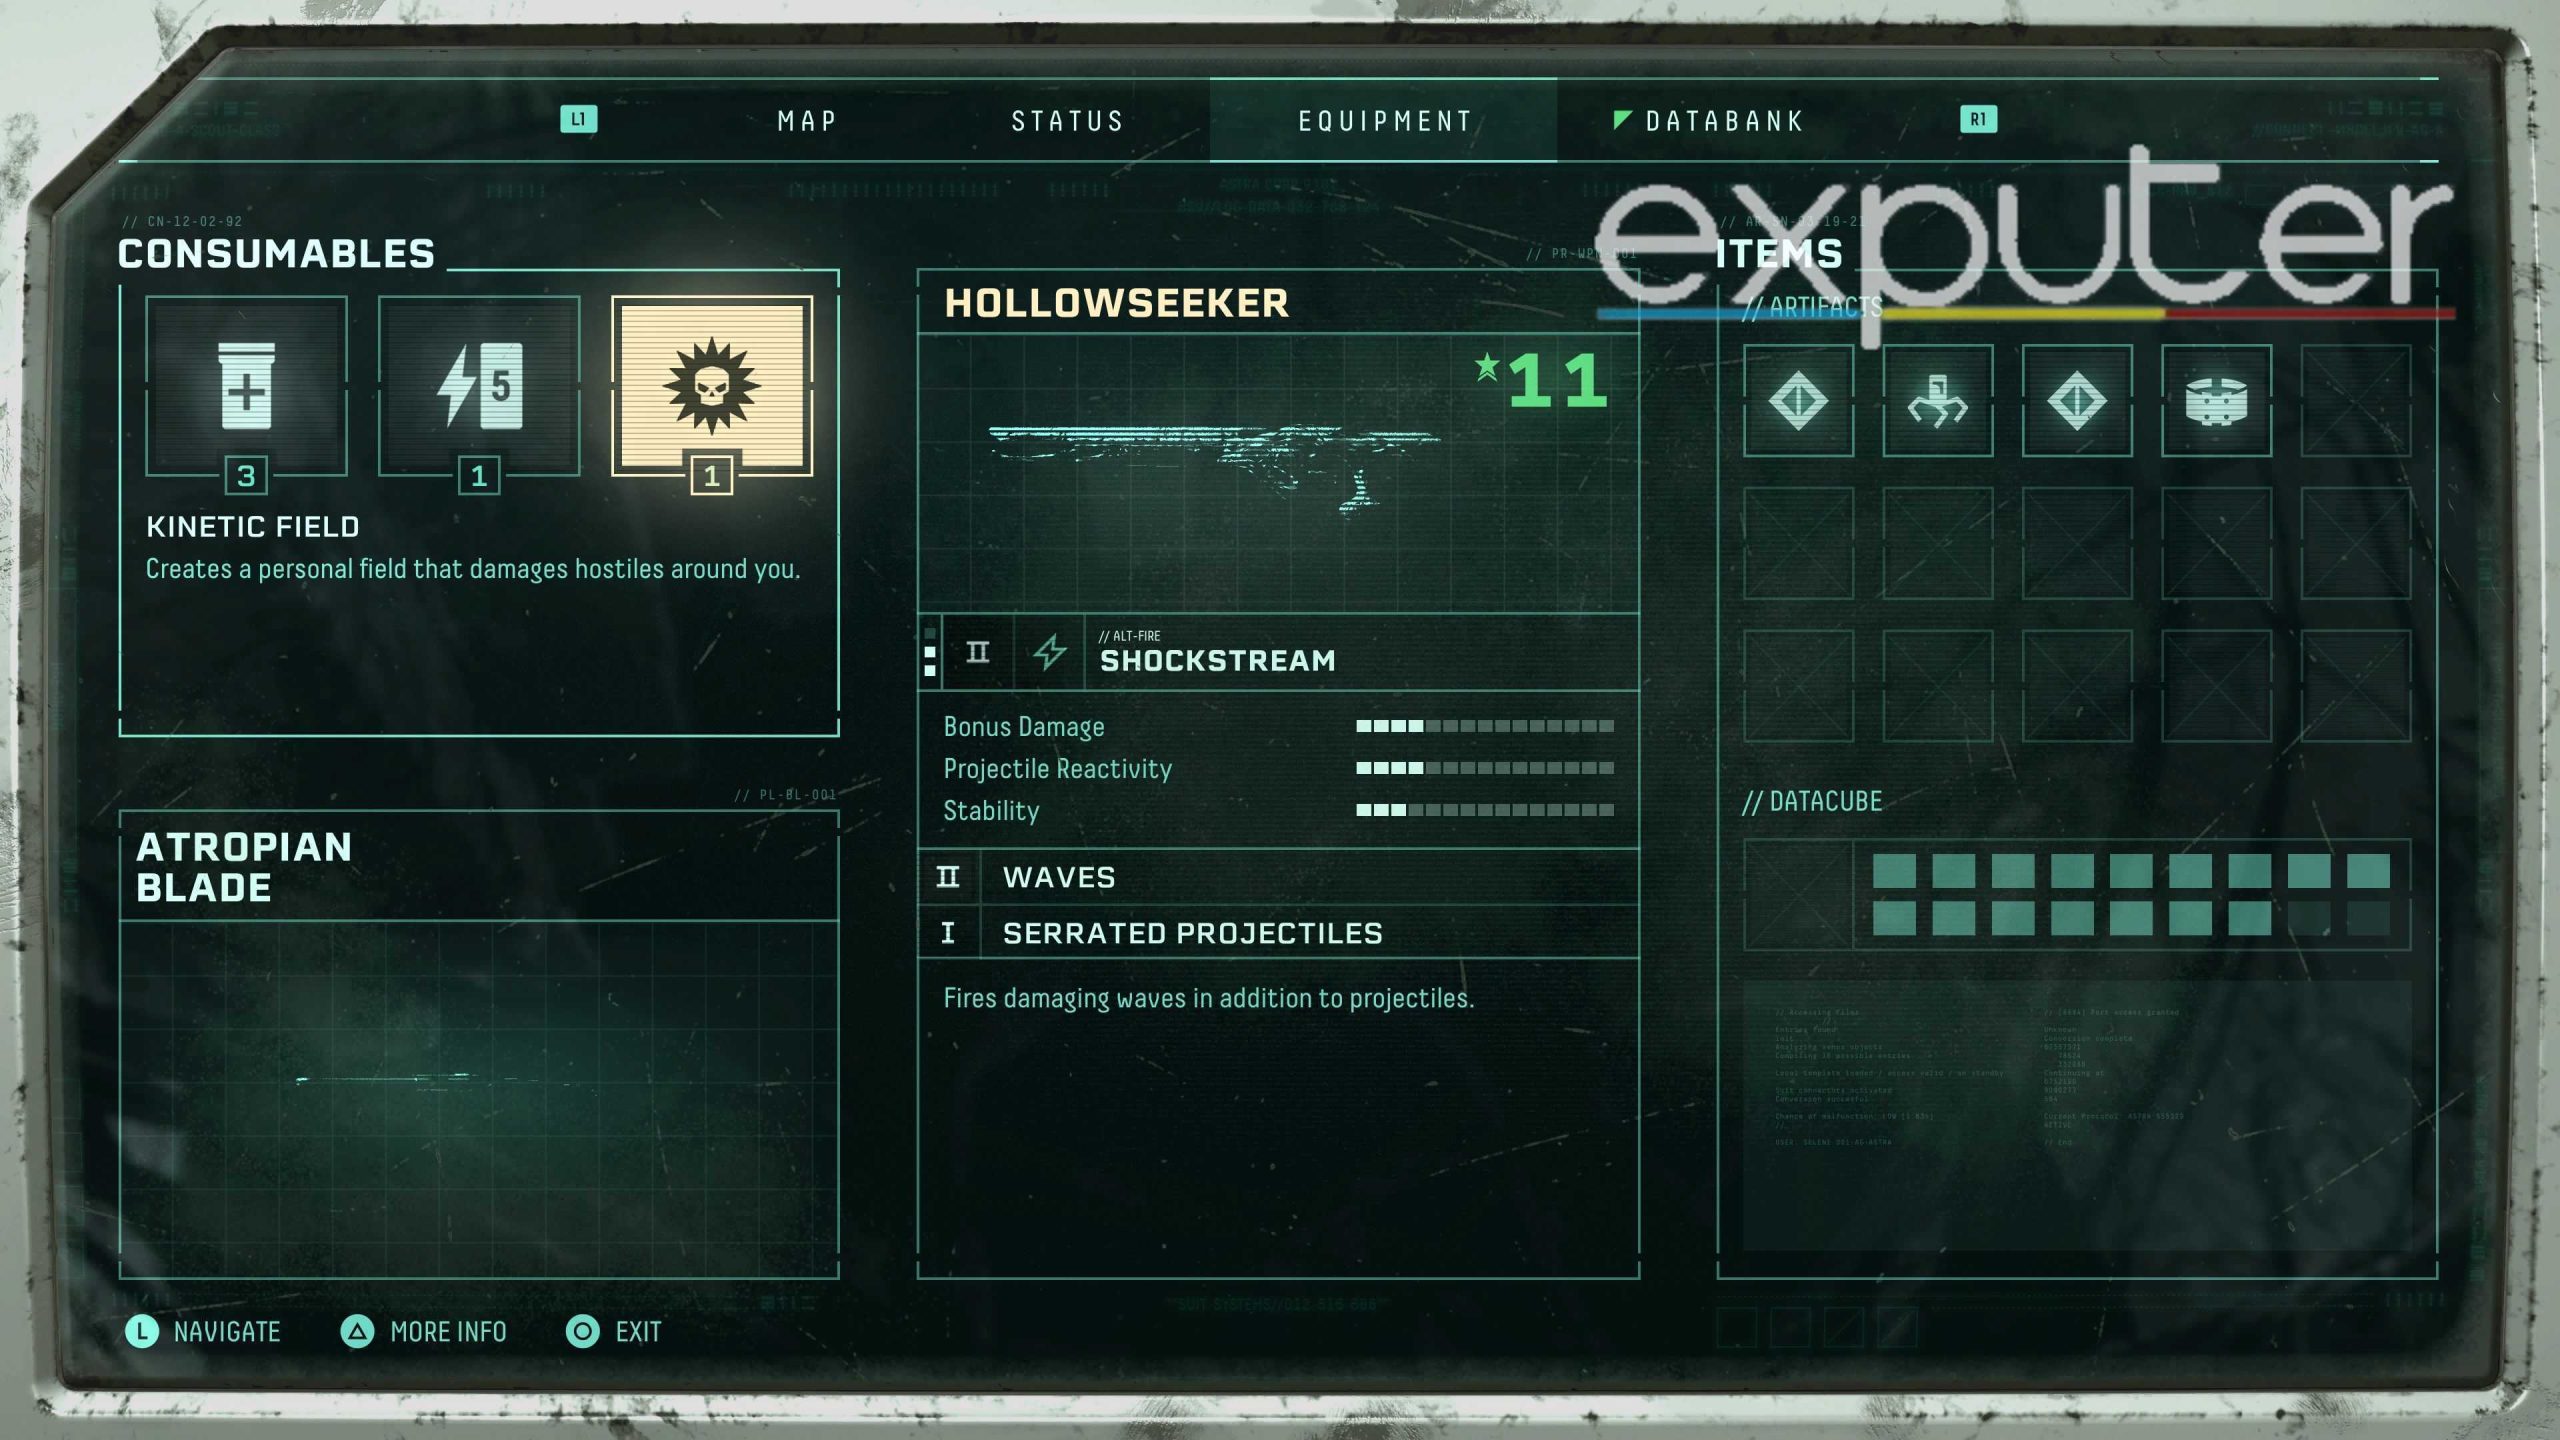
Now the loadout that we went with it is shown in the image above, and it was our 4th completion of the fight after completing the game itself. Now it is worth mentioning that replicating the loadout is by no means straightforward, and it is merely a reference for other players to what had helped us in the encounter.
The boss itself will be situated at a distance, so the best weapon, in our opinion, would be to use either the Hollowseeker or the Tachyomatic Carbine. Even other unique weapons, such as the Thermogenic launcher, will prove highly effective here rather than weapons, such as the dreadbound or the Spitmaw Blaster.
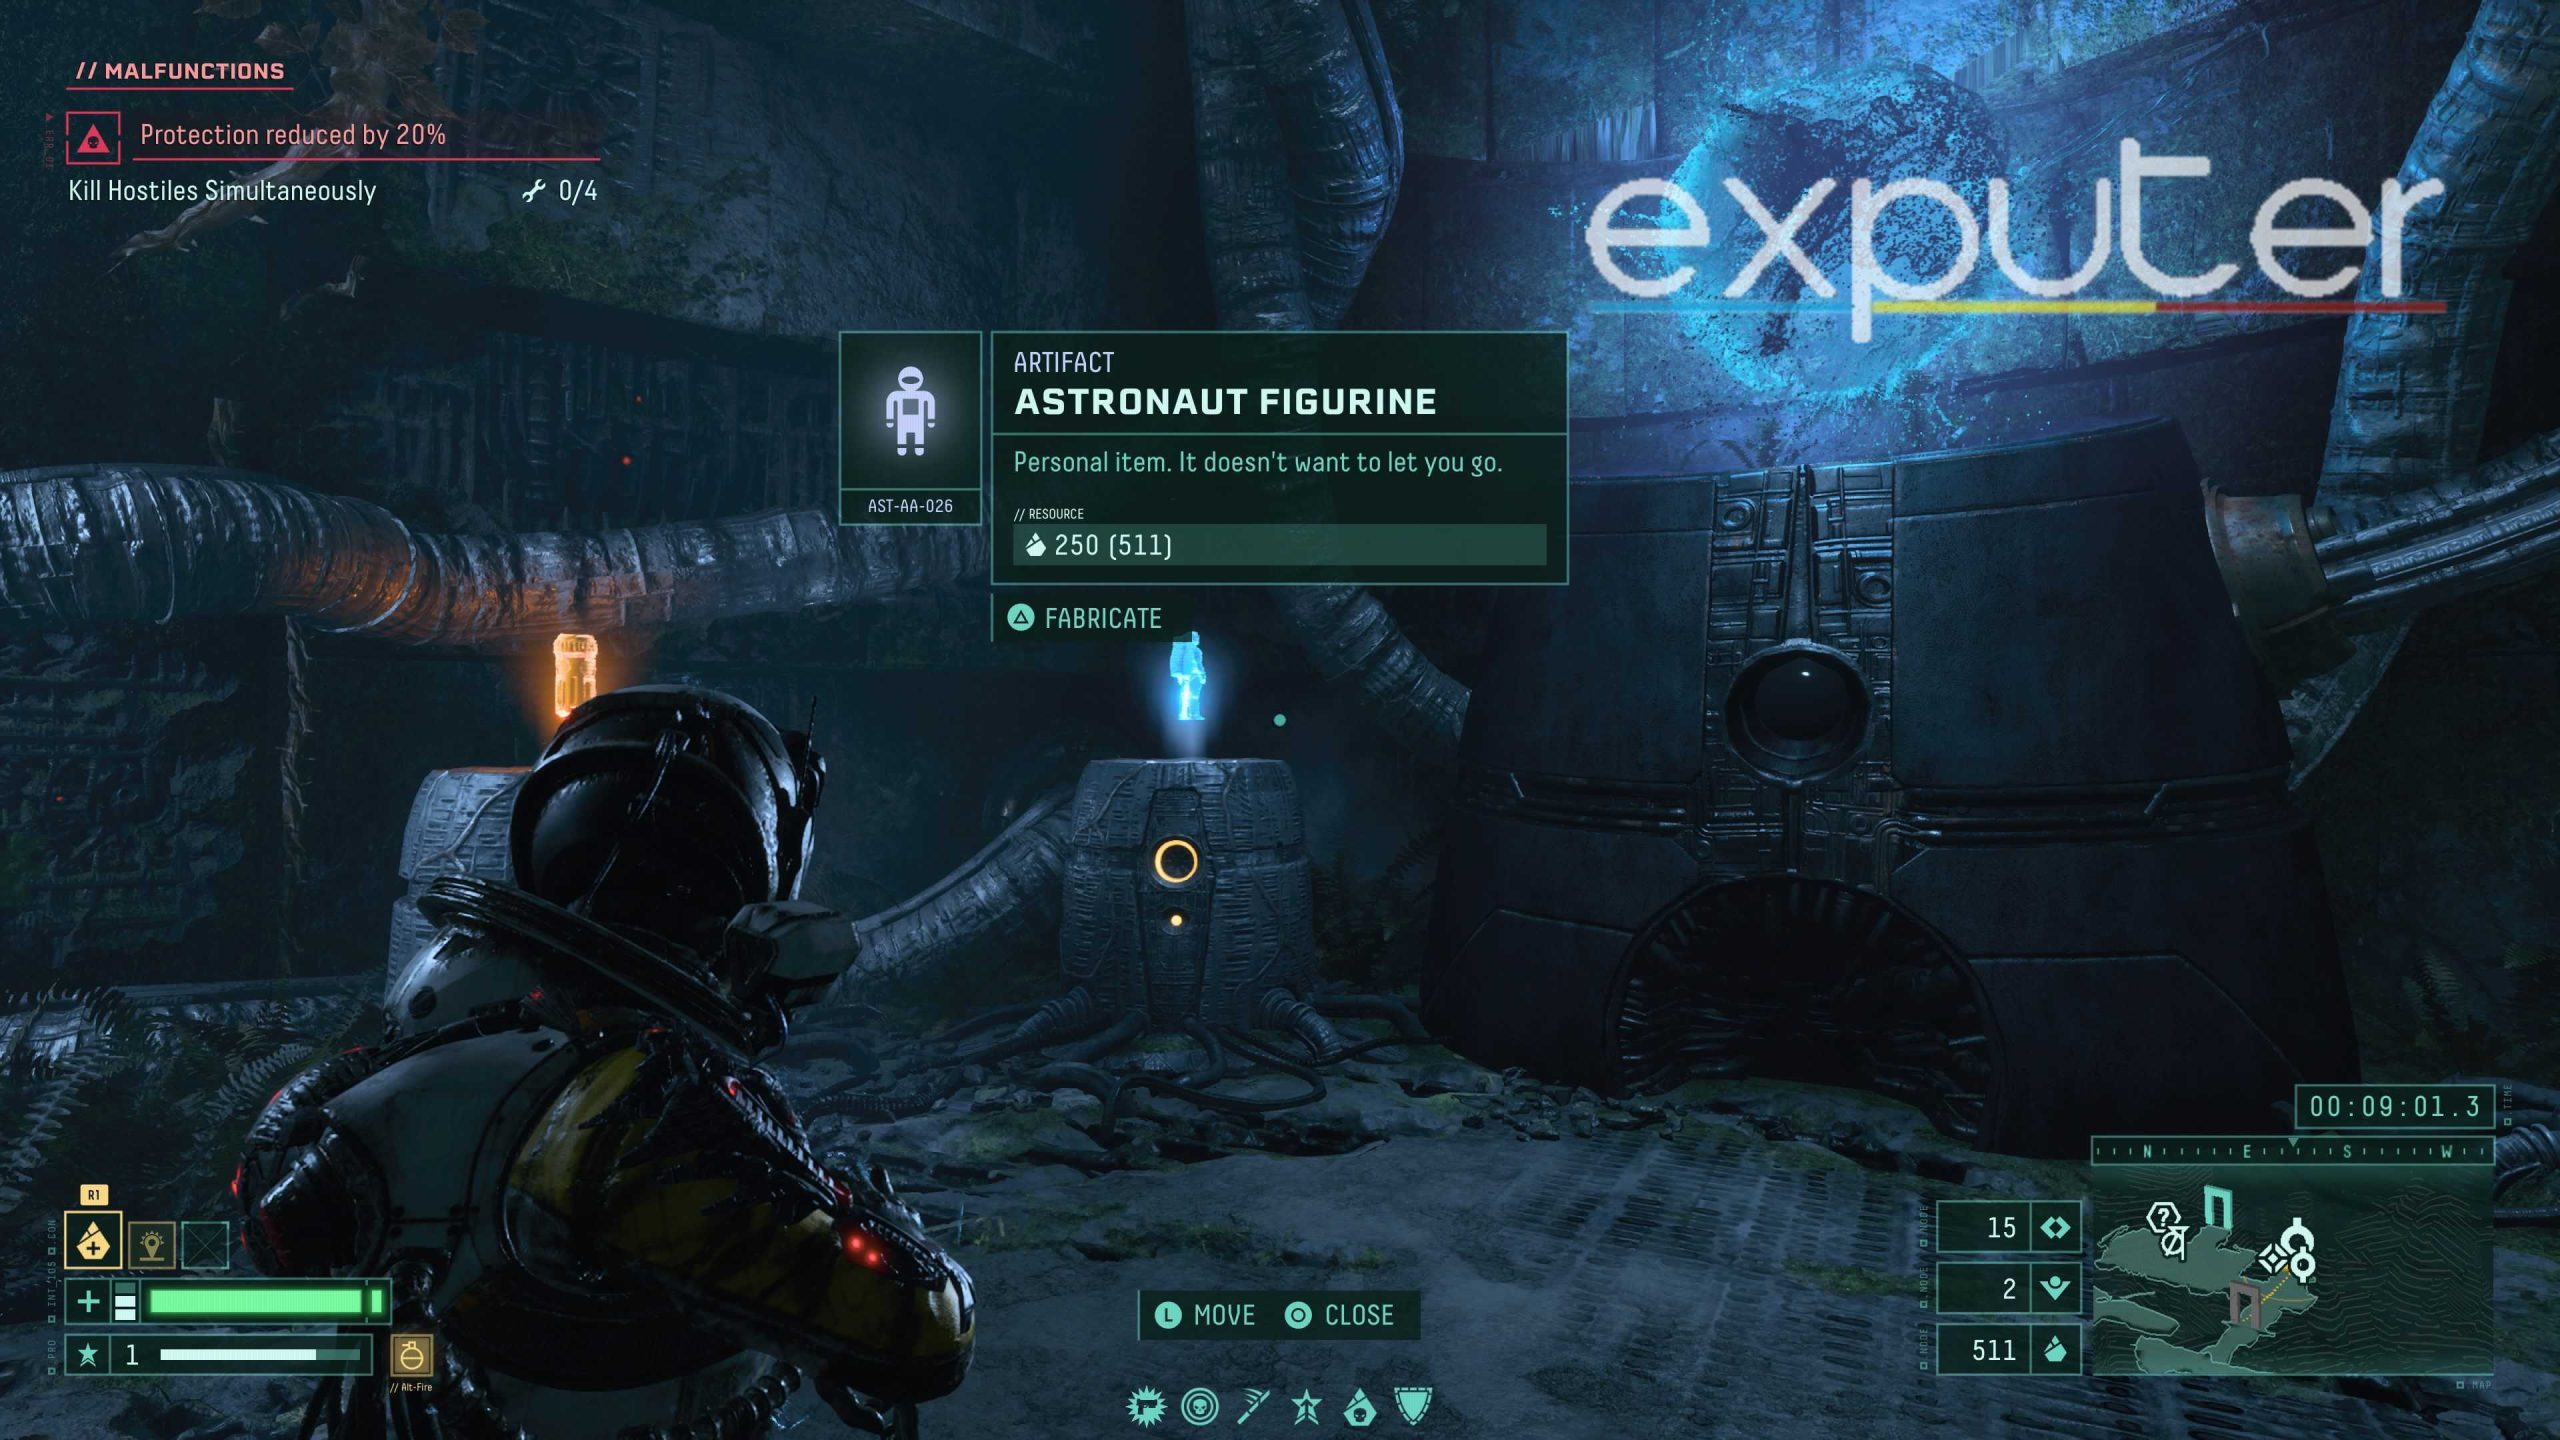
In terms of artifacts, if you come across the Astronaut figure shown in the image above, then it can immensely help as it essentially grants you a free return from death right in the middle of the fight. Consumables that can be great for the fight include the energy barricade as well as the Siphium Viles, which can restore your health and help you last longer in the encounter. For now, let’s discuss each of the three phases of the boss and the strategy.
Nemesis Boss Fight Strategy & Tips
The strategy to take down most bosses in the game comprises carefully learning every attack pattern of the boss fight while being acknowledgeable of when to use your own dodges and evasions. But that aside, we have outlined a basic layout of each of the three phases of Nemesis and how you should approach them.
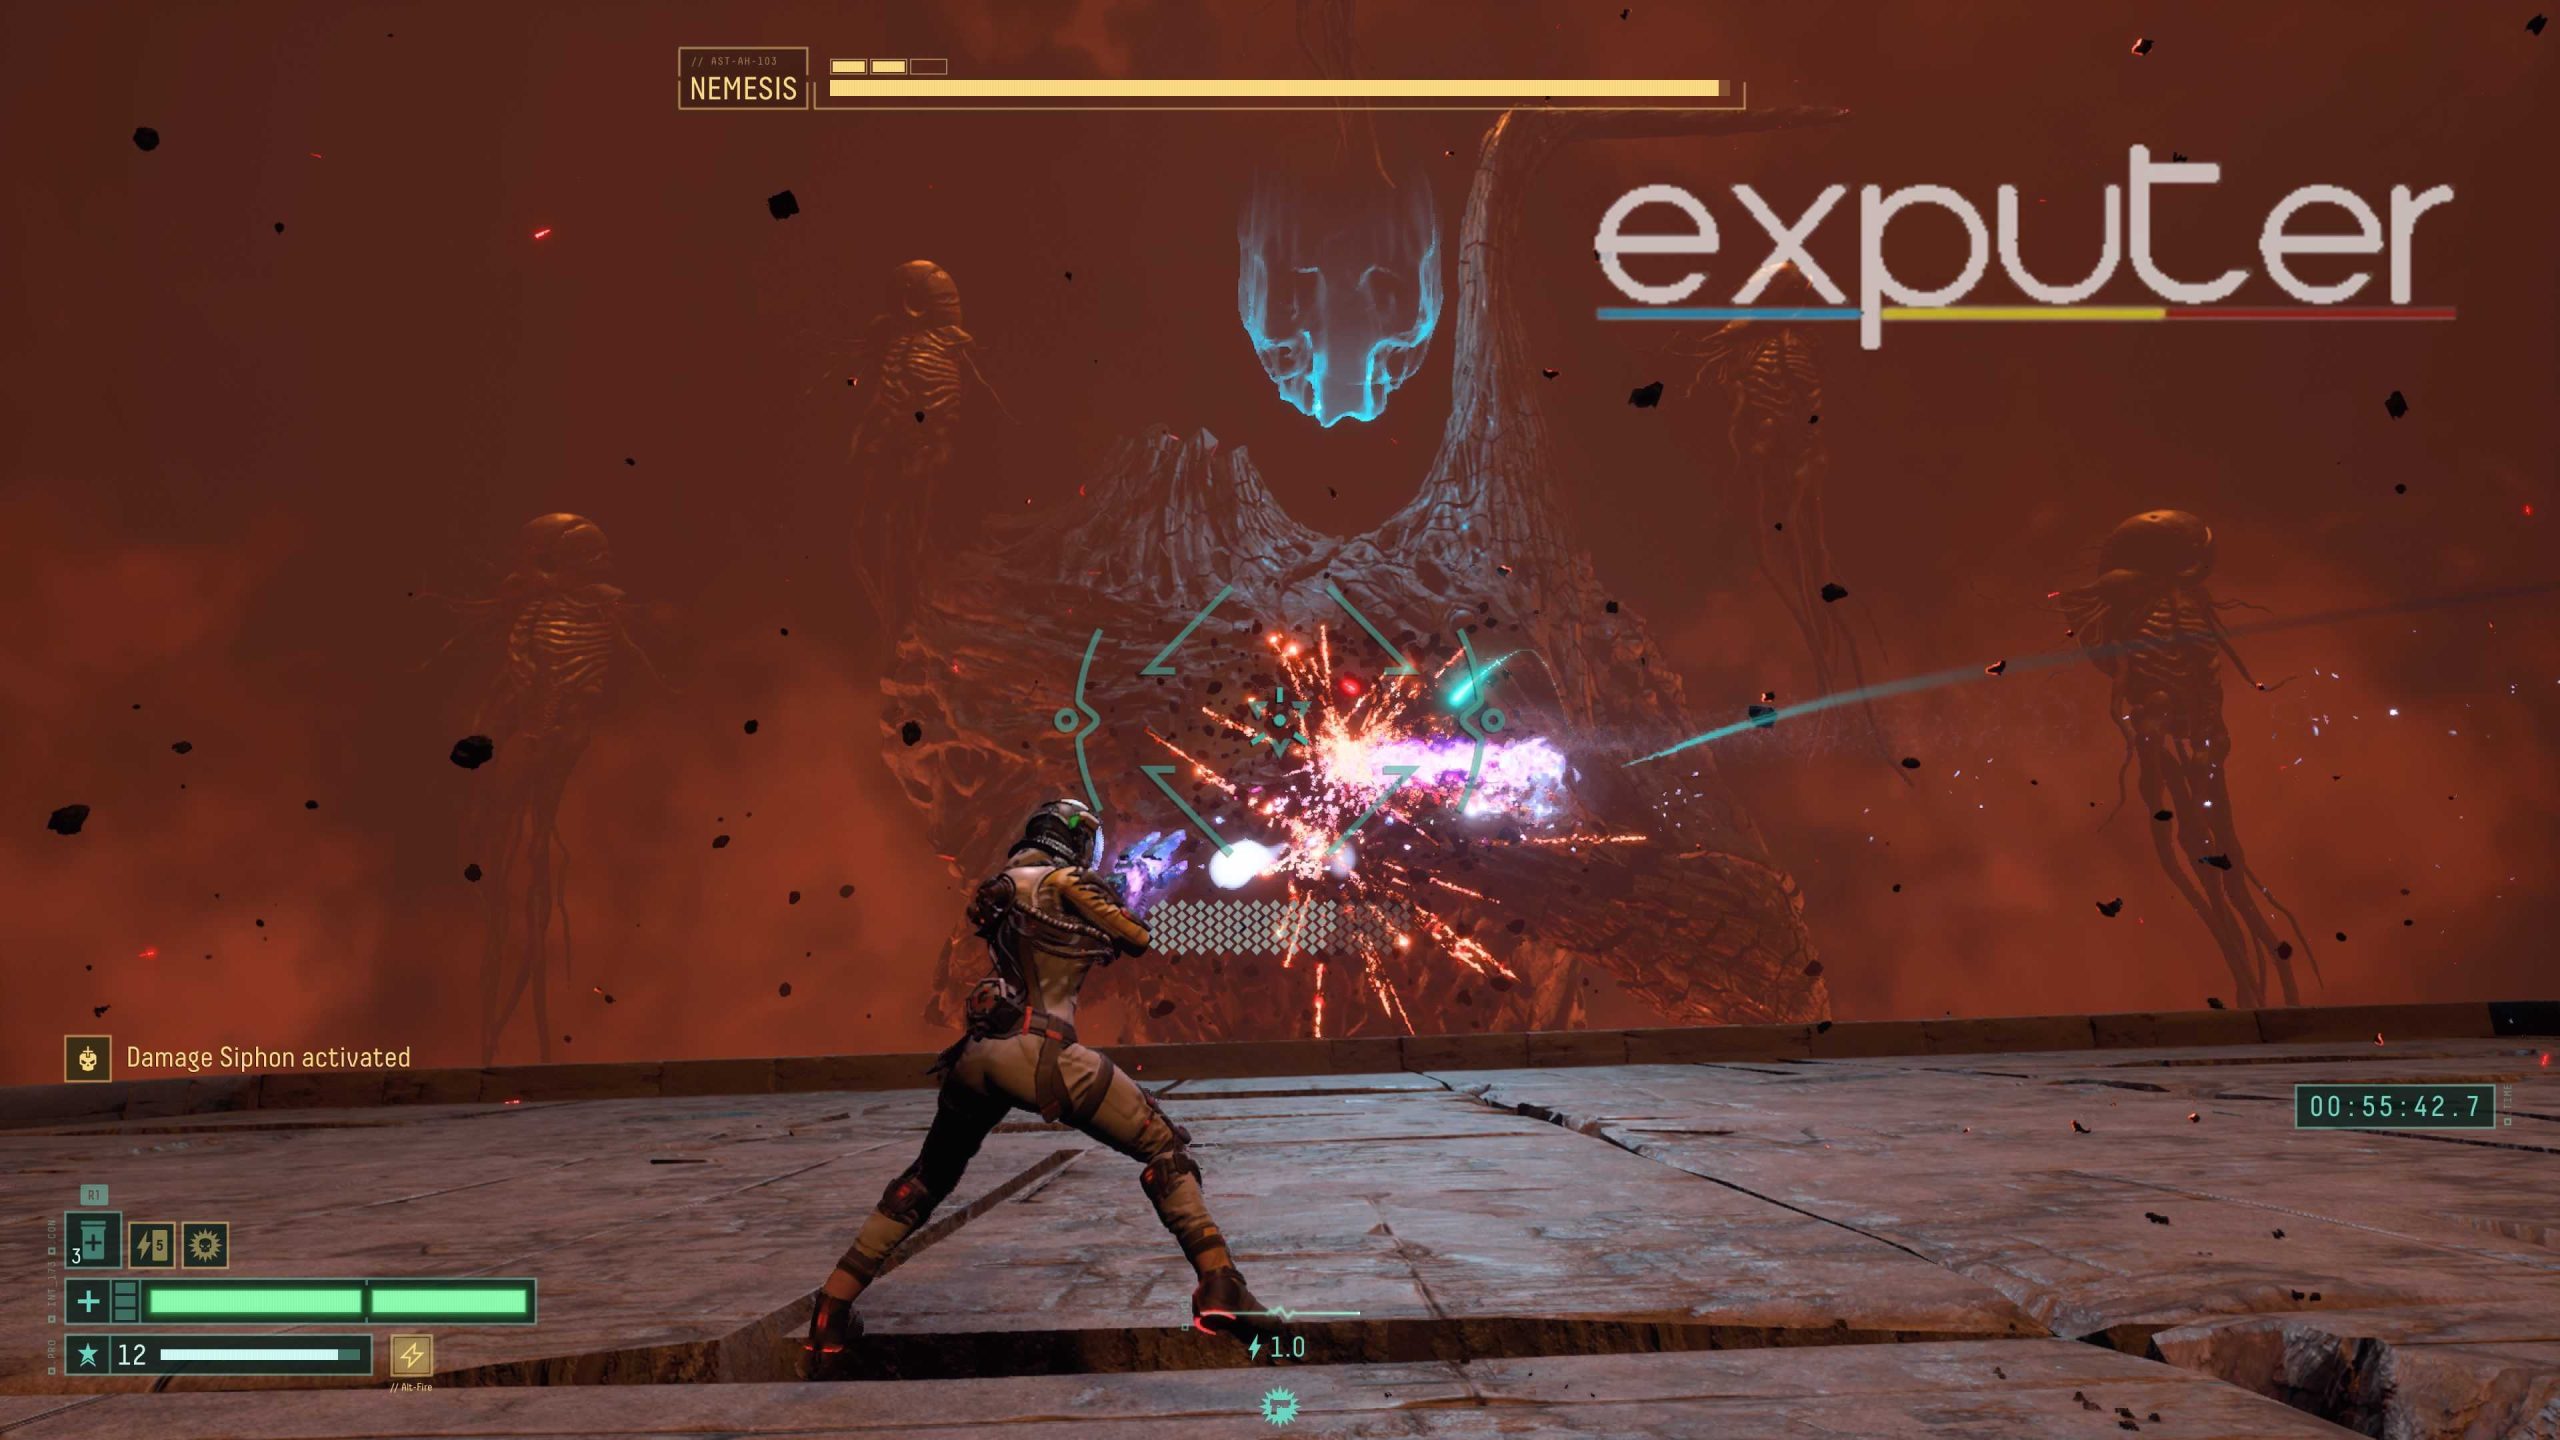
First Phase
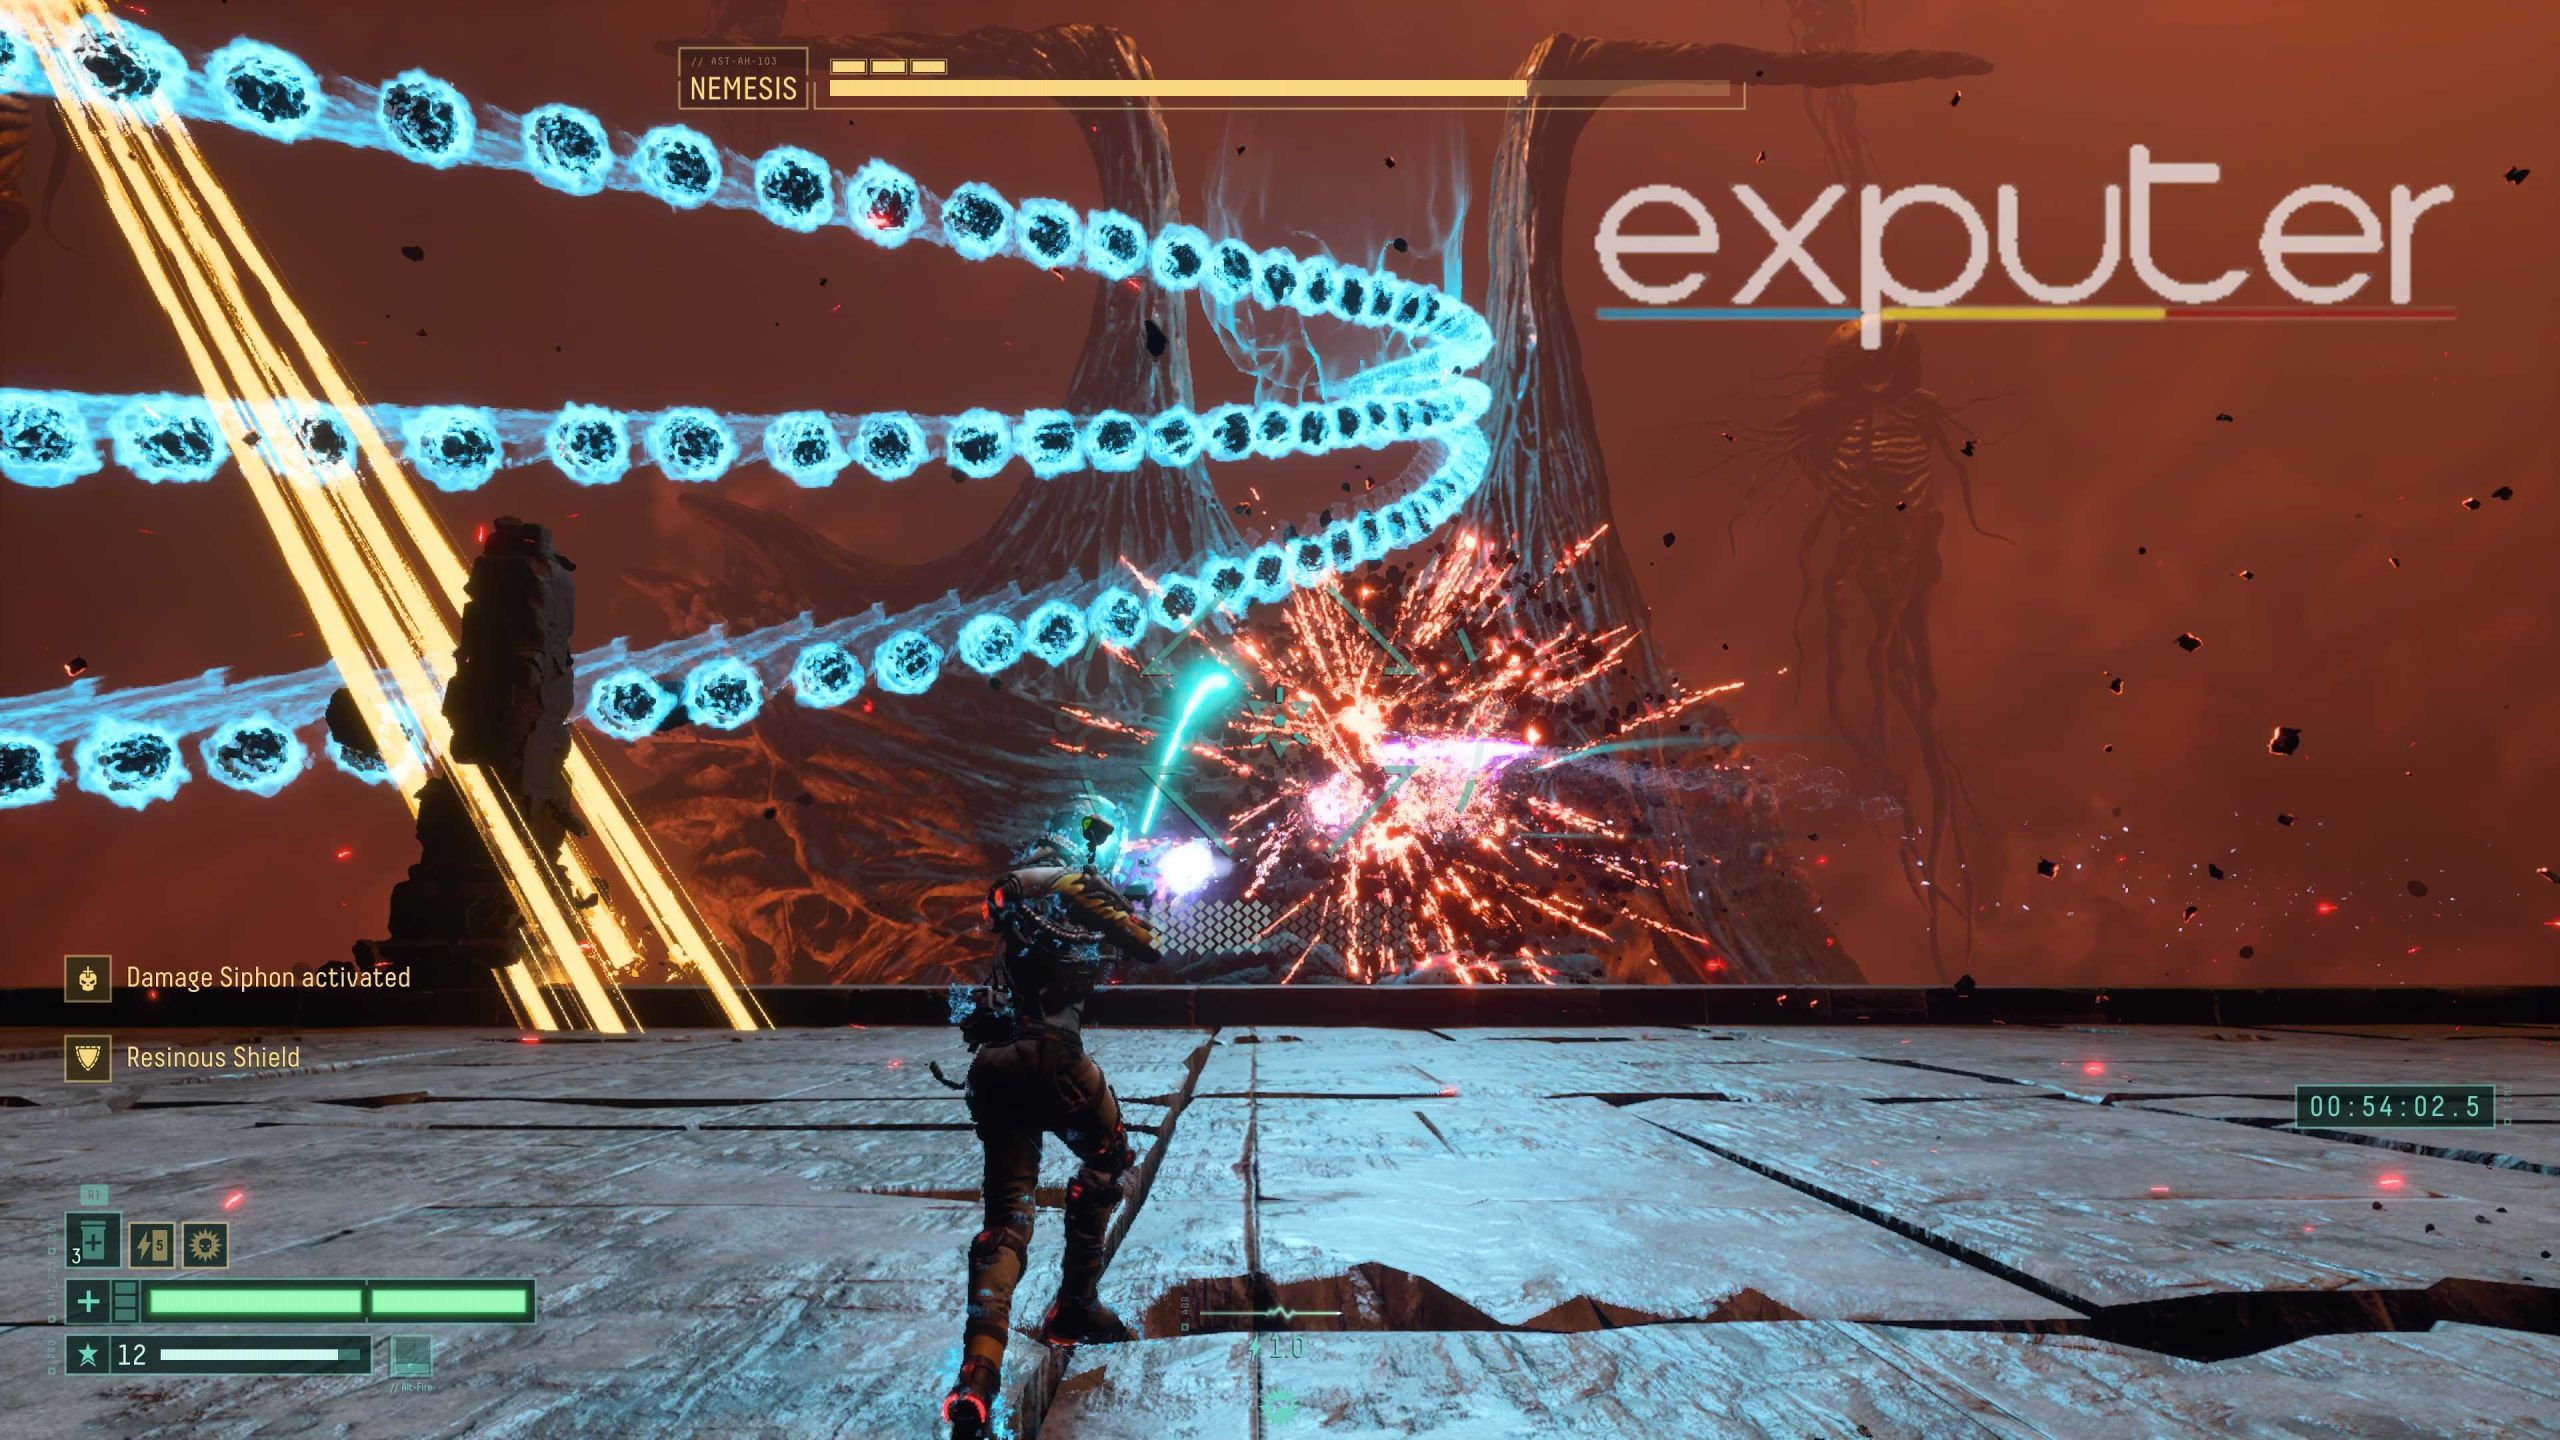
As depicted in the image we have provided here, the first phase is pretty simple and straightforward. The fight will begin as Selene wakes up, greeted by a gigantic being known as Nemesis. In the first phase, the fight will start on a platform with two additional enemies on both sides of the boss who will launch a laser beam-like ray at you from time to time which you must evade timely.
The barrage of projectiles and their different patterns are pretty easily evadable as long as you can focus your dashes at the right moment since it gives you a pretty sizeable invulnerability window. Aim directly for the heart of the boss where it is glowing, or else you won’t be able to deal damage optimally.
Second Phase
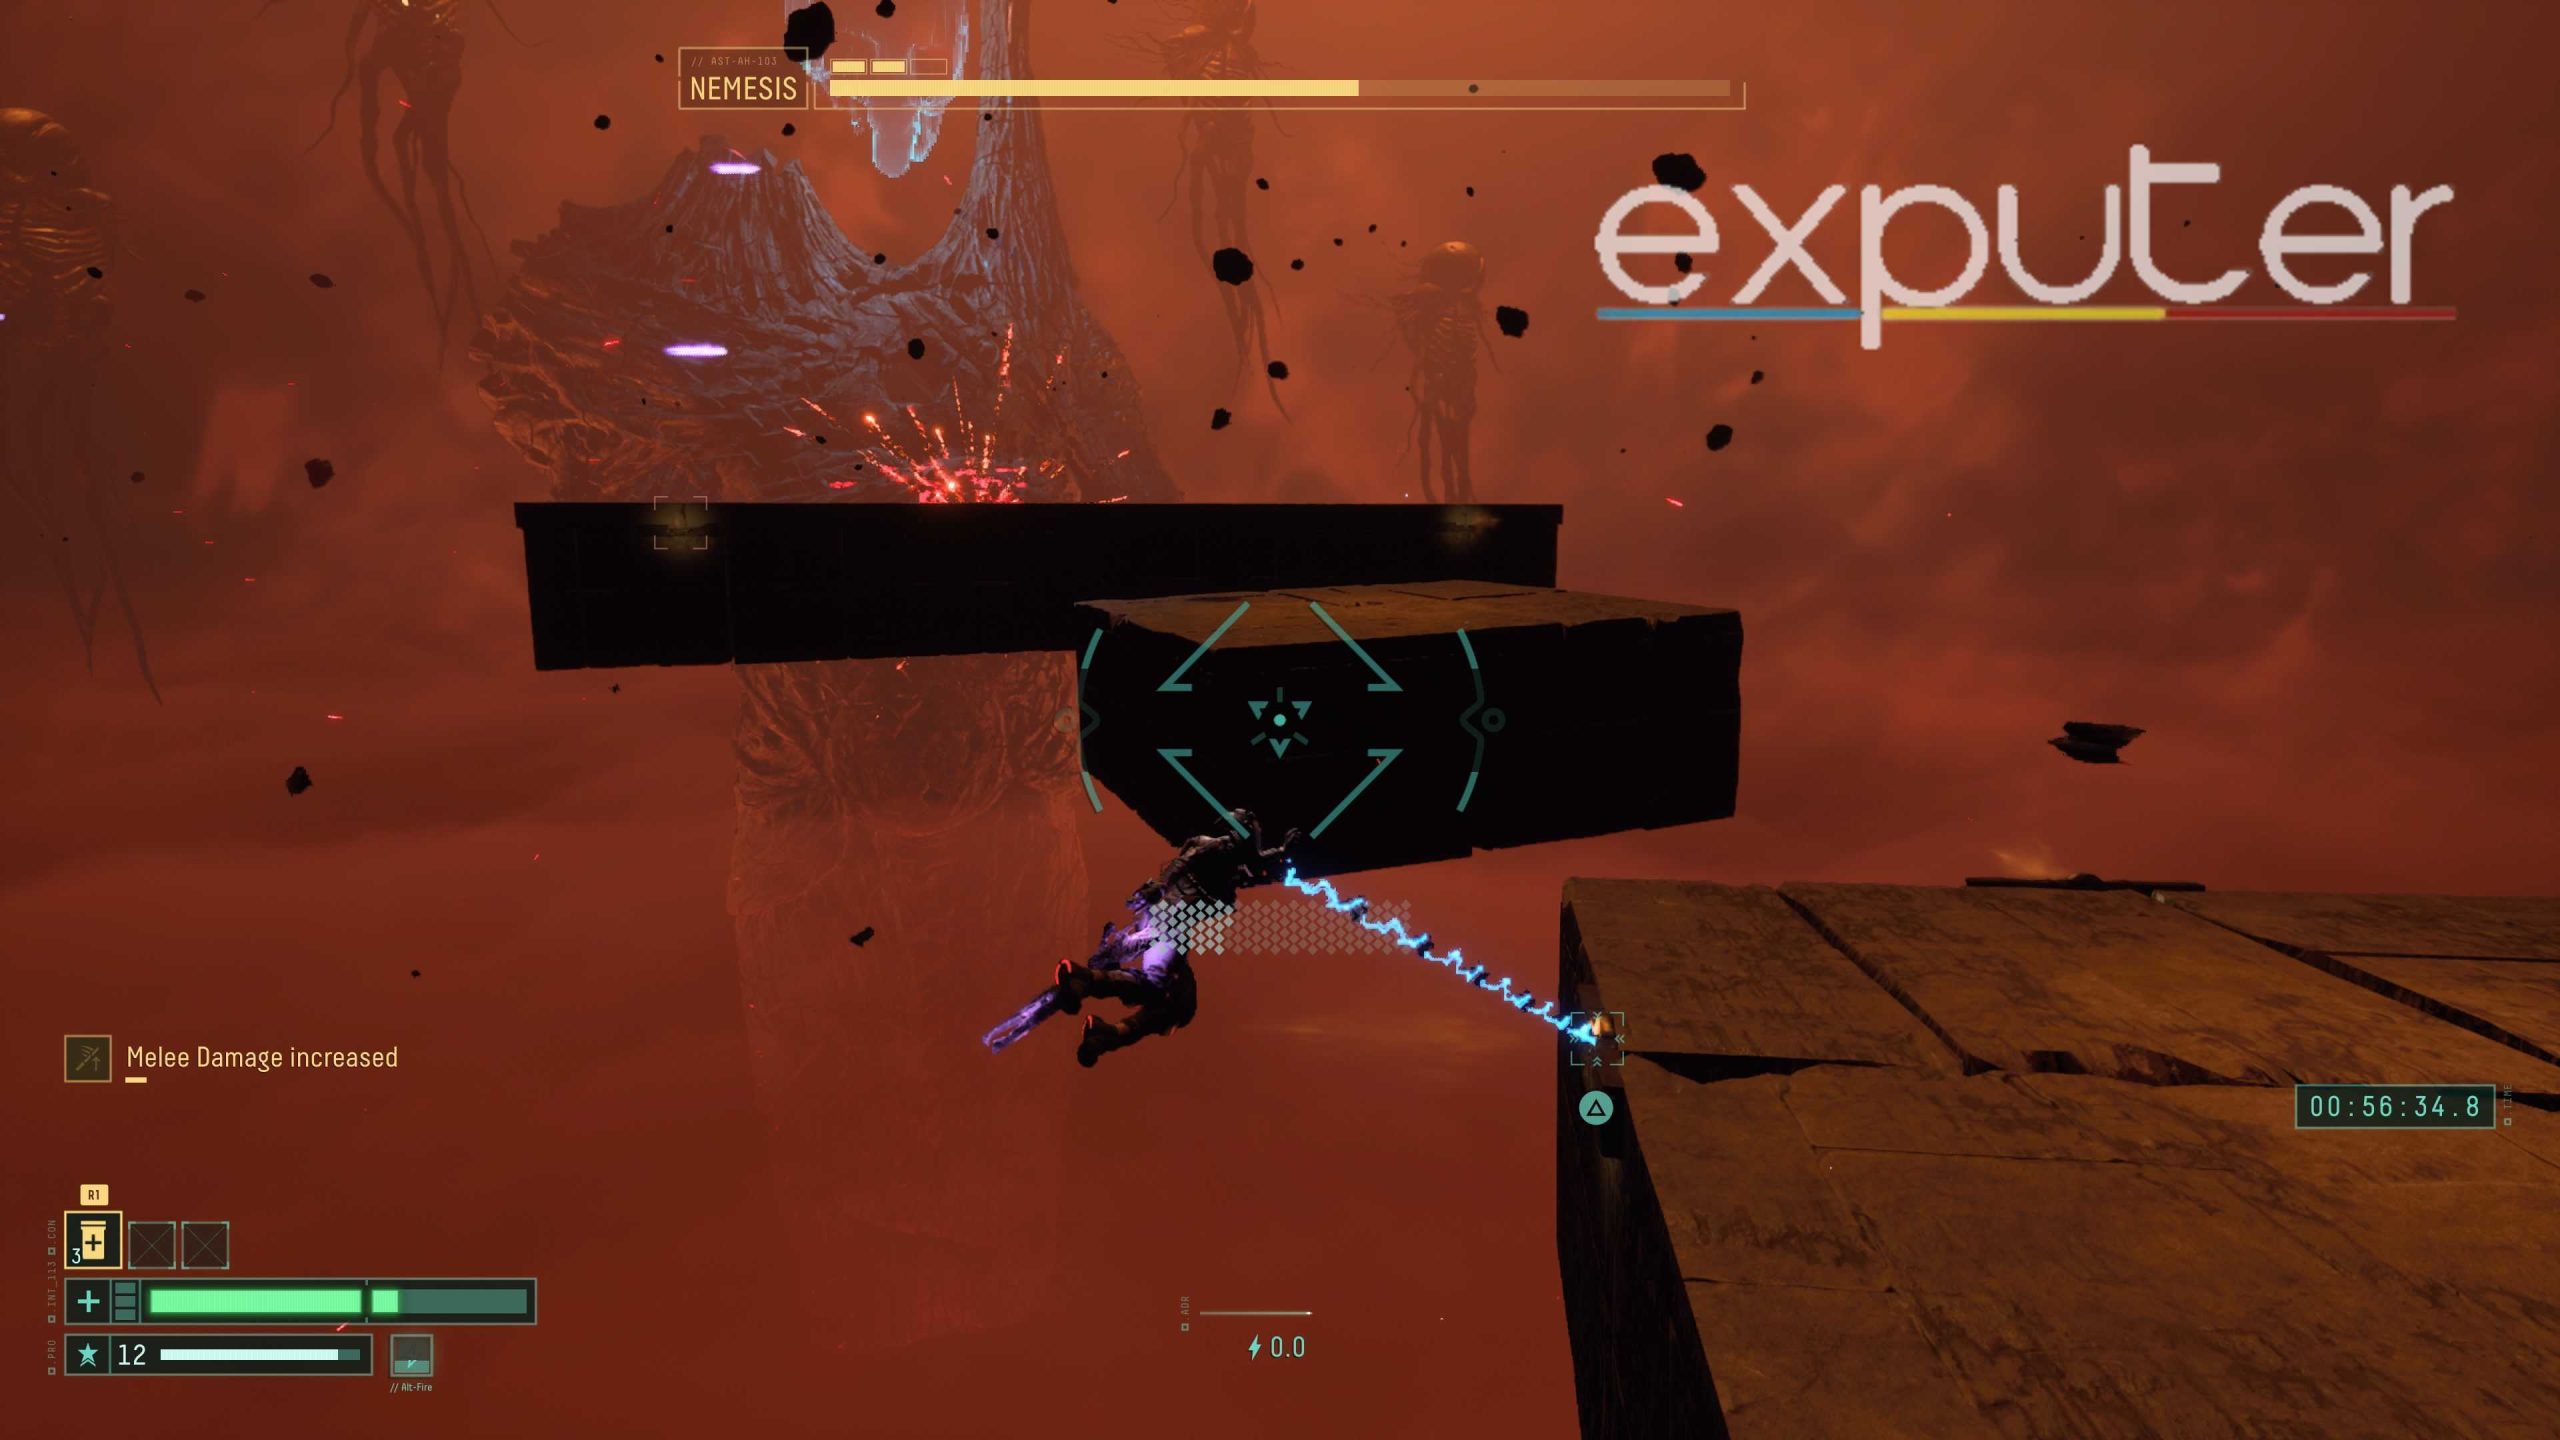
The second phase of the fight largely remains the same, except as soon as you start, Nemesis will break up the platforms into three to four pieces, allowing you to grapple hook toward them too. In terms of attack combinations, there isn’t much difference from the first phase. The boss will just so happen to teleport on certain occasions, at which you should swap platforms as soon as possible to continue the damage.
Aside from that, continue whittling away at the health as you dodge the attacks since they’ll be more aggressive than before. There is also no way to take down the other enemies who will continue their ray attacks, so be sure to keep your guard up and heal if you get too damaged. The other two minions will also have a new attack where they will dish out a ray of fire damage onto the arena.
Third Phase
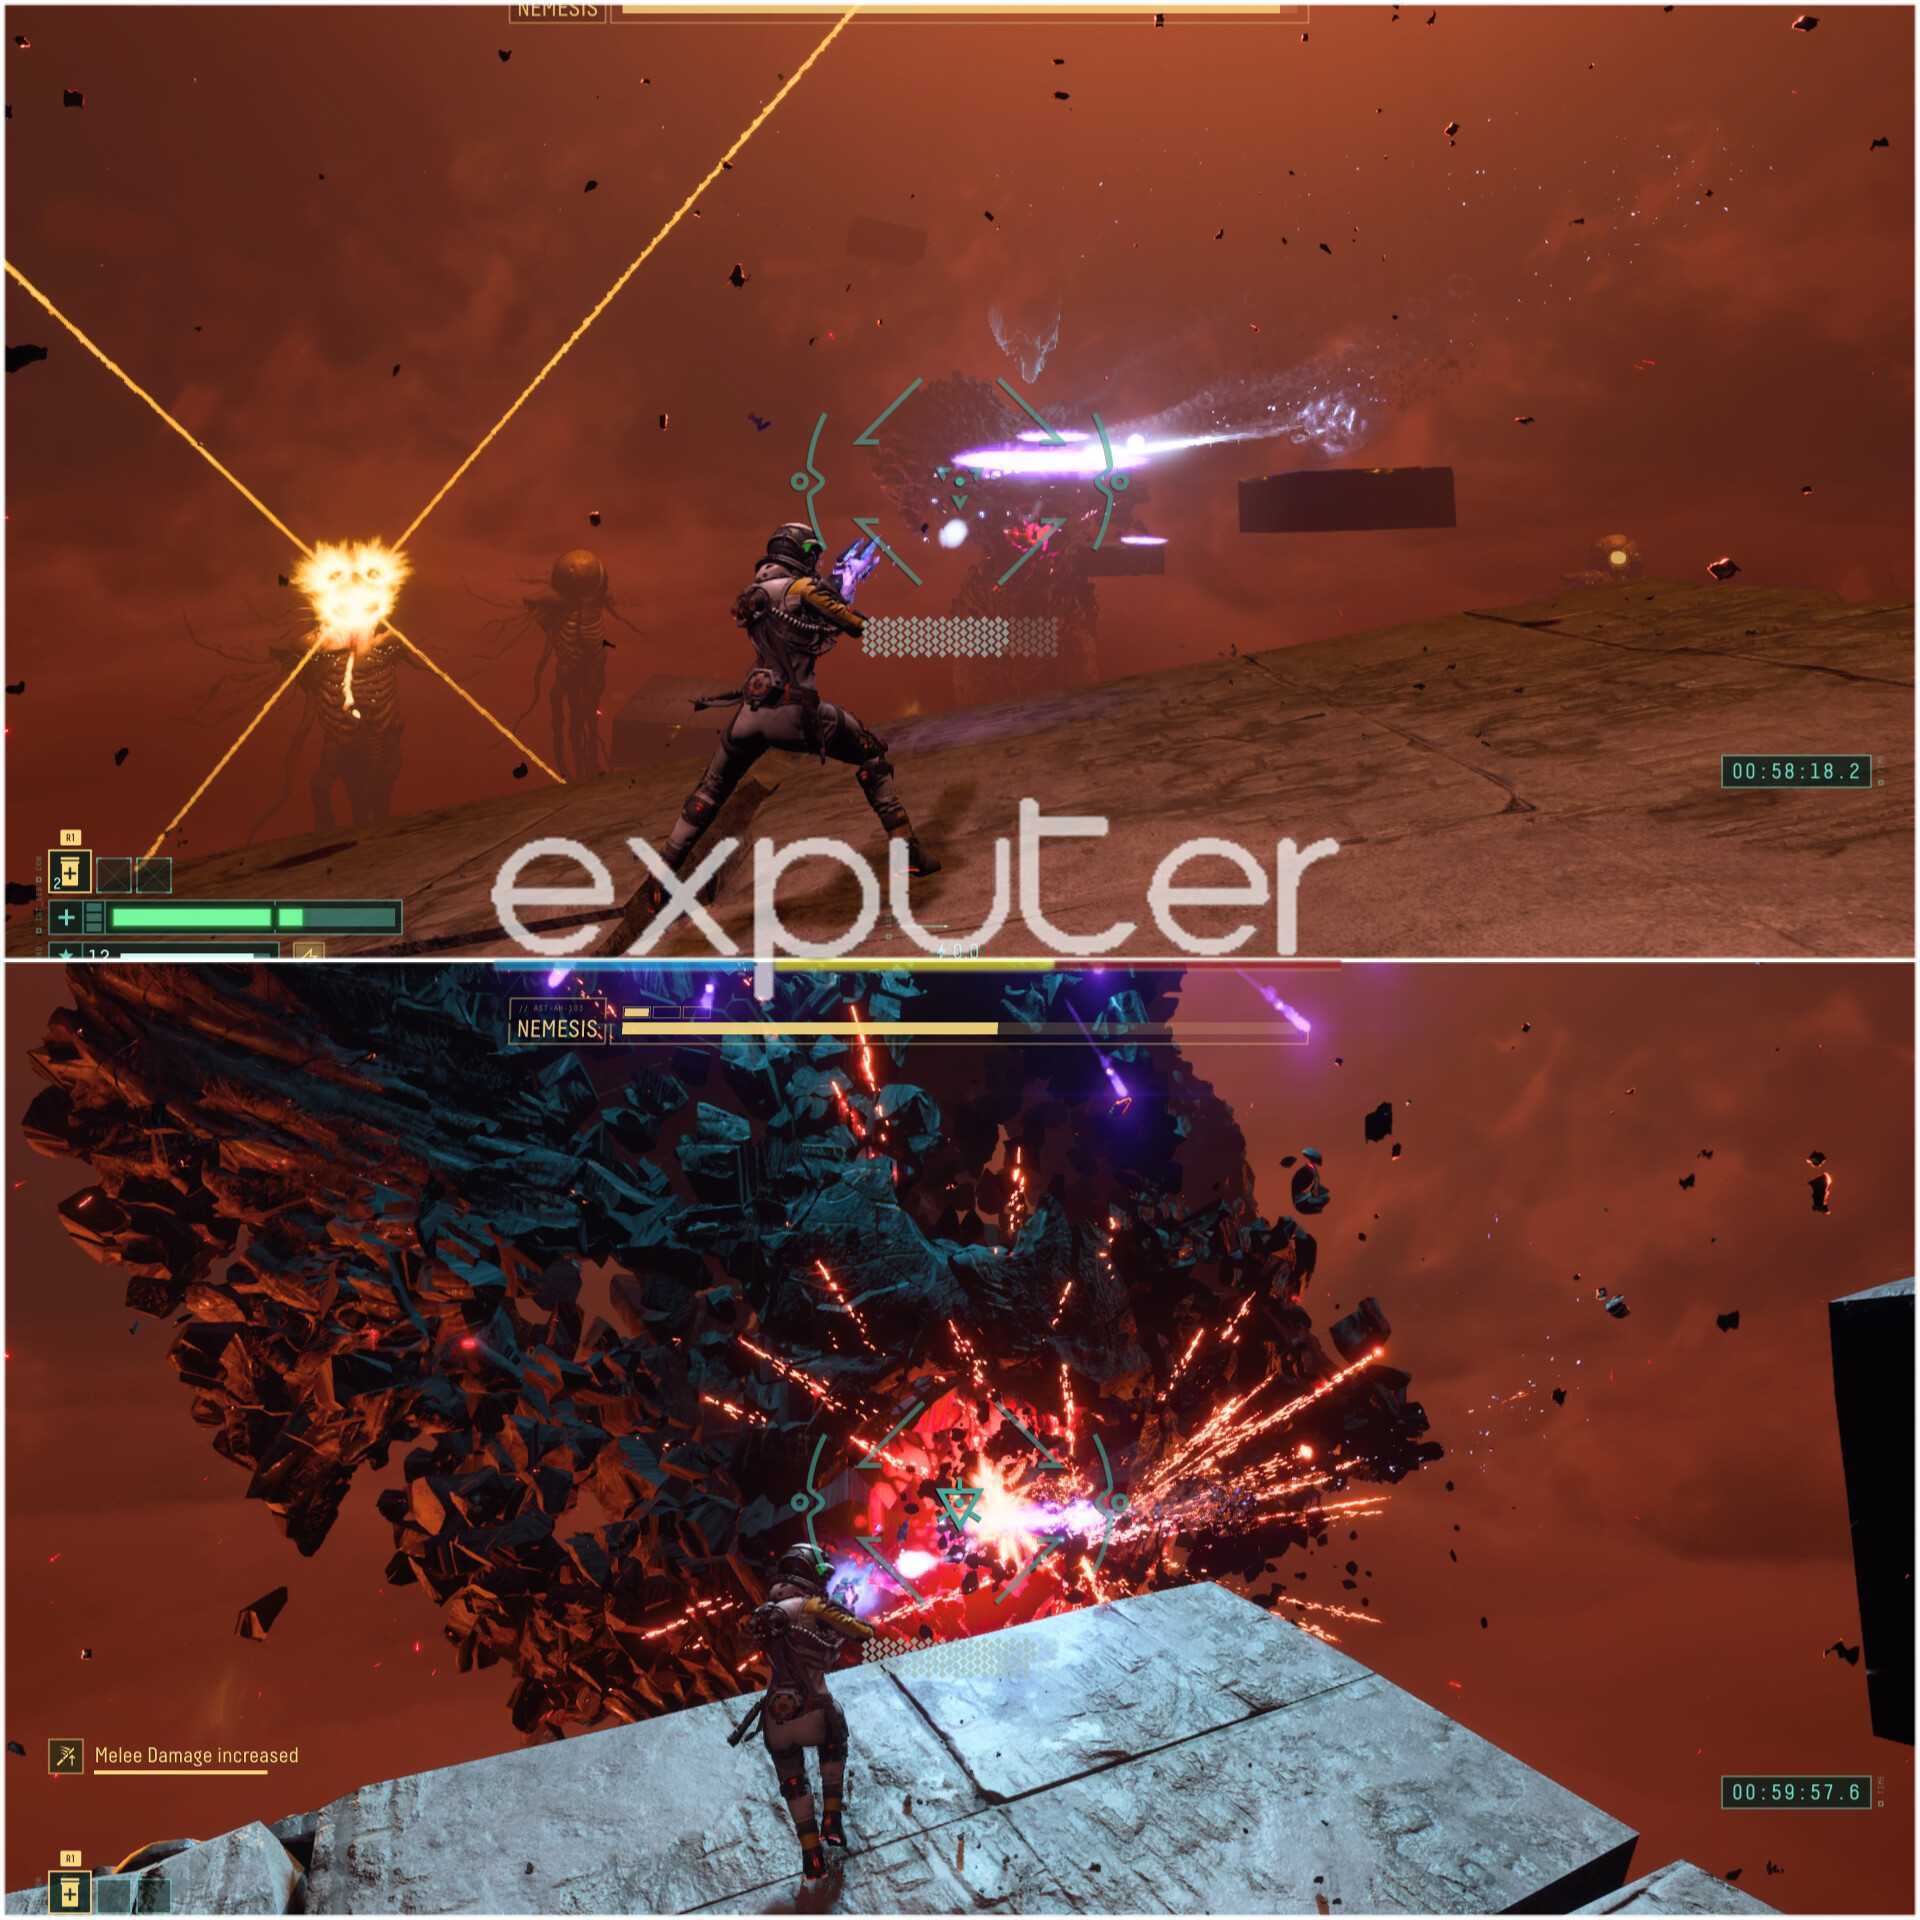
Lastly, the third phase is where it becomes truly chaotic as now Nemesis will diminish the entire arena flooring to launch Selene across to the other side. There will be a number of platforms floating in the air that you can grapple hook onto but be careful as not only Nemesis, but the other two enemies will closely be launching their attacks too. Which, by the way, can be easily evaded if you timely use your grappling hook on a nearby platform.
By defeating Nemesis, you will have successfully completed the first half of the game as well as unlock the Trophy/achievement “Trial by Judgement.”
The Wrap-Up
According to a Subreddit Post, it is evident that players had a hard time taking down Nemesis. While there is no optimal strategy to take him down, the entire fight mainly revolves around proper evasion using the dash. Due to the nature of the difficulty in Returnal, there is trial and error involved here, so there is no need to feel shame if you have to try again and again, which shouldn’t be the case if you can manage to learn the boss fight.
Up Next:
- All Permanent Upgrades in Returnal
- Returnal Ending Explanation
- How to Increase Repair Efficiency
- Returnal Increase Scout Rank
Thanks! Do share your feedback with us. ⚡
How can we make this post better? Your help would be appreciated. ✍