Star Wars Jedi Survivor Blaster Stance [Unlock & Upgrade]
Unlock the Star Wars Jedi Survivor's Blaster Stance by completing the main story campaign of chapter 3.
Unlocking the Blaster Stance in Star Wars Jedi Survivor requires completing the main story campaign of Chapter 3. This chapter is divided into 4 parts, each with distinct objectives. The adventure begins when our ship crashes on the planet Koboh, and you embark on a mission to find Greez, who can help repair our ship. Once you find Greez, you will be introduced to Bode, who grants us the Blaster for practice. With the ship ready for repair, you can move forward to Chapter 4.
- Unlock the Blaster Stance by completing Chapter 3 of the story campaign in Star Wars Jedi Survivor.
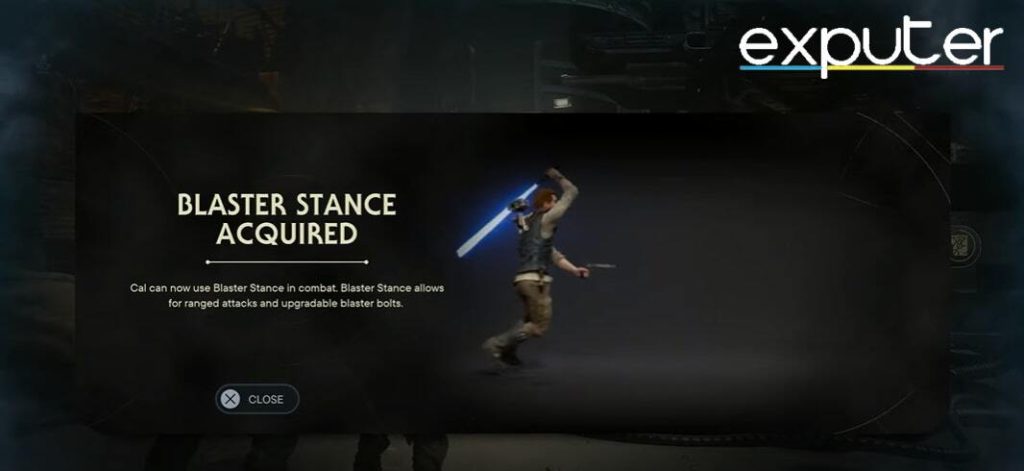
- Obtain the Blaster from Bode at the end of the campaign.
- Target enemies specifically with the Blaster, similar to using a Lightsaber.
- Utilize the Perks system to enhance the performance of the Blaster Stance.
- Upgrade options for the Blaster Stance include Quick Draw, Flying Lunge, Blaster Cooldown, Improved Clip, Energizing Flurry, Efficient Heat Transfer, and Point Blank.
- The Jedi Survivor Blaster consumes six ammo at a time and can fire two at once for a charged shot, distinguishing it from traditional Blaster cannons
Learn more about the Blaster stance by watching the following video:

How to Unlock The Blaster Stance
- Jedha is visited after Coruscant and Koboh in the game.
- To reach Jedha, follow the main story path of Koboh until the Mantis is repaired.
- Although smaller than Koboh, Jedha is not far from the Archive.
- Upon reaching the Archive, Bode will provide Cal with a blaster, allowing the use of Blaster Stance.
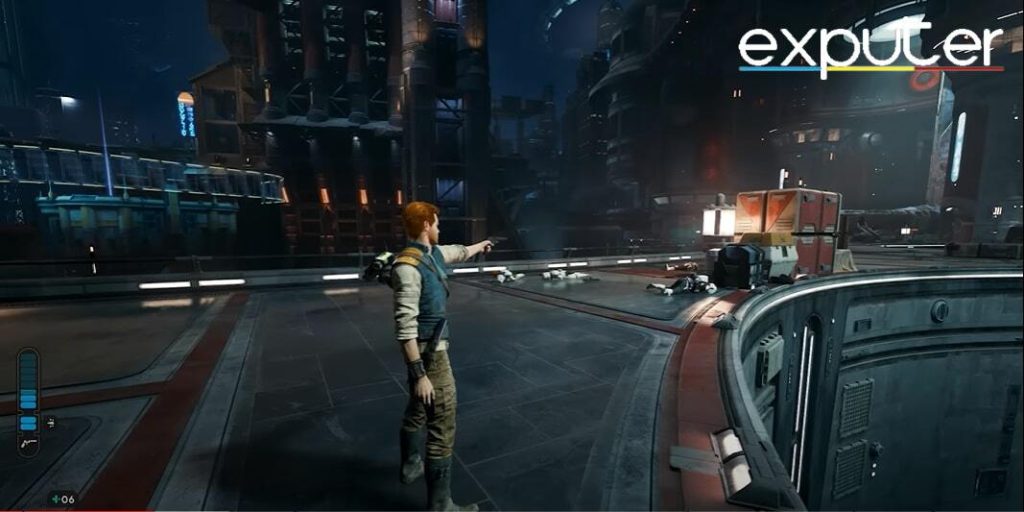
- The blaster enables Cal to take out B1 droids efficiently with powerful ranged attacks.
Blaster Stance Uses And Upgrades
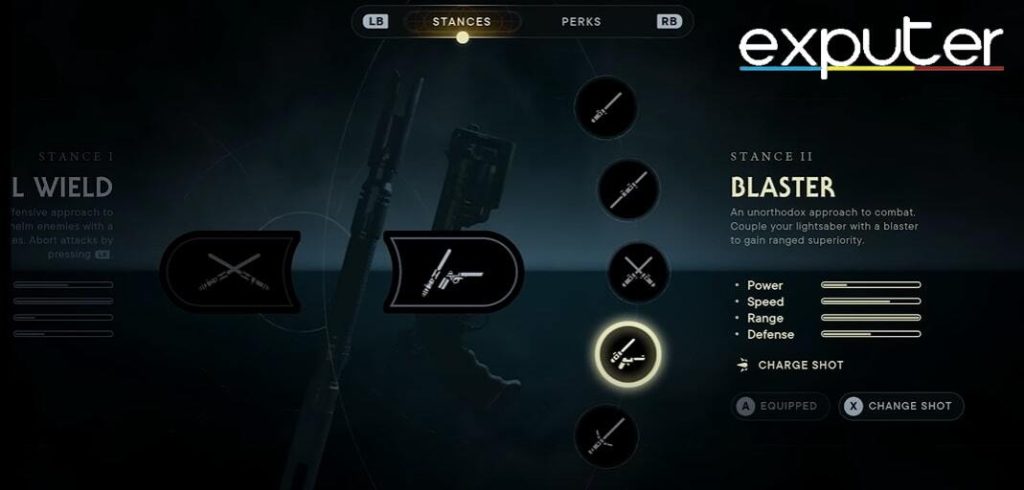
The Blaster Stance unlocks the use of a ranged blaster gun instead of a lightsaber, making it essential for defeating difficult bosses like Tague Louesh. Where the recommended stances are the Blaster and Double-Bladed stances, allowing players to attack enemies from a distance, shoot bolts to deal instant damage, and break through enemy shields.
Using The Blaster Stance
- Master the Blaster Stance in Star Wars Jedi Survivor by darting in and out of melee range.
- The Blaster Stance is effective against enemies at a distance, such as flamethrower stormtroopers.
- It efficiently deals with opponents, providing range and speed in tough battles.
- The Primary Attack uses the lightsaber, generating charge for the blaster.
- The charge amount is displayed on the left-hand side of the screen.
- Activate the Special Attack to fire a shot, consuming one bar of charge.
- Holding down the Special Attack creates a Charged Shot, consuming two bars of charge
Blaster Stance Skill Tree
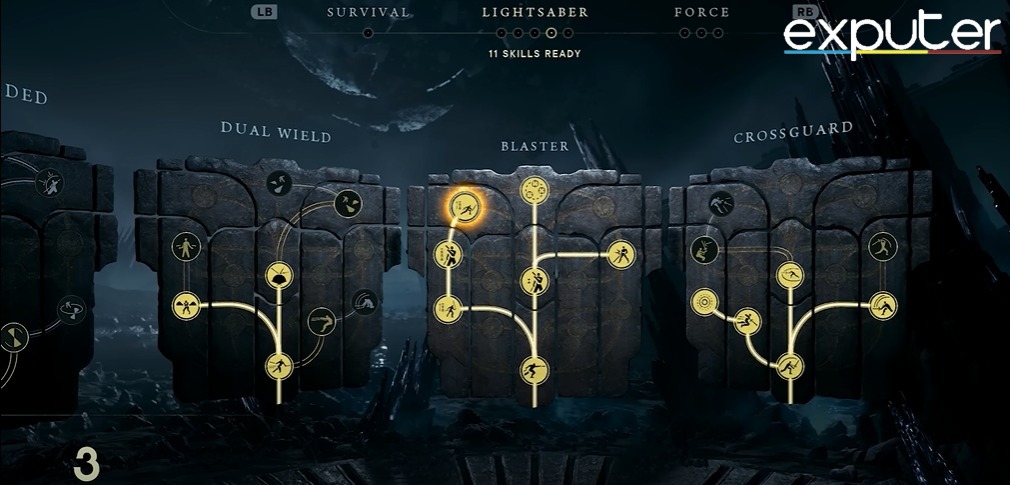
- Quick Draw (3 Skill Points) – Focus and target multiple enemies at once with the blaster
- Flying Lunge (1 Skill Point) – Gives you more range with your lightsaber.
- Blaster Cooldown (1 Skill Point) – Provides you with more ammo for each free strike landed with a lightsaber.
- Improved Clip (1 Skill Point) – Increase maximum blaster ammunition by three.
- Energizing Flurry (3 Skill Points) – Perform a sequence of quick swings that rapidly replenish ammunition if they connect.
- Efficient Heat Transfer (2 Skill Points) – Reduces how long it takes to do a Charged up shot. (It does take a few seconds).
- Point Blank (1 Skill Point) – Lets you blast away an enemy when they are about to hit you up close.
Other Upgrades On Blaster Stance

- Charge Shot Area is activated when you hit an enemy with a charge shot, then the nearby enemies will take damage from it.
- Ricochet bounces the Blaster bolts off any surface. So when you fire a Blaster ball, It would have bounced and can hit more enemies next to each other.
- Stun Shot fires a stun bolt at a target and that can also stun nearby enemies.
To change shot types, you need to be in the meditation menu, select the Blaster Stance, then select any desired.
Perks On Blaster Stance
The Perks are a new system in Star Wars Jedi Survivor that can improve the Blaster Stance as well.
- Marksmanship (3 slots) – Increases the damage of your Blaster shots when you’re using Blaster Stance.
- Unflinching (1 slot) – Allows you to take a hit without damage when charging up your blaster.
Blaster Customization
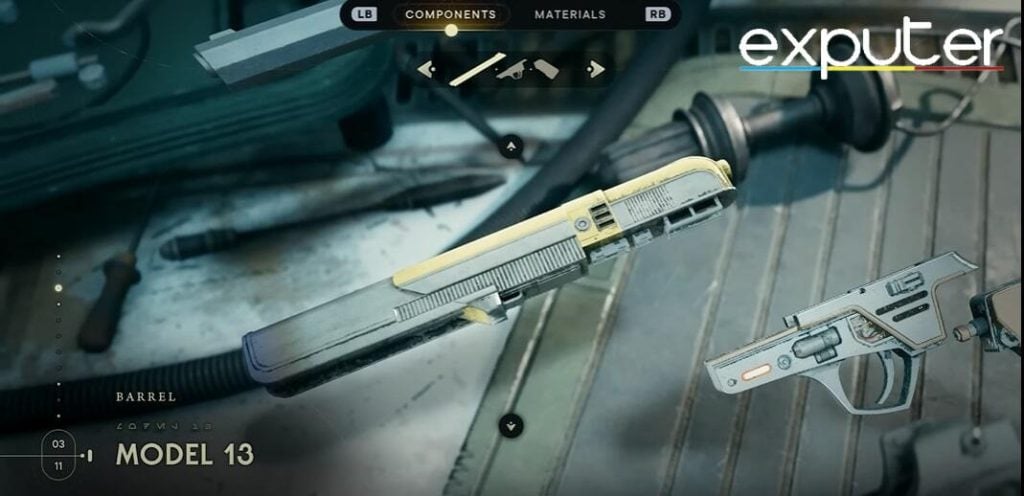
- There are only three sections to choose from to change individual parts: Barrel, Body, and Handle.
- You can only customize our Blaster at a Work Bench.
- You are also able to find gun parts by opening crates in Star Wars Jedi Survivor World, just like the Lightsaber parts and clothes.
- There are also options to buy parts from Caij.
Conclusively, the Star Wars Jedi Survivor unlock Blaster Stance is a combat style that allows us to use a ranged blaster gun instead of a lightsaber. To unlock the Blaster Stance, you need to complete the Jedha Chapter 3 story campaign, which becomes available after completing Coruscant and Koboh, the first and second planets visited by us, respectively.
Next:
- Star Wars Jedi: Survivor All Voice Actors
- Star Wars Jedi: Survivor PC System Requirements
- Star Wars Jedi Survivor: All Editions
- Star Wars Jedi Survivor Crashing
Thanks! Do share your feedback with us. ⚡
How can we make this post better? Your help would be appreciated. ✍