Star Wars Jedi Survivor: Research Tanalorr On Koboh
Research Tanalorr is a main quest encountered in Chapter 3 of Star Wars Jedi Survivor walkthrough, which takes us back to the Koboh planet.
Star Wars Jedi Survivor Research Tanalorr on Koboh is one of the main quests encountered in chapter 3, which takes you back to the Koboh planet. It is a big quest that requires you to solve three laser puzzles whilst also fighting two mini-bosses.
- “Research Tanalorr” in Star Wars Jedi Survivor Chapter 3 on Koboh involves three laser puzzles and two boss fights.
- The first boss, Korej Lim, requires Blaster Stance, skills, and parries.
- Solving laser puzzles involves using the Force and Koboh Matter.
- After defeating Tague Louesh in the Grand Courtyard, picking up a broken device completes the quest.
Research Tanalorr Main Quest Walkthrough
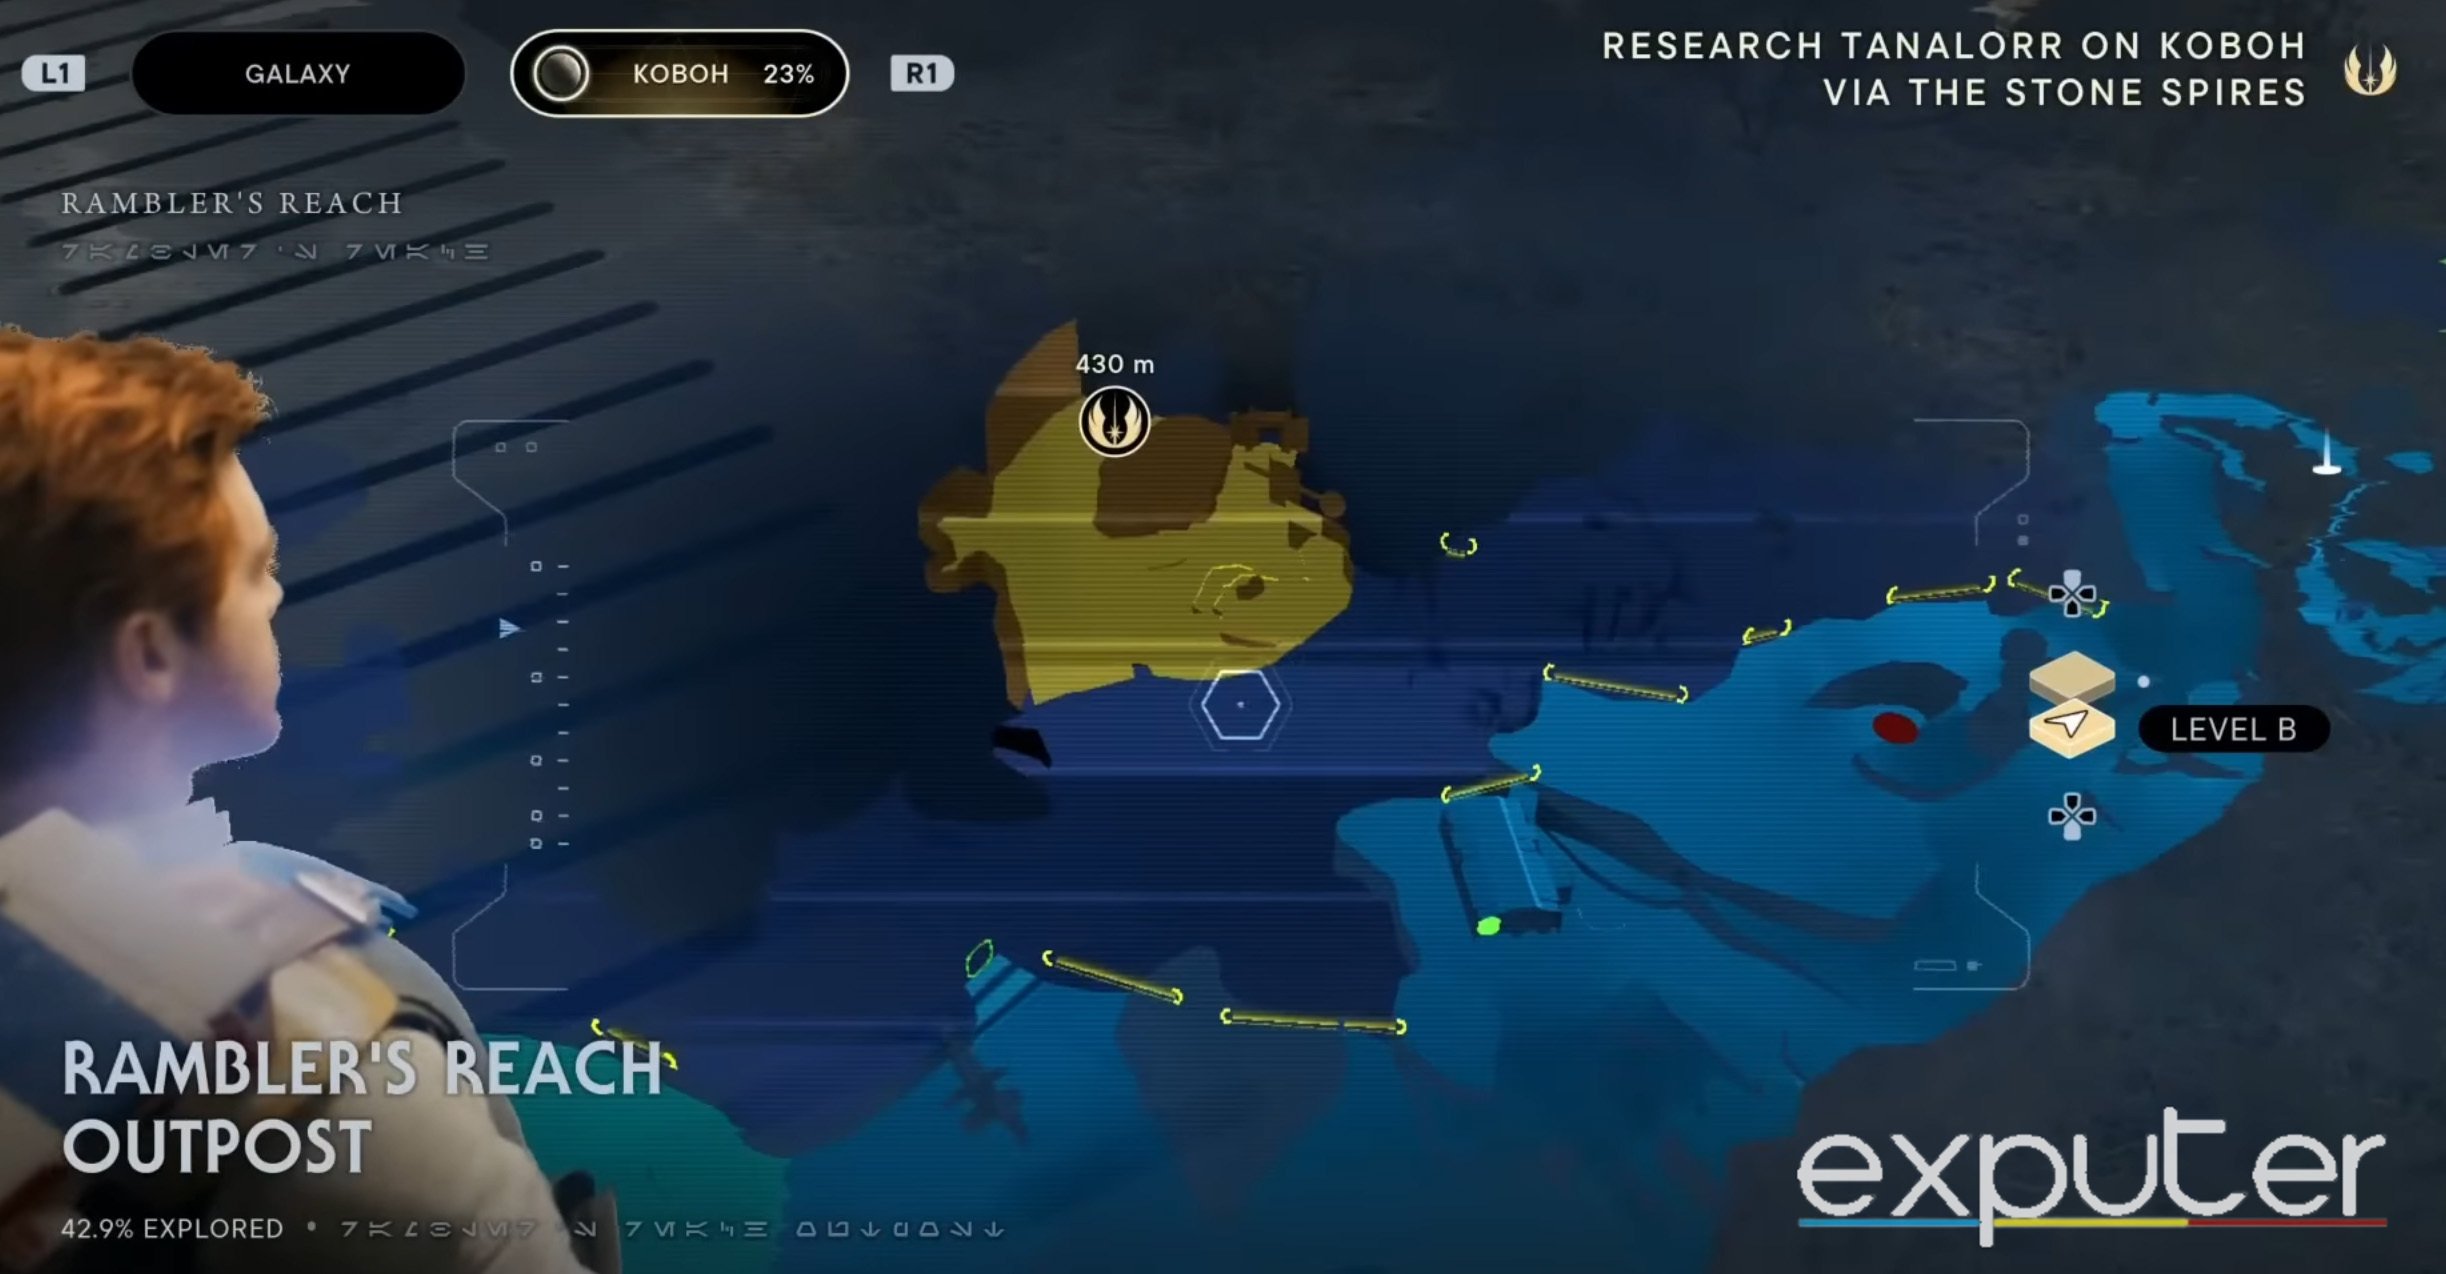
After arriving at Koboh, look for the objective marker on the map and make your way there. When you arrive at the location, there will be a huge gap blocking your path, which can be overcome by using a Relter.
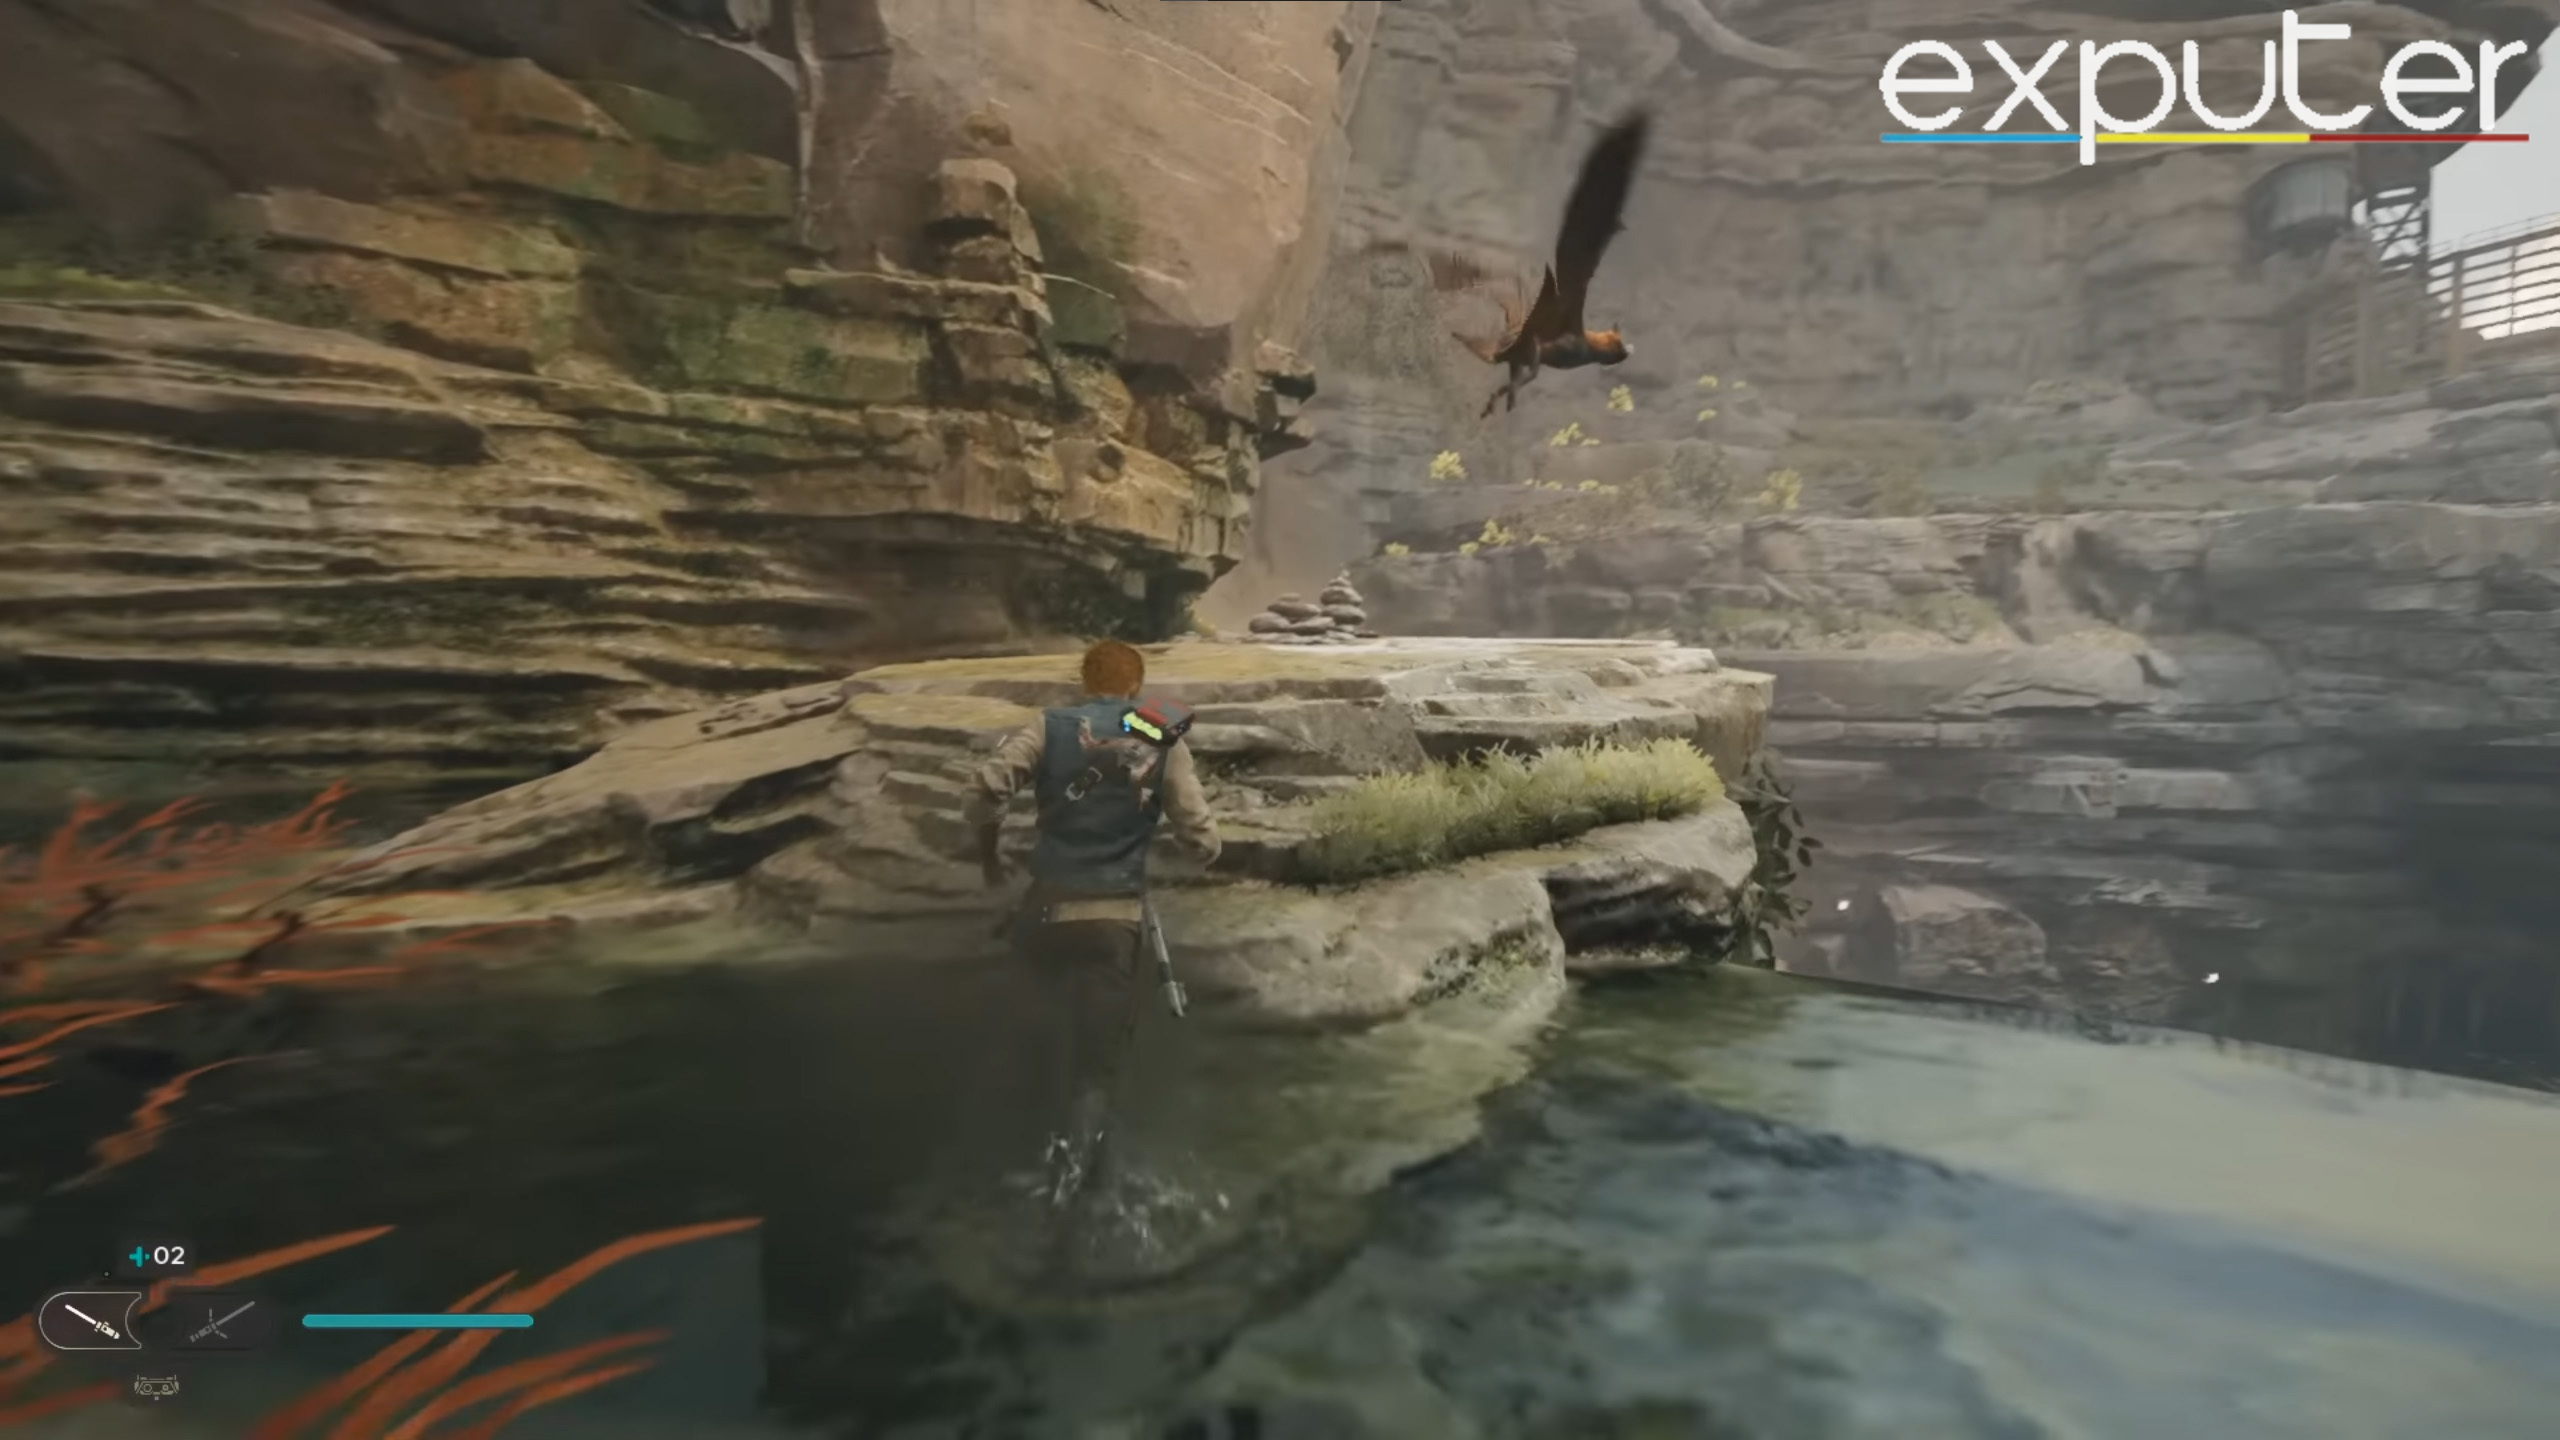
The first Relter that players will encounter is sitting near the ridge between the gap and the objective marker.
- Cal can use this Relter to glide his way across the gap, which takes you to the starting location of the main quest.
- There will be a meditation point at this location as well.
Korej Lim Boss Fight
Players will encounter another Relter located right in front of the meditation point in the area.
- While riding the Relter, you will get attacked by Koerej Lim, who is the first boss that is encountered in the whole mission.

Korej Lim can get quite tough to beat because he mostly stays at the range during the whole fight, and it can get hard to hit him using the lightsaber.
- However, players can really capitalize on the Blaster Stance to use ranged attacks on this boss.
- Additionally, parry his incoming attacks and use the force to send his bombs back to him, which can stun the boss in addition to dealing damage.
- The boss requires you to time your parries and dodges perfectly for the entirety of the fight.
After defeating Korej Lim, grapple your way out of the boss fight arena and keep heading straight. Follow the linear path ahead until you arrive at yet another meditation point. You will also encounter another Relter on your way that will take you across another gap.
Grapple your way up again on the left side of the second meditation point. Once you reach the top, double-jump your way across the next platform.
First Laser Puzzle
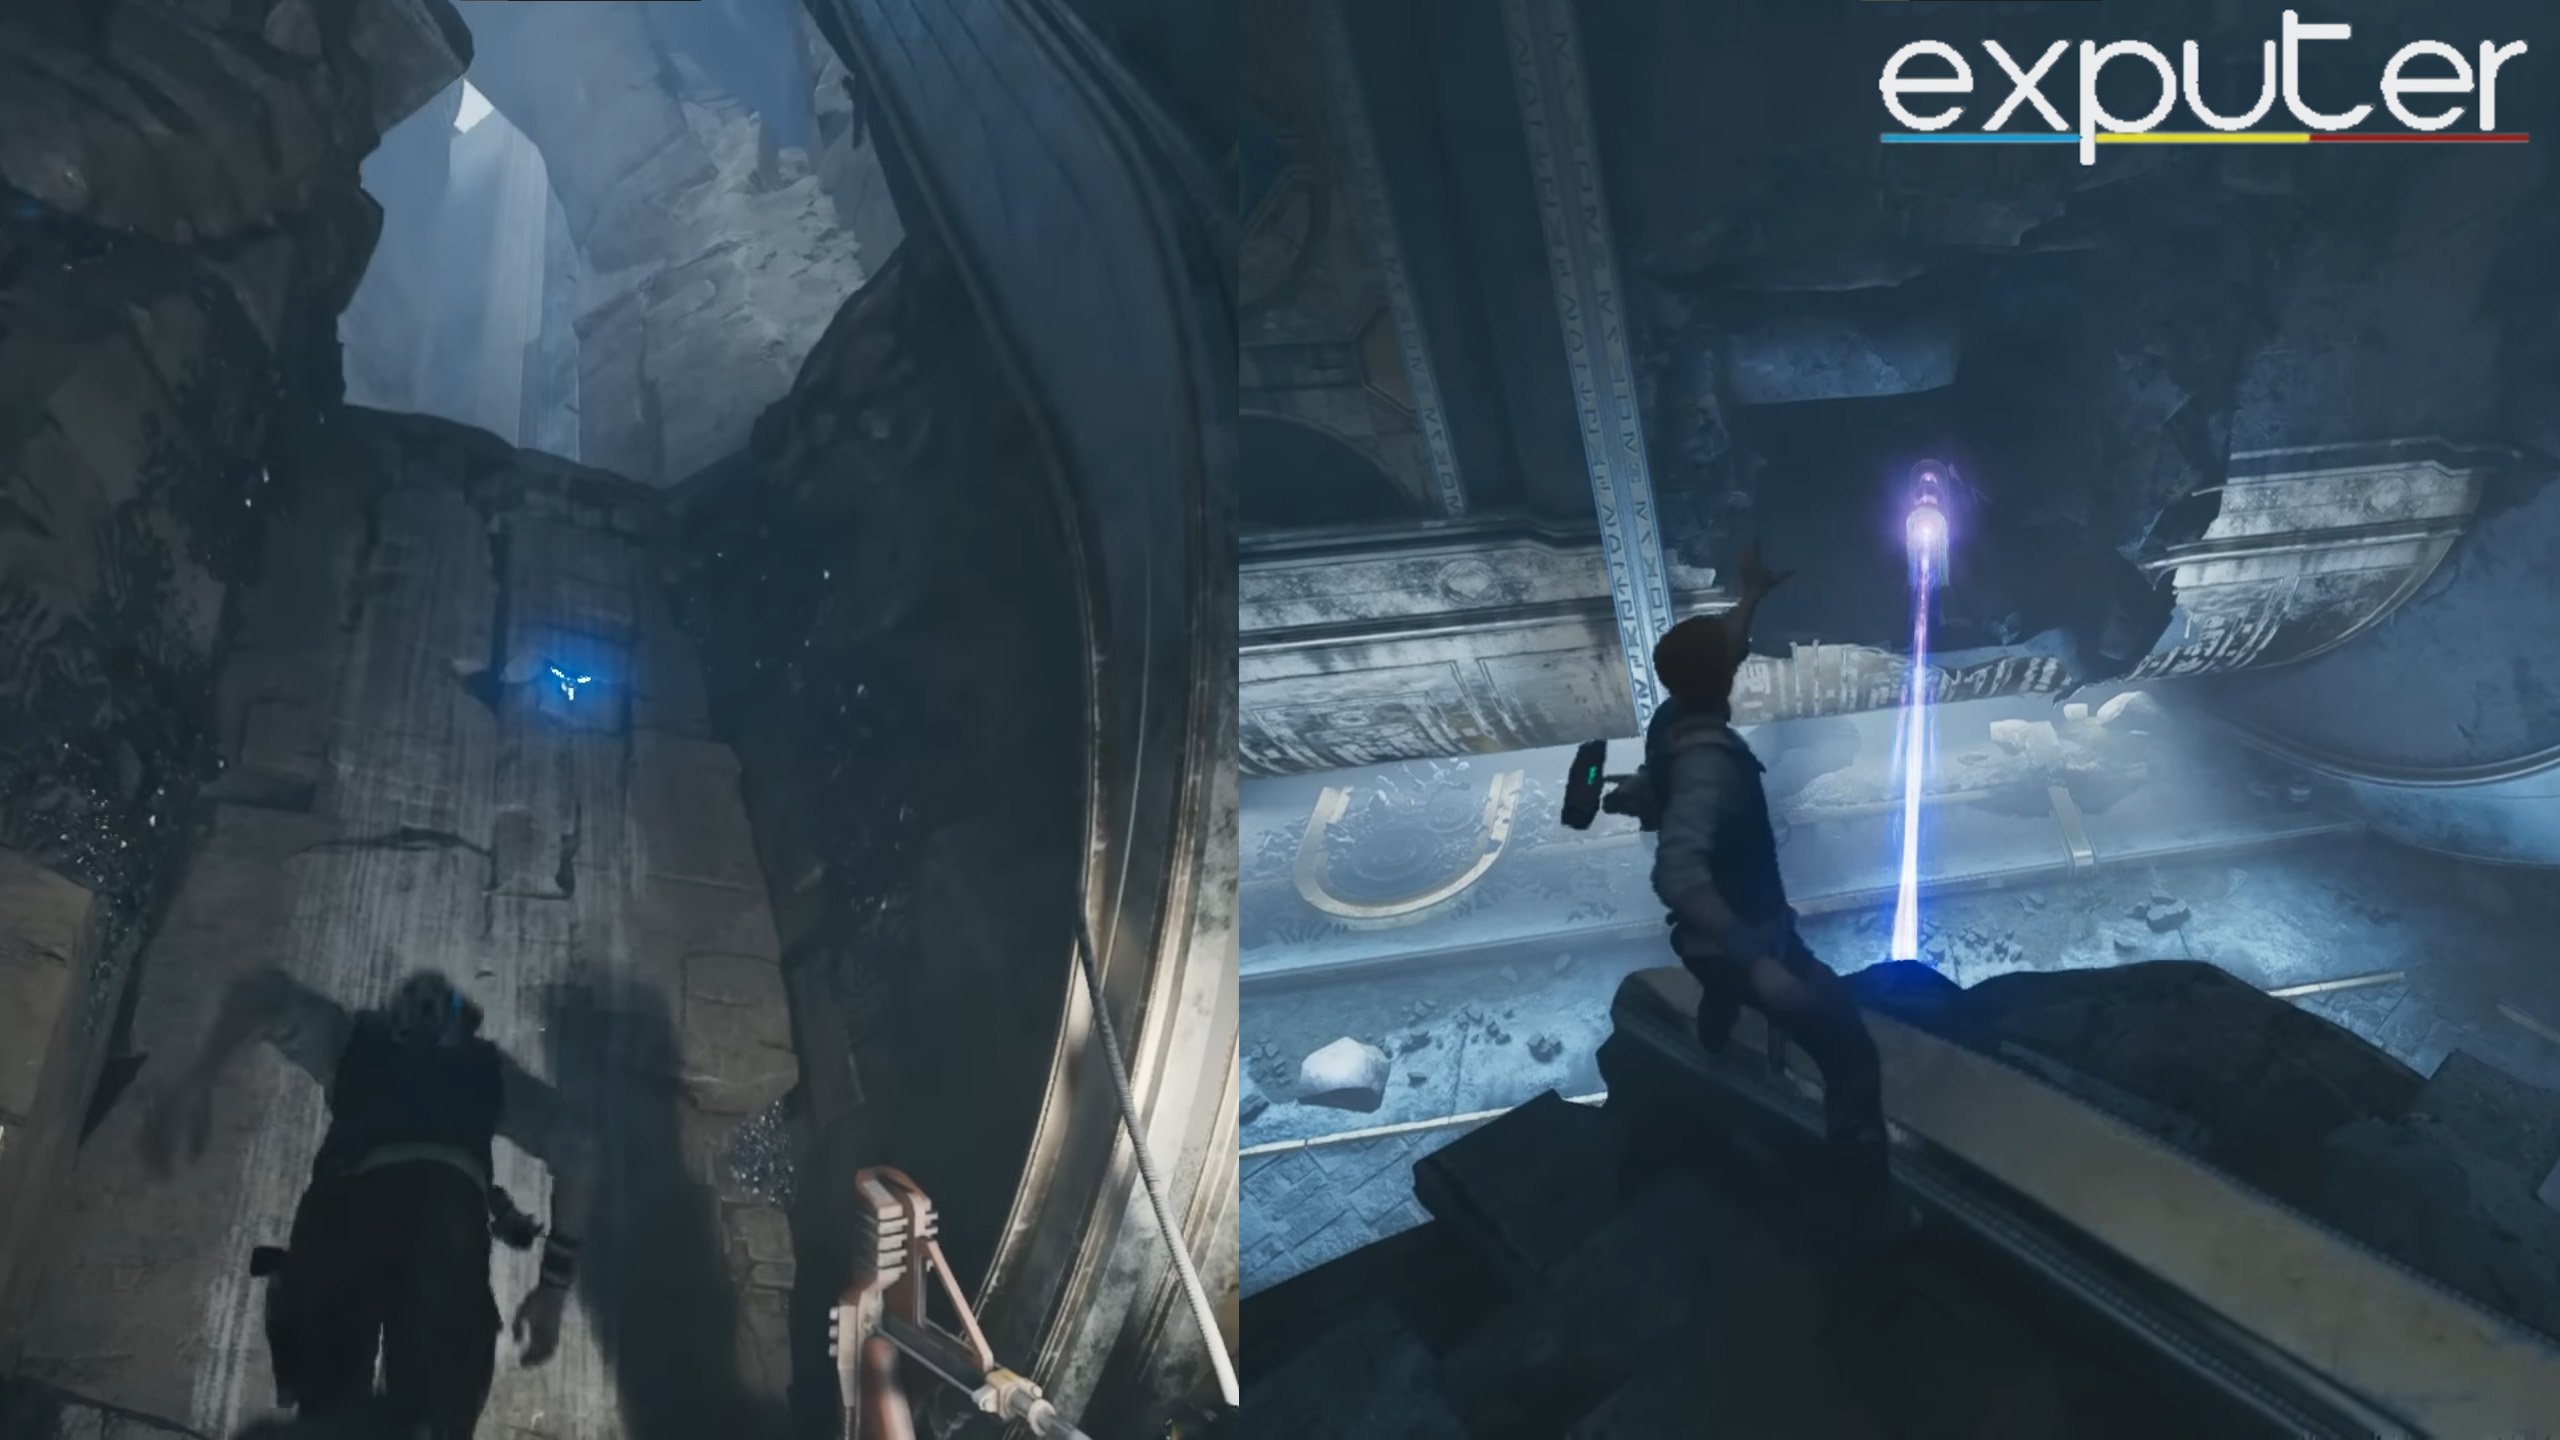
After making that double jump, players will enter the room that contains the first orb, which is required to solve the first laser puzzle. The orb is needed to activate the laser outside the room. Make sure to clear out the enemies in the area before getting the orb.
- Squeeze through the gap in the wall in front of you and use your force to pull the cube down.
- After pulling down the cude, rotate the spinning contraption using your force.
- After the contraption spins, it will cause the orb on the other side to move, which will destroy the Koboh Vines.
- You can then pull the orb towards you and slot it in the space that unlocks after destroying the vines.
- Next, squeeze through the gap to go to the other side and then grab the orb again.
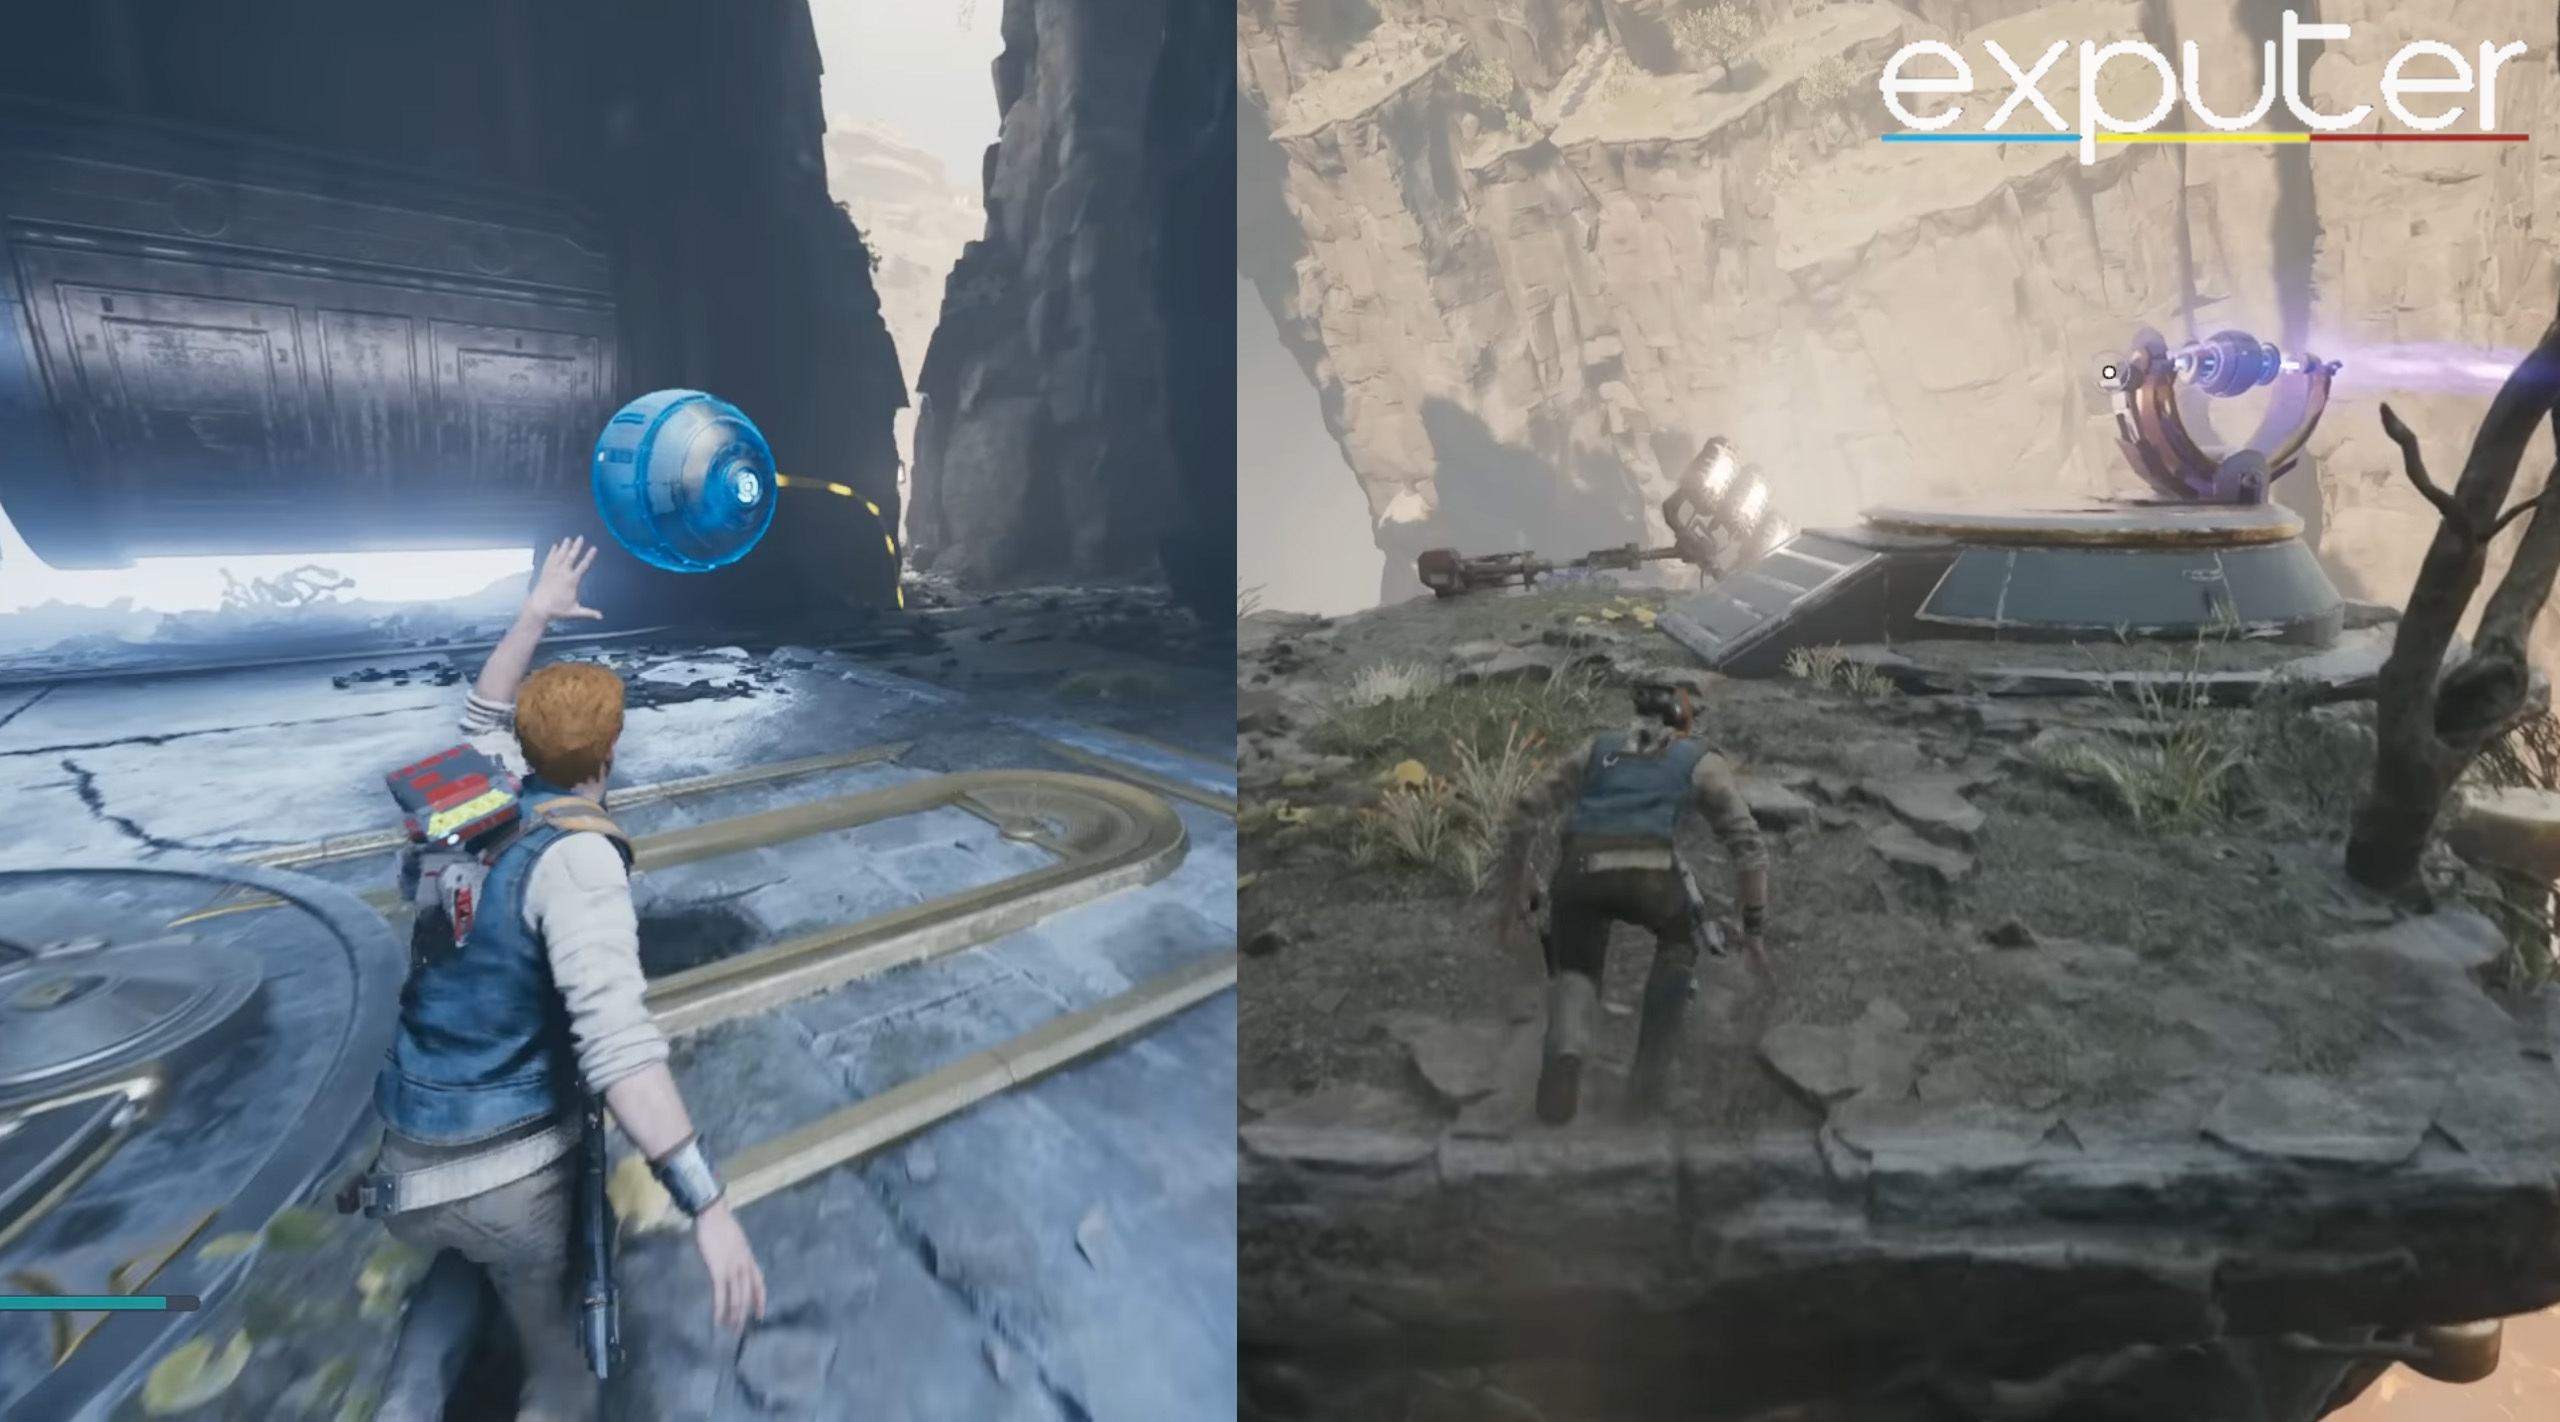
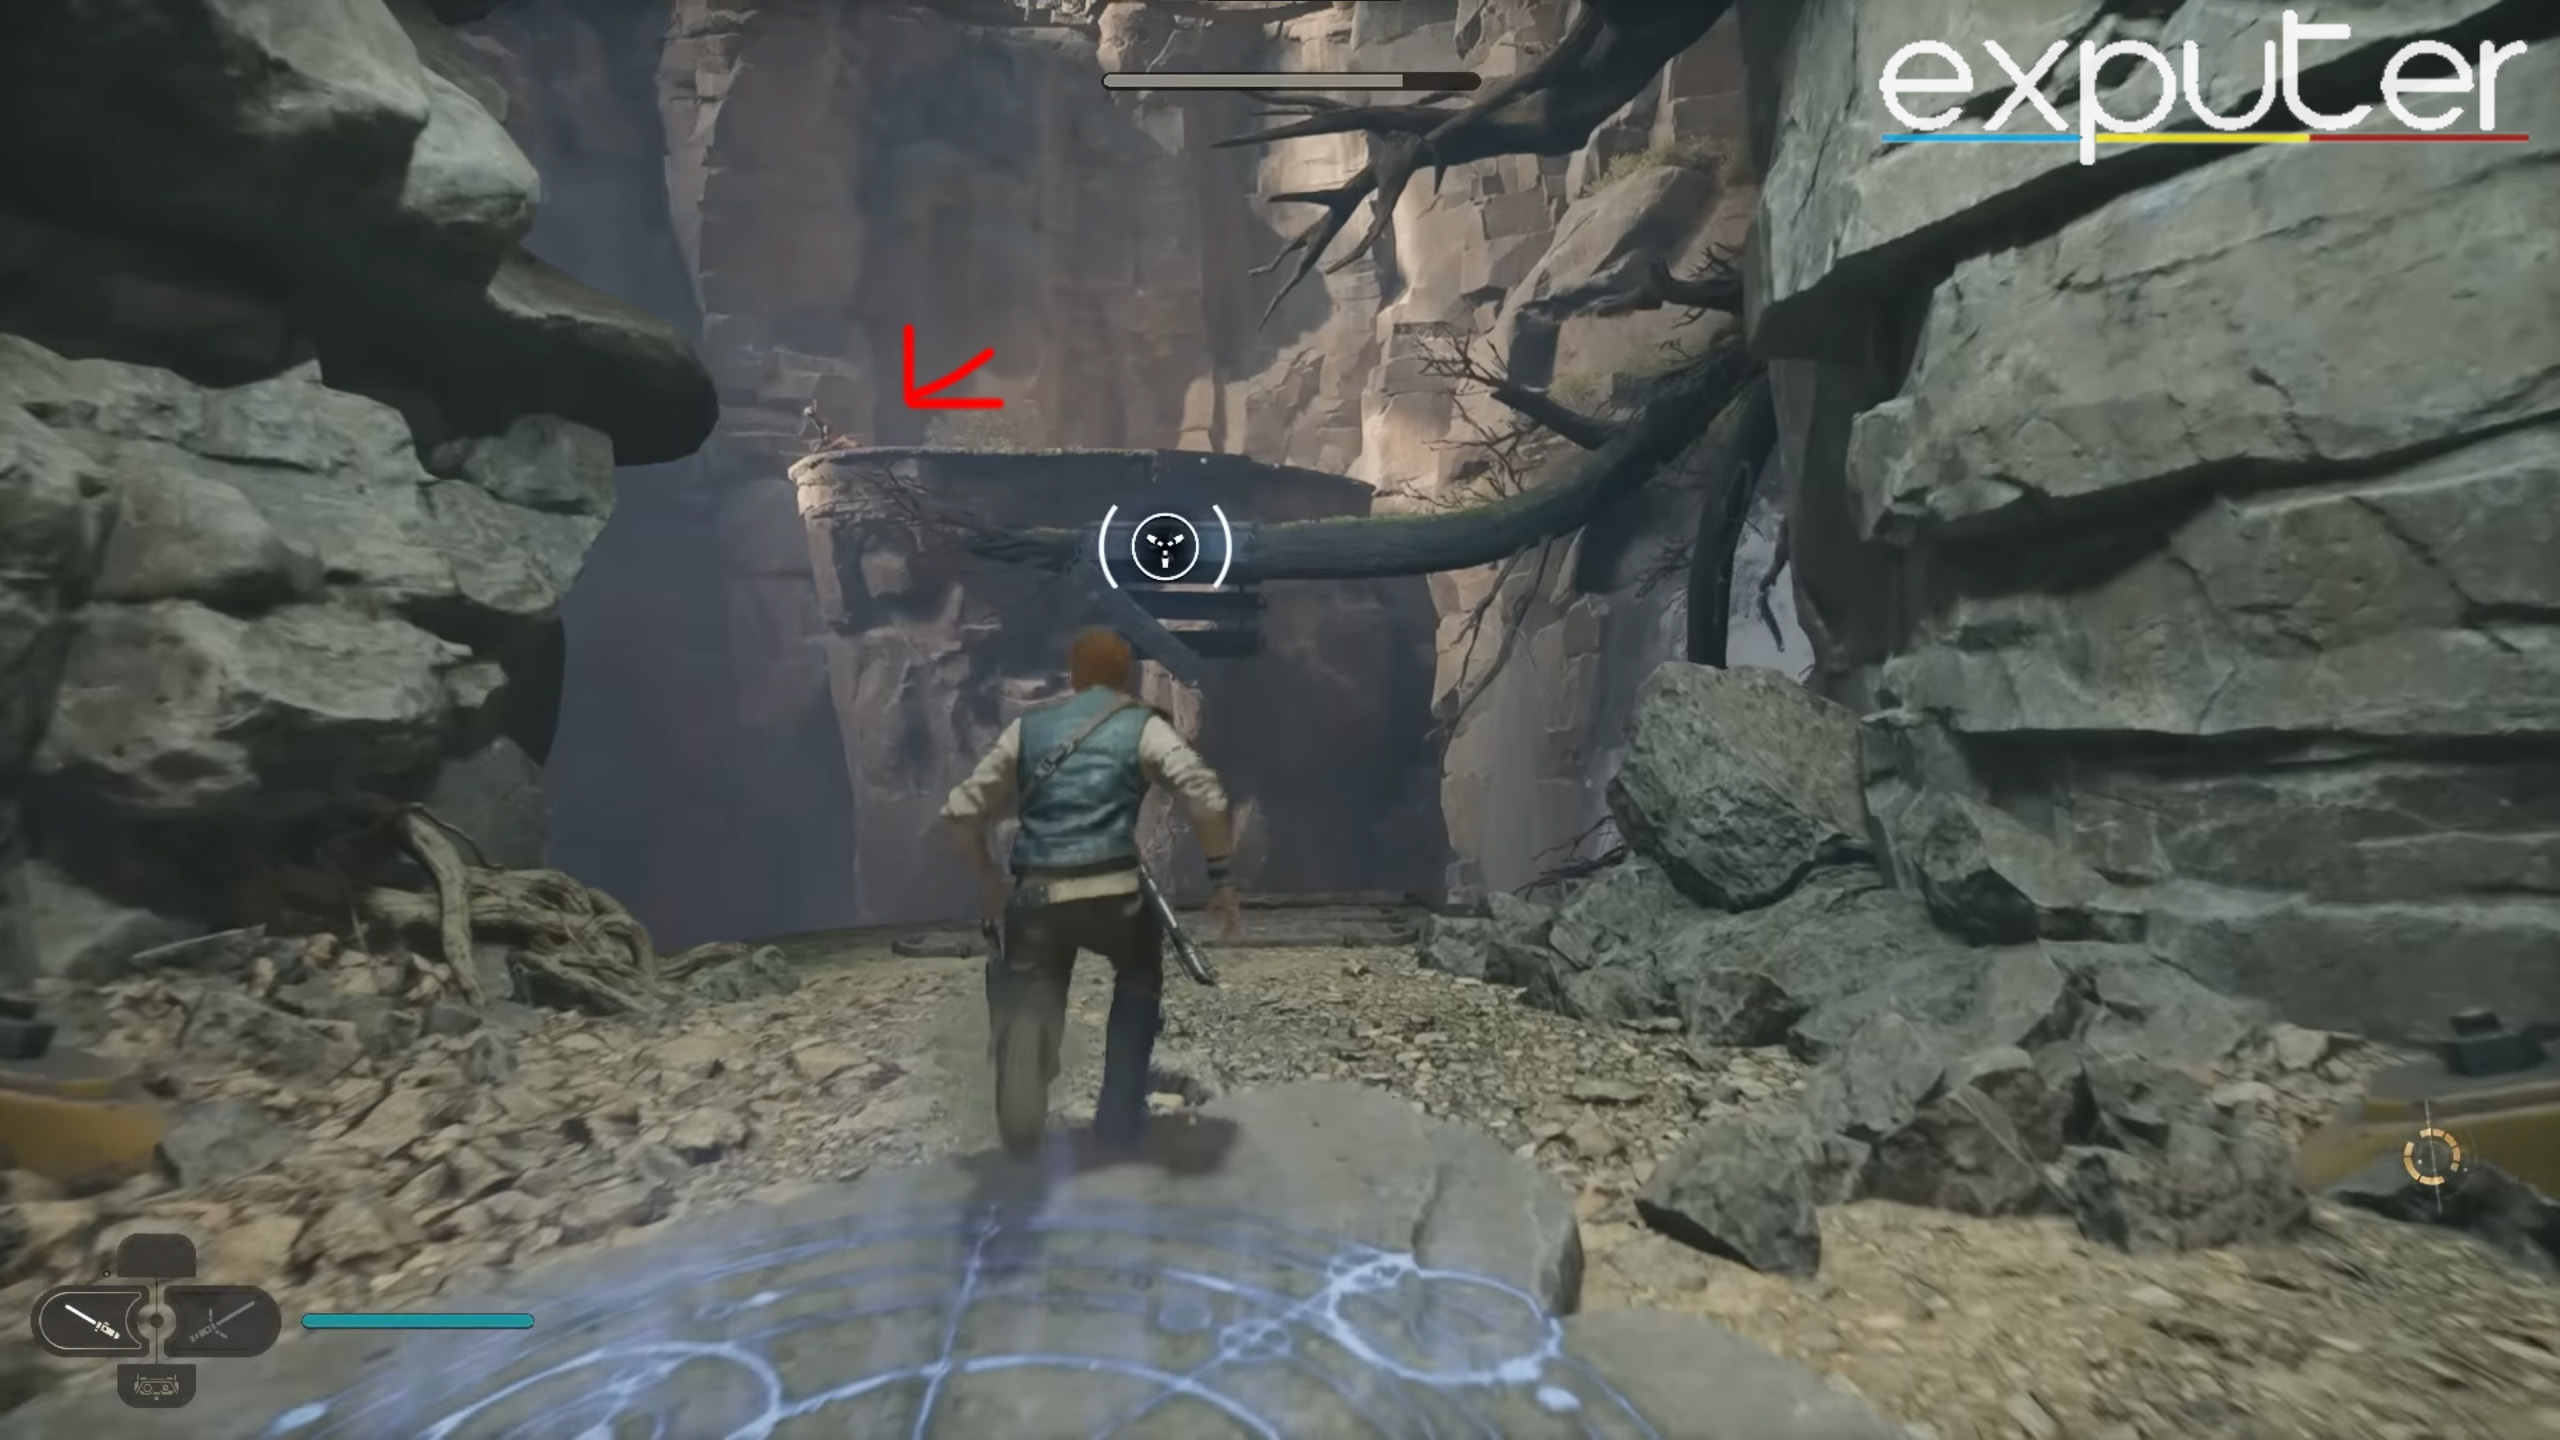
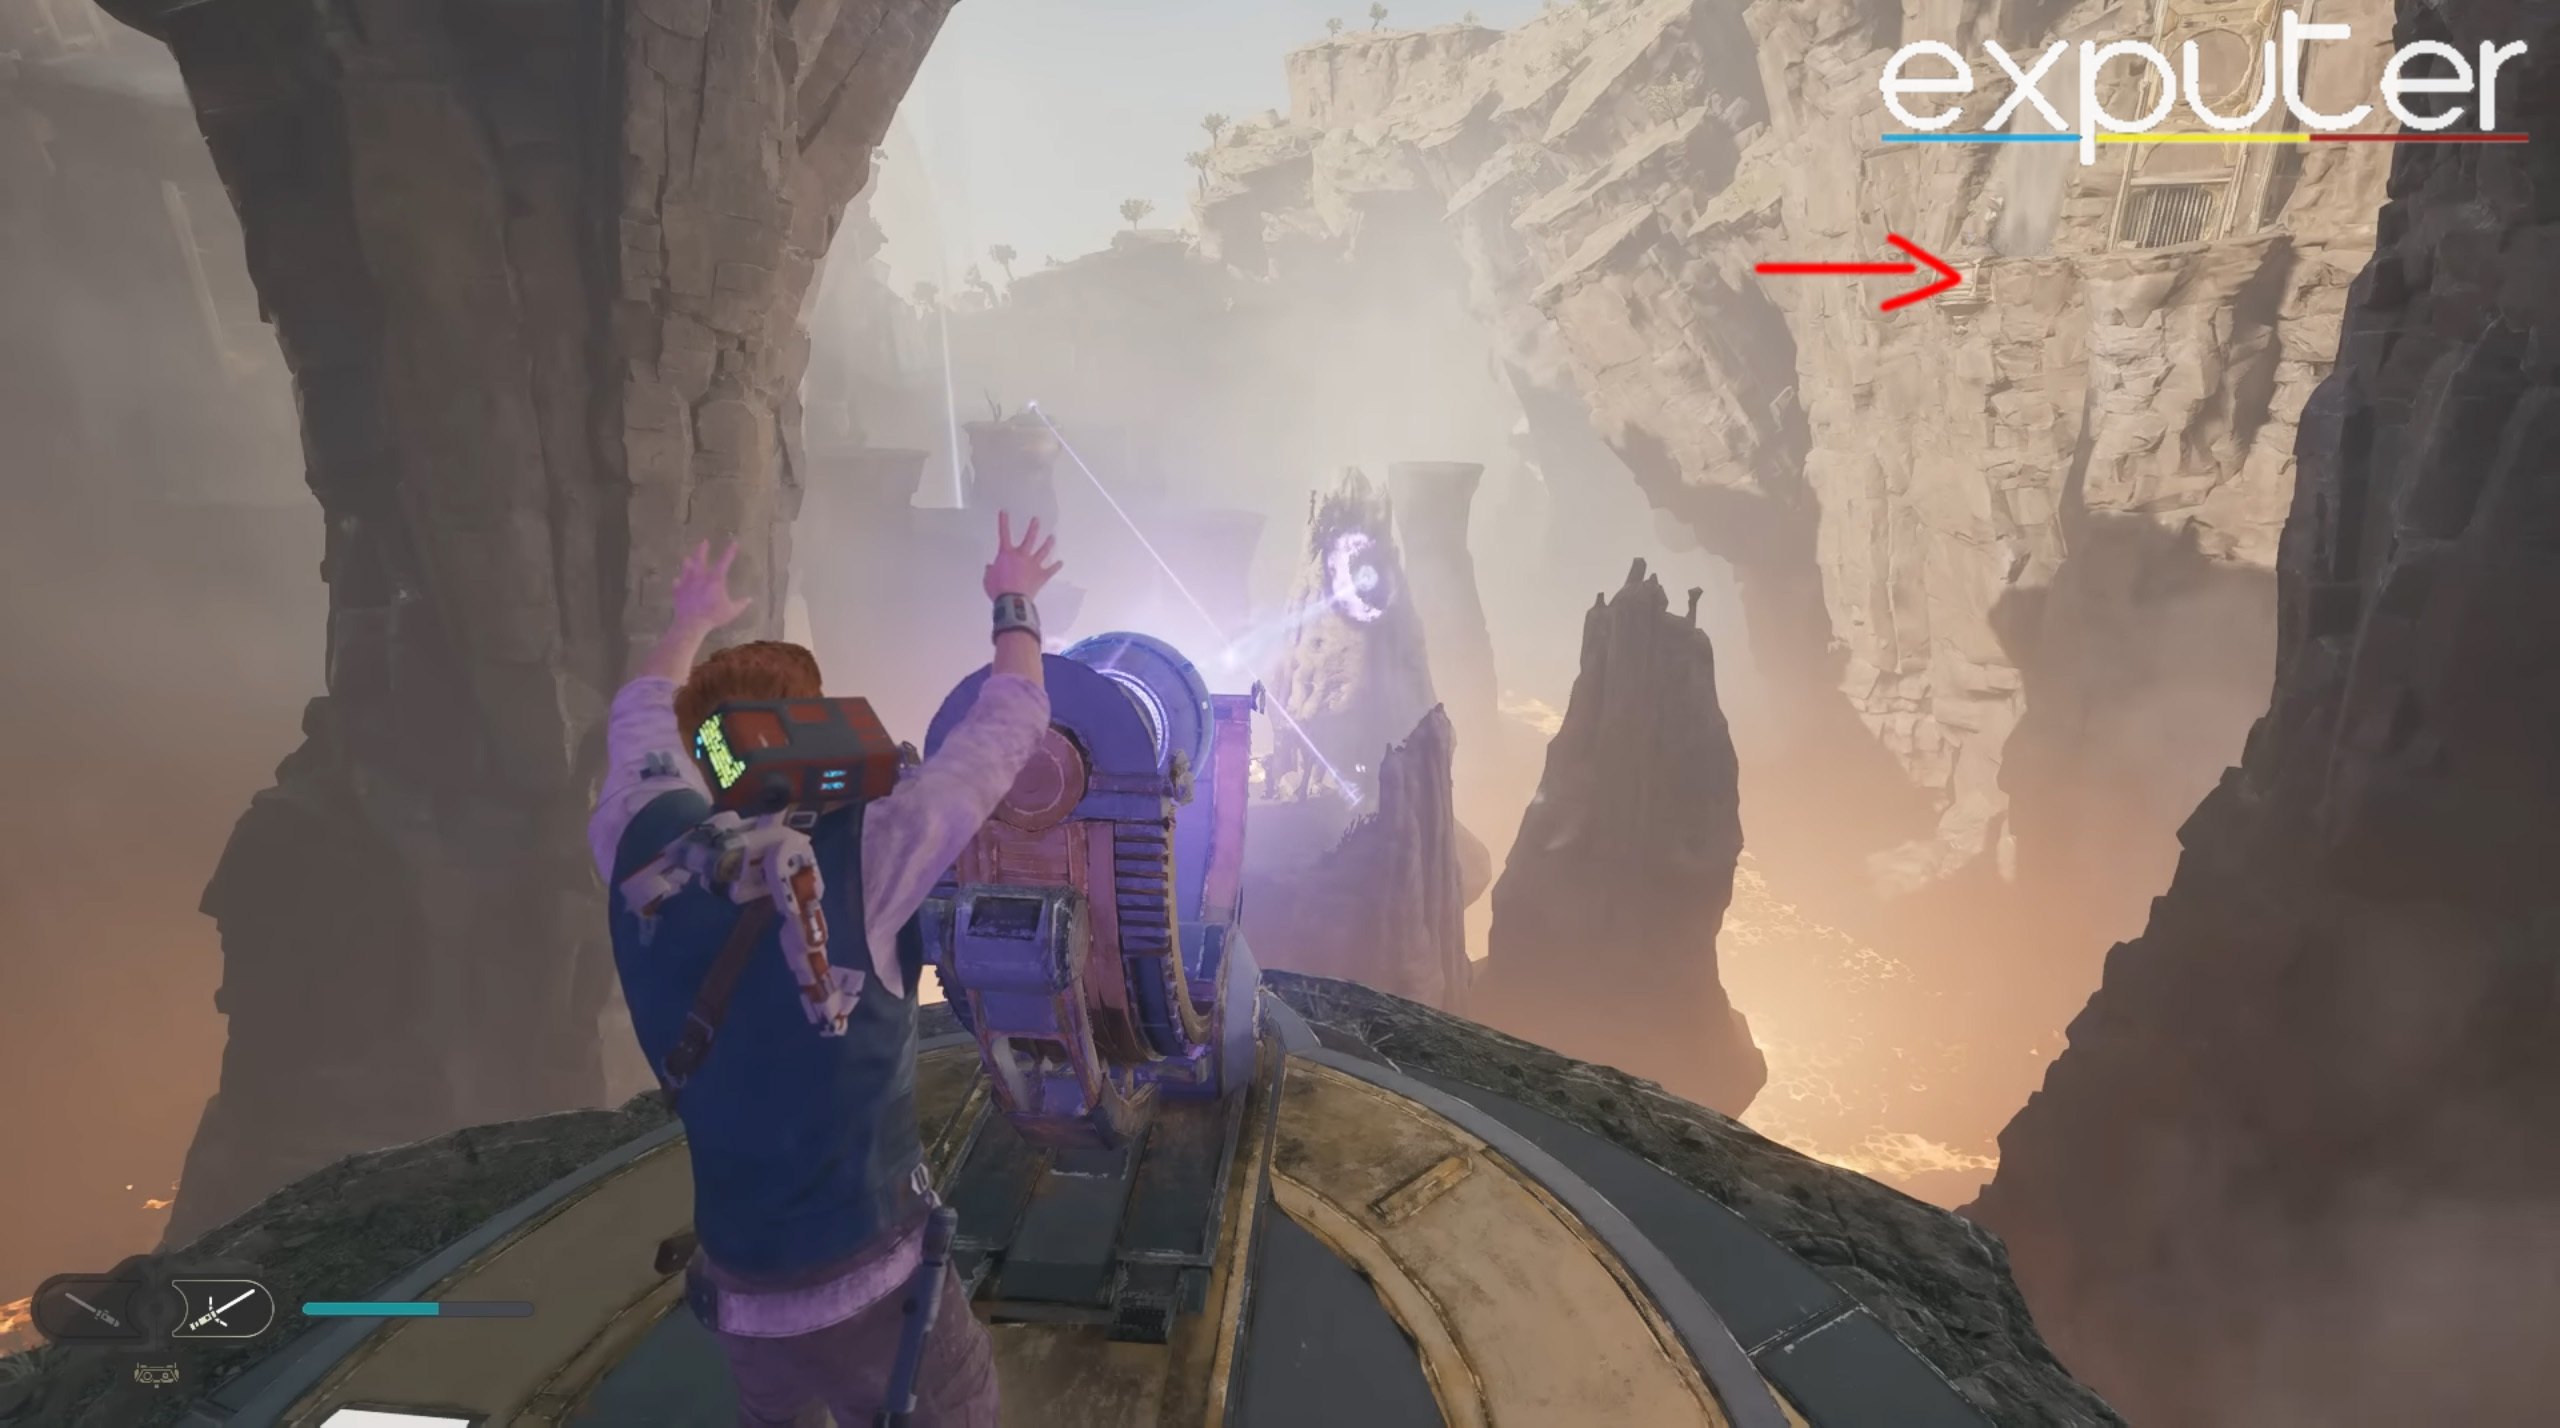
Insert the orb into the laser to activate it. Then use the laser to open up a geyser that will allow you to go higher using the Relter.
The Relter has been marked in the image above as well. Glide with the Relter and use the geyser to give yourself another push. Stay on the right to reach the next platform.
Second Laser Puzzle
When you reach the next platform, keep heading straight until you arrive in the room with the second orb. Firstly, make sure to defeat all enemies here as well.
- You will see a crack in a wall that you can break using force.
- Next, grab the orb and throw it in the slow behind the cracked wall to unlock a gate.
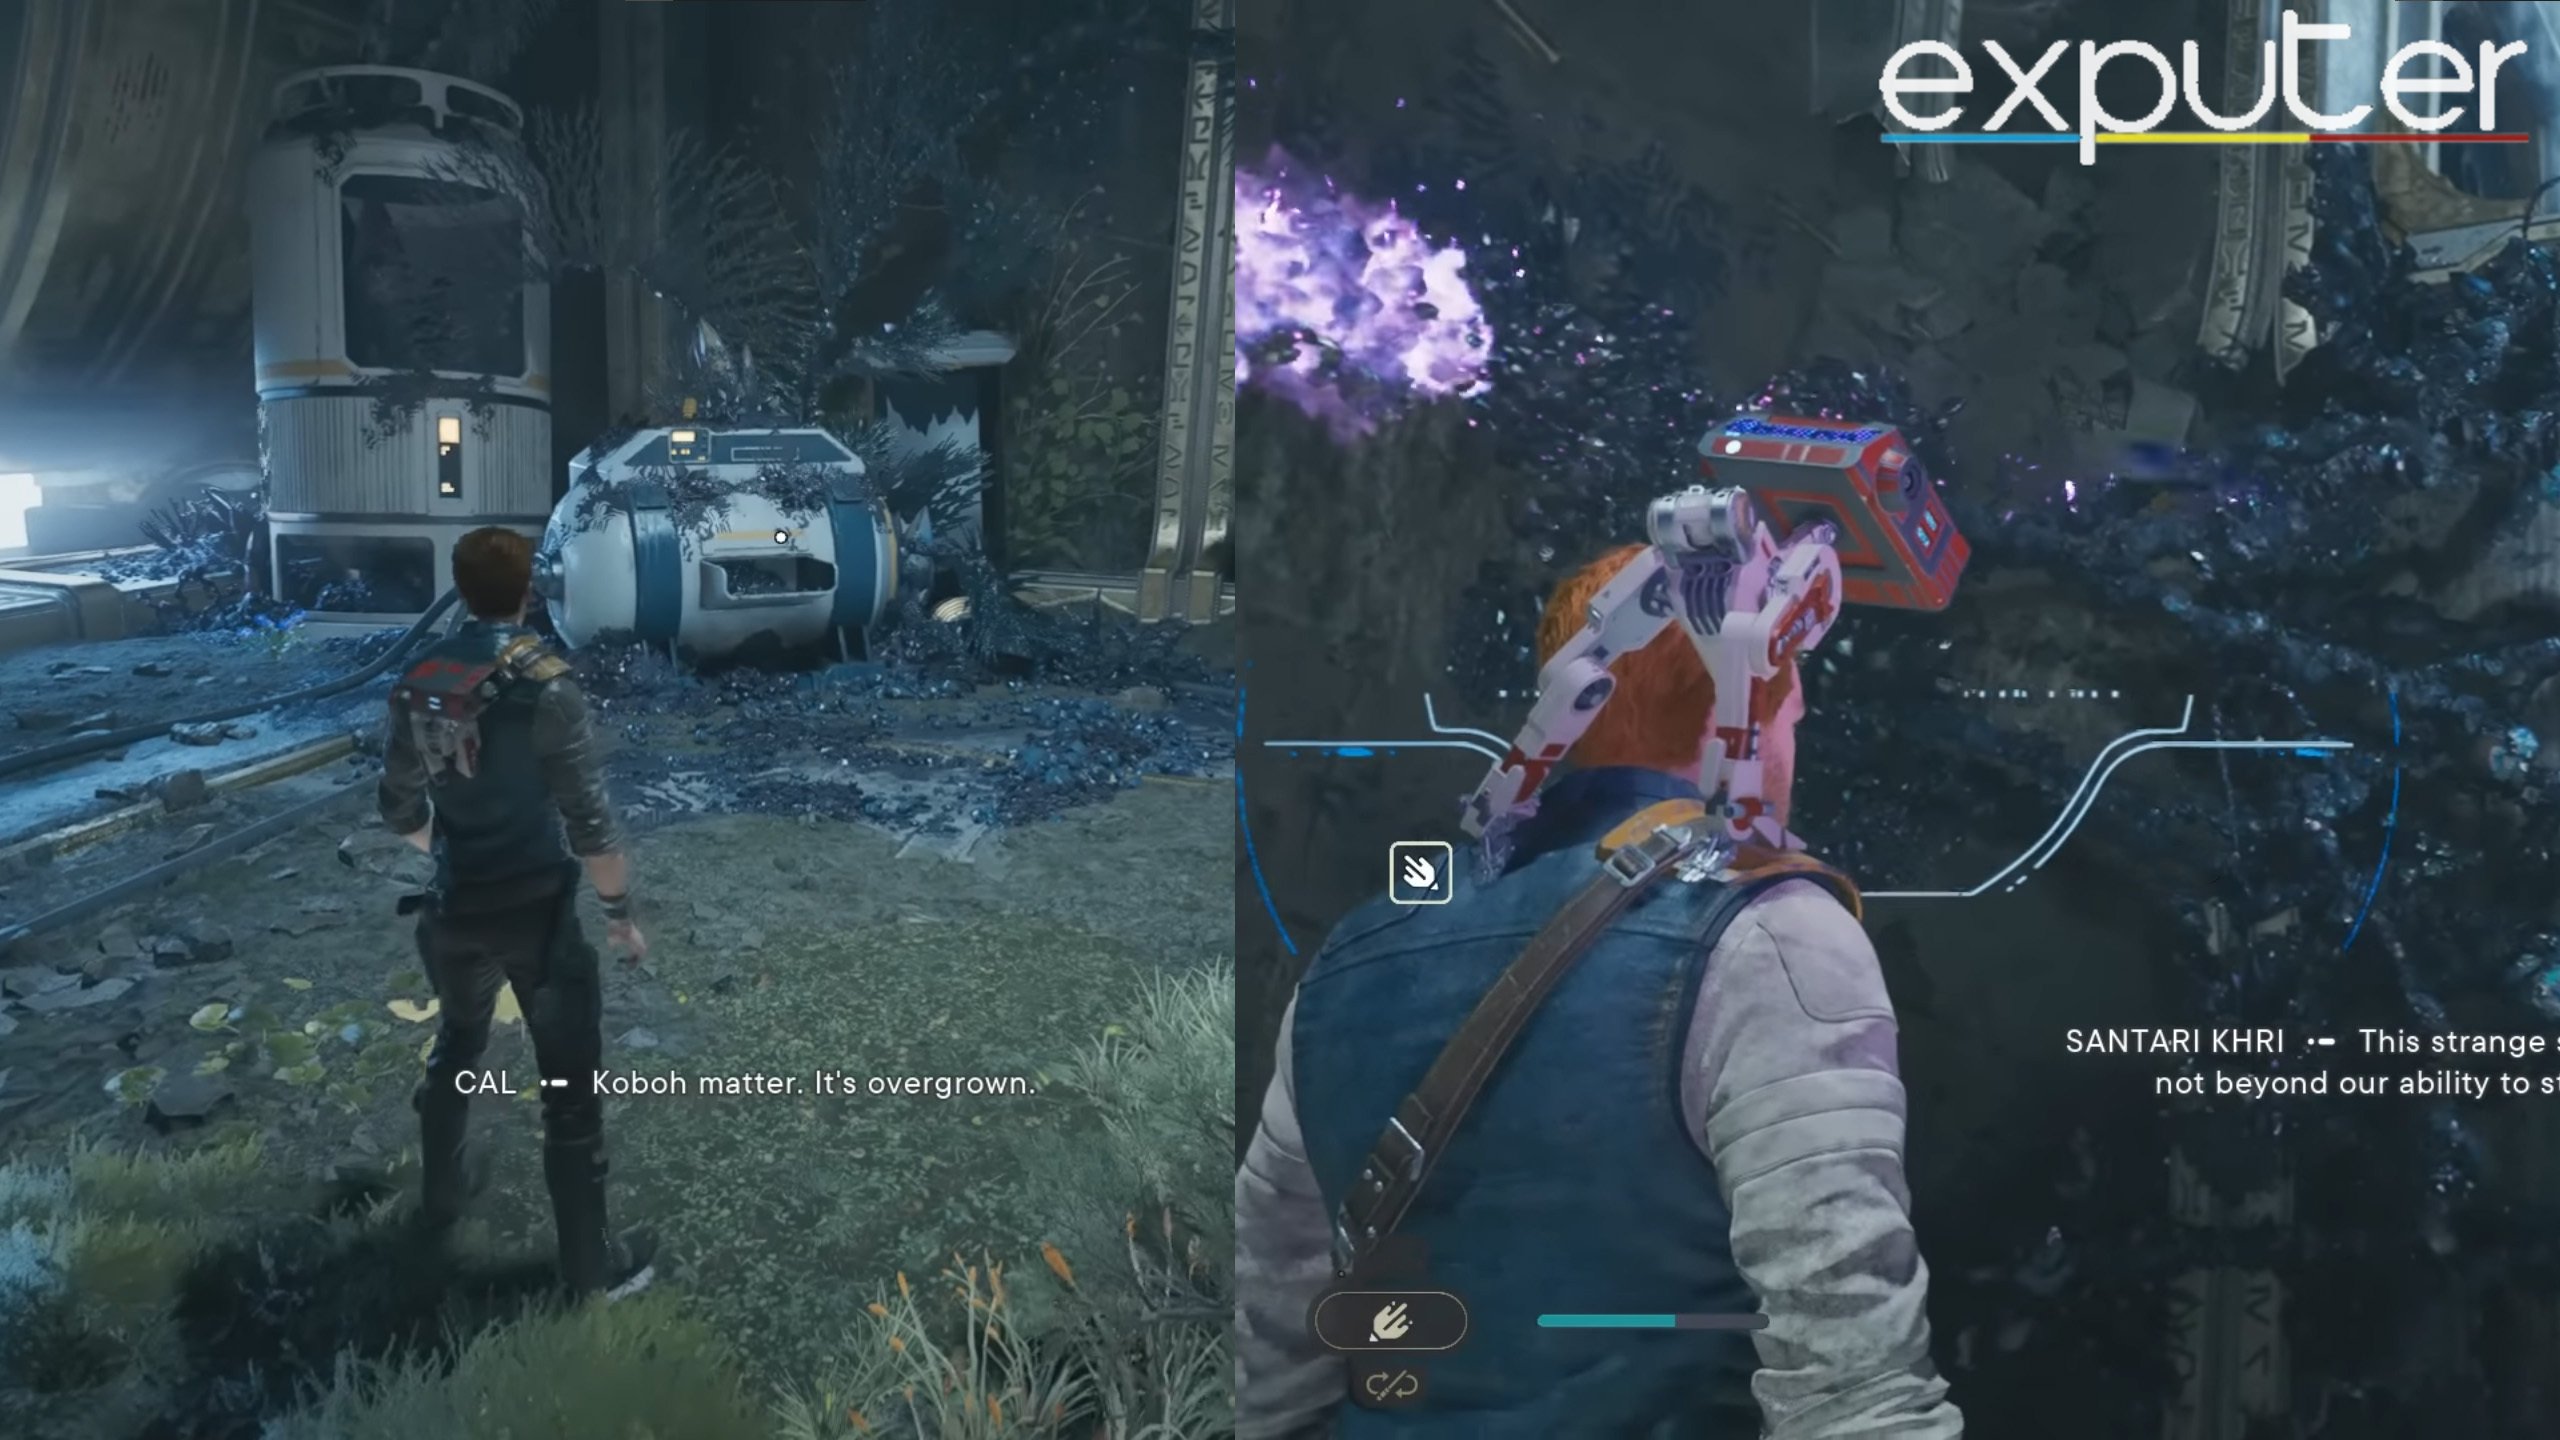
On the other side of the gate, players will get their hands on the Koboh Grinder. It is an upgrade for BD-1 that can use to throw Koboh Matter onto surfaces. The Koboh Matter actually burns with the laser, so you can use it to clear out Koboh Vines in the area.
After clearing out the vines using the Koboh Matter in Star Wars Jedi Survivor research Tanalorr on Koboh; you will find a grapple point that you can utilize to go up. Next, grab the second orb and carry it toward the next laser mechanism in the area.
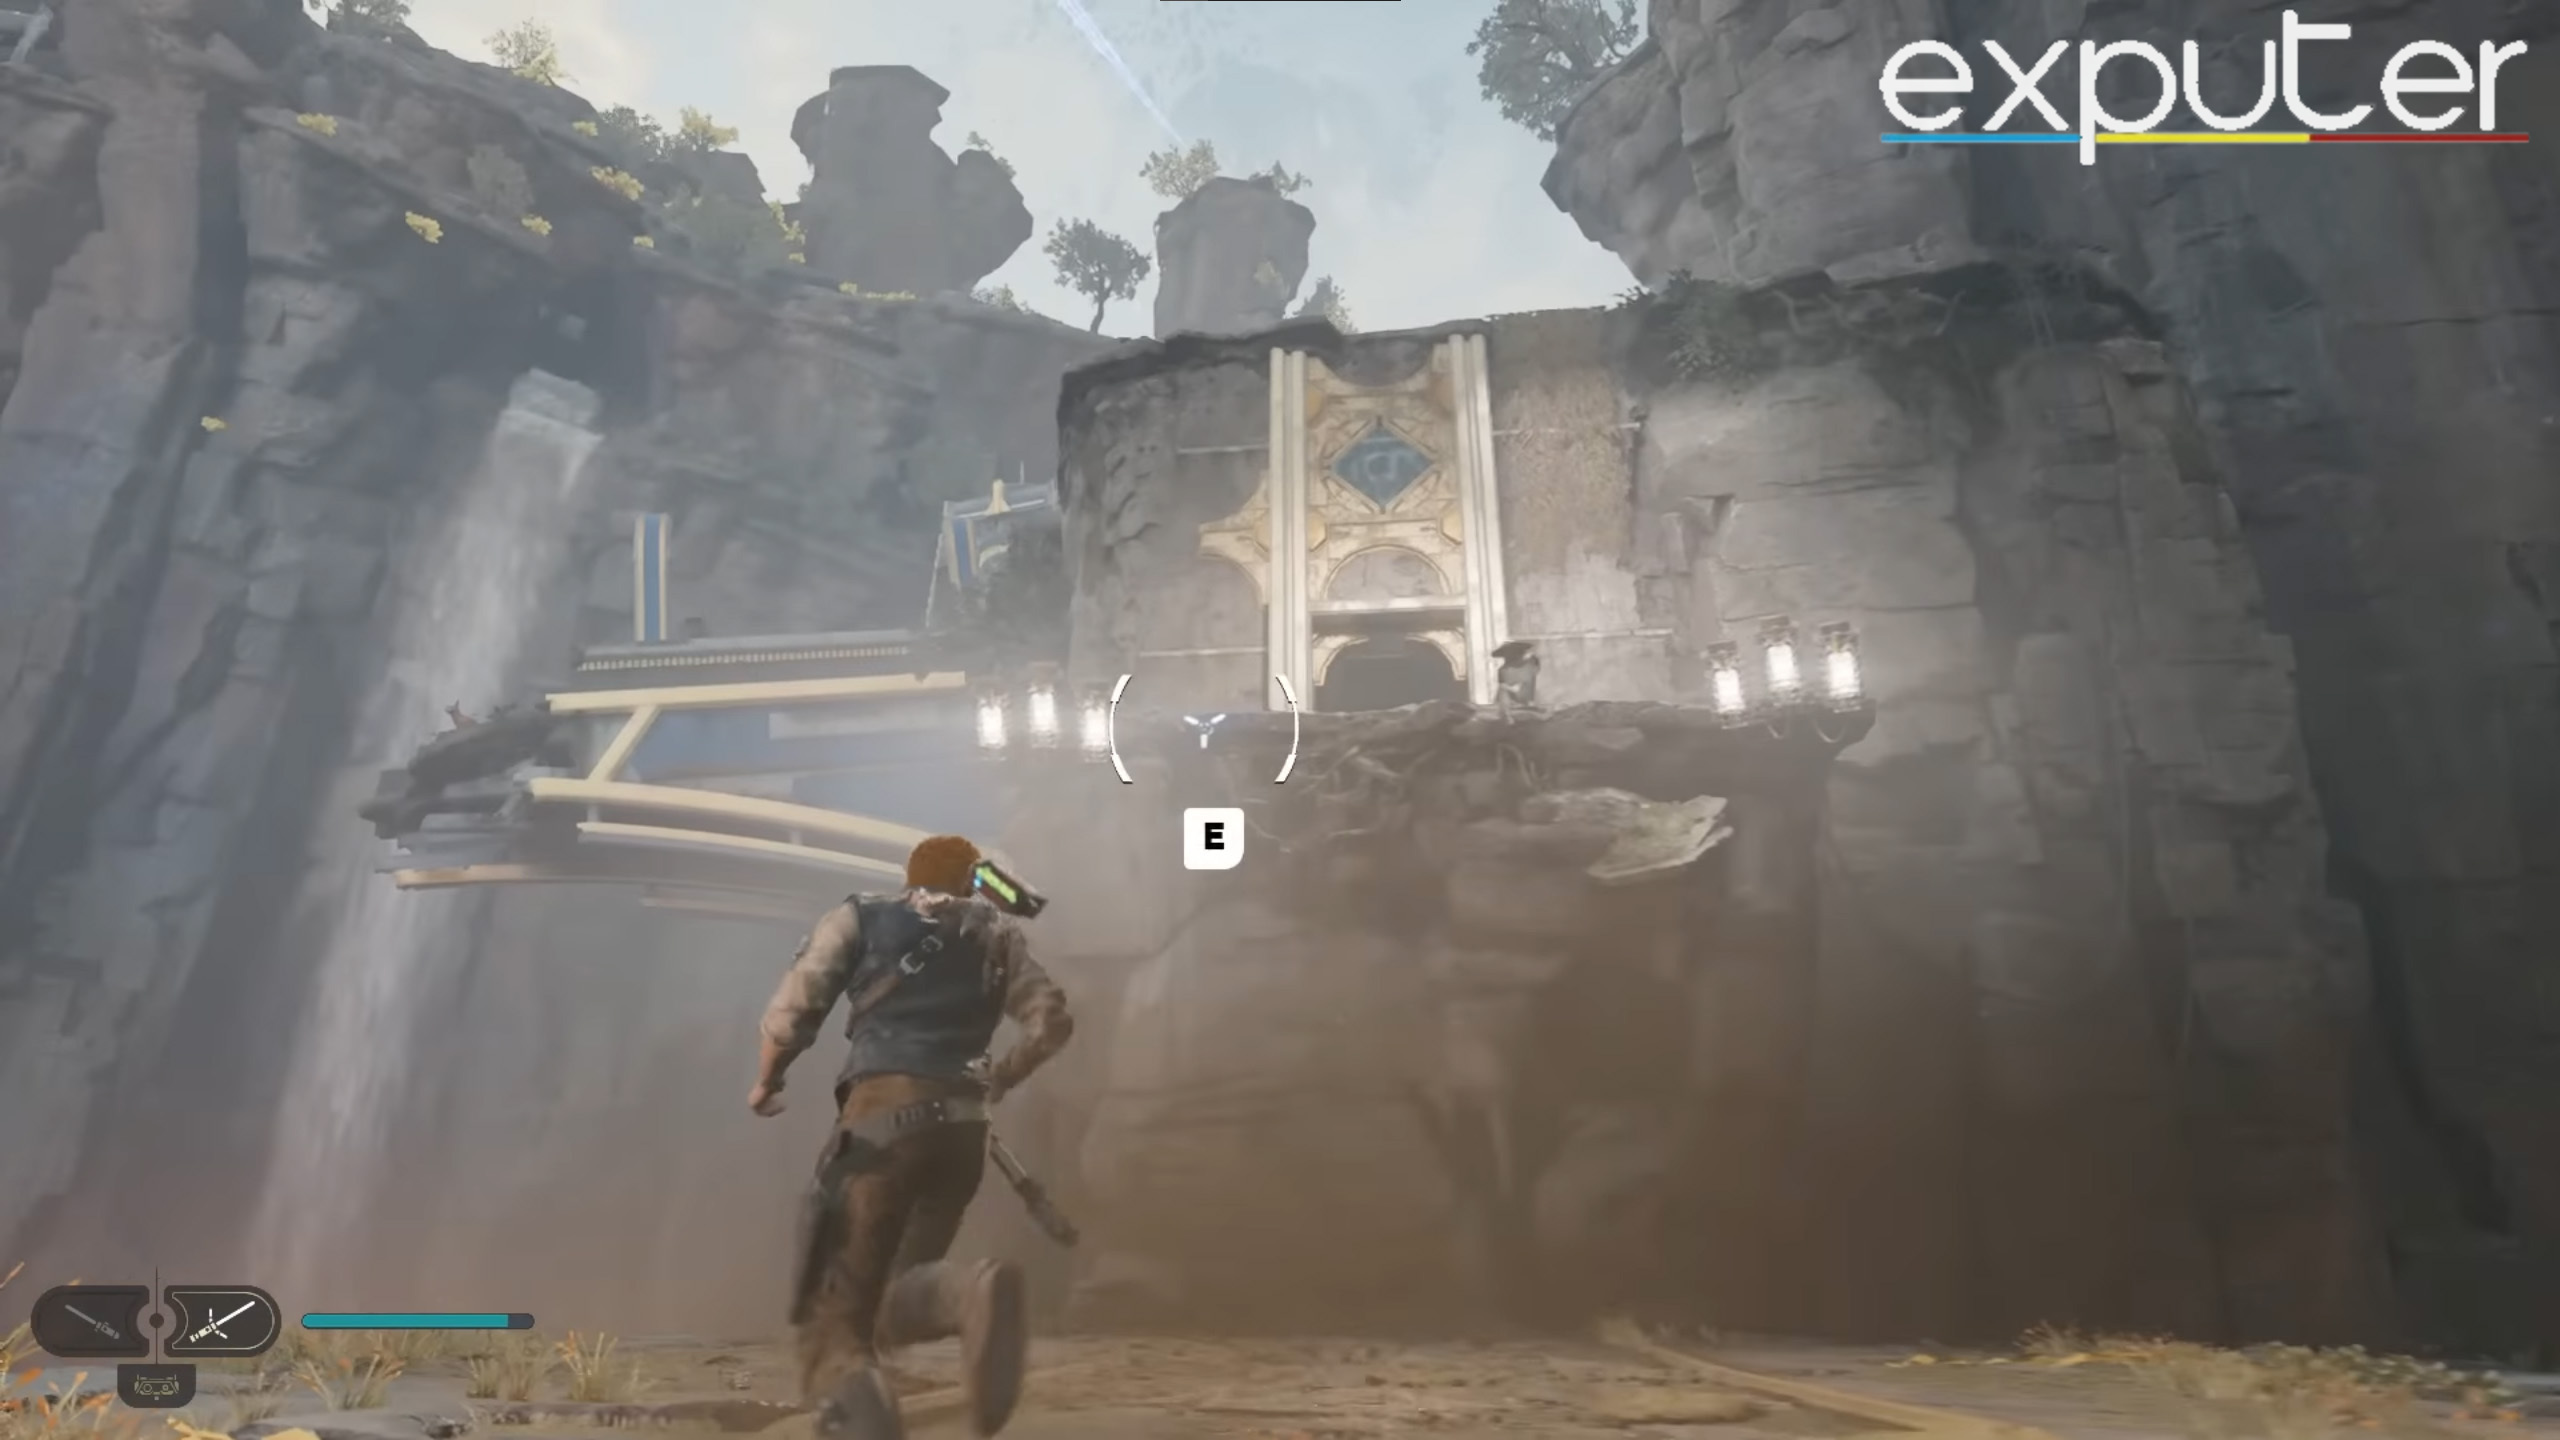
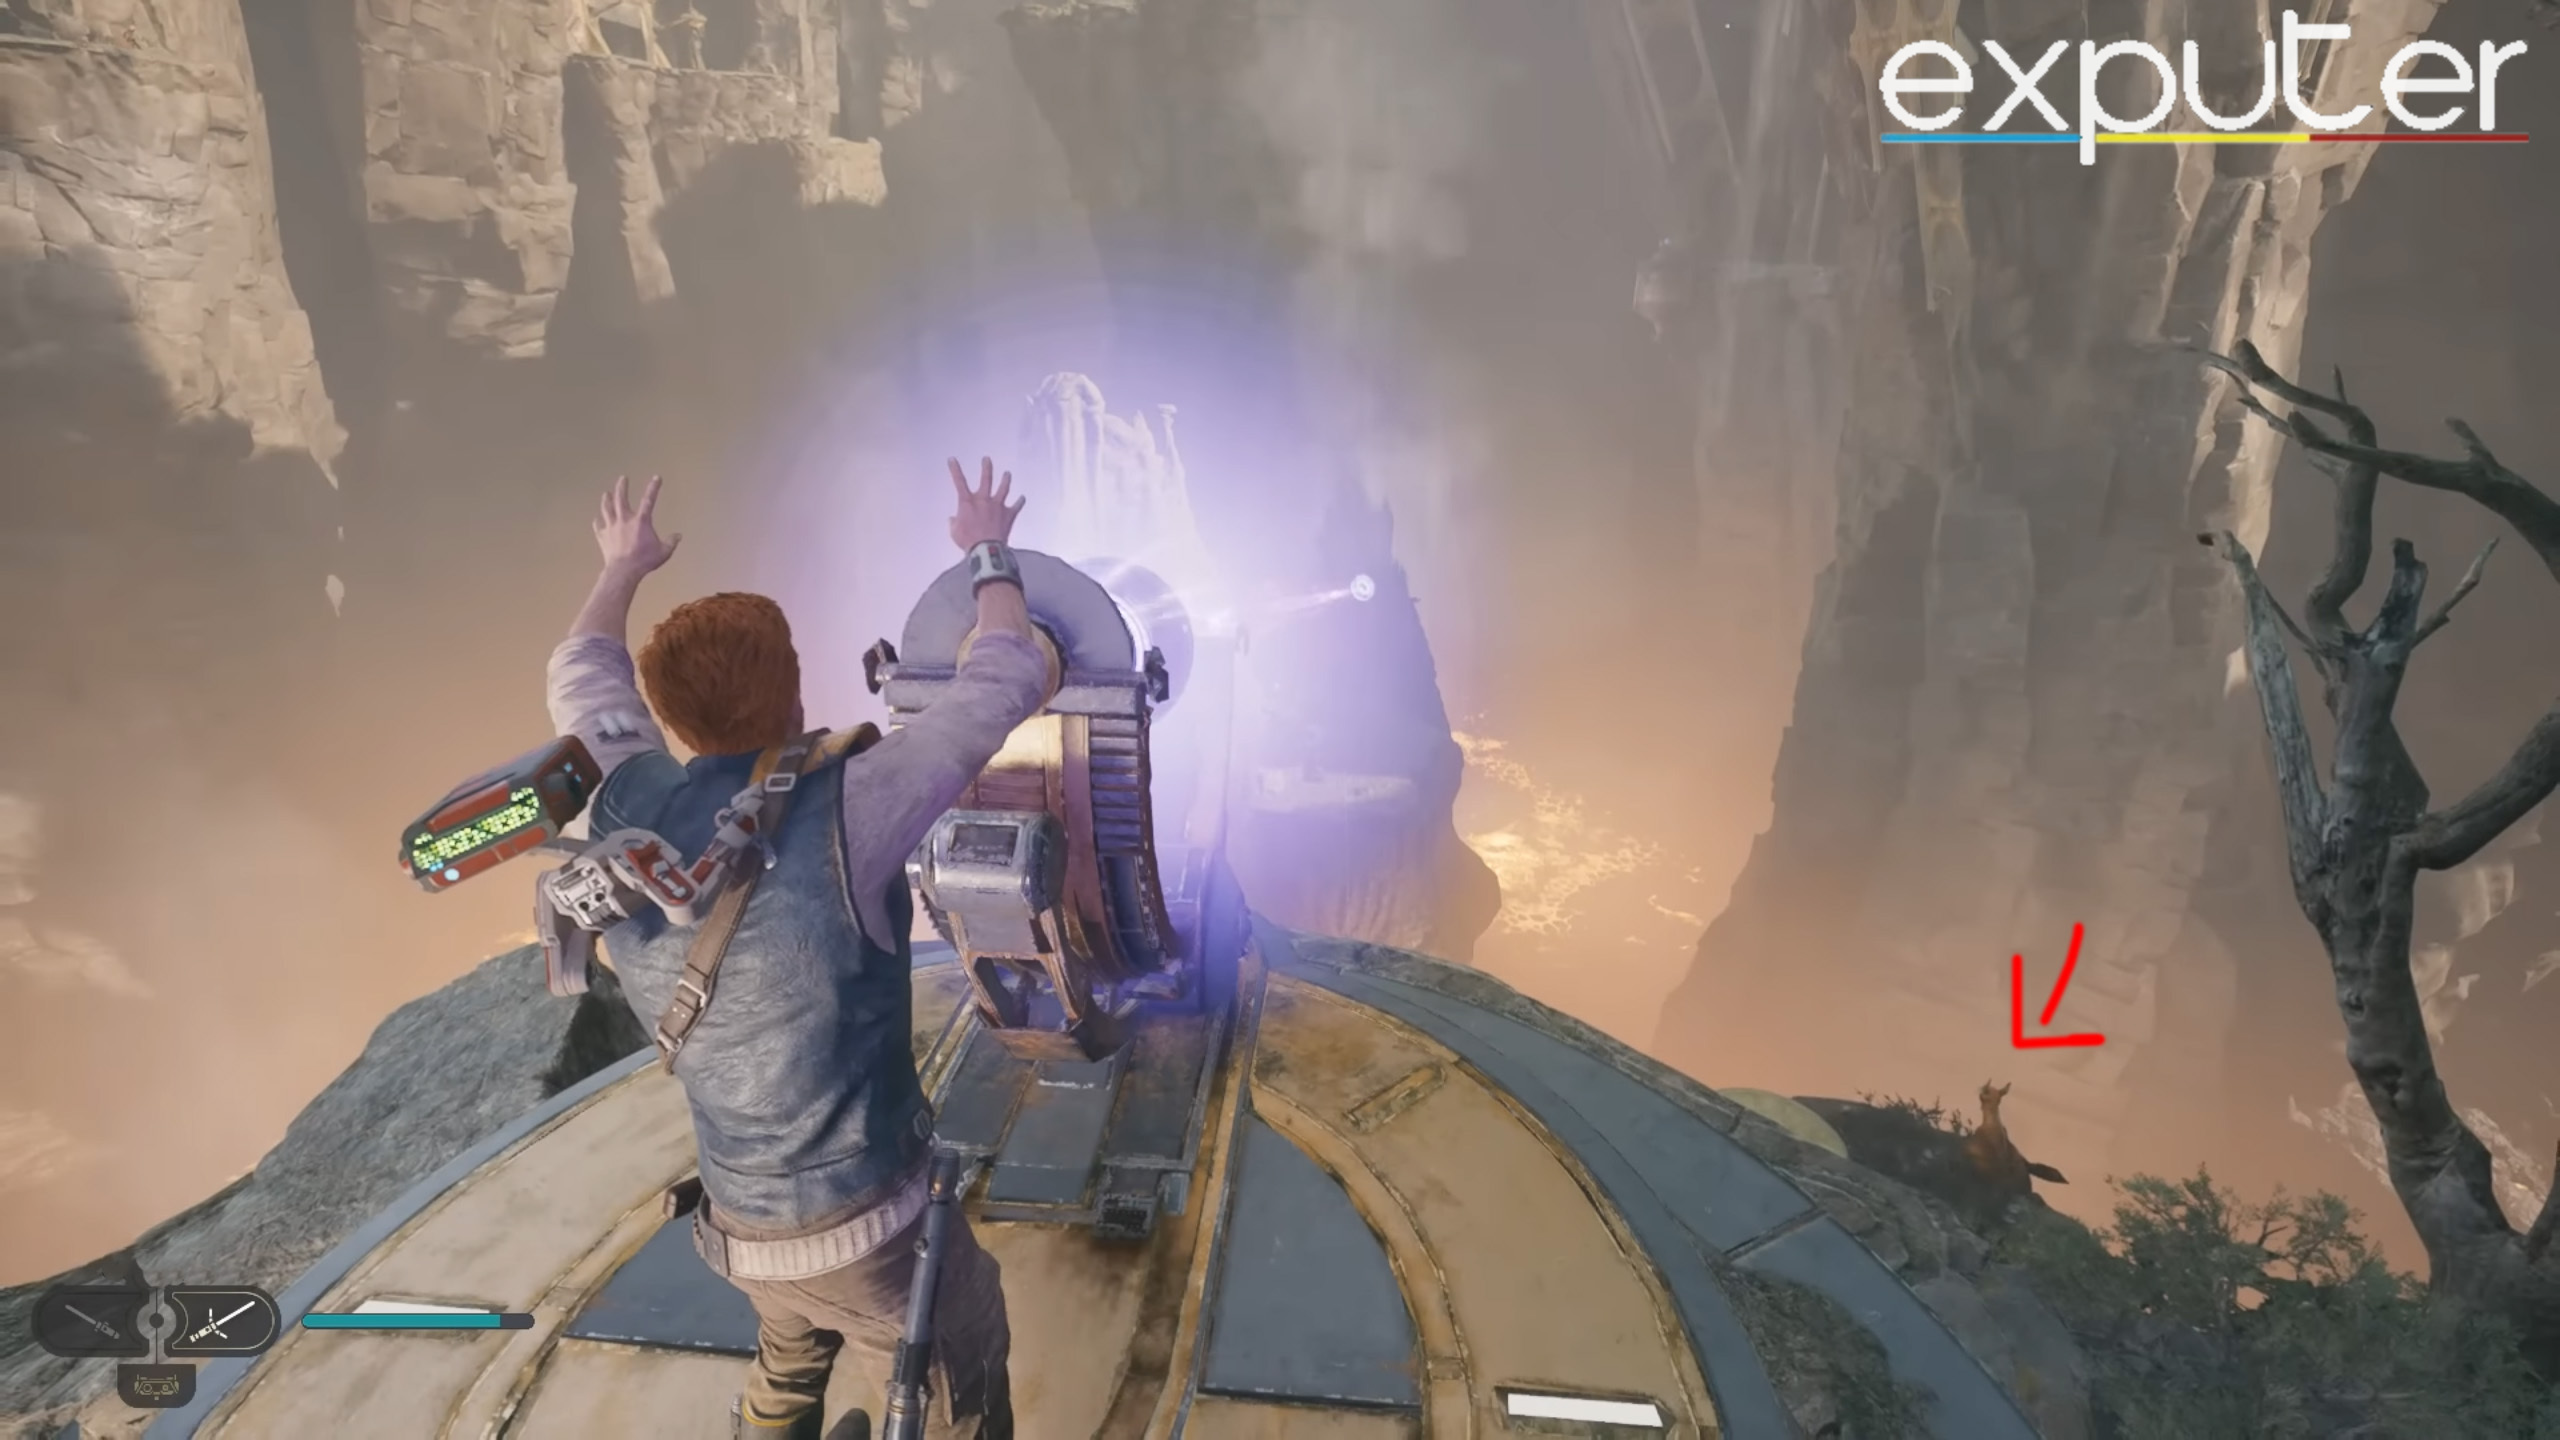
Activate the second laser and use it to unblock yet another geyser that can be utilized to glide higher. Grab another Relter and glide your way to the point marked in the image above.
Third Laser Puzzle
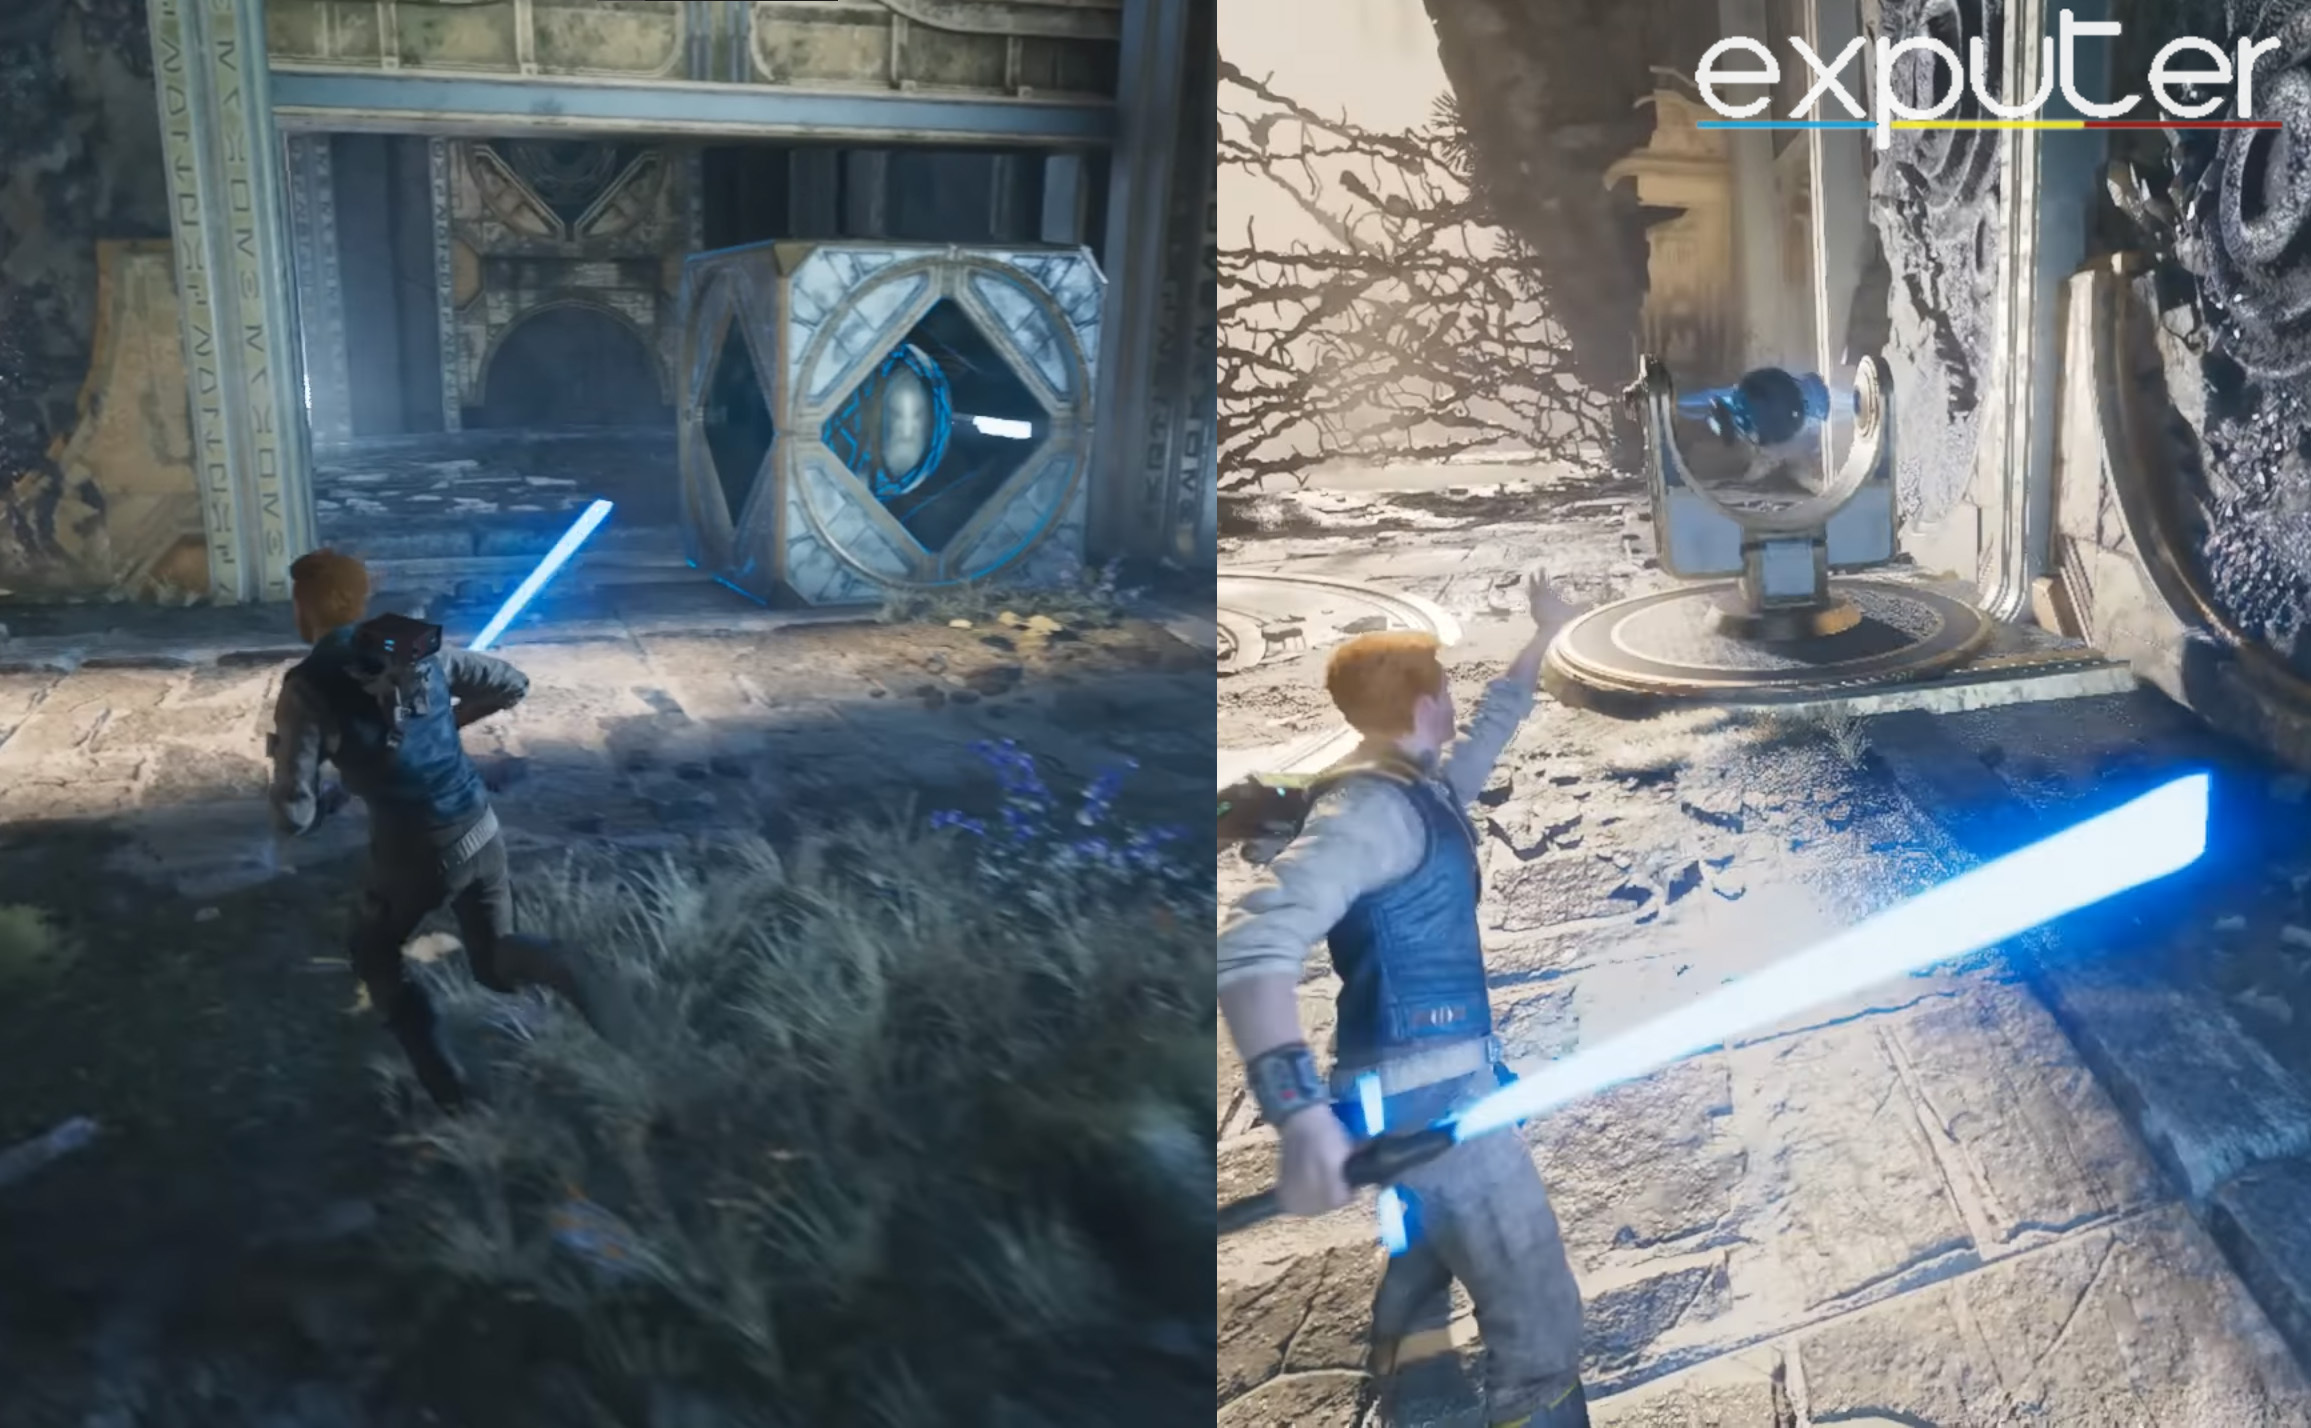
After gliding to the next platform, defeat all enemies in the area to start the final puzzle in Star Wars Jedi Survivor Research Talanorr On Koboh’s main quest.
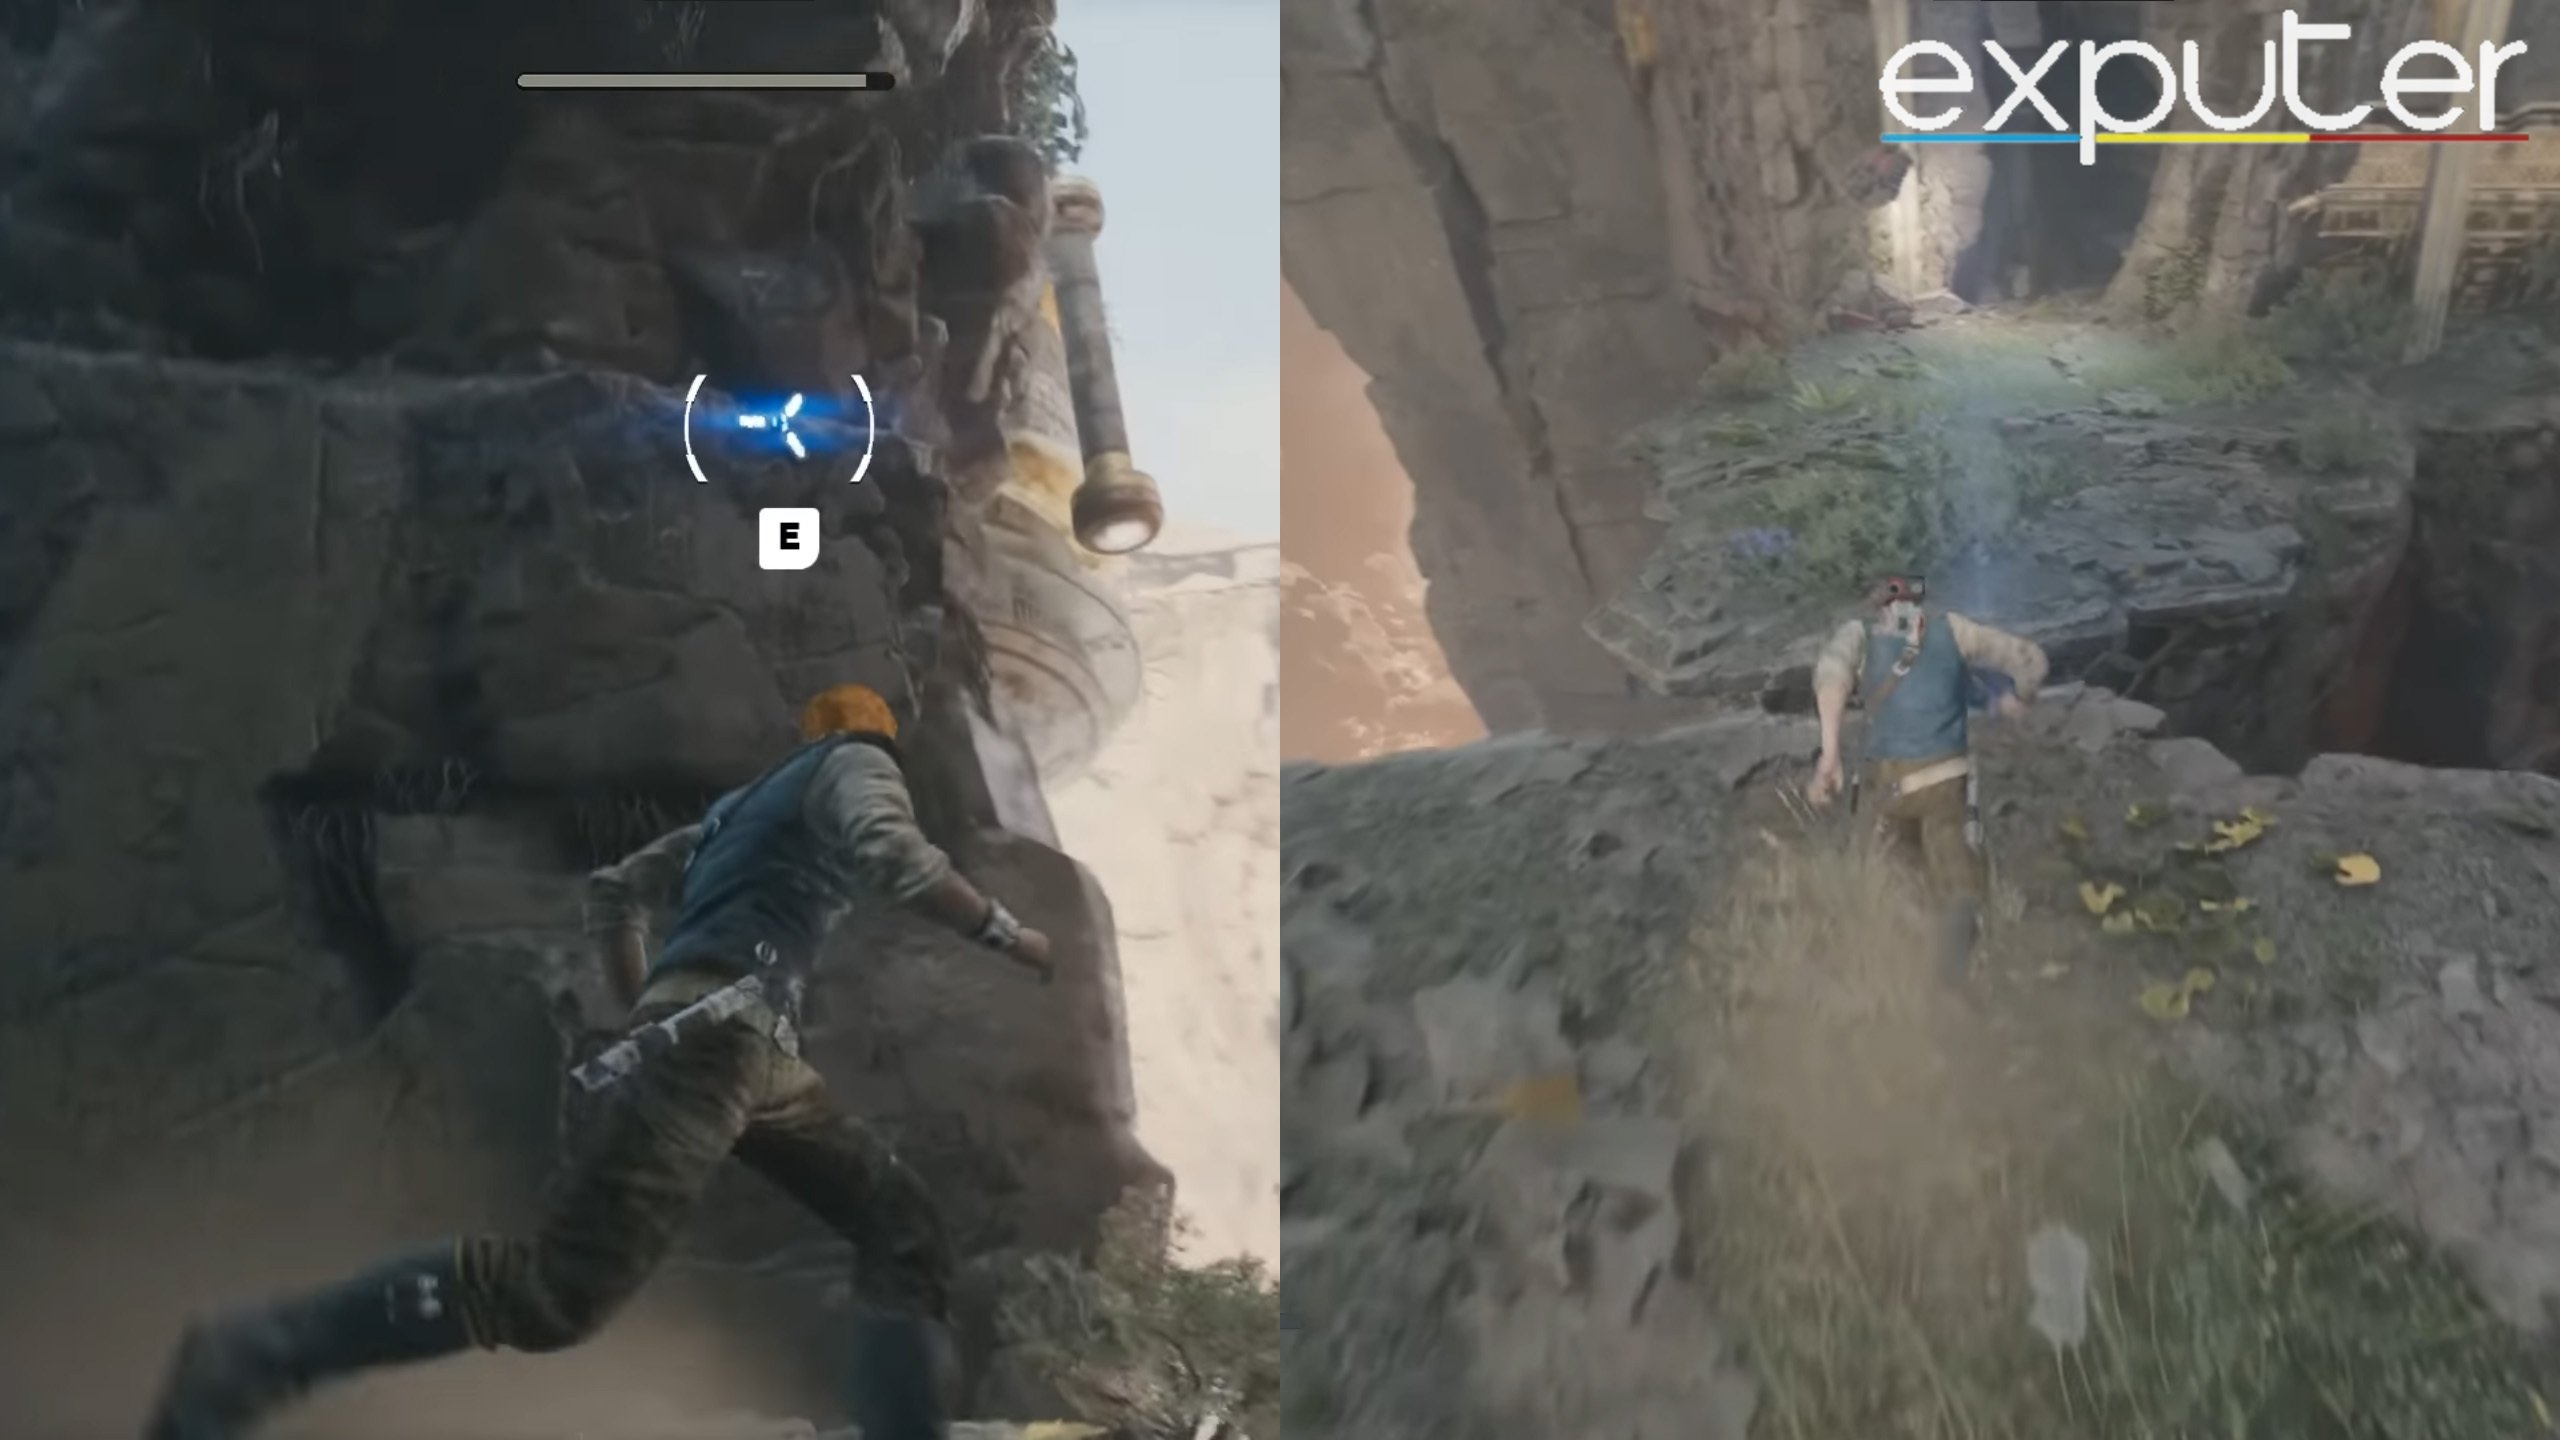
- There will be a cube in the room that you can pull using force.
- Place the cube under the half-opened gate that you can see in the image above.
- On the other side of the gate, players can grab the third and final orb, which can be placed inside the laser mechanism in the first room.
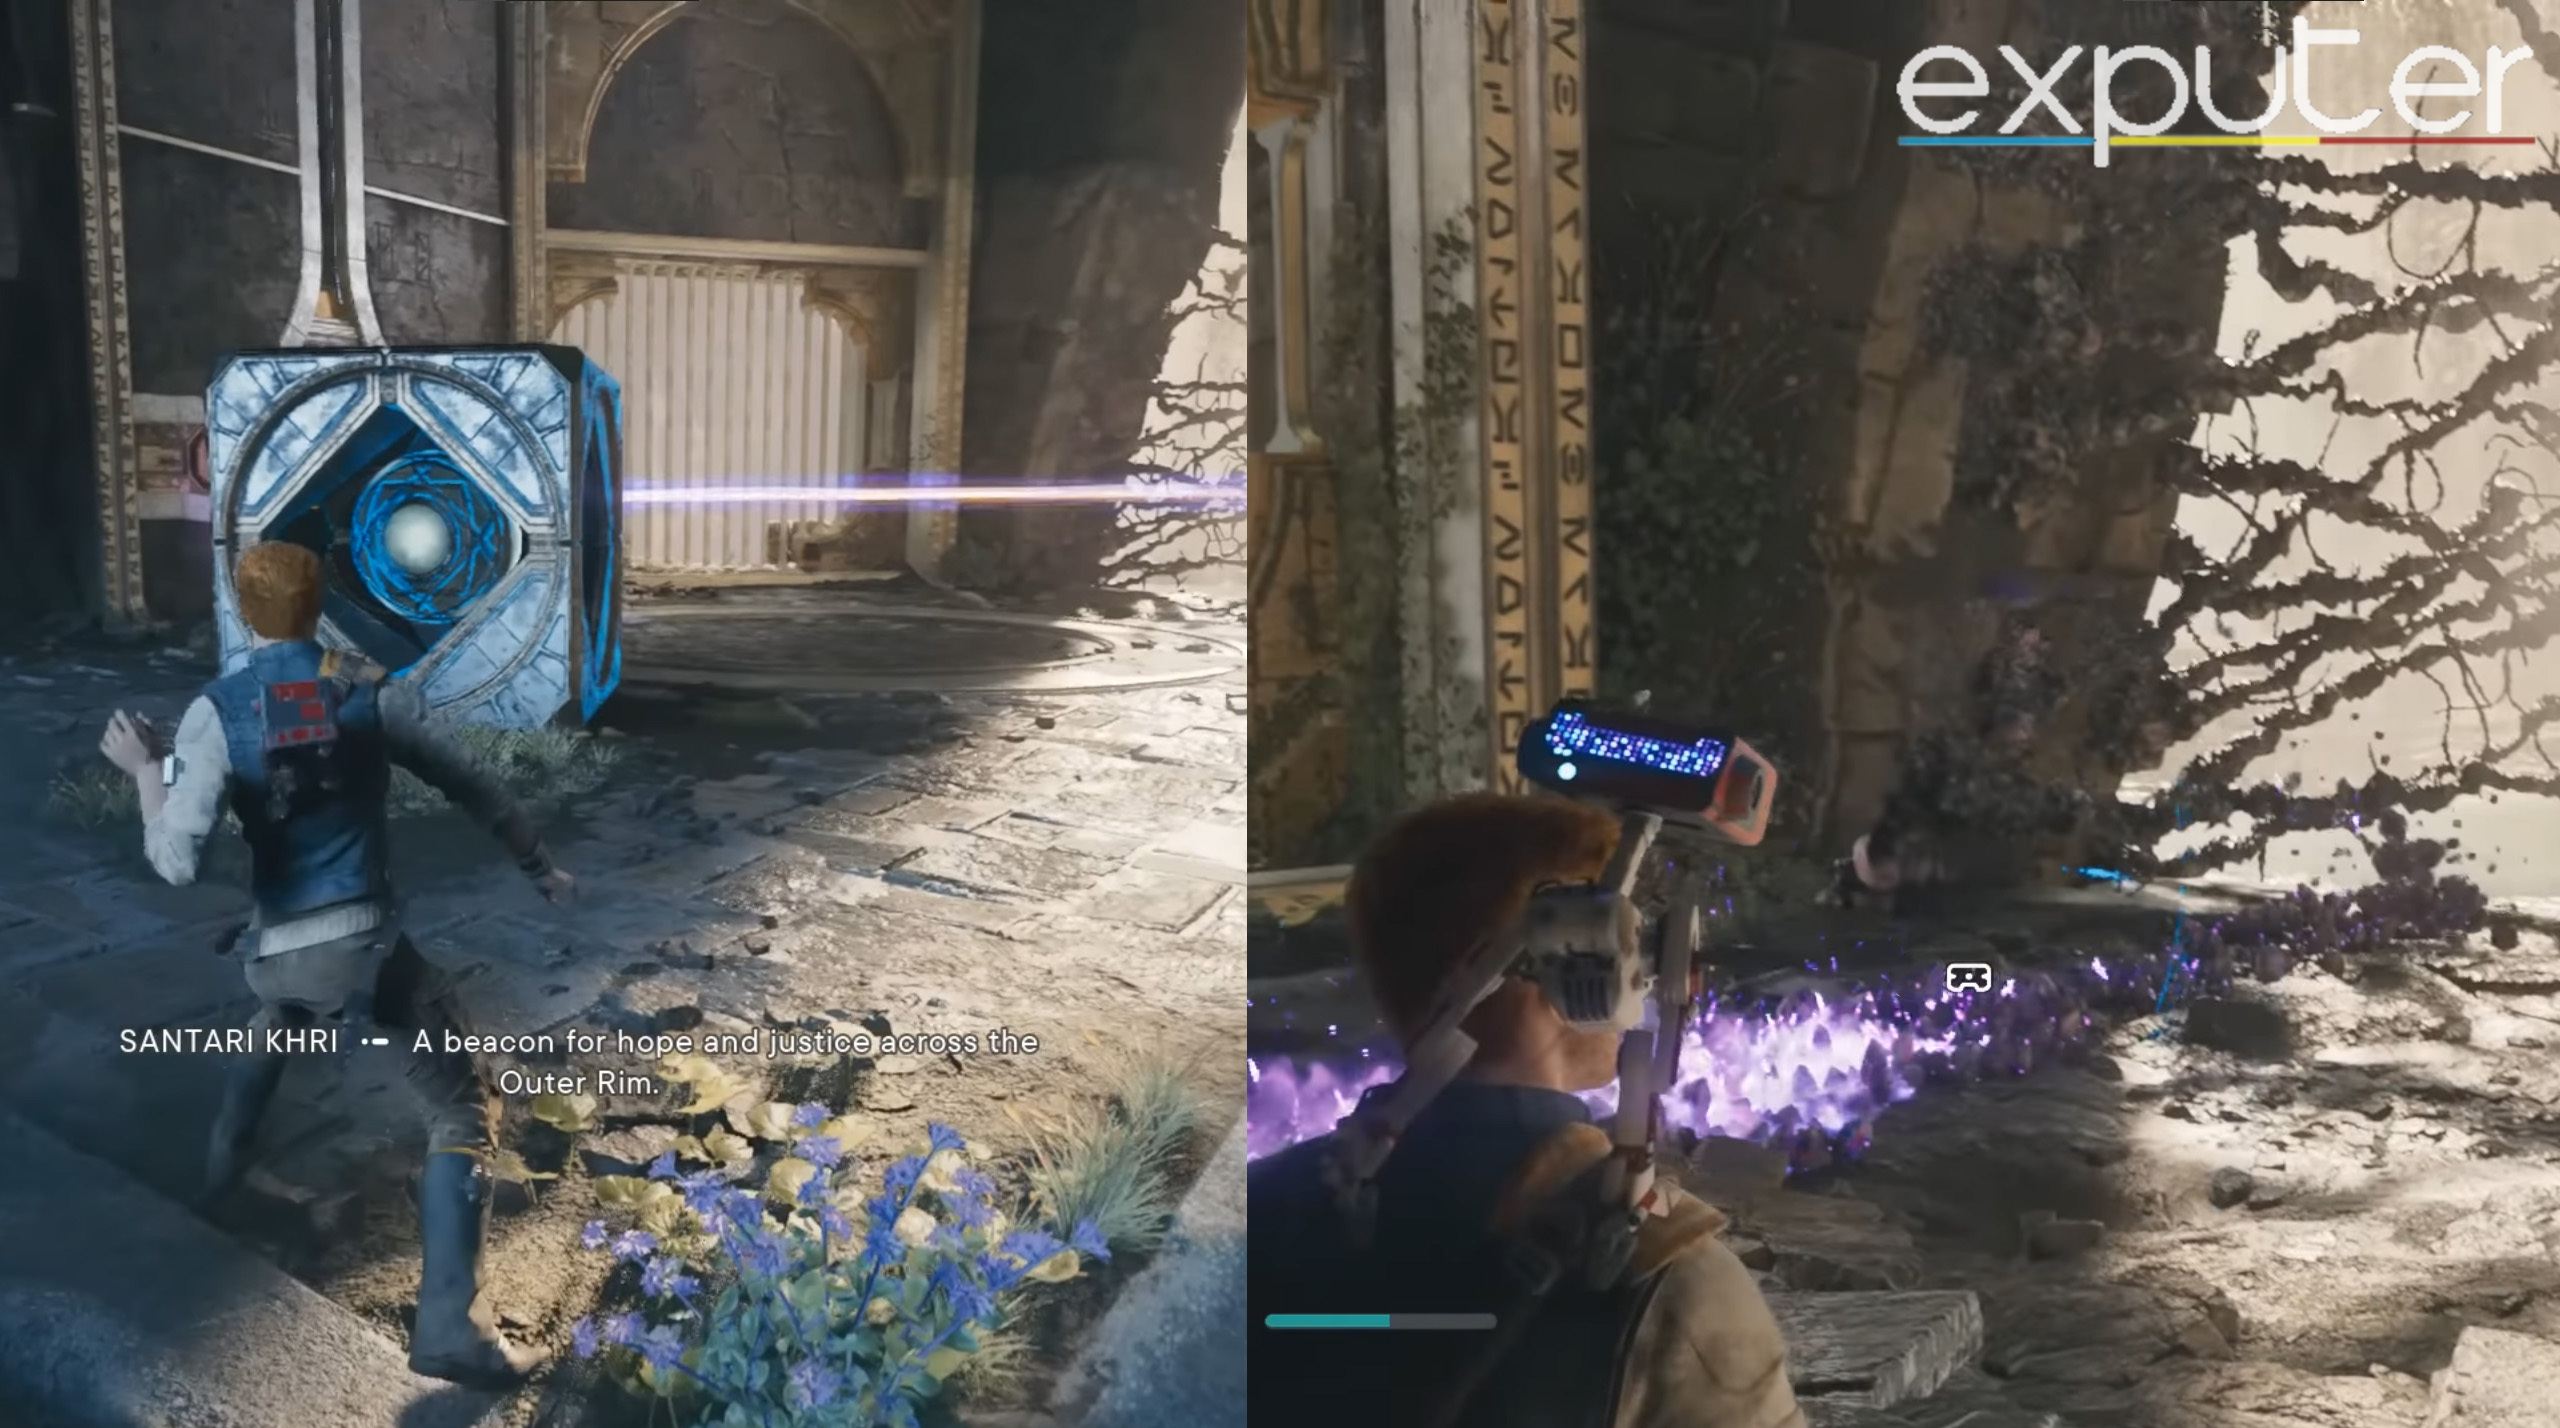
After activating the laser in the room, place the cube in front of the laser. Then, use BD-1’s Koboh Grinder to draw a line of Koboh Matter till the vines. That will destroy the Koboh Vines and unlock your path toward the final laser that you need to activate.
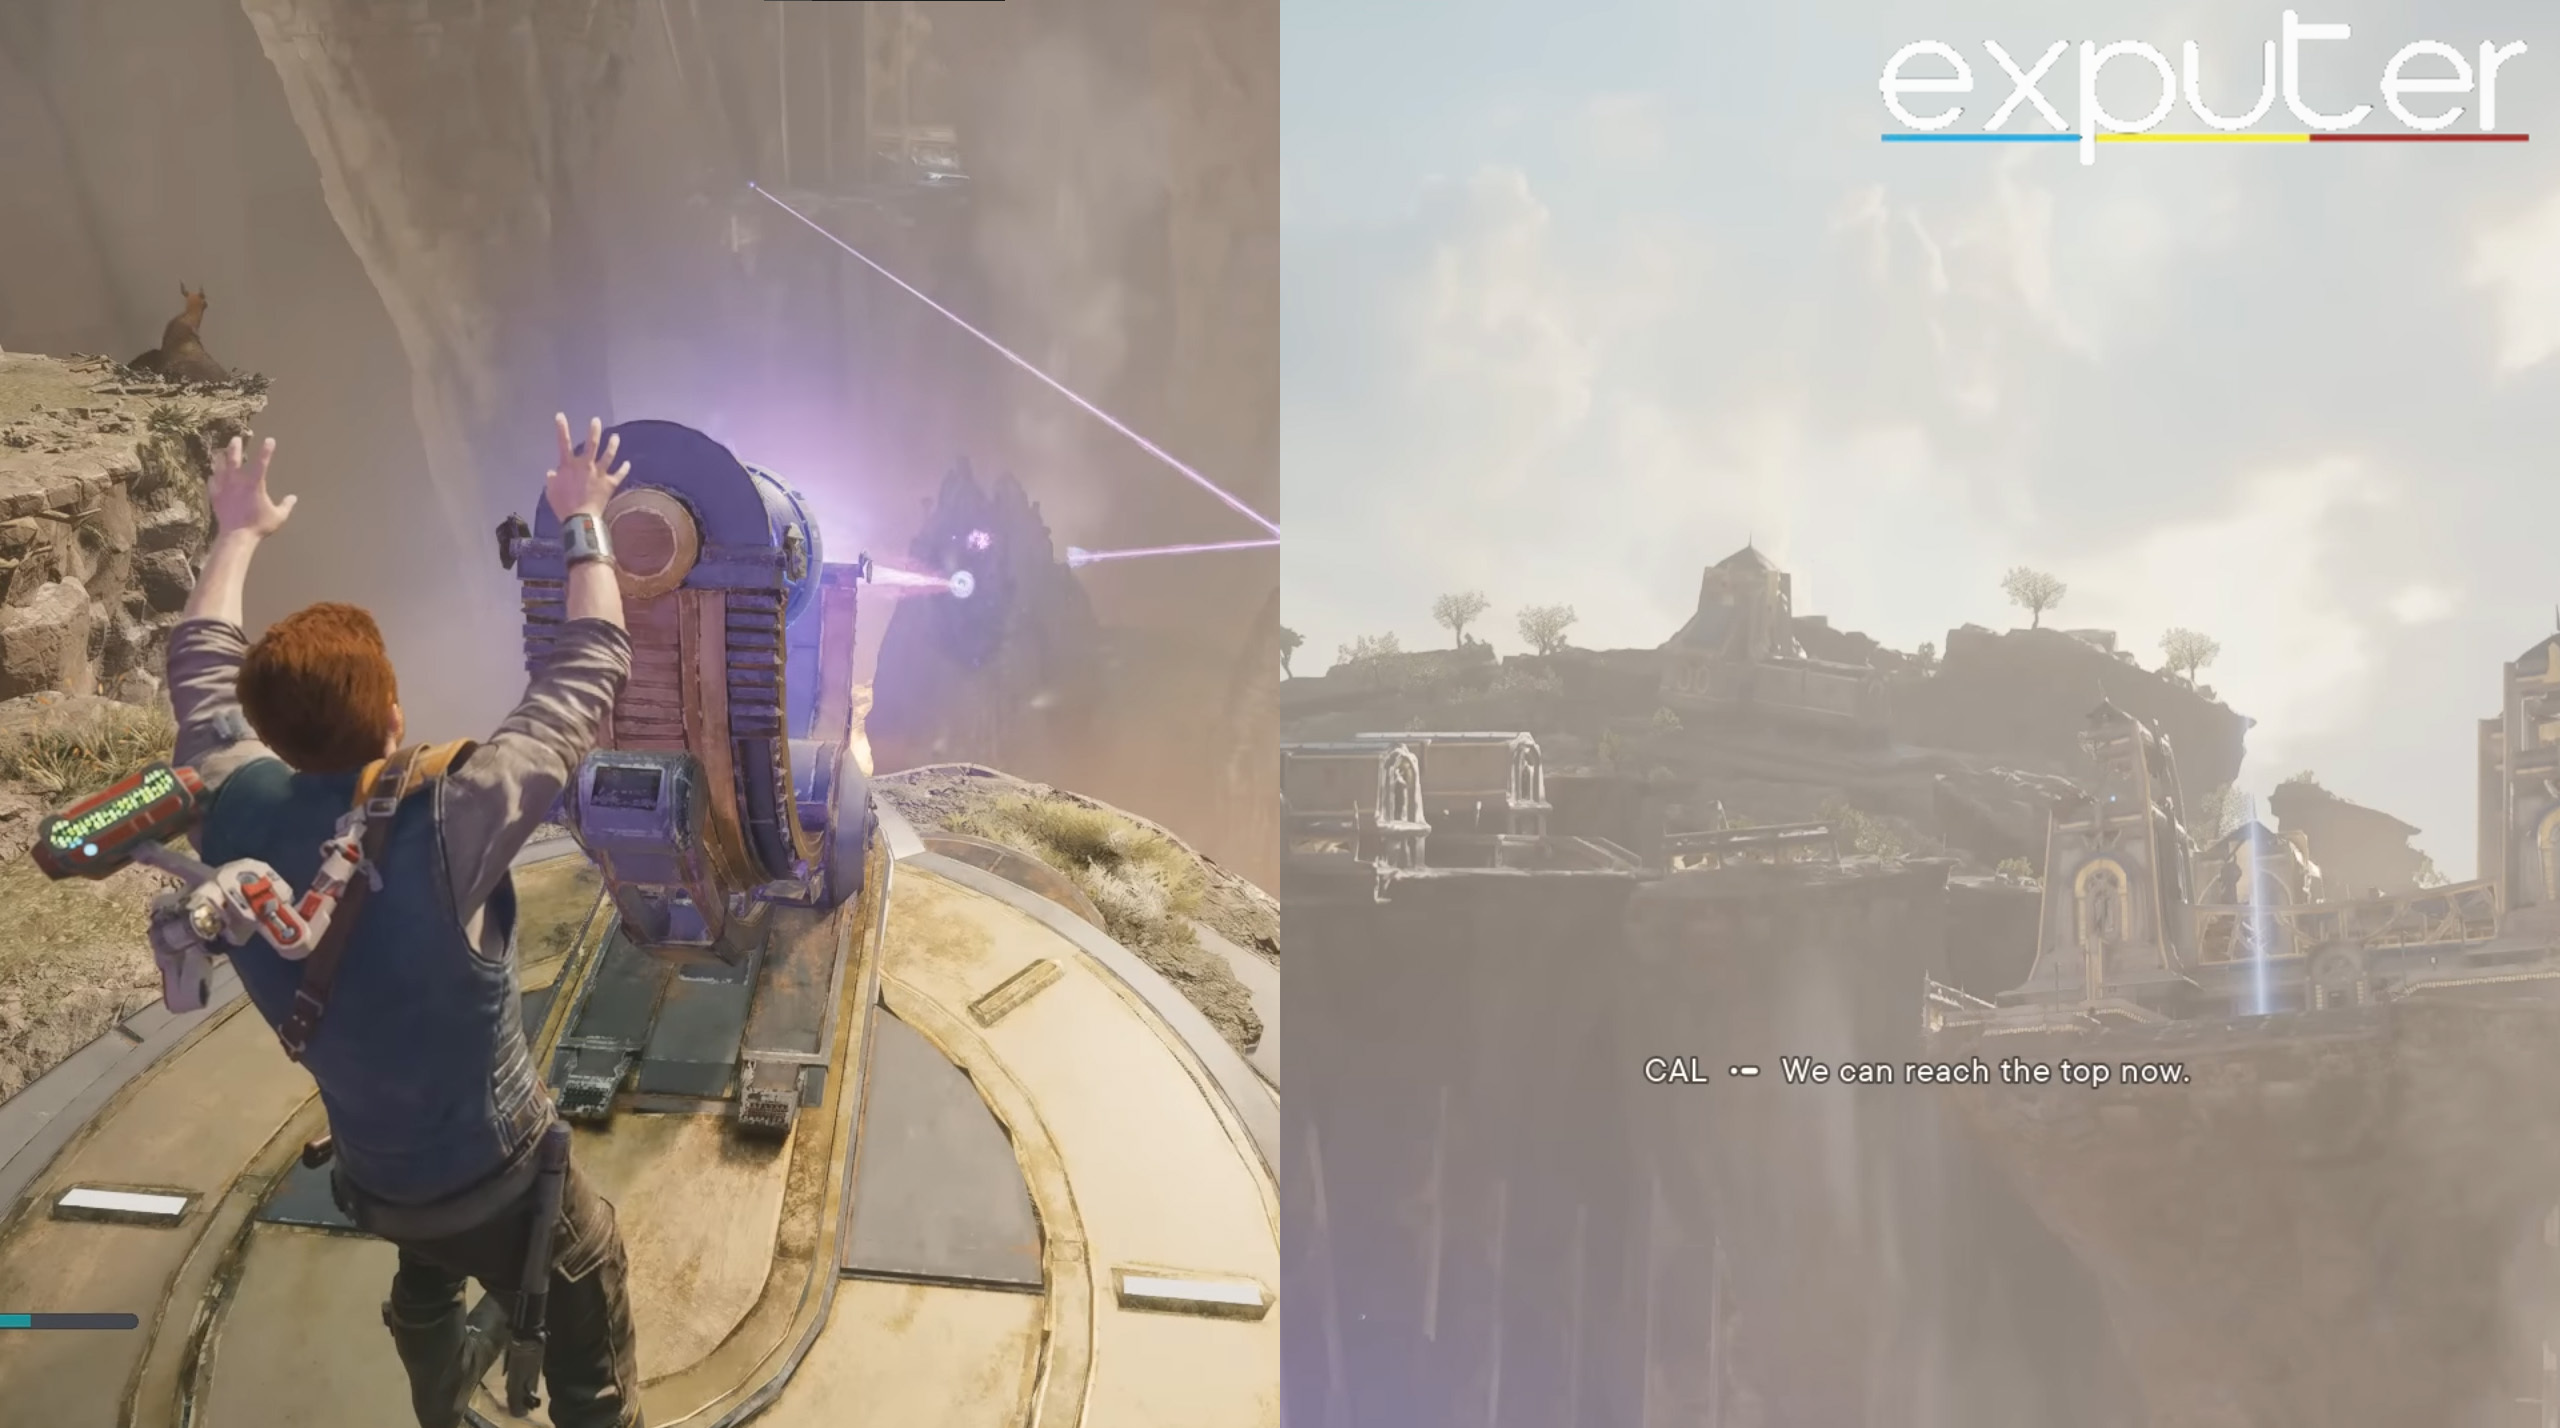
Bring the orb towards the final laser to activate it. Next, use the laser to unlock the final geyser that will allow you to reach the very top. Once you glide your way to the top, you will arrive at the Grand Courtyard.
Tague Louesh Boss Fight
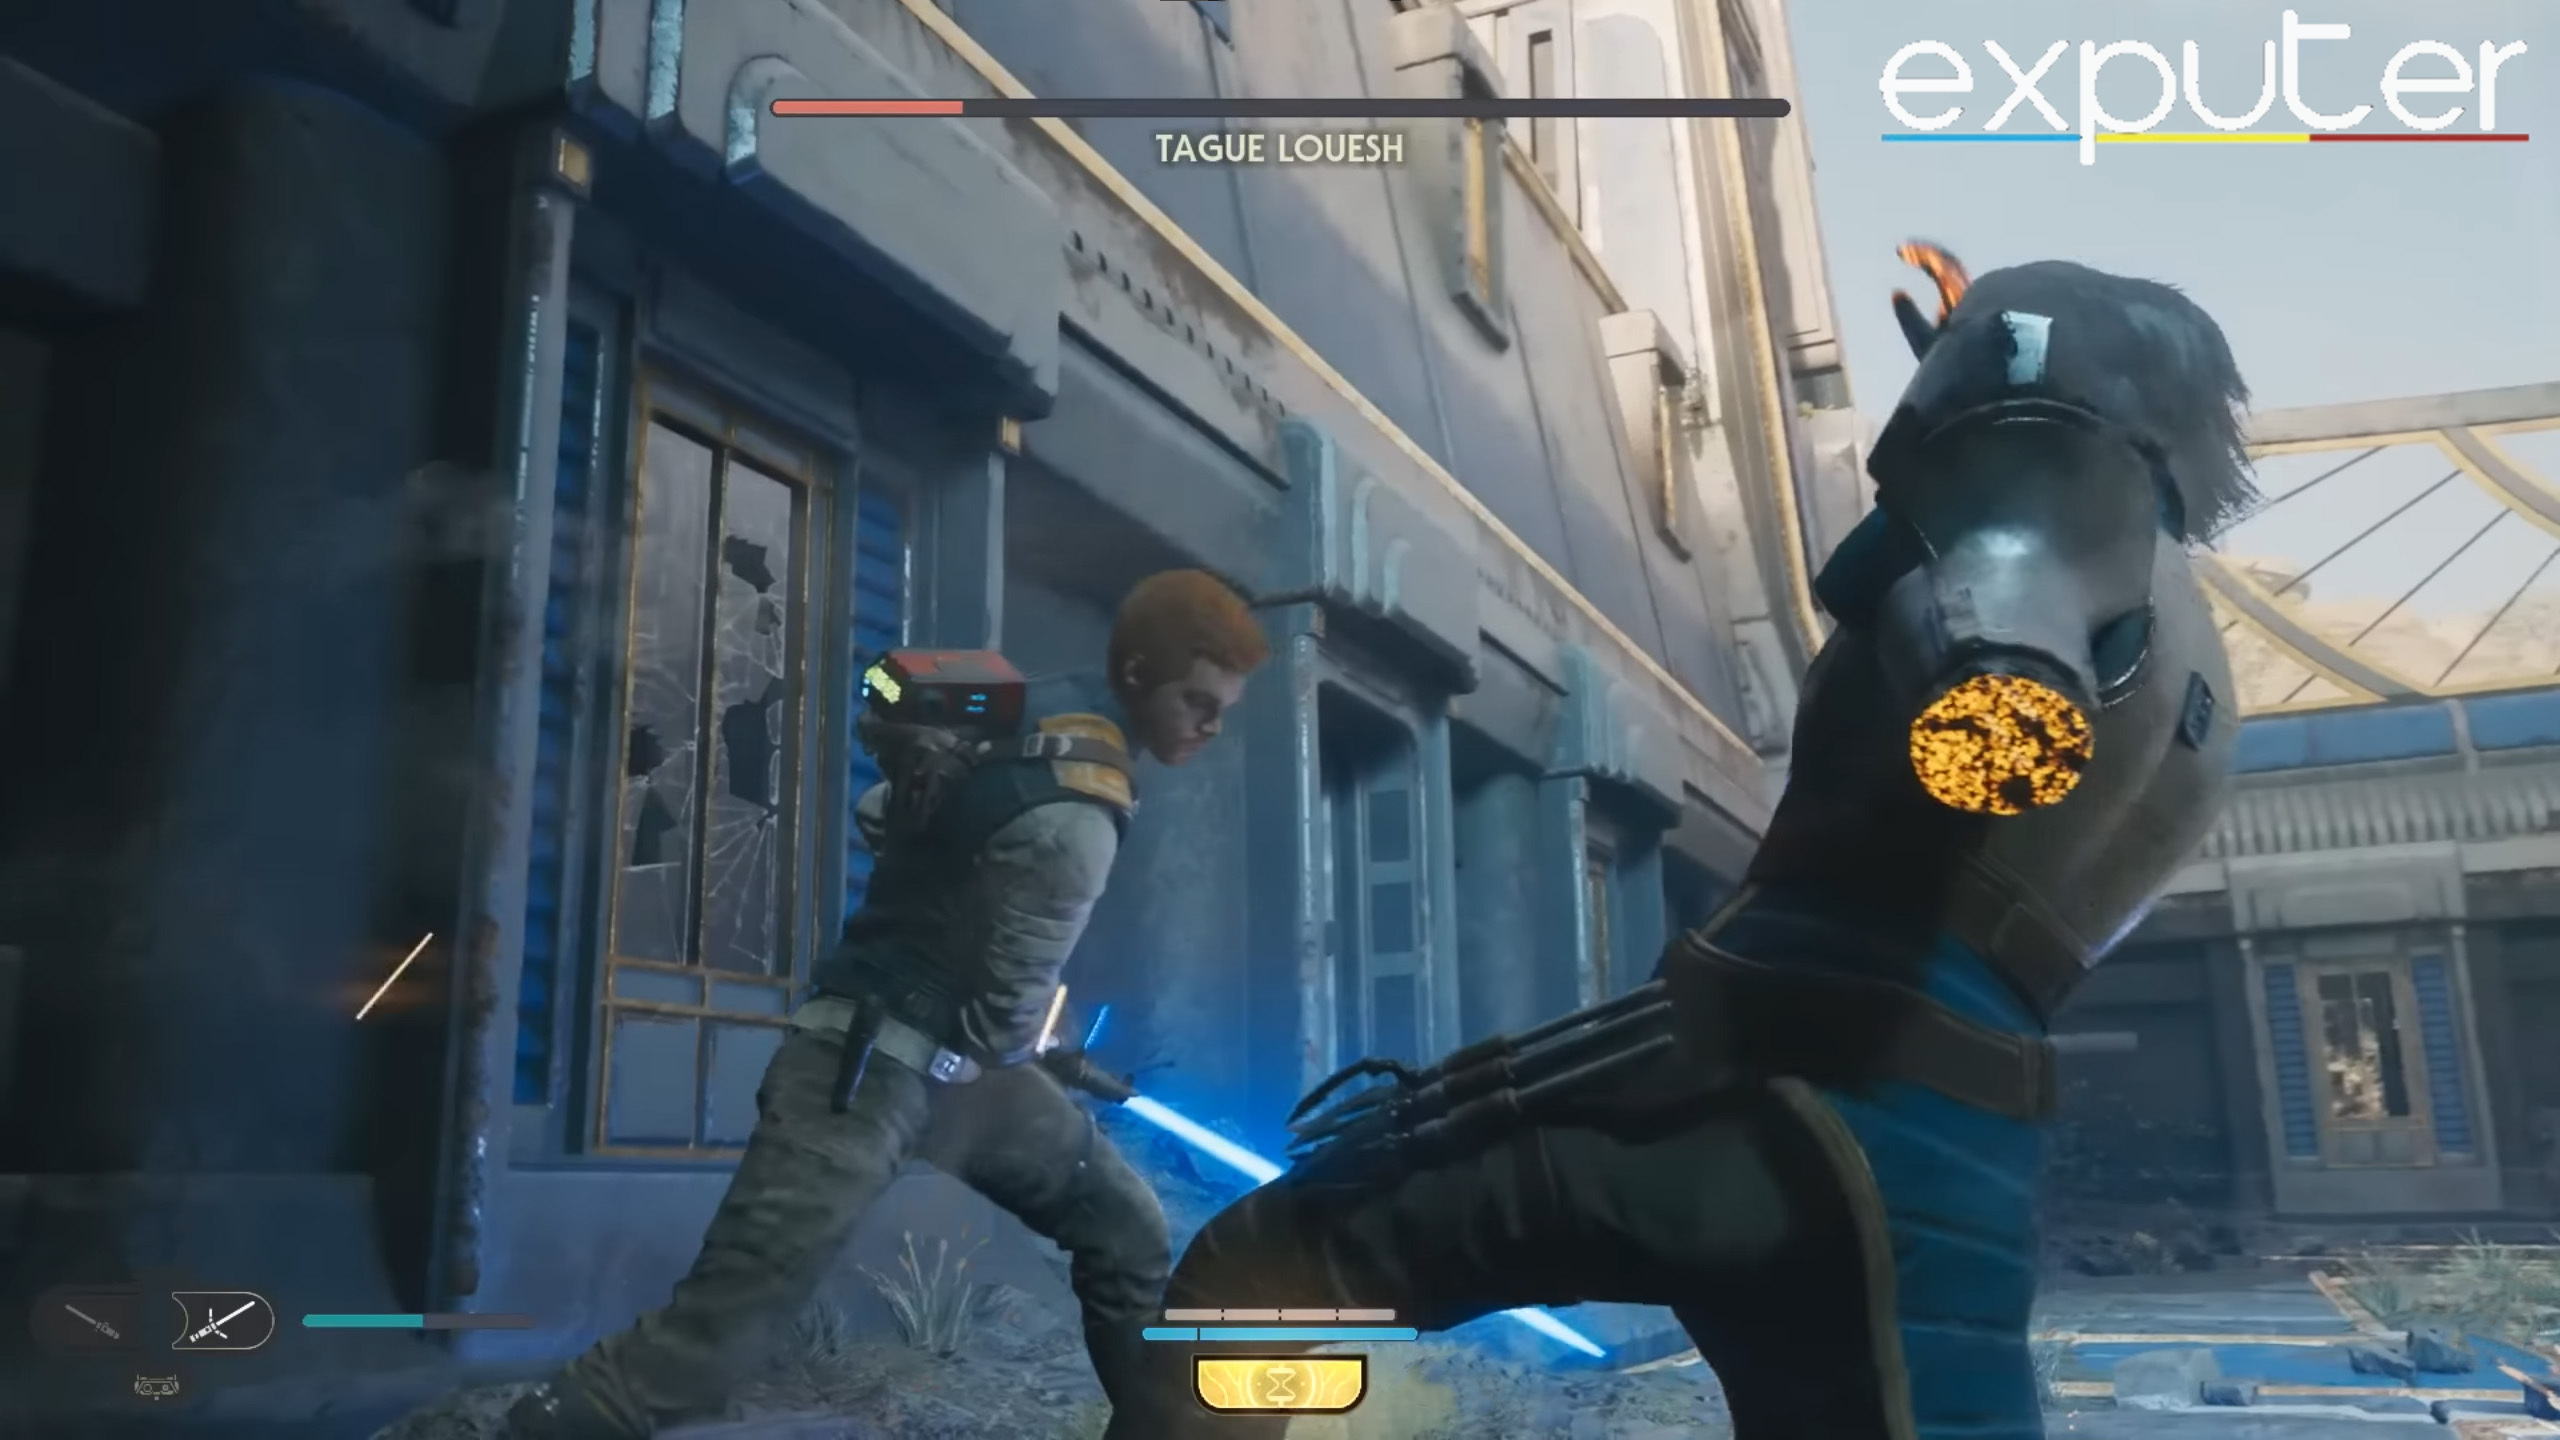
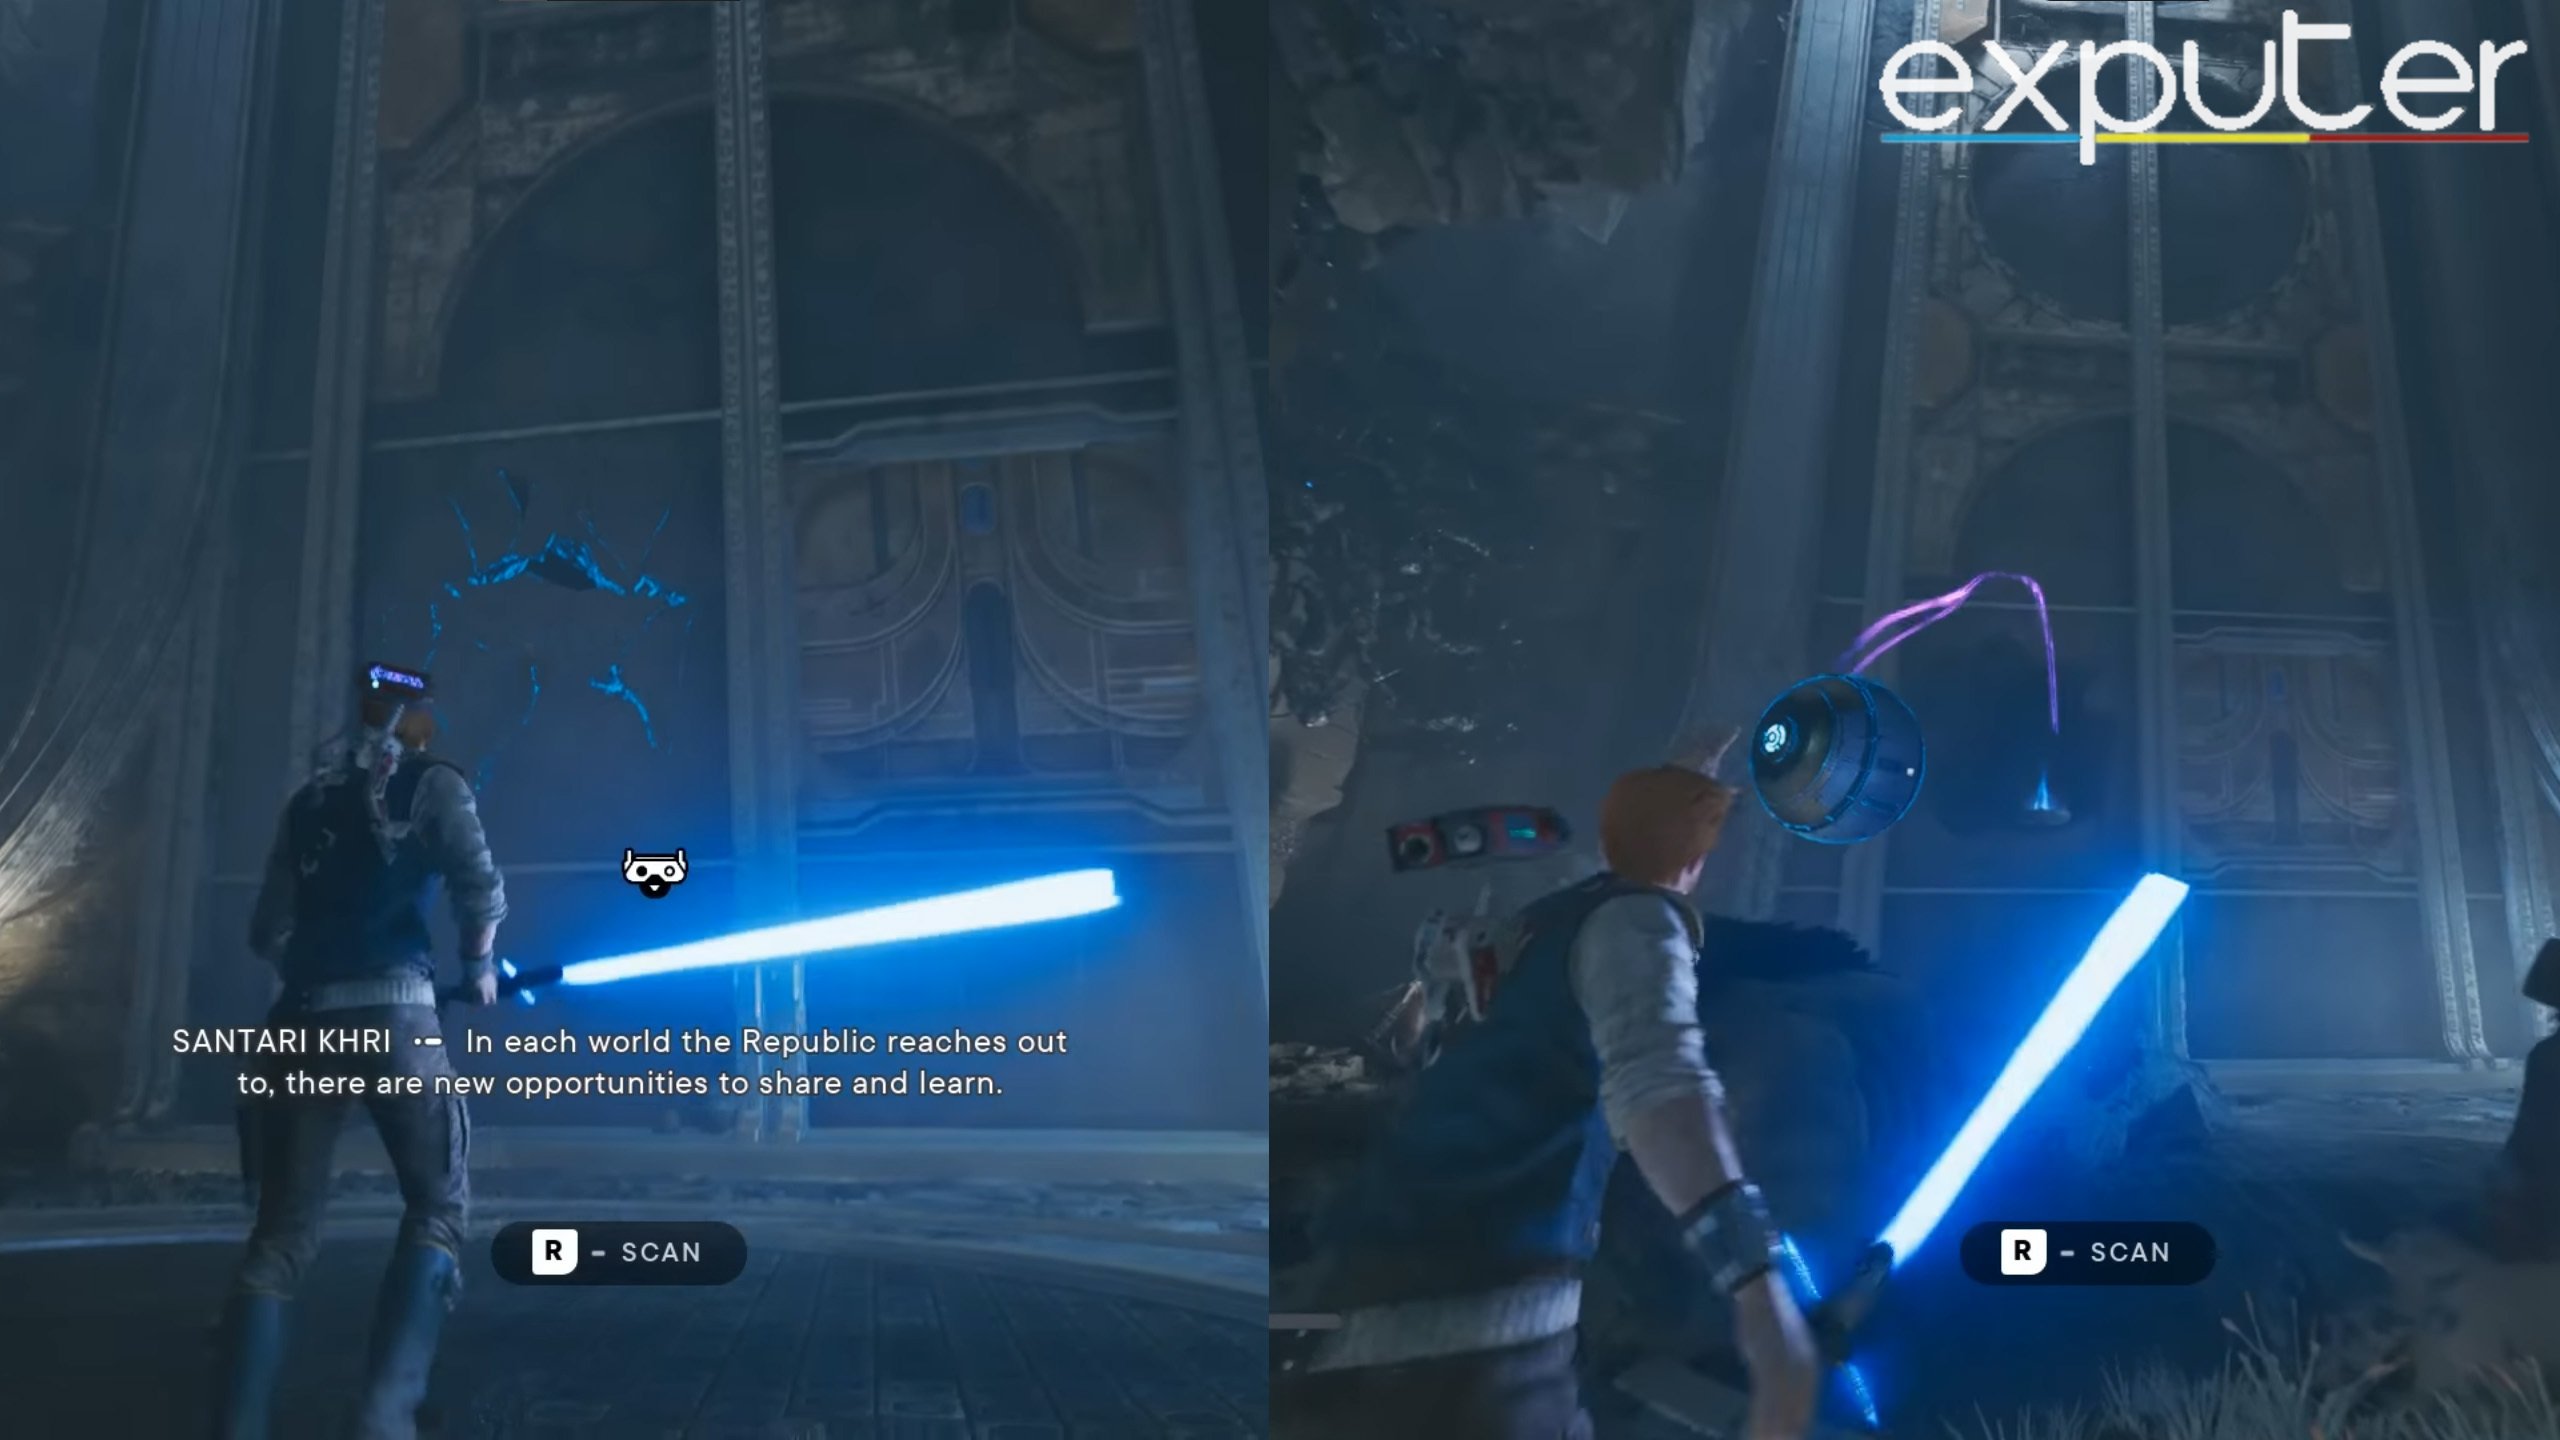
As soon as players enter the Grand Courtyard, they will be greeted with another boss fight in the mission. Tague Loeush is the next and final boss in the mission that you will need to beat in order to progress.
- Tague Louesh is not going to attack from the range like the first boss.
- He will come at you with his double-bladed lightsaber and charge combo attacks swiftly at the player.
- Parries are going to be your best friend during this whole fight.
- Make sure to dodge any or all unblockable attacks, or they will result in your death.
- Save your stims and use the slow ability only when you find a window for dealing damage to the boss.
- Learning the whole attack pattern is necessary if you plan on defeating Tague Louesh.

Go to the other side of the boss arena and grab the broken device on the table to complete the Research Tanalorr main quest. There’s a Relter at the location as well, which can be used to go back to the starting area of the mission.
Summary
Star Wars Jedi Survivor is an extremely fun game and is a huge improvement over its predecessor in terms of both gameplay and story. There are so many new lightsaber stances to play around with, and each comes with a different set of skills additionally. The game also brings back more puzzles that are interesting to solve, like the Chamber Of Detachment puzzle. There are new outfits and hairstyles for Cal in Jedi Survivor as well.
This concludes my guide on Star Wars Jedi Survivor Research Tanalorr On Koboh walkthrough main quest. I have entailed a complete walkthrough of the whole quest and have explained the solution to all three puzzles that you encounter in the mission.
NEXT:
Thanks! Do share your feedback with us. ⚡
How can we make this post better? Your help would be appreciated. ✍