Valheim: How To Find And Mine Iron?
Here's a quick guide on How to get Iron in Valheim to upgrade your gear!
Valheim Iron is a vital resource for players who want to become stronger and take on more formidable enemies and dungeons. Not only is it used to create some powerful gear like weapons, armor, and shields, but it is also used in constructing defensive structures and crafting workbenches.
But unlike most games, getting your hands on a material like this is not simply a matter of going to a location and mining as necessary. So this guide will show you how to get your hands on some iron as soon as possible.
Iron is a vital resource in Valheim that is used to create powerful gear, defensive structures, and crafting workbenches.
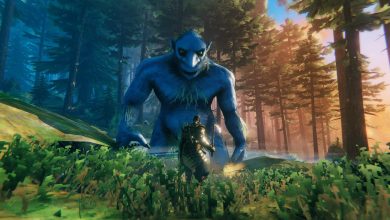
- Defeat the second boss, The Elder, to acquire a Swamp Key.
- Use the Swamp Key to access the Swamp biome.
- Mine Iron Ore nodes found in the Swamp biome, both underground and underwater.
Processing Iron:
- Smelt Iron Ore in a Forge to obtain Scrap Iron.
- Use Scrap Iron to craft various Iron-based items.
Important Iron-based Items:
- Iron Weapons: Enhance combat capabilities.
- Iron Armor: Provide improved defense.
- Iron Tools: Boost efficiency for various tasks.
Iron In Valheim
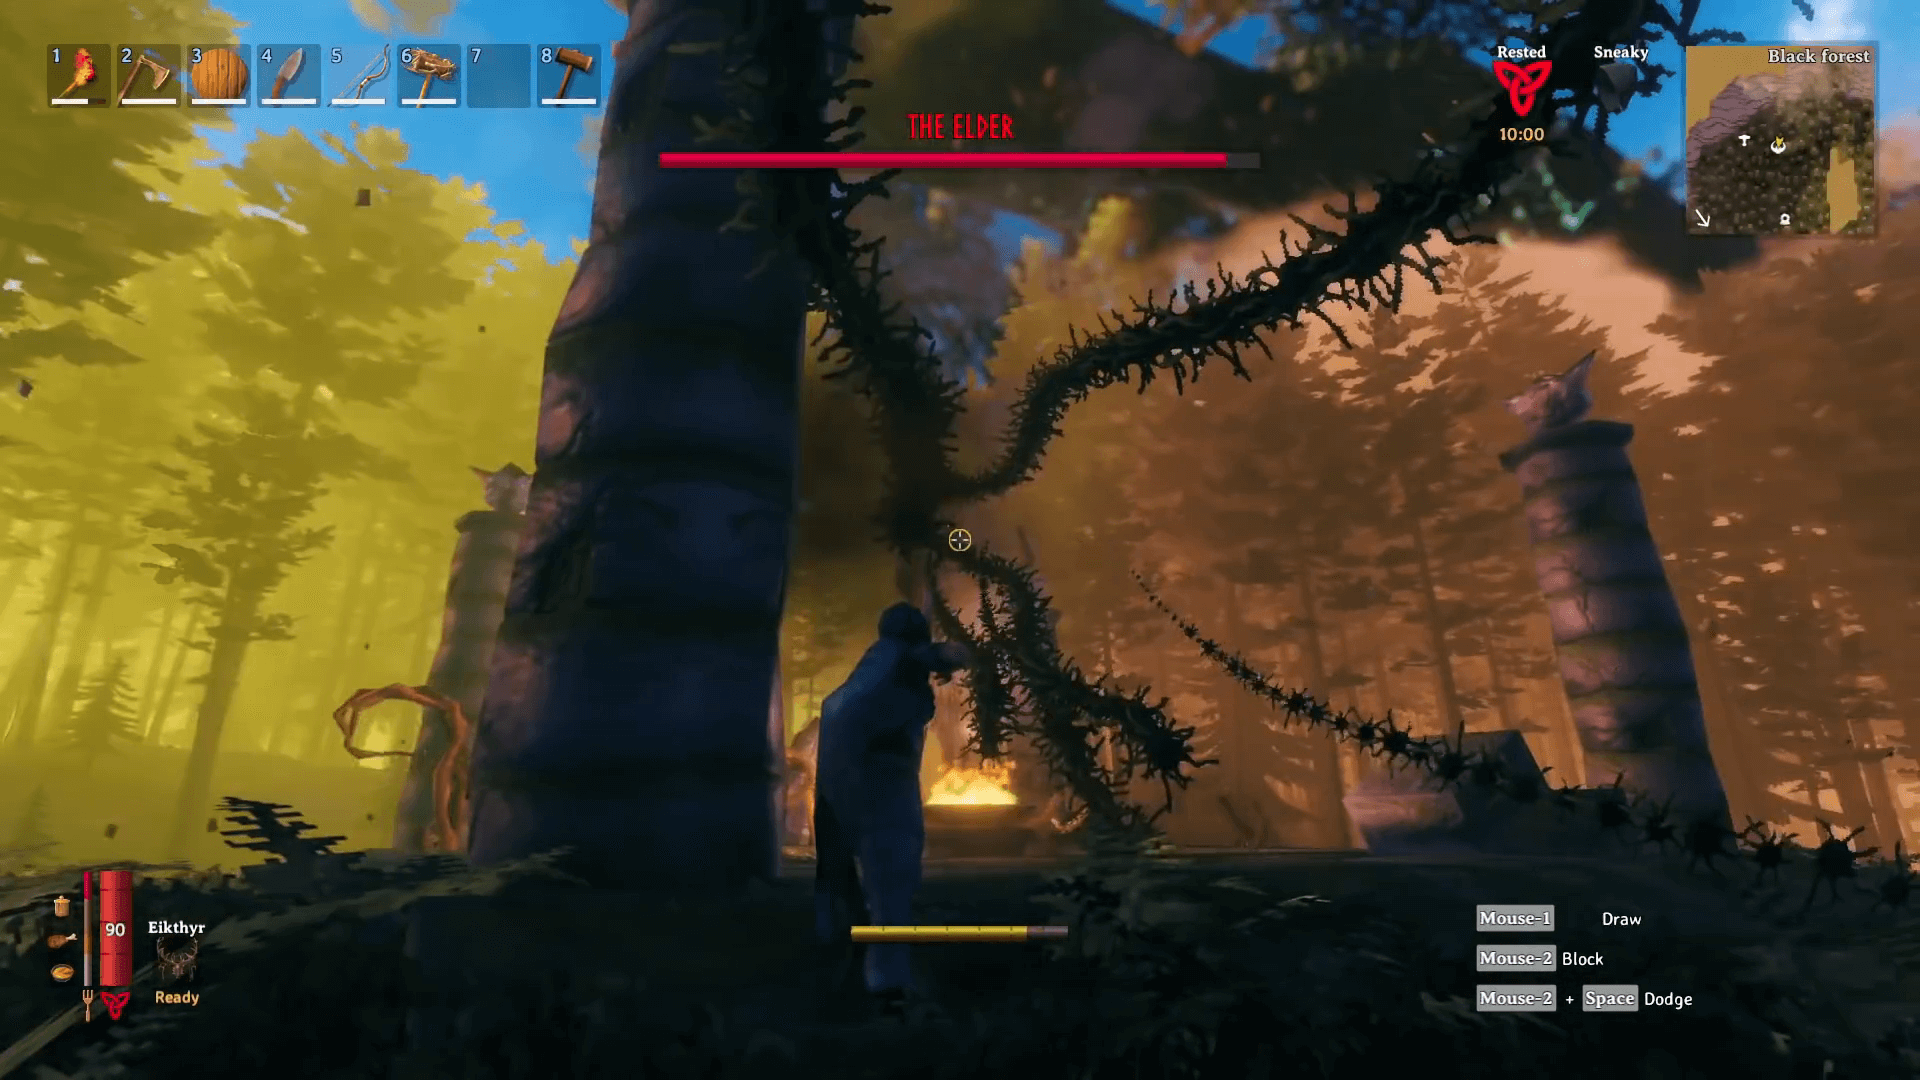
Players cannot begin acquiring iron in the game until they have summoned and defeated The Elder, which is the second boss in the game. And because the journey to reach this boss is actually quite long, we will assume that players have already done this for the sake of convenience.
Once The Elder is killed in Valheim, it will drop a unique item known as the ‘Swamp Key.’ This item will give you access to the locations that contain iron, so remember to keep it in your inventory moving forward.
How To Find Iron
To find iron in Valheim’s swamp biomes and Sunken Crypts:
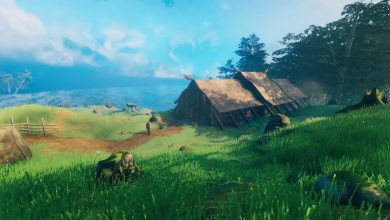
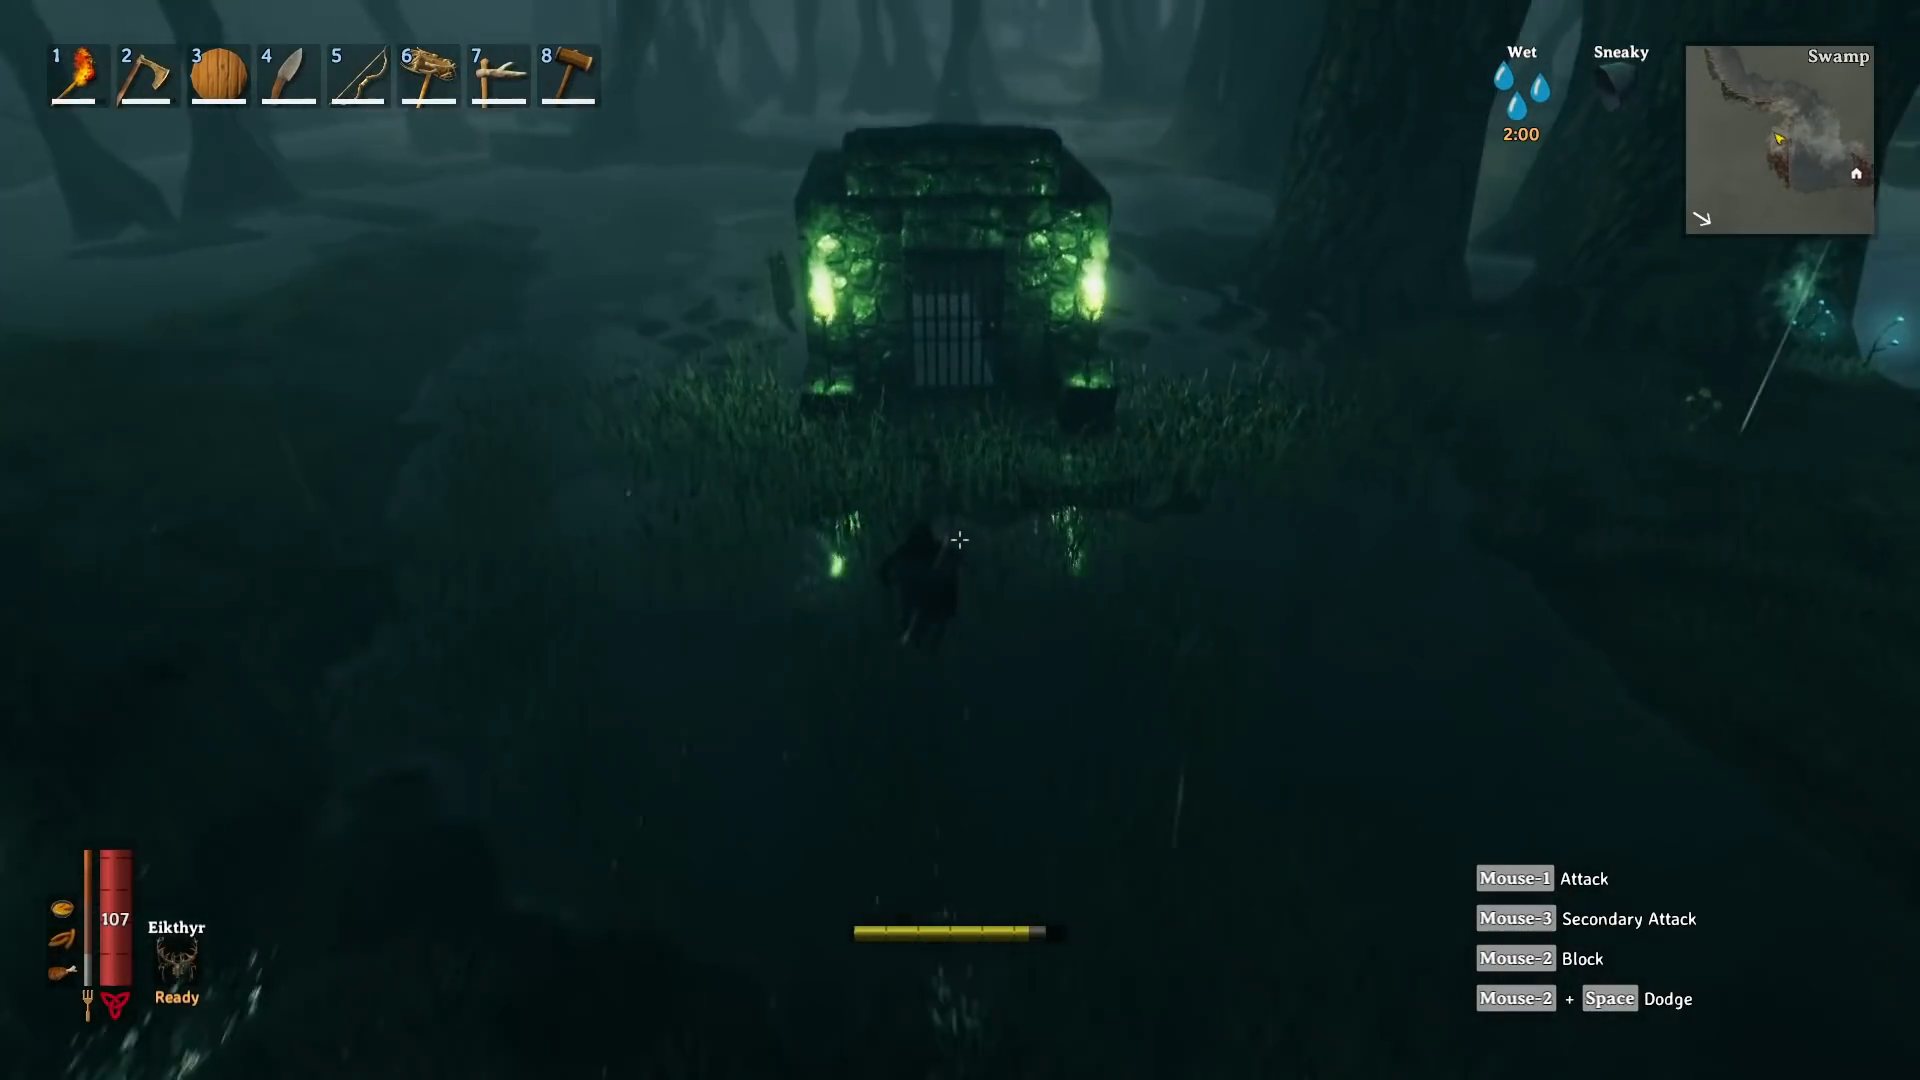
- Explore swamp biomes, which are typically near black forest biomes or as isolated islands. Look for dark, cloudy areas on the world map.
- Inside the swamp biome, you’ll come across Sunken Crypts, which are illuminated by glowing green torches.
- Ensure you have the ‘Swamp Key’ in your inventory to enter these crypts.
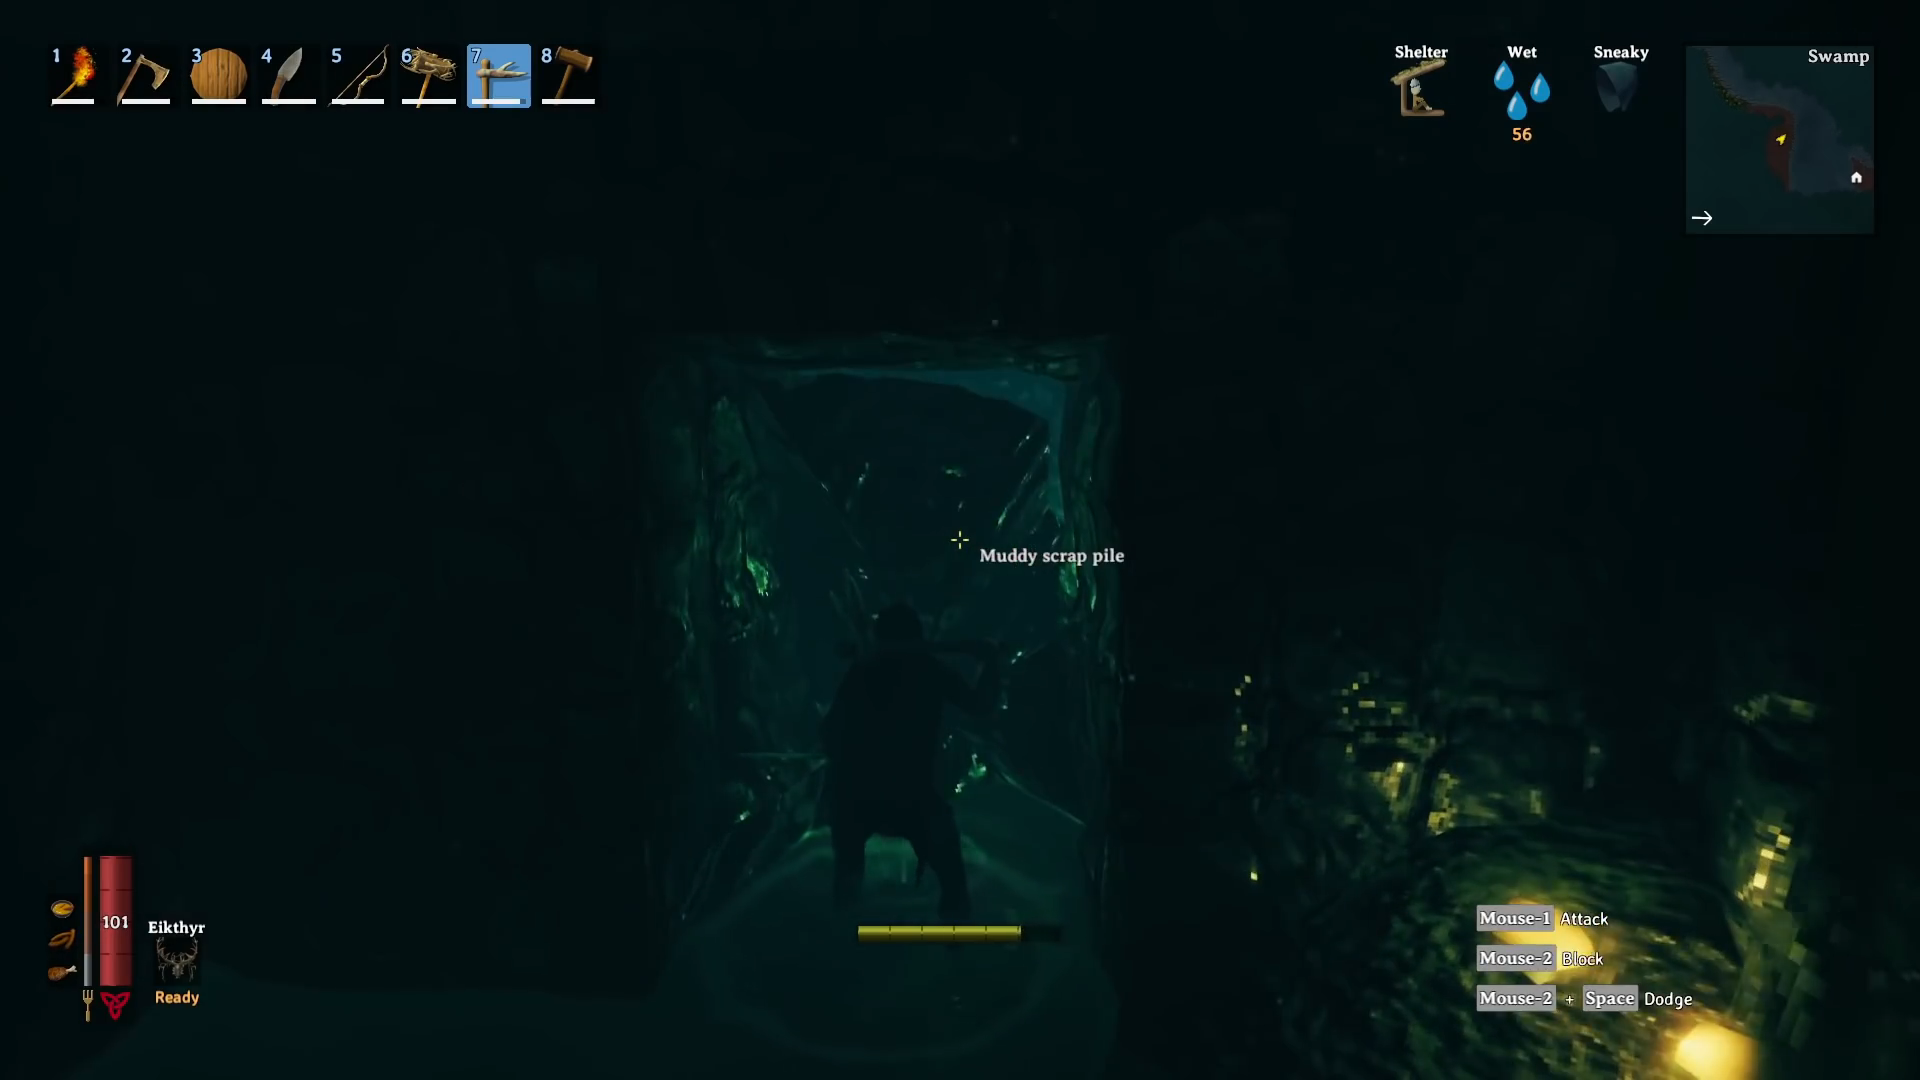
- Once inside, navigate through the dark and musty areas filled with Muddy Scrap Piles, giant dirt mounds blocking pathways.
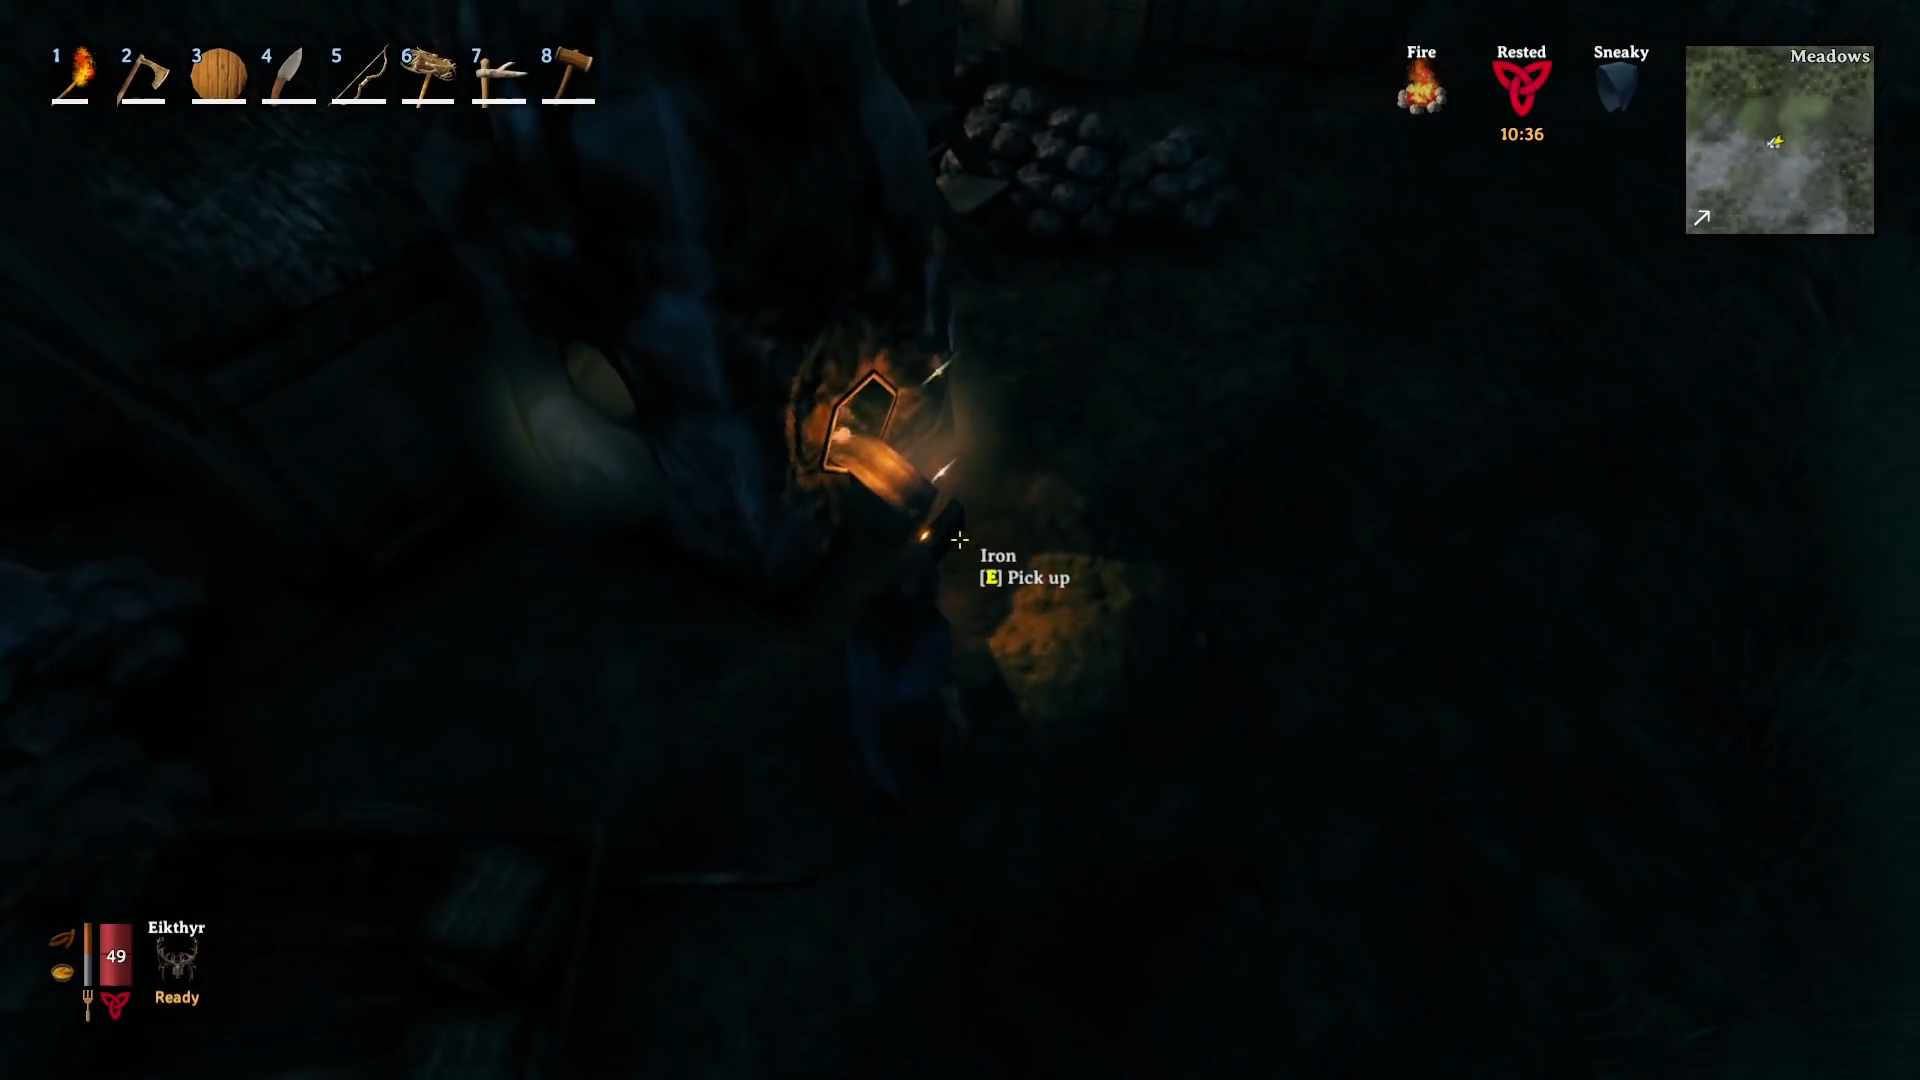
- Use a pickaxe to mine the Muddy Scrap Piles, which will drop ‘Scrap Iron’ when cleared.
- Keep in mind that the amount of Scrap Iron you gather in each run is random due to procedural generation.
- Be prepared to face enemies in the crypts, and progress may be limited if you encounter particularly challenging foes.
Explore, mine, and clear Muddy Scrap Piles to collect the valuable Scrap Iron you need for crafting in Valheim
Smelting Iron
In order to be able to use Scarp Iron in crafting, players will first have to convert it into usable ingots or bars. To do this, they need to craft two pieces of equipment, the Charcoal Kiln, and the Smelter.
With 20 Stone and 5 Surtling Cores, a modest Charcoal kiln can be constructed at your base. Feeding wood into this gives players back an equal amount of Coal, which can then be used to fuel crafting stations like the Smelter.
Next, a Smelter requires the same 20 Stone and 5 Surtling Cores to build. Putting Scrap Iron into this and some Coal will cause pure Iron to pop out. This can now be used to craft everything you require.
Craftable Items Using Iron
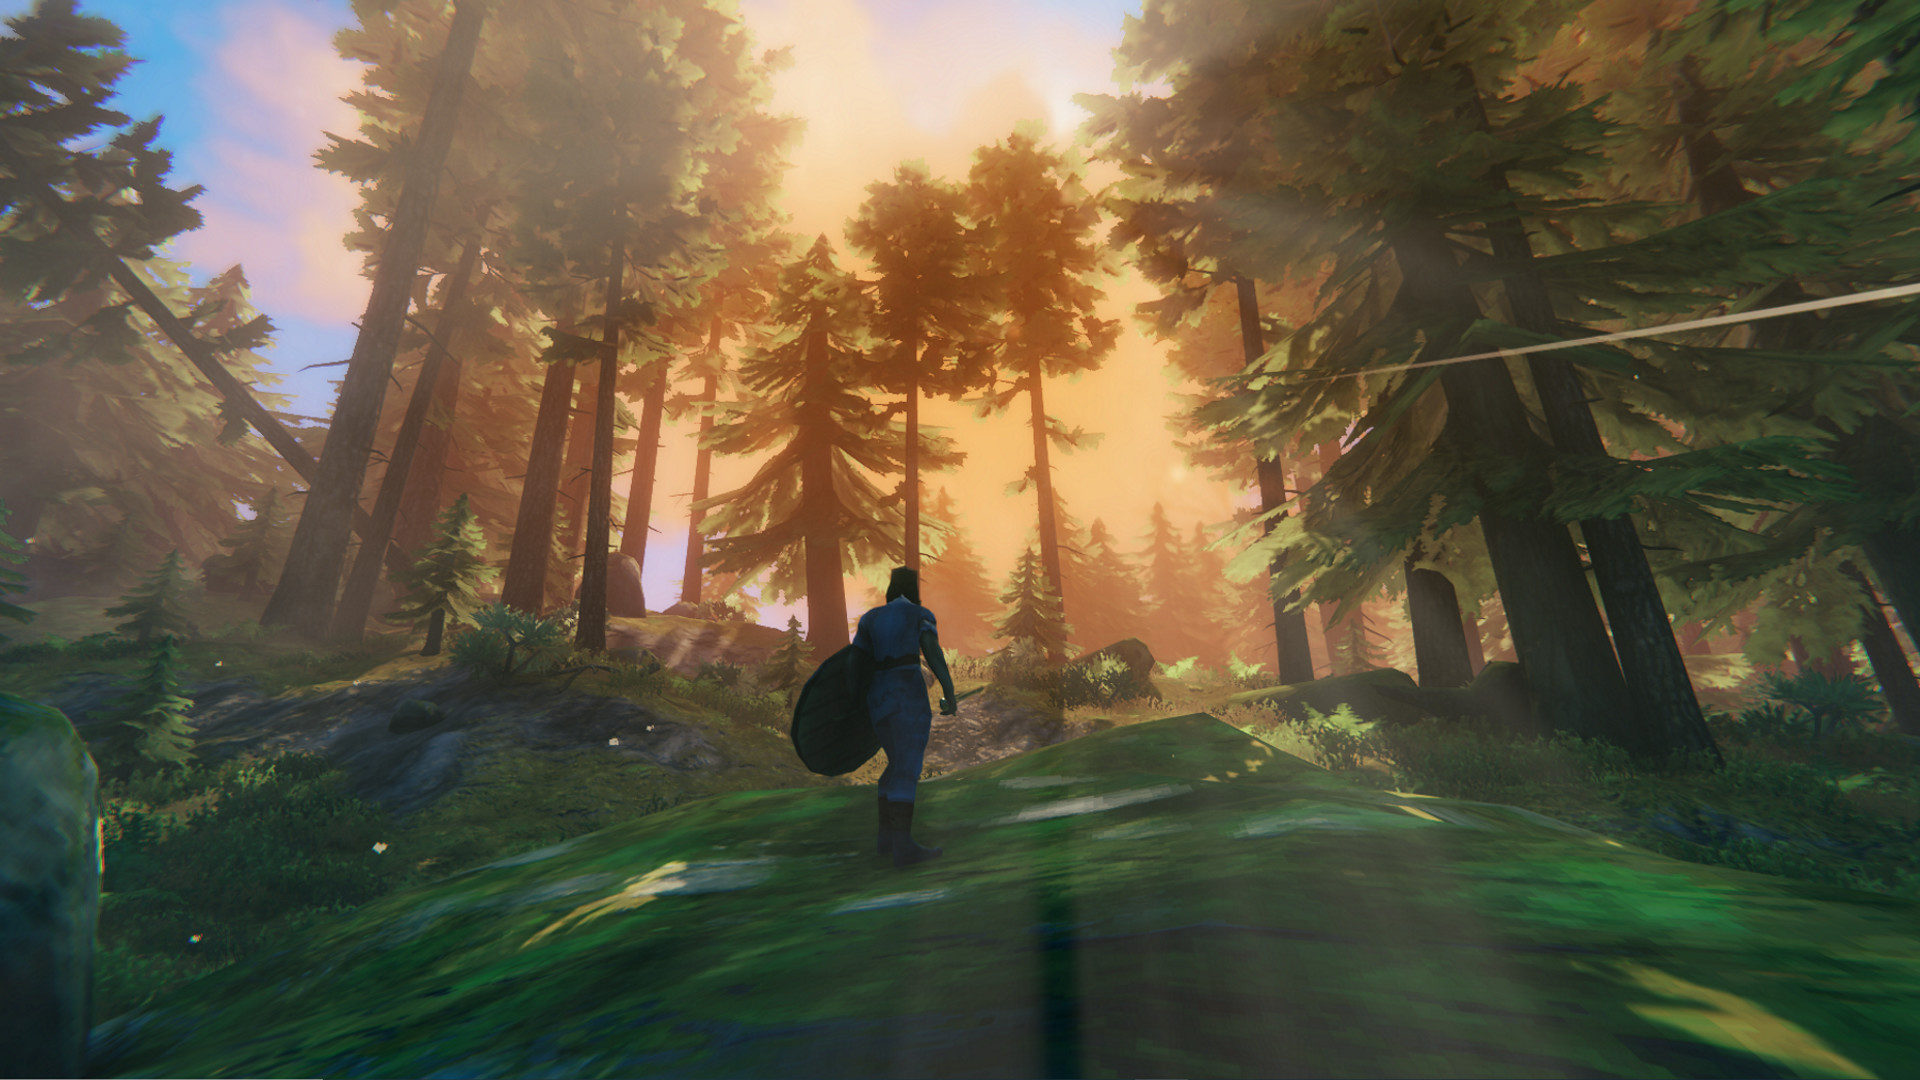
In Valheim, iron is a paramount resource for crafting superior weaponry and armor. Venturing into the game’s more challenging biomes becomes daunting without the strength and protection of iron-made gear.
Furthermore, iron finds its utility in various other creations within the game, making it an essential component. The Valheim world offers an extensive array of crafting possibilities using iron, comprising more than 145 items, encompassing not only armor and weapons but also an assortment of structures and tools.
This versatile material truly shapes the player’s journey and survival in the game, adding depth and excitement to the Valheim experience. The following is a list of items that can be crafted using iron:
| Item Name | Crafting Materials |
| Ancient Bark Spear | Troll Hide x4, Iron x10, Ancient Bark x10 |
| Banded Shield | Fine Wood x10, Iron x8 |
| Battleaxe | Ancient Bark x30, Iron x35, Leather Scraps x4 |
| Huntsman Bow | Fine Wood x10, Iron x20, Feathers x10, Deer Hide x2 |
| Iron Atgeir | Wood x10, Iron x30, Leather Scraps x2 |
| Iron Axe | Wood x4, Iron x20, Leather Scraps x2 |
| Iron Buckler | Iron x10, Ancient Bark x4 |
| Iron Greaves | 20 Iron, 2 Deer Hide |
| Iron Helmet | 20 Iron, 2 Deer Hide |
| Iron Mace | Wood x4, Iron x20, Leather Scraps x3 |
| Iron Nails | Crafts 10, Iron x1 |
| Iron Pickaxe | Core Wood x3, Iron x20 |
| Iron Scale Mail | 20 Iron, 2 Deer Hide |
| Iron Sledge | Ancient Bark x10, Iron x30, Ymir Flesh x4, Draugr Elite Trophy x1 |
| Iron Sword | Wood x2, Iron x20, Leather Scraps x3 |
| Iron Tower Shield | Fine Wood x15, Iron x10 |
| Ironhead Arrow | Crafts 20, Wood x8, Iron x1, Feathers x2 |
| Serpent Scale Shield | Fine Wood x10, Iron x4, Serpent Scale x8 |
| Silver Knife | Wood x2, Silver x10, Leather Scraps x3, Iron x2 |
| Silver Sword | Wood x2, Silver x40, Leather Scraps x3, Iron x5 |
| Padded Cuirass | 10 Iron, 20 Linen Thread |
| Padded Greaves | 10 Iron, 20 Linen Thread |
| Padded Helmet | 10 Iron, 15 Linen Thread |
| Porcupine | Fine Wood x5, Iron x20, Needle x5, Linen Thread x10 |
| Arbalest | Wood x10, Iron x8, Root x4 |
| Carapace Breastplate | 20 Carapace, 3 Scale Hide, 5 Iron, 4 Refined Eitr |
| Carapace Greaves | 20 Carapace, 3 Scale Hide, 5 Iron, 4 Refined Eitr |
| Demolisher | Yggdrasil Wood x10, Iron x20, Refined Eitr x10 |
| Eitr-Weave Hood | 16 Linen Thread, 15 Refined Eitr, 2 Iron |
| Iron Bolt | Crafts 20, Wood x8, Feathers x2, Iron x1 |
| Jotun Bane | 5x Yggdrasil Wood, 15x Iron, 3x Bilebag, 10x Refined Eitr |
| Krom | 30x Iron, 20x Bronze, 5x Scale Hide |
| Mechanical Spring | Refined Eitr x1, Iron x3 |
| Mistwalker | 3x Fine Wood, 15x Iron, 10x Refined Eitr, 3x Wisp |
| Skoll and Hati | Fine Wood x4, Iron x10, Black Metal x10 |
| Cage Floor 1×1 | Iron x1 |
| Cage Floor 2×2 | Iron x2 |
| Cage Wall 1×1 | Iron x1 |
| Cage Wall 2×2 | Iron x2 |
| Forge Toolrack | Iron x15, Wood x10 |
| Iron Cooking Station | Chain x3, Iron x3 |
| Iron Gate | Iron x4 |
| Obliterator | Iron x8, Copper x4, Thunder Stone x1 |
| Personal Chest | Fine Wood x10, Iron x8 |
| Reinforced Chest | Fine Wood x10, Iron x2 |
| Smith’s Anvil | Iron x20, Wood x5 |
| Standing Green-Burning Iron Torch | Iron x2, Guck x2 |
| Standing Blue-Burning Iron Torch | Iron x2, Greydwarf Eye x2 |
| Standing Iron Torch | Iron x2, Resin x2 |
| Stonecutter | Wood x10, Iron x2, Stone x4 |
| Wood Iron Beam | Wood x2, Iron x1 |
| Wood Iron Beam 26° | Wood x2, Iron x1 |
| Wood Iron Beam 45° | Wood x2, Iron x1 |
| Wood Iron Pole | Wood x2, Iron x1 |
| Tool Shelf | Iron x4, Fine Wood x10, Obsidian x4 |
| Blast Furnace | Stone x20, Surtling Core x5, Iron x10, Fine Wood x20 |
| Darkwood Gate | Wood x16, Iron x4, Tar x2 |
| Hot Tub | 20 Wood, 6 Tar, 10 Iron, 8 Stone |
| Pots and Pans | Iron x5, Copper x5, Black Metal x5, Fine Wood x10 |
| Stone Oven | Iron x15, Stone x20, Surtling Core x4 |
| Black Forge Cooler | Iron x5, Copper x5, Black Marble x4 |
| Dvergr Sharp Stakes | Yggdrasil Wood x5, Iron x2 |
| Dvergr Stakewall | Yggdrasil Wood x8, Iron x8 |
Thanks! Do share your feedback with us. ⚡
How can we make this post better? Your help would be appreciated. ✍