If you would like to take Cyberpunk 2077’s Graphics to the next level, begin utilizing Reshade. The difference is day and night, Nvidia/AMD Reshade mostly shows results around image quality, while the object models remain the same. In Reshade, however, you will see sensational improvement across both picture and model quality.
- The best way to attain and get Reshade is to get a mod for it; there are quite many ways to do this.
- One infamous but slightly unsafe way is to use Nexusmods, which offers the player management of any number of mods with respect to a number of games through their software “vortex.”
- Any mod downloaded will be added here, and the process to follow is quite simple; one would only have to download the mod they need from Nexusmods and then add it to Vortex.
- The Reshade mod would make the graphics of Cyberpunk 2077 realistic enough for the players to witness the difference firsthand.
- The other way to attain this is a tad bit longer, and it is shown in the below article.
Typically, a great deal of players experience issues in applying and downloading Reshade. That is mainly because it is done through external software and requires a technical understanding to apply changes. Don’t worry, though, because, In this guide, I will take you through the program in a step-by-step process.
Note: Everything mentioned below is safe; I am applying the changes on Steam Game, and all the rumors regarding Reshade not being allowed are entirely inaccurate. Moreover, the difference in performance is also barely noticeable, so don’t worry about it.
Installing Reshade In Cyberpunk 2077
To give a brief summary regarding what I am about to do; there are huge loads of mods and Reshade-related materials that will improve CP2077 for you. Notwithstanding, introducing every one of them and finding the right combination is hard. Therefore, I have a perfect solution that consists of a hybrid between default Reshade and Ultimate Clarity (NexusMods). You will have to download these separately, allocate their folders, and initiate proper tweaks for improved graphics. This will hardly take five minutes; follow the steps below.
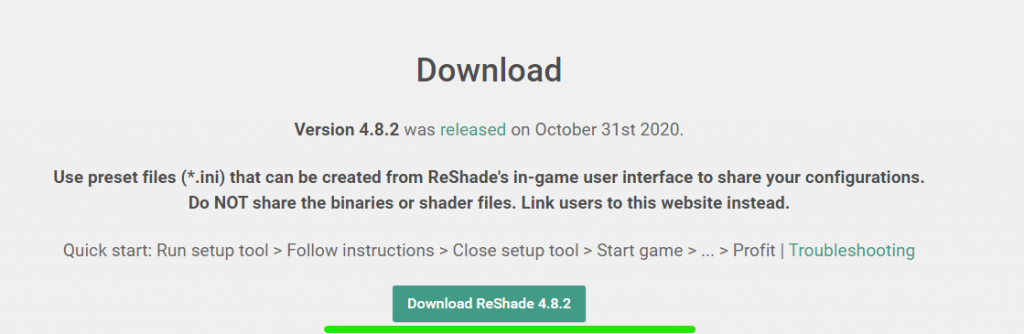
- Head over to Reshade Website, Scroll Down, and Download version 4.8.2

Download version 4.8.2. - Once installed, run the program > Select the game and manage option > Browse and add your Cyberpunk2077.exe. This is usually located in the bin > x64 folder.
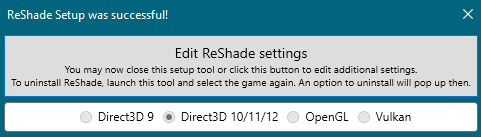
- Under Rendering API, Select Direct3D 10/11/12. Then you will be headed to a new interface, checkmark the following.
SweetFX by CeeJay.dk

qUINT by Marty McFly

AstrayFX by BlueSkyDefender

OtisFX by Otis Inf
Click on Ok after you have check-marked these.
- When done, three lists will appear and slide through them. In the end, you will get a message titled “Reshade Setup was successful.”

Reshade a successful installation message. - Proceed to Cyberpunk 2077’s Clarity Reshade and Download it from here.
- Unzip the file > Copy and Paste Ultimate_Clarity_Reshade_Preset Plus Reshade-Shaders folder in Cyberpunk > bin > x64 directory. Replace the files when asked.
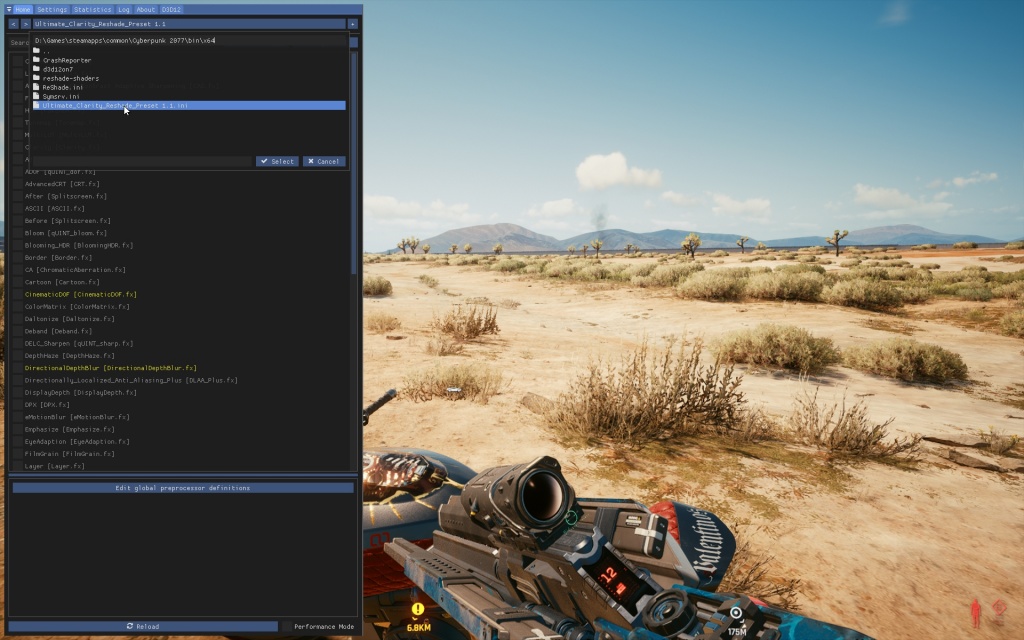
- Now Launch Cyberpunk 2077 > Continue the game and click on the Home Button, and a menu will appear.
- Now you just have to select Ultimate_Clarity_Reshade_Preset Plus Reshade-Shaders, and the Reshade will be activated.

Reshade Menu - In case it didn’t, you will have to checkmark the following.
Curves [Curves.fx]

Levels [Levels.fx]

AMD FidelityFX Contrast Adaptive Sharpening [Cas.fx]

FXAA [FXAA.fx]

HDR [FakeHDR.fx]

Tonemap [Tonemap.fx]

MultiLUT [MultiLUT.fx]

Clarity [Clarity.fx]
- After you have made all the changes suggested above, there will already be a noticeable difference in nearly all aspects of the game. Scroll down below for Reshade Comparisons in Cyberpunk 2077.
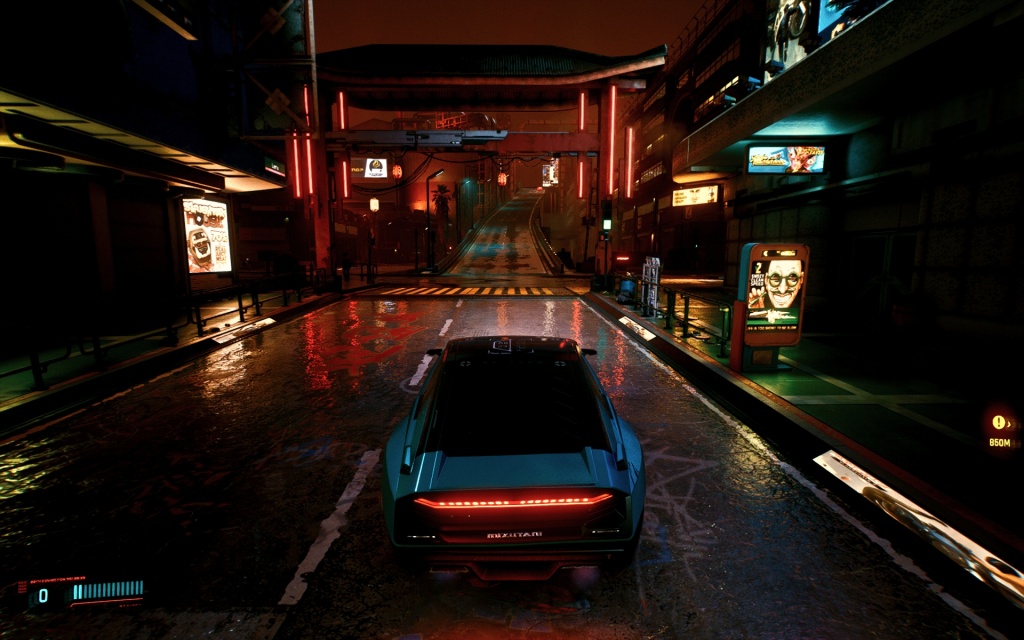
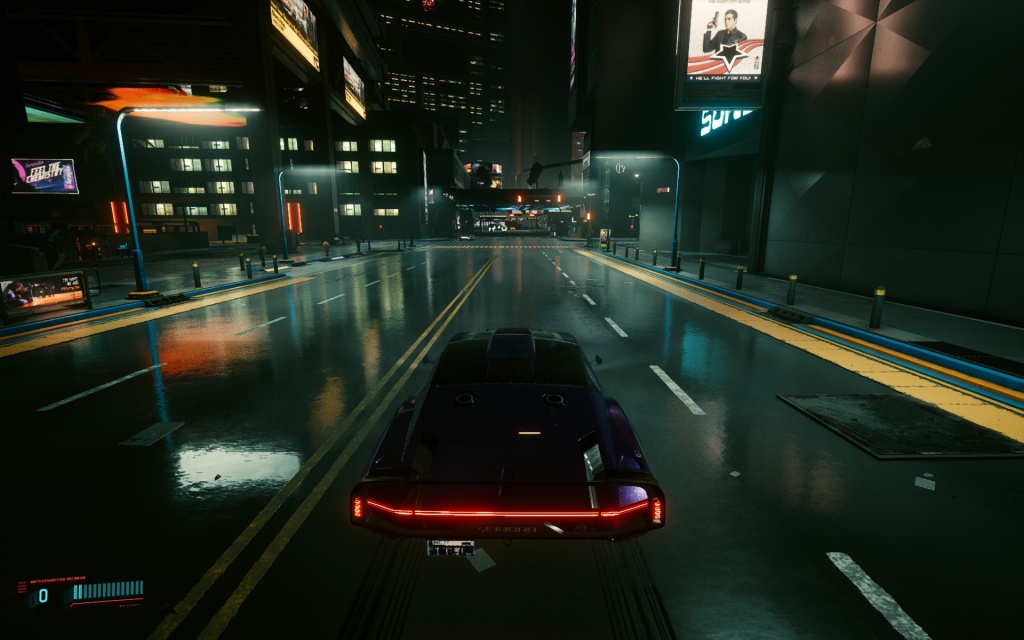
After applying Reshade – Night City – Captured at 1080p.
Reshade Comparisons
There are a ton of Reshade elements that you can add to Cyberpunk. However, I’ve noticed that, except for the eight I listed above, others seem to be inconsistent. For example, Adaptive Fog works during the day, but there is an extra white layer that does not blend in the environment during the night. Moreover, If you are also using Nvidia Ansel or AMD FreeStyle already, I’d highly advise you to disable them, or else you will see incorrect results.
My guide was related to Reshade, and now that you know how it’s done, I’m sure you will also be able to test around other elements as well. Here are some screenies that compare Reshade on vs. Reshade off in the game.
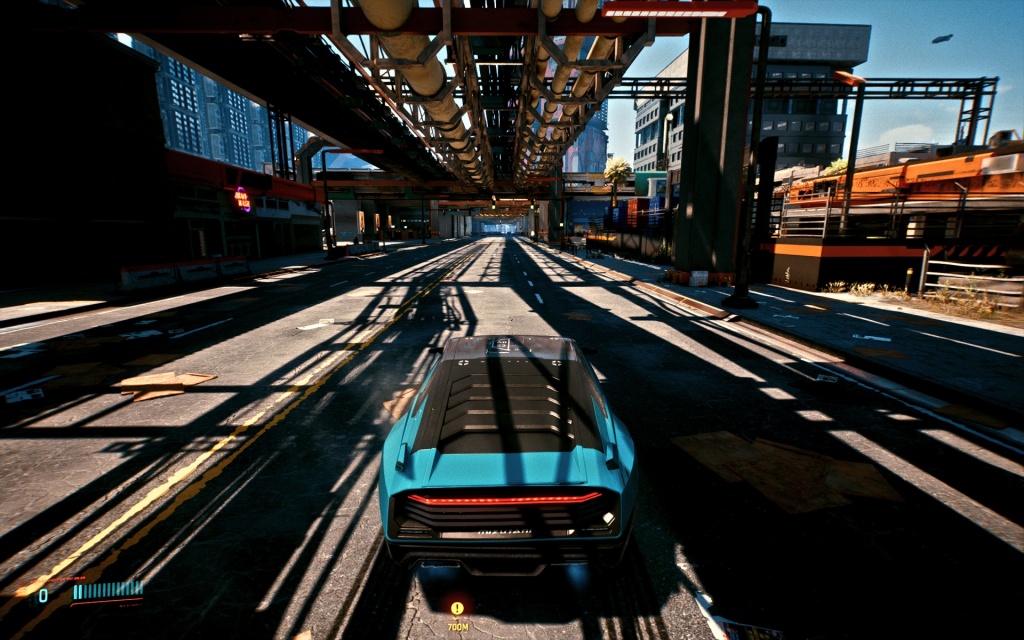
Reshade On
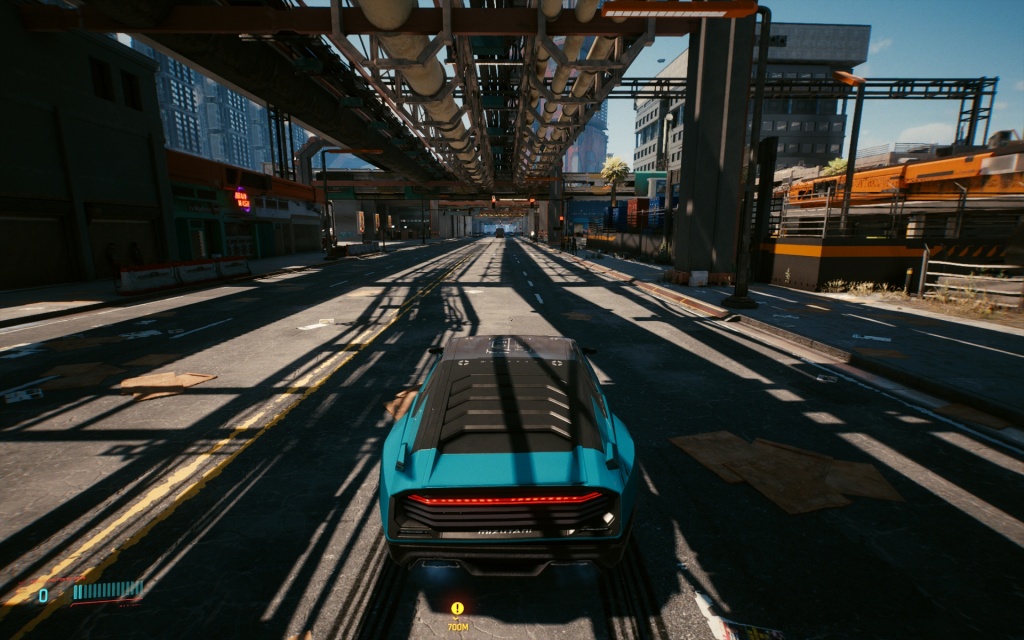
Reshade Off
Night City With Reshade
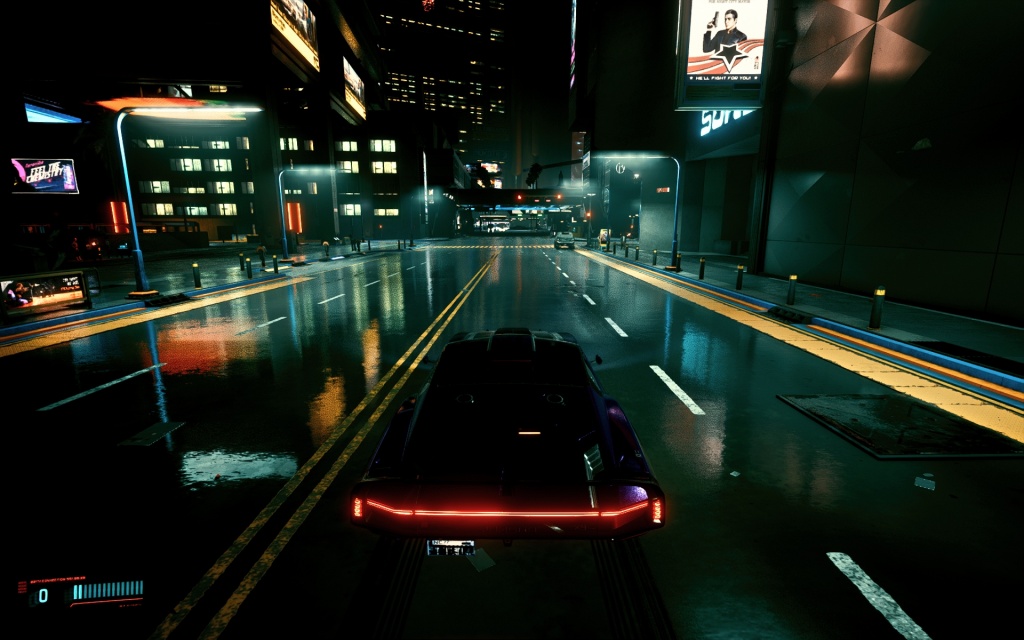
Reshade Off
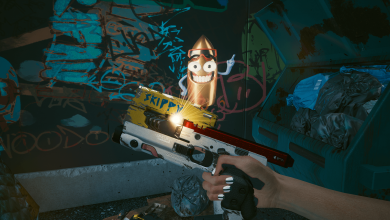
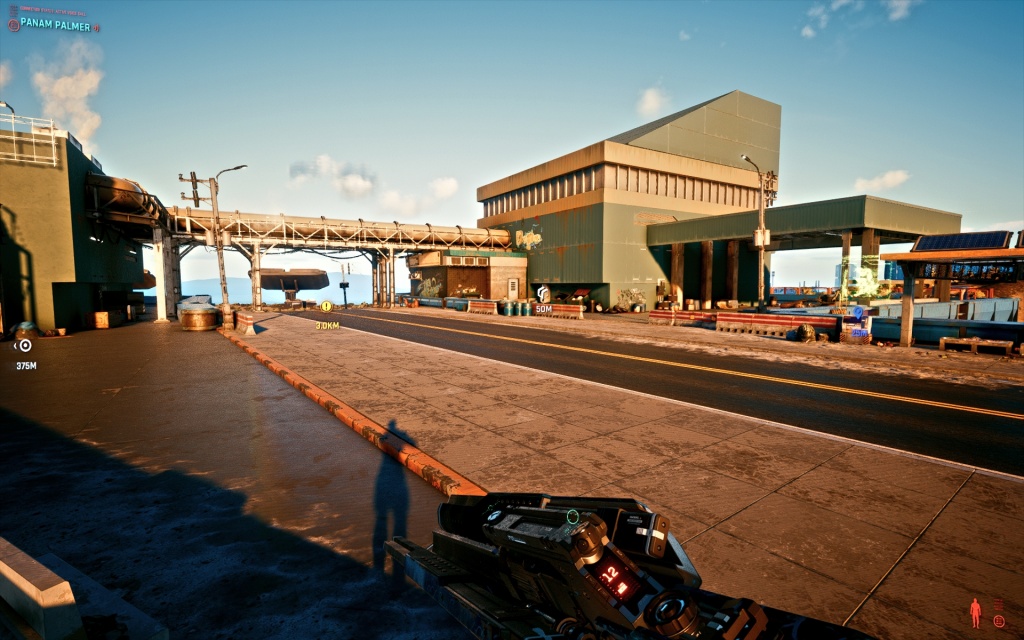
Out in the desert – Reshade On
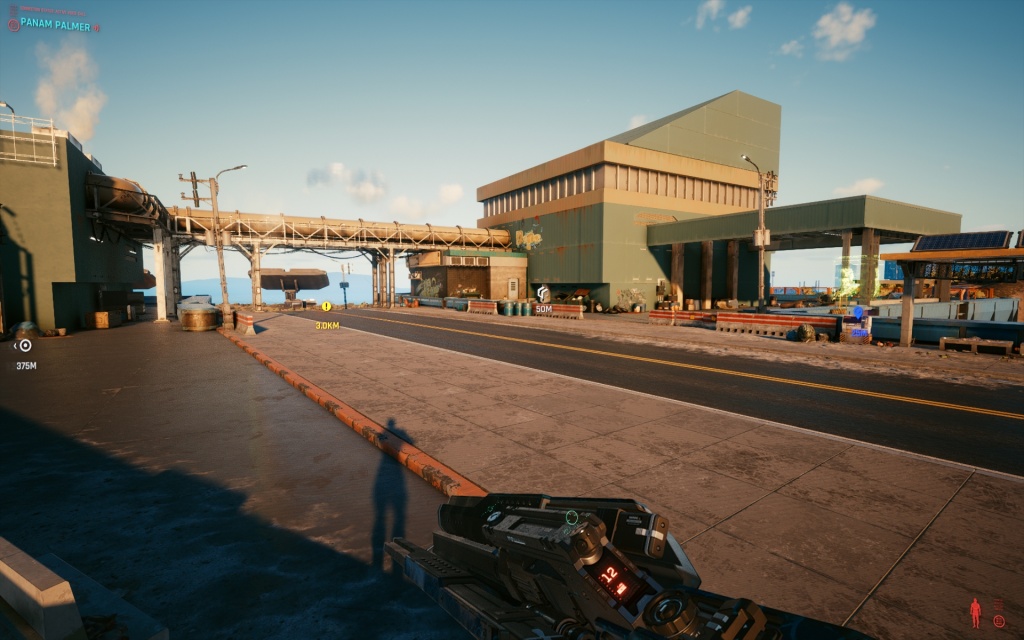
Same place, Reshade Turned Off
Exputer Verdict – Reshade In Cyberpunk 2077
So what do the images above conclude about the perception of Reshade in the game? The photos look sharper; they also blend more appropriately in the environment. Besides, colors also look more vibrant, and In default settings, some places look blurred and out of detail. Reshade brings them back to the spotlight. I likewise saw that a portion of the additional reflections was acceptable to such an extent that it made me think I was using Ray Tracing (which I wasn’t).
All in all, the difference is quite noticeable, and after using Reshade, I’m not sure If I’ll ever return to the default settings. In case you have just started playing Cyberpunk 2077 and are completely overwhelmed with the cluttered Graphics Settings. We have an in-depth Cyberpunk Settings guide that guarantees High FPS plus splendid visuals.
Thanks! Do share your feedback with us. ⚡
How can we make this post better? Your help would be appreciated. ✍
love you thanks for the info keep informing the people.