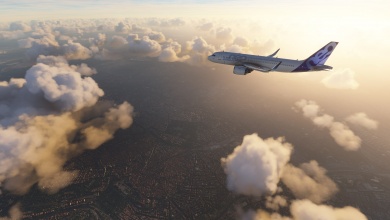
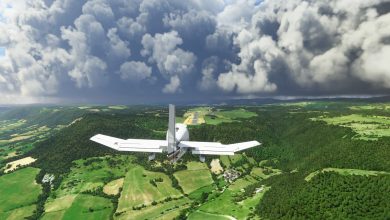
Microsoft Flight Simulator 2020 doesn’t seem that friendly to welcoming new players. It’s a flight simulator, and it follows in the footsteps of other similar games by being a bit too complicated. Authenticity was the goal here, and the developers have not pulled any punches here. So to avoid getting overwhelmed by the game within your very first hour, check out our recommendations in this Microsoft Flight Simulator Beginner’s Guide!
Find The Control Scheme That Best Suits You
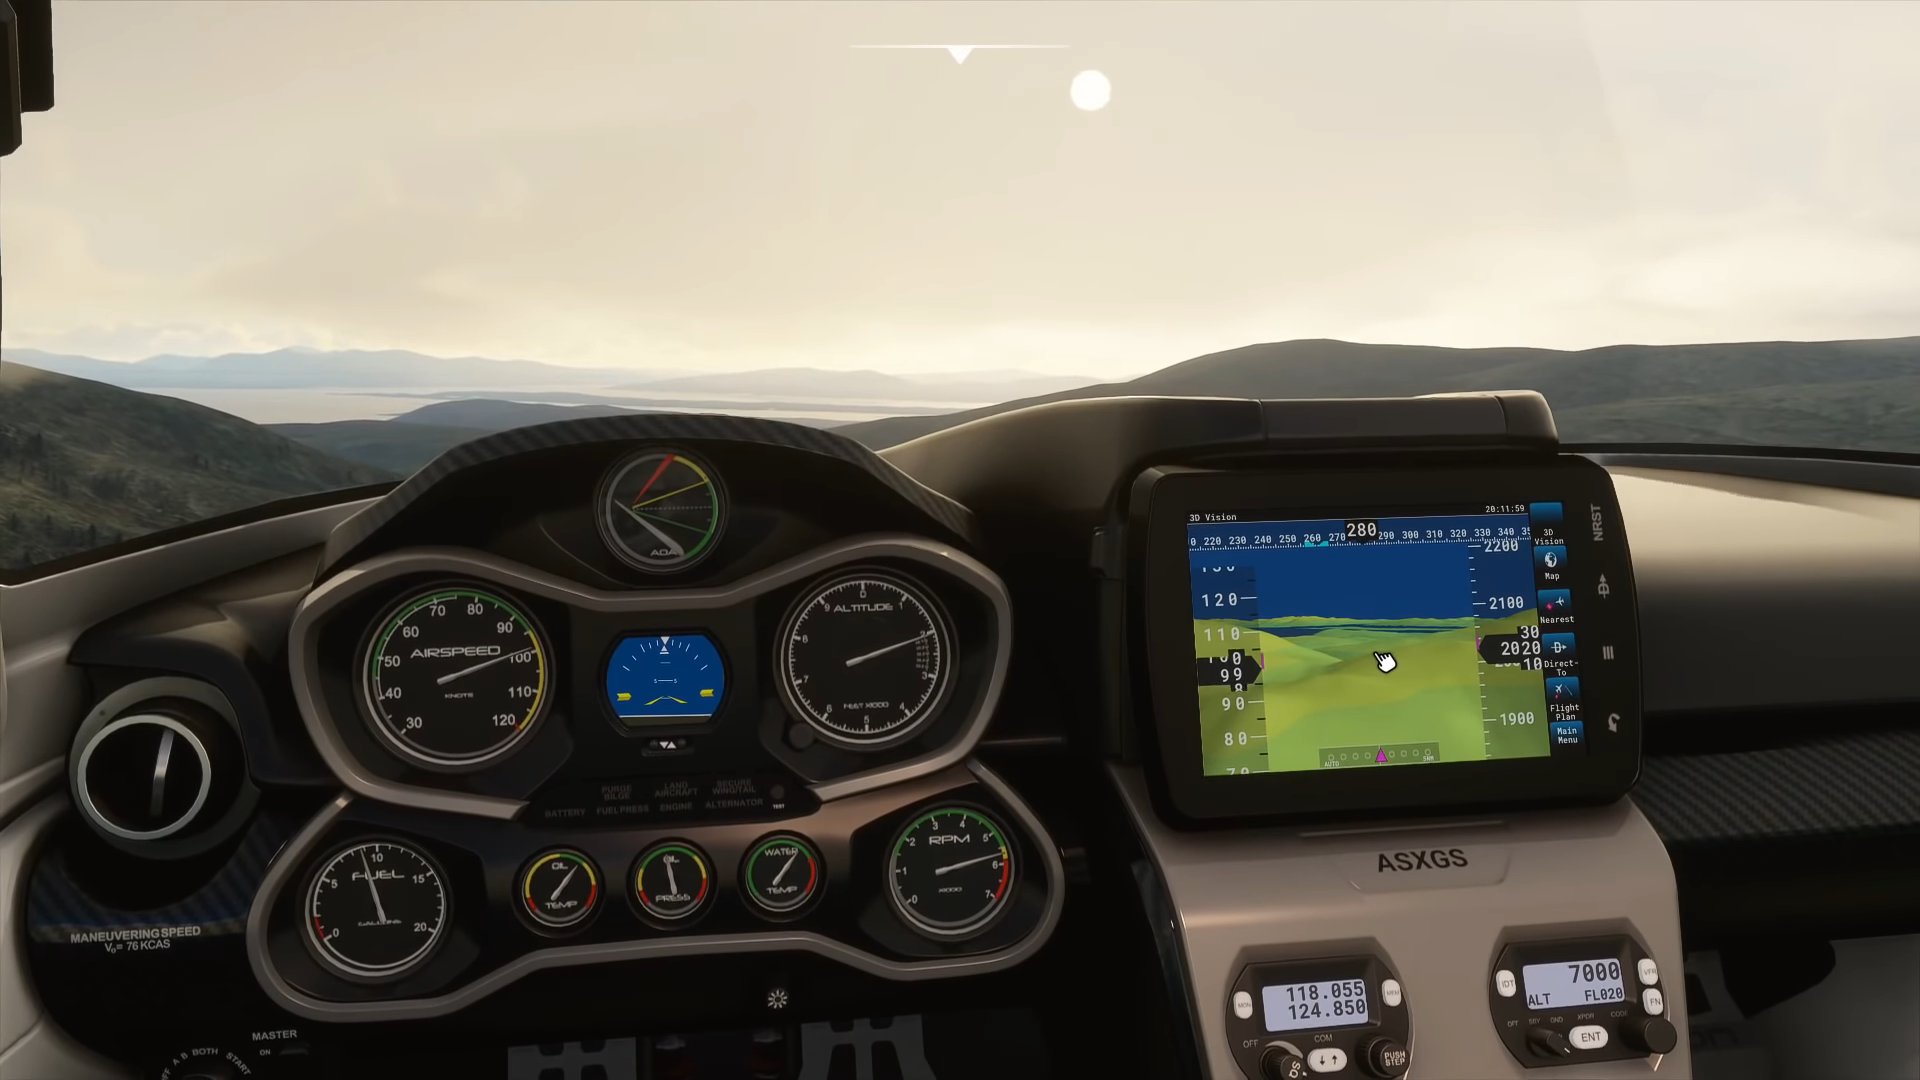
Or if you really want to get the best out of the Flight Simulator experience than you could also go for the HOTAS, an authentic flight stick. All in all, here are all the control peripherals you can go for!
Controllers
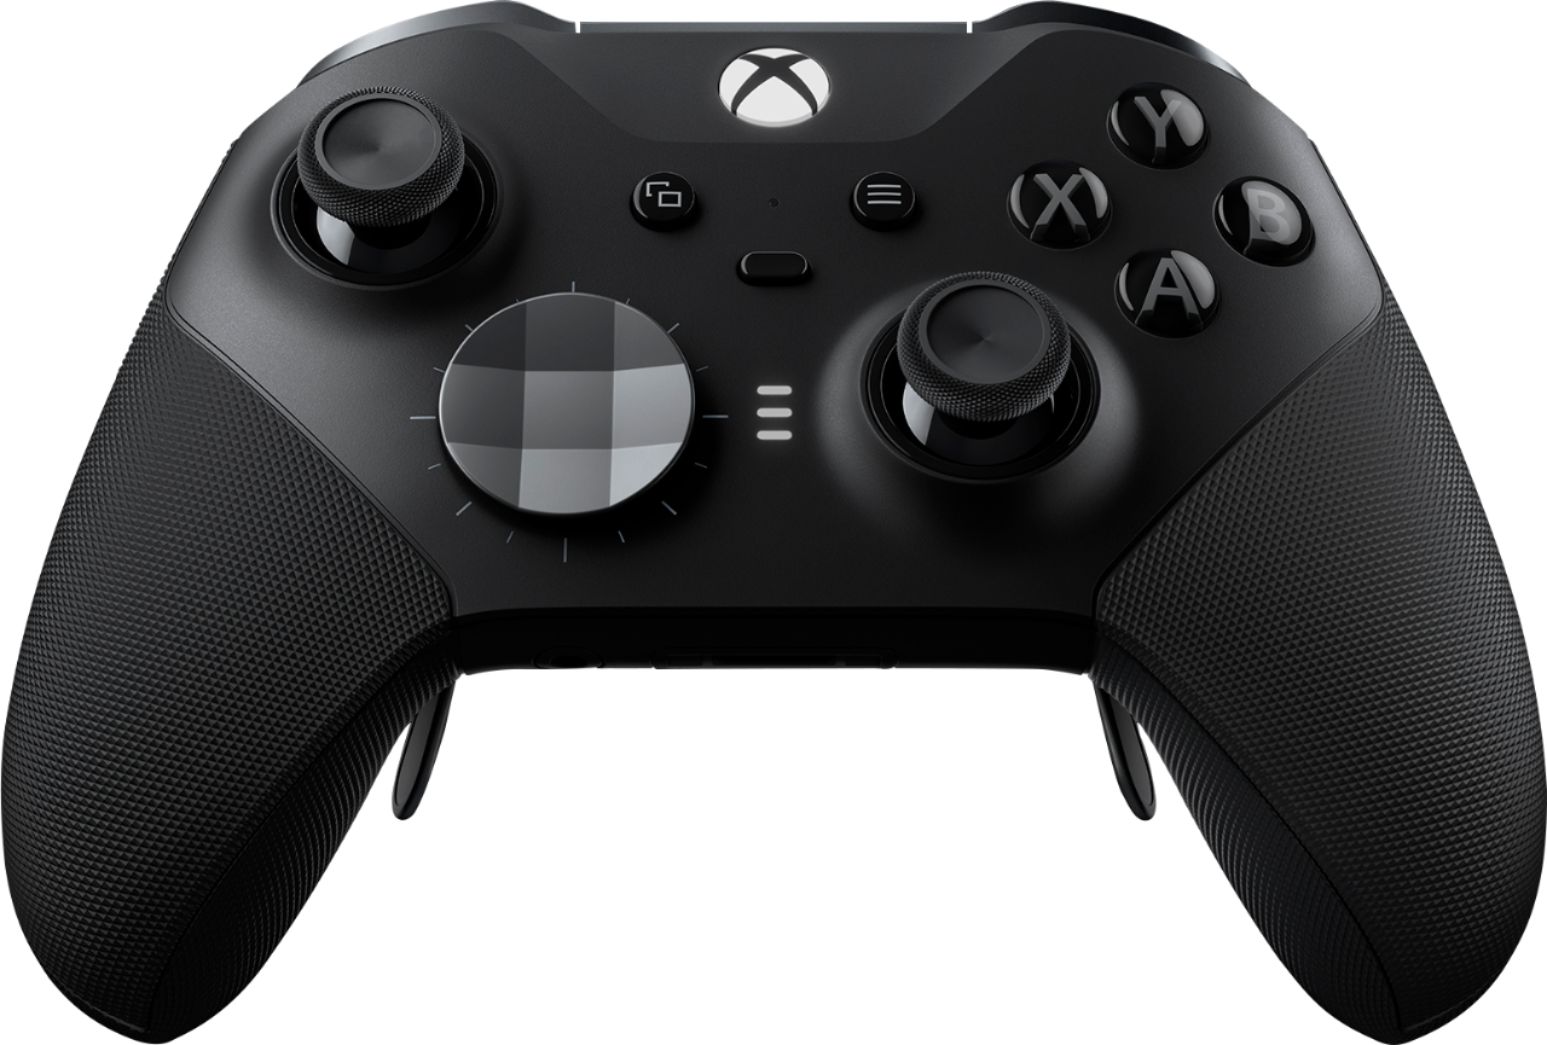
What you get here might not be the most complex or customizable control scheme, but it is very streamlined. It’s intuitive enough that it allows you to operate any plane in the game efficiently while still being too newbie-friendly.
So our tip in this Microsoft Flight Simulator Guide would be to go with an Xbox controller if this is your first rodeo.
Keyboard & Mouse
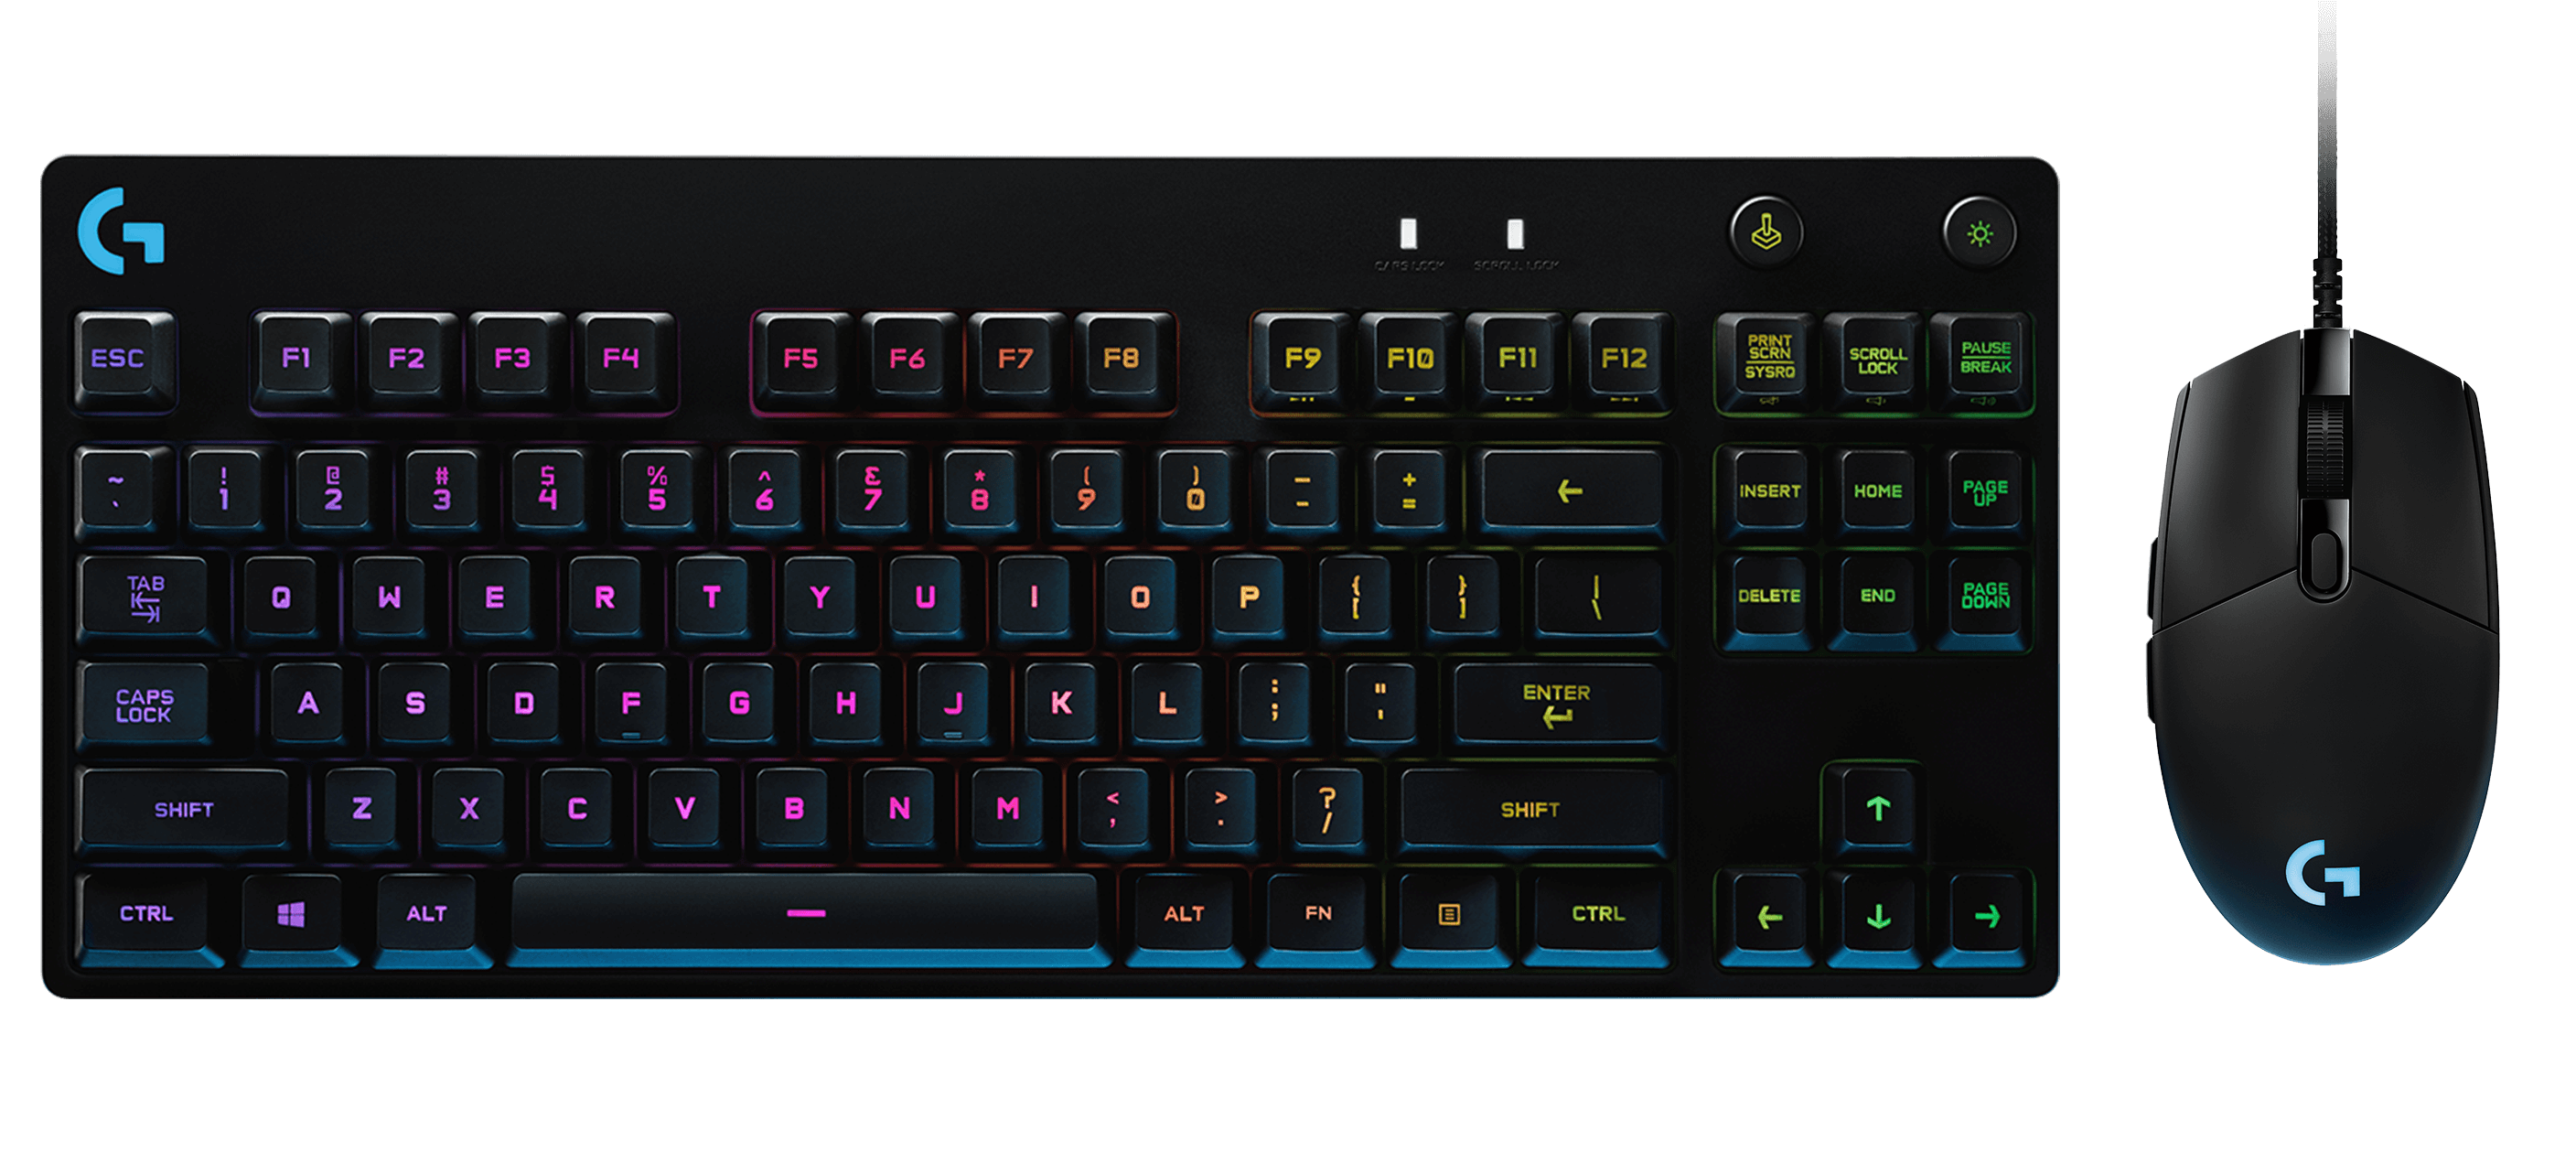
In true simulator fashion, dozens of different input commands are available in Microsoft Flight Simulator, and a Keyboard allows players to use all of them as necessary. This method of playing can also be very complicated, but on the other hand, it allows players to control every aspect of their game, as intended by the developers.
HOTAS (Flight Stick)
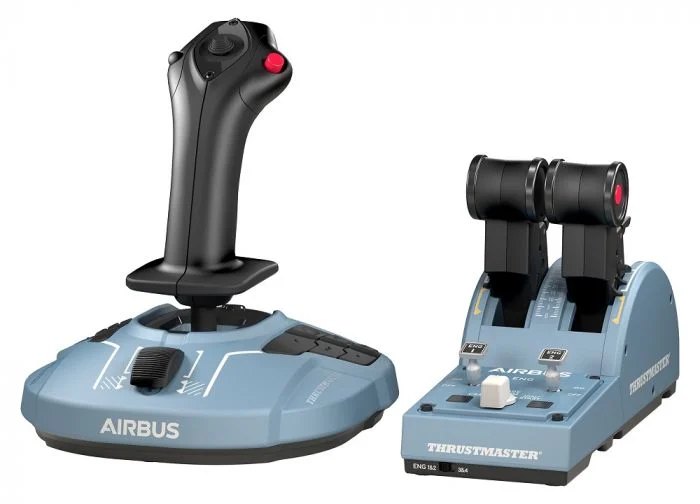
After all, what better way is there to enjoy a game about flying planes than using a device that functions very similarly to an actual center stick found in real airplanes? Playing with a flight stick is for those who genuinely want to get the most out of this game.
But this experience doesn’t come without its challenges:
- The first of which is that you need to purchase a dedicated piece of equipment.
- Secondly, most flight sticks are very programmable, and a lot of them have also been known to be notoriously tricky to set up.
- So when looking to invest in one, do as much research as possible before making the purchase.
Our recommendation for new players is to go for the Thrustmaster TCA Sidestick Airbus Edition. It’s a relatively inexpensive yet straightforward flight stick that’s great for people who want to experience playing with a HOTAS but don’t want to spend hundreds of dollars to do so.
Adjust Assistance Levels
There are options here to make flying a little less risky with the game’s AI. You can turn on the unlimited fuel option to continue flying forever or even turn off damage to ensure that your planes are invincible.
You can also tweak the UI to reduce a lot of the clutter that pops up on the screen while flying to assure that your first few flights are a bit less distracting. Once you’ve gotten used to flying, you can revert back to the default settings and increase the challenge to the intended difficulty.
Flight Training
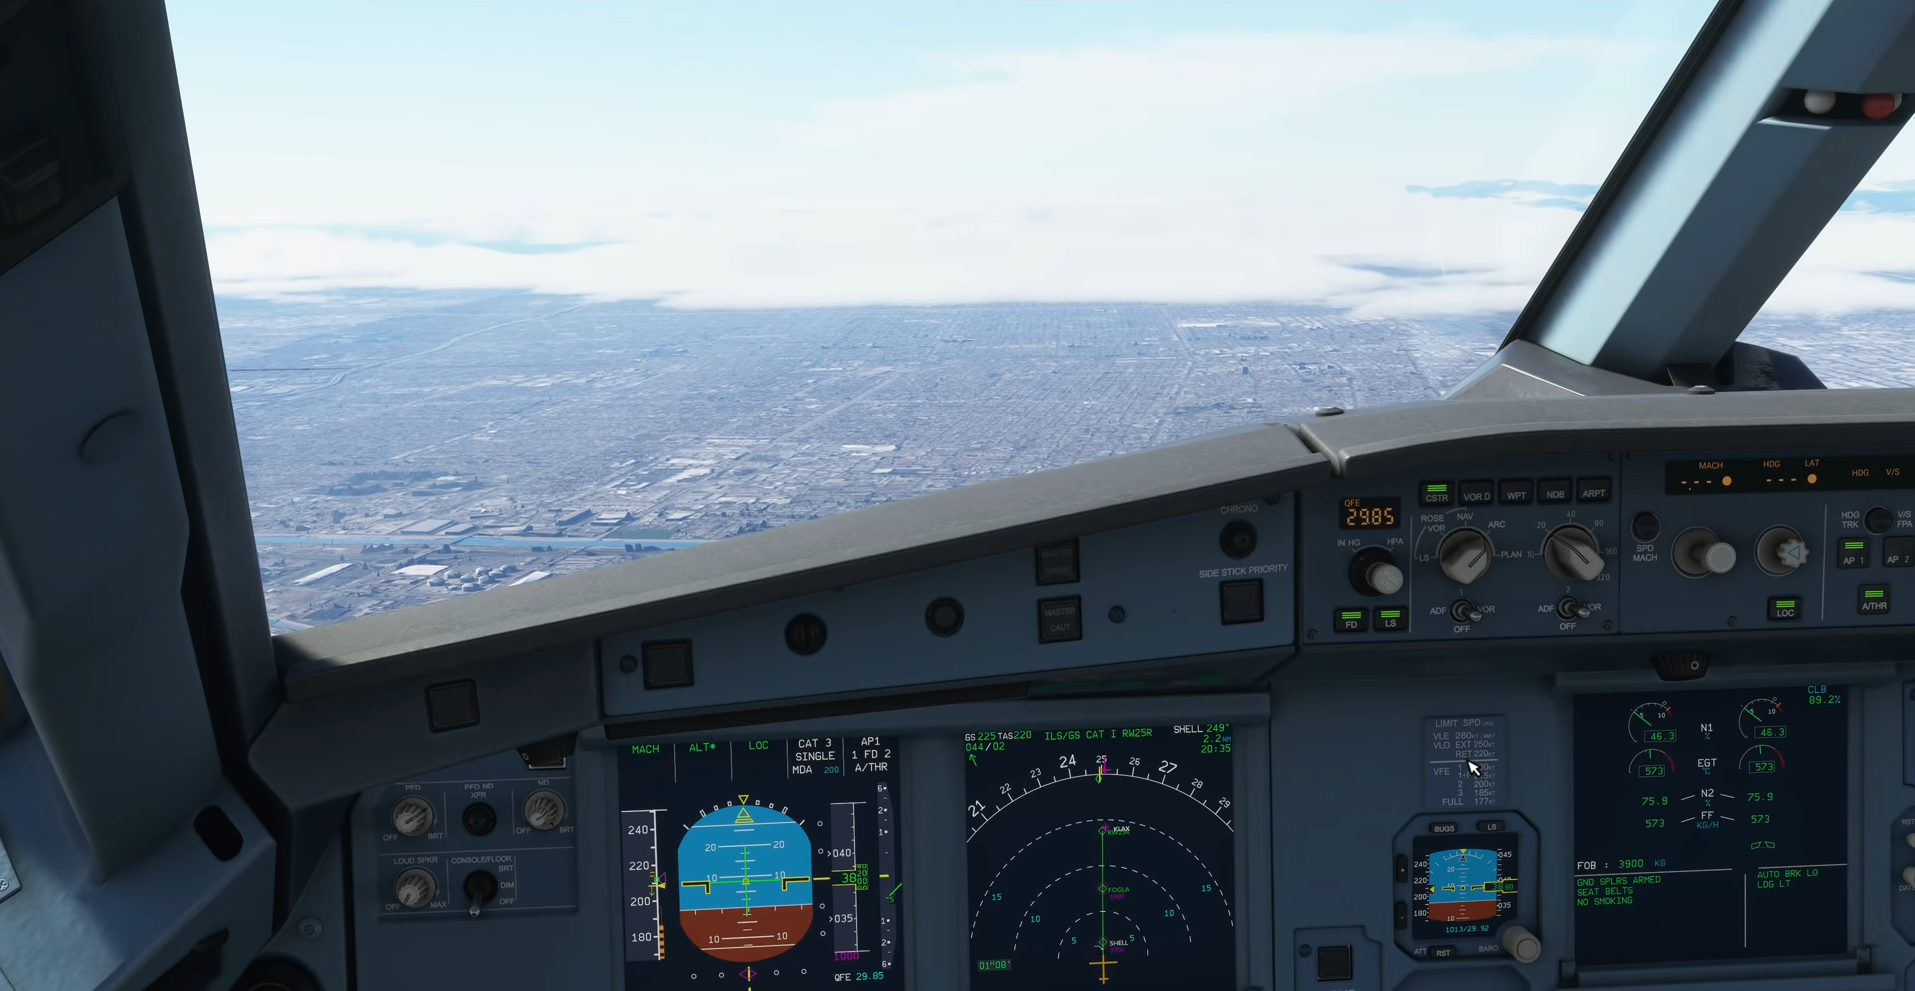
The game has a set of training missions that teach players all of the things they need to excel. These go into excruciating detail when teaching you the basics of taking off, landing, maneuvering, camera control, and navigation.
These missions are an essential teaching tool that every player should use before starting the game for real. The very last thing you want to do is jump into this game unprepared.
Be Realistic When Choosing Your First Planes
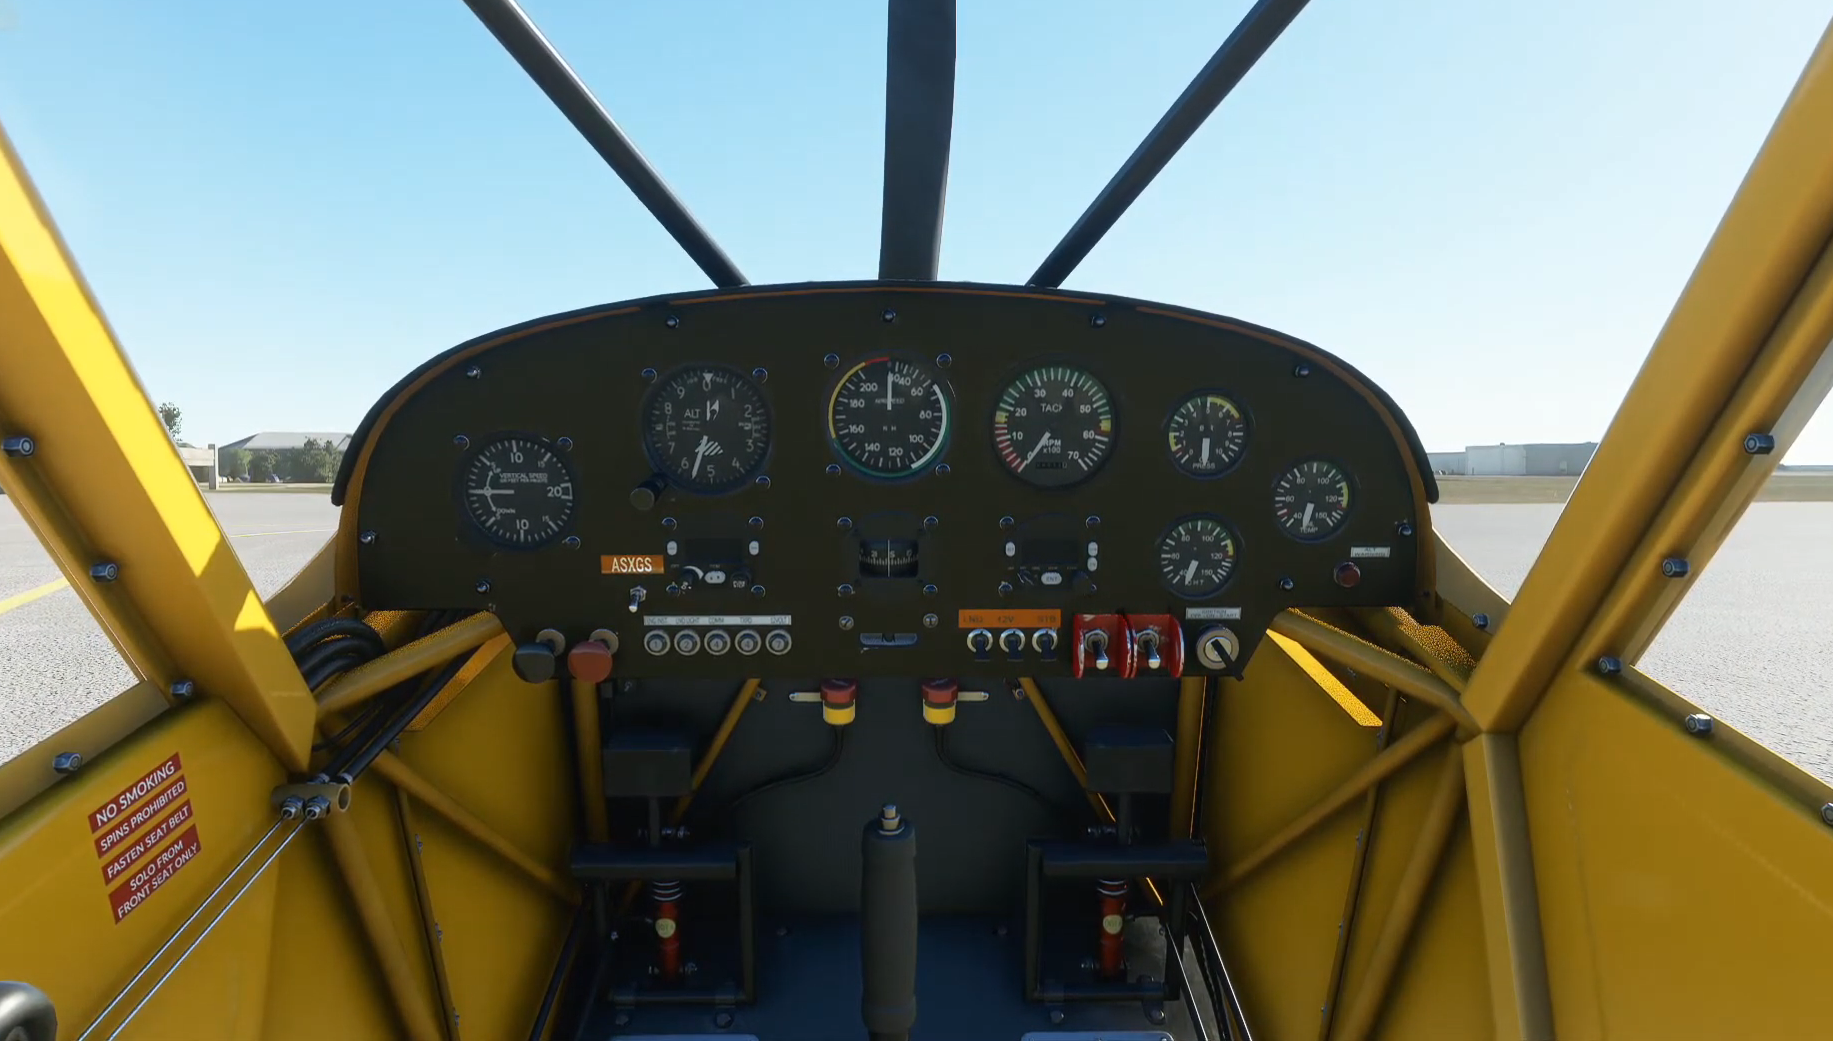
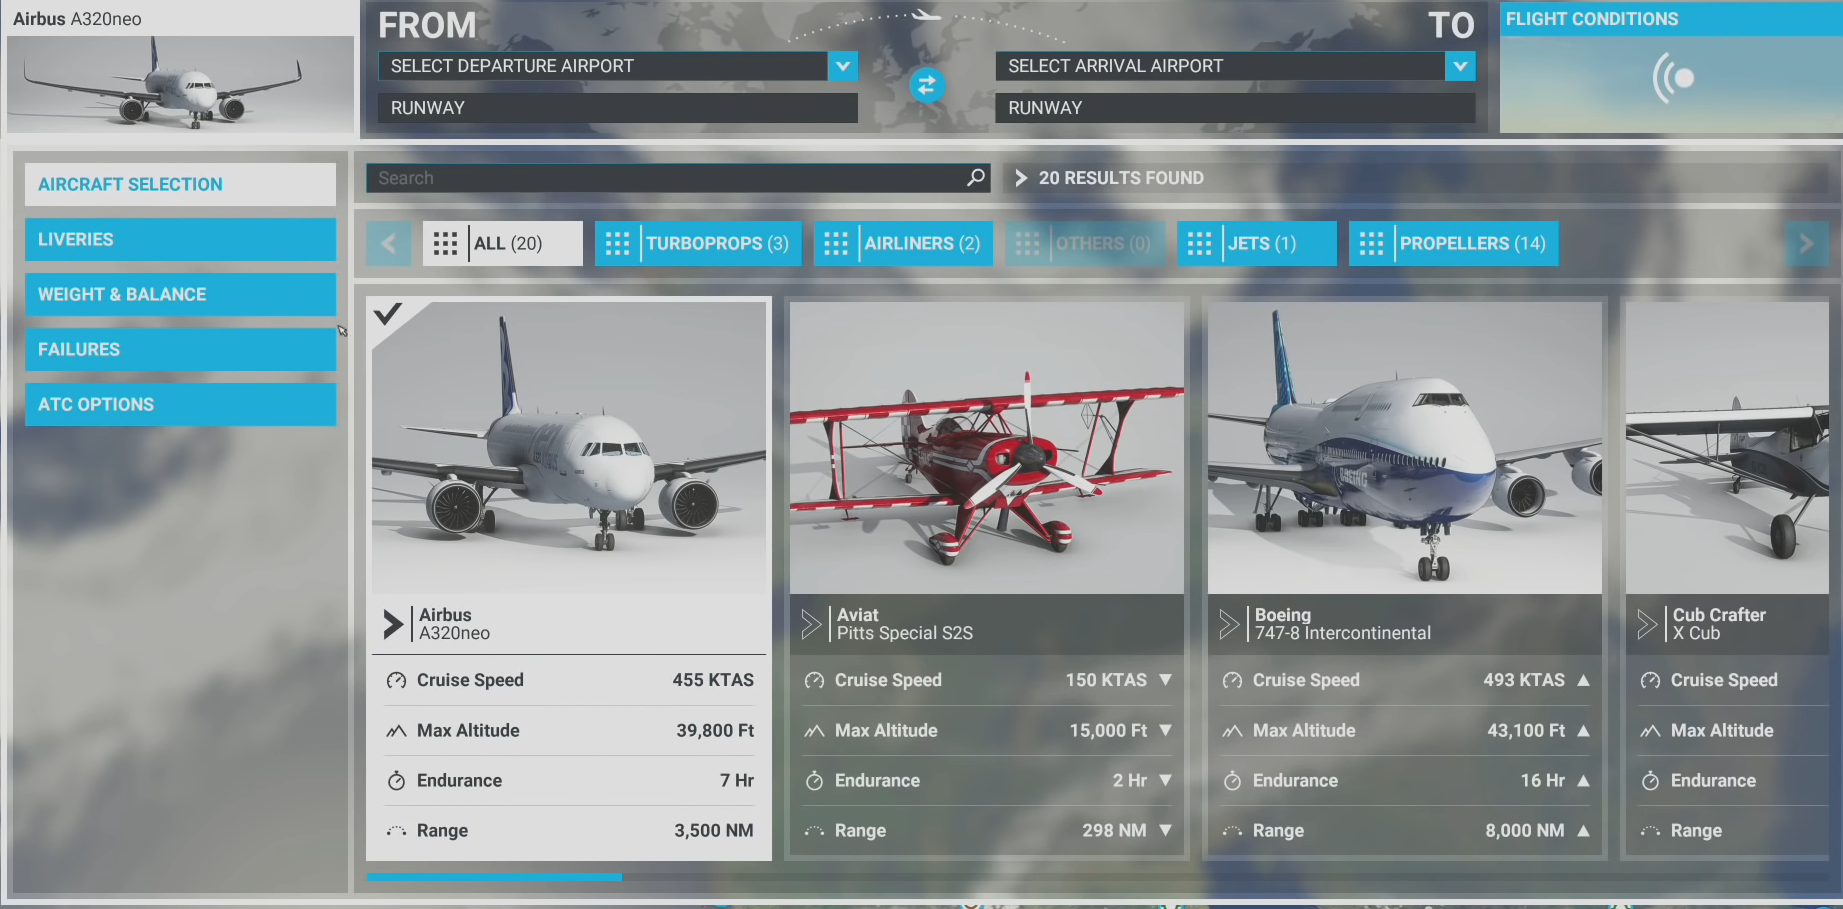
The larger a plane is, the more difficult it is to operate. Start small at first, and then make your way up to the larger planes as you get used to playing the game.
Make Use Of The In-Flight Menu
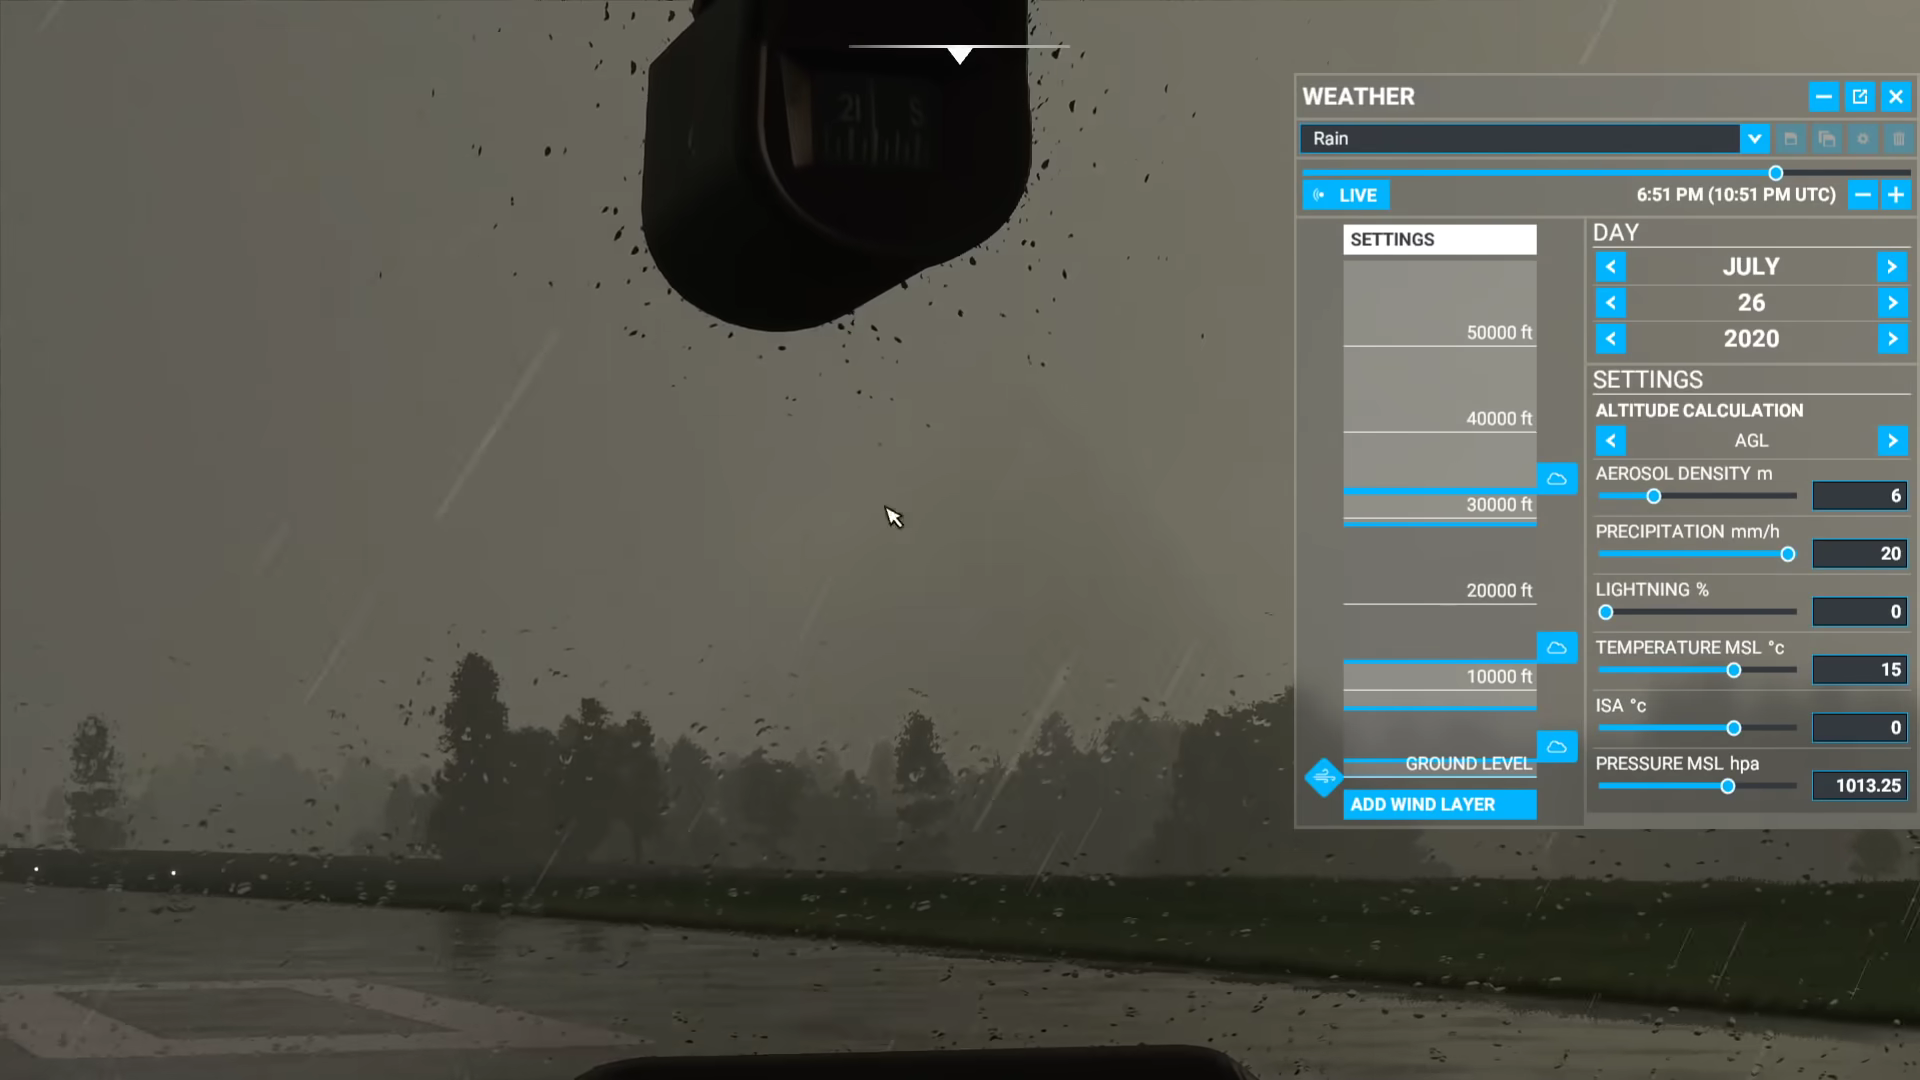
- Weather: This menu allows you to change the weather and time of day whenever you want while flying. You can switch between different types of storms and adjust the temperature and precipitation as well.
- Objectives: Brings up the list of objectives you have to complete on your flight, as dictated by the task author. There’s no campaign in the game yet, so the only time default objectives show up is during the flight training missions.
- VFR Map: The VFR map is a small in-game screen that opens up and shows you your plane’s position in the world.
- Fuel: As the name suggests, the Fuel menu allows players to see their fuel tank’s status. It also shows the cargo and passengers’ weight on an aircraft and the take-off weight limit that determines the maximum weight, after which a plane cannot take off anymore.
- AI Control: Gives players the option to delegate some tasks to the AI while flying, the most important of which is autopilot. If you ever find yourself off track, the AI will automatically readjust the course for you.
Download Regions To Save Bandwidth
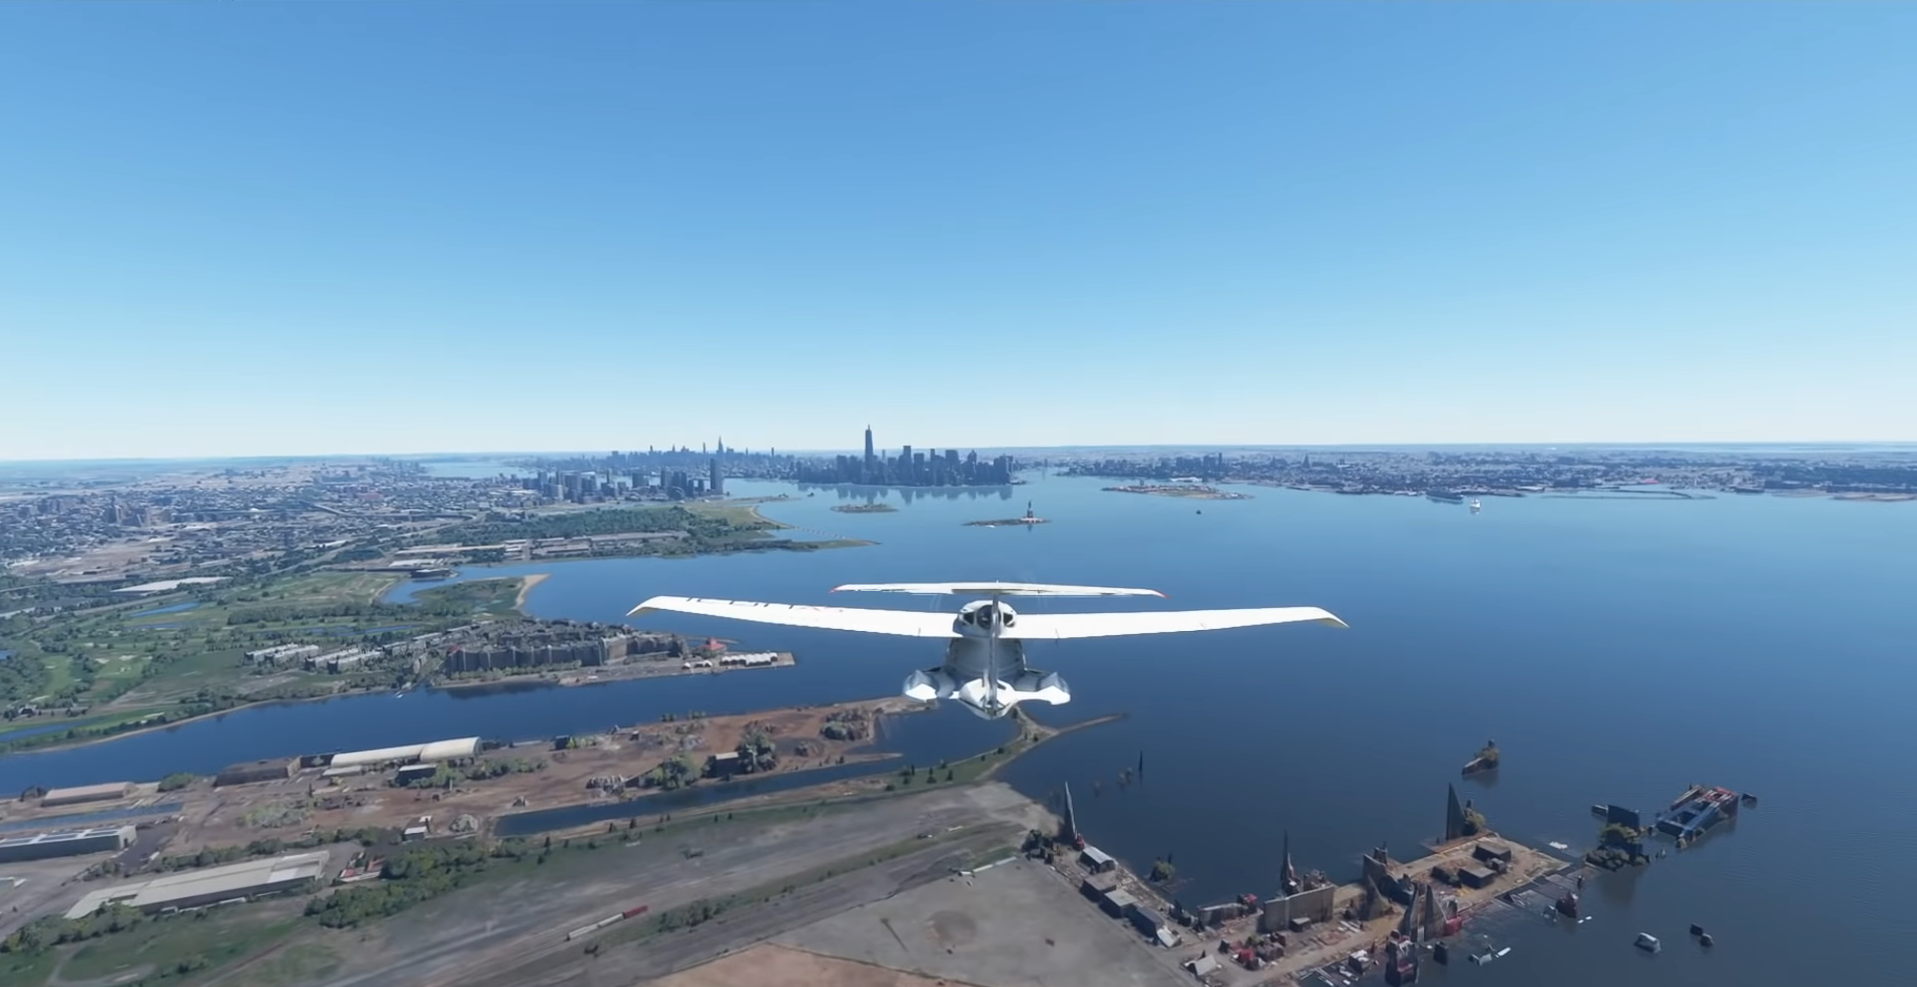
You can circumvent this problem by going into the ‘General’ tab in the options menu and selecting ‘Manual Cache,’ and then downloading entire regions to play in later.
Downloading a lot of regions can take a massive bite out of your hard drive, though. Hence, the ‘Manual Cache’ also allows you to prioritize the graphics’ quality in particular regions over others. For example, you can download major cities in high quality, but then the surrounding outskirts don’t look good.
These are all of our beginner tips for players just starting with Microsoft Flight Simulator. The game is challenging, and the best way to get better is to follow the information outlined above and practice a lot.
Thanks! Do share your feedback with us. ⚡
How can we make this post better? Your help would be appreciated. ✍
