- Designing your dream Roblox game begins with making a Roblox account and installing Roblox Studio.
- Choosing the right template and adding unique terrain and scripting make your game stand out.
- Playtesting and publishing your first project is the beginning of your creative journey.
Ever since its release back in 2006, the block-y playground of Roblox has been a worldwide sensation. With ample freedom and possibilities galore, it’s the perfect testing ground for one’s creativity. If you want to join in on the fun, too, and want to know how to make a game in Roblox, you’re in the right place.
Don’t worry, it’s nowhere near as hard as it sounds. You don’t need any fancy coding knowledge to create a masterpiece. Even a total amateur like me makes it work like a pro. Roblox Studio makes things pretty beginner-friendly. I’ll guide you through the basics step-by-step; you can get your creative juices flowing and have something playable in under an hour. Let’s get to it.
Before we begin, you’ll want to have some Robux ready to unlock game passes or test monetization features. You can buy Robux securely on U7BUY to get a head start and customise your game even faster.
Setting Up Roblox Studio
To help complete your future masterpiece, Roblox Studio will be your workplace and personal assistant. But to access it, you’ll need a Roblox account. Head over to roblox.com and sign up. Rest assured, it’s completely free and only takes a minute or two. Having an account gives you access to all the good stuff: game publishing tools, analytics, dev features, the whole package.
Oh, and don’t forget to verify your email, either. It unlocks extra features like monetization and group tools. Plus, you’d want a safety net for your account in case of an unfortunate mishap. And speaking of safety, two-factor authentication will safeguard your account in the long run, so consider activating it, too.
With an account in hand, it’s time to go get Roblox Studio. It works on both Windows and Mac, is a very straightforward install, and connects directly to your Roblox account. Once the installation’s complete, just open it and sign in to get your first view of your workplace. This is where all the magic happens.
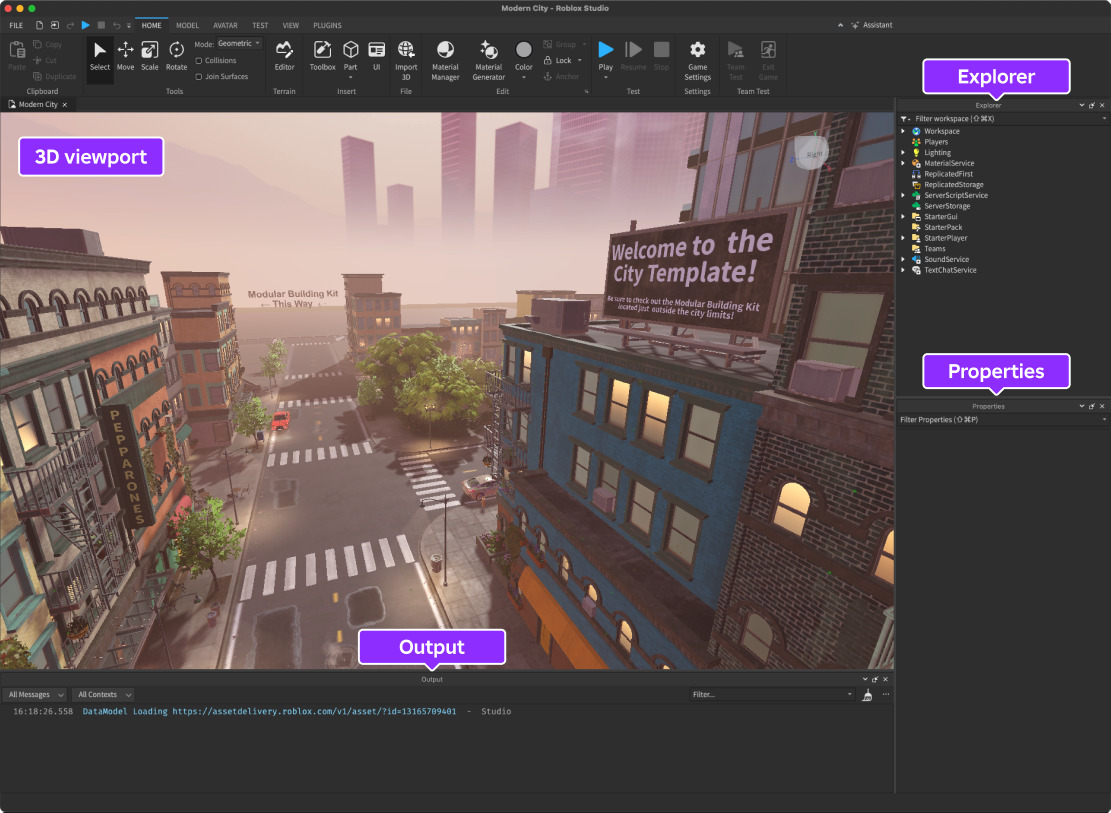
Getting Familiar With The Workspace
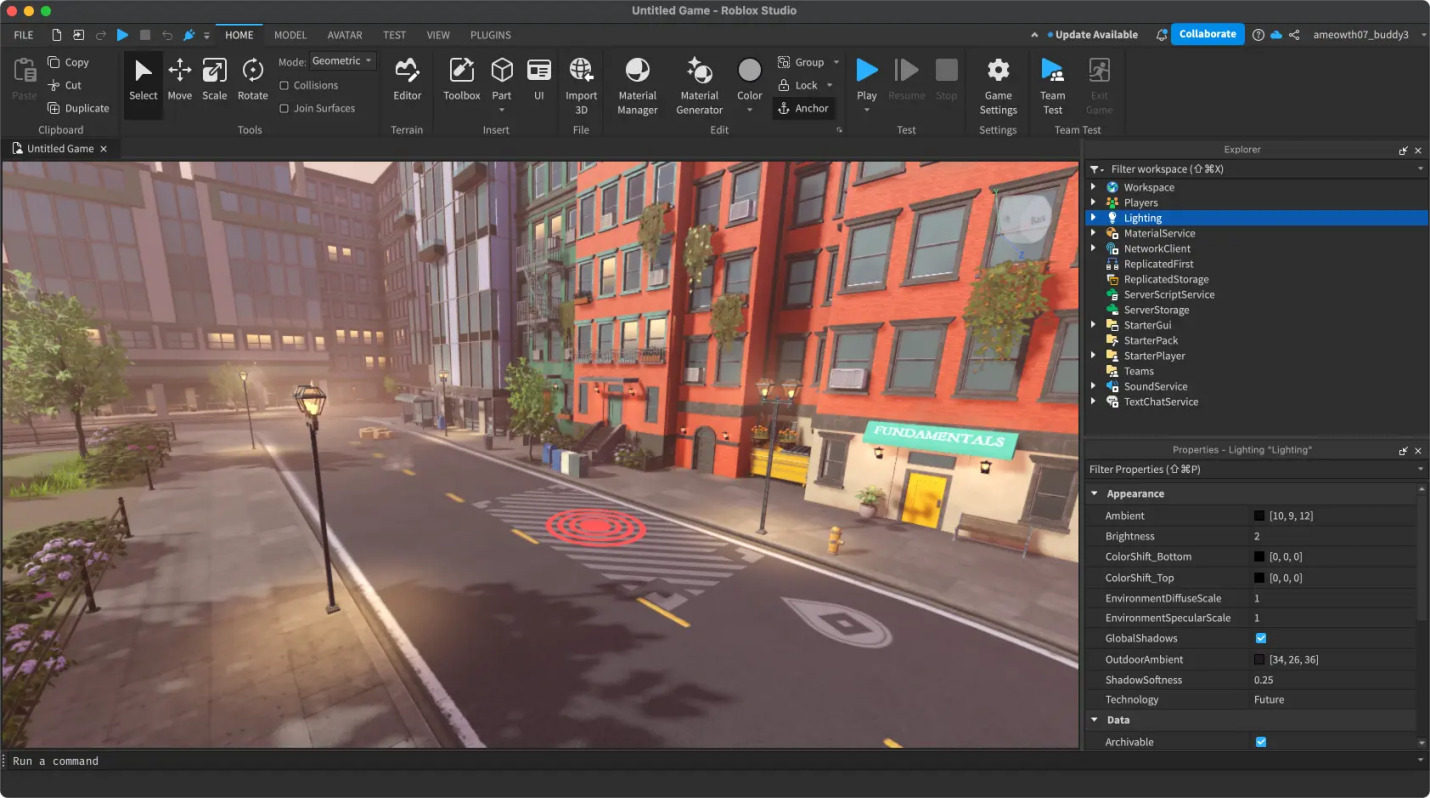
Once Roblox opens up, you’ll see a bunch of pre-made templates. If this is your first time and you’re still learning the ropes, I’ll sincerely suggest picking a template to speed up the process. Some of the common templates you’ll probably see right away are:
- Baseplate — Just a flat, empty space. Good if you want to start from zero.
- Obby Template — Already has some basic parkour stuff set up.
- Village or City Templates — Nice for roleplay, simulators, or anything more open-ended.
Templates help skip some of the initial setup that can be quite tedious for a newcomer. However, choosing a template doesn’t mean everything’s set in stone. You can always swap things out or rebuild later. A template can’t dictate your grand creative vision; you’re still in control.
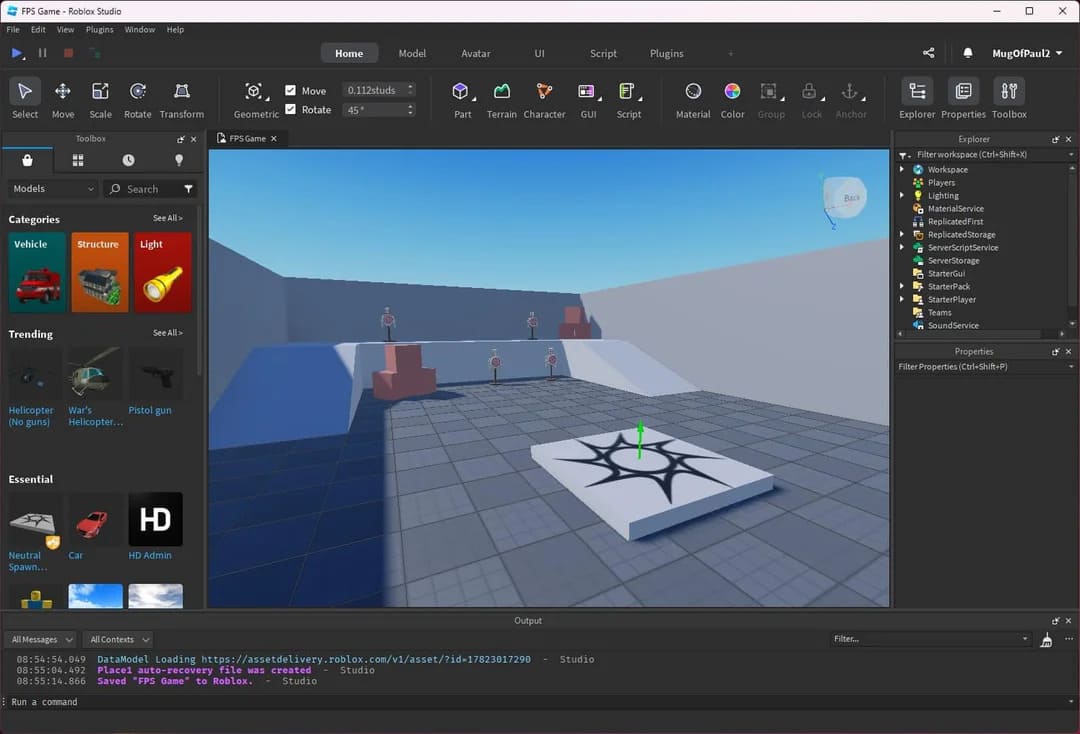
The template is just the first, easy step in Roblox Studio. As with every new complicated software, it’s normal to feel completely lost. All the technical jargon can feel a bit overwhelming, but that’s all part of the learning process. For now, you just need to mess around and find what button does what. Trial and error will be your best learning tool. And, to nudge you along, I’ll explain some of the more noteworthy panels.
- Explorer keeps track of everything in your game. Think of it like a folder view.
- Properties lets you change stuff like size, color, material, all the key details.
- Toolbox gives you access to free models, audio, and scripts. Just be careful what you grab; not everything in there is safe or clean.
- Output and the Script Editor are where you’ll test code and mess with scripts (I know it sounds like some coding thing, but it’s not as complicated).
Of course, you won’t figure out everything in the first try, but what’s life without a little challenge? Anyway, if you don’t like the layout of the workspace, feel free to rearrange it as per your liking.
Adding Terrain And Scripting
With the basics out of the way, now comes the complex game design and elements that will make your project stand out. Start with Parts, the building blocks of Roblox games. Go to the Model tab, select Part, and choose from blocks, spheres, wedges, or cylinders. These basic units can be combined to create platforms, obstacles, buildings, all the majestic structures you see in people’s works.
You can also use the Terrain Editor to sculpt environments. It lets you paint grass, water, lava, and sand, or carve caves and rivers. Not personalized enough? Use the Brush Tool to let the artist in you run free and paint your masterpiece.
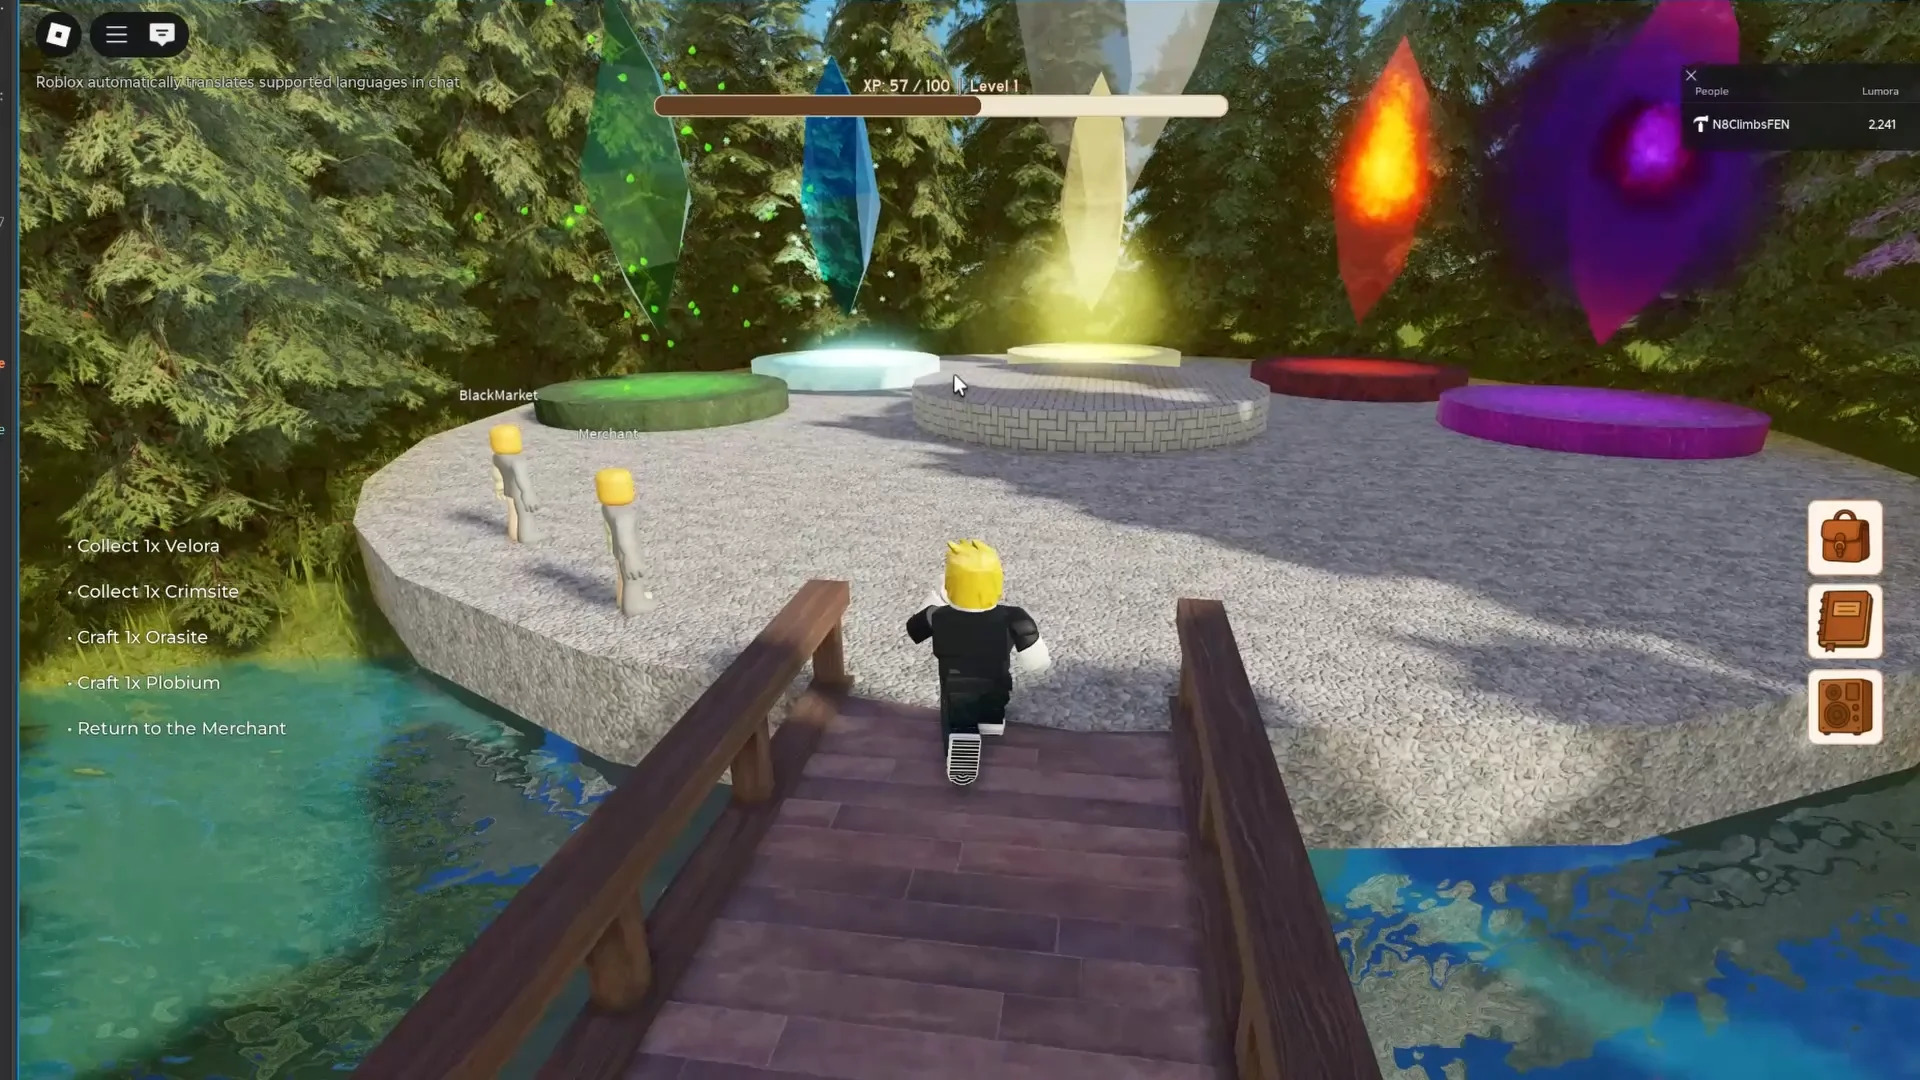
Not to forget, if your game involves some sort of progression milestones or parkour, consider adding spawn points and checkpoints, which can be found in the Toolbox or added manually.
Now that your project has a basic structure, I’ll tell you about Scripts. This is how to make a Roblox game interactive. I know “Scripts” sounds so complicated, but it’s daunting only at first. Scripts use Lua, a beginner-friendly language. Even basic scripts can create powerful mechanics.
Try a simple “kill brick” script:
script.Parent.Touched:Connect(function()
game.Players.LocalPlayer:Kick(“You touched the lava!”)
end)
If it still feels complicated, there are hundreds of tutorials and free script resources out there. Want your player to collect coins or open doors? There’s a simple script for that. You can also use various scripts for camera effects, UI buttons, or animations. Mastering the creative use of scripts is the key to making your game the best there is.
Finishing Touches
Now that your Roblox game is all scripted up, it’s time to get it live. But, before that, make sure you playtest it to know that everything works as intended.
Click Play or press F5. This launches a local test of your game. Walk around. Interact. Jump. Try to break things. This is the fastest way to find issues with your terrain, collisions, or scripts. You can also test with Play Here to simulate different player views or use Team Test for multiplayer debugging.
If you find any problems, use breakpoints in your script editor to pause and inspect values during tests. This makes fixing bugs way easier. Testing also allows you to see things from a user’s perspective and get an idea of whether your creative vision is being correctly delivered to the player.
We’re finally at the point you’ve been waiting for. Head to File > Publish to Roblox As, then just give your game a name, throw in a quick description, and pick something eye-catching for the icon. Next, set who gets to play it: public, friends, or just you if you’re still tweaking stuff.
And, my friend, that’s it. Your project is now live for the world to see — First game officially published. This sense of pride you must be feeling right now is only natural; you’ve earned it.
Pro Tips For Beginners
With your game published, you can now monetize and share it. Here’s how to earn Robux.
- Sell Gamepasses for special in-game powers
- Offer Developer Products like coins or skins
- Enable ads or sponsor your game for visibility
- Create a group and collect revenue from sales
You can also spread the word on TikTok, YouTube Shorts, or Discord. It’s a great way to show off your game, share updates, and get people excited for the stuff to come.
Since you’ve only just entered the world of Roblox game creation, I feel it necessary to share some tips that’ll help you get your footing. Here’s what to look out for:
- Save often. Roblox Studio can crash occasionally.
- Random models from the Toolbox should not be inserted since they may include dangerous code.
- Use the Team Create feature to collaborate with friends in real time.
- Check out the DevForum and Creator Hub for guides and inspiration.
- It broadens your audience by optimizing for console and mobile users.
Final Thoughts
And with that, I complete my guide for how to make a Roblox game. If you’ve stuck with me thus far, you have a pretty solid idea of how to get started now. All I’ll say is that as long as you’re having fun, nothing else matters. Your project doesn’t have to be a grand marvel; make it as weird as it gets and let your creativity run wild.
Oh, and don’t let the fear of failure stop you. You just might create the next big sensation, but nothing will happen if you don’t take the first step. I can’t wait to see the creativity you’ll unleash.
Thanks! Do share your feedback with us. ⚡
How can we make this post better? Your help would be appreciated. ✍