Super Smash Bros Ultimate features a growing roster of more than 80 fighters in the game. The DLCs are expanding the character roster; as a result, new fighters have been added every year since 2018. The growing library of characters is the reason for the diversity of playstyles. We have curated a Smash Bros Ultimate tier list to categorize the fighters based on their performance in the game.
- For an added punch of playstyle versatility and fantastic gameplay value, Smash Ultimate packs you more than 80 unlockable units.
- The ranking of all Smash Ultimate heroes closely depends upon all-around strength and balance showcased at different instances in the competition.
- Peach (Daisy), Zero Suit Samus, Palutenia, Pikachu, Joker, Pokémon Trainer, and Pyra & Mythra are currently the best Smash Ultimate you can use.
- In comparison, Ganondorf, Incineroar, Isabelle, King Dedede, Lucario, Little Mac, and Dr. Mario are characters that are very hard to get the hang of.
Our Complete Tier List Picks
Smash Bros Ultimate tier list:
| Smash Ultimate Tier List Fighters Ranking Table | |
| Tiers | Fighters |
| S-Tier | Peach (Daisy), Zero Suit Samus, Palutenia, Pikachu, Joker, Pokémon Trainer, Pyra & Mythra, Snake, Mario, Wolf, Wario, Shulk, R.O.B, Lucina, Mr. Game & Watch, Pac-Man, Roy, Sephiroth, Min Min |
| A-Tier | Young Link, Inkling, Chrom, Fox, Sonic, Olimar, Greninja, Ness, Cloud, Diddy Kong, Captain Falcon, Yoshi, Mega Man, Steve, Terry, Link, Ken, Pichu, Sora |
| B-Tier | Ike, Falco, Bowser, Samus (Dark Samus), Sheik, Wii Fit Trainer, Ryu, Hero, Kazuya, Luigi, Byleth, Marth, Toon Link, Mii Brawler, Rosalina & Luma, Duck Hunt, Bayonetta, Banjo & Kazooie, Corrin, Lucas, Zelda, Villager, Robin, Mewtwo, Meta Knight, Ice Climbers, Mii Gunner |
| C-Tier | Piranha Plant, Mii Swordfighter, Ridley, Simon (Richter), Bowser Jr, Jigglypuff, Kirby, Donkey Kong, King K. Rool |
| D-Tier | Ganondorf, Incineroar, Isabelle, King Dedede, Lucario, Little Mac, Dr. Mario |
All Smash Ultimate Characters Comparison
Check out the stats below for this tier list:
| Character | Neutral Attack | Neutral Special | Final Smash | Forward Smash | Forward Throw |
|---|---|---|---|---|---|
| Peach (Daisy) | 2% (Royal Slap), 3% (Trip Slap) | 3.5% (Per Hit) | 30% (Close), 20% (Mid), 10% (Far) | 18% (Frying Pan) | 2% (Hit 1), 8% (Throw) |
| Zero Suit Samus | 1.5% (Level Chop), 1.5% (Gun Hook), 3% (Back Knuckle) | 4 - 6% | 1.2/1.6% (Laser Loop), 20/25% (Final Burst) | 5% (hit 1), 11% (hit 2) | 5% (hit), 4% (throw) |
| Palutena | 3% (Radiance), 0.6% (Glimmer), 3.5% (Glimmer Finish) | 3.5% (per shot) | 2.4% (hits 1-12), 12% (final) | 16% (base) | 9% |
| Pikachu | 1.4% (Near), 1.2% (Mid), 1% (Far) | 6% (clean), 5% (mid), 4% (late), 4.8% (aerial) | 0.3% (First 6 hits), 1% (Initial hit), 1.5% (loop), 20% (launch) | 15% (Early), 18% (Clea n), 12% (late) | 2% (hits 1-5), 8% (Throw) |
| Joker | 2%/0.7%, 1.5%/0.7%, 4%/3% | Gun: (5%-3%-1%), Gun Special: (6%-3%-1%), (2%-1.5%-1%), | 3% (Trapping Hit), 33.6% (Cinemat ic), 13% (Ending Screen) | 14%, 8% | 8% |
| Pyra & Mythra | 3%, 2%, 5%, 0.6% (loop), 5% (last) | Uncharged: 3% (hits 1 and 2), 7% (hit 3) Charged: 4% (hits 1-3) | 12% (hit 1), 0.4% (hits 2-21), 14% (hit 2) | 20% | 3.5% (hit 1), 5.5% (throw) |
| Snake | 2.5% (Jab), 2.5% (Straight), 6% (Rolling Sobat) | 0.9 - 4.25% (Grenade), 8.6 - 10.75% (Explosion) | 15% (Each Missile) | 22% | 9% |
| Mario | 2.2% (Jab), 1.7% (Straight), 4% (Kick up) | 5% (Early), 4% (Late) | 2% (Early), 2.5% (Clean), 3% (Late) | 17.8% (Fire), 14.7% (Arm) | 8% |
| Wolf | 2% (Snap Claw), 2% (Follow Claw), 4% (Wild scratch) | 7% (bayonet), 6%/8%/7% (blast close-far) | 3% (reticle), 35% (las ers), 10% (ending) | 15% | 5% (hit 1), 4% (throw) |
| Wario | 5% (Fist), 7% (Jaw Smash) | 2.4% (each bite), 5% (throw),0.6% (se lf-heal), 13% (eating explosive) | 10% (tackle), 20.8%(successive hits; 1.3% each) | 20% | 8% (throw), 4% (collateral) |
| Shulk | 2% (Straight), 1.5% (Side Kick), Upper Swing: 5% (Clean), 4.2% (Late) | Jump: 6s duration, 18s cooldown Speed: 8s duration, 16s cooldown Smash: 8s duration, 16s cooldown | 3% (hit 1), 2% (hits 2-12), 12% (hit 13 front oppone nts) | 5.5% (hit 1), 13%/11.5% (hit 2) | 3% (hit 1), 5% (throw) |
| R.O.B | 3% | 7% (Uncharged Robo Beam) , 11.5% (Point-blank Robo Beam) | 1.2% (Homing lasers) , 1% (Laser loop) , 3% (Enlarged laser loop) | 15% (base) , 11.5% (m iddle) , 6% (tip) | 8% |
| Lucina | 3.325% (Slash) | 8.575% (uncharged) , 23% (fully charged) | 60% | 15% | 4% |
| Mr. Game & Watch | 3% (Greenhouse/Greenhouse (Barrage) | 5% (food) , 8% (frying pan) | 4.9% (grabbed) , 15% (body) , 30% (slam) | 14% (handle) , 18% (fla me) | 8% |
| Pac-Man | 2% (Pac Hook) 2% (Pac-Counter Hook) 4% (Pac Upper Bite) | 4.3% (cherry) , 6% (strawberry) , 7.5% (orange) , 9.5% (apple) , 12% (melon) | 20% (yellow) , 28% (red) | 15% (sourspot) , 16% (sweetspot) | 8% |
| Roy | 7.5% (Slash) | 6%-35% (uncharged) , 36%-50% (fully charged) | 1% (hits 1-10) , 35% (hit 11) | 20% (close) , 17% (mid) , 12% (far) | 5% |
| Sephiroth | 2.50% | Flare: 3% (hit 1) , 10.5% (hit 2) , Megaflare: 3.5% (hit 1) , 3.7% (hits 2-5) , 9% | 7% (slash) , 10% (Supern ova) , 15% (ending) | 13.5%/20%/15% | 3% (hit 1) , 3% (throw) |
| Min Min | 2.50% | 8% (Dragon) , 9.2% (Dragon Plus) , 11% (Megawatt) , 5%, 2.5% (Ring) (Ramram) | 10% (punch) , 0.8% (hits 1-18) , 15% (ending) | Dragon: 12% (close) , 16% (mid) , 13% (far) | 5% (hit 1) |
| Young Link | 2% (Slash/Counter) 1.5% (Slash/Stab) 3.5% (Ilusion Slash) | 4% - 12% | 1% (trapping) , 3% (hits 1-14) , 2% (hit 15) | 6% (Sword Slice) , 12% (base), 10% (tip) | 3% (hit 1) , 3% (throw) |
| Inkling | 2% (Chop/Combo Kick) 2% (Side Kick) 3.5% (Burst Shot) 0.4% (loop) | 0.3% (above ink tank line) , 0.2% (below ink tank line) | 1% (hits 1-32) , 8% (hit 33) | 16% (ink, bristles) , 14% (ink, handle) , 12% (no ink) | 5% (hit 1, ink) , 3% (hit 2) |
| Chrom | 6.5% (Slash) | 8% (uncharged),50% (fully charged) ,10% recoil | 1% (dash),10% (hit 1),36 % (hit 2) | 18% | 5% |
| Fox | 1.7% (Jab/Straight), 1% (Rapid Kick) | 3% (point-blank range),2% (mid- range),1.3% (long-range) | 3% (trapping hit),30% (lasers),10% (end) | 14% (clean),11% (late) | 4% (hit),3% (throw) |
| Sonic | 2% | 7% - 20% | 12% (Chaos Emeralds) ,6% (ram),10% (launch) | 14% | 1% (hit 1),6% (throw) |
| Olimar | 3% (arm), 4% (fist) | — | 10% (launch),10% (asce nt),0.1875% (Red Bulbor bs) | Red: 20.3% (clean),14% (mid),8.4% (late),Yellow: 14.5% | Red: 5.6%,Yellow: 7%, Blue: 11.9%,White: 7%, Purple: 7% |
| Greninja | 2% (Palm Strike), 2% (Water Palm Heel), 3% (Water Cutter), 0.5% (loop) , 2% (last) | 3%-10.8% (uncharged),1.0% (fully charged looping hits),9% (fully charged final hit) | 6% (the mat),50% (Total in the attack after mat) | 14% | 3.5% (hit 1),4.5% (throw) |
| Ness | 2% (Jab), 1.5% (Straight), 4% (Middle Kick) | 11% - 27% | 8% (per hit) | 18% (low),20% (mid),22% (tip),2× damage (reflected projectiles) | 11% |
| Cloud | 2.5% (Kick), 2% (Combination Kick), 3.5% (Side Swing) | 8% (grounded clean),6% (grounded late),6.4% (aerial clean), | Omnislash: 1% (hit 1),3% (hit 2) 2.2% (hits 3-16),5% (hit 17),4% | 3% (hit 1),2% (hit 2 center), 3% (hit 2 hilt),4% (hit 2 tip), | 4% (hit 1),3% (throw) |
| Diddy Kong | 2% (Right Flap), 1.5% (Left Flap), 4% (Foot Push) | 4.8%-13.8% (peanuts),3% (close range),23% (explosion) | 1% (startup loop),2% (per collisio n),20% (final hit),15% (collateral final hit) | 5% (hit 1),11%/9% (hit 2) | 9% |
| Captain Falcon | 1.5% (Jab/Straight), 1.5% (Kneebutt), 5% (Mach Punch), 0.6% (loop) | 25% (grounded),28% (grounded reverse),22% (aerial) | 10% (hit 1),20% (hit 2),10% (thro w) | 20% | 3.5% (hit 1),4% (throw) |
| Yoshi | 3% (Kick), 4% (Kick) | 7% | 1% (dash),4% (headbutt),30.428 571% (cutscene),13% (last hit) | 15.5% (sweetspot),14% (sourspot) | 9% |
| Mega Man | 2% (shot),1% (buster) (Mega Buster) | 5% (spawn),3% (item throw) | 3% (init),41.2% (attack) | 11.5% - 14.95% | 8% |
| Steve | None: 2.72% | — | 15% (trapping hit),45% (cutsce ne) | None: 12% | 3% (hit 1),6% (throw) |
| Terry | 3% (Jab), 7% (High Kick) | 8% (tapped),9% (held),10% (aerial tapped),11% (aerial held) | 6% (Power Geysers 1 & 2),18% (Power Geyser 3),6% (Power D unk) | 18% | 10% |
| Link | 3% (Morning Slash),3% (Counter Slash),4% (Slash Up) | 4% (uncharged),12% (fully charged) ,6% (uncharged, two arrows) | 35% | 7% (blade),14% (tip),5%- 13% (Sword Beam) | 3% (hit 1),2.5% (throw) |
| Ken | 1.5% (Jab),5% (Body Blow) | 4.5%, 5%, 5.5% (Standard),5.625%, 6.25%, 6.875% (Input) | 1.2% (hits 1 - 13),13% (hit 14),1% (initial hit),3.2% (hits 1 - 4) | 16% (foot),12% (leg) | 9% |
| Pichu | 1.2% (Headbutt) | 7% (short distance),6% (medium distance),5% (long distance),10% (air),0.7% recoil | 0.3% (6 hits during startup),1% (initial hit),1.6% (loop),21% (la unch | 2% (hits 1-5),8% (hit 6), 2% recoil | 1.5% (hits 1-4),6% (throw), 0.8% recoil |
| Sora | 2.8%,2.6%,4.2% | Firaga: 5.6% (clean),5.2% (mid),4. 8% (late),Thundaga: 5.2% (each hit) | Firaga: 5.6% (clean),5.2% (mid), 4.8% (late),Thundaga: 5.2% (each hit) | 15.4% (clean),13.8% (late) | 5% (hit),3% (throw) |
| Ike | 2.5% (Bash),2.5% (Thrust Kick), 7% (Swing Down) | 10% (uncharged),35%/28%/26% (fully charged, first pillar) | 5% (hit 1),3% (hit 2),2% (hits 3-1 5),5% (hit 16),4% (hit 17),10% (hit 18) | 19% (early, clean tip),22 % (clean blade) | 3.5% (hit 1),4% (throw) |
| Falco | 1.5% (Wing Chop/Reverse Chop), 1.5% (Gyro Cutter),0.3% (loop), 3% (last) (Finish Kick) | 3% | 3% (trapping hit),30% (Arwings), 10% (end) | 16% (clean),12% (late) | 4% (hit),3% (throw) |
| Bowser | 4% (Koopa Palm Strike),7% (Koopa Pursuit Attack) | 1.8% (loop) | 40% | 23% (clean feet),20% (clean body) | 12% |
| Samus (Dark Samus) | 3% (Straight),8% (Cannon Hammer) | 5% (uncharged),28% (fully charged) | 1% (charge loop),0.5% (fringe loop),1.5% (thruster, main loop) | 13% (Arm Cannon),15% (blast) | 10% |
| Sheik | 2% (Kodachi/Reverse Kodachi),1.6% (Piercing Strikes),0.3% (loop), 2% (last) (Piercing Strikes Finish) | 1.5% (per needle, close),0.8% (per needle, far) | 1% (dashing hit),2% (first hit),3% (hits 1, 2, 4-6, 8-10, 12, 13),2% (hits 3, 7, 11, 14),12% (final) | 5% (hit 1),8% (hit 2) | 5% (hit),2% (throw) |
| Wii Fit Trainer | 2% (Sideways Leg Lift),2% (Single Leg Twist),3% (Lunge) | 5% (uncharged),21% (fully charged) | 2%/2.2%/2.5%/3% (medium silhouettes; based on position), 12% (large silhouette) | 15.5% (arms),14% (body) | 3% (hit 1),7% (throw) |
| Ryu | 1.5% (Jab/Body Blow),1.5% (Body Blow),5% (Hook Mawashi Geri),10% (held-far), 12% (held-close) | Standard: 9%, 9.5%, 10%,Input: 10.8%, 11.4%, 12%,Shakunetsu Hadoken: 1.1% (hits 1-4), 9.3% (hit 5) | Shin Shoryuken: 1% (initial hit), 10% (hits 1 and 2), 20% (last hit) | 16% (leg),17.5% (foot) | 9% |
| Hero | 3%,3%,4% | Frizz: 9%, 6% (late),Frizzle: 9% (hits 1-2),Kafrizz: 19% (hit 1) | 7% (trapping hit),33% (cinematic) | 18% (blade), 16% (body), 36% (Critical Hit blade), 32% (Critical Hit body) | 7% |
| Kazuya | (Flash Punch Combo/10 Hit Combo), 3%, 3%, 2%, 9%, 3%, 3%, 4%, 1.5%, | 11% (ground),12% (ground upward s),10% (ground downwards),10% (air),11% (air upwards),9% (air downwards) | 8% (init),2% (center first hit),0.8% (fanning loop hit),1.2%/1%/0.8%/0 .6% | 26% (fist),23% (arm) | 5% (hits 1-2),2% (throw) |
| Luigi | 2% (Jab),2% (Straight),4% (Rump T hrust) | 6% (clean),5% (late) | 30.1% (maximum captured),10% (ejection) | 9% | N/A |
| Byleth | 1.5%, 2%, 4.5%, 0.4% (loop), 3.5% (last) | 12% (normal),29% (fully charged) | 10% (lash),20% (shockwave),15% (ending) | 19.5% (tip),13% (shaft) | 3% (hit),3% (throw) |
| Marth | 3%/5% (Slash),4%/6% (Combination Slash) | 8%/9% (uncharged),22%/24% (fully charged) | 60% | 9% | 13%/18% |
| Toon Link | 2% (Slash),2% (Counter Slash),4% (Stab) | 4% (uncharged),12% (fully charged) | 1% (trapping),2.8% (hits 1-14),2% (hit 15),14% (final) | 9% | 14% |
| Mii Brawler | 1.8% (Feint Hook, Feint Combo),1% (Hundred Rending Punch) | Shot Put:,15% (no bounce), 11.25% (first bounce), 8.4% (second bounce) | 56.40% | 9% | |
| Rosalina & Luma | (Flash 1),Rosalina: 2%,Luma: 1%,(Flash 2),Rosalina: 2%,Luma: 1%,(Flash 3) | 5% (uncharged),16% (fully charged) | 1% (loop),12% (explosion) | 9% | Rosalina: 12%,Luma: 7% (fist),5% (body) |
| Duck Hunt | 1.5% (Scratch/Headbutt),1.5% (Double- Footed Kick),5% (Woodpecker Rush) | 10% (explosion), 1.8% (shots), 1.8%-4.4% (contact) | 5% (flock of ducks), 10% (gunmen's initial shots), 24% (gunmen's final shots), 6% (ending) | 9% | 4% (hits 1 and 2),9% (hit 3) |
| Bayonetta | 1.4% (Bullet Punch/Combo Sweep),1.4% (Swing Up),2.2% (Phantom Rush) | 1.35% (uncharged),2.7% (charged) | 28% (Gomorrah), 13% (bonus spell),10% (end) | 9% | 14% (wrist),16% (fist) |
| Banjo & Kazooie | 2.2% (Claw Swipe),2.2% (Claw Punch), 3.7% (Rat-a-Tat Rap) | 5.4%-3.8% (egg), 2.4% (Breegull Blaster hits 1-6), 1.6% (Breegull Blaster hits 7-12), 0.8% (Breegull Blaster hits 13+) | 10% (initial hit),54.3% (total) | 10% | 16% |
| Corrin | (Pierce Thrust),2% (base), 2.5% (tip), (Hoshidan Scoop),2%,(Dragon Fang Storm) | 4% (shot, uncharged),11% (shot, fully charged),10% (bite, uncharged) | 7% (light pillars, base),2% (light pillars, tips),34% (whirlpool) | 9% | 0.5% (charging loop), 11% (spear base) |
| Lucas | 2.5% (Short Kick),1.5% (Reverse Kick), 3.5% (Turning Kick) | 10% - 23% | 6.5%(Per Hit) | 9% | 14% (base),15% (tip), 1.5× (reflected projectiles) |
| Zelda | (Short Flash/Rapid Flash),2.5% (hits 1-2) ,(Flash Finish),0.4% (loop), 3% (end) | 2% (hits 1-3),5% (hit 4, close),4% (hit 4, tip) 1.25× (reflected projectiles) | 7% (initial vacuum),3% (subsequent vacuum),60% (main) | 9% | 1% (hits 1-4),13% (hit 5) |
| Villager | (Left Punch/Right Punch/Finish Punch):, 1% (loop), 2% (final hit) | 1.9× pocketed projectile | 45.5% (entire),10% (collateral loop), 15% (collateral explosion) | 9% | 15% (early),17% (clean) |
| Robin | 2% (Right Chop),1.5% (Combination Chop),5% (Fire/Wind),0.9% (Elwind loop), 2% (Elwind final hit) (Wind Finish) | 5.5% (Thunder), 11% (Elthunder), 6% (Arcthunder, hit 1), 2.4% (Arcthunder, looping hits) | 2% (trapping hit),3% (initial hit),1.3% (hits 2-21),18% (final hit) | 9% | Bronze: 9.6%,Levin: 16% (clean),10% (late) |
| Mewtwo | 3% (Dark Flash/Dark Flame),0.8% (loop), 2.5% (last) (Dark Finish) | 4% (uncharged),25% (fully charged) | 40% | 9% | 20% (blast),16% (arms) |
| Meta Knight | 1% (loop), 2% (last) | 12% (clean), 8% (late) | 3% (trapping hit), 27.6% (flurry attac k), 10% (launch) | 16% | 6% (hit), 3% (throw) |
| Ice Climbers | Right Sweep: 2% | 3.5-2.2% (ice chunks), 3.5% (hammers) | 13% (peak, rising), 11%/9%/7% (ice berg) | Leader: 12%, Partner: 9% | 3% (hit), 5% (throw) |
| Mii Gunner | 1.7% (Jab), 1.7% (Spin Kick), 1% (cannon) , 4.5% (explosion) (Short fire) | Charge Blast: 4% (uncharged), 26% (fully charged) | 1.3% (mini laser loop), 1.8% (big la ser loop) | 1.7% (hits 1 - 6), 7.5% (hit 7) | 4% (punch), 3% (throw) |
| Piranha Plant | 2.4%, 2.2%, 4.4%, 0.6% (loop), 3.4% (end) | 14% (held), 18% (thrown, early), 13% (thrown, late) | 4% (cage), 5% (high jump landing), 5% (fire, caged) | 19% (head), 15% (stem) | 3% (hit), 8% (throw) |
| Mii Swordfighter | 3% (Front Slash), 3% (Counter Slash), 5% (Slash Up) | Gale Strike: 13% (clean), 11% (mid), 10% (late) | 1.8% (shockwave, close), 2.4% (shoc kwave, mid) | 14% (hilt), 15% (blade), 16% (tip) | 3% (kick), 3% (throw) |
| Ridley | 2% (Scratch/Counter Scratch), 1.5% (Bite off), 5% (Thousand Needle) | 4.5%-5.6682692% (clean), 3.5%-4.40865 42% (late) | 15% (dash), 40% (cutscene), 15% (ending) | 20% | 9% |
| Simon (Richter) | 2% (Short bash), 2% (Second Bash), 1.5% (spiked ball), 1% (chain) (Whip Rush) | 15% | 3% (trapping hit), 10% (final hit) | 18% (spiked ball), 16% (chain), 14% (chain, close) | 7% |
| Bowser Jr | 2% (Clown Jab/Clown Hook), 2% (Clown Hundred Rending Punch | 10% (uncharged), 7% (uncharged late), 20% (fully charged), 14% (fully charged late) | 3% (paint), 5% (explosion) | 1% (hits 1-5), 11% (hit 6) | 3% (hit 1), 7% (throw) |
| Jigglypuff | 3% (Jab), 3% (Continuous Jab) | 10% (minimally charged), 20% (fully charged) | 10% (hit 1), 25% (hit 2) | 16% (clean), 14% (late) | 5% (hit 1), 5% (throw) |
| Kirby | 1.8% (Punch), 1.6% (Vulcan Jab), 0.2% (Loop), 3% (Last) | 10% (swallow), 6% (spit) | 3% (stun), 5% (hit 1), 2.5% (hits 2-9) , 16% (hit 10) | 15% (clean), 11% (late) | 5% |
| Donkey Kong | 4% (Jab), 6% (Upper) | 10% (uncharged), 28% (tenth wind-up/fully charged grounded), 25% (tenth wind-up/fully charged aerial) | 12% (initial hit), 1.2% (rapid hits), 14% (final hit), 61.9% (maximum) | 22% (hands), 21% (arms) | 12% (forward, up), 13% (back), 11% (down) |
| King K. Rool | 2.5% (Palm Slap), 2.5% (Snatch Claw), 7% (Sole Kick) | 13% (Kannonball), 12% (throw), 17% (relaun ched Kannonball) | 3% (stomp), 10% (tackle), 25% (energy beam), 10% (ending) | 19.95% (sweetspot), 17. 325% (close) 19% (sweet spot) | 10% (throw), 7% (collateral) |
| Ganondorf | 11% | 30% (ground), 37% (ground reverse), 38% (aerial), 40% (aerial reverse) | 10% (greatswords), 45%/35% (charge) | 24% | 5% (hit 1), 8% (throw) |
| Incineroar | 2.5% (Wide Chop), 2.8% (Kneebutt), 6.7% (Elbow Smash) | 17%/13% (clean hit 1), 12%/10% (late hit 1, hit 2), 11%/9% (hits 3-4), 10%/8% (hits 5-6) | 3% (start-up), 2% (initial grab), 7% (hit 1-4) | 16% (leg), 20% (foot) | 12% (throw), 4% (early), 6% (mid), 8% (late) |
| Isabelle | 2% (Toy Hammer) | 1.9x Multiplier | 10% (collateral loop), 15% (collateral explosion), 50.5% (entirety) | 17% (clean), 8% (late) | 9% |
| King Dedede | 2.5% (Quick Swing), 2.2% (Spinning Hammerhead), 0.5% (loop), 3% (last) (Battering Strike) | 12% (spit), 1.5× damage (reflected projectiles) | 8% (hit 1), 1.8% (missiles), 20% (hammer hit), 10% (last hit) | 16% (early hammerhead) , 25% (late hammerhead | 4% (hit 1), 6% (throw) |
| Lucario | 2.5% (Sweep), 2% (Thrust), 3% (Kick Up) | 6.9%~17.2% (move), 0.6% (charge loop) | 0.8% (loop), 11.5% (final hit) | 16% (Clean), 13% (Late) | 5% (hit), 3% (throw) |
| Little Mac | 1.5% (Left Jab), 1.5% (Right Hook), 5% (Rush), 0.5% (Loop), 3% (Last) | 12%/10%/8% (uncharged), 10%/8% (uncharg ed reversed), 30% (fully charged) | 3% (beginning), 2% (late beginning), 59% (entirety) | 20% (fist), 18% (arm) | 4% (hit), 4% (throw) |
| Dr. Mario | 2.94% (Jab), 1.76% (Straight), 4.74% (Kick Up) | 5.88% (Early), 4.704% (Late) | 3.528%/3.7632%/3.9984%/4.2336% (front) | 17.2872% (electricity), 20.9328% (arm) | 9.41% |
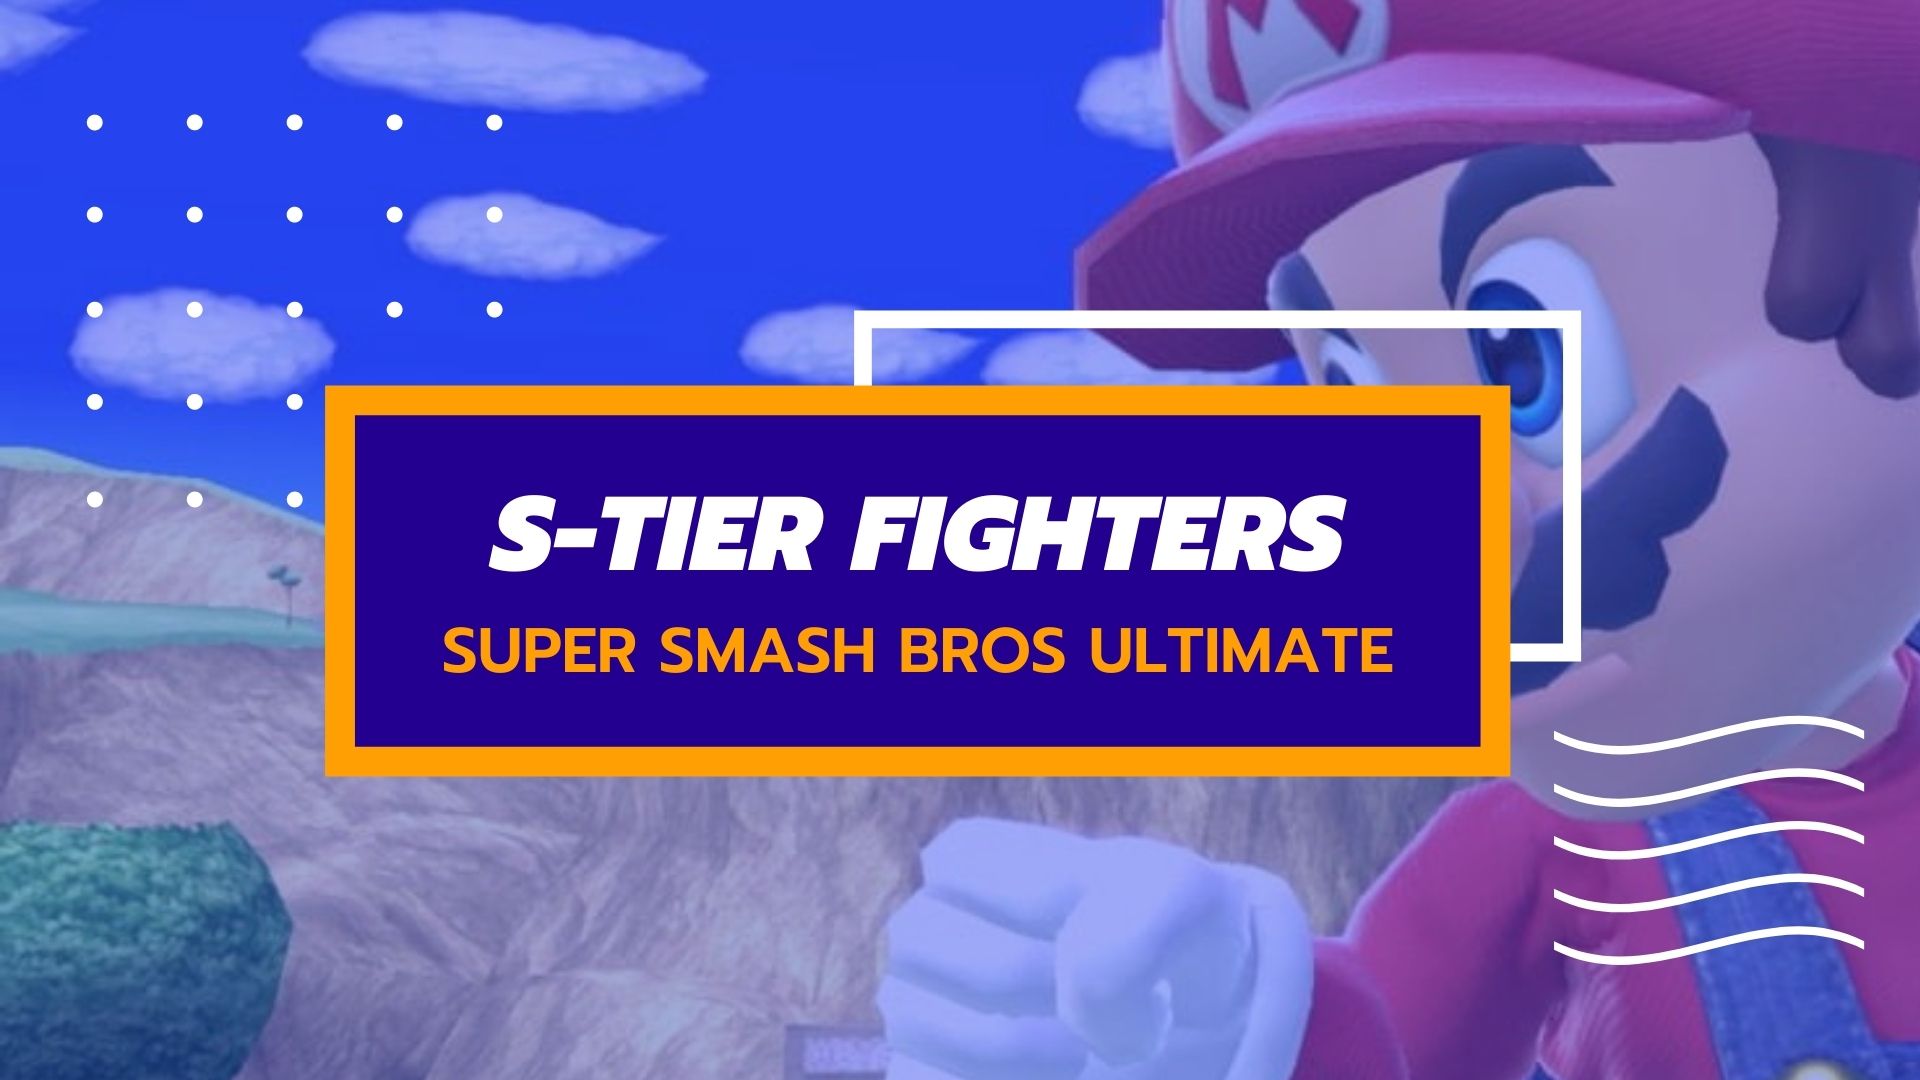
S-Tier
All the fighters belonging to the S-ranking SSBU tier list are the absolute best in the game. Their learning curve is not difficult and is easy to master as well. Winning matches online and offline is not challenging while playing with these fighters in Super Smash Bros Ultimate.
| S-Tier Fighters | WHY WE RANKED IT IN S-TIER? |
|---|---|
| Joker | Best character in the game with versatile combos and mobility, especially with Arsene. |
| Pikachu | Small hitbox makes it difficult to hit, strong mobility and combo potential. |
| Palutena | Excellent for zoning playstyle with fast air and dash speed, powerful ranged attacks. |
| Zero Suit Samus | Great mobility, both on ground and in the air, with multiple KO setups. |
| Peach (Daisy) | Strong combo potential and recovery options, despite slow fall and airspeed. |
| Wolf | Powerful blasters and excellent air game, overall strong aerial attacks. |
| Mario | Well-balanced fighter with fast frame data, suitable for beginners and professionals. |
| Snake | Suited for zoning and camping playstyle, powerful knockback and KO options. |
| Pyra & Mythra | Two-in-one fighters with different playstyles, Pyra being a heavy hitter and Mythra an agile fighter. |
| Pokémon Trainer | Highly unpredictable with the ability to switch Pokémon on the fly, confusing opponents. |
| Mr. Game & Watch | Low crouch allows dodging many attacks, powerful smash attacks and KO options. |
| Lucina | Incredible mobility and disjointed reach, good pressure on opponents with fast attacks. |
| R.O.B | Best at horizontal and vertical recovery, high weight and projectile-based attacks. |
| Shulk | Attacks from a distance with Monado’s energy blade, high weight and Monado Arts amplify performance. |
| Wario | Heavy-weight fighter with good survivability, excellent air acceleration and KO potential with Wario Waft. |
| Min Min | Ranged attacks with ARM attacks, decent fighter in the current meta with good zoning potential. |
| Sephiroth | Longest blade in the game, gains super armor and third mid-air jump during winged form. |
| Roy | Strong close combat game with powerful combos, counterattack and meteor smash potential. |
| Pac-Man | Mixes rushdown and zoning playstyle, multiple recovery methods and agile movement. |
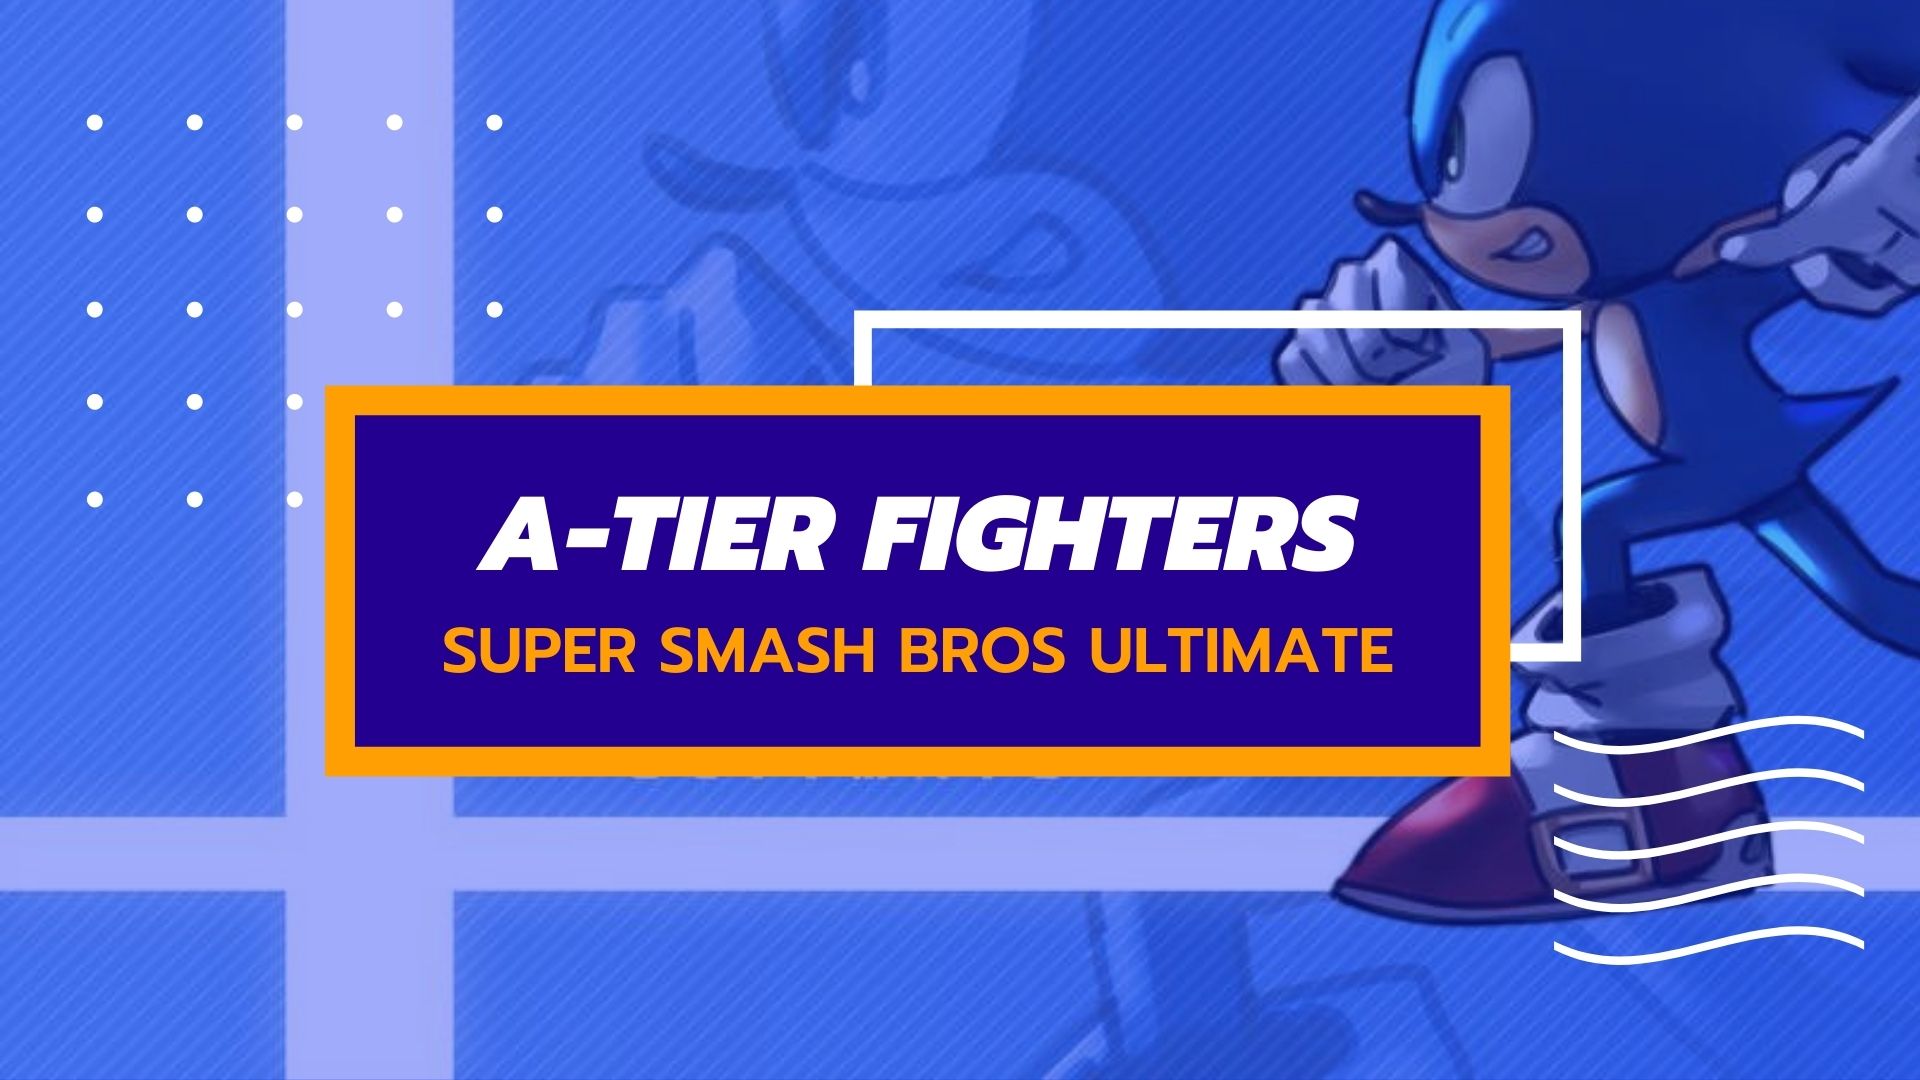
A-Tier
The A-tier fighters are very close to the S-tier ones in our tier list. However, they have at least one or two flaws, so they are not the absolute best in the game. Regardless, dominating online and offline fights is relatively easy with A-tier fighters.
| Character | WHY WE RANKED IT IN A-TIER? |
|---|---|
| Sonic | Fastest dash speed, versatile combo game, good tilt attacks and aerials, meteor smash attack. |
| Fox | Amazing combo versatility, rapid-firing blaster, excellent recovery, potent Up Smash attacks. |
| Chrom | Good combo game, high agility, powerful aerial attacks, strong basic and advanced attacks. |
| Inkling | Buffs damage with ink, slows opponent’s movement, good ranged and combo attacks, ink regeneration takes time. |
| Young Link | Smaller hitboxes, great tether, fire damage arrows, automatic bomb detonation, struggles with knockback range. |
| Diddy Kong | Decent attack range, good aerial combos, rocketbarrel boost recovery, suitable for aerial fighter playstyle. |
| Cloud | Double jump for greater height, powerful special and smash attacks, Buster Sword for ranged attack, bad recovery without limit. |
| Ness | Consistent pressure with combo and ranged attacks, small hitbox, strong aerial game. |
| Greninja | Excellent agility, confusing movement speed, best recovery, great edge-guarding abilities. |
| Olimar | Utilizes Pikmin for mix-ups, good grab range, builds percentage quickly, ranged damage options, decent recovery. |
| Terry | Heavyweight with good survivability, powerful projectiles, over 100% requirement for Super Specials. |
| Steve | Close-combat fighter with limited ranged damage, can craft and gather materials, resource availability dependent on stage. |
| Mega Man | Relies on projectile-based attacks for zoning, small hitbox, mixes multi and single-hit attacks. |
| Yoshi | Agile fighter with combo attacks, strong in air and on ground, meteor smash on forward aerial, weak vertical recovery. |
| Captain Falcon | Excellent running speed for confusion tactics, minimal lag on aerial attacks, versatile KO moves. |
| Sora | Floaty playstyle with swift aerial movements, potent anti-air capabilities, versatile zoning with spells, susceptible to early death due to light weight. |
| Pichu | Small size for quick evasion, small hitbox, easy to KO and low endurance. |
| Ken | Excellent in close combat, above-average agility, predictable recovery. |
| Link | Versatile with close combat to range-based attacks, heavy-weight for increased survivability, balanced moveset. |
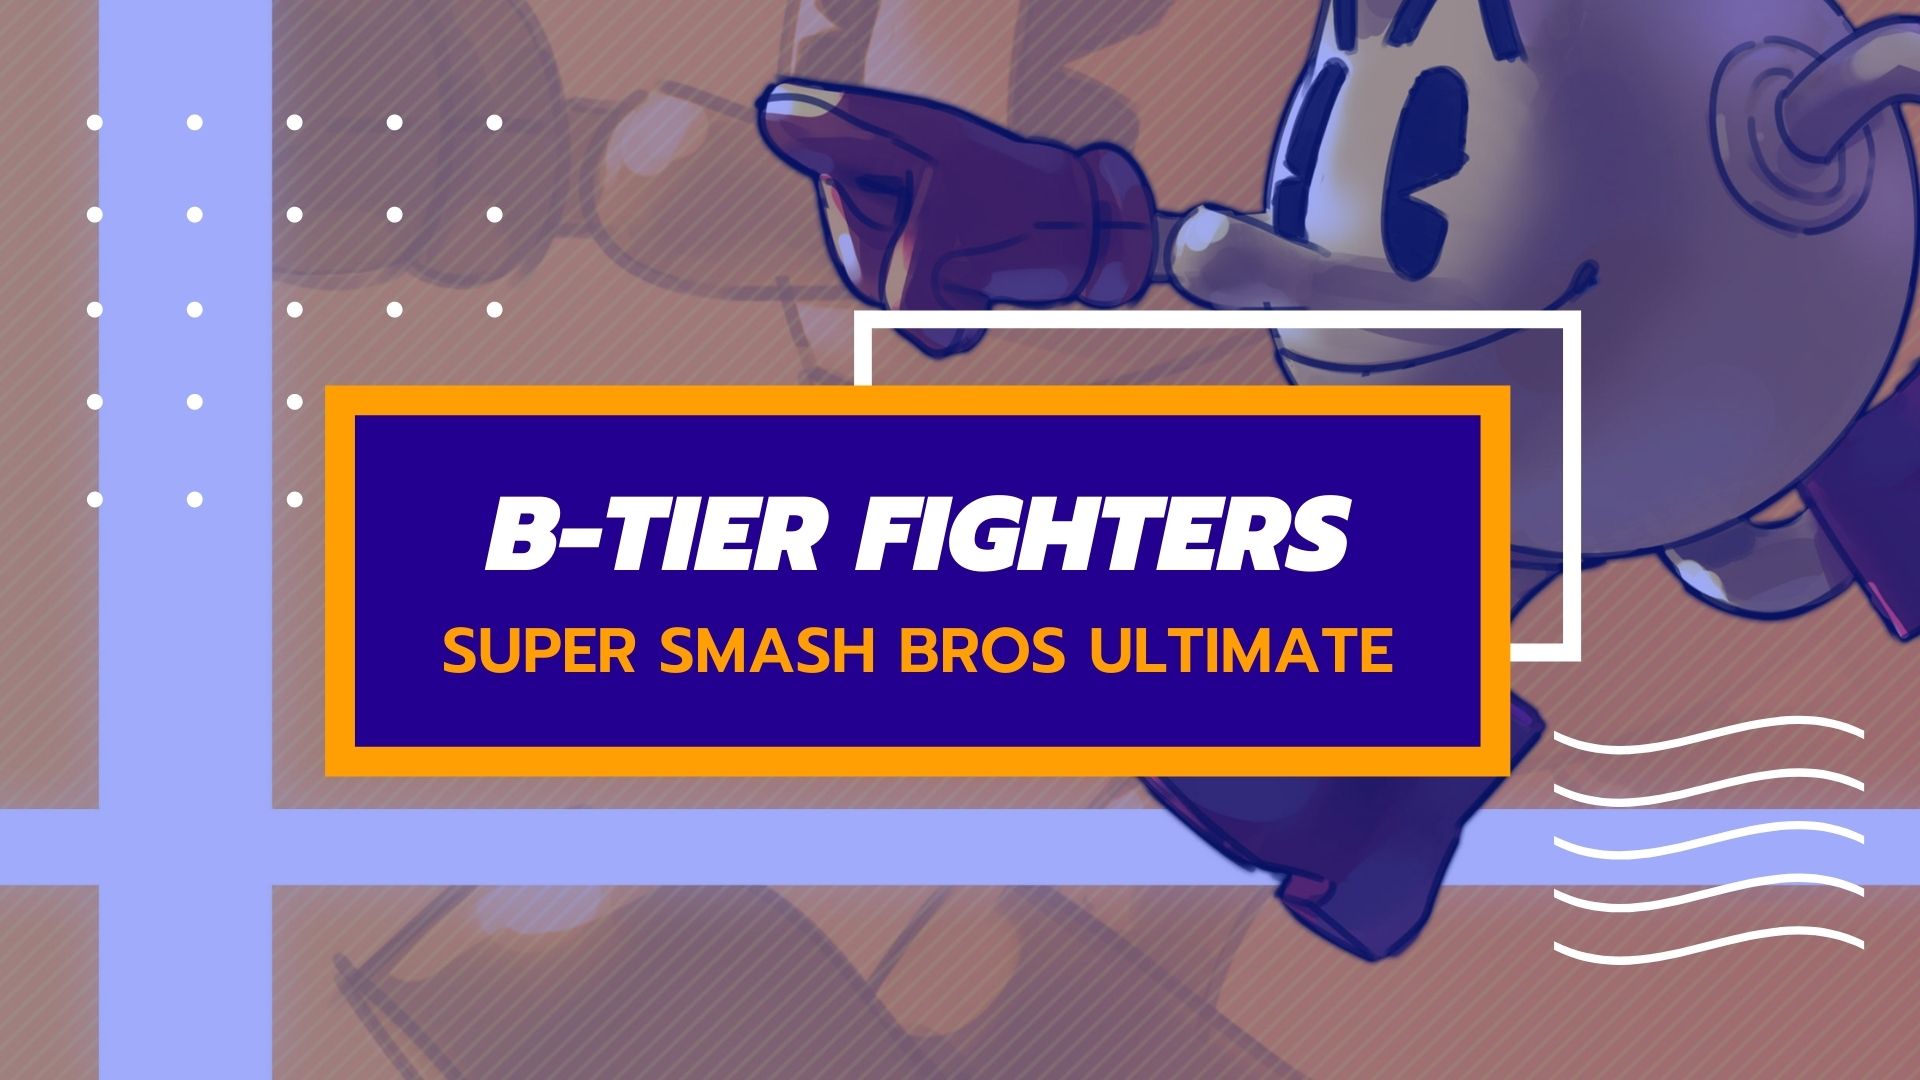
B-Tier
All the fighters that come in the B-tier category perform more or less close to A-tier characters. However, they have two or more flaws attached to their playstyle, which weighs down the overall potential and performance of the fighters.
| Character | WHY WE RANKED IT IN B-TIER? |
|---|---|
| Sheik | Versatile combos, good agility, minimal lag, excellent jump height, lacks kill options other than smash attacks. |
| Samus (Dark Samus) | Great recovery with tether, heavy fighter with longest grab, Bombs for aerial hovering, struggles with close-range combat. |
| Bowser | Heaviest fighter, immensely powerful attacks, strong Smash attack for KOs, decent grab range, susceptible to being launched. |
| Falco | Agile with combos and movement speed, good close-combat fighter, lightweight and easily launched in the air. |
| Ike | High-damage heavyweight with decent combos, good survivability, poor recovery. |
| Luigi | Slow fall speed for aerial combos, variety of ground and aerial combos, equipment usage, tether grab with ledge issues. |
| Kazuya | Extensive combo tree, good combat power, limited range, weak aerial capabilities, grounded playstyle. |
| Hero | Shield for projectile defense, good close combat combos, situational attacks, excellent vertical recovery when fully charged. |
| Ryu | Mix-up combo moves, decent agility, minimal ending lag on attacks, good for chaining combos. |
| Wii Fit Trainer | Decent agility and minimal lag, lightweight with poor grab range, relies on zoning playstyle. |
| Rosalina & Luma | Large, lightweight, agile with decent zoning capability, requires skill to manage both fighters effectively. |
| Mii Brawler | Better than other Mii fighters, suited for close-combat, lacks ranged attacks. |
| Toon Link | Sword wielder with disjointed hitboxes, strong melee encounters, meteor smash on down aerial, powerful throw. |
| Marth | Sword attacks with high knockback and combo damage, disjointed hitboxes, versatile combo attacks. |
| Byleth | Strong offensive and defensive game, shield damage with aerials, short grab range, poor horizontal recovery. |
| Lucas | Agile with heavy damage, above-average zoning playstyle, good combos and powerful smash attacks. |
| Corrin | Sword fighter with disjointed hitboxes, good combo opportunities, launches opponents into the air, strong aerial game. |
| Banjo & Kazooie | Banjo-centric hitboxes, three jumps for recovery, good for attacking without retaliation, lightweight and easily launched. |
| Bayonetta | Excellent close and ranged combat, high-range grab attack, versatile ground and aerial game, connects throws to smash attacks. |
| Duck Hunt | Tricky with trick shot attack for traps, lightweight and easily launched, struggles against mid-to-heavy fighters. |
| Meta Knight | Multiple jumps with limited height, sword wielder with good range, excellent combos and multi-hit attacks. |
| Mewtwo | Above-average agility with incredible dash speed and air dodging, good recovery with teleport and Shadow Ball, difficult to counter. |
| Robin | Ranged damage dealer with good grab range, effective zoning playstyle, limited combos against mid to high-weight opponents. |
| Villager | Above-average knockback attack, decent recovery, effective against mid to high-weight opponents. |
| Zelda | Limited combos against mid to high-weight opponents, decent overall fighter, reliable. |
| Mii Gunner | Ranged fighter with pressure tactics, weak close combat, suited for keeping enemies at a distance. |
| Ice Climbers | Offensive and recovery options with equipment, decent jump height, lack good horizontal air movement, vulnerable if Nana dies. |
C-Tier
All the fighters coming under the C-tier are below-average performers in the game. They have complex combo mechanics, and most, if not all, attacks are not effective as well.
| Character | WHY WE RANKED IT IN C-TIER? |
|---|---|
| Bowser Jr | Strong zoning playstyle, good combo variety, low range on some attacks, predictable due to variety of weapons. |
| Simon (Richter) | Whip-based attacks for distance, tether recovery, limited recovery setups, axe for aerial attacks, struggles with recovery. |
| Ridley | Large lightweight fighter with decent height coverage, tail-based attacks for ranged setups, susceptible to being launched due to size and weight. |
| Mii Swordfighter | Average fighter with close combat focus, few projectile attacks, lightweight and easily launched, especially at mid-to-high percentages. |
| Piranha Plant | Decent attacks and recovery, slow agility and attacks, stalls recovery using specials, struggles in melee and projectile exchanges. |
| Pit (Dark Pit) | Arrow differences between Pit and Dark Pit, effective off-stage and edge-guarding, versatile recovery, Pit lacks power and speed. |
| King K. Rool | Highest weight, challenging to launch, meteor smash attacks, slow projectile speed, belly armor ineffective against grabs. |
| Donkey Kong | Powerful close combat and knockback attacks, long range due to long arms, large hitbox, lacks projectile-based attacks. |
| Kirby | Small size, six jumps, low crouch, lightweight and easy to KO, limited overall jump height, lacks decent attack range. |
| Jigglypuff | Lightweight with high air speed, six jumps, Sing and Rest for KOs, slow ground speed, limited attack range, easy to KO. |
D-Tier
All the fighters belonging to the D-rank tier list are difficult to learn. They also do not offer much to the table, and mastering their moveset and setups to beat the fighters of higher tiers is a challenge.
| Character | WHY WE RANKED IT IN D-TIER? |
|---|---|
| Lucario | Relies on Aura mechanic for damage output and knockback, weak without Aura, high survivability with high percentage buildup, bad recovery at low percentages. |
| King Dedede | Powerful smash attacks, high weight for survivability, large hitbox makes him vulnerable to attacks, low agility, not agile in ground and aerial combat. |
| Isabelle | Functional zoning abilities with Balloon Trip and Lloid Trap, lightweight and easily knocked back, lacks projectiles, heavily reliant on close combat. |
| Incineroar | Low mobility compensated by frame advantage, high weight for survivability, lacks projectiles, relies on close combat, vulnerable to ranged attacks. |
| Ganondorf | High damage output but suffers from poor recovery, slow movement speed on ground and air, heavily reliant on close combat, vulnerable to ranged attacks. |
| Dr. Mario | Limited combo variety compared to Mario, suffers from poor recovery, vulnerable to edge-guarding, slow speed, small hitbox, struggles against faster opponents. |
| Little Mac | Heavy hitter with poor aerial approach, low weight makes him susceptible to being knocked back, poor recovery, K.O. punches bypass shields, super armor on smash attacks. |
That is pretty much everything you need to know about the Super Smash Bros Ultimate tier list. We will update the SSBU tier list as soon as new fighters join the roster and we get hands-on experience. Till then, this tier ranking will do.
A Similar Read: PUBG Best Weapons
Thanks! Do share your feedback with us. ⚡
How can we make this post better? Your help would be appreciated. ✍
It helps me find out what main i am. I figured i as pyra/mythra and my friends were Little mac and bowser. Thanks
Very good opinion
Rob is in s tier so it\'s perfect
![Midnight Suns Iron Man Build [Complete Guide] featured image](https://exputer.com/wp-content/uploads/2022/12/Midnight-Suns-Iron-Man-Build-Complete-Guide-390x220.jpg)