Atomic Heart: How To Solve Mirror Mechanism Puzzle
Mirror you way through the horrors that await you as your learn how to solve the mirror mechanism puzzle and all it's parts!
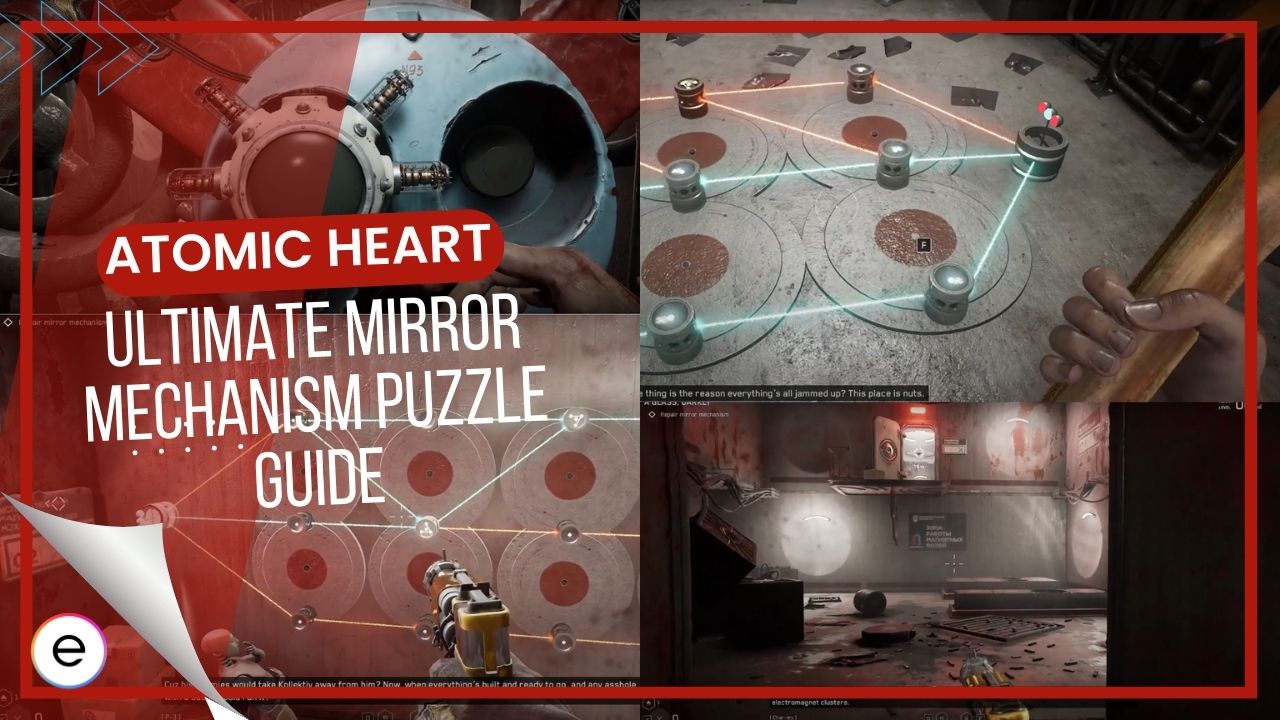
Atomic Heart is full of hidden puzzles, enemies, and horrors beyond the player’s imagination. There are puzzles hidden where no one would expect puzzles to be there, and such is the Atomic Heart Mirror Mechanism Puzzle, which is a series of smaller puzzles that come together to unlock a mechanism. Players might need help navigating the passageways, and figuring out the puzzle solutions!
- Mirror 1: Solve by SHOK charging the uranium structure on the right until the final melody plays.
- Mirror 2 (Plutonium puzzle): Open the mechanism and jump down the hole to reach the basement.
- Blue and red terminals on the roof: Use SHOK charge to rotate for navigation.
- Snapping mechanism: Align the red light with the correct cell using caution.
- Ground puzzle (9 cells): Move around 5th and 6th, then 8th and 9th, and finally 7th and 8th cells.
- Red terminal puzzle: Rotate around the 8th and 9th, then the 7th and 8th cells.
- Third part puzzle (12 cells): Rotate around 8th and 9th, then 4th and 5th, and finally 11th and 12th cells.
- Fourth part puzzle (12 cells): Rotate the 7th and 8th cells to solve. Then, return to the surface.
How To Reach Basement Puzzle
First things first, let’s discuss how players can reach the puzzle because the puzzle isn’t viable in the open world instantly, and players need to find other ways to make it there.
- While players have the objective called Reach the Exhibition, head past the open gates where the party will take place
- start heading down the stairs where red smoke bombs are appearing, and there is a mention of the celebration being held on a Monday.
- As you head down the stairs, the entrance to the building is present in front, while there are two large structures to your right and left.
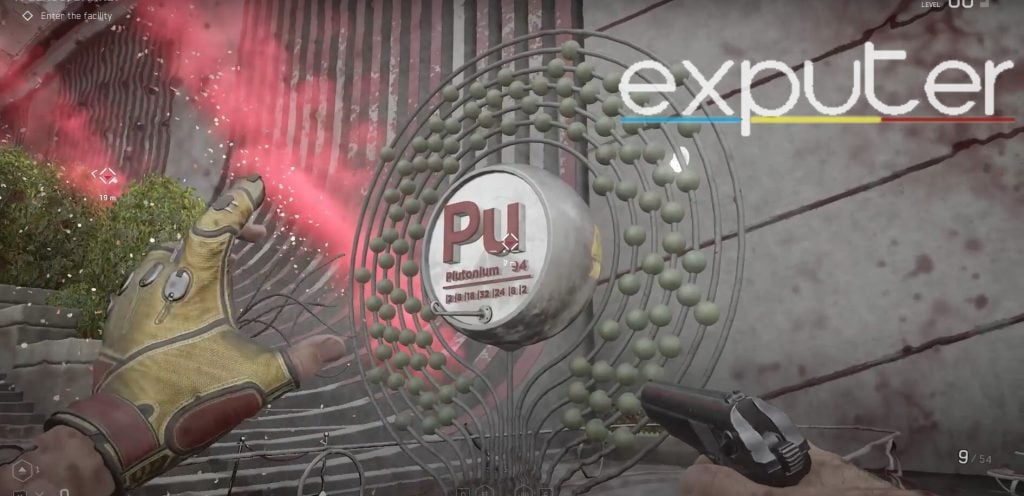
- Towards the left, you have your Plutonium structure, while towards the right, you have your Uranium structure.
- Right in front of both of the structures, two mechanisms are present, and this is the key right here.
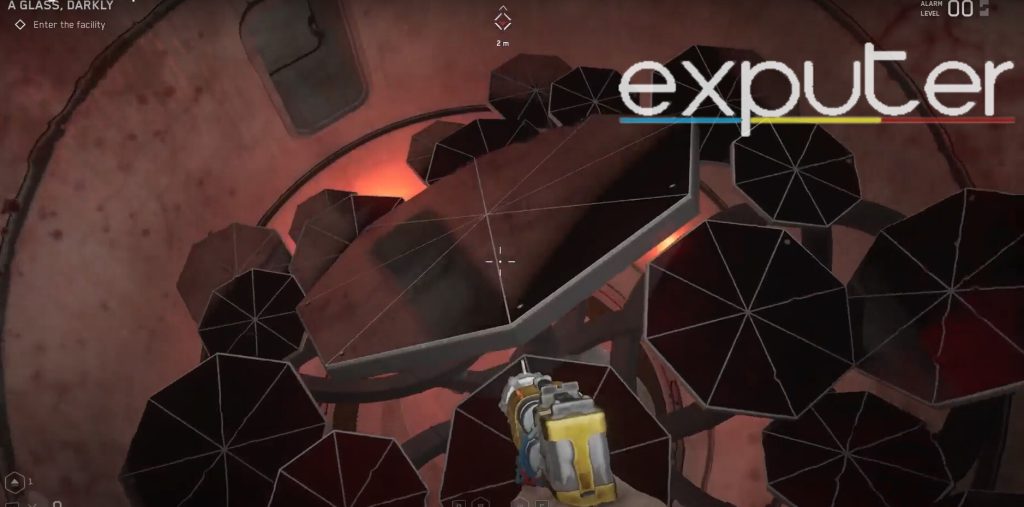
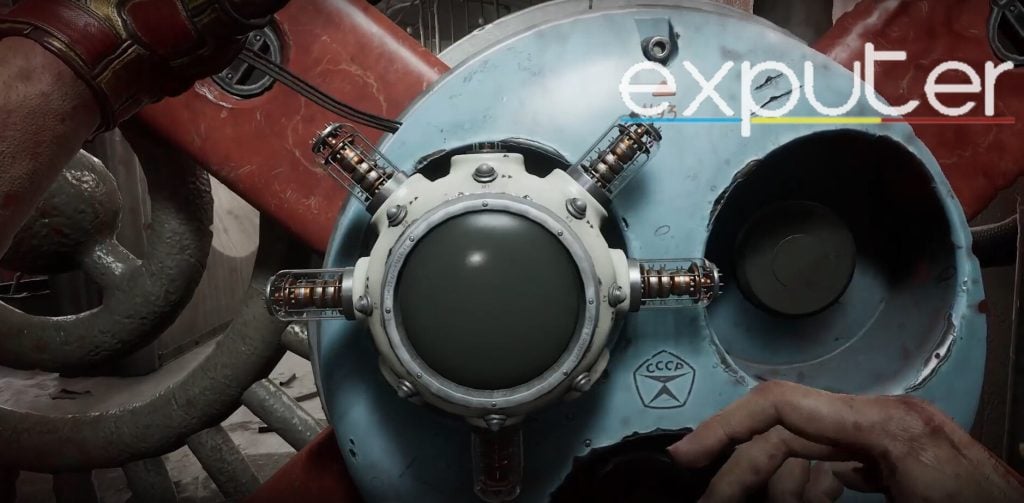
How The Structures Operate
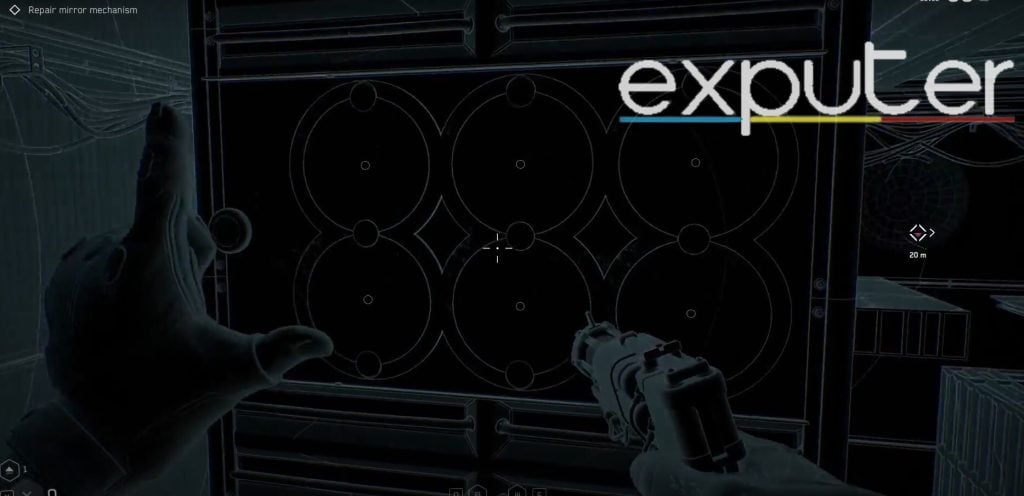
On each of the structures, players can interact with them to “inflate” them and bring them forward using their abilities.
- As you inflate or bring the rings around the structures forward, they make a melody, and the more you bring them forward, the higher the melody goes.
- Now, apart from pulling the rings forward, you can also pull them back.
When you pull the uranium structure towards the back, and it makes the highest melody sound, you can hear the mechanism in front of it protruding from the ground and taking it placed up, and the mirror on the right is all set, as you’re told.
- Now, if you try to do the same thing on the Plutonium puzzle, it doesn’t work the same way, simply because one of the melodies seems to be missing, and some part of the mechanism is locked.
- However, you can simply head towards the place from where the Atomic Heart Mirror Mechanism Puzzle needs to ascend and jump down from the hole to reach the basement.
How To Repair The First Part
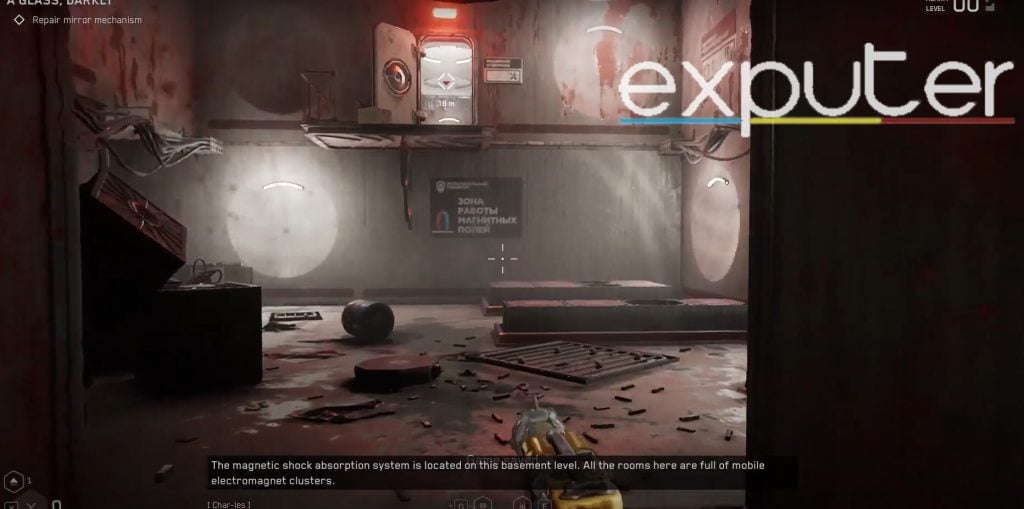
Now, once you’re in the basement, the first room that you enter has a door right on top of the wall that you need to get to. Follow these steps.
- The batteries on the top of the roof can change position whenever players end up using their SHOK Charge to cause current to run through the batteries, and currently, the batteries have been set to the positive terminal. Position your camera up, and use your SHOK charge.
- This instantly causes the batteries to turn to the negative terminal (blue end), and all metal items are attracted and are now stuck to the roof.
- From there, there are two boxes in front of you that you can easily locate: a shorter and a taller box. Jump on top of the first platform and gain leverage, and then hop onto the second one and run to the door.
Second Room
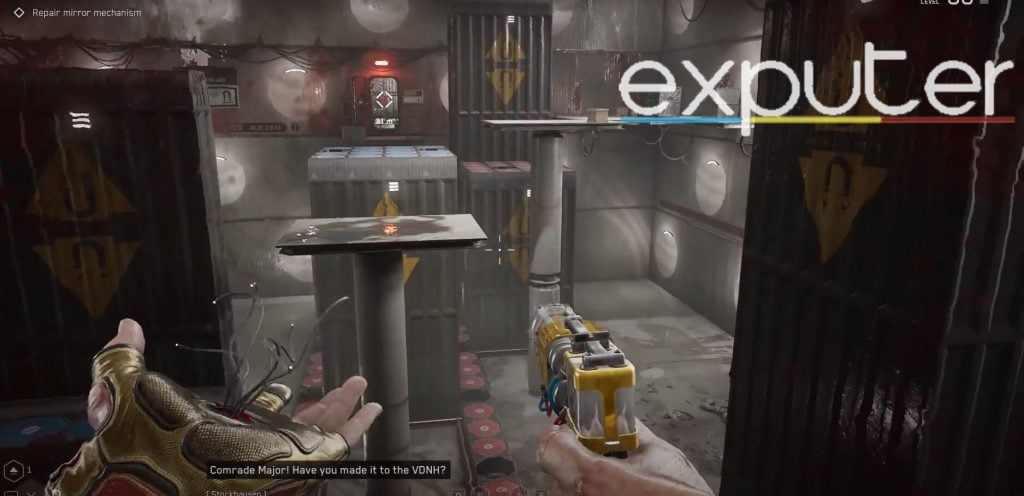
Now, head down the stairs and make your way into the second room. Take a second to locate the platforms, the batteries, the leaps that players need to take, and more, and follow these steps to get to the next door.
- Without interacting, the yellow barrier is to the left, more barriers are placed up, and there is way too much of a gap for the player to pass through.
- Look up, and use your shock charge to make the red terminal turn to the negative blue terminal.
- This causes there to be metal barriers with the yellow triangle to line your pathway. Jump onto the first platform and head to the next.
- Turn the batteries back to the red terminal and jump onto the platform with the blue terminal up. Run through the white platforms to get to the door, and the first part of the puzzle is all done!
Second Part
Now, when you head into the room with the golden gate, there is an enemy that ends up mauling you; therefore, you should take it down before it can.
- Go into the side room, and there should be another mechanism that seems to be a password-based mechanism that players need to solve to get further ahead in the mirror mechanism solution in Atomic Heart.
- Interact with the puzzle, and out appears a timer that runs down, and there are right lights that are placed around the circle, with five cells being there, too.
- Your character snaps their fingers at the right time so that the red light hits the cell and turns green.
When the red light hits the left cell, it should turn green, the cell should retract and go inside, and the timer should tick at 23.
- Then the light moves up, and as the timer is at 22, the green light ticks, and the cell retracts down into its holder.
- After that, the cell to the very right at 3 o’clock positioning needs to be retracted as the light turns green.
- After that, the bottom cell retracts with the snap of your fingers.
- Then the top left goes back up, and then the top right needs to be retracted, and then the top left retracts again, and the mechanism unlocks.
The lock simply pulls off from the door to let you through into the next door.
Ground Puzzle
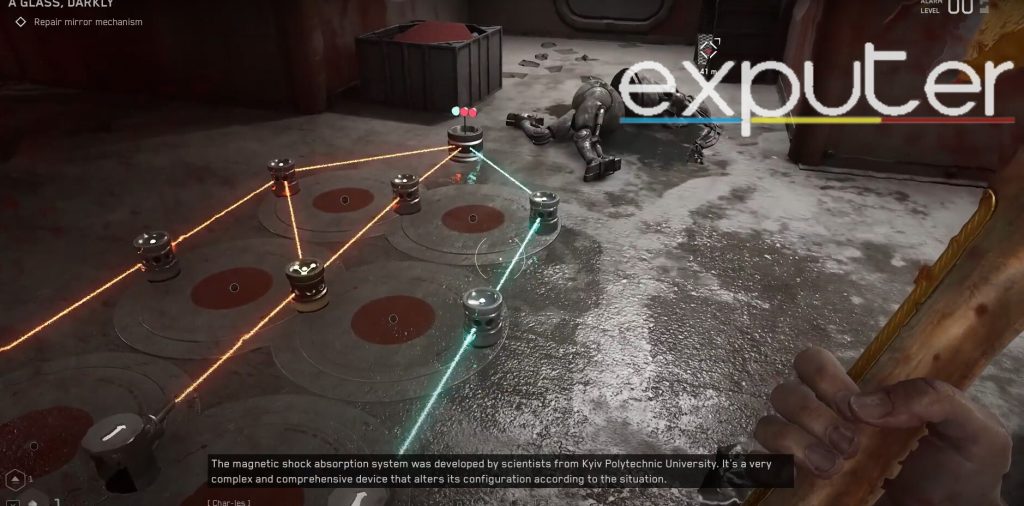
In one of the other rooms, there is a puzzle that emerges from the ground, and players need to solve it.
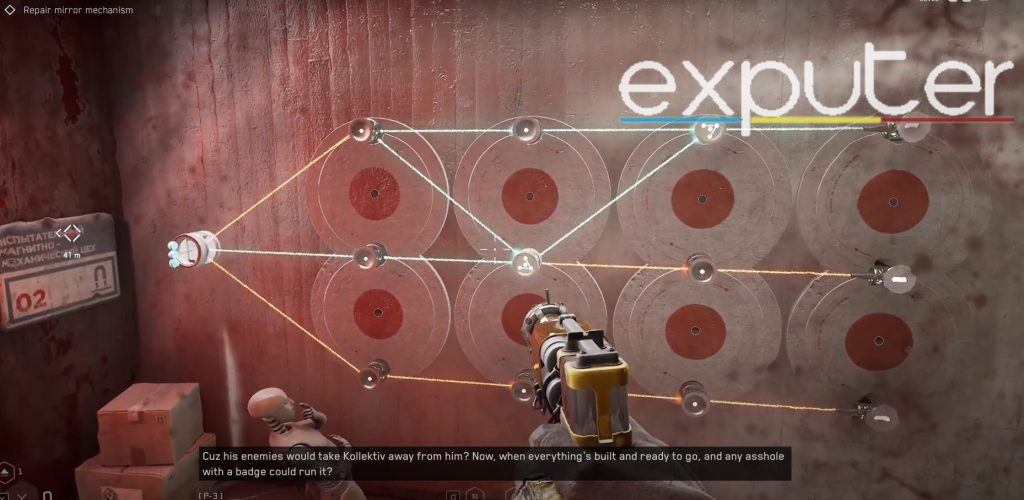
- The puzzle protrudes with one teal light and two red lights, and it runs orange lights to the left of the puzzle while the teal light runs down the right.
- An orange light connects from the 1st to the 5th piece, too.
The puzzle has nine cells that can be interchanged from their original position.
- Interact and move the 5th and 6th pieces around, and now the 6th piece has a blue light connecting to the second one.
- Now, you want to move the 8th and 9th positions around and now the teal light runs from the 8th piece and moves up, and the orange light runs from the 9th piece and moves up.
- From here, rotate the 7th and 8th piece around, and now the teal light should be at the very left of the puzzle, and with that, the ground puzzle is all solved.
Red Terminal Puzzle
Great, another room to figure out! Now, the room to your left has an entirely other mechanism that you need to figure out to move across.
- If you fall to the ground, use your shok charge to bring yourself back up. Head to a platform that has a metal barrier in front of you.
- If you use the shok charge again on the roof, then the barrier becomes your pathway instead.
- Get on the blue terminal, and right in front of you, there is another puzzle waiting to be solved.
Use your shok charge to cause the puzzle to protrude out, and once again, nine cells are waiting to be solved.
- Originally, one orange light runs to the left of the puzzle, one in the middle, and the teal light runs to the right.
- Interchange the 8th and 9th pieces around, and now the teal light is present in the middle.
- Now, interchange the 7th and 8th pieces around so that the teal light is now to the left and matches the image on the front.
- Once all the cells have turned green, this puzzle is completed, too.
- Hop onto the red terminal to get to the next door.
Third Part
Head into the next room, and you have arrived at the third part of the entire mechanism puzzle. You gotta go from the door in the middle from where you enter to the door on the left.
- Get on the blue terminals, and use shok charge to lift yourself. Jump onto the platform with the dead person, and then use Shok Charge again to jump on the blue terminal and then to the white platform.
- Jump onto the longer blue terminal, use shok charge twice, and head to the red terminal and then towards the door.
- Once you cross through the door, you turn through a hallway where there is another puzzle waiting for you.
Use your shok charge to activate the puzzle, and go ham:
- This time, there are a total of 12 cells that are present on the puzzle, and the teal lights are running down the right of the puzzle, with the orange light running down the left side of the puzzle.
- In the middle, the teal blue runs to the middle and then changes to orange light.
The orange light connects the 2nd and 4th cells, and the teal light connects the 5th and 9th cells.
- Rotate the 8th and 9th cells around, and now there should be an orange line that connects between the 4th and 2nd cell, as well as between the 4th and 8th cell.
- Now, rotate the 4th and 5th cell, and now the 5th and the 3rd cell have a neon orange light connecting between them.
- Rotate the 11th and 12th cell around, and the puzzle should be solved.
Fourth Part
Now that we’ve made it to the last part of the puzzle, head to the next room, use shok charge to bring the barrier up, and run towards the blue terminal. And use the shok charge again to get to the next platform, two more blue terminals, and you also need to head up a flight of stairs and head to the door.
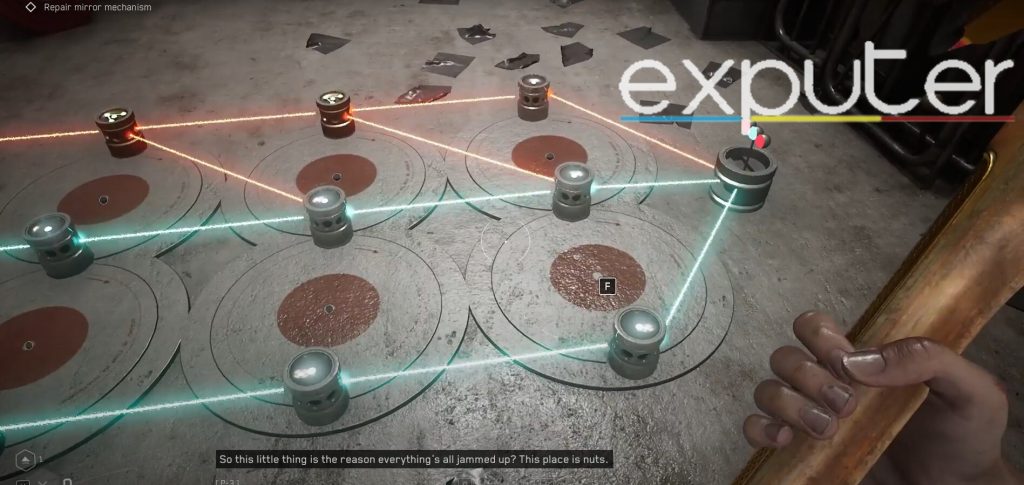
- The puzzle is present on the floor and there are once again 12 cells awaiting to be solved.
- The teal lights run down the right and the middle of the puzzle, while the neon orange light runs down the left of the puzzle.
- Players need to aim to make the teal light in the middle, while the orange lights need to be on the left and right of the puzzle.
- Rotate the 7th and 8th cell around, and the puzzle is that easy to solve. And now all you need to do is to go to the surface.
Summary
And there you have it! All mechanisms of the Atomic Heart Mirror Mechanism Puzzle are solved! And with that, I will wrap up my guide! While you’re here, you might want to read up on our Atomic Heart Best Skills Upgrades guide so that you can know which ones you should invest in and which ones you should ignore. Other than that, you can also check out our Atomic Heart Skill Tree guide so that you can know which skills belong in what skill tree!
If you want to get your hands on a weapon in the game, then the Dominator weapon is a solid pick, and for that, we have our Atomic Heart Dominator Blueprint guide ready for you! Alongside that, you can check out our Atomic Heart Best Weapons guide too!
Up Next:
Thanks! Do share your feedback with us. ⚡
How can we make this post better? Your help would be appreciated. ✍