Best Dying Light 2 Settings For FPS & Performance

This guide covers the best Dying Light 2 settings you must use for maximum performance and graphics on your low-end to high-end PC.

After years of anticipation and delays, we finally have our hands on the much-awaited sequel to the original zombie-infested parkour playground, Dying Light. The year 2022 has been full of great releases, but Dying Light 2 was on the top of my list among new releases, and it did not disappoint. So, following Exputer’s tradition, I’ll bring you the best Dying Light 2 settings you must use to improve your PC’s performance and graphics.

Key Takeaways
  • If you want to run Dying Light 2 smoothly, the minimum requirements are Nvidia GeForce GTX 1050ti and Intel Core i3-9100.
  • To run it with Ray Tracing on, you will need a GPU equal to or better than Nvidia GeForce GTX 2070 8 GB and a CPU at least equivalent to Intel Core i5-8600K.
  • For a low-end system’s Display Settings use fullscreen for Window Mode, disable V-Sync, and Set Upscaler Mode to DLSS Performance or FSR Balanced.
  • Advanced settings include setting Renderer Mode to DX11, putting Field of View to 12 or lower, Antialiasing Quality to low, Sun Shadows Quality to PCF, and more.
  • If you are on a mid-range system, follow the same display settings as the low-end system.
  • For advanced settings, put Renderer Mode to DX12,  Field of View between 10-15, Antialiasing Quality to high, Fog Quality to medium, and follow the rest.
  • A high-end system’s display settings are also the same as a low-end system.

  • Advanced settings for a high-end system include putting Renderer Mode to DX12 Ultimate, Field of View higher than 15, and Antialiasing Quality to high.
    • Additionally, put Ambient Occlusion Quality to high, Global Illumination Quality to ultra Ray Traced, turn on Raytraced Flashlight, and follow every other setting in the guide.
    • Both AMD and Nvidia users should confirm that their GPU has the latest device drivers installed.


  • For AMD global settings, enable Radeon Anti-Lag, put Wait for Vertical Refresh to always off, and disable everything else.
  • Now move to the advanced settings tab and put Antialiasing Method to Multisampling, turn off Maximum Tessellation Level, and follow the rest.
  • General Windows 10 optimization includes running Dying Light 2 as an admin, enabling Hardware-Accelerated GPU Scheduling and Game Mode.

Here are all the options you need to tweak to get the Best Settings for Dying Light 2. We have categorized the options depending on different PC levels:

SettingLow-end PC OptionsMid-range PC OptionsHigh-end PC Options
Window ModeFullscreenFullscreenFullscreen
MonitorYour Primary DisplayYour Primary DisplayYour Primary Display
ResolutionYour Monitor's Native ResolutionYour Monitor's Native ResolutionYour Monitor's Native Resolution
V-SyncOffOffOff
Upscaler ModeDLSS Performance or FSR Balanced depending on your GPUDLSS Balanced or FSR BalancedDLSS Quality or FSR Quality
GammaAccording to your desireAccording to your desireAccording to your desire
Full Grain EffectOffOffOff
Color Blind ModeAccording to your desireAccording to your desireAccording to your desire
Renderer ModeDX11DX12DX12 Ultimate
Asynchronous ComputeOff (Not available for DX11)OnOn
Game Screen Size100%100%100%
SharpnessAccording to DesireAccording to DesireAccording to Desire
Field of View12 or lower10-1515+
Antialiasing QualityLowHighHigh
Motion BlurLowLowLow
Particles QualityLowHighHigh
Sun Shadows QualityPCFPCFUltra Ray Traced (For Nvidia RTX) or Ultra (For AMD or Non-RTX cards)
Contact Shadow QualityNone or LowHighHigh
Ambient Occlusion QualityLowLowHigh
Global Illumination QualityLowMediumUltra Ray Traced
Reflections QualityLowLowHigh
Raytraced FlashlightOffOffOn (or off for performance gain in darker areas)
Fog QualityLowMediumMedium

How’s Dying Light 2 Optimization?

First, Dying Light 2 is a game really heavy on your PC resources. With its truly next-gen visuals and the densely populated world, it does not spare your GPU at all. Even the toughest GPU in the world- yes, a 3090- struggle to maintain a 60 FPS on all settings max. The game’s just that demanding. 

So what? Is that going to stop you from running the game and having a good time bashing zombies? Sure as hell didn’t stop us! After days of continuous tweaking, we’ve finally come up with the best settings for Dying Light 2 that can help you maintain decent FPS. However, before we dive into the optimization part of this guide, first make sure your PC is up to the challenge.

Like First-Person games and Zombies? Well, then you’ll definitely like Rainbow Six Extraction too. Check out our best Rainbow Six Extraction Settings guide after this one to max out performance on that one too.

Dying Light 2 System Requirements

System Requirements for Dying Light 2
Dying Light 2 System Requirements

Looking at these Dying Light 2 system requirements sure sends a chill down my spine, especially the requirements for Ray-Tracing On preset.

Before you try the best Dying Light 2 settings to optimize in hopes of optimizing the game, make sure that your PC is capable enough even to run the game, let alone give you decent FPS.

So the system requirements for Dying Light 2 are as follows:

Minimum System Requirements

  • CPU: Intel Core i3-9100 or AMD Ryzen 3 2300X
  • RAM: 8 GB
  • GPU: Nvidia GeForce GTX 1050ti or AMD Radeon RX 560 
  • OS: Windows 7
  • Storage: 60GB HDD

If you rock these specifications, you can expect to run the game at 30 FPS on 1080p resolution and all settings to low.

Recommended System Requirements

  • CPU: Intel Core i5-8600K or AMD Ryzen 5 3600X
  • RAM: 16 GB
  • GPU: Nvidia GeForce RTX 2060 6 GB or AMD Radeon RX Vega 56 8 GB
  • OS: Windows 10
  • Storage: 60GB SSD

If your PC has these recommended specifications, you can expect decent FPS at 60+ FPS on 1080p resolution and medium-high settings.

Ray Tracing On Minimum Requirements

  • CPU: Intel Core i5-8600K or AMD Ryzen 5 3600X
  • RAM: 16 GB
  • GPU: Nvidia GeForce GTX 2070 8 GB 
  • OS: Windows 10
  • Storage: 60GB SSD

To run Dying Light 2 with Ray Tracing On, you’ll need to have a capable Nvidia RTX GPU coupled with a decent processor. And even then, you’ll be able to run the game at 30 FPS in 1080p resolution with medium-high settings and low Ray-Tracing.

Ray Tracing On Recommended Requirements

  • CPU: Intel Core i5-8600K or AMD Ryzen 7 3700X
  • RAM: 16 GB
  • GPU: Nvidia GeForce RTX 3080 10 GB
  • OS: Windows 10
  • Storage: 60GB SSD

If your PC has the specs above, then you’re all set to tackle Dying Light 2 head-on with all its graphical fidelity. However, something to keep in mind is that only expect 50-60 FPS with all settings cranked high and Ray-Tracing at max.

Related: Best Weapons In Dying Light 2

After checking the system requirements, you’ll get a general expectation of how well your PC can run Dying Light 2. But, we’re going to try and optimize the game for your PC so you can get better FPS than what these requirements foretell. 

Best Dying Light 2 Settings for Low-End PC

Best Dying Light 2 Settings for Low End PC
Dying Light 2 Settings for Low-End PC

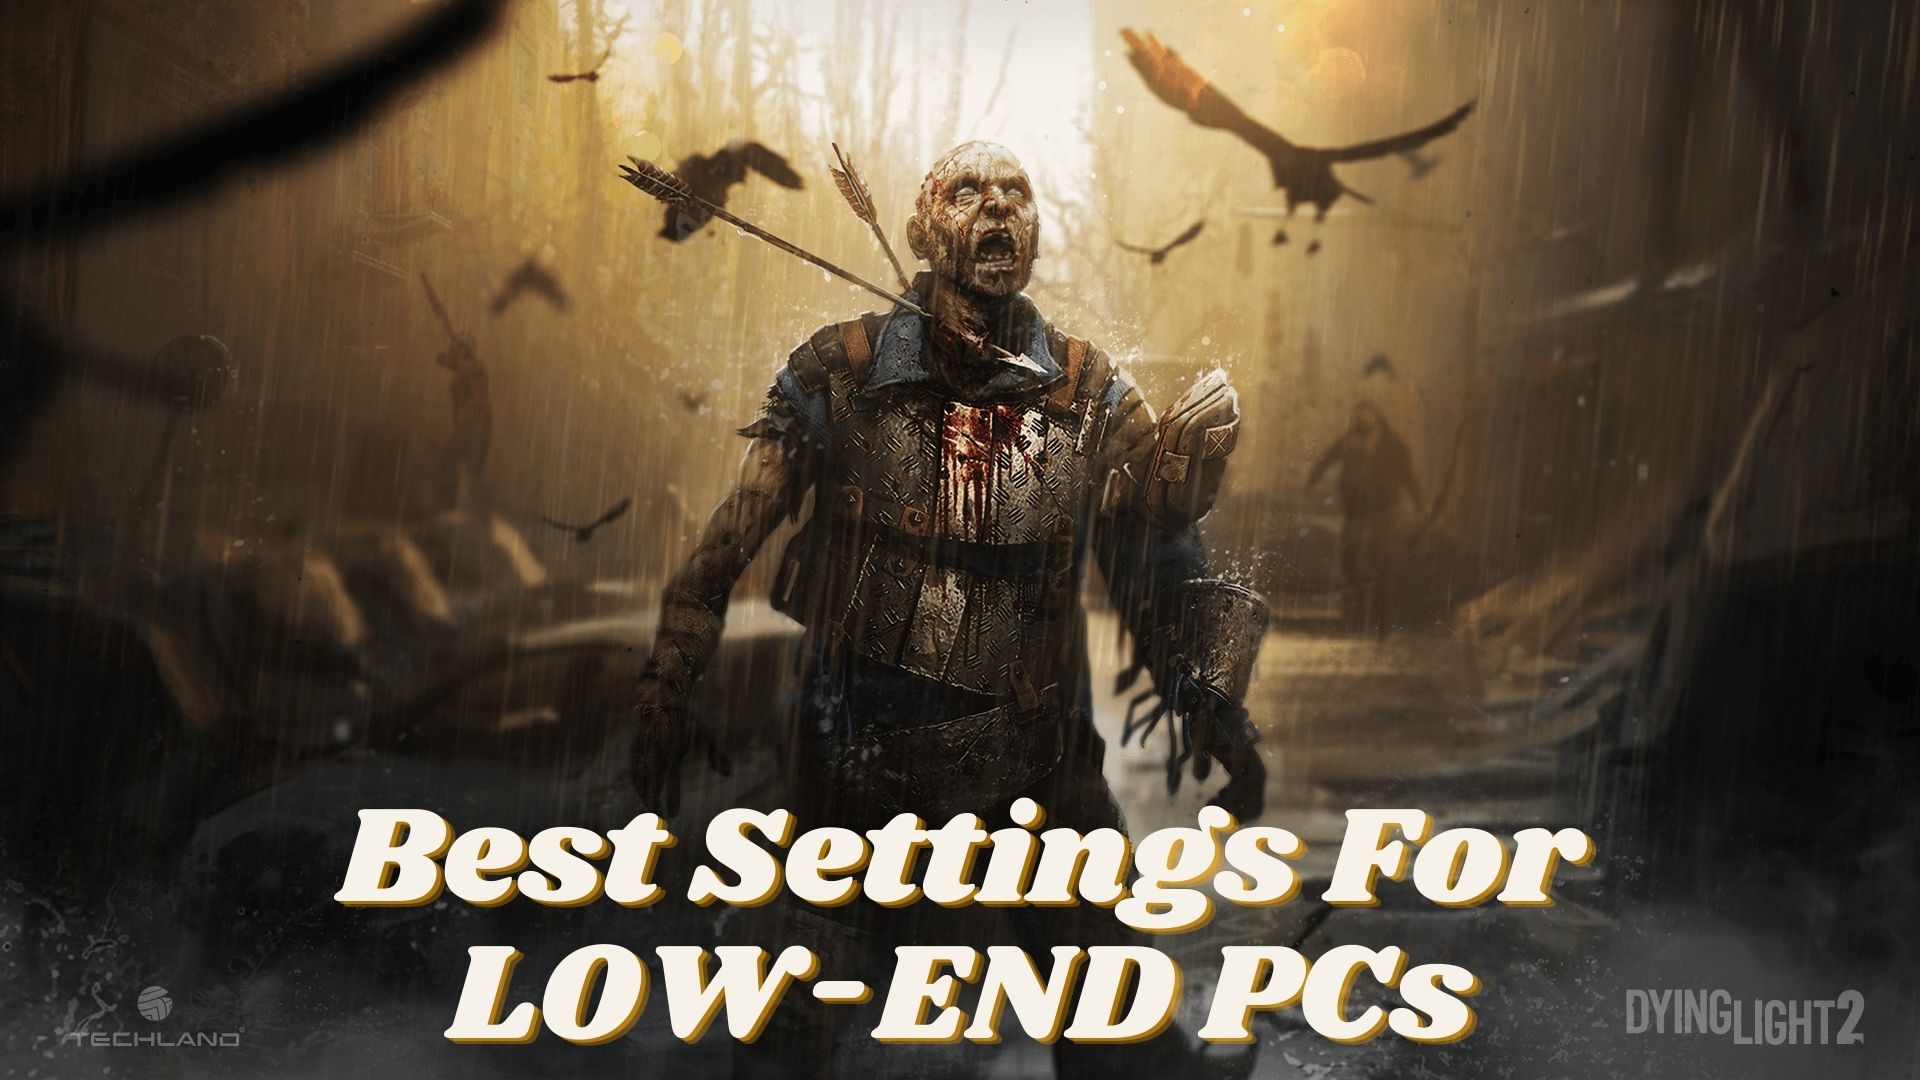
If you’re rocking a Low-End PC or simply want to optimize the game for the best performance possible, these settings are for you. These settings are aimed to provide the most smooth experience in Dying Light 2 without prioritizing quality.

Display Settings

  1. Window Mode: Fullscreen
  2. Monitor: Your Primary Display
  3. Resolution: Your Monitor’s Native Resolution
  4. V-Sync: Off
  5. Upscaler Mode: DLSS Performance or FSR Balanced depending on whether you have an Nvidia RTX GPU or others.
  6. Gamma: According to your desire
  7. Film Grain Effect: Off
  8. Color Blind Mode: According to preference

Advanced Graphics Settings

  1. Renderer Mode: DX11
  2. Asynchronous Compute: Off (Only works with DX12)
  3. Game Screen Size: 100%
  4. Sharpness: According to Desire
  5. Field of View: 12 or lower since the fast-paced FPS nature of the game really takes advantage of higher FOV. Just make sure not to crank FOV too much as it can negatively impact performance. 
  6. Antialiasing Quality: Low
  7. Motion Blur: Low
  8. Particles Quality: Low
  9. Sun Shadows Quality: PCF
  10. Contact Shadow Quality: None or Low
  11. Ambient Occlusion Quality: Low
  12. Global Illumination Quality: Low
  13. Reflections Quality: Low
  14. Raytraced Flashlight: Off
  15. Fog Quality: Low

Best Dying Light 2 Settings for Mid-Range PC

Best Dying Light 2 Settings for Mid Range PC
Dying Light 2 Settings for Mid Range settings

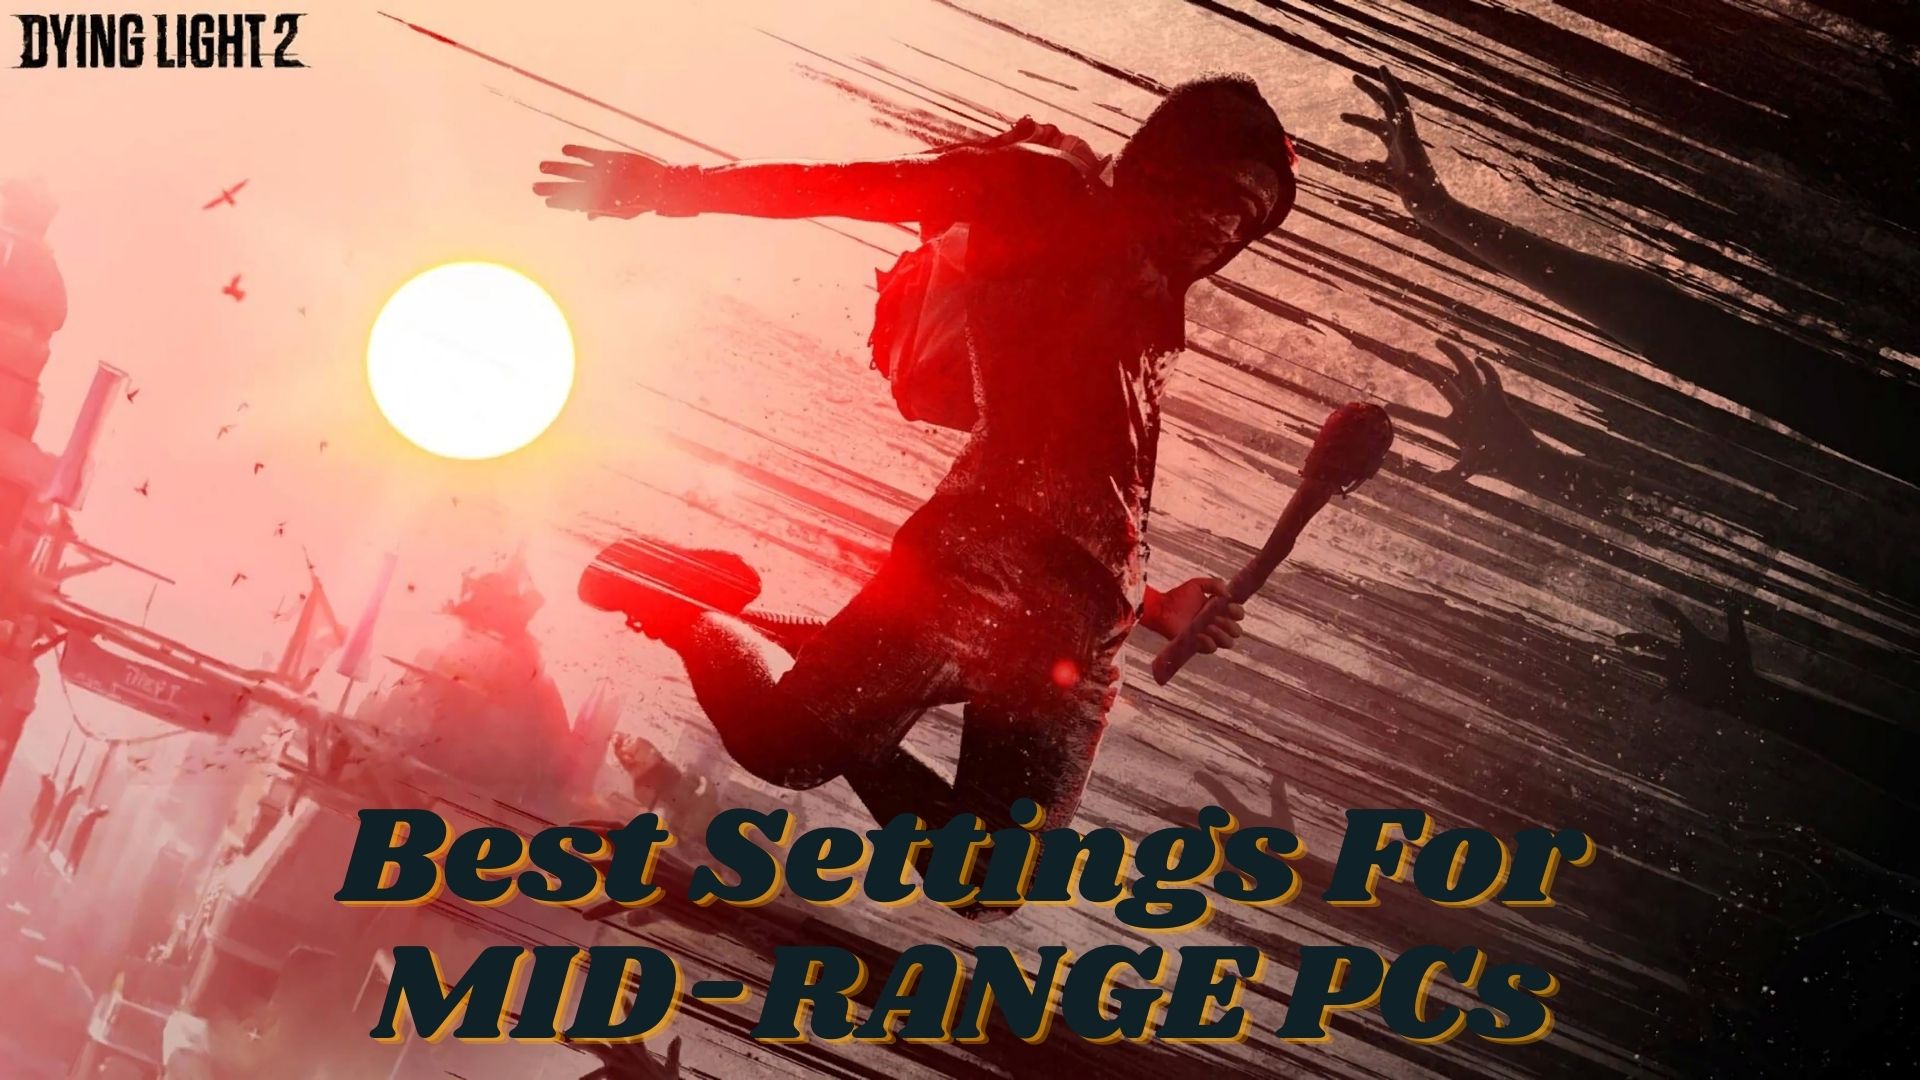
If you have a mid-range setup and want a sweet spot between quality and performance, then these settings will be perfect for you. These settings are tuned to give you the best experience possible and balance quality without compromising on performance too much.

Display Settings

  1. Window Mode: Fullscreen
  2. Monitor: Your Primary Display
  3. Resolution: Your Monitor’s Native Resolution
  4. V-Sync: Off
  5. Upscaler Mode: DLSS Balanced or FSR Balanced depending on whether you have an Nvidia RTX GPU or others.
  6. Gamma: According to your desire
  7. Film Grain Effect: Off
  8. Color Blind Mode: According to preference

Advanced Graphics Settings

  1. Renderer Mode: DX12
  2. Asynchronous Compute: On
  3. Game Screen Size: 100%
  4. Sharpness: According to Desire
  5. Field of View: 10-15 as it will give a significant boost to your camera FOV, making more objects visible while you’re parkouring off rooftops. However, keeping the value between 10 and 15 as exceeding it can cause adverse performance effects.
  6. Antialiasing Quality: High
  7. Motion Blur: Low
  8. Particles Quality: High
  9. Sun Shadows Quality: PCF
  10. Contact Shadow Quality: High
  11. Ambient Occlusion Quality: Low
  12. Global Illumination Quality: Medium
  13. Reflections Quality: Low
  14. Raytraced Flashlight: Off
  15. Fog Quality: Medium

Best Dying Light 2 Settings for High-End PC

Best Dying Light 2 Settings for High End PC
Dying Light 2 Settings for High-End settings

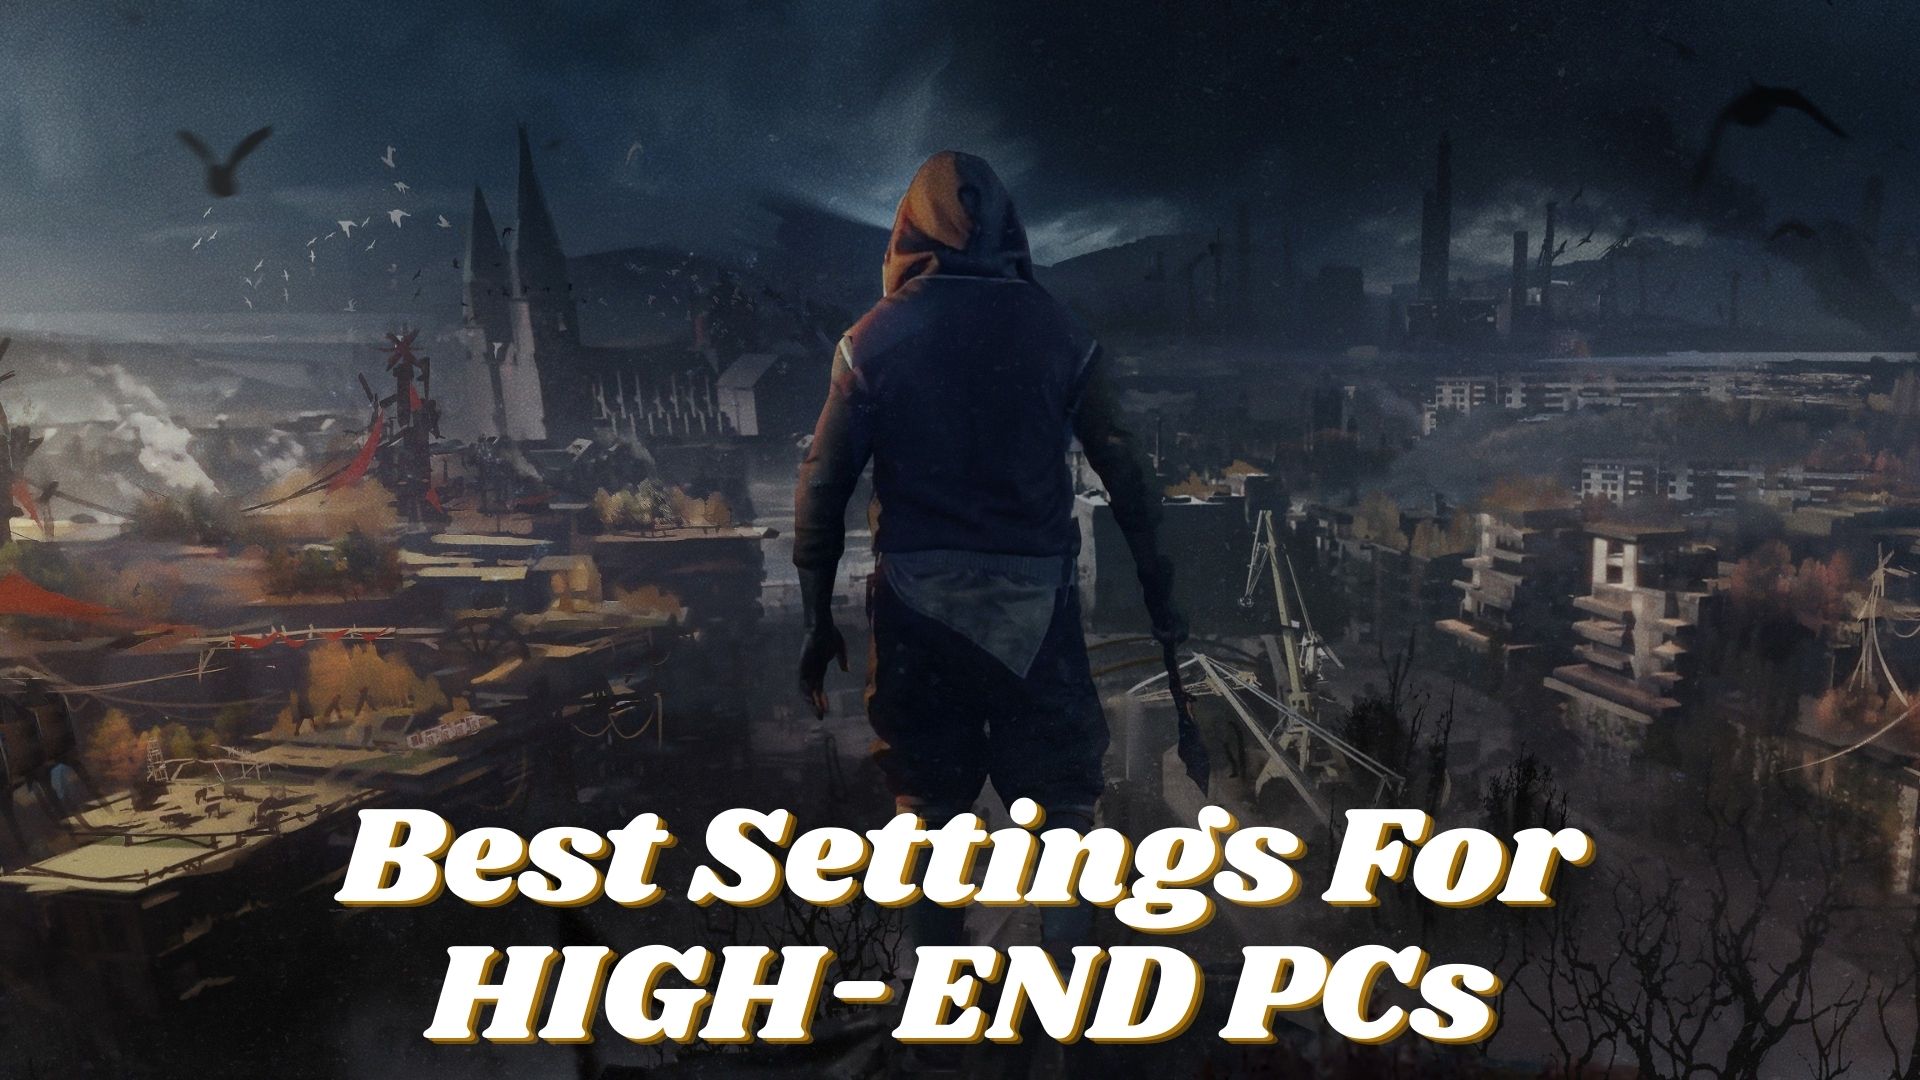
If you’re running the latest specs on your PC, then you’ll have no trouble running the following settings in Dying Light 2. However, cranking all settings to the max isn’t the most optimal way here. We can tune each setting to give you uncompromised visuals while maintaining high performance. Sounds good? Let’s go!

Display Settings

  1. Window Mode: Fullscreen
  2. Monitor: Your Primary Display
  3. Resolution: Your Monitor’s Native Resolution
  4. V-Sync: Off
  5. Upscaler Mode: DLSS Quality or FSR Quality, depending on whether you have an Nvidia RTX GPU or others.
  6. Gamma: According to your desire
  7. Film Grain Effect: Off
  8. Color Blind Mode: According to preference

Advanced Graphics Settings

  1. Renderer Mode: DX12 Ultimate
  2. Asynchronous Compute: On
  3. Game Screen Size: 100%
  4. Sharpness: According to Desire
  5. Field of View: 15+ because we’re already rocking great specs at this point, so there is no need to shy away from cranking up the FOV slider. However, cranking it to max might give you a bit of motion sickness, so adjust till you’re comfortable.
  6. Antialiasing Quality: High
  7. Motion Blur: Low
  8. Particles Quality: High
  9. Sun Shadows Quality: Ultra Ray Traced (For Nvidia RTX) or Ultra (For AMD or Non-RTX cards)
  10. Contact Shadow Quality: High
  11. Ambient Occlusion Quality: High, but we could use Ray Traced AO here; however, it’s not superior to Ray Traced Global Illumination. So, to save GPU power, we’re aren’t going to use Ray-Traced AO right now.
  12. Global Illumination Quality: Ultra Ray Traced
  13. Reflections Quality: High
  14. Raytraced Flashlight: On, or you could turn it off to gain a bit of performance while exploring darker areas with the flashlight on.
  15. Fog Quality: Medium

Dying Light 2 Nvidia Settings

Best Dying Light 2 Nvidia Settings
Nvidia Settings for Dying Light 2

According to your PC, we’re finally done optimizing the best Dying Light 2 settings in-game. Now let’s make sure you also use Best Nvidia Settings for Dying Light 2 in your Control Panel as well. 

Update Nvidia GPU Drivers

But before we do that, make sure your GPU uses the latest Nvidia Game Ready Drivers. Before every new game, Nvidia releases a new GPU update packed with great optimization for it. So, updating on the latest Nvidia drivers is like getting a free performance boost, so why the heck not update?

Updating Nvidia GPU Drivers through GeForce Experience
Update your Nvidia GPU
  1. To update your Nvidia drivers, you have to open the Nvidia Geforce Experience application.
  2. Click on the “Drivers” tab, and you’ll come to the driver updates window. 
  3. Click on the download button, which will start downloading the new update. 
  4. Once the update is downloaded, click on the “Express Installation” button to install the update. 
  5. Once the update is installed, restart the PC to finalize the installation. 

Optimized Settings for Nvidia Control Panel

Now you’ve successfully updated your GPU drivers, go to your Nvidia control panel and configure its settings as below. The settings are the same across all PC specs, so don’t worry about it. 

  1. Image Sharpening: Off – You don’t need to apply a sharpening filter to dying light.
  2. Anisotropic Filtering: Off – Already set up in the game, so there is no need here.
  3. FXAA – Antialiasing: Off – We’re already using Antialiasing in-game; no need to activate FXAA here.
  4. Gamma Correction – Antialiasing: ON – Keep Gamma Correction at default
  5. Mode – Antialiasing: Off – Since we’ve already configured Anti-aliasing in-game, don’t keep it on in Nvidia Control Panel. 
  6. Background Max Frame Rate: 20 – Keep it at 20 so when you minimize the game, it doesn’t keep running at full power.
  7. CUDA – GPUS: ALL – Keep CUDA GPU’s at default
  8. Low Latency Mode: Off – Low Latency Mode is for fast-paced FPS games to reduce input latency. Best keep it off. 
  9. Max Frame Rate: Off – Don’t cap your framerate. Keep Max Frame Rate off.
  10. Open GL rending GPU: Select GPU here
  11. Power Management Mode: Prefer Max Performance – This maximizes your GPU power
  12. Shader Cache: Driver Default
  13. Monitor Technology: G-Sync – Activate your monitor’s adaptive refresh rate technology
  14. Multi-Frame Sampled AA (MFAA): Off
  15. Anisotropic Sample Optimization -Texture Filtering: On 
  16. Negative LOD Bias – Texture Filtering: Allow
  17. Quality – Texture Filtering: High Performance – Optimizes performances in exchange for a negligible reduction in visual quality
  18. Trilinear Optimization – Texture Filtering: On
  19. Threaded Optimization: On
  20. Triple Buffering: Off
  21. Vertical Sync: Off – Don’t use V-Sync unless you’re facing excessive screen tearing.

After you’re done applying settings, hit Apply to save all changes.

With this, we’ve successfully configured the best Dying Light 2 settings for Nvidia Control Panel. These settings are focused on providing you with the best visuals and performance, irrespective of your PC specs. Let’s move on to the next section of optimization. 

You can get a more detailed optimization idea through our dedicated Best Nvidia Control Panel Settings guide.

Dying Light 2 AMD Settings

Best Dying Light 2 AMD Settings
AMD Settings for Dying Light 2

If you have an AMD GPU, then you’ll need to optimize the best Dying Light 2 settings in Radeon Software. These settings will give you an additional boost in performance and game stability on top of the in-game optimizations. So optimizing these is important as ever.

Update AMD GPU Driver

AMD also releases crucial GPU driver updates before a game’s release containing vital performance tweaks and optimizations. So, to get the best results out of using these settings, you’ll need to update your AMD Driver. Here’s how to do it. 

Also Read this: Best Dying Light 2 Skills

Update AMD GPU Drivers
Update your AMD GPU Drivers
  1. Open your AMD Adrenaline Radeon Software from desktop or windows search.
  2. Once opened, you’ll see a “Drivers & Software” tab on the top right. Here, check if you have any updates. 
  3. If you have updates available, download them from here and wait until the download finishes. 
  4. Once the drivers are downloaded, click on the install button. An update wizard will take you through the process of updating AMD drivers. 
  5. Once done, the software wizard will require you to perform a reboot.

Optimized Settings for AMD Radeon Settings

Once your PC reboots, you’ll have the new AMD drivers installed and ready to go. Now you can safely proceed to use these best Dying Light 2 settings for AMD Radeon Settings.

First, apply these to the global settings tab.

  1. Radeon Anti-Lag: Enabled – Keep it enabled to reduce input lag.
  2. AMD Radeon Chill: Disabled – It will reduce your FPS by lowering GPU clocks, so keep it disabled.
  3. Radeon Boost: Disabled – It will downscale your resolution to favor better performance. Not worth it.
  4. Image Sharpening: Disabled – Dying Light 2 does not require any additional sharpening. Keep it disabled. 
  5. Wait for Vertical Refresh: Always off – Disabled V-Sync otherwise, you’ll cap your FPS to monitor’s refresh rate. You can enable it if you experience screen tearing.

The following settings are for the advanced settings tab in Radeon Settings.

  1. Antialiasing: Use Application Settings – We’ve already configured Antialiasing in the in-game settings.
  2. Antialiasing Method: Multisampling – Improves the visual quality of Dying Light 2 with minimal impact on performance.
  3. Morphological Antialiasing: Disabled – Known to cause FPS drops and poor performance issues, keep it disabled.
  4. Anisotropic Filtering: Disabled – It’s already configured in-game.
  5. Texture Filtering Quality: Standard – Standard is a good mix between visual quality and performance.
  6. Surface Format Optimization: Enabled – Optimizes different texture surfaces in-game. 
  7. Tessellation Mode: Override Application Settings – To unlock the Maximum Tesselation Level setting.
  8. Maximum Tessellation Level: Off – Disable driver-level tessellation completely. It improves performance.
  9. OpenGL Triple Buffering: Disabled 
  10. Reset Shader Cache: Perform Reset – Optional setting. You can reset it if you haven’t factory reset installed GPU in a long time. Remove any problematic files that might be degrading performance. 

Now you’ve successfully optimized AMD Radeon Settings for Dying Light 2. It’ll give you a substantial boost in performance irrespective of your PC specifications. 

Optimization Tips for Dying Light 2

Best Dying Light 2 Window Settings
Best Window Tweaks and Optimizations

Now that we’ve configured the best settings for Dying Light 2 both in-game and at the driver level, let’s optimize Windows 10 or 11 to perform the best too. 

There are several gamer-centric features in the latest build of Windows. They will help maximize the performance on Dying Light 2. But before we go tweaking windows, it’s important to update your Windows to the latest build.

Update Windows to the Latest Build

Now we might have mixed feelings about Windows Update, mostly because of those annoying popups. Well, there’s a reason Microsoft actually tells you to update often because they contain important bug fixes and performance enhancements for your system. 

Also read this: Dying Light 2 Weapon Mods

So, it goes without saying that updating your Windows will definitely improve Dying Light 2 performance. So, let’s start updating.

Update your Windows to latest build
Update your Windows
  1. Open Windows search and type in “Windows Update.” Click on the first search result that pops up.
  2. Once you’re in Windows Update Windows, click on the “Check for Updates” button on the top right.
  3. If there are any downloadable updates available for your system, it will prompt you to download them. If it doesn’t, it means you’re already running the latest windows build.

Once your Windows is up-to-date, you can start tweaking it for Dying Light 2. 

Run as Administrator and Disable High DPI Scaling

You should run Dying Light 2 with administrator privileges to ensure no other policy or application affects its performance. This will actively reduce any distractions, and even game crashes caused by other applications.

When you turn on administrator privileges for Dying Light 2, remember to disable the Override DPI Scaling option. Here’s how to do both in one go:

Running Dying Light 2 as Administrator and Disabling Override DPI Scaling
Run Dying Light as Admin & Disable DPI Scaling
  1. First, locate the game files on your PC. The location of game files and the main executable file should be as follows:
    [Installed Game Disk Drive]:\Steam\steamapps\common\Dying Light 2\ph\work\bin\x64
  2. Once you’ve located the files, find DyingLightGame_X64_rwdi.exe, right-click on it and click on properties.
  3. A window will pop up. Simply check-mark Run This Program as Administrator option.
  4. Once you’ve done that, click on the Change High DPI Settings button and uncheck Override High DPI Scaling Behavior.
  5. After you’re done, click on ok to click the second window, then click on apply in the first window to save changes.

This will auto-run Dying Light 2 as administrator whenever you launch it. Since we’ve also disabled Override DPI Scaling, any chances of black screens or crashes will be noticeably reduced as well.

Enable Hardware-Accelerated GPU Scheduling

There’s an amazing feature hidden inside Windows 10 and 11 that can significantly boost your PC performance. Not just that, but it affects the way your GPU pushes out frames resulting in even better performance in games.

Here’s how you can enable Hardware-Accelerated GPU Scheduling in Windows:

Open Display Settings to Enable Hardware-Accelerated GPU Scheduling
Open Display Settings from Desktop
  1. Right-click on the desktop and click on “Display Settings.”
Open Graphics Settings to Enable Hardware-Accelerated GPU Scheduling
Navigate to Graphics Settings
  1. Now scroll down to the bottom and click on Graphics Settings.
Enable Hardware-Accelerated GPU Scheduling for Dying Light 2
Enable Hardware Accelerated GPU Scheduling
  1. Once inside Graphics Settings, you can toggle the “Hardware-Accelerated GPU Scheduling” feature. However, if you’re using Windows 11, click on “Change Default Graphics Settings,” and then you’ll be able to toggle on Hardware Accelerated GPU Scheduling.

Disable Background Services & Applications

Dying Light 2 is a game heavy very heavy on your PC resources. So, to attain the absolute best performance, you’ll have to stop necessary applications from running in the background. Disabling them gives your game a well-needed boost, and also, problems like FPS drops and stuttering come to a stop. 

So, here is how you can disable some of the unnecessary programs running in your background for Dying Light 2.

Caution: Before you start disabling any programs, make sure you understand what you’re doing. You don’t want to accidentally disable a vital program for your Windows. So, tread carefully.

Stopping unnecessary services for Dying Light 2
Stop Unnecessary Services and Programs
  1. Open Windows Search and type “MSCONFIG,” and click on the system configuration that pops up in results.
  2. After entering the system configuration window, go to the “Services” tab. Here’s, you’ll view several services that run in your system.
  3. Before you go on disabling services, make sure you check the box saying “Hide All Microsoft Services.” This precautions step will hide all vital services for the normal functioning of Windows. 
  4. Now, go through each service and uncheck those you don’t require. This will disable all uncheck services, and they will no longer run unless you start them manually. 

And that’s it! After you’re done, simply perform a reboot to ensure all services are definitively disabled and not auto-starting anymore. 

Use The Game Mode in Windows

This is one of the best settings In Dying Light 2 for Windows you can enable. Game Mode is a built-in Windows feature that’s geared towards games. It will boost Dying Light 2’s performance by focusing all the system resources towards it. 

Here’s how to enable Windows Game Mode:

  1. Open Windows Search Bar and type “Game Mode.” Click on the first result. 
Enable Game Mode for Dying Light 2
Type Game Mode in Search Bar
  1. The following window will appear. Simply toggle the Game Mode on, and it’s on.
Turn on Game Mode for Rainbow Six Extraction
Enable Game Mode
  1. Since you’re already in this window, you can also disable the Windows DVR functionalities that degrade the game’s performance. Uncheck and turn off everything in the “Captures” tab.
Disable DVR Settings for Performance in Rainbow Six Extraction
Disable Everything Here

After this, you’ll see a substantial improvement in Dying Light 2 performance.

Set Dying Light 2 to High Priority

Lastly, we’ll set Dying Light 2’s priority to high. This will communicate to your PC hardware to prioritize the game. It can give your game a positive uplift in performance and even stop issues like FPS drops game stuttering and crashes.

  1. First, launch Dying Light 2.
  2. Once the game has started, press ALT+TAB to quickly minimize out of it.
  3. Now, open the Task Manager through this shortcut, CTRL + SHIFT + ESC, or by
  4. Look for Dying Light 2 process in the Task Manager window, right-click on it and click on “go to details.”
  5. Once you’re on the core process of Dying Light 2, right-click on it, go to set-priority, and select high.

And there you go, now Dying Light 2’s system priority is successfully raised from regular to high. 

Wrapping Up Best Dying Light 2 Settings Guide

Now, we’ve finally reached the end of this best Dying Light 2 settings guide. Dying Light 2 optimization is going to get better over time with updates. However, these best settings will let you enjoy the game without any performance hiccups.

So, all these settings were tested on systems of different configurations and gave almost 20-30% performance uplift on average. So, I hope this guide will be equally beneficial to you. In case you have any problems or questions regarding Dying Light 2 settings, make sure to reach us in the comment section below. 

Now that you’re all set to run the game, why don’t you read up on our Dying Light 2 Blueprints Locations guide and catch them all?

Community Update #2 (1.9.0)

Dying Light 2 Latest Patch:

  • We have taken steps to enhance your gaming experience and have taken steps to improve the ragdoll animations, physics, and AI reactions.
  • We have also fixed the door and respawn issues of X13.
  • We have also addressed the gameplay issue of the inability of players to craft lockpicks at the free space
  • We have also fixed the issue of the lack of combat music in the game 
  • We have also fixed the issues with military containers which were opening and closing repeatedly
  • The game will no longer use 3rd-party DRM protection. (Better Performance)
  • Nvidia DLSS3 support added. For the very best experience, you need a VRR monitor, and GPU scheduling turned on. There is a known issue where the in-game benchmark does not report the correct framerate when the DLSS Frame Generation is enabled. To see the correct framerate, please use industry-standard FPS reporting tools such as Frameview or CapframeX. We expect to resolve this issue in the next patch.
  • Addressed the issue of the darker picture on certain configurations after one of the last patches.
  • Improved lightning consistency in the game
  • Higher resolution for the sky
  • General CPU, GPU, and DirectX 12 performance optimizations
  • Improvements to memory usage and performance in longer play sessions
  • The disappearance of the FSR 2.0 option on certain configurations has been addressed
  • Improved LODs on the Highway leading to X13
Did you find this article helpful?

Thanks! Do share your feedback with us. ⚡

How can we make this post better? Your help would be appreciated. ✍

Get up-to-speed gaming updates delivered right to your inbox.

We don’t spam! Read more in our privacy policy.


Ayyoun is a Senior Writer & Editor for Error Fixes, and Game Settings guides on eXputer. He’s been passionate about games and technology since he got his hands on the PlayStation 1. He has a software engineering background and loves to play games from a technical perspective. He has a knack for uncovering solutions for the latest games and presenting them in easy-to-follow guides for his audience. You can keep up with his gaming activity on his Steam profile.

Experience: 7+ years || Worked For VeryAli Gaming and IGN || Education: B.S Software Engineering, Editing Mastery from Udemy.

Related Articles