Valorant: 5 Best Aim Trainers [2000+ Hours Experience]
This guide contains the best 5 aim trainers that you can use for Valorant along with their training modes, features, and distinct qualities.
 Fact Checked By
 The aiming mechanics in Valorant are very dynamic. There are a lot of things to keep in mind so you can land the perfect shot every time without panicking. There is no run-and-gun like the majority of video games. If you do that, your bullets will travel in a random direction and completely miss the target you are aiming at. So, make sure you are in a still position. So to help you with that, you will need the best aim trainer to get better in Valorant.
- To take out an enemy with just a single bullet, you will need the best aim trainer for yourself so you can hit shots with maximum precision.
- Mastering your crosshair placement will win the fight for you before the opponent can even react.
- Apart from external software, Valorant’s Unrated mode, The Practice range, and the Deathmatch can also help you improve your aim a lot.
- Why Trust Us: Daniyal, who has 2000+ hours in the game, is a reliable source for Valorant guides!
Best Aim Trainers For Valorant
Here’s a quick overview of the aim trainers:
| RANK | AIM TRAINER | TYPE |
|---|---|---|
| 1 | Deathmatch | In-game |
| 2 | The Range | In-game |
| 3 | Unrated | In-game |
| 4 | Aim Lab | External |
| 5 | KovaaK's | External |
5. KovaaK’s
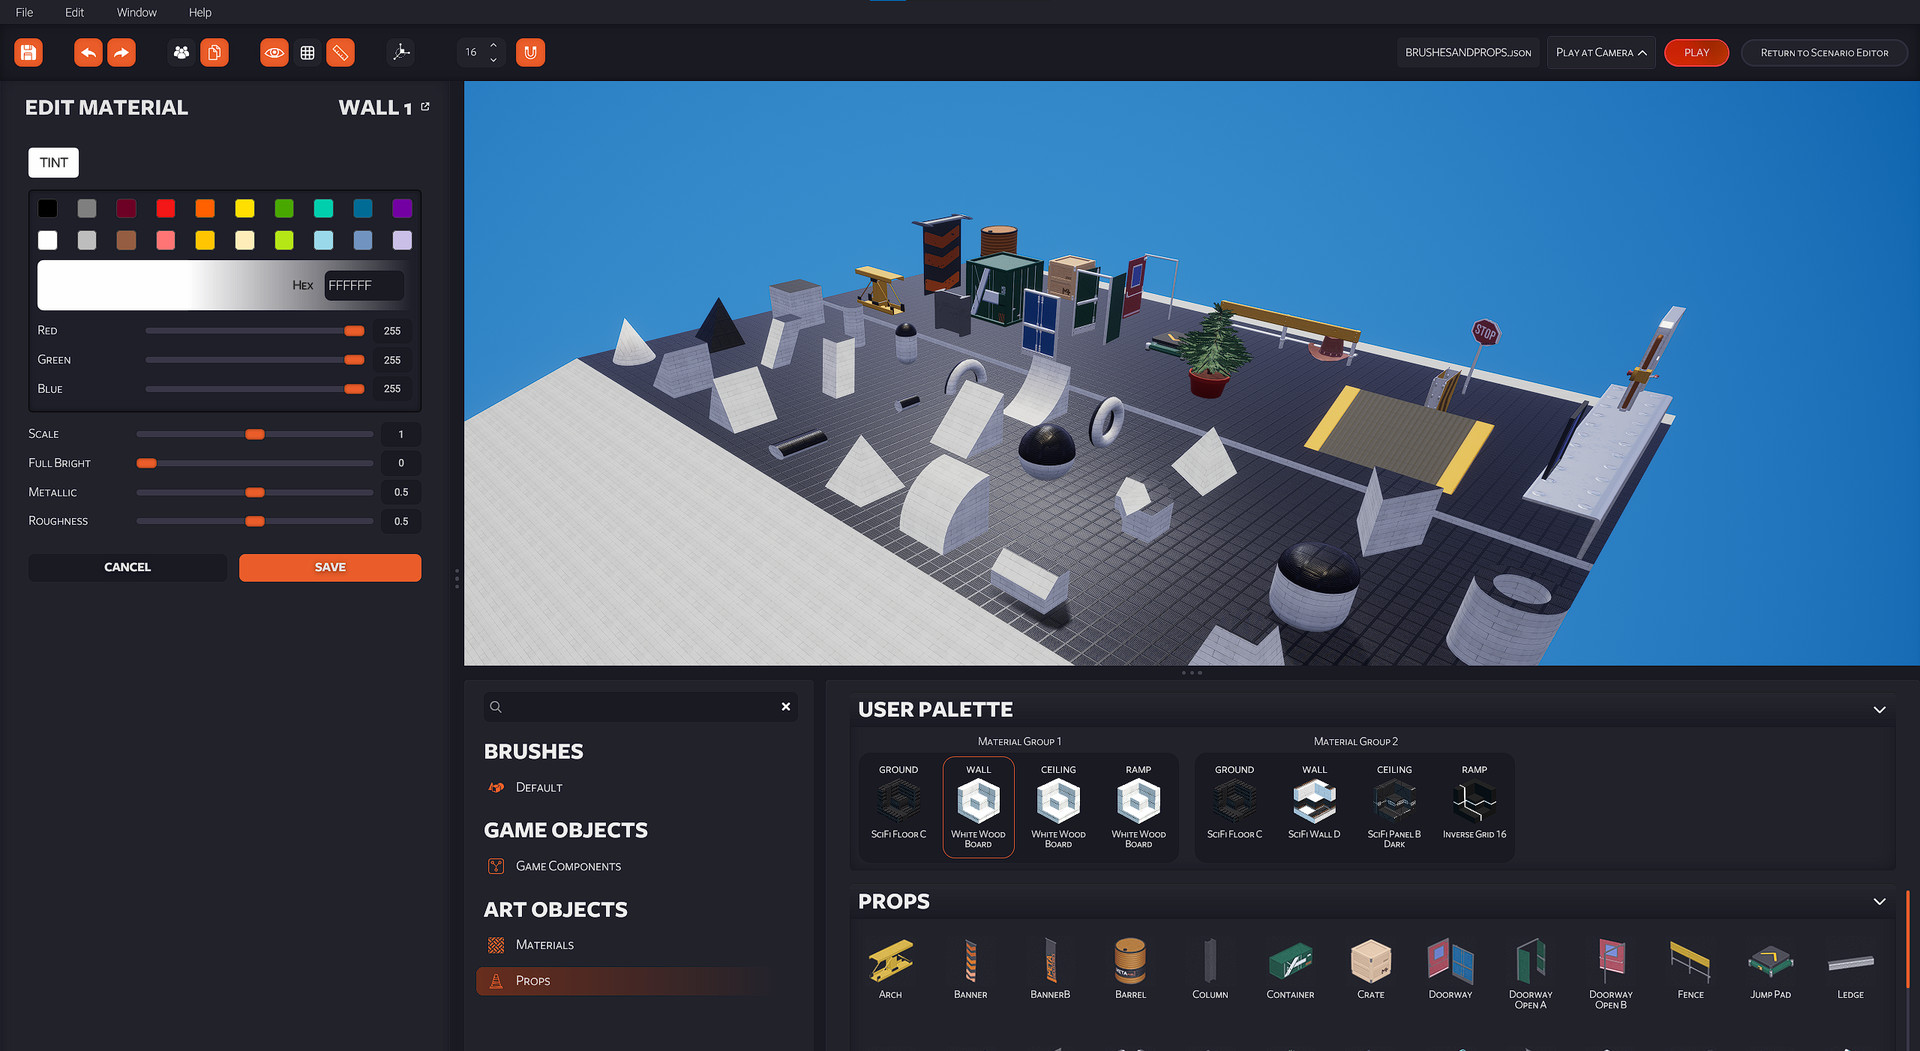
- Why I Chose This: KovaaK’s uniqueness and ability to try out fun and intriguing testing grounds puts it at a respectable spot on my list.
KovaaK’s is widely regarded as one of the top external aim trainers. Its optimization, extensive exercise library, and compatibility with Valorant settings make it a popular choice. The platform supports easy conversion of Valorant settings and offers a Valorant-specific routine lasting eighteen minutes. Players can use this routine for both warm-up and cooldown sessions to enhance muscle memory and aim precision.
- Encourages strategic play.
- Optimized despite its functionalities.
- Might take some time to adjust to Valorant settings.
4. Aim Lab
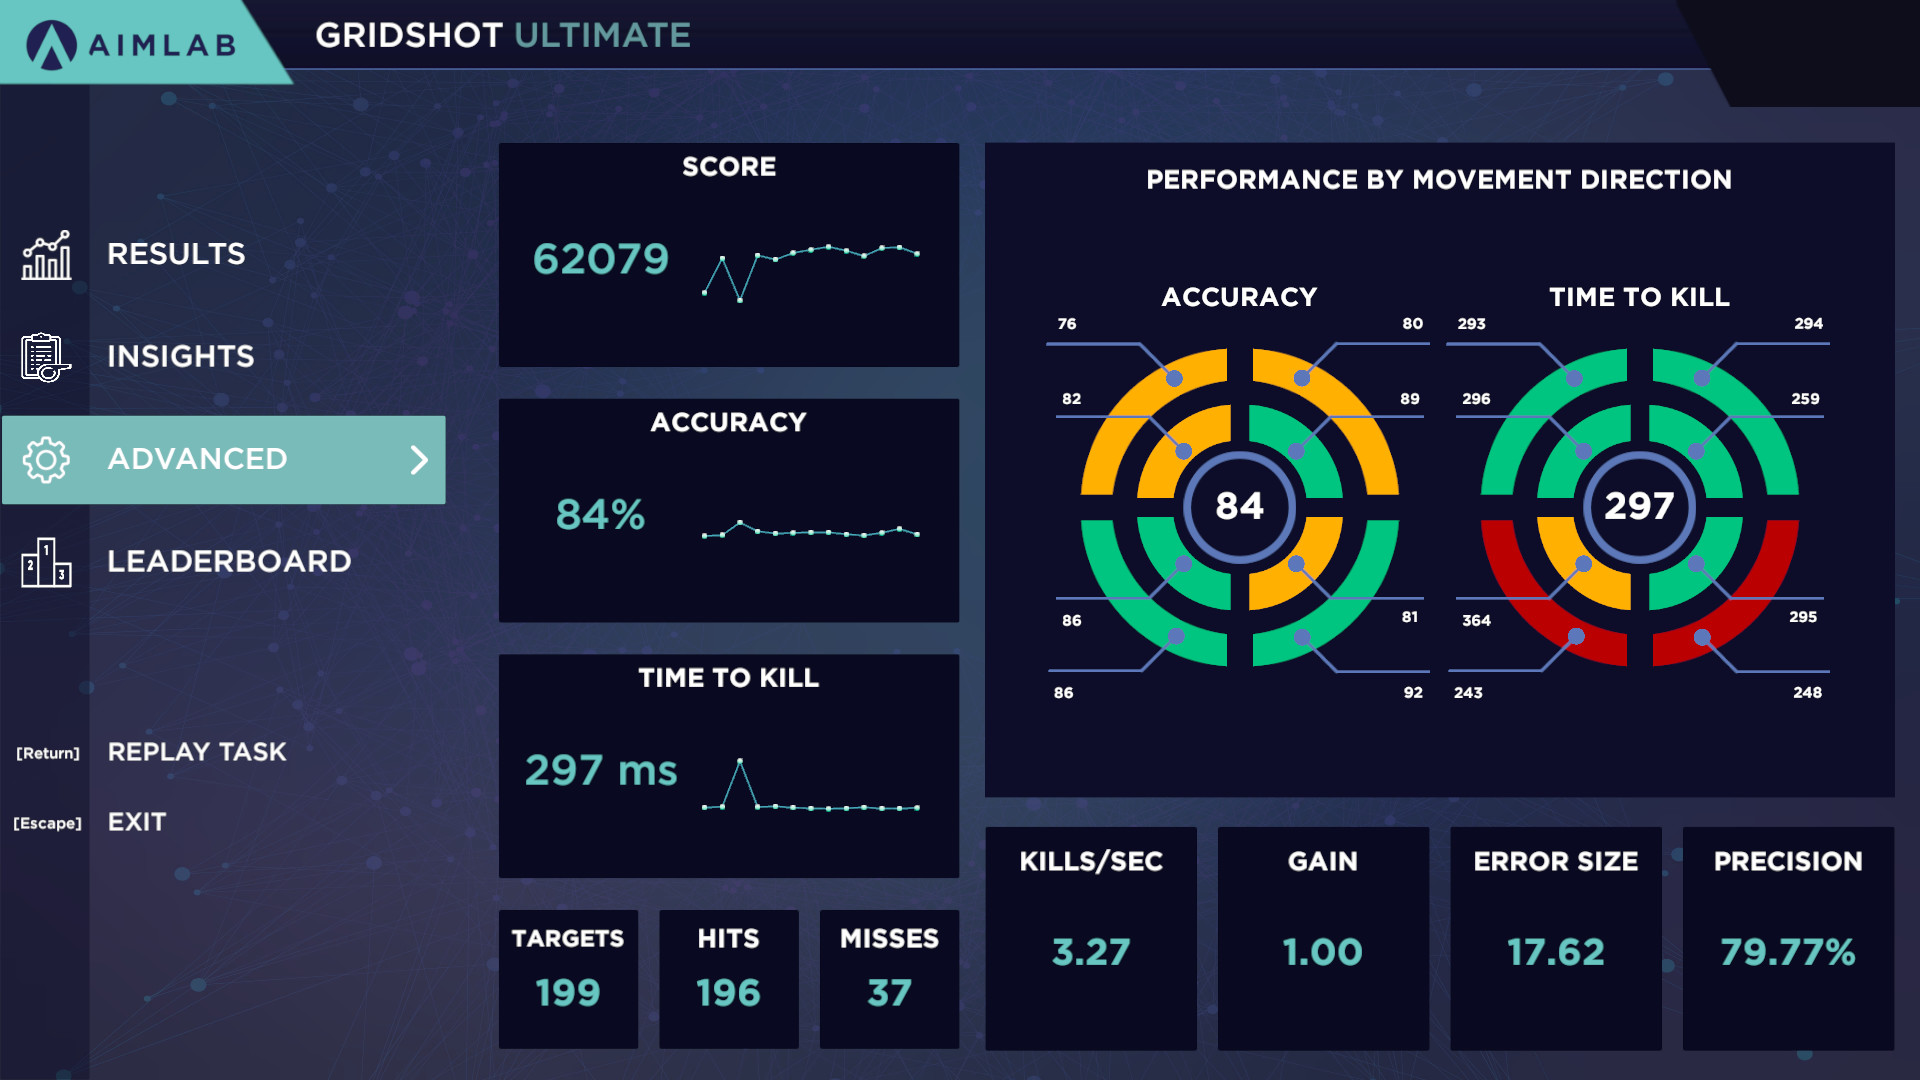
- Why I Chose This: Aim Lab gave me stats I didn’t even know I needed, and that “wow” factor is something that simply can’t be overlooked.
Aim Lab, available on Steam for free, excels as the top external aim trainer. Its advanced reporting system not only displays statistics but also pinpoints strengths and weaknesses, offering tailored improvement tips. The trainer seamlessly integrates Valorant settings, supports offline play, and includes various modes for personalized practice.
- Aim Lab covers a range of skills beyond traditional aim training, such as flicking, precision, tracking, cognition, and perception.
- The visualization option breaks down performance, with green indicating accuracy and blue highlighting areas for improvement.
- Competitive features include leaderboards and a customizable experience through the custom tab.
- Aim Lab stands out for its comprehensive practice, detailed statistics, and personalized approach for Valorant players.
Unfortunately, in my opinion, this aim trainer makes you extremely hyperactive, and doesn’t teach you one important aspect for competitive play – discipline.
- Free to access.
- Highly popular.
- Enhances reflexes.
- Detailed stats.
- Discourages trigger discipline.
- Lacks exercises for stationary targets.
3. Unrated Mode
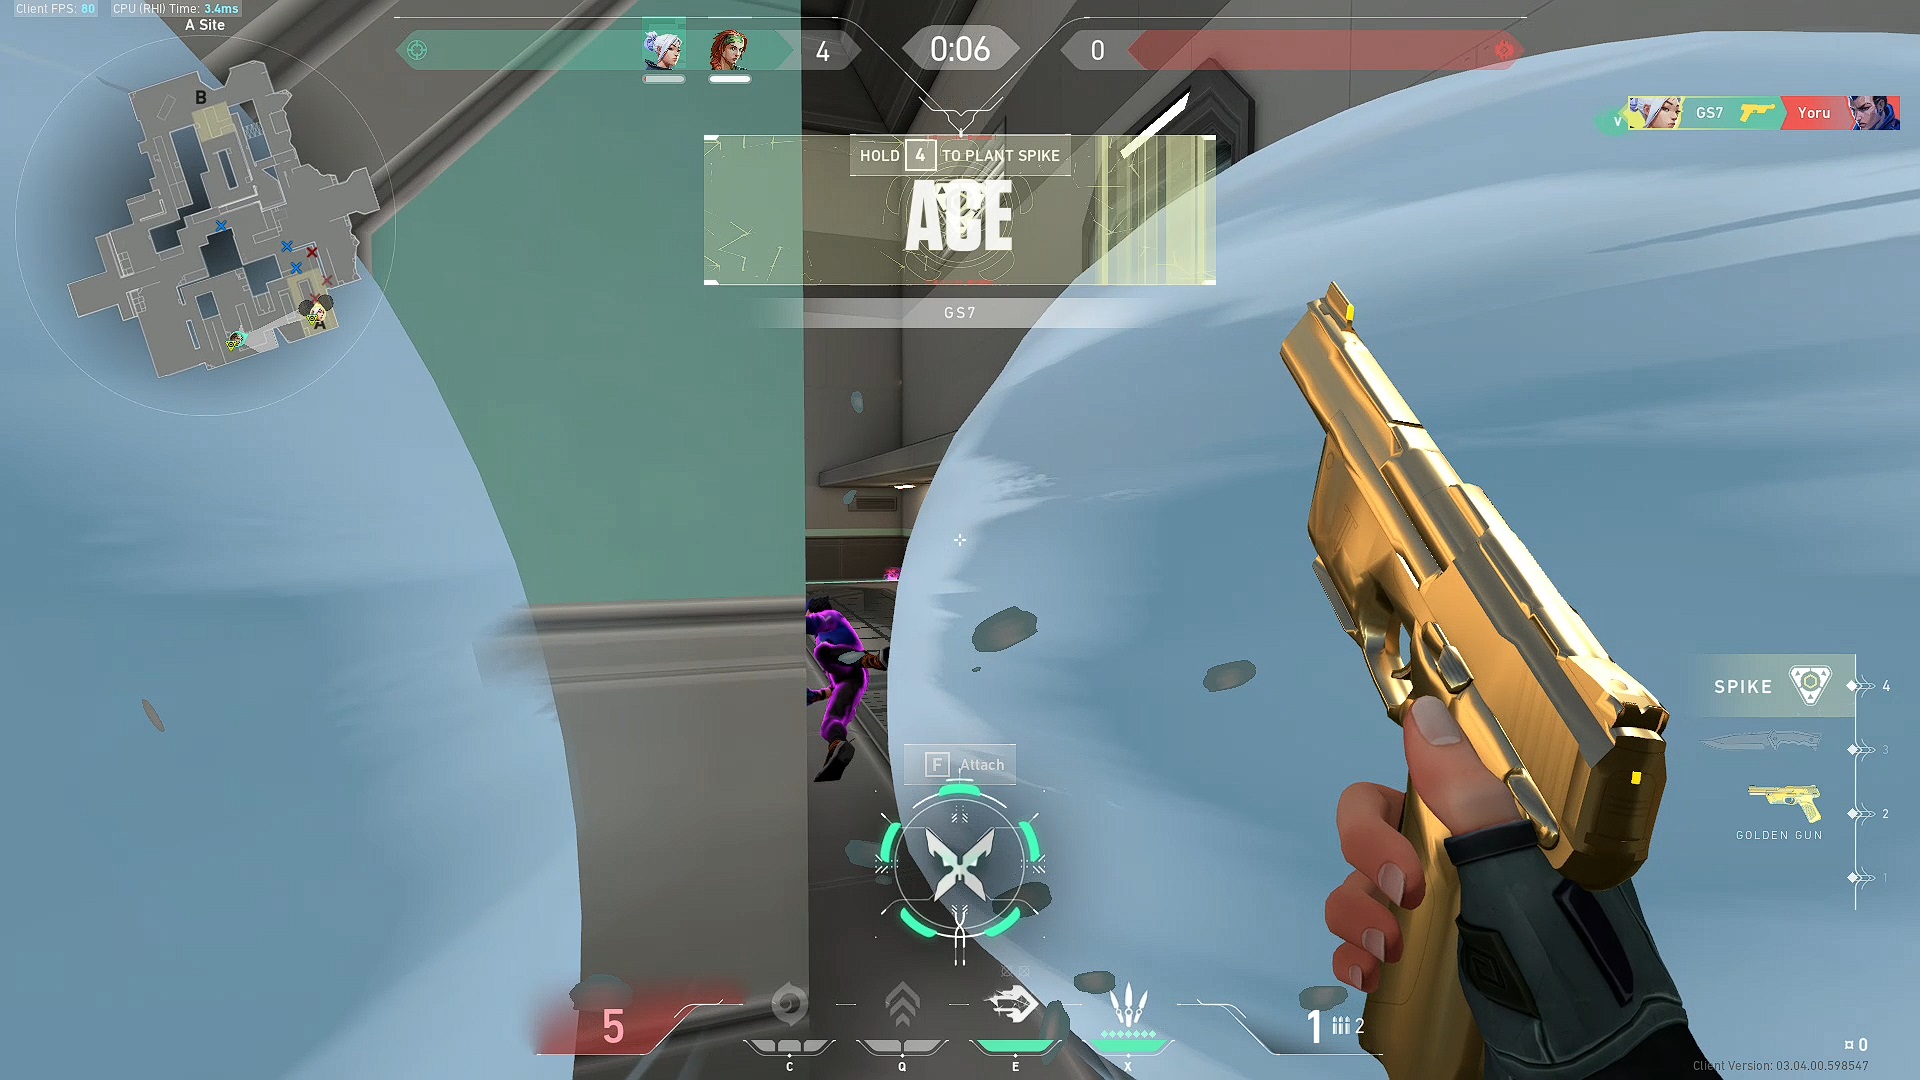
- Why I Chose This: No other aim trainer can recreate teamplay, a crucial part of Valorant, as strongly as this mode.
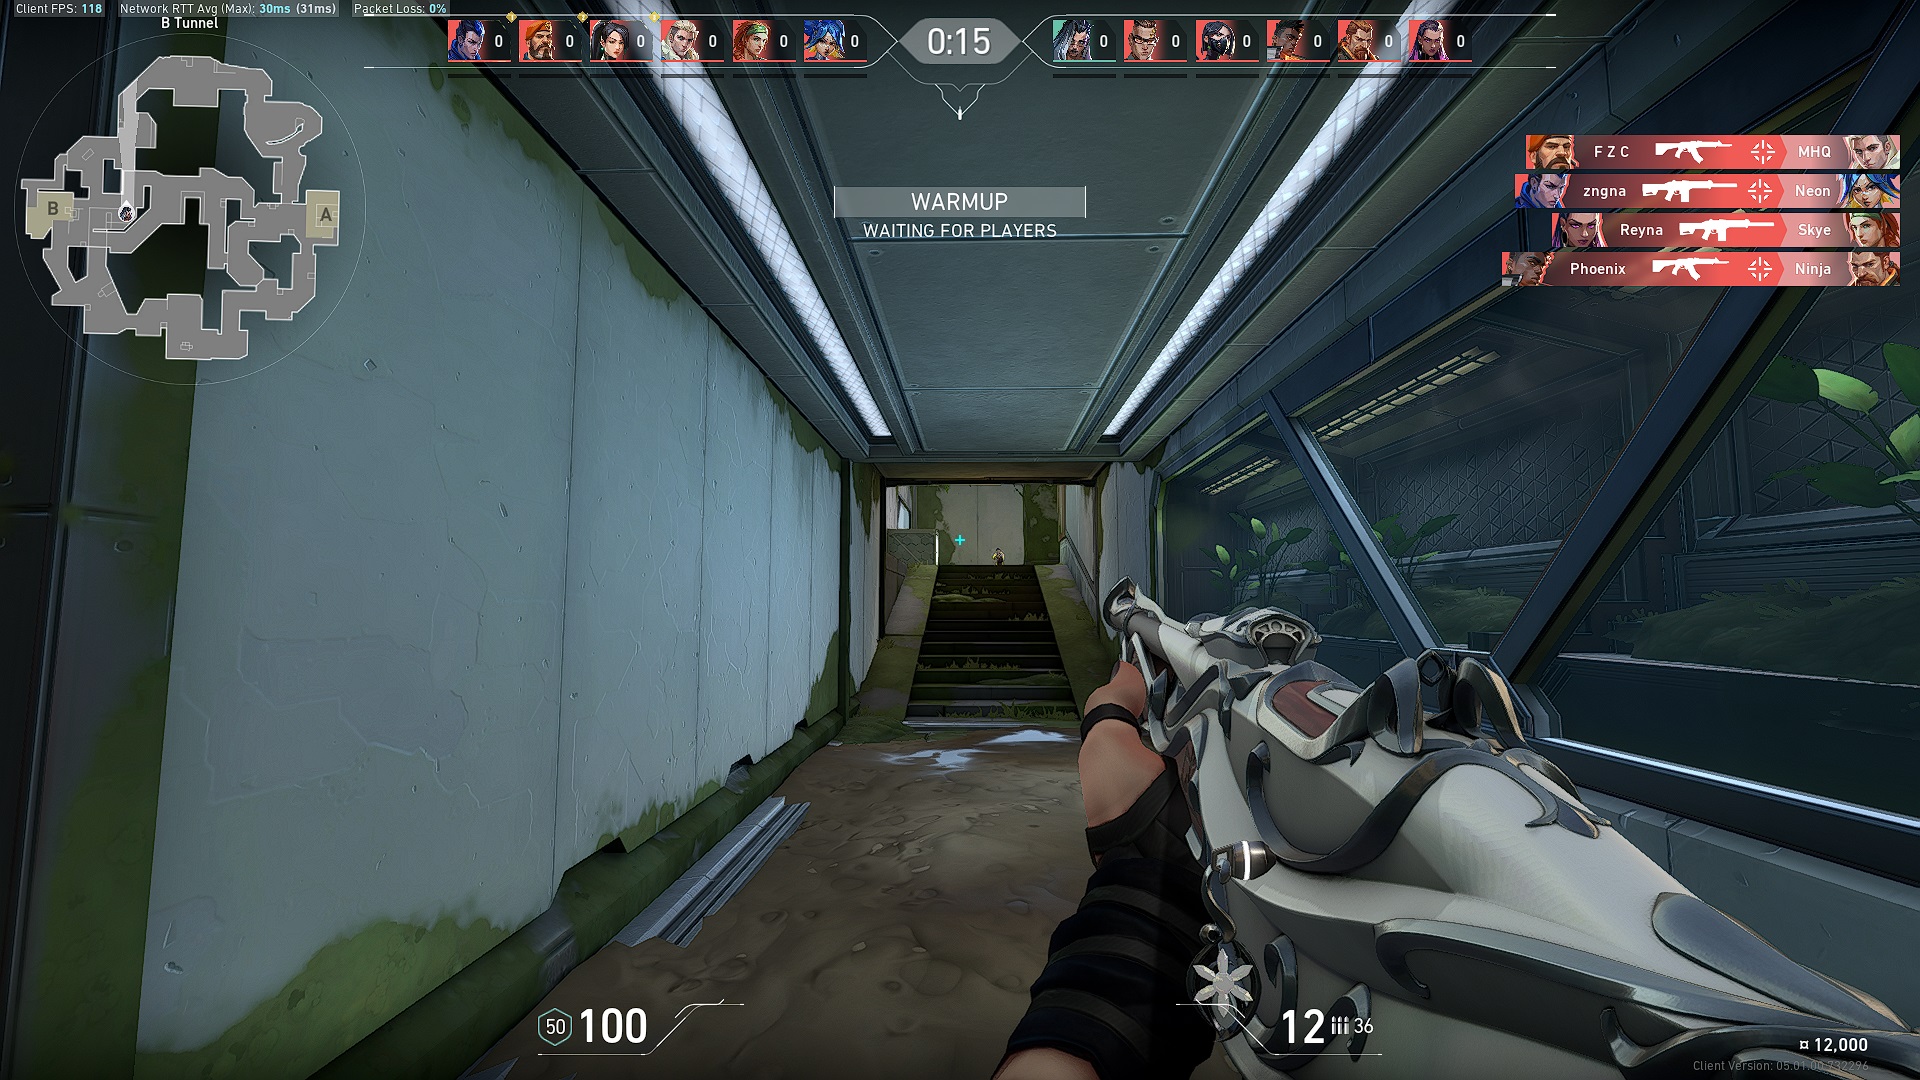
Unrated mode in Valorant stands out as a superior practice environment compared to other modes or aim trainers. Unlike modes such as the Range, deathmatch, or other aim trainers, unrated allows players to practice against real opponents with actual weapons and agent abilities.
The low stakes in unrated matches eliminate concerns about winning or losing, allowing players to focus solely on learning and improvement. However, unrated mode has its drawbacks.
- In rounds where saving is necessary, players may miss opportunities to practice their aim.
- Additionally, facing skilled opponents who leave little room for practice can be challenging.
- Despite these limitations, unrated mode remains a valuable tool for honing skills in a live, dynamic environment.
- One-to-one scenario of competitive play.
- Teamplay and agent abilities are available.
- No risk of losing RR.
- Teammates may be toxic.
- Matches may feel drawn out.
- Discouraging saving credits (a habit which may transition to competitive mode.)
2. The Valorant’s Range
- Why I Chose This: Most new players overlook the usefulness of an agent’s abilities, which is why The Range is the perfect testing ground to try out agents you’ve yet to unlock.
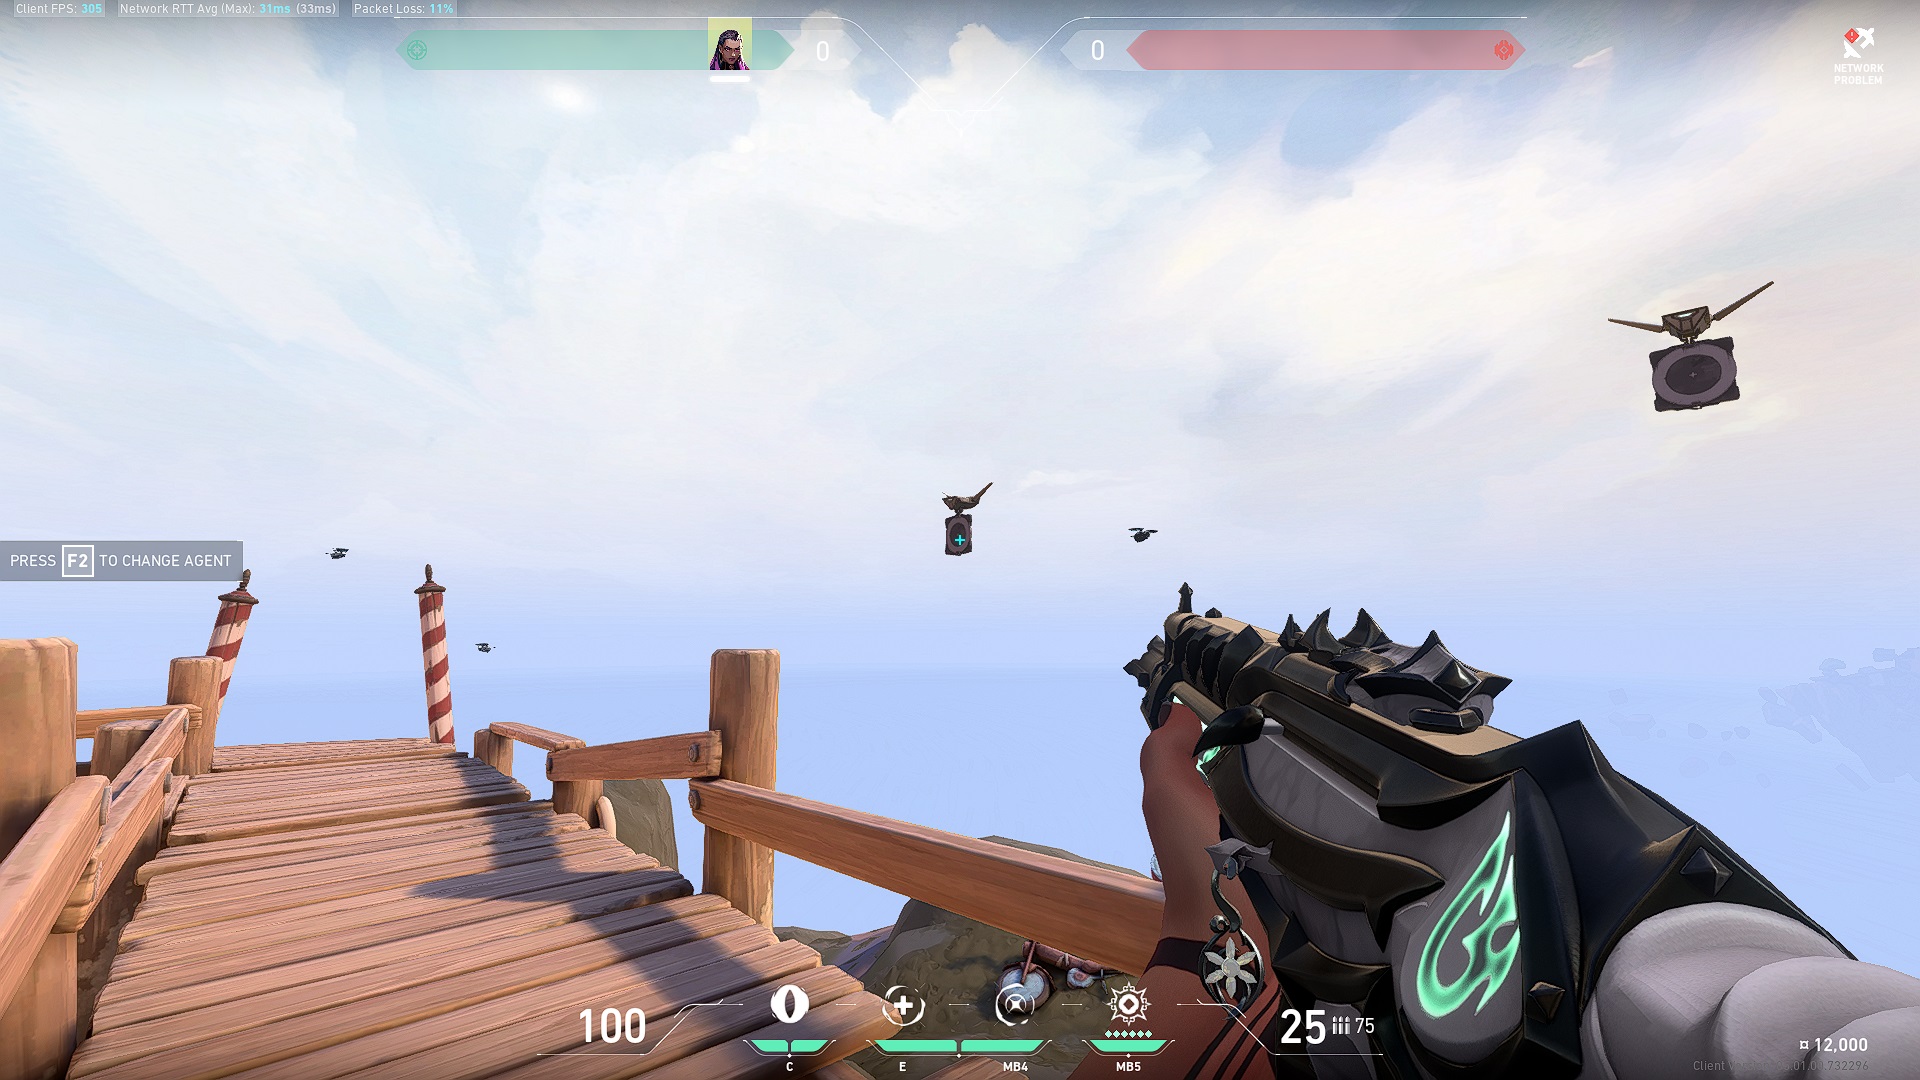
Valorant’s Range is an often overlooked but effective aim trainer. To maximize its benefits, players can follow a simple routine that enhances various aspects of their aiming skills.
- Choose Preferred Gun: Start by selecting the gun you prefer or typically use in matches.
- Practice Strafe Shooting: Engage with flying targets using strafe shooting in short bursts. Ensure each burst consists of no more than three bullets.
- Repeat for Wrist and Arm Warm-Up: Spend a few minutes on this routine to warm up your wrist and arm muscles.
Consistent practice with this routine can significantly improve strafe shooting, reaction time, flicks, and overall aiming skills.
- Great for testing new agents.
- Several in-game scenarios are perfectly recreated.
- Quick tests and results.
- No stats or leaderboards.
1. Deathmatch Mode in Valorant
- Why I Chose This: Nothing beats the one-to-one feeling of Valorant’s competitive play, but since Deathmatch doesn’t support agent abilities, you can authentically compare your aim to other players.
In my opinion, Valorant’s deathmatch mode is more than just a free-for-all killing match; it serves as an effective aim trainer. With 13 players in the queue and maps similar to competitive play, it offers a realistic environment for practicing shooting skills.
Unlike other trainers, deathmatch enhances map sense. Players can freely choose any gun, camp, or rush angles without consequences, providing a true warzone experience. Regularly playing Deathmatch helps anticipate enemy movements, perfect crosshair placement, and understand how opponents peak from different angles.
For optimal learning, it’s crucial not to approach deathmatch competitively. Despite finishing first, there are no rewards or extra XP. Players should focus on using this mode as a learning tool to enhance their skills.
Conclusion
All in all, each of the best Valorant aim trainers mentioned has some distinct quality that sets them apart from the majority of them. The key to making your aim perfect is consistency. Make sure you choose one of the aim training methods mentioned in this guide and use it daily so you can start noticing the improvement.
Next: BEST Valorant Crosshairs
Thanks! Do share your feedback with us. ⚡
How can we make this post better? Your help would be appreciated. ✍