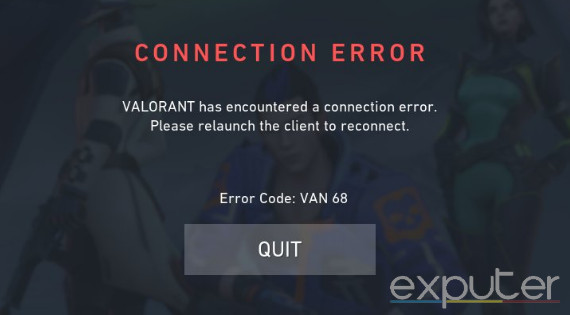
Valorant error code Van 68 is a server sync issue that leads to disconnections. You might encounter the error while you’re trying to log into the game. In some cases, players might get kicked from ranked games because of a sudden desync issue.
The causes of this desync are mainly backend issues, generally related to server maintenance or outages. However, issues such as firewall restrictions or closed network ports on your internet can also cause error code van 68. Either way, I’ve provided the solutions to the problem.
Before trying some more advanced solutions, try these simple methods:
- Restart your PC.
- Reboot your modem/router.
- Make sure everything is updated.
Follow these solutions to resolve error code van 68:
- Check the server status.
- Flush DNS cache.
- Allow Valorant through the Firewall.
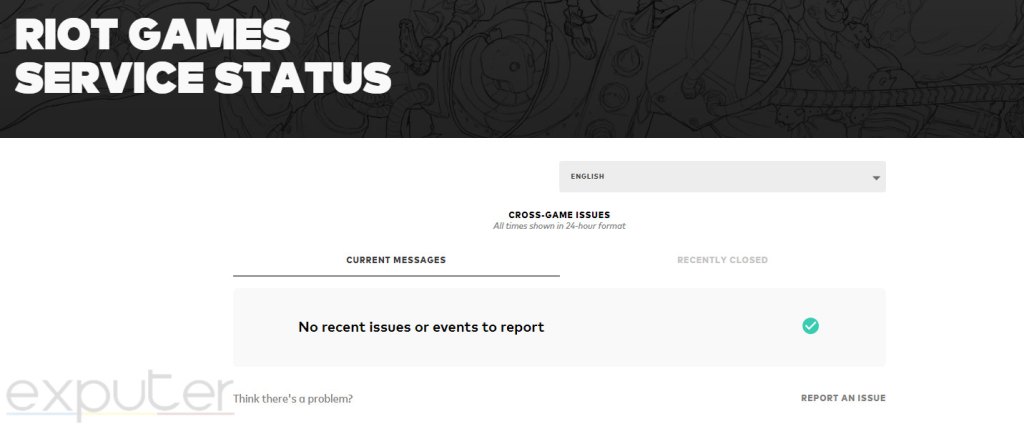
Check The Valorant Server Status
The first thing you must do is verify the status of Valorant’s servers. It’s very likely that van 68 is a backend server issue instead of something on your end. To check the server status, you must head over to the official Riot Games service status web page.
Alternatively, you can go to Riot’s official customer support Twitter account for all the latest updates. Riot will always make a tweet for planned server maintenance or outages. If you notice that the servers are impacted, you have no choice but to wait until the problem is solved.
Allow Valorant Through Firewall
Your Firewall exists to protect you from foreign threats that can invade your system. It accomplishes this by monitoring all incoming and outgoing traffic. If it notices malicious activity, it will restrict and block all incoming and outgoing data to that specific page or application.
However, the Firewall can also mistake trusted applications on your PC as threats. This can happen to Valorant or its client as well, which can cause Valorant error code van 68. The solution to this is allowing Valorant and its client access through the Firewall.
Doing so will exclude these applications from the list of restricted applications. This is an effective solution that has fixed error code van 68 for countless players.
Flush DNS Cache
When you visit a website or server, your device remembers its address and stores it as cache. It does this so that you can reach the address faster next time. However, if the address changes, your device might still use the old one until it updates the list.
Additionally, the cache itself can become corrupted, leading to all kinds of errors. To fix this, you must clear your DNS cache. Websites and other services might load a bit slower initially, but they will eventually return to normal with the new cache.
Verify Valorant’s Game Files
Corrupted or missing game files can also cause this Valorant error. These files are crucial for ensuring that your game keeps operating as intended. While missing files aren’t directly responsible for network errors, they can still indirectly cause them.
It’s always a good idea to verify the integrity of your game files and eliminate any possibility of corrupted files affecting your experience.
Contact Valorant’s Official Customer Support
If nothing has worked for you so far, you have no choice but to contact Valorant’s customer support. The issue could be a more complex problem with your account. To contact the support team, head over to the official Valorant support page.
Follow the on-screen instructions and submit a ticket. Make sure to add as many useful details about the error as possible.

My Thoughts
Valorant has its fair share of network errors, but it’s not something that players regularly run into. The Riot servers are generally very consistent as well. According to the official Riot customer support team, a few quick restarts will fix the error.
Error Code 68 typically means there's an issue with the server synching with the account. Solution would be to relaunch VALORANT once or twice and it shouldn't affect any of the content in your account. ~Shiba
— Riot Games Support (@RiotSupport) December 17, 2020
As we all know, however, this solution doesn’t always work. At one point, many players collectively ran into Valorant error code van 68.
Wtf happened in my comp @PlayVALORANT? Everyonr got kicked (error code VAN 68)
— Salt (@saltNshit) March 10, 2021
An important thing to note is that Valorant uses Cloudflare services as well. Cloudflare was experiencing issues during this time, which affected many other applications and services along with Valorant. This is likely the root cause of the problem.
Cloudflare eventually resolved the issues and the error’s numbers went down. However, a tiny minority of players encounter the error to this day. In this case, it’s a desync issue that will likely be fixed with a few restarts.
If not, I can confidently say that you can resolve the error after going through my guide.
Other Valorant Error Guides covered on eXputer:
- Fixing Valorant Platform Error
- Valorant Crashing Fix
- Valorant Error Code 39
- Valorant: A Critical Error Has Occurred
- Valorant Error Code Van 6
- Valorant Error Code 57 – Vanguard Not Initialized
Thanks! Do share your feedback with us. ⚡
How can we make this post better? Your help would be appreciated. ✍