Valorant is one of the most popular first-person shooter multiplayer games with a huge community all across the globe. With its popularity, the issue of the error VAN9003 Valorant Windows 11 is something to be highlighted. It’s not unusual for Valorant users to encounter certain glitches or error messages like this during the gameplay. The error is usually caused by server-end issues, outdated GPU/Audio drivers, Hyper-V, and TPM 2.0 on your PC.
- This build of Vanguard is out of compliance with current system settings.
- This build of Vanguard requires TPM version 2.0 and a secured boot to be enabled to play.
- This build of Vanguard requires a secure boot to be enabled to play.
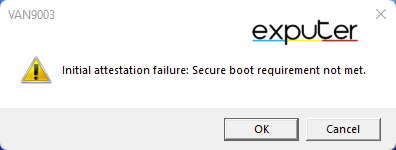
- Valorant van9003 initial attestation failure: secure boot requirement not met.
If you follow all the solutions, you can rest assured this error will be gone:
- Check Server Status.
- Enable Secure Boot and TPM 2.0.
- Turn off Visualization.
- Turn off Hyper-V.
- Update Chipset and BIOS versions.
- Update the Windows version.
- Run the game in Admin mode.
- Update the audio driver.
- Reinstall the game.
- Contact support.
Verify Valorant Server Status
Before diving into complex troubleshooting, it’s a prudent first step to check the status of Valorant’s servers. The VAN9003 error can sometimes be attributed to server issues on Riot Games’ end, which are beyond your control.
To do this, visit the official Valorant server status page.
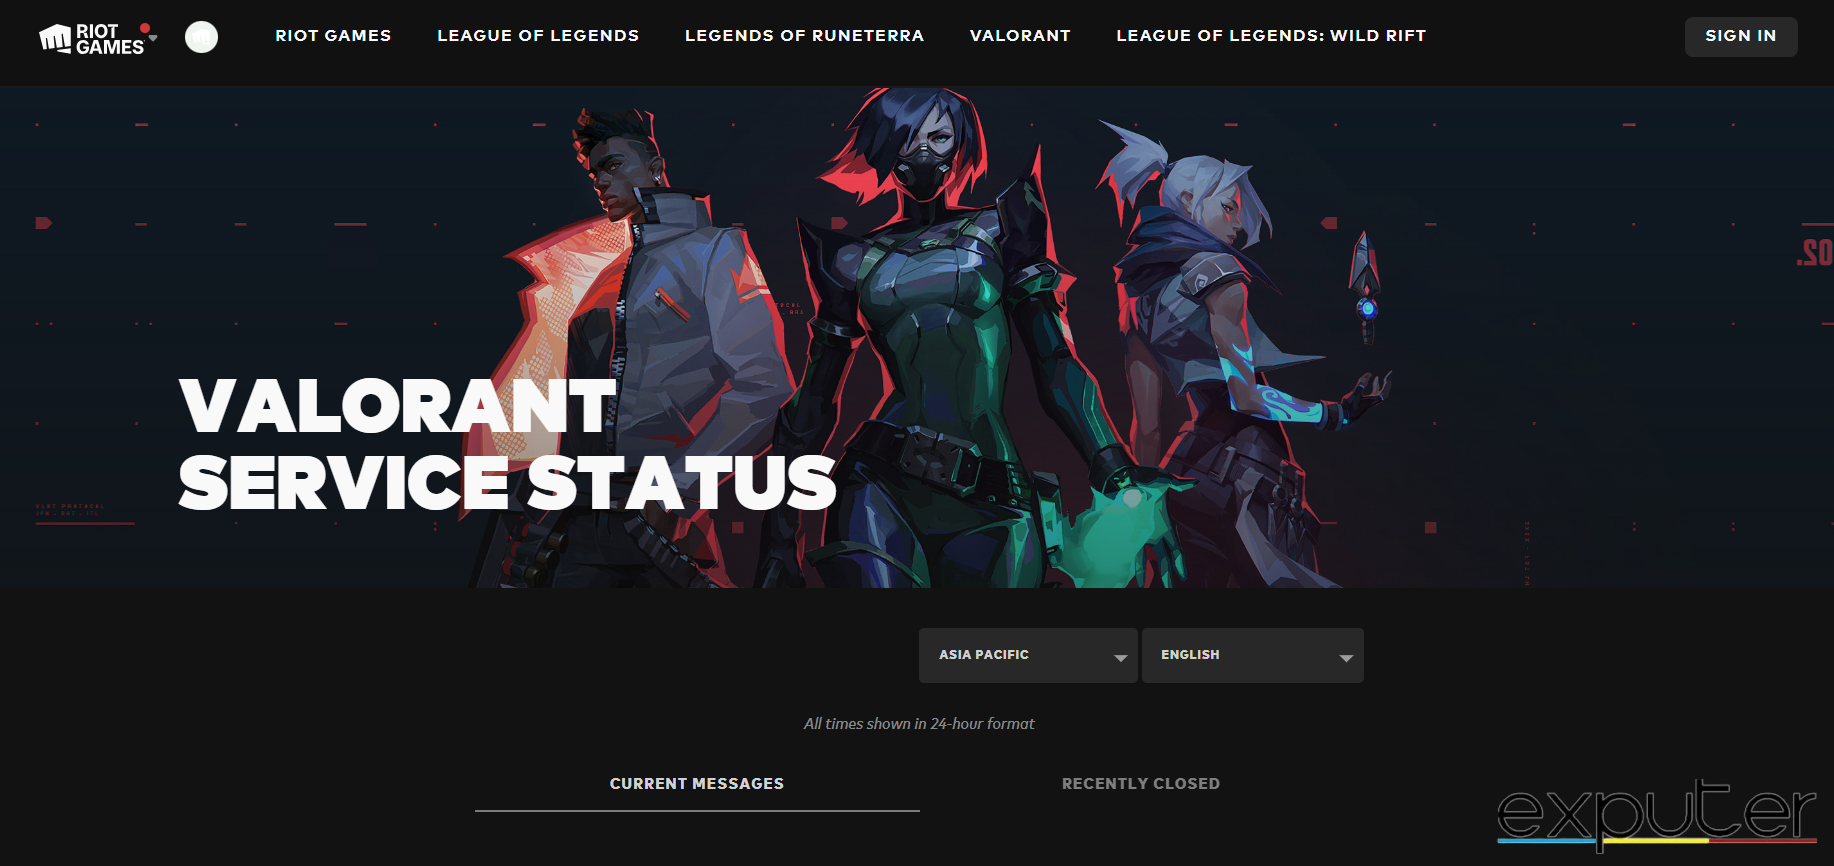
On this page, you can easily determine whether the servers are operational or experiencing any disruptions. If there’s a server problem, it’s advisable to exercise patience and wait for Riot Games to resolve the issue, as the VAN9003 error is likely to dissipate once the servers are back to normal.
Enable Secure Boot And TPM 2.0
If secure boot and TPM 2.0 are supported by your PC system but are disabled for some reason, you need to enable them to resolve the VAN9003 Valorant Windows 11 error.
Trusted Platform Module (TPM) is a crucial security feature integrated into your computer’s motherboard that securely stores encryption keys and ensures the integrity of your system. Valorant’s new security standards require TPM to be active.
Enable In BIOS Menu
Secure boot and TPM require the BIOS menu to be enabled in order to enable them both. In order to customize these hardware settings on Windows 11, follow the steps below to enable the BIOS menu:
- Firstly, head over to the Start menu type System Information, and open it.
- Then, search for the Secure Boot State and see if it is already On.
- If it is on, move to the next part.
- If the Secure Boot is disabled, you will have to boot into the BIOS and enable it.

Enable Secure Boot (Image by eXputer

Enable TPM 2.0
To enable TPM 2.0, you need to restart your computer and enter the BIOS menu again. Then, look for an option named TPM or Trusted Platform Module and change it to Enabled or Active.
- Firstly, open your system BIOS. This can be done by restarting your computer and pressing a specific key (it can be F2, F10, or Del, depending upon the motherboard or laptop manufacturer) as the system boots up.
- Find an option related to TPM, likely found under a Security or Advanced tab.
- Enable the TPM option.
- Save and exit BIOS, usually by pressing F10.
- Your computer will restart with TPM enabled.
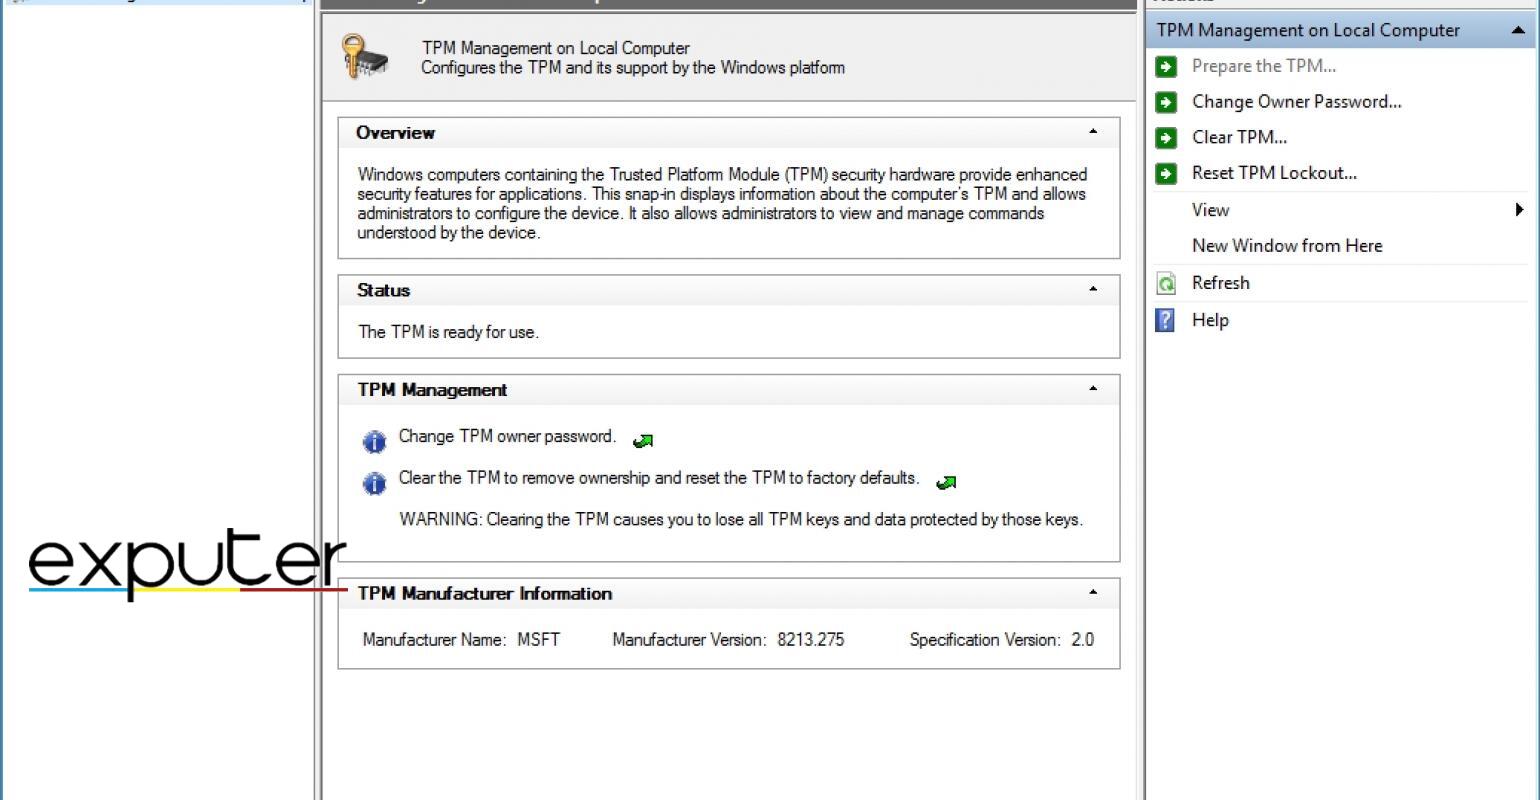
Now, make sure to check if TPM has been enabled or not. This can be confirmed by:
- Open the Run dialog by pressing Win + R.
- Type tpm.msc in the dialog box and hit Enter.
- If this “Compatible TPM cannot be found” message is shown, TPM does not exist on your current system.
- Otherwise, if the message displays, “The TPM is ready to use,” you are good to go, and TPM has successfully been enabled.

TPM configuration (Image by eXputer)
Enable Secure Boot
To enable secure boot, you need to restart your computer and enter the BIOS menu again, as explained above. Then, you must find the Secure Boot option and change it to Enabled.
Secure Boot is a security standard developed by members of the PC industry to help ensure that your PC boots only trusted software. This is another requirement for playing Valorant. To enable Secure Boot:
- Restart your computer and enter BIOS, as described in the TPM section.
- Select the Boot, Advanced, Security, or similar.
- Look for an option related to Secure Boot and enable it.
- Save and exit BIOS.
- Your computer will restart with Secure Boot enabled.
After you enable secure boot and TPM 2.0, you should be able to launch Valorant without seeing the van9003 error.
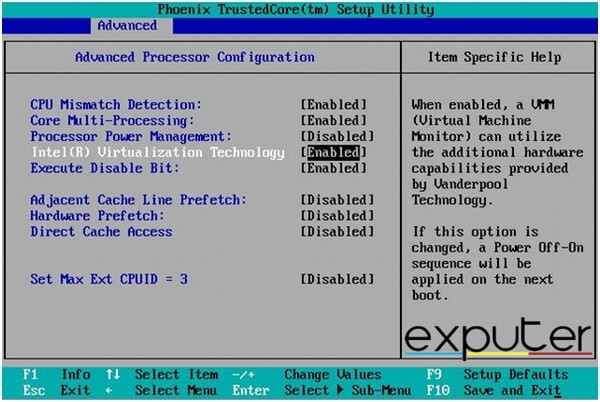
Turn Off Visualization
One often overlooked setting in the BIOS is virtualization technology. While this feature can be useful for running virtual machines or other specialized tasks, it has occasionally been known to clash with Valorant’s anti-cheat software, Vanguard.
Here’s how you can do so:
- Restart your computer and enter the BIOS. You can typically do this by pressing a specific key during the initial boot-up process. Common BIOS access keys include F2, F12, or the Delete key.
- Once inside the BIOS, navigate the settings until you find the virtualization option. It’s often labeled as “Virtualization Technology” or something similar.
- Select the virtualization option and change its status from “Enabled” to “Disabled”.
- After making this change, save the BIOS settings and exit. This typically involves pressing a key (like F10) to confirm your changes and restart your computer.
And that’s it! Simply turn on the game and check if the error is no more.
In My Experience: I don’t have much use for Virtualization functionality, so turning it off had a slightly positive impact on my gaming stability in my case.
Disable Hyper-V
Hyper-V is a virtualization technology built into Windows that enables you to run virtual machines on your computer. While it’s an invaluable tool for those who need it, it has been known to create conflicts with Vanguard, leading to errors like VAN9003.
If you’re not actively using Hyper-V, here’s how to disable it and potentially resolve the issue:
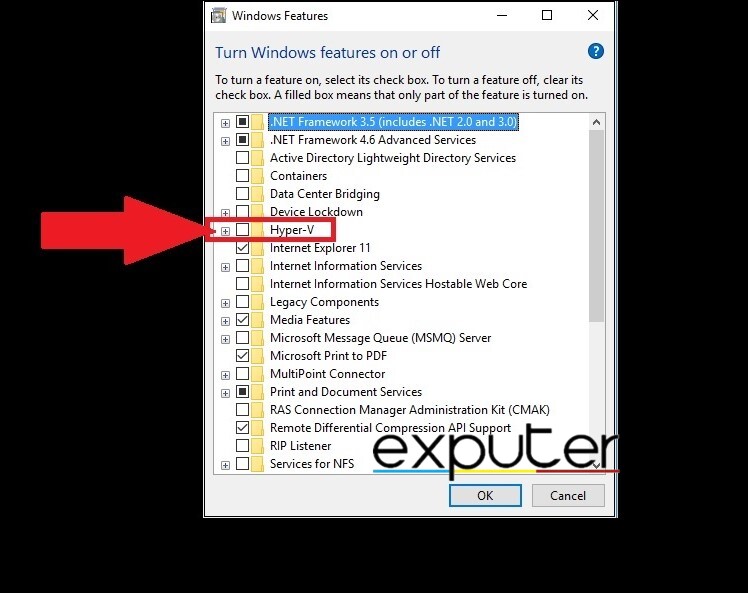
- Press the Windows key, and in the search bar, type “Windows Features” and select “Turn Windows features on or off.”
- In the Windows Features window, scroll down to find “Hyper-V.”
- Uncheck the box next to “Hyper-V” to disable the feature.
- Click “OK” to apply the changes. Then restart your computer.
If disabling Hyper-V has not fixed the VAN9003 error for you, then continue reading below for other potential solutions.
Update Chipset and BIOS
For Valorant enthusiasts battling the VAN9003 error, one worth examining is your system’s chipset and BIOS settings. Outdated or incompatible versions of these components can occasionally be the source of errors, including VAN9003.
Here’s how you can update these components:
Chipset Drivers
- Find out the make and model of your motherboard. This information can typically be found in your motherboard’s documentation, on the manufacturer’s website, or using system information tools.
- Go to the website of your motherboard’s manufacturer. Look for the support or downloads section on the website.
- Locate the latest chipset drivers for your motherboard model and download them.
- Run the installer and follow the on-screen instructions to update the drivers.
BIOS Version
- Press
Win + Rto open the Run dialog, type “msinfo32,” and press Enter. - In the System Information window, under “System Summary,” find the “BIOS Version/Date” field.
- Go to your motherboard manufacturer’s website and search for the latest BIOS update for your motherboard model. Download it if there is a newer version available.
- Follow the details of your motherboard manufacturer, provided on their website to finish updating BIOS.
Run Valorant As Administrator
Errors and errands caused by Valorant are fixable, but it does require the user to run the application as administrator. This will allow Valorant to access all the system resources required and fix the error.
Run Compatibility Mode On Valorant
However, running Valorant in compatibility mode is not recommended, as it may lead to in-game performance and gameplay issues. But in this case, playing Valorant in compatibility mode on Windows 11 can help users overcome the VAN9003 Valorant Windows 11 error code by enhancing the game features and game file directories. To enable compatibility mode, simply follow the steps below.
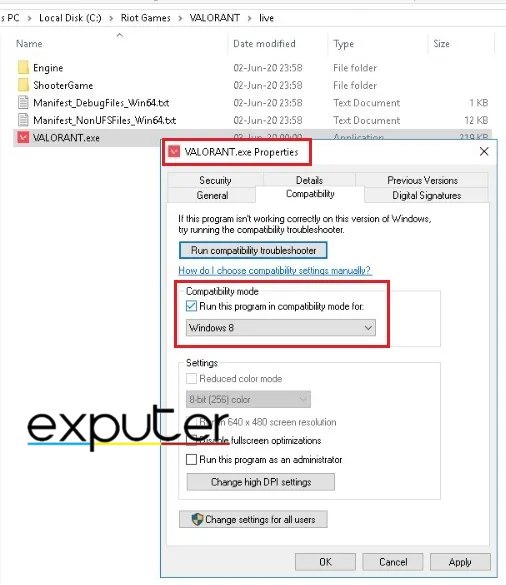
- Firstly, right-click on the Valorant shortcut and select Properties.
- Head over to the Compatibility tab.
- Check the box that says, Run this program in compatibility mode.
- Select the respective version of your Windows accordingly from the drop-down menu.
- Click Apply and then OK.

Run Valorant In Compatibility Mode (Image by eXputer)
Update GPU Drivers
Keeping your GPU drivers up-to-date is necessary as it ensures that your hardware can fully support Valorant to its maximum extent. Most of the time, outdated drivers lead to performance issues or even prevent Valorant from running entirely, which can cause the VAN9003 Valorant Windows 11 error.
Update Windows
Valorant users report that they cannot access the game due to issues. Well, one of those issues is most probably an outdated Windows version. Valorant requires a fully updated Windows version for its compatibility and interruption-free performance, so users must ensure they are on the latest version of their respective Windows.
Contact Valorant Support
If you encounter issues with Valorant, such as crashes or other technical problems, following the troubleshooting steps in this guide can help you eliminate them. If these don’t resolve the issue, you might have to go for other options and explore other solutions or contact Valorant’s support for further assistance.
Hopefully, my guide helped you to resolve the VAN9003 Error and got you back on track with grinding those Valorant ranks. If you are experiencing any other errors on Valorant, make sure to check out our guide on all Valorant error codes.
Read More
- Valorant Error Code 7
- Valorant Error Van 1067
- Valorant Error Code Van 1067
- Valorant Error Code Van 81
- Valorant Error Code 5
Thanks! Do share your feedback with us. ⚡
How can we make this post better? Your help would be appreciated. ✍