FOV settings are visual-based settings that let you choose your desired perspective type in-game. FOV stands for Field Of View, and the right type of FOV depends on individual playstyles. These settings let you decide whether you want a more sniper focused or a wide range-based display to see all angles and positioning of enemies. FOV can impact your gameplay heavily, so the first step towards it should be to know how to change FOV in CS2.
- There are two ways you can change CS2 FOV settings.
- One is through pre-sets from the Viewmodel Position, and the second is through Console Commands.
- There are three pre-sets that you can choose from in settings.
- You can change the FOV points through Console Commands ranging from 54 to 68.
- 54 is the lowest and the closest, while 64 is the highest and farthest away you can keep the end of the gun.
- The right FOV settings depend on your personal preference by changing and testing each FOV point.
How Do You Change FOV Settings?
As far as the FOV settings go, they extremely depend on your type of playstyle. If you are a sniper, you might want to go for a wider display so that you go for no-scopes and quick-scopes.
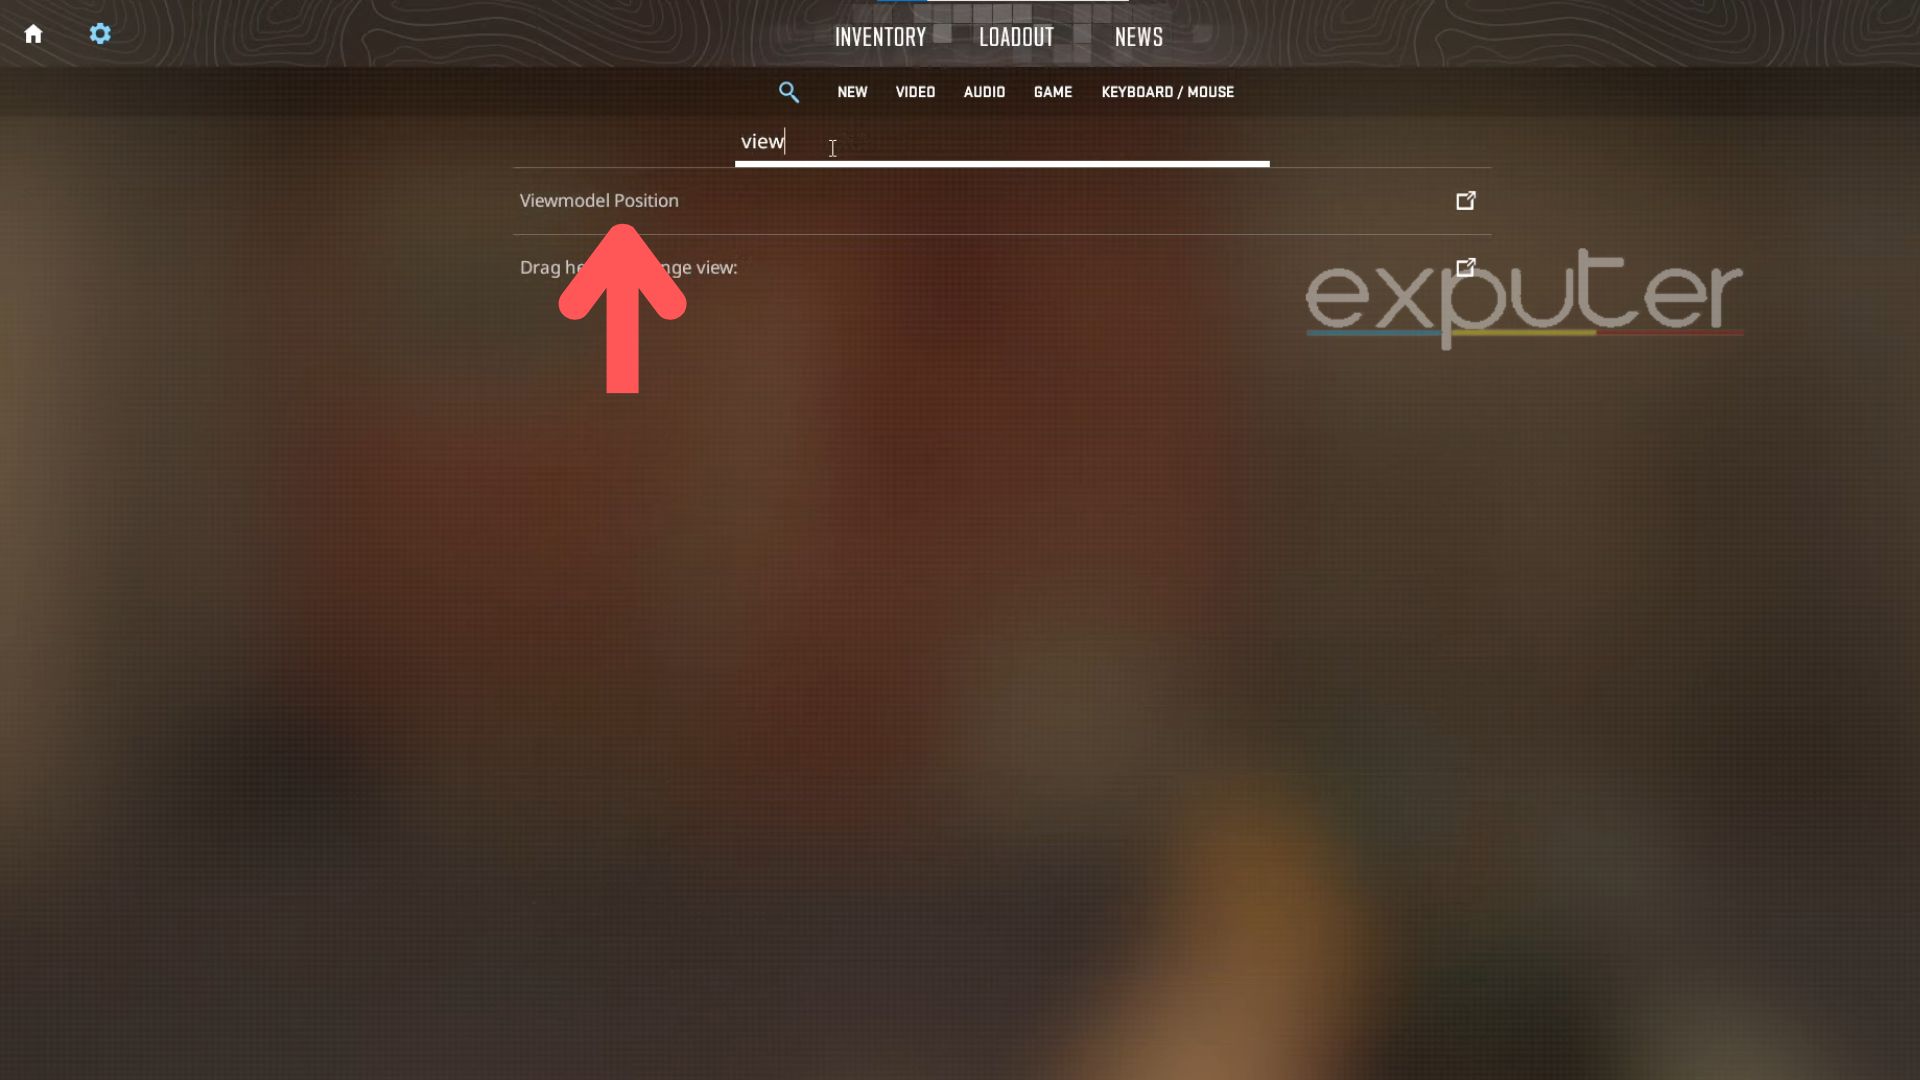
In order to change your FOV, you can easily head over to the settings menu of CS2. From there, click on the search bar, which will universally have the “Magnifying Glass” icon. From there, search “view” and the setting “Viewmodel Position.” You can manually access it from the Game Tab in Settings.
There will be three available pre-sets that you can choose according to your personal preference:
1. Desktop
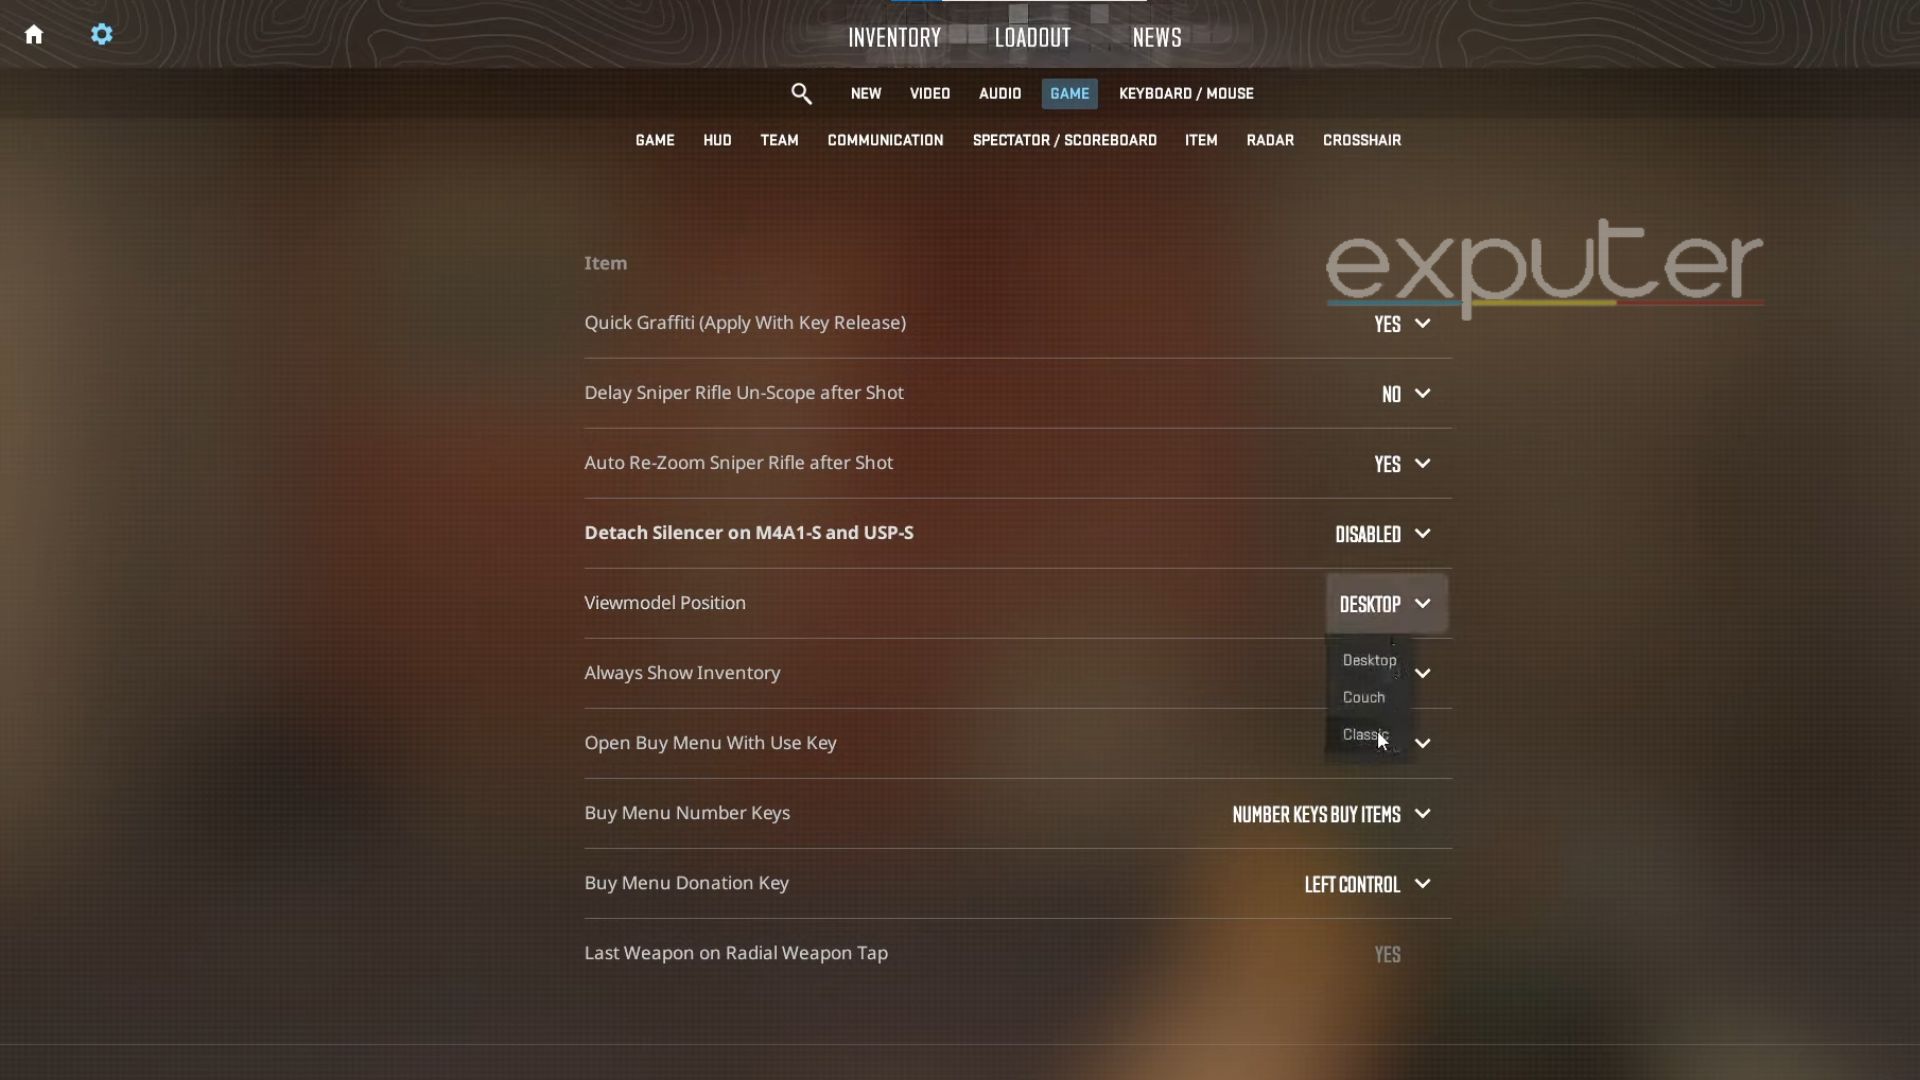
- It is for those who want a wider field of view for better accuracy.
- The Desktop Pre-set helps pinpoint enemies in the corner of your screen much quicker.
- The preset is designed for the original weapon positioning and FOV Viewmodel Position setting that veteran Counter-Strike players use.
- If you want to have your eyes all over the place and spot each corner, the Desktop Pre-set is for you.
2. Classic
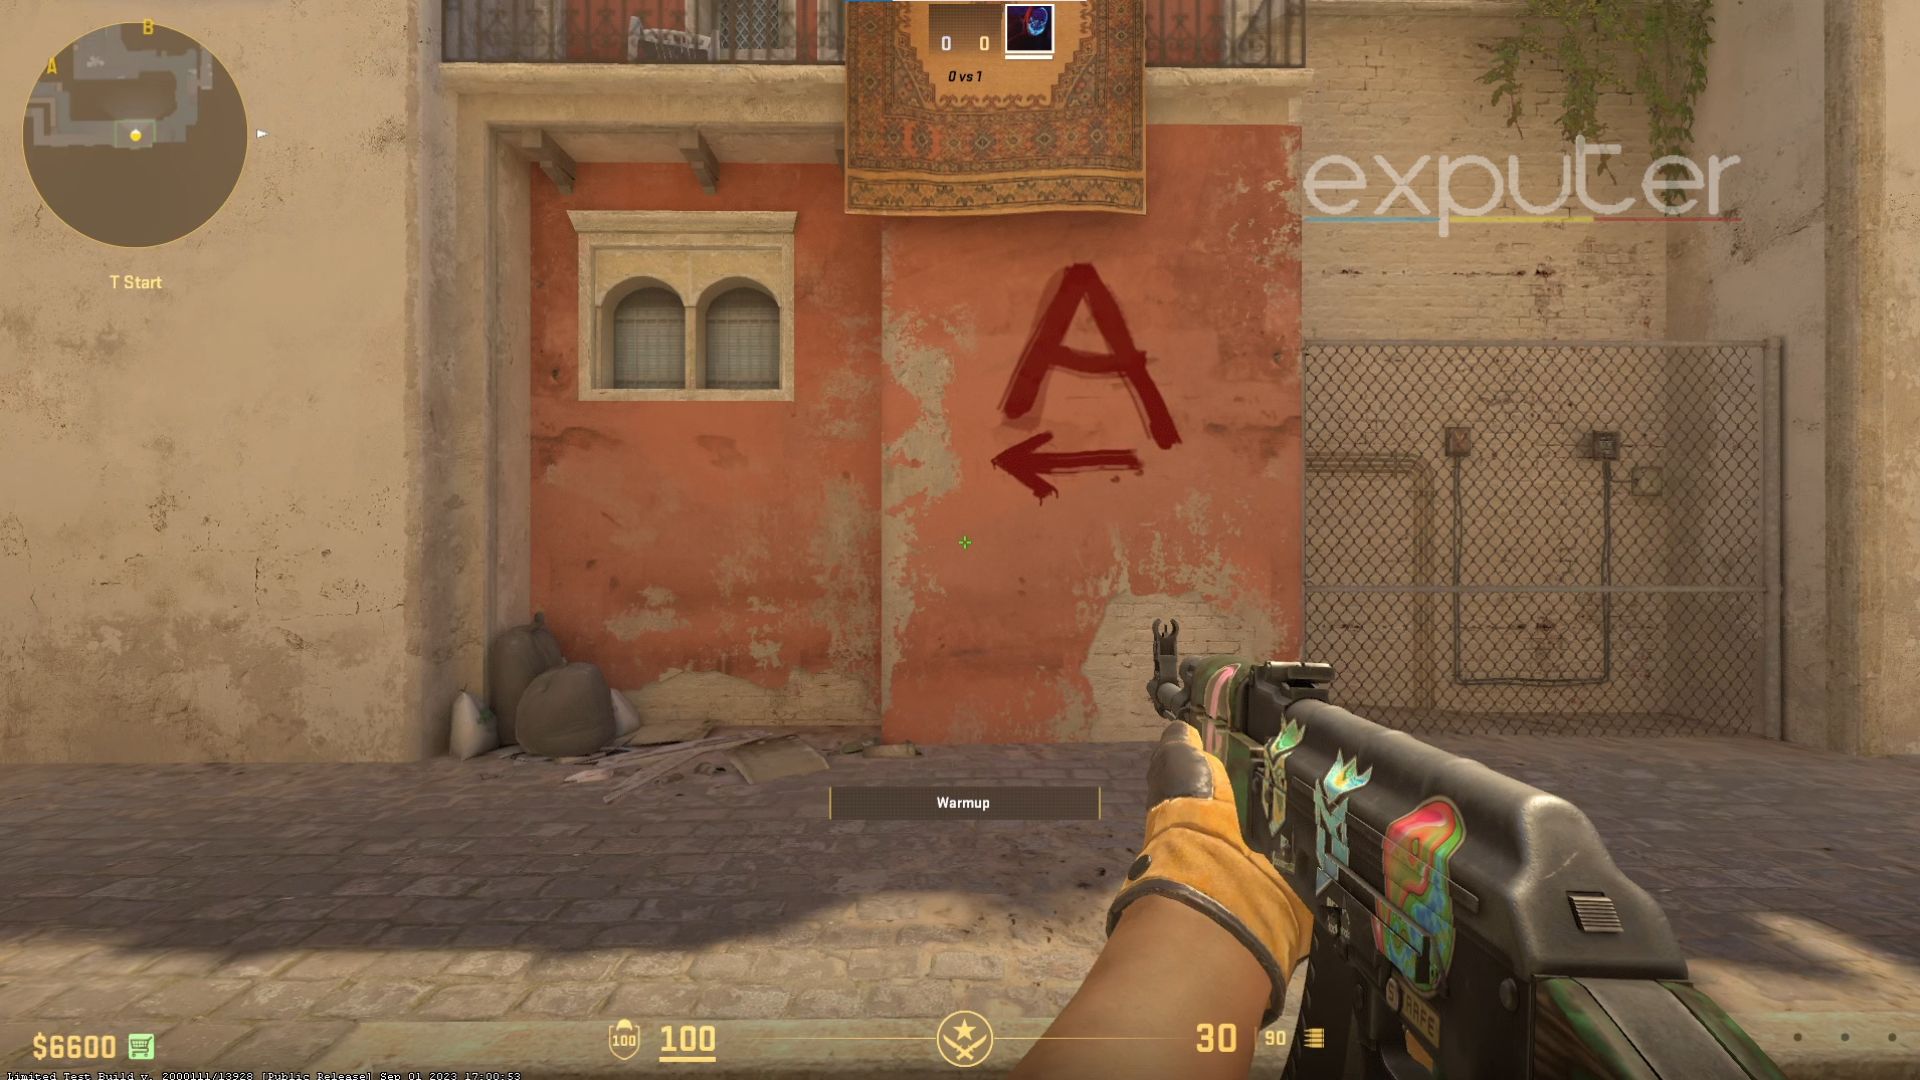
- You can have a more focused gameplay toward the middle of the screen.
- If you aren’t distracted by the Counter-Strike’s unnatural gun positioning, the FOV is definitely for you.
- It is the clearest view of the battle that the presets can give.
3. Couch
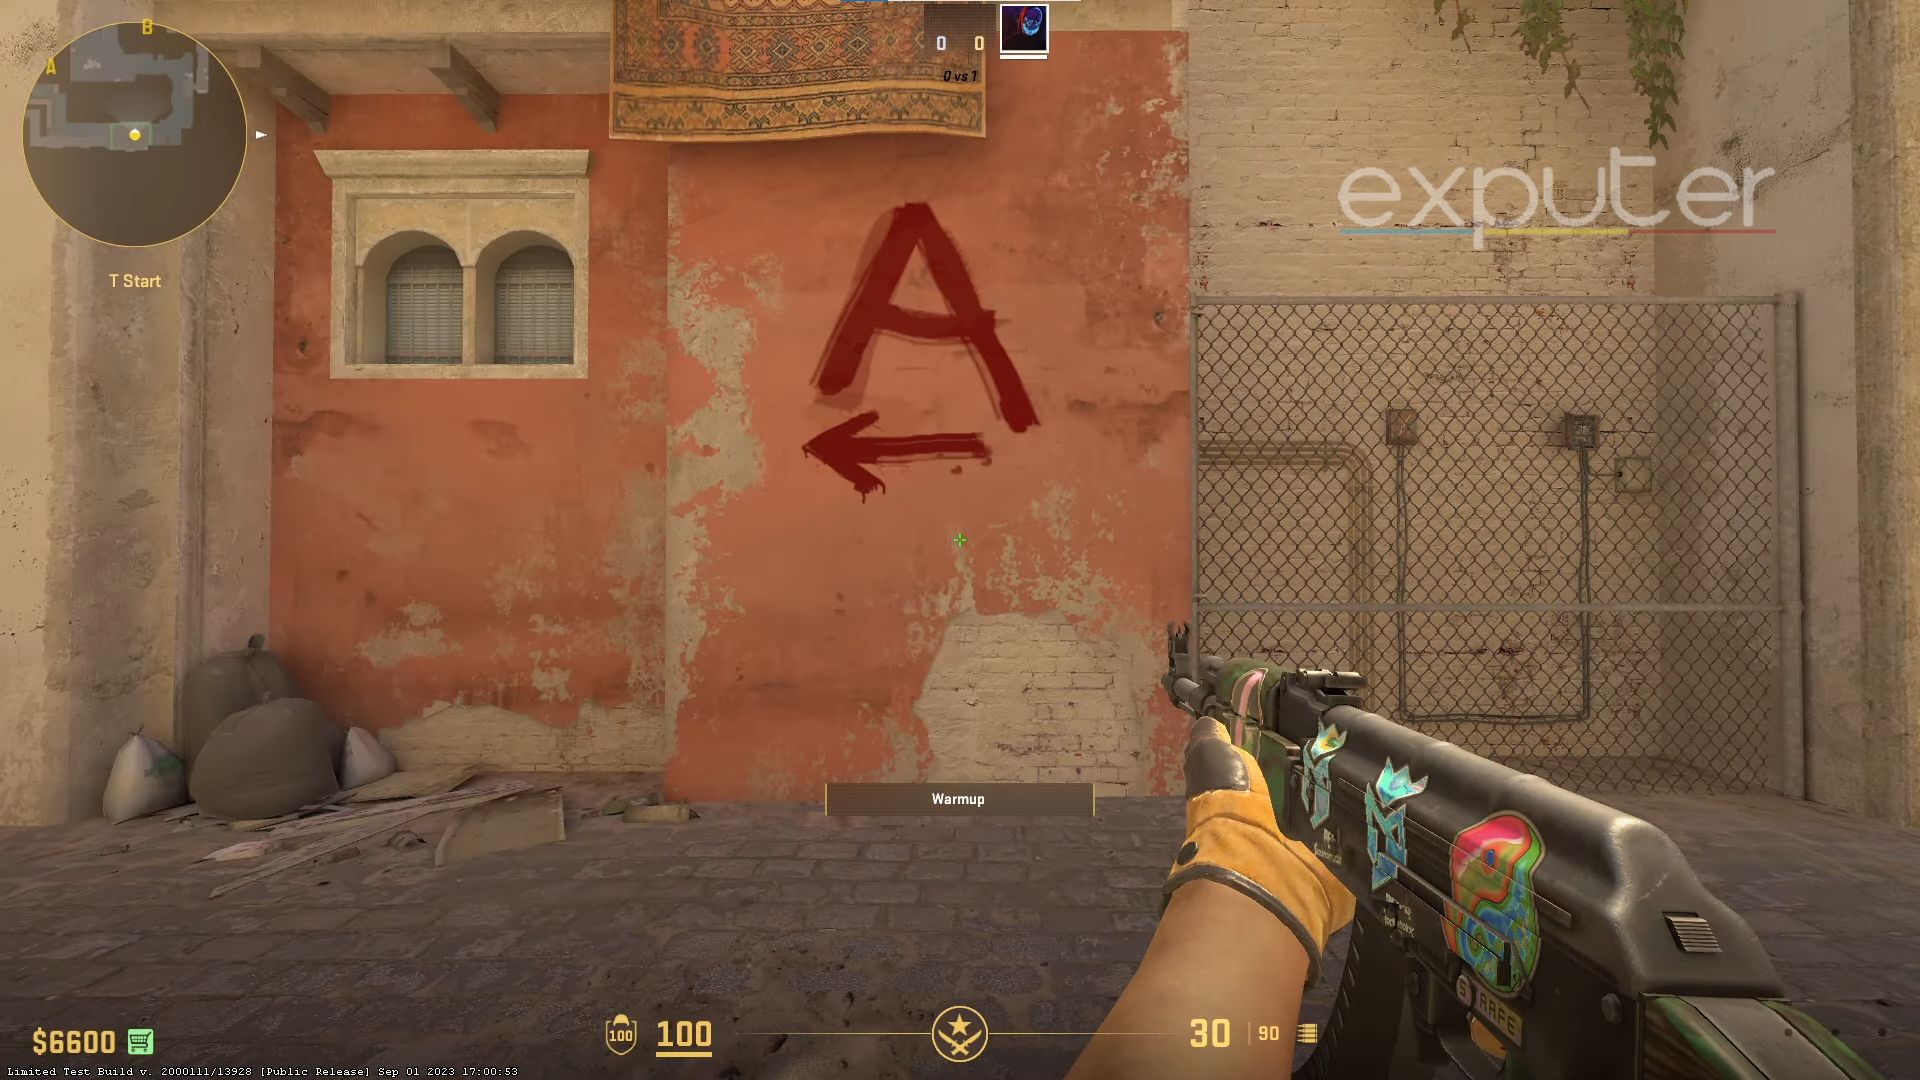
- Tracing opponents farther away from you can be a little bit easier now.
- The preset lets you see enemies pull up on you from either side of the screen better.
- No-scope shots are made much easier due to the zoomed-in display.
Changing FOV Through Console Commands
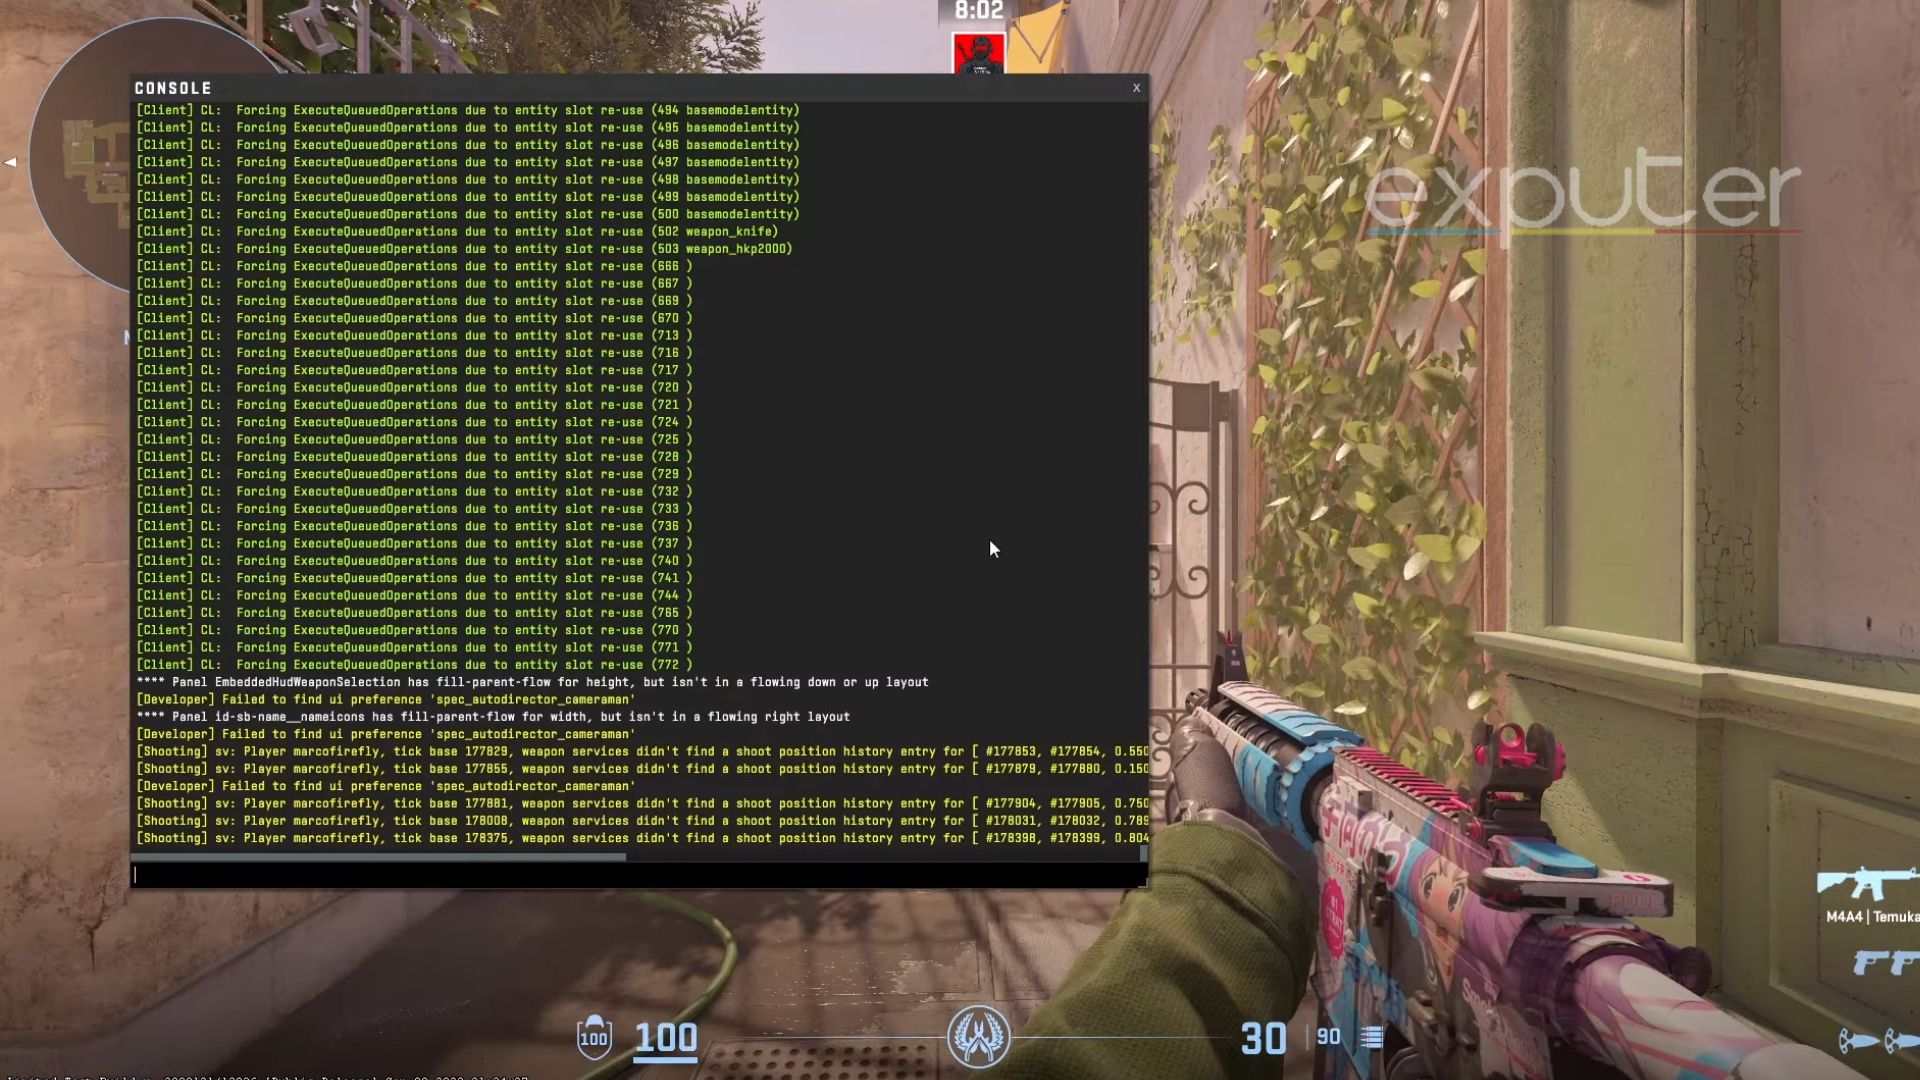
These presets are for those players who dont require all the minor controls over their field of view and just want to pick a playstyle. You can manually change the minor points of these FOV settings through in-game Console Commands. These commands will help you choose the exact FOV you want without settling for any pre-set number.
- The main key to open the mainframe console will be the Tilda “~,” or it could be any other key you set it to from the keybinds.
- A pop area to enter mainframe console commands will open up.
- Enter the code “viewmodel_fov X” and instead of adding X, choose a number ranging from 54 to 68.
- 54 is the lowest point your gun sits at, which keeps the weapon up close to you.
- 68 gives you the highest FOV, keeping the end of the weapon farthest from you as possible.
- Other commands like “viewmodel_offset_x”, “viewmodel_offset_y” and “viewmodel_offset_z” select how high up and far away your weapon stands.
- In order to find the correct setting point for you, test out each of the setting numbers for yourself.
So, this is how you change your FOV settings in CS2 without going through much trouble. Based on my opinion, it all depends on your personal preference and how you want to run things in the battle. Whatever the case, make sure you are current about the Best Weapons Skins In CS2 currently.
Next:
Thanks! Do share your feedback with us. ⚡
How can we make this post better? Your help would be appreciated. ✍
