Lend Lease is a two-part quest in Escape from Tarkov that can net you some nice experience points, dollars, dealer reputation and some other goodies. Aside from the name, Part 1 and Part 2 of Key to Success are both completely different tasks, unlocked at different levels of progression throughout the game.
- Lend Lease is split into two quests with significant rewards.
- Part 1, from Skier at level 26, requires keys and items for a reward of 20K EXP, +0.12 Skier rep, and up to 3450 dollars.
- Collect Two Gyroscopes and three Motor Controllers, with locations in the woods and shoreline.
- Survive, then deliver items to the Skier.
- Part 2, from Peacekeeper at level 30, yields 21K EXP, up to 2.3K Dollars, +0.04 Peacekeeper rep, and more.
- Gather two Virtex processors and one Military COFDM transmitter from Lab and Reserve locations.
- Turn in items to the Peacekeeper to complete the quest.
Lend Lease (Part 1) In Escape from Tarkov
Escape from Tarkov’s Lend Lease (Part 1) is a task or quest that you can get from the dealer Skier. The task takes place over two maps in Escape from Tarkov, namely Woods and Shoreline, and requires obtaining and handing over three Motor Controllers and two Single-axis Fiber Optic Gyroscopes.
Requirements
- A minimum of Level 25
- Shoreline Health Resort east wing room 306 key or room 308 key
- Shoreline Health Resort west wing room 216 key
Objectives
- Obtain and hand over 3 Motor Controllers (1 on Woods, 2 on Shoreline)
- Obtain and hand over 3 Single-axis Fiber optic Gyroscopes (1 on Woods, 1 on Shoreline)
Rewards
- 20,000 EXP
- +0.12 Skier reputation
- 3,000 Dollars (3,159 Dollars with Intelligence Center Level 1, or 3,450 Dollars with Level 2)
Lend Lease (Part 1) Procedure
Following are the exact steps needed to complete the first part of the mission:
Woods
The Lend Lease (Part 1) task from Skier in Tarkov requires you to first go for a raid in Woods to find the first Gyroscope and the first Motor Controller.
First Single-axis Fiber optic Gyroscope
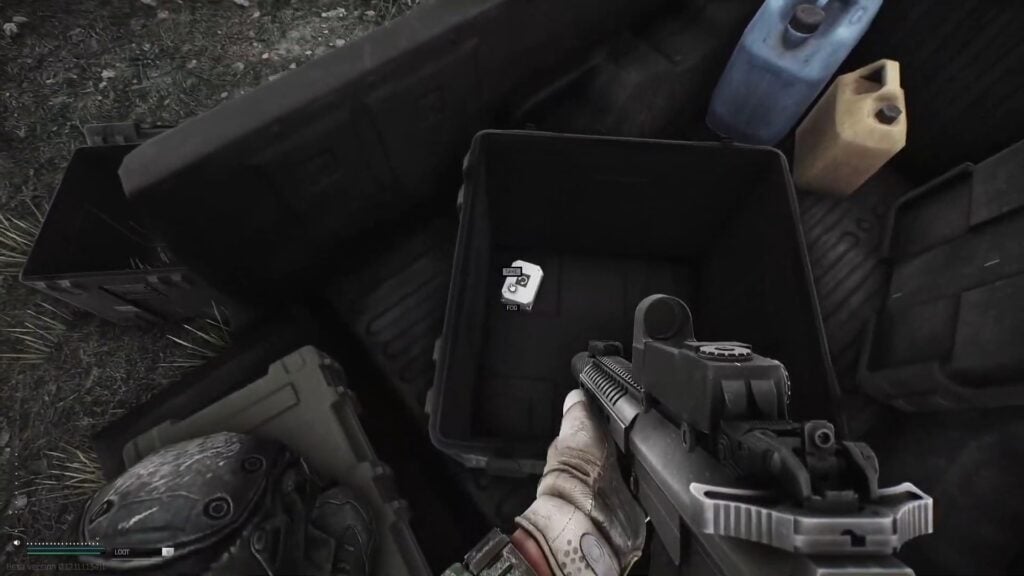
As you drop into Woods initially, go to the lumber mill as shown on the map.
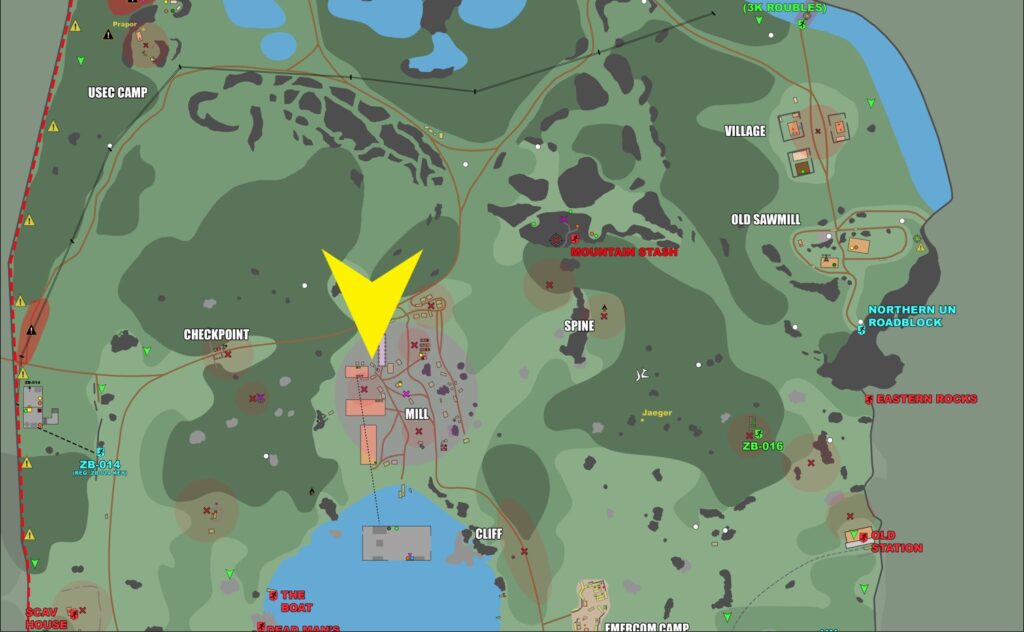
Once you’ve reached it, you should see two jeeps in front of the main grey building.
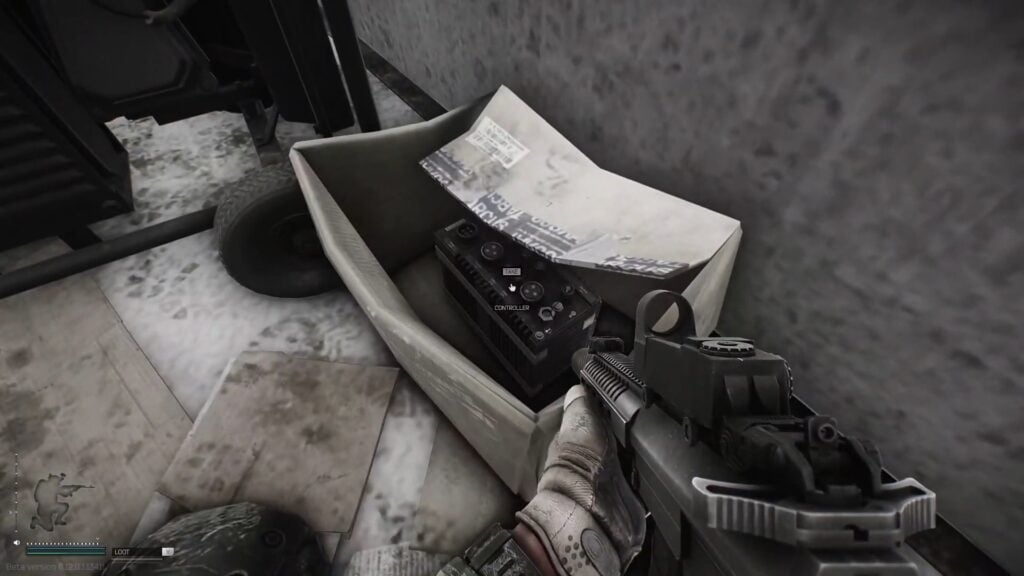
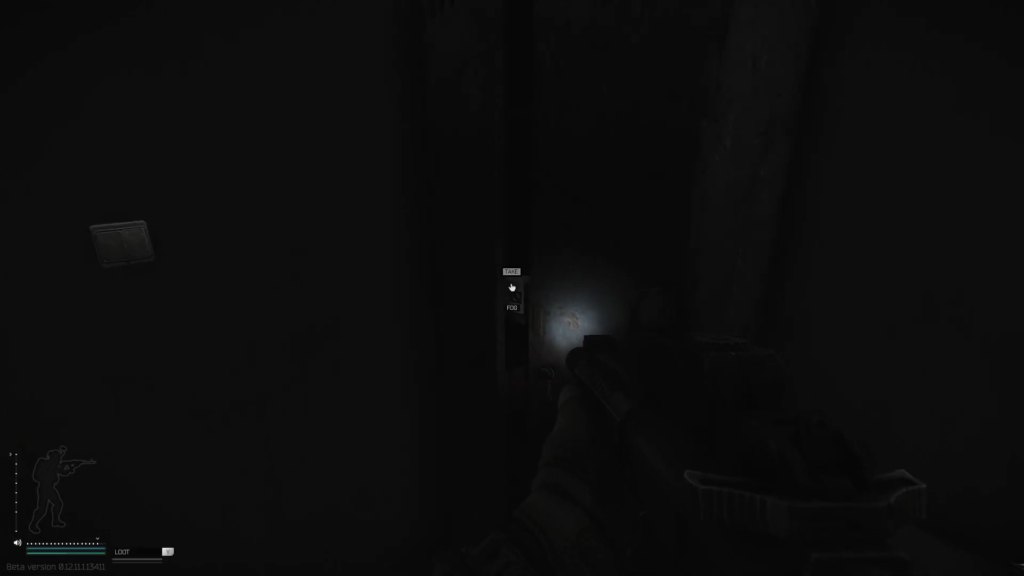
However, we’re only interested in the cyan pickup. Head over to its back, and you will find the first Gyroscope within a small opened box.
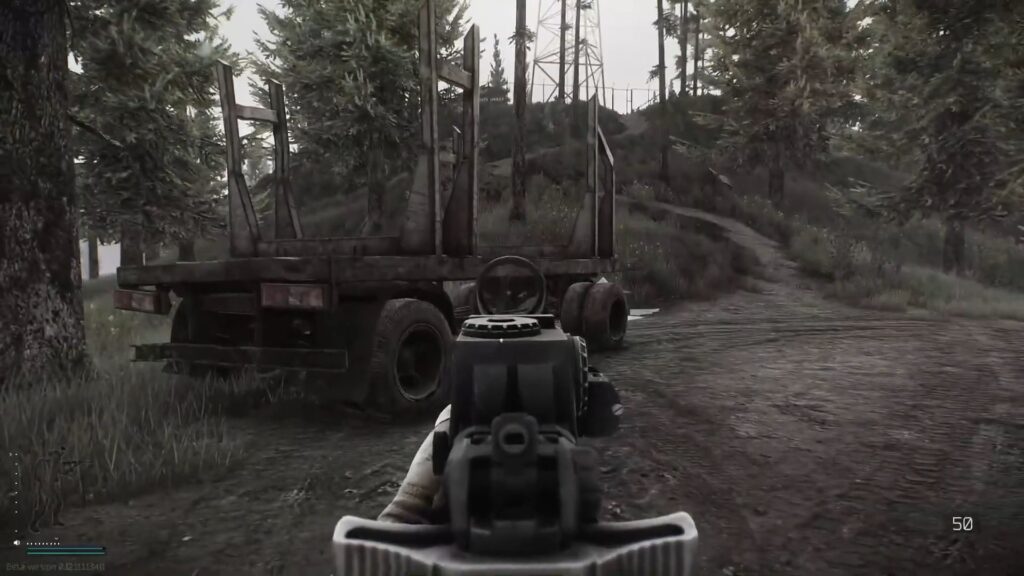
First Motor Controller
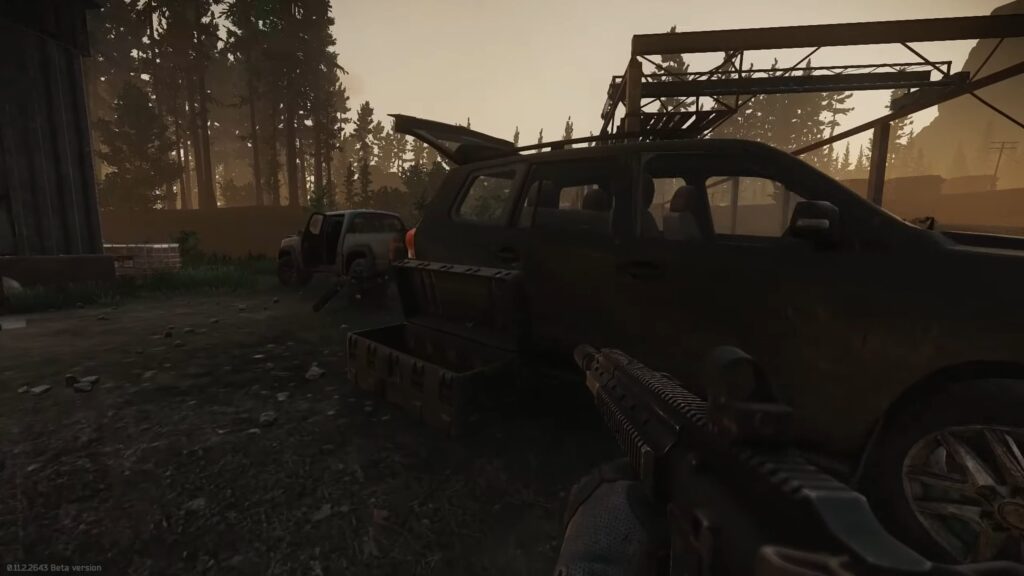
To proceed with this Skier task in Tarkov, roughly follow a bearing of 310° from the lumber mill until you hit a road. Follow this road west up to the checkpoint shown on the map.
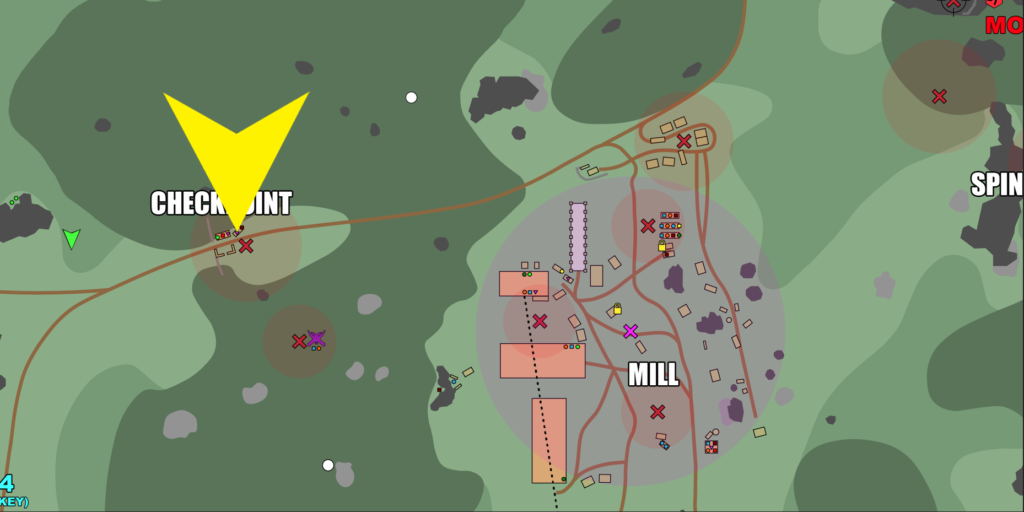
Once you’re at this check post, you should find a black SUV.
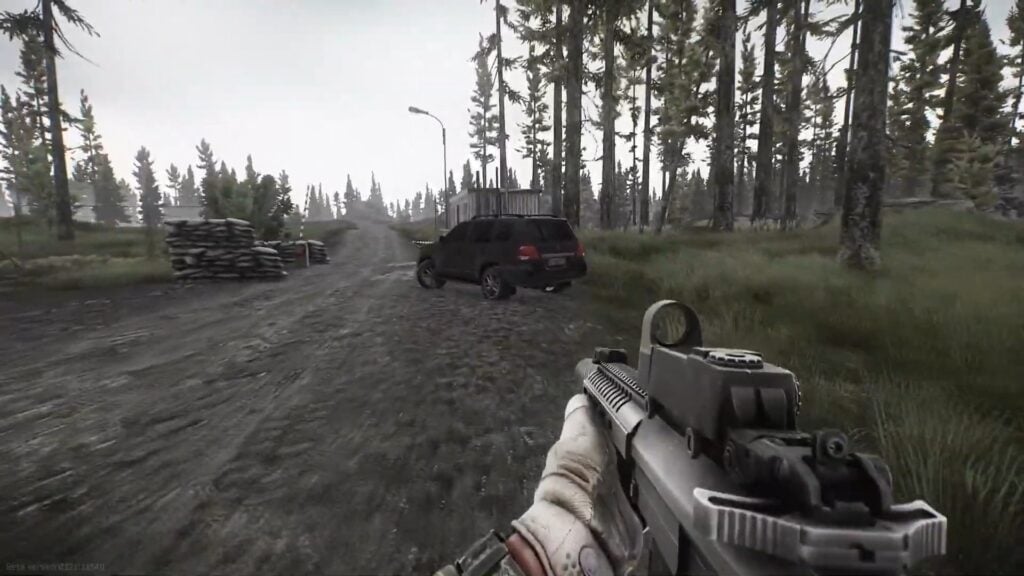
Finally, unlock the door and open it. Here, in the center console, you will find your first Controller.

You are now done in Woods at last. Survive, extract, and hand over the items you’ve just obtained for Tarkov’s Lend Lease.
Shoreline
This Skier quest takes you next to the Shoreline in Tarkov to find the remaining items.
Second Motor Controller
Firstly, head over to the Cell Tower as shown on the map.
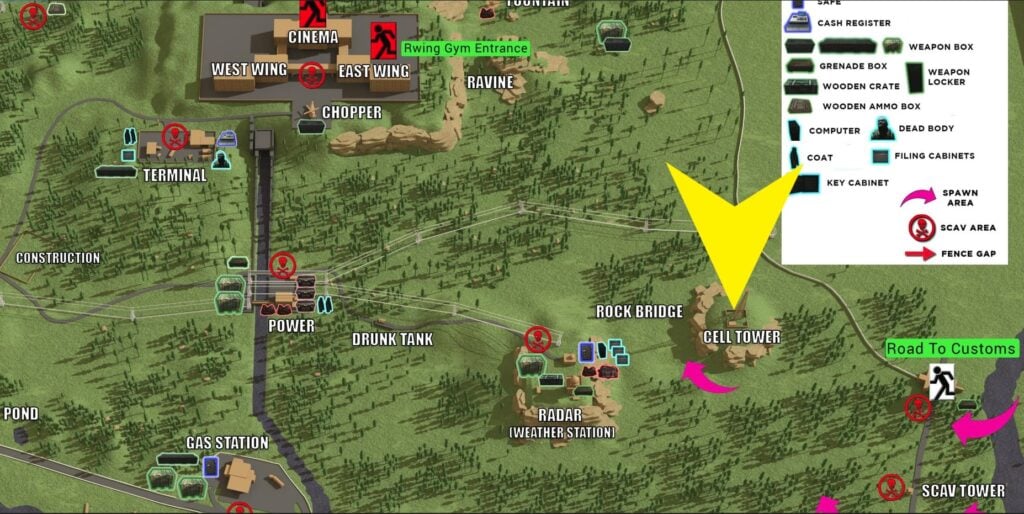
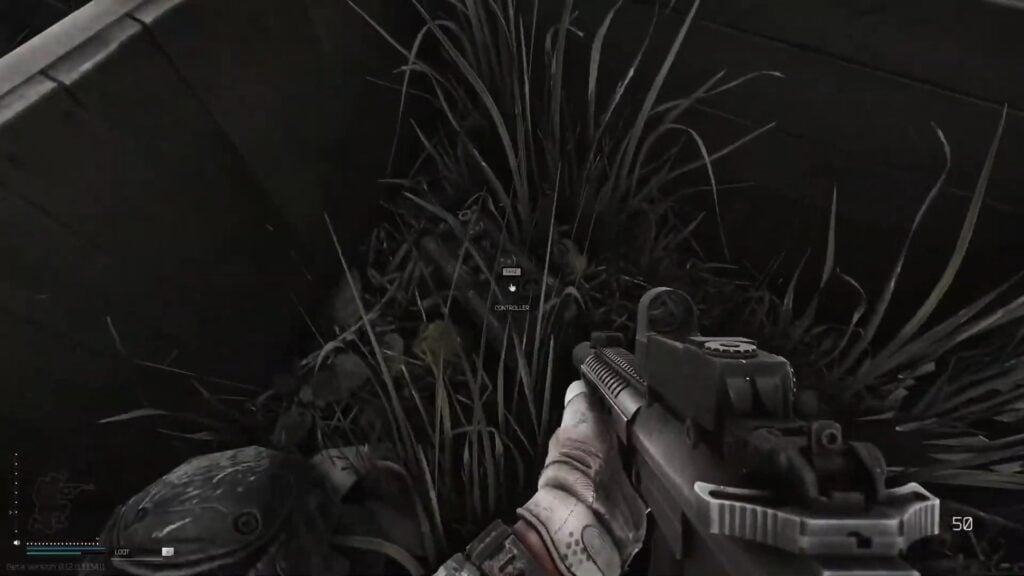
Next, follow the small path that leads East where you will see a detached trolley.
Once you’re on top of the trolley, look towards its far-right corner and follow a bearing of 170° (or an angle of 45° off of the corner). Keep running for a few seconds until you come across a patch of dried grass. Immediately on the left of this patch, between two trees, lies a broken wooden box.

Your second Controller will be in this box.
Third Motor Controller
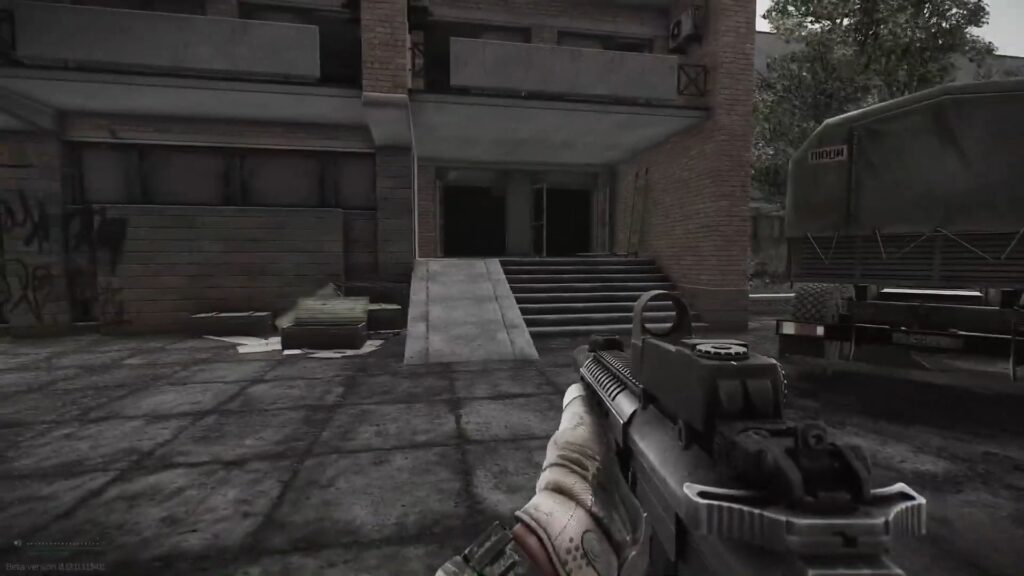
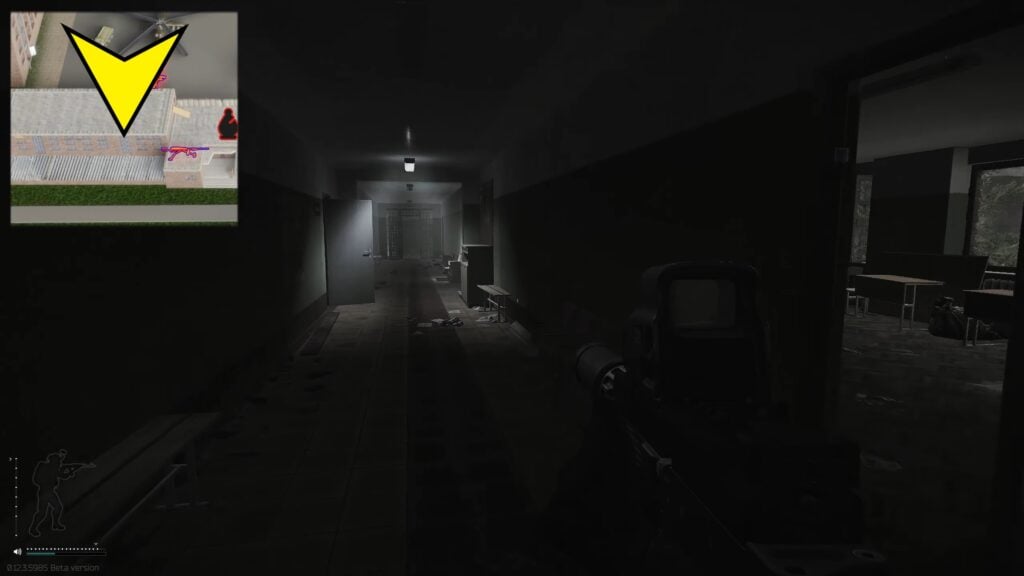
Our remaining two items for Skier’s Lend Lease task in Tarkov take you to the Health Resort, which is where the room keys come in. Initially, start from the helipad, and first make your way to the east wing building.
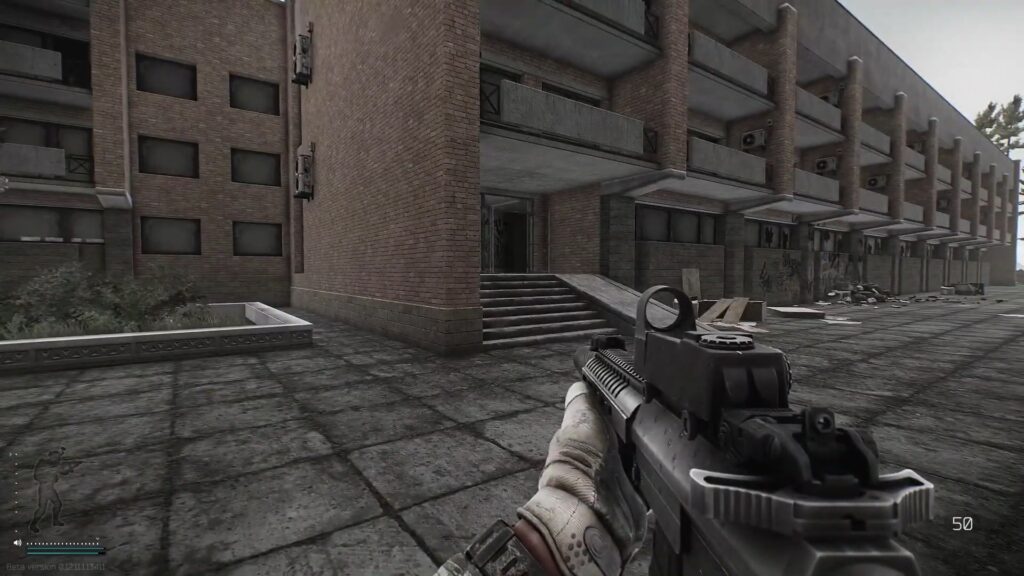
Use the left entrance of the building to go inside, and use the left stairwell of the building to go up to the top floor. As soon as you reach the top floor, take a left and go into the hallway.
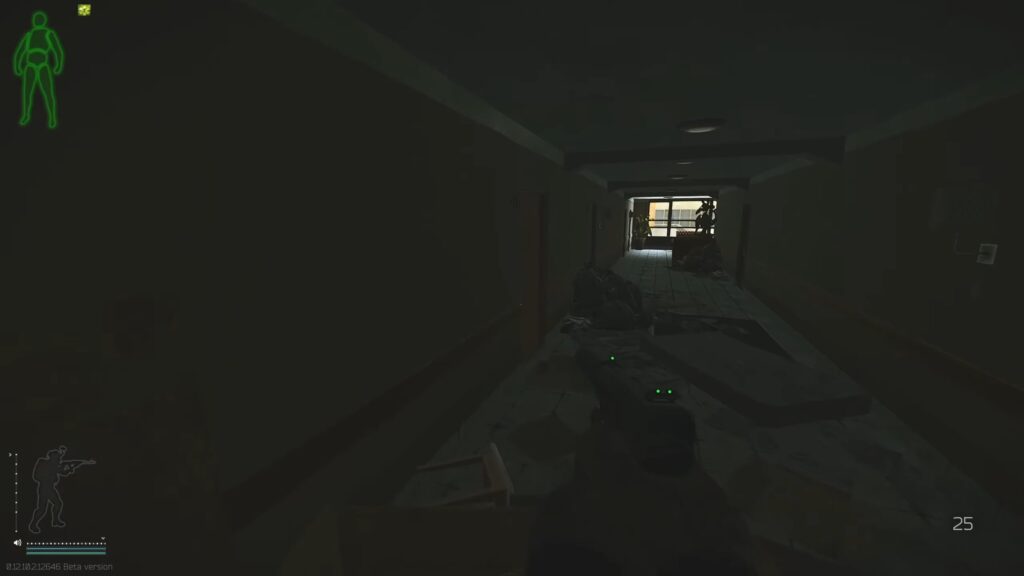
Thereafter, the first two rooms on your left will be rooms 308 and 306. Depending on which room’s key you managed to acquire, unlock the door and go inside. Both these rooms share the same balcony, so it shouldn’t matter which room you get into.
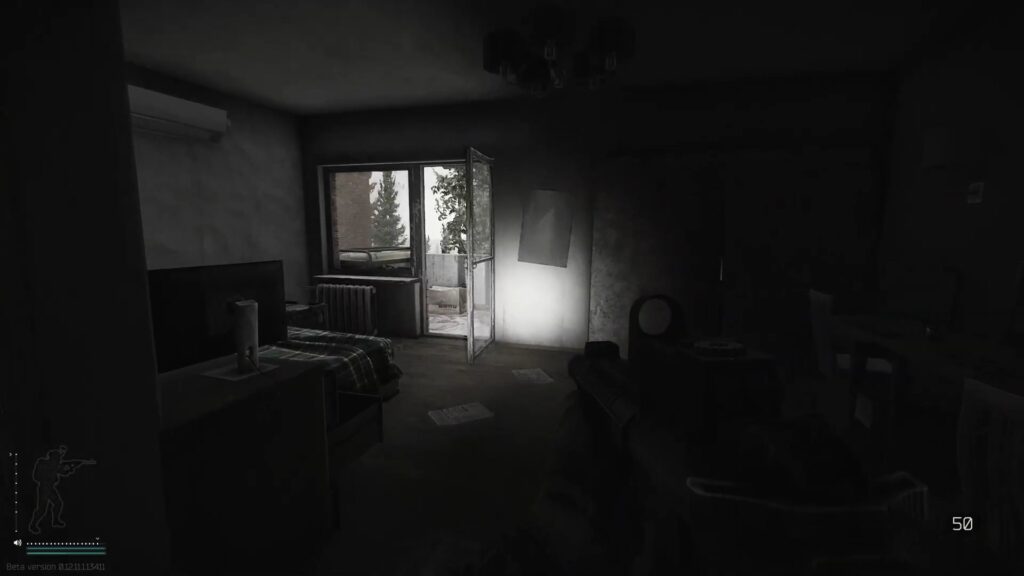
Go out into this balcony, and beside the generator will be a brown cardboard box containing your third Controller.
Second Single-axis Fiber optic Gyroscope
For the last item in Skier’s Lend Lease task in Escape from Tarkov, you need to go to the west wing of the same Health Resort. You can either take the sky bridge, or follow my directions from the same helipad.
As before, you have to start the helipad and head over to the west wing, going inside the building through the right entrance.
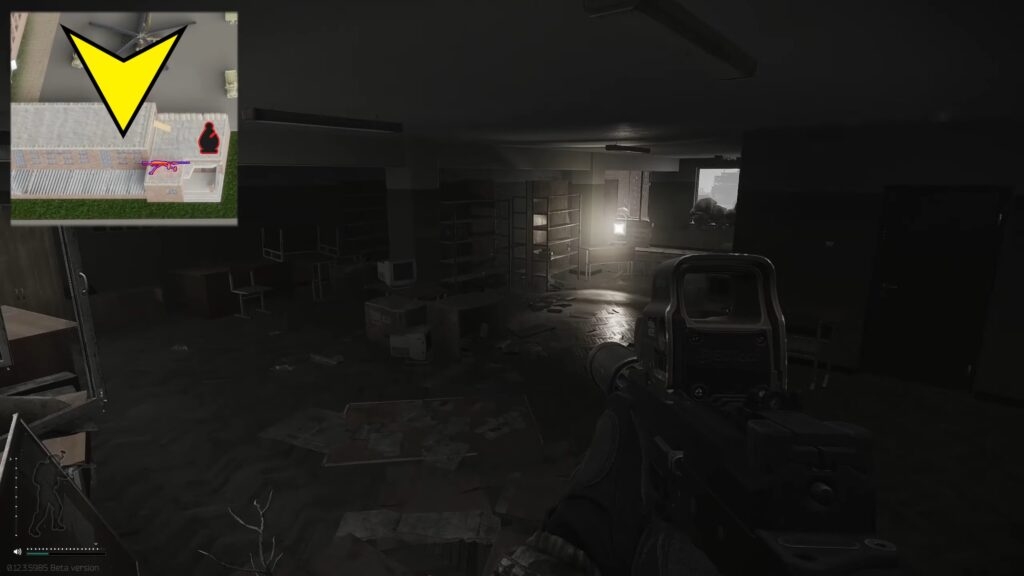
Once inside, use the right stairwell to go up one floor. Afterwards, go into the hallway on your left and jump over the barbed wire. Subsequently, the second room on the left after the barbed wire will be room 216.
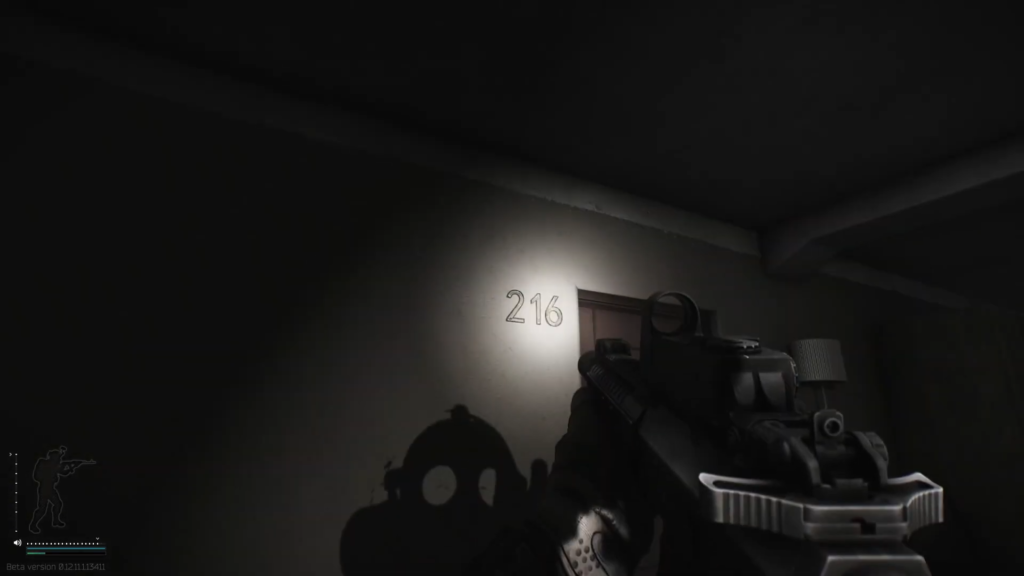
Unlock it using your key, and go in. As soon as you’re in, you should see a blue cabinet immediately on your left, with its door slightly ajar. Look closely inside, and you should be able to spot the second gyroscope.
Finally, you have everything you need to complete the Lend Lease task in Escape from Tarkov. All that’s left to do now is survive out the raid, extract, and hand over the quest items to Tarkov’s Skier himself.
Lend Lease (Part 2) in Escape from Tarkov
Lend Lease (Part 2) is a task you receive later from Peacekeeper. It requires you to obtain and handover two Virtex programmable processors and one Military COFDM wireless Signal Transmitter, which can be found at various random spots at the locations of The Lab and Reserve. They may be harder to track down, but you do get compensated a bit more for your troubles.
Also keep in mind, though, that these objects need to be found in raid, and cannot simply be bought off of the flea market as they once could.
Requirements
- A minimum of Level 30
Objectives
- Obtain and hand over 2 Virtex programmable processors
- Obtain and hand over 1 Military COFDM wireless Signal Transmitter
Rewards
- 21,000 EXP
- +0.04 Peacekeeper Reputation
- 2,000 Dollars (2,100 Dollars with Intelligence Center Level 1, or 2,300 Dollars with Level 2)
- 2 HK 416A5 5.56×45 Assault Rifle
- 300x 5.56x45mm M995
- 2x Magpul PMAG D-60 5.56×45 60-round magazine
- 2x 60-round MAG5-60 5.56×45 STANAG magazine
Lend Lease (Part 2) Procedure
For this Peacekeeper task, the required items can spawn randomly in various spots across The Lab and Reserve locations in Tarkov. However, I will go through some locations that are more likely to house the objects.
Location #1
- From the main Reception area of The Lab, use the staircase on the left side of the reception desk to go up.
- Take a left at the top of the stairs, and go into the first door that leads into the Security Office.
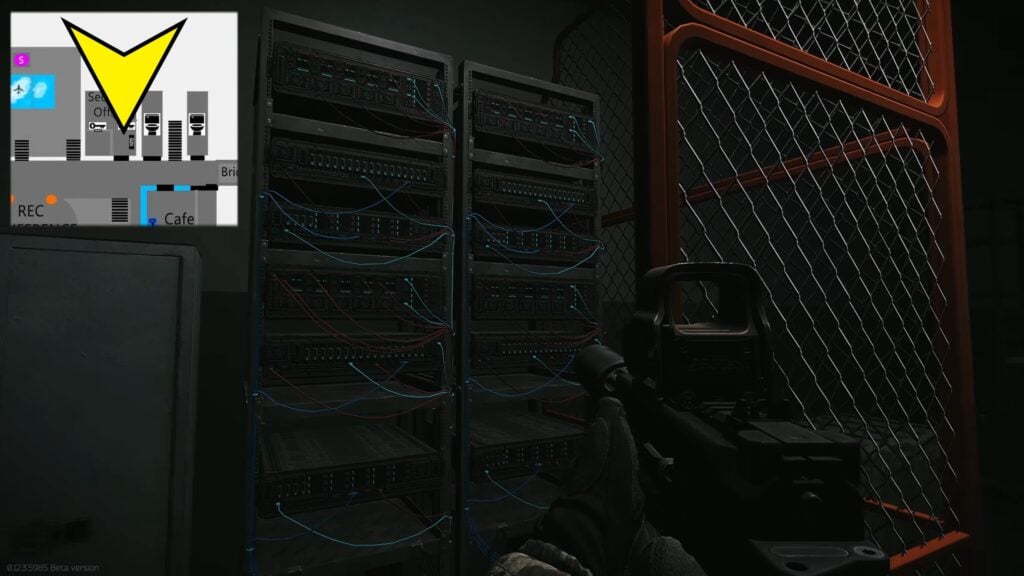
- Now go straight ahead and use a Violet keycard to enter into the back room.
- Open the orange cage on your left, and the server rack inside is the first location you need to check.
Location #2
- From the Security Office, come out and use the staircase right in front to go downstairs.
- Keep to the left and pass the Gym until you come across the Meeting Room door.
- Exactly opposite this door should be a few more consoles that you can check.
Location #3
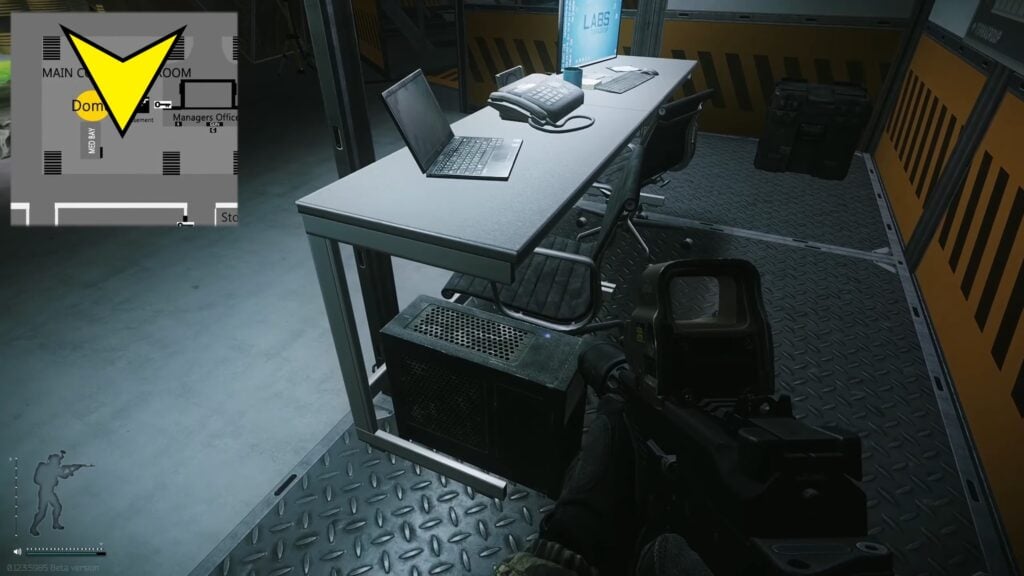
- From the last location, proceed left and go into the main office area, where you’ll see loads of equipment lying around.
- As you enter, make your way straight ahead until you come across a rather neat table with a laptop flanked by two telephones.
- This is another common spawn point for either the Virtex processor or the Military Signal Disruptor required for Lend Lease (Part 2) in Escape from Tarkov.

Location #4
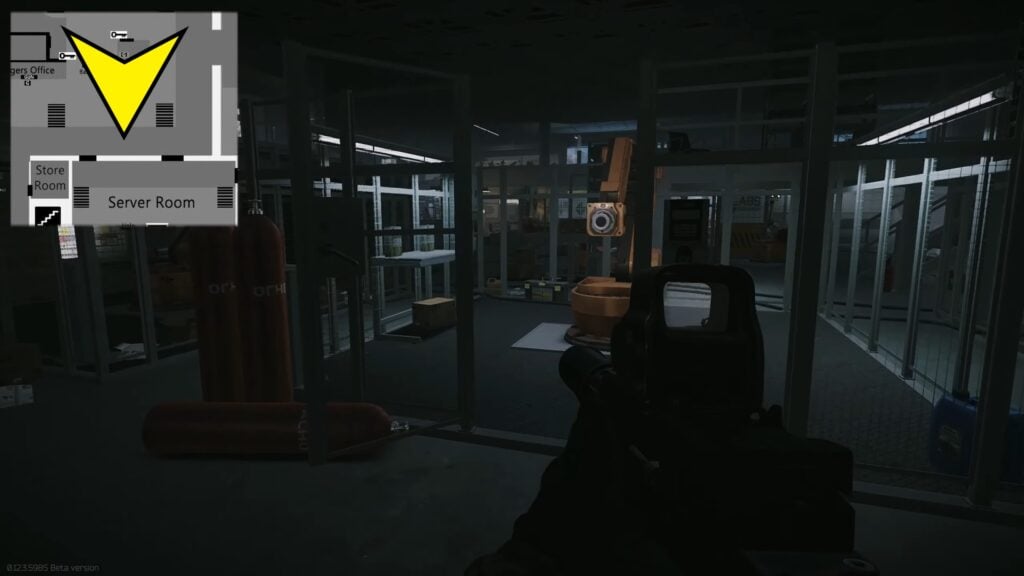
- Straight ahead from the previous table, you’ll see three enclosures containing some orange robotic arms.
- Go into the middle enclosure, and on the left on the small pedestal, you may find one of the items you need.
Location #5
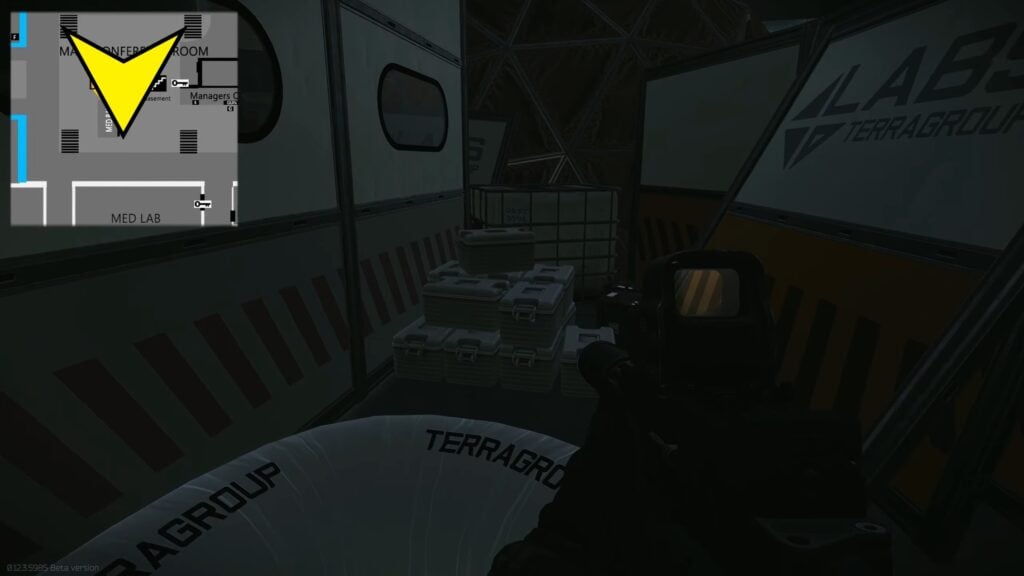
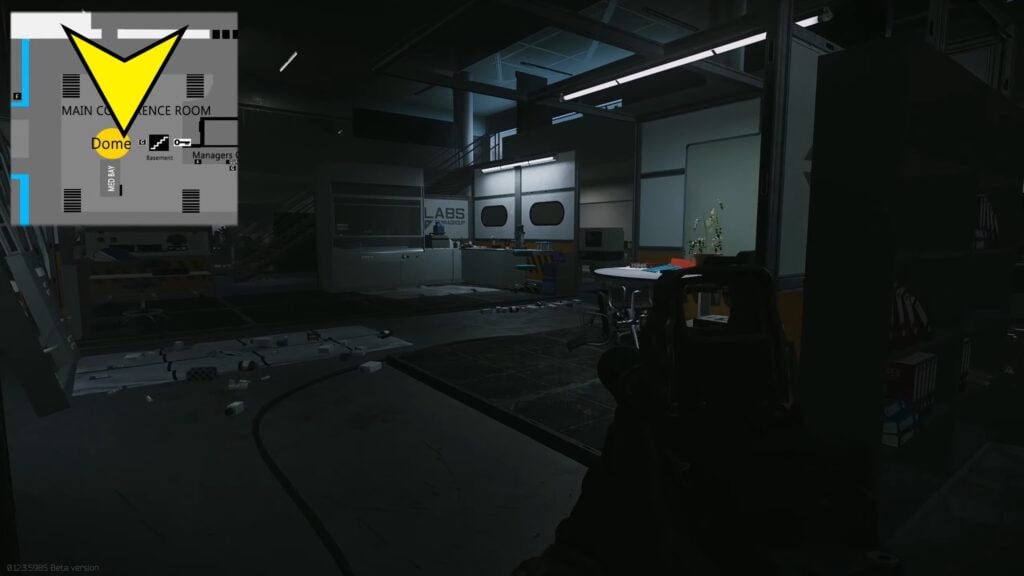
- As you exit the enclosure, turn right and go along the green vegetation display.
- Once you see the dome on your right, turn right and go up to the few boxes stacked next the thick white ducts.
Location #6
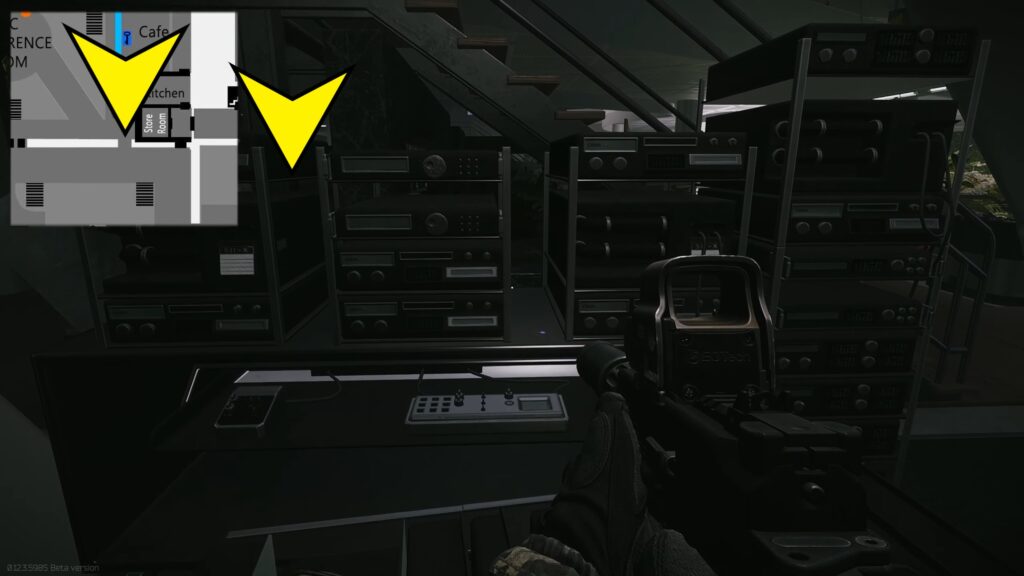
- Go through the white walk-through enclosure on your right and turn right towards the small desk with computers.
- Here is another spawn point, right on top of the tower computer.
Location #7
- Next, go further ahead through the doorway on the right of the dome.
- Subsequently, head slightly left until you come across a space with multiple desks in front of white background panels.
- Be sure to check out these desks for any items as well.
Location #8
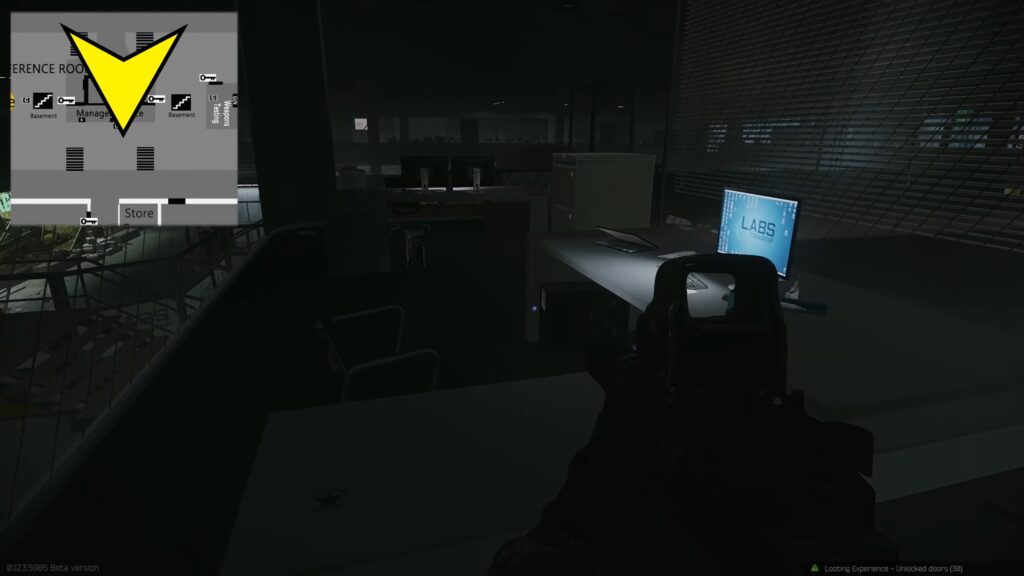
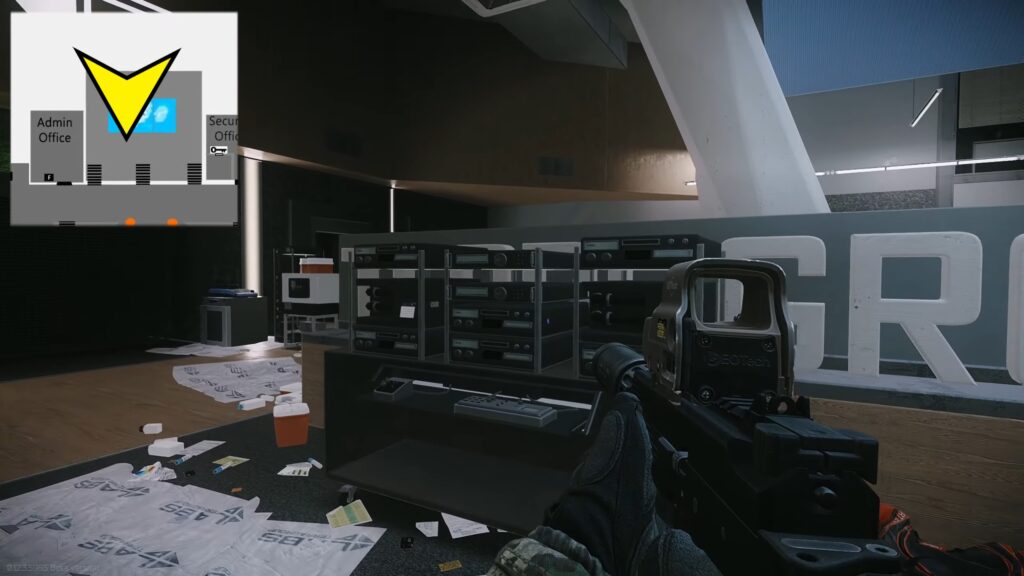
- To continue this Peacekeeper task in Tarkov, go up using the East staircase and take a sharp right to go towards the Manager’s Office.
- Take a left at the fork, and go ahead to the door.
- Finally, unlock the door and go inside.
- The desk here is another potential spawn location.
Moreover, check any server or console racks you come across, such as the one shown in the picture.
Those were the major spawn locations for the items you need to complete Lend Lease (Part 2.)
Still didn’t get all the items you needed? Don’t worry, because next up, we’re going to Reserve.
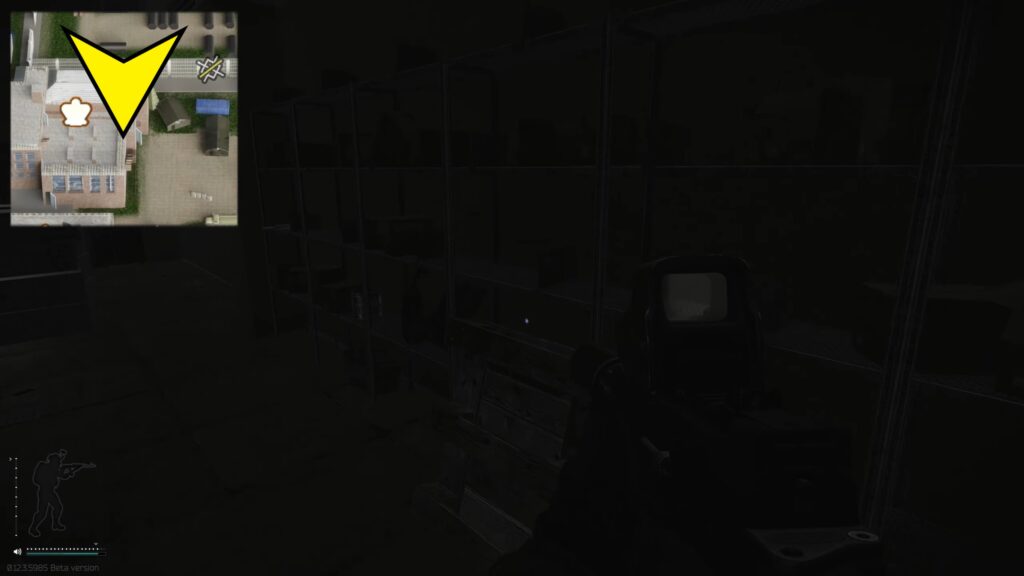
Location #9
- Go inside the airspace control center building in Reserve (marked on the outside by a white king symbol).
- Once you’re in, take a left and go to the shelves on the left wall.
- This is a common spawn location for the items.
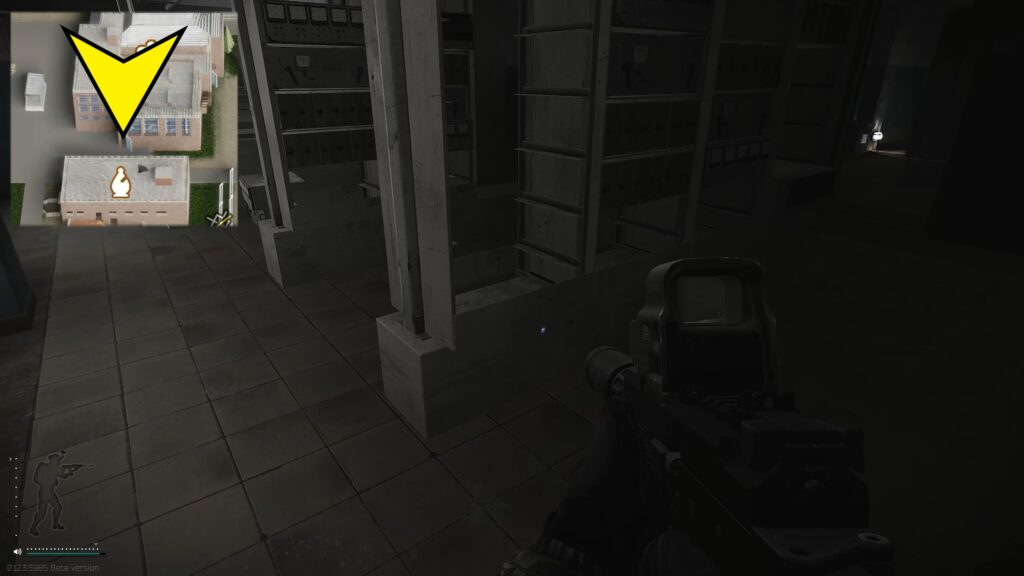
Location #10
- In the south wall of the room, you will see a massive hole in the wall with a bright floodlight next to it.
- Go straight through the hole and through the doorway ahead.
- Thereafter, take a right and go up to a door with a Russian label.
- Open the door, and you’ll come into the gym area.
- On the right will be another door. Go through it, and go right again through the hallway.
- At the end of this hallway, you’ll find another room filled with servers.
- Check them all for the items you need.
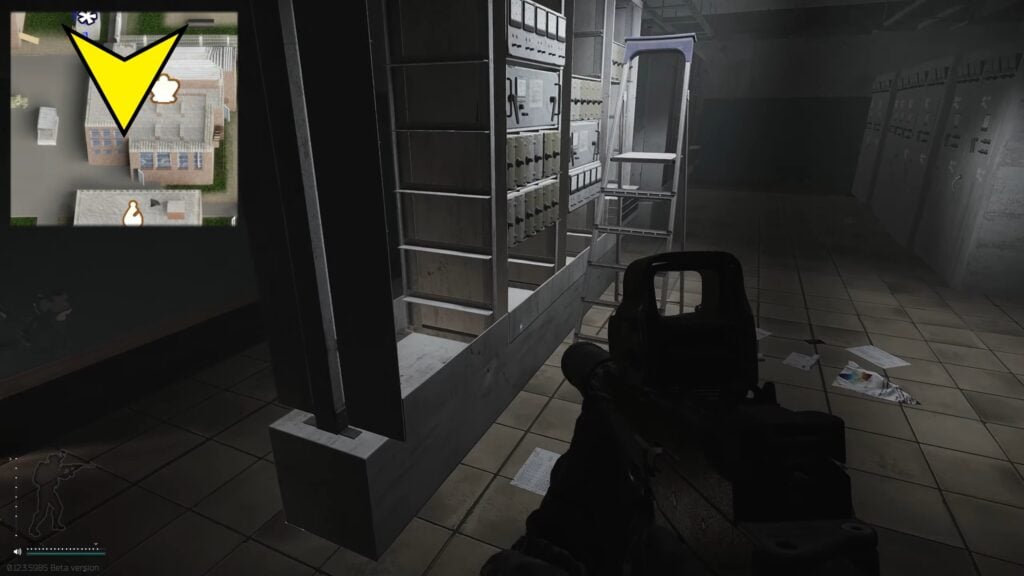
Location #11
- Right ahead, on the right, will be a door leading to another set of servers and shelves.
- This is also a common location where the Peacekeeper task items for this Tarkov task might appear.
Location #12
- Once you’re finished searching, leave this building through the south entrance, turn right, and head towards the North Barracks.
- Enter the building facing the nose of the helicopter, go up to the top floor, and check all the rooms in the left hallway.
Location #13
- From the right-most window of the first room on your right within the aforementioned hallway, jump out and drop down onto the platform below.
- Thereafter, go into the room right next to you and check the shelves for any needed equipment.
Additionally, you may also want to check out any equipment racks you come across, such as the one in the picture.

If, by some stroke of terrible luck, you still could not get the items you needed, you can also check the RB-VO and RB-BK rooms, though you will need their respective keys.
All that remains now is to extract from Tarkov, hand over the items to the Peacekeeper, and your task is done!
And just like that, you’ve completed both parts of Escape from Tarkov’s Lend Lease task and made both Skier and Peacekeeper a little more confident in your abilities. How did you enjoy going through the objectives of Lend Lease, and were the rewards worth it? Let me know your thoughts in the comments below. Moreover, be sure to check out our list of the 10 best FPS games you need to play right now!
Thanks! Do share your feedback with us. ⚡
How can we make this post better? Your help would be appreciated. ✍