There are 5 labs in total in Grounded, each of which have a unique and intricate design with various locks and hidden areas that usually hold that rare loot captive. Among the 5 laboratories in the game, one of them is the Haze Lab in the Haze area, a challenging lab to initially get to which might take a few in-game hours or days to tour and loot completely. So let’s jump right in and see how we can access and properly explore the Haze lab!
- Equip Gill Tube or Bubble Mask for underwater breathing.
- Use a fully repaired Weevil Mask for hazardous air.
- Carry a minimum Tier 2 Axe and Knife.
- Access Haze Lab via the Exposed Pipe route in the Southwest.
- Look for a white, broken pipe near the oversized sandbox.
- Equip Merteen Mutation for underwater sections.
- Lab hallway has two branches: left has the main entrance, Granola Bars, and a chest with a letter; right has experimental mushrooms, a cassette tape, a valuable chest, more food, and a yellow switch.
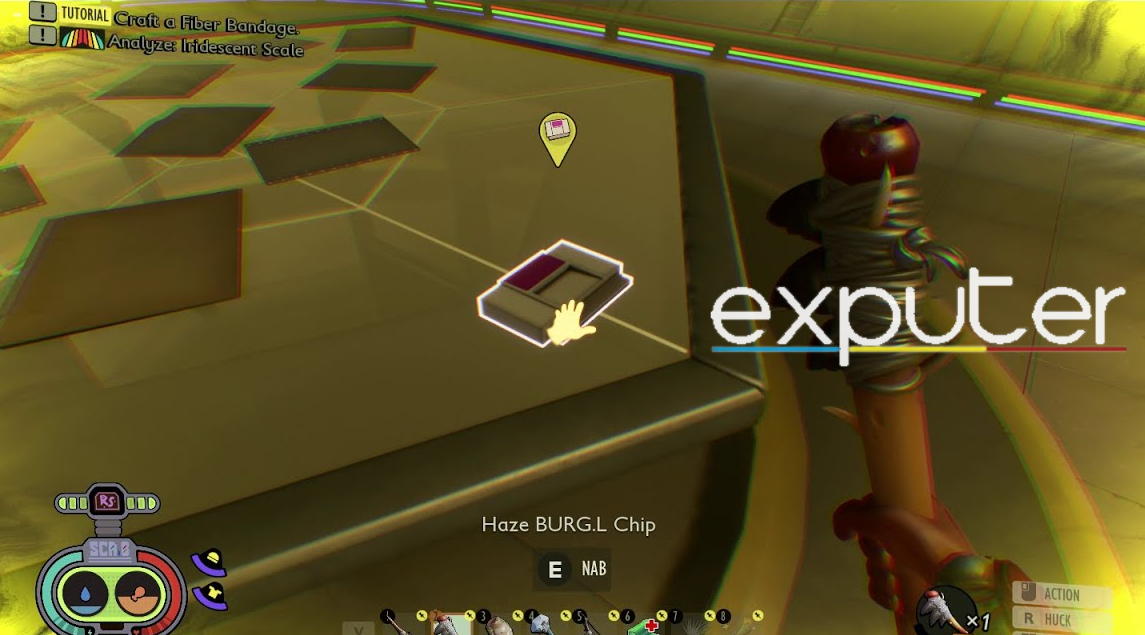
- To obtain the Haze Lab BURG.L Chip, swim to the Exposed Pipe, take the first left, and enter the doorway.
- Lab’s control panel contains the Blazed Earth Protocol, grenades, and the Haze Lab BURG.L chip
Haze Lab Requirements In Grounded : What We Need For Our Journey
Our first step is to see if we’re well-prepped before we make our journey to Haze Lab. Since the lab will be brimming with annoying insects and sections, we’ll need the right leveled gear to blitz through them easily.
Here’s a list of all the things we need for our expedition:
1. Gill Tube or Bubble Mask
These will increase our underwater breathing duration, which is gonna be helpful since the laboratory’s entrance route is submerged in water.
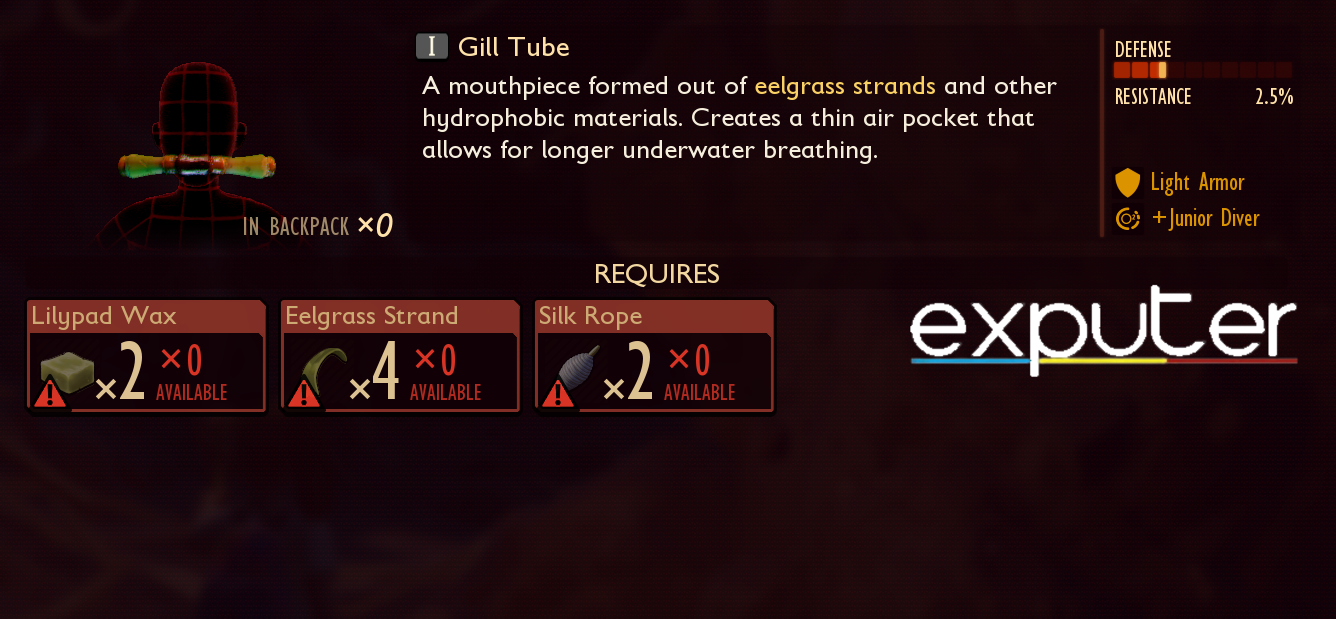
How To Make A Gill Tube?
You will need to have a Brainpower of 4 and the following raw materials to craft the tube:
| Item Name | Quantity |
| LillyPad Wax | 2 |
| Silk Rope | 2 |
| Eelgrass Strand | 4 |
After getting a hold of these items, you can make the Gill Tube at the Workbench.
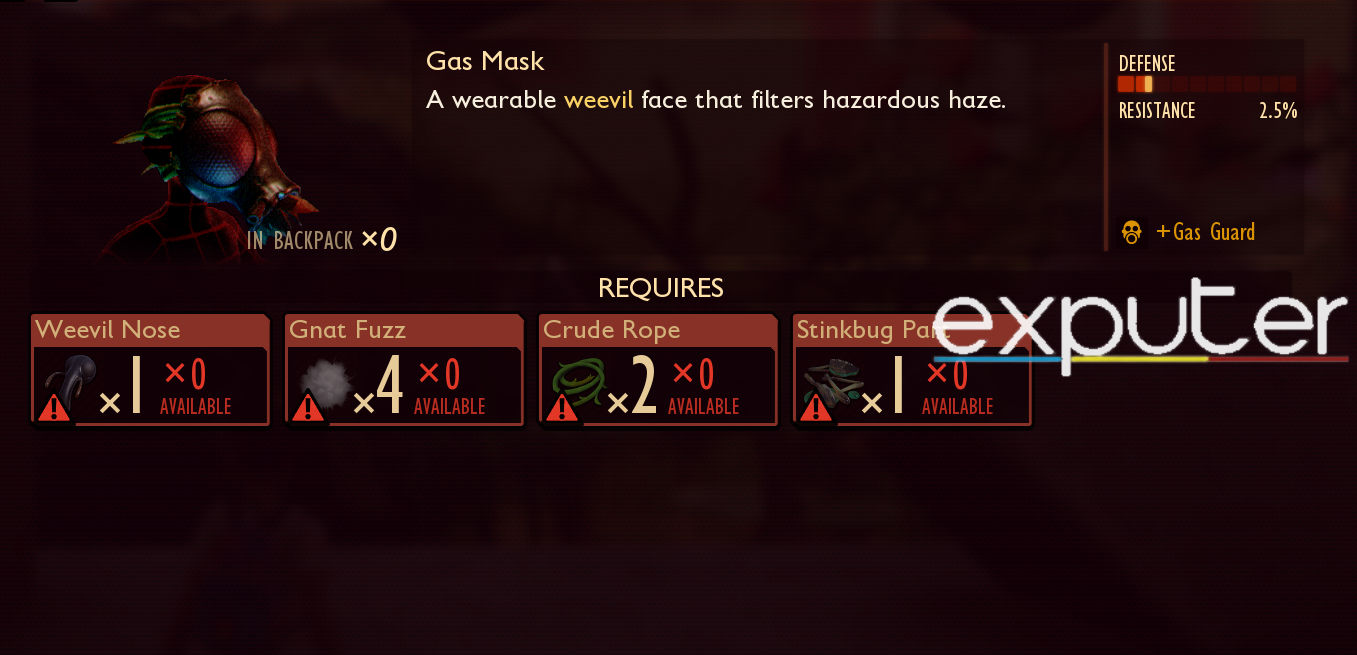
2. Fully Repaired Weevil Mask
We’ll need a weevil gas mask to tackle the hazardous air near the Haze Lab. It’s essential to ensure that the mask is fully repaired, so it doesn’t break during exploration.
In case you have a broken weevil mask or any other equipment on the brink of being broken, we also have a guide covering how to repair tools and structures in Grounded.
How to Make a Weevil Mask?
To make a weevil mask, you will need to be at Brainpower level 6 and have the following raw materials:
| Item Name | Quantity |
| Weevil Nose | 1 |
| Stinkbug Part | 1 |
| Crude Rope | 2 |
| Gnat Fuzz | 4 |
Once you’ve collected all the raw materials, you can craft the mask at the Workbench station.
3. Minimum Tier 2 Axe
Most of the items you find in the laboratory will need a high-tier axe to chop down, so Tier 2 is the minimum tier for those bits. Apart from a Tier 2 Axe being more capable of chopping down larger objects compared to Tier 1, it has a few other advantages as well, such as being much faster at chopping down grass and roots and having a longer reach.
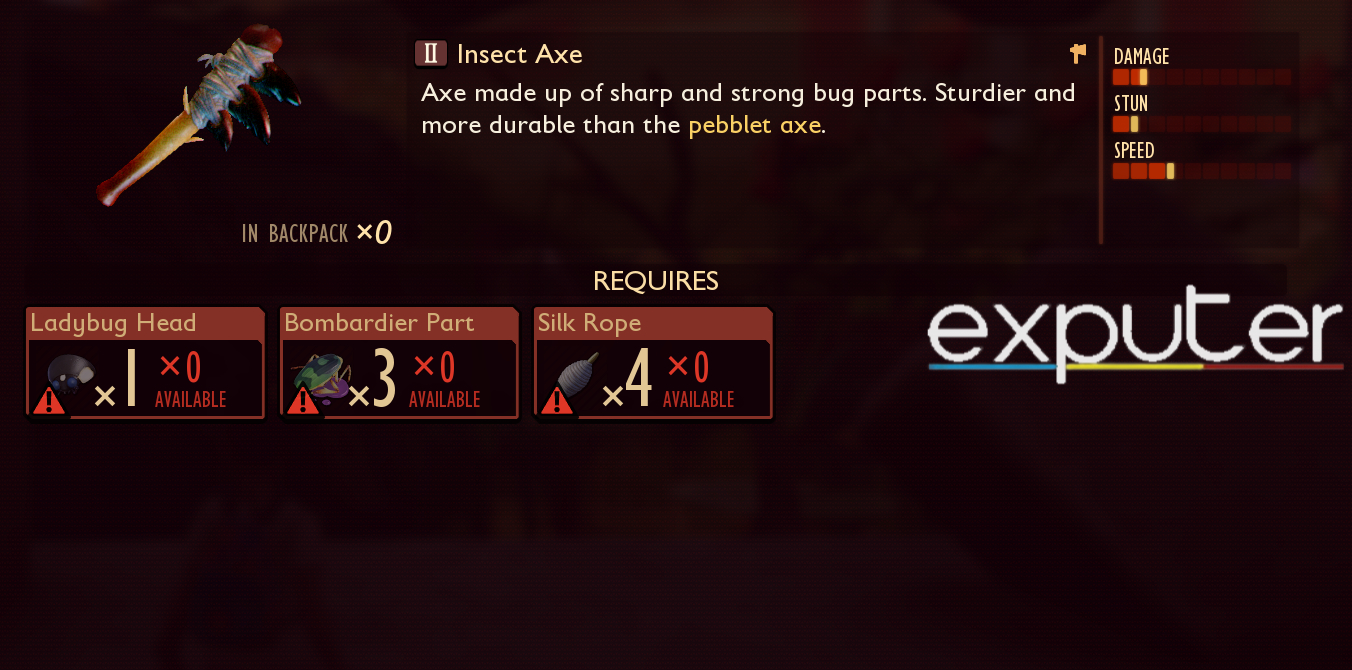
How To Make A Tier 2 Axe?
A Tier 2 Axe will require the following items to craft:
| Item Name | Quantity |
| Ladybug Head | 1 |
| Bombardier Part | 3 |
| Spider Silk | 4 |
After collecting all these necessary items, go back to your Workbench station and craft yourself Tier 2 Axe, or an Insect Axe as it’s called.
4. Minimum Tier 2 Knife
A Tier 2 Knife, or Bone Dagger, would be good enough to handle any enemies we find in the laboratory. Also, make sure that the knife is also well repaired, so it lasts throughout our expedition since it’ll come in handy in getting rid of the soggy roots and water fleas we’ll come across.
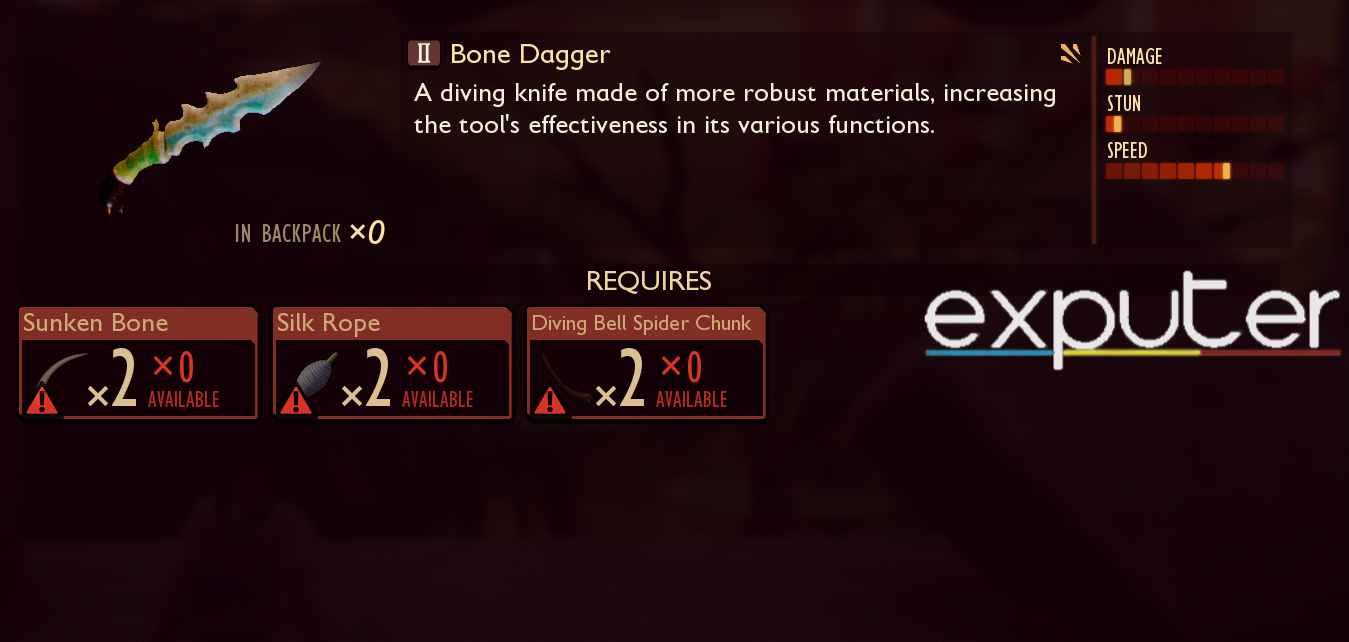
How To Craft A Tier 2 Knife?
Crafting a Tier 2 Knife will require the following items:
| Item Name | Quantity |
| Diving Bell Spider Chunk | 2 |
| Silk Rope | 2 |
| Sunken Bones | 2 |
As soon as you get these items, head directly back to your Workbench and craft the Bone Dagger. After that, you’ll be set and ready to begin your haze lab voyage in Grounded!
Making Our Way To The Haze Lab
Now let’s look into where we can find the Haze lab. There are 2 ways of getting to the Haze Lab. The first way involves going through the Rake to the main entrance of the laboratory, which is infested with infected insects and thus, makes this route challenging to pass. The second way is by going through a pipeline with barely any tough enemies and is pretty straightforward. So for this guide, we’ll focus on the second route as it’s much easier and safer.
Taking the Exposed Pipe Route
We’ll start by going towards the Southwest of the map near Haze. The exposed pipe is located near the edge of the circle of Haze, so you’ll avoid most of that hazardous air and the infected creatures.
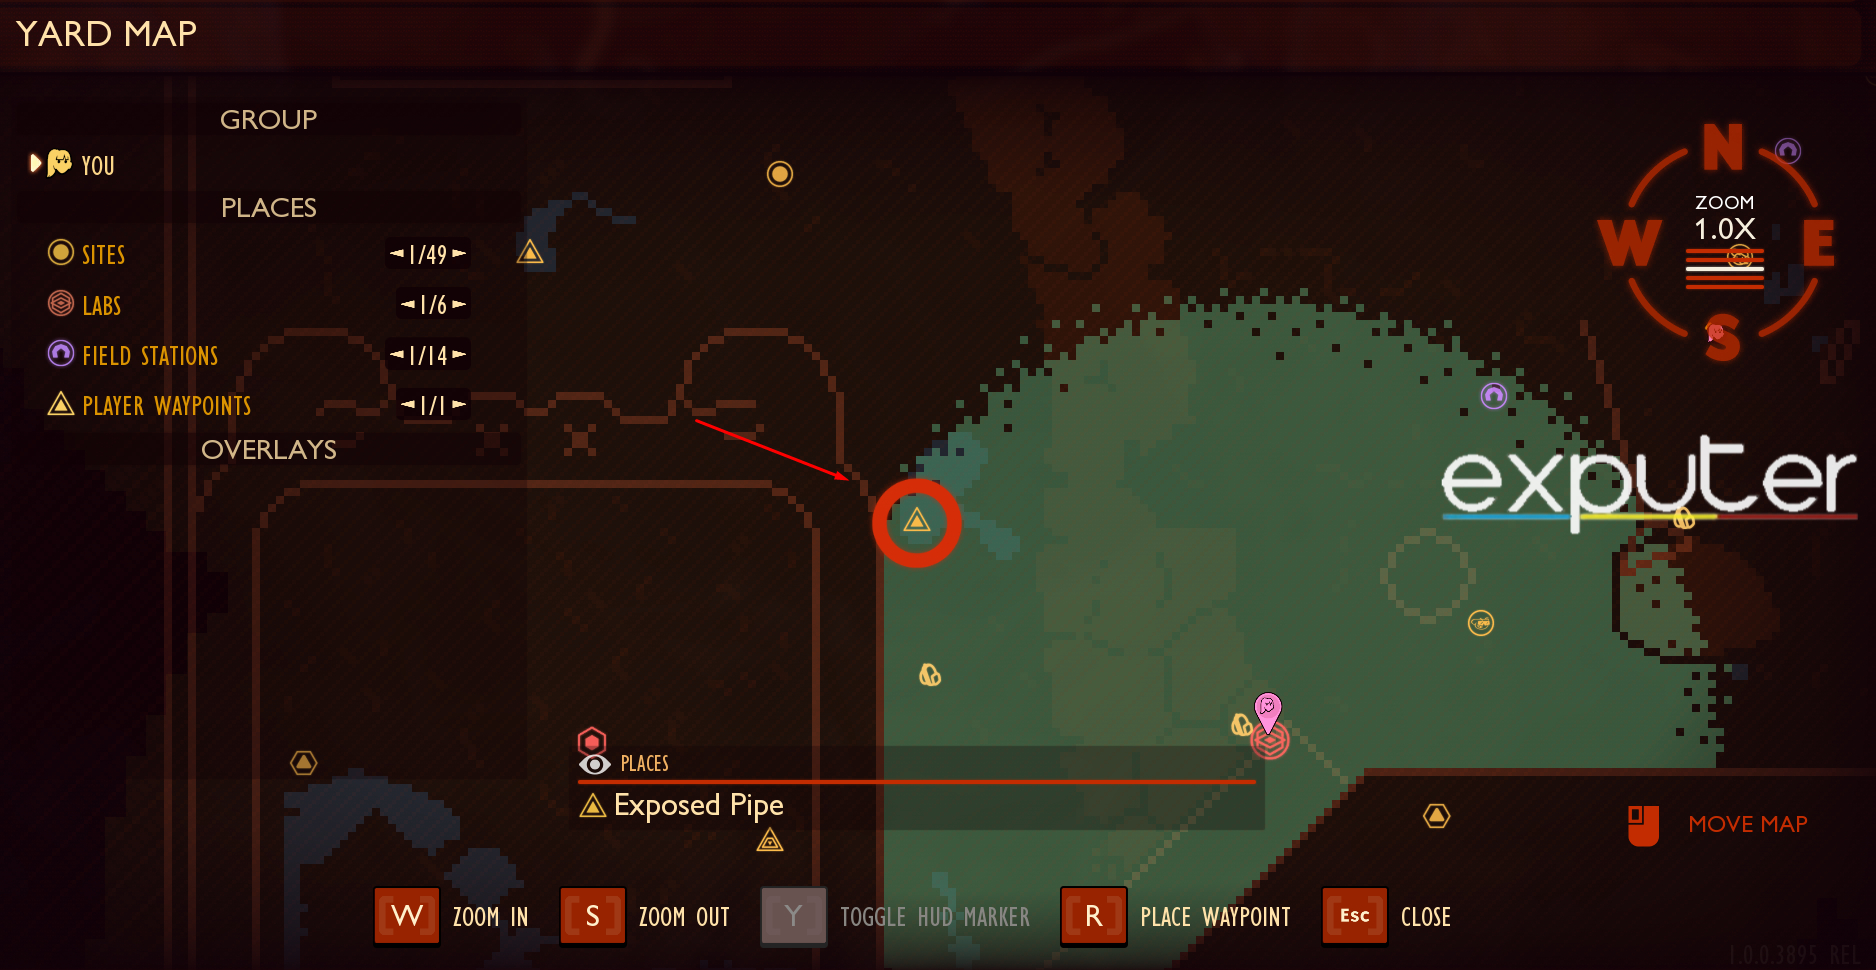
Stay close to the oversized sandbox and eventually, you’ll see a large, white, broken pipe floating on a pond. This pipe should be between the big mega sandbox and the slab stairs. Once you get on the pipeline, you’ll notice a slight opening. This is where you’ll need to go to reach the Haze lab.
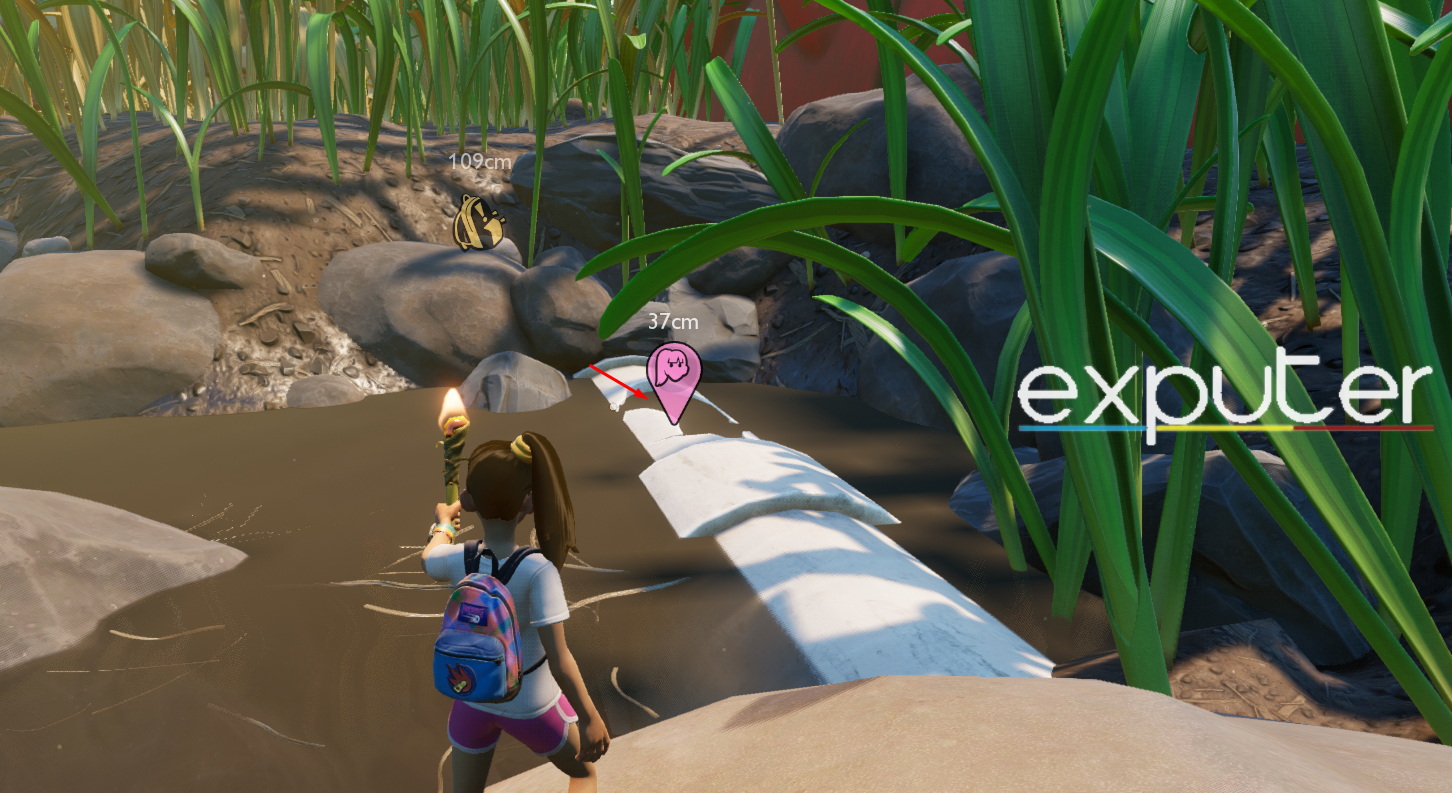
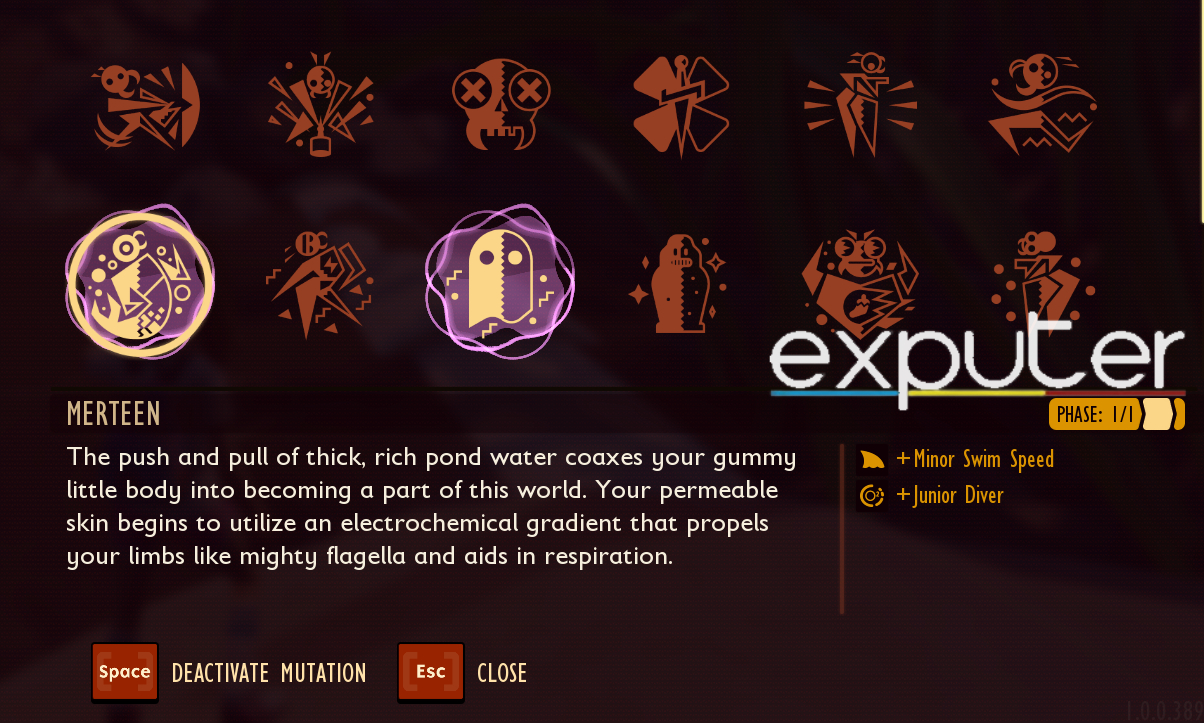
Swimming to the Lab
Before we proceed any further, make sure that you’ve equipped the Merteen Mutation if you have it. This is a super useful Mutation that you can find in the Pond as that’ll help you in the underwater sections.
- Jump into the water from the pipe’s opening to reach the lab without facing infected insects.
- Encounter water fleas in the murky waters; use a knife to eliminate them (2-3 strikes per flea).
- Harvest flea corpses for a good source of food and water.
- Proceed straight down the pipe, take the first right to find soggy roots; use the knife to cut them down.
- Continue down the pipe to discover 500 Raw Science and a Mega Milk Molar.
- Return to the junction, follow the original route, swim straight, cut down soggy roots, eliminate diving bell spiders.
- Successfully reach the Haze Lab
Exploring The Haze Lab
- Encounter infected weevils upon entering; bait them to explode and eliminate others.
- Bait weevils by using an arrow or getting close to grab their attention.
- After noticing you, weevils follow briefly and explode, clearing other infected weevils.
- Equip Tier 2 axe to chop exploding fungal clumps, obtaining fungal growth for bombs and grenades.
- Proceed to the door, activate Biometric scanner, and confront 2 TAYZ.T with your axe or any weapon.
- Before entering the lab, collect 500 Raw Science on the left and right sides of the door.
The left side of the Lab
After taking all the Raw Science, you can now safely enter the laboratory. The haze lab hallway is divided into two branching halves in Grounded. If you walk up the left side of the hallway, you can reach the main entrance of the Haze Lab, which you would’ve encountered first if you took the other route from the actual Haze. Take the 2 Granola Bars on the table on the left and make your up the hallway.
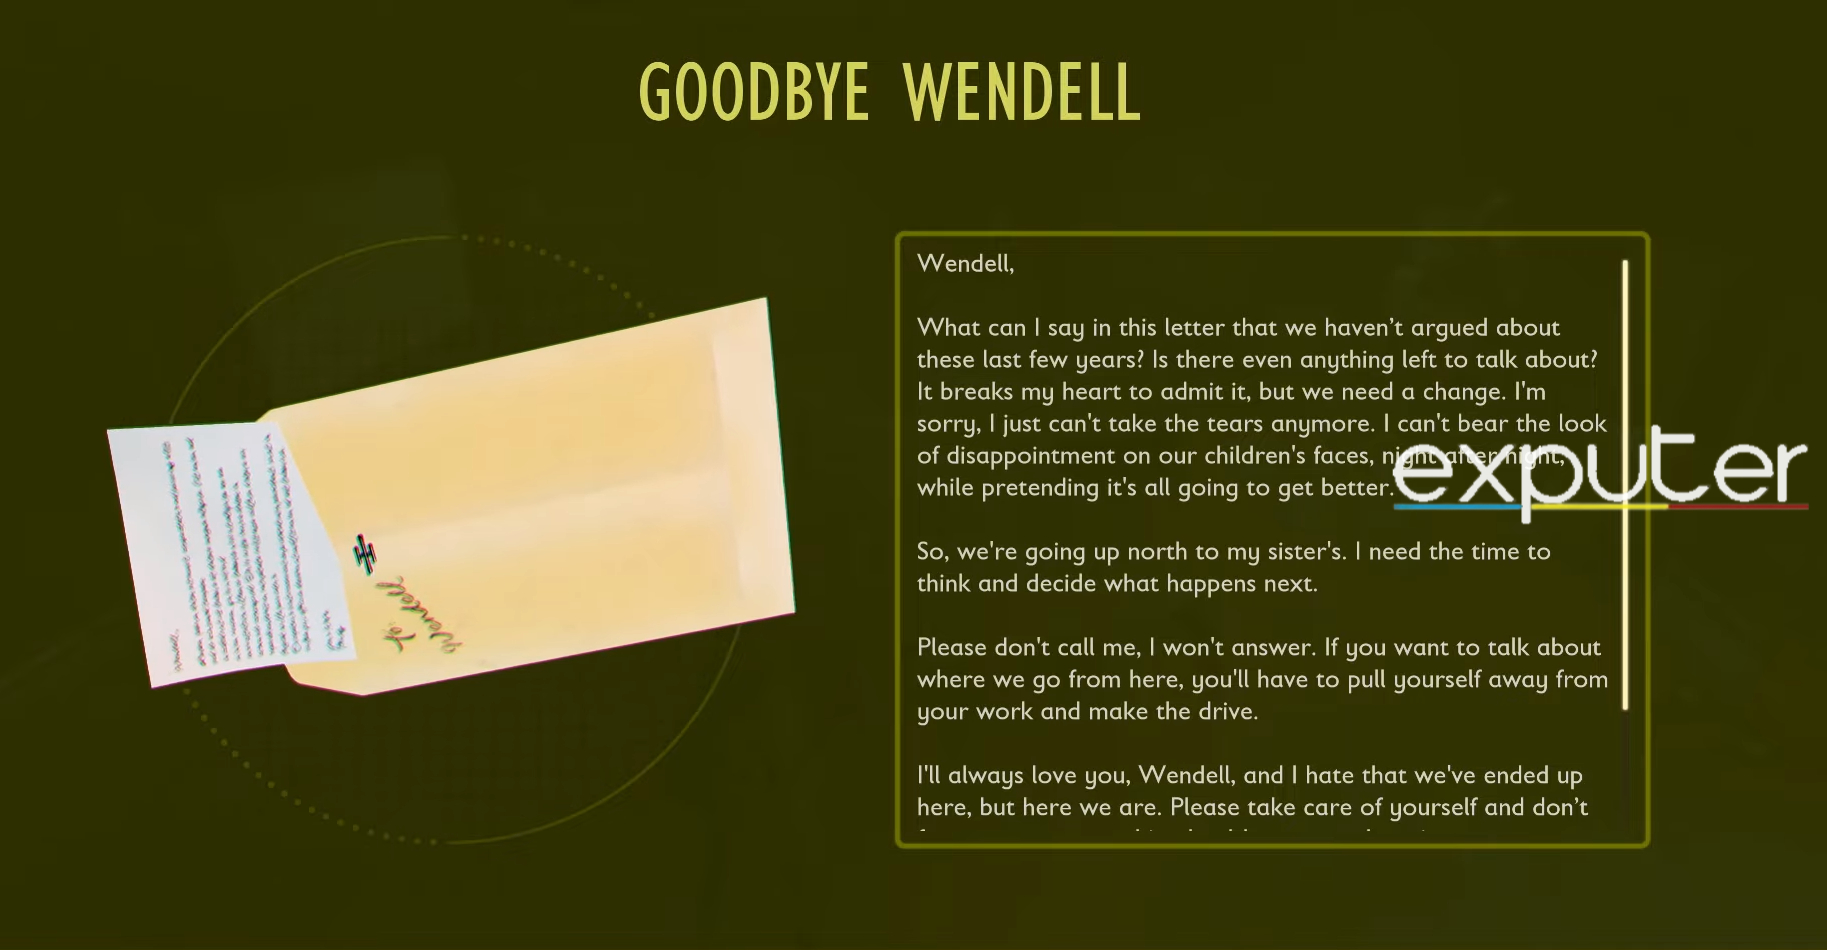
Once you’re in the room atop the left side of the hallway, you can loot the chest towards your left side along with a letter called “Goodbye Wendell” that’ll be at the table right in front of you.
As you approach the back side of the room, you’ll also see a large whiteboard with some scribbling on it. You can take the slug nugget and fiber bandages that’ll be on the shelf next to the board.
The right side of the Lab
- Clear the room and return to the lab junction.
- Go the other way to the hallway.
- Enter the room on the right side of the hallway.
- Find experimental mushrooms behind windows and a cassette tape.
- The cassette tape provides a briefing from Wendell about mushroom experimentation and its benefits.
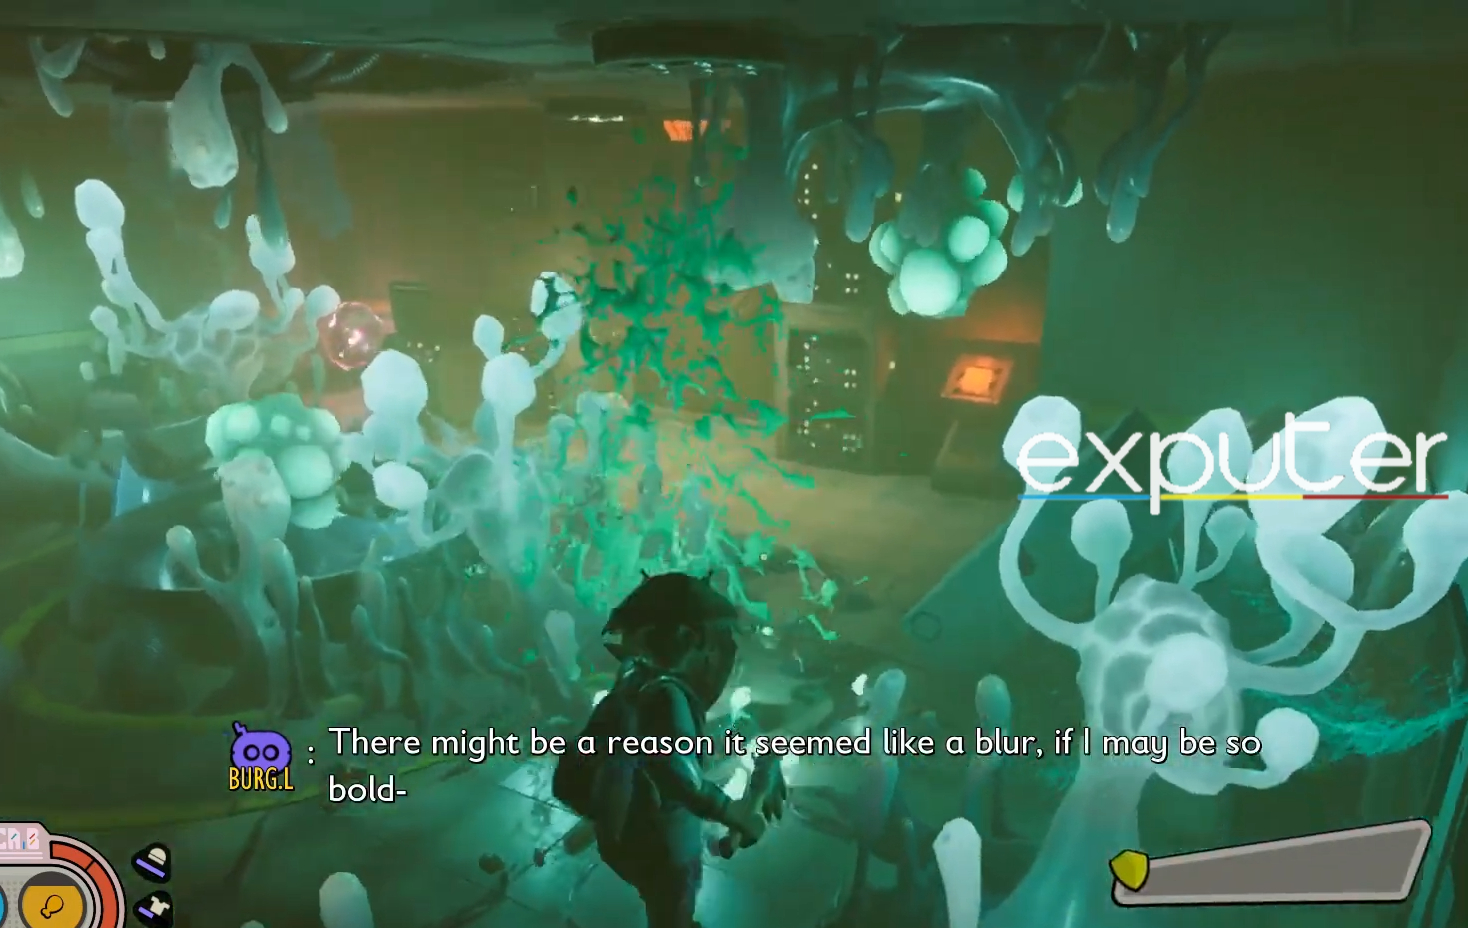
- Enter the next room with a massive overgrowth of fungi.
- Carefully eliminate each fungi to avoid explosive damage.
- Start by removing the fungal clumps closest to you and then slice away the rest with your axe
When all the fungus clumps have been removed, you can use the biometric scanner to enter a new area where you can loot a valuable chest, gather more food, and activate the yellow switch directly in front of you.
Getting The Haze Lab BURG.L Chip
Head back to the Exposed Pipe from where you entered the Haze Lab. Follow the same path as you did when you were swimming to the laboratory, but this time take the first left you see instead of going straight and taking the first right.
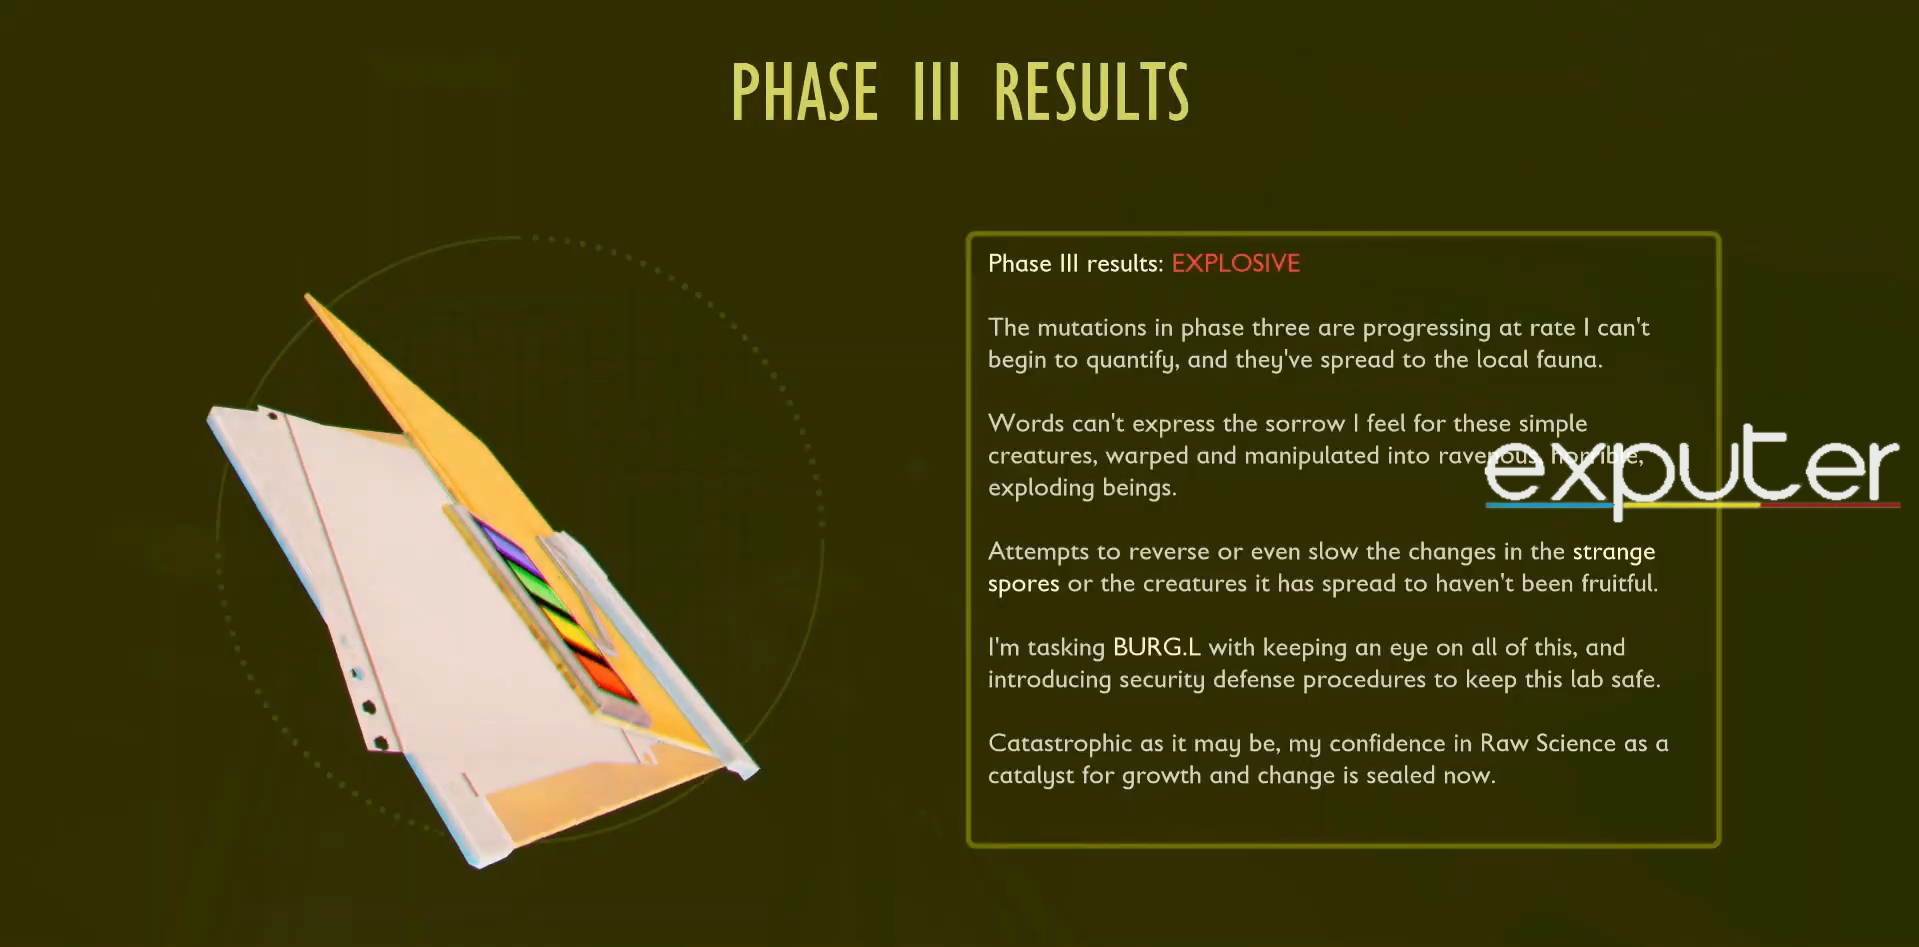
Once you’ve taken the first left, swim straight ahead and enter the doorway you see right in front that should’ve opened after flipping the switch. Over here, you can find a pamphlet called Phase III Results and a few granola bars.
Unlocking the Truffle Tussle Mutation and Haze Control Panel
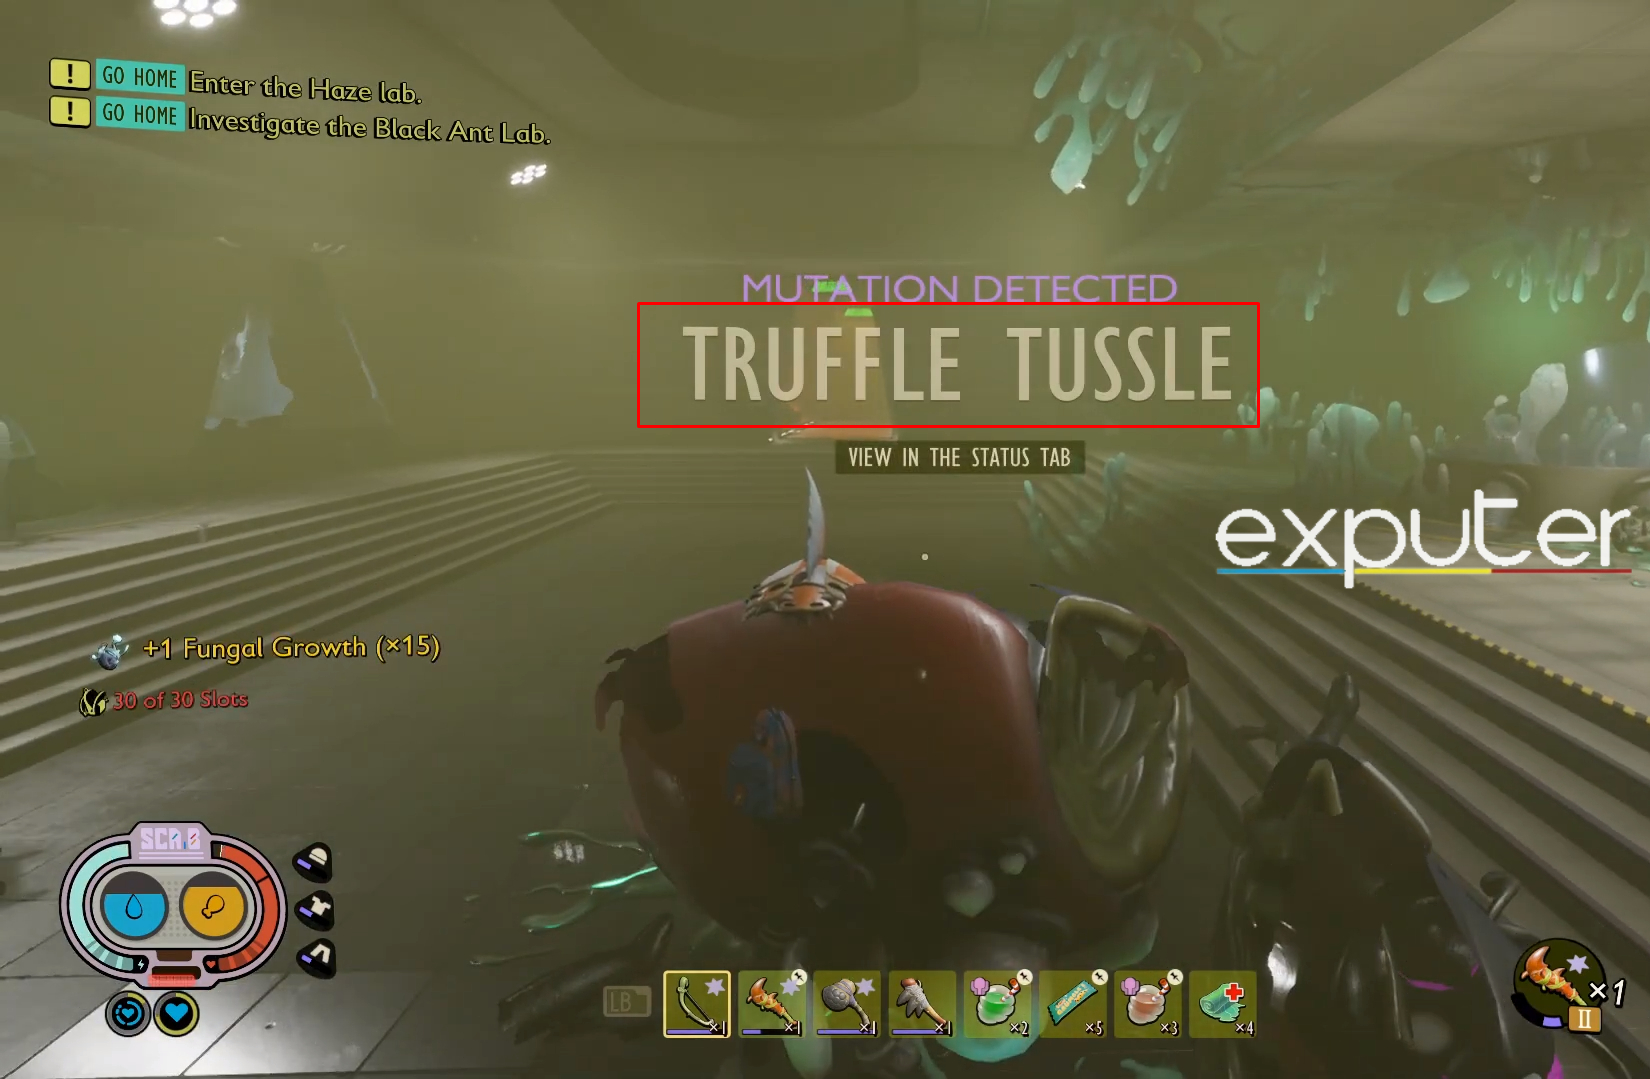
Once you use the biometric scanner to open the door in front, you’ll face off with an infected ladybug. Maneuver your way through the fight, avoid colliding with the infected mites and take out the ladybug. Once you’ve killed the infected ladybug, you’ll be rewarded with the Truffle Tussle Mutation.
Next, use the Biometric Scanner to open the next room. Be careful since there’ll be a ton of infected mites on the other side of the door, so use your axe to kill all of them and move right ahead.
Finally, you’ll enter the laboratory’s control panel, where you can find the Blazed Earth Protocol, some grenades, and of course, one of the most important haze lab items in Grounded, the Haze Lab BURG.L chip!
Summary
The Haze Lab offers a large set of goodies and chests that you get once you completely explore the area. Take the exposed pipeline route to make your trip easier, and be sure to double-check if you missed anything else. The Haze lab is pretty much a straight path, with a couple of annoying enemies and obstacles. But, overall, the rewards, in the end, make this area worthwhile, and the experience is certainly memorable, for better or for worse.
Thanks! Do share your feedback with us. ⚡
How can we make this post better? Your help would be appreciated. ✍
Where is the other door located... Some guidance there would also be helpful. Nice job on the guide!
Also add slime lantern to your list of needs. I couldn’t see in the pipe without one!