Callisto Protocol Guard’s Corpse: How To Access Implant
Learn players can get their hands on the guard's corpse in order to get access to the laundry room!

Callisto Protocol has many objectives hidden within the main storyline that prompt players to move from one place to another in search of hidden items that will otherwise hinder their further progression. Players will have to get the Guard’s Corpse in Callisto Protocol to the laundry room for further progression and will need help!
Key Highlights:
- The guard’s corpse is a part of the story-progression objective whereby players have to get an implant from the neck of the dead guard.
- The dead guard can be encountered when players progress and reach a little bit further after starting chapter 3, Aftermath.
- The main benefit of getting the implant will be that players will be able to access the Laundry Room to progress in the chapter further.
- The best way to get your hands on the dead guard is to make your way through the Recreation A225 area vent.
- Players cannot skip getting the implant, as you can not move ahead in the story without it.
To access the laundry room and implant in Chapter 3 of the game, follow these steps:
- Progress through Chapter 3: You’ll need to advance through Chapter 3, which begins after receiving the print for the Hand Cannon from Elias.
- Head to Shu: Your journey starts at Shu.
- Take the Elevator: Find and activate the elevator that goes down.
- Enter the Unlocked Door: When the elevator stops, you’ll see a door with a green unlocked symbol. Open it.
- Perform a Quick Kill: Inside, you’ll encounter an enemy. Learn about the quick kill mechanic by crouching, approaching quietly from behind, and stabbing the enemy when they are not facing you.

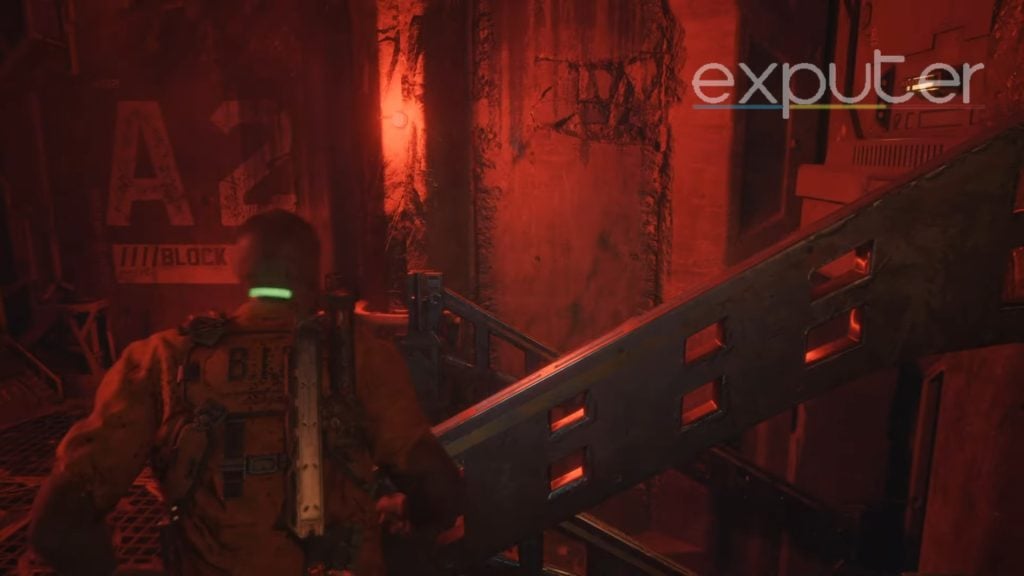
Quick Kill (Image Credits Exputer) - Proceed to A2 Area: Head towards the stairs with red lights and smoke. Go up the stairs into the A2 Area.
A2 Area (Image Credits Exputer) - Explore the A2 Area: In this area, you’ll encounter another enemy near Recreation A225. You can explore the nearby hallway for loot.
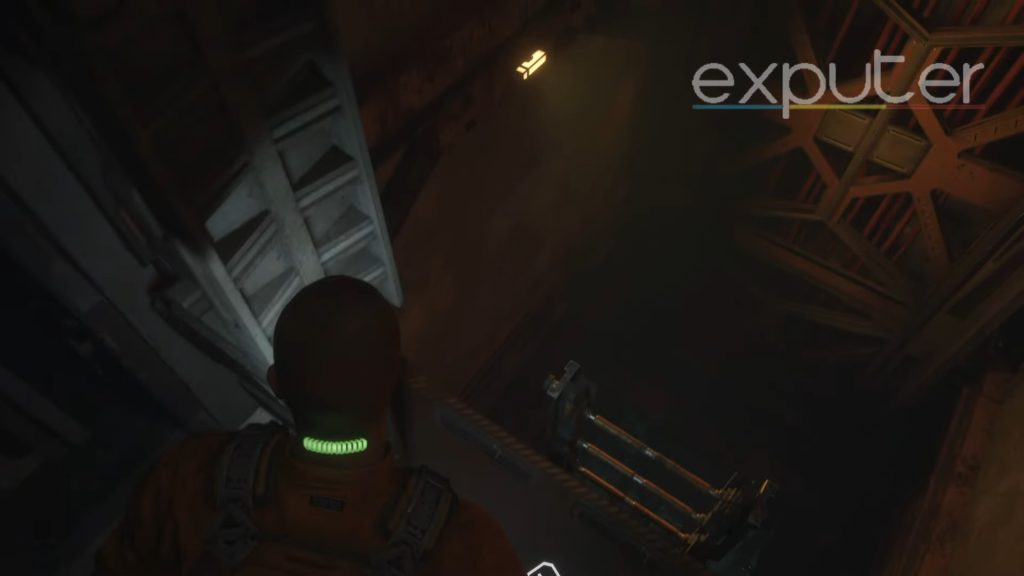
- Optional Vent and Ladder: Before advancing further, there’s an optional ladder leading down. You can find it in a hallway. It leads to a prison area with closed cells. You’ll face enemies, so be prepared to fight them.
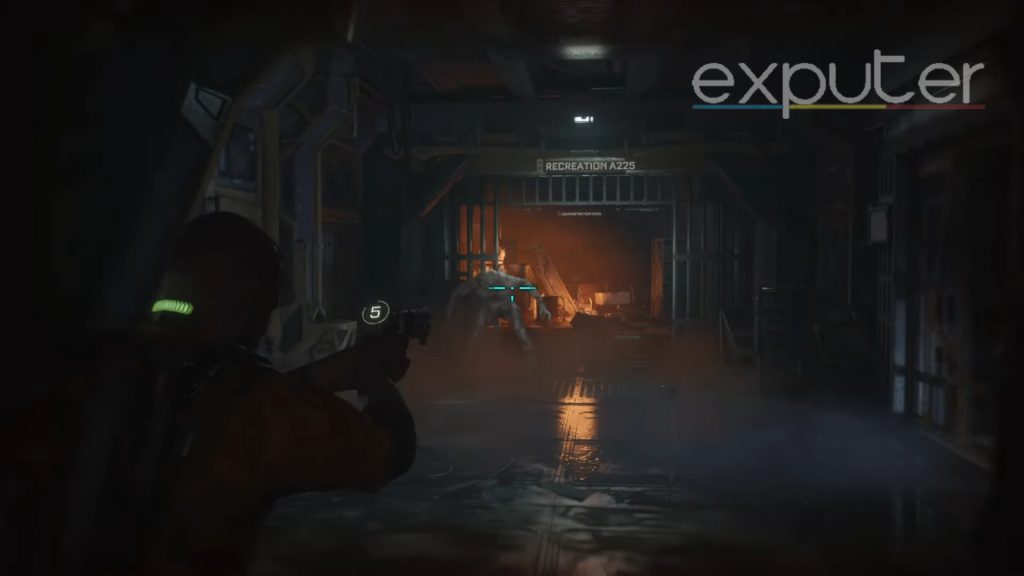
Ladder Leading Down (Image Credits Exputer) - Return to A225 Area: Go back to the A225 area after exploring the optional area.
Recreation A225 (Image Credits Exputer) - Find the Vent: Look for a room with a blood trail on the ground. Inside, there’s a vent you can enter.
- Malfunctioning Robot: Inside the vent, you’ll pass a malfunctioning robot. It won’t attack you.
- Cautiously Move Forward: Continue down the vent, but be cautious as there may be enemies ahead.
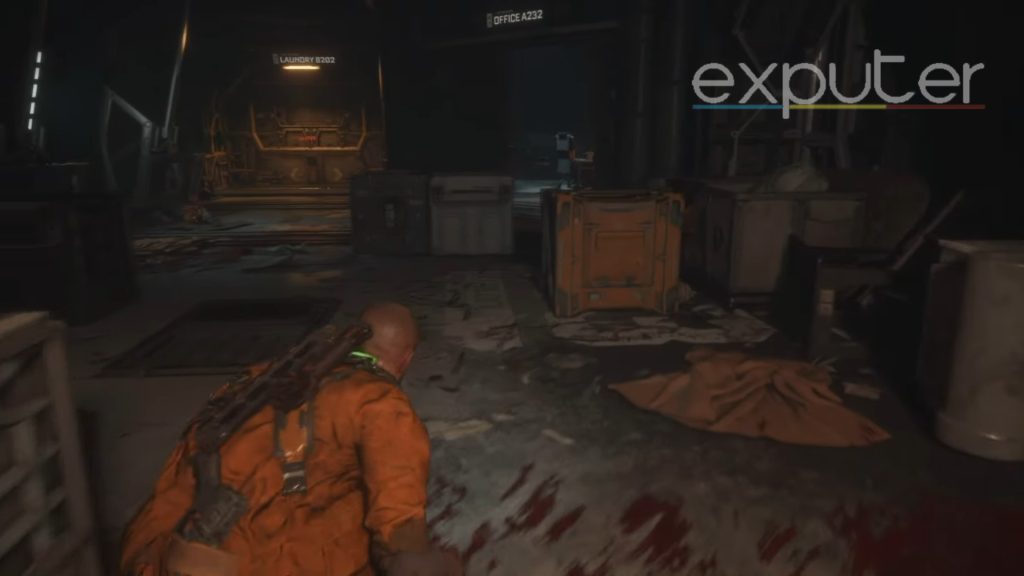
- Hide Behind Boxes: You’ll come to an area with boxes and orange pieces of cloth. Use the boxes as cover in case enemies appear.
- Open Room: There’s an open room on your right. You can check it out and then return to the hallway.
- Laundry B202 Room: As you approach a door labeled “Laundry B202,” it will be locked, and you’ll hear “Access Denied.”
Laundry Room (Image Credits Exputer) - New Objective – Find A Guard’s Corpse: You’ll receive a new objective to find a guard’s corpse since you need security credentials to access the laundry room.
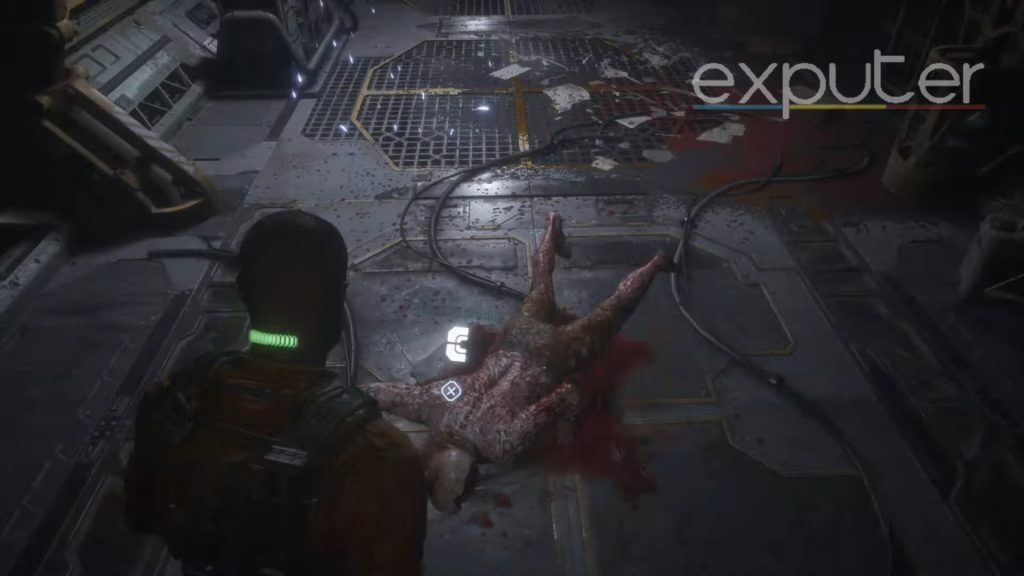
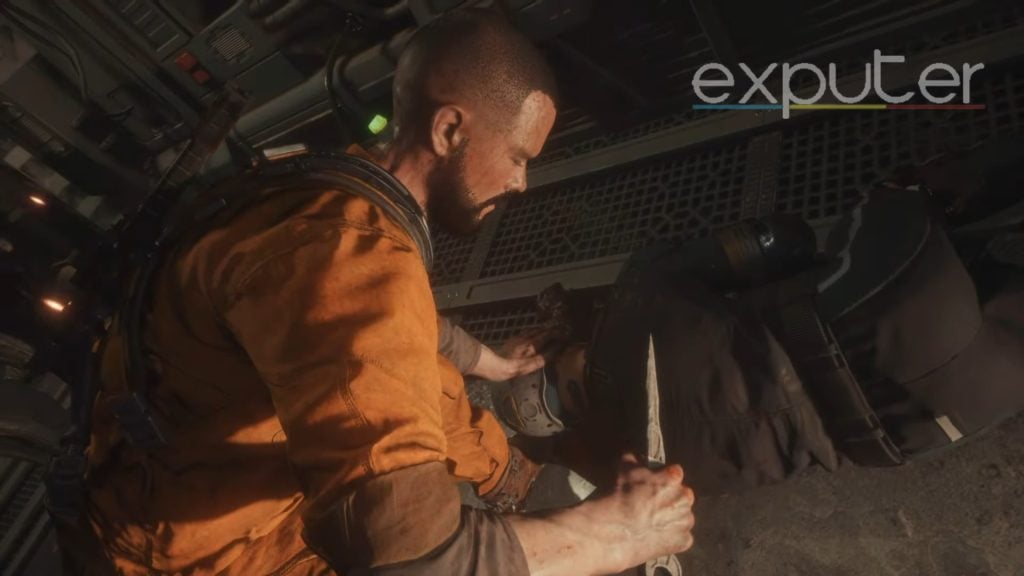
Guard’s Corpse (Image Credits Exputer) - Locate the Guard’s Corpse: Head back to the area with dead guards and locate a Callisto Protocol Guard’s Corpse in front of the malfunctioning robot.
- Harvest Implant: Approach the guard’s corpse and “Harvest Implant.” You’ll use a shiv to extract the implant.
- Access Granted: After extracting the implant, you’ll gain access to the laundry room.
- Explore Further: If you want to continue the storyline, enter the laundry room.
To access Chapter 3, you’ll need to complete the main objectives of Chapter 1 and Chapter 2. In Chapter 1, explore the cockpit and cargo area, then return to the cockpit. In Chapter 2, follow the objectives, which include exploring your cell, crossing the bridge, opening Elias’ cell, returning to Elias, finding the elevator, getting past security units, finding the weapon’s lockup, returning to the watchtower, and heading towards the exit. Progressing through these chapters will eventually lead you to Chapter 3.
And there we have it! All there is to know about how to get the implant, and with that, we will wrap up our Callisto Protocol Guard’s Corpse guide! Consider reading our Walkthrough to know more about the game, such as the trapped worker and ending of the game.
Up Next:
- Callisto Protocol Best Weapons
- Callisto Protocol Skunk Gun Schematics
- Callisto Protocol: How To Get Assault Rifle
- Callisto Protocol Tips And Tricks
Thanks! Do share your feedback with us. ⚡
How can we make this post better? Your help would be appreciated. ✍