If you want to improve your image quality, you must learn how to install DLSS mod in Starfield. Natively, Starfield only offers FSR 2 as its upscaling option. However, thanks to the modding community, we now have the option to download NVIDIA’s DLSS 3.5 and Intel’s XeSS in Starfield. This mod in my opinion not only enhances Starfield’s image quality but also provides a significant improvement in performance and FPS.
Here’s how you can install the DLSS mod for Starfield:
- Go to Nexusmods page > download StarfieldUpscaler, UpscalerBasePlugin, and nvngx_dlss_3.5.0 > Extract after download.
- Open Starfield’s game folder > Paste all files here.
- Copy PDPerfPlugin.dll from the Upscaler BasePlugin folder you Downloaded > Paste in Mods > UpscalerBasePlugin folder.
- Similarly, copy nvngx_dlss.dll > Paste into the UpscalerBasePlugin folder.
How To Install The DLSS Mod In Starfield?
Downloading The DLSS Mod
- Launch a browser and visit the Nexusmods website to download the DLSS mod.
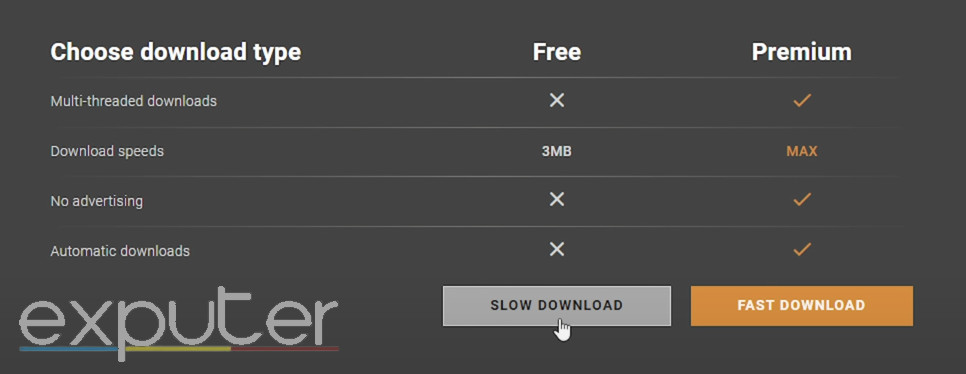
- In the files tab, download the StarfieldUpscaler > Select Manual Download. You’ll need a Nexusmods account to download.
- Afterward, select slow download, as the fast option requires a premium account.
- Return to the description tab > check under Requirements > download Upscaler Base Plugin.
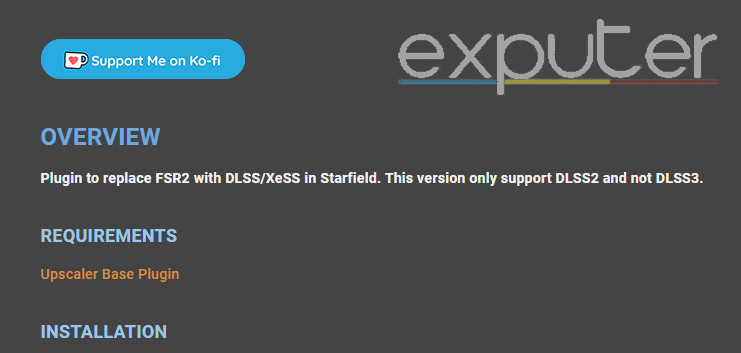
- Switch back to the files tab > download the Base Plugin.
- Switch to the description tab once again> click on the DLSS/DLAA link.
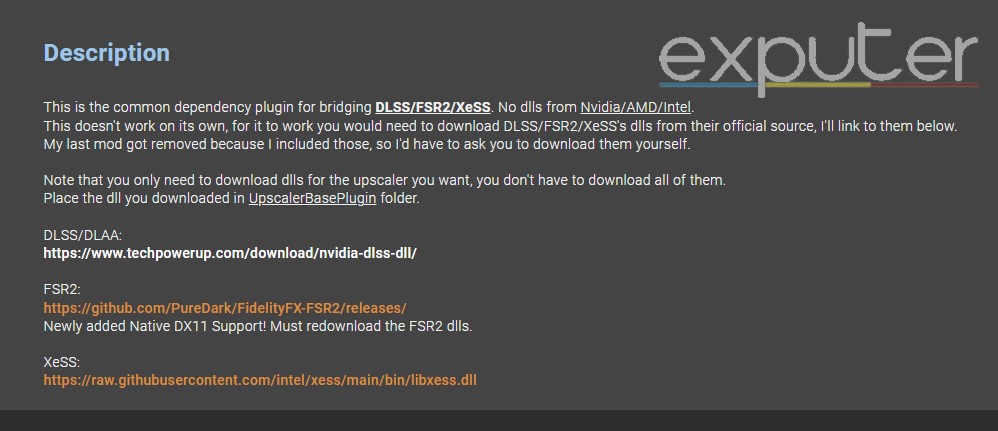
- Select the latest version of DLSS on the new page and download it.
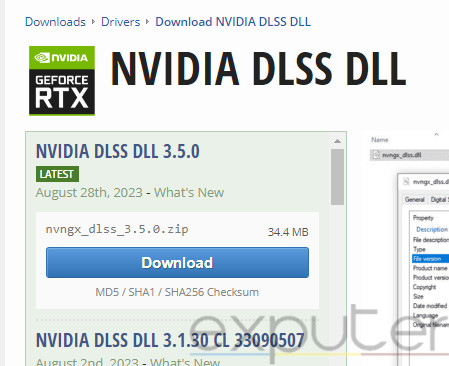
- You might notice some warnings from your PC that the files can be harmful. Don’t be alarmed and allow the installation to proceed, as these files are completely safe.
Installing The DLSS Mod
- Launch Steam and navigate to your games library.
- Find Starfield > right-click it. This will display a list of options.
- Select Manage > Browse Local Files. This will take you to the Starfield game folder.
- Make sure that all of the files that you downloaded are extracted. You will be able to see the folders after a successful extraction.
- Open the StarfieldUpscaler folder and copy all of its contents.
- Paste the contents in the Starfield game folder that you opened earlier.
- After the contents are pasted, a new mods folder appears inside Starfield’s game folder.

New mods folder (image taken by eXputer)
- Open the mods folder and then open UpscalerBasePlugin.
- Now open the UpscalerBasePlugin folder you downloaded from the website and copy its contents.
- Remember, this folder is different from the one inside the mods folder.
- Paste the copied contents inside the main UpscalerBasePlugin folder. This is the folder that you will find inside the mods folder.
- Finally, copy nvngx_dlss.dll and paste it inside the same UpscalerBasePlugin folder. Your folder should look like this:
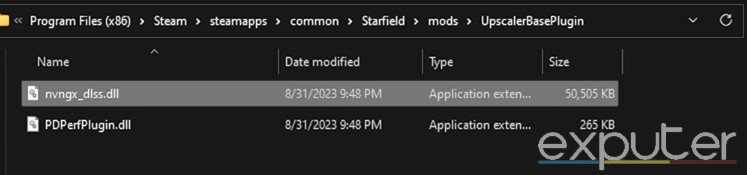 UpscalerBasePlugin folder screenshot (Image provided by eXputer)
- DLSS 3.5 is now installed. You can launch Starfield how you normally would. Press the END key on your keyboard to access the DLSS settings.
Which Preset Should I Use For DLSS?
Now that you have installed the DLSS 3.5 mod for Starfield, you might be confused about which preset to choose from. This is a crucial decision because there are a total of 6 different presets, which can confuse many players. Here I’ll provide a brief overview of each preset:
- Preset A: Great for minimizing dropped inputs and focusing on performance.
- Preset B: Similar to preset A but offers a greater focus on performance.
- Preset C: Emphasizes Performance/Balanced/Quality modes.
- Preset D: Puts a great focus on image stability.
- Preset E: Unused developmental model.
- Preset F: DLAA and Ultra Performance Modes’ default preset.
Which preset is best depends on each individual’s requirements. However, I recommend that you always avoid Presets E and F. These presets are not great at displaying objects with high-frequency edges, as they can cause unnecessary sparkling.
To make a good choice, carefully read each preset’s description and what that preset specializes in. For instance, if your objective is to enhance performance, opt for Preset B, whereas those seeking greater input consistency can choose Preset A.
My Thoughts On The DLSS Mod
Starfield is, without a doubt, a great-looking game. However, the incredible graphics can sometimes be a double-edged sword for players with FPS or performance issues.
After installing the DLSS mod in Starfield, I achieved greater performance and a boost in Starfield’s visuals. Now that you can enjoy Starfield with more immersion and consistency than ever before.
You can also check out JayztwoCent’s video on how installing DLSS in Starfield significantly impacts performance and visuals.
FAQs
Deep Learning Super Sampling (DLSS) is NVIDIA’s real-time upscaling technology that uses AI to enhance a game’s visuals. DLSS 3.5 supports the RTX 20-series, 30-series, and 40-series.
Yes, none of the mod files are malicious or contain viruses. Just be careful that you don’t accidentally click on a 3rd-party ad.
The best DLSS preset depends on your needs. Pick the applicable preset from A to D. However, always avoid Preset E and F.
Up next:
Thanks! Do share your feedback with us. ⚡
How can we make this post better? Your help would be appreciated. ✍