There are many how-to guides for doing certain things in Minecraft on the internet. However, this article will teach you the steps on how to make a bubble or water elevator in Minecraft. By the end of this guide, you will be able to transport yourself vertically and earn those bragging rights amongst your friends.
- Craft a Bubble Elevator for quick vertical movement using a Water Bucket, Blocks, Kelp, and a Door.
- Choose Soul Sand for upward movement and Magma Block for downward movement.
- Obtain Kelp from the Ocean bed, craft a Bucket, and fill it with water. Craft a Door of any type.
- Find Magma Block and Soul Sand in the Nether through a Nether Portal.
- Create four columns with one block space in the middle, placing a Door for entrance.
- Fill the elevator with water from the top and place Kelp at the bottom.
- Replace the bottom block with Soul Sand for an upward elevator or Magma Block for a downward one.
- Repeat the process to create an opposite-direction Bubble Elevator
Related: Minecraft Building Ideas

Please note that the bubble elevator and the water elevator are interchangeable terms used in the Minecraft community. We have listed here the components or elements that you need to make manually in order to create an elevator in Minecraft. Players can not make a pre-built elevator quickly, and they have to design the bubble or water elevator from scratch by creating the parts we have listed here below.
- Water bucket
- Any block to build columns (Use Glass for aesthetics)
- Door
- Kelp
- Soul Sand (for going up)
- Magma Block (for going down)
Gather Blocks
- Gather blocks for building the columns of the bubble elevator.
- The number of blocks depends on the desired height of the elevator.
- Calculate by multiplying the height by four (e.g., 10 blocks high requires 40 blocks).
- Glass is recommended for a sleek design, but other materials can be used
An Interesting Read: Minecraft House Ideas
Get A Water Bucket

Perhaps the easiest step in this guide is to craft a bucket and collect water with it. There is no rocket science behind how to make a bubble elevator in Minecraft and small steps such as getting a water bucket are the building blocks to a big picture.
Finding A Kelp

While you are going to collect water from the ocean, remember not to leave the place immediately. Kelp is found in oceans, so you should dive into the water and find the item. Collecting the water and the kelp can be done in a single process.
You can always divide both steps to complete individually, however, a better approach while gathering water would be to find and get kelp as well. Otherwise, you will find yourself running back and forth from the ocean to the elevator site.
Go To The Nether
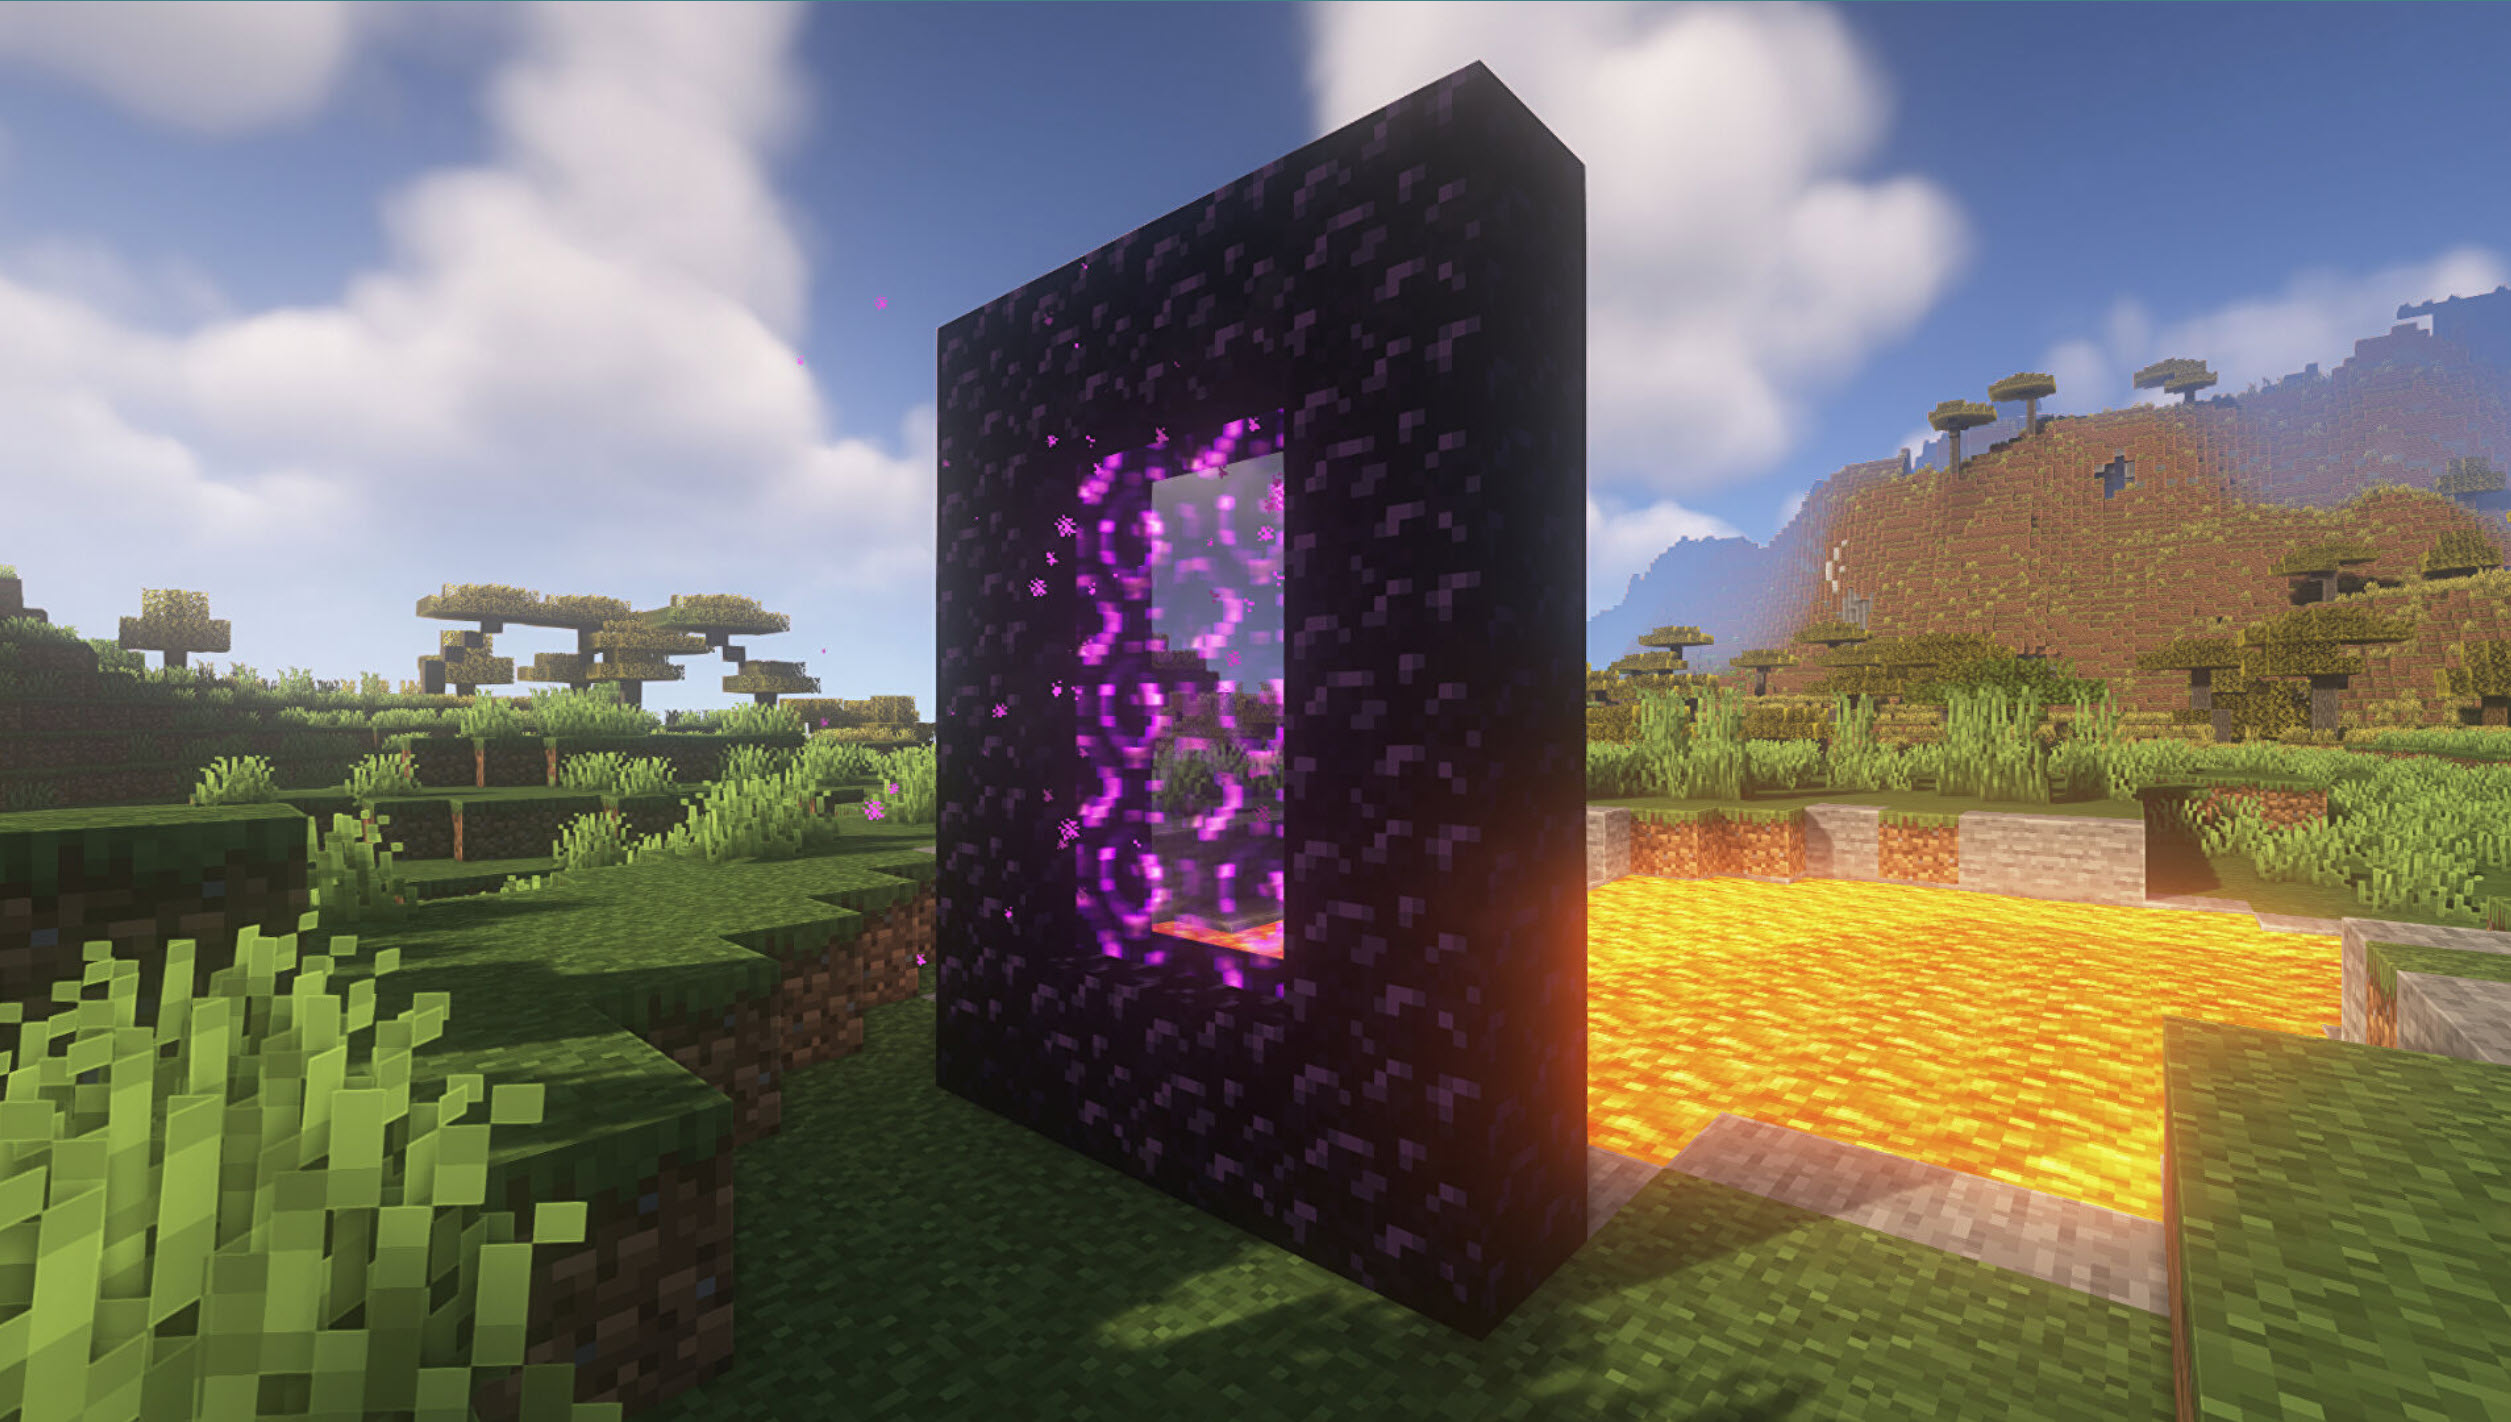
Make your trip to the nether. You will find both the magma block and the soul sand. These two blocks can spawn anywhere in the nether. Therefore, you will have to explore and search for them.
These two blocks will function as the bubble elevator. Without these two, it is almost impossible to make a bubble or water elevator in Minecraft. Therefore, if you did not figure out how to design an elevator in the game before, well, this is how you do it.
Build Four Columns
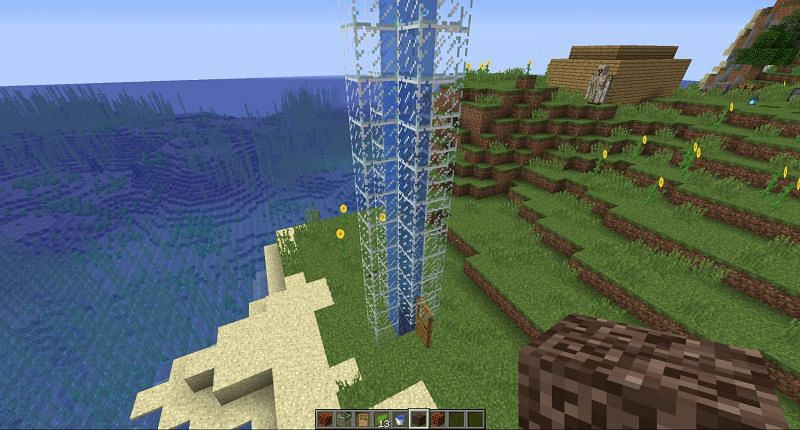
After gathering the required items, you will now be taking the first step of construction. Build four columns diagonal to each other. There must be a hollow block in the middle of the four columns. Make sure to create an entrance on one of the sides of the columns by creating a two-block tall hole.
Placing The Door
This step is the most critical on how to make a bubble elevator in Minecraft. You must place a door at the entrance of the elevator in order to stop the water from leaking outside it. Go inside the elevator and turn to your entrance. By now, your back is facing the elevator. Remain in that position and place your door in the open space.
More From Exputer: Best Minecraft Castle Ideas
Filling Up The Elevator
Now that you have built the structure, it is time to fill the elevator with water. To do so, go to the top of the column and pour the water onto the middle space. Wait for the water to flow down.
Filling The Water With Kelp
This is where the kelp comes in handy. Go to the bottom of the elevator and place the kelp. Stack the kelp to the top of the column. By doing this, each of your flowing water blocks will get converted to a source block.
Replacing The Middle Bottom Block
Lastly, go to the bottom of the elevator and replace the bottom block where the kelp is with either soul sand or a magma block. By placing soul sand, the elevator will push you upwards. By placing a magma block, the elevator will push you downwards.
Repeat The Building Process
If you wish your bubble elevator to push you down and upwards, the only way is to repeat the same process. For example, if you used soul sand in your first construction, you will have to repeat the same process and use the magma block. In the end, you will have two sets of four columns built. One with the soul sand at the bottom. The other with the magma block at the bottom.
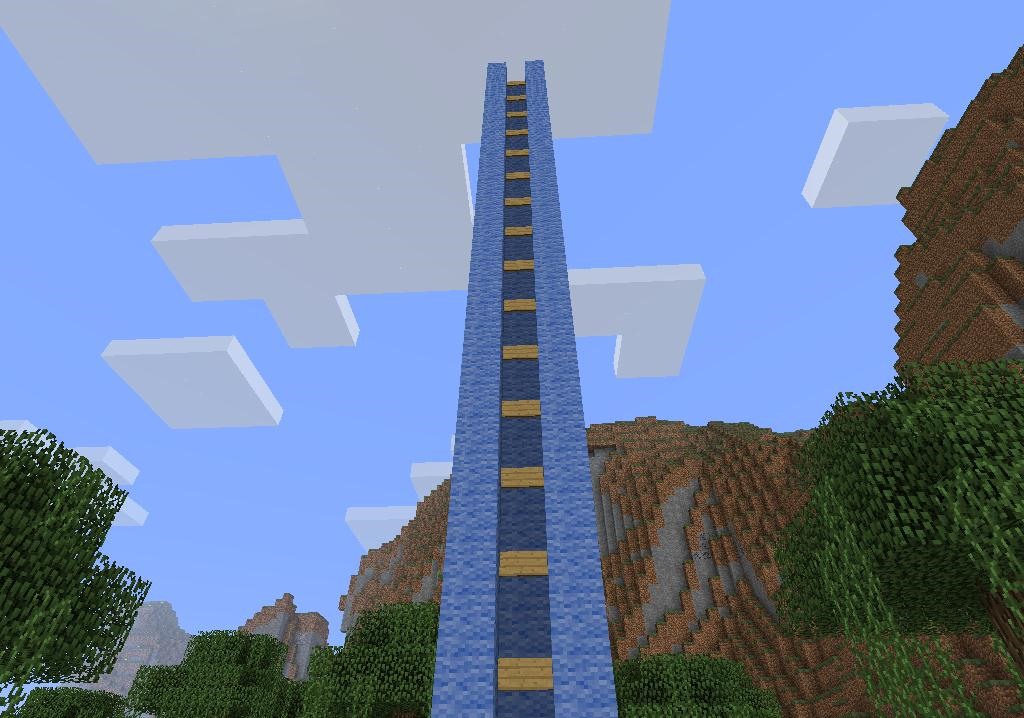
Hopefully, by reading this guide, you have understood the basic steps on how to make a bubble elevator in Minecraft. Elevators are creative and efficient ways of traveling upwards or downwards. If you have a secret base made, then an elevator can get you down in seconds. Whereas a ladder can take you minutes, and a minecart can perhaps give your position away.
Minecraft Bubble Elevator - FAQs
There can be two types of elevators in Minecraft; the bubble or water elevator, and the Redstone elevator.
Because of the soul sand and the magma block at the bottom of your elevator, a bubble elevator can be as high as you want.
Next: Best Minecraft Launchers
Thanks! Do share your feedback with us. ⚡
How can we make this post better? Your help would be appreciated. ✍
straghtforward
very helpful
The artiele didn\'t show a picture of soul sand, so I don\'t know what it looks like. Please add one so my son and I can easily understand which blocks we need.
