Learning How To Make A Composter In Minecraft is essential if you’re a player who enjoys a lot of farming and gardening. While plants usually take a long time to fully grow and produce yield, exactly like in real life, a certain item in the game can help shorten this time significantly. I’m talking about Bone Meal, of course. It is a type of fertilizer that could, until recently, only be crafted from Bones that dropped from Skeletons.
- In Minecraft, farms are necessary from mid-game till end-game, and you can increase the production of the crops by Bonemeal.
- The composter is a new and convenient way to acquire Bonemeal.
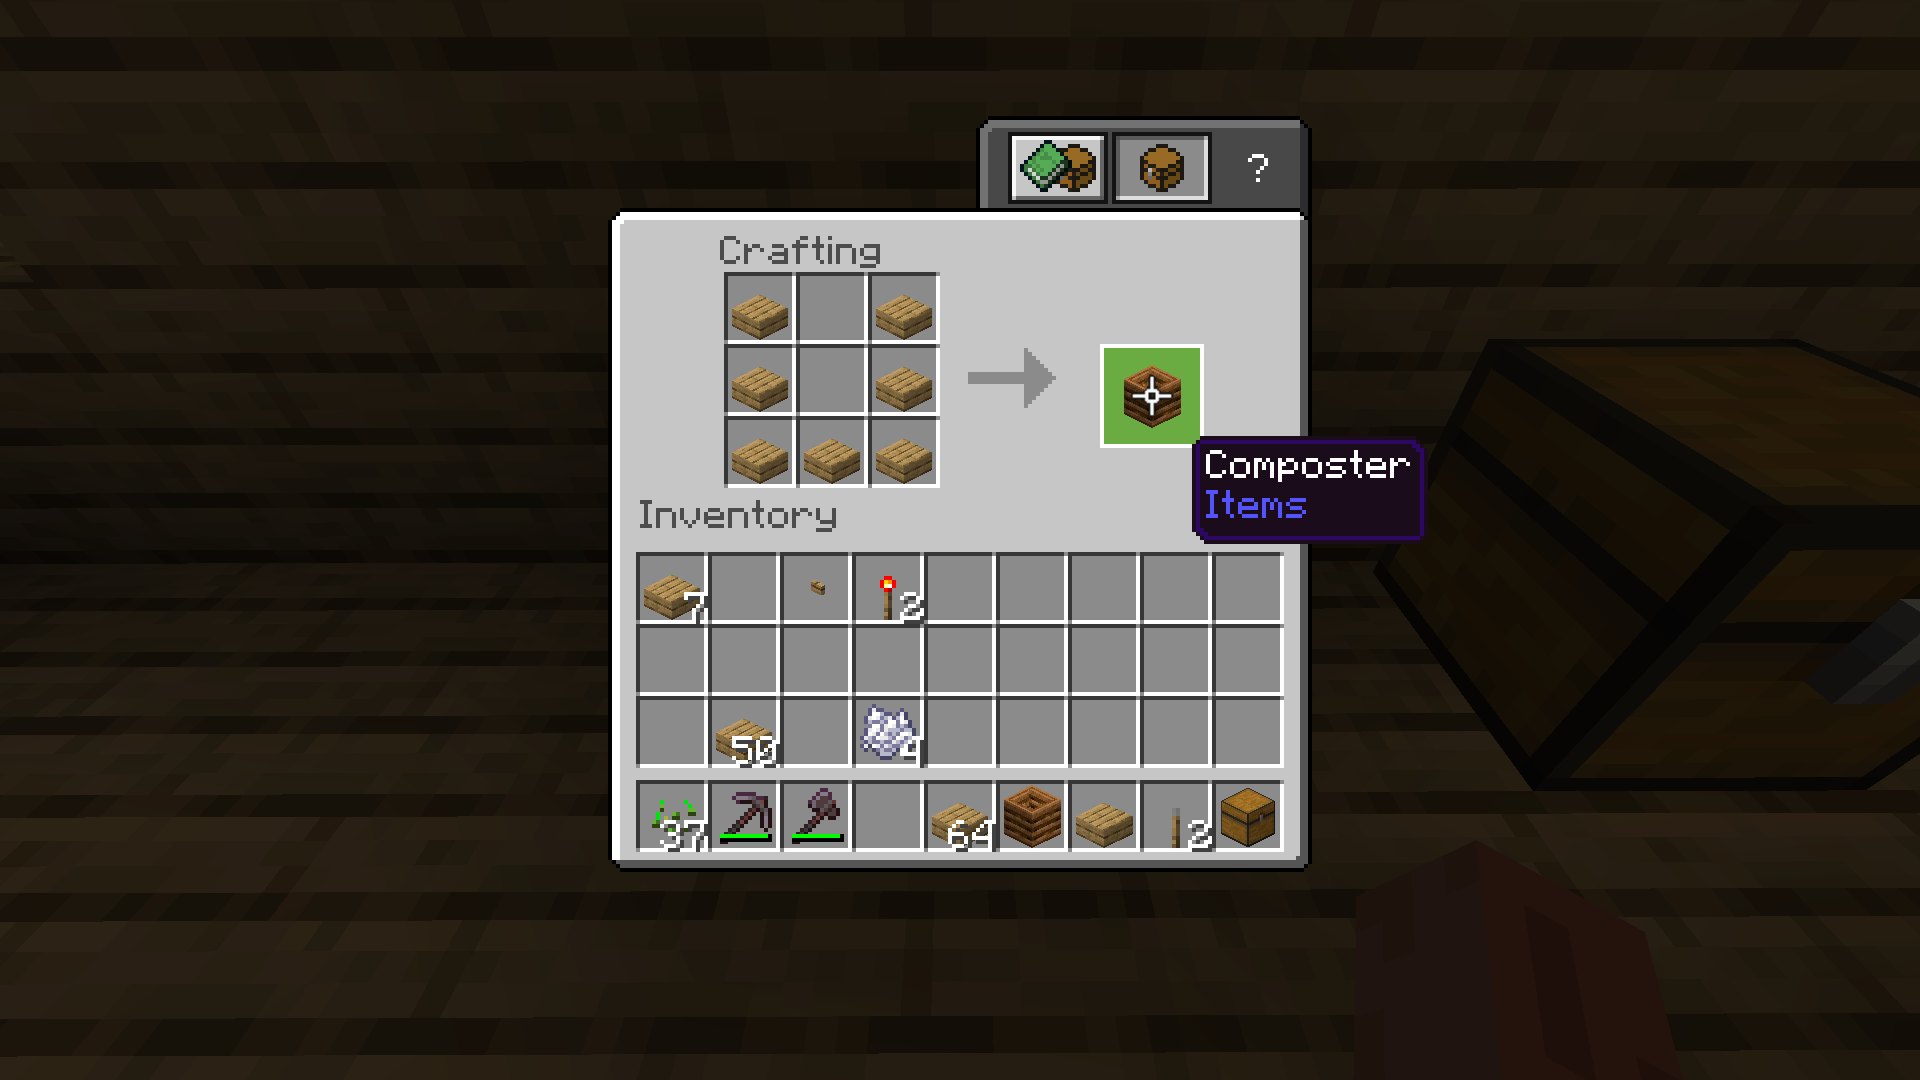
- To make a composter, you need 6 wooden slabs (any wooden kind, but when crafting the wood kind has to be the same)
- You can add useless items such as Leaves, Kelps, Grass, and Vines to be converted into Bonemeal.
How To Make A Composter In Minecraft
Here’s a video on how to make a composter:

Here’s my guide on making a composter in the game:
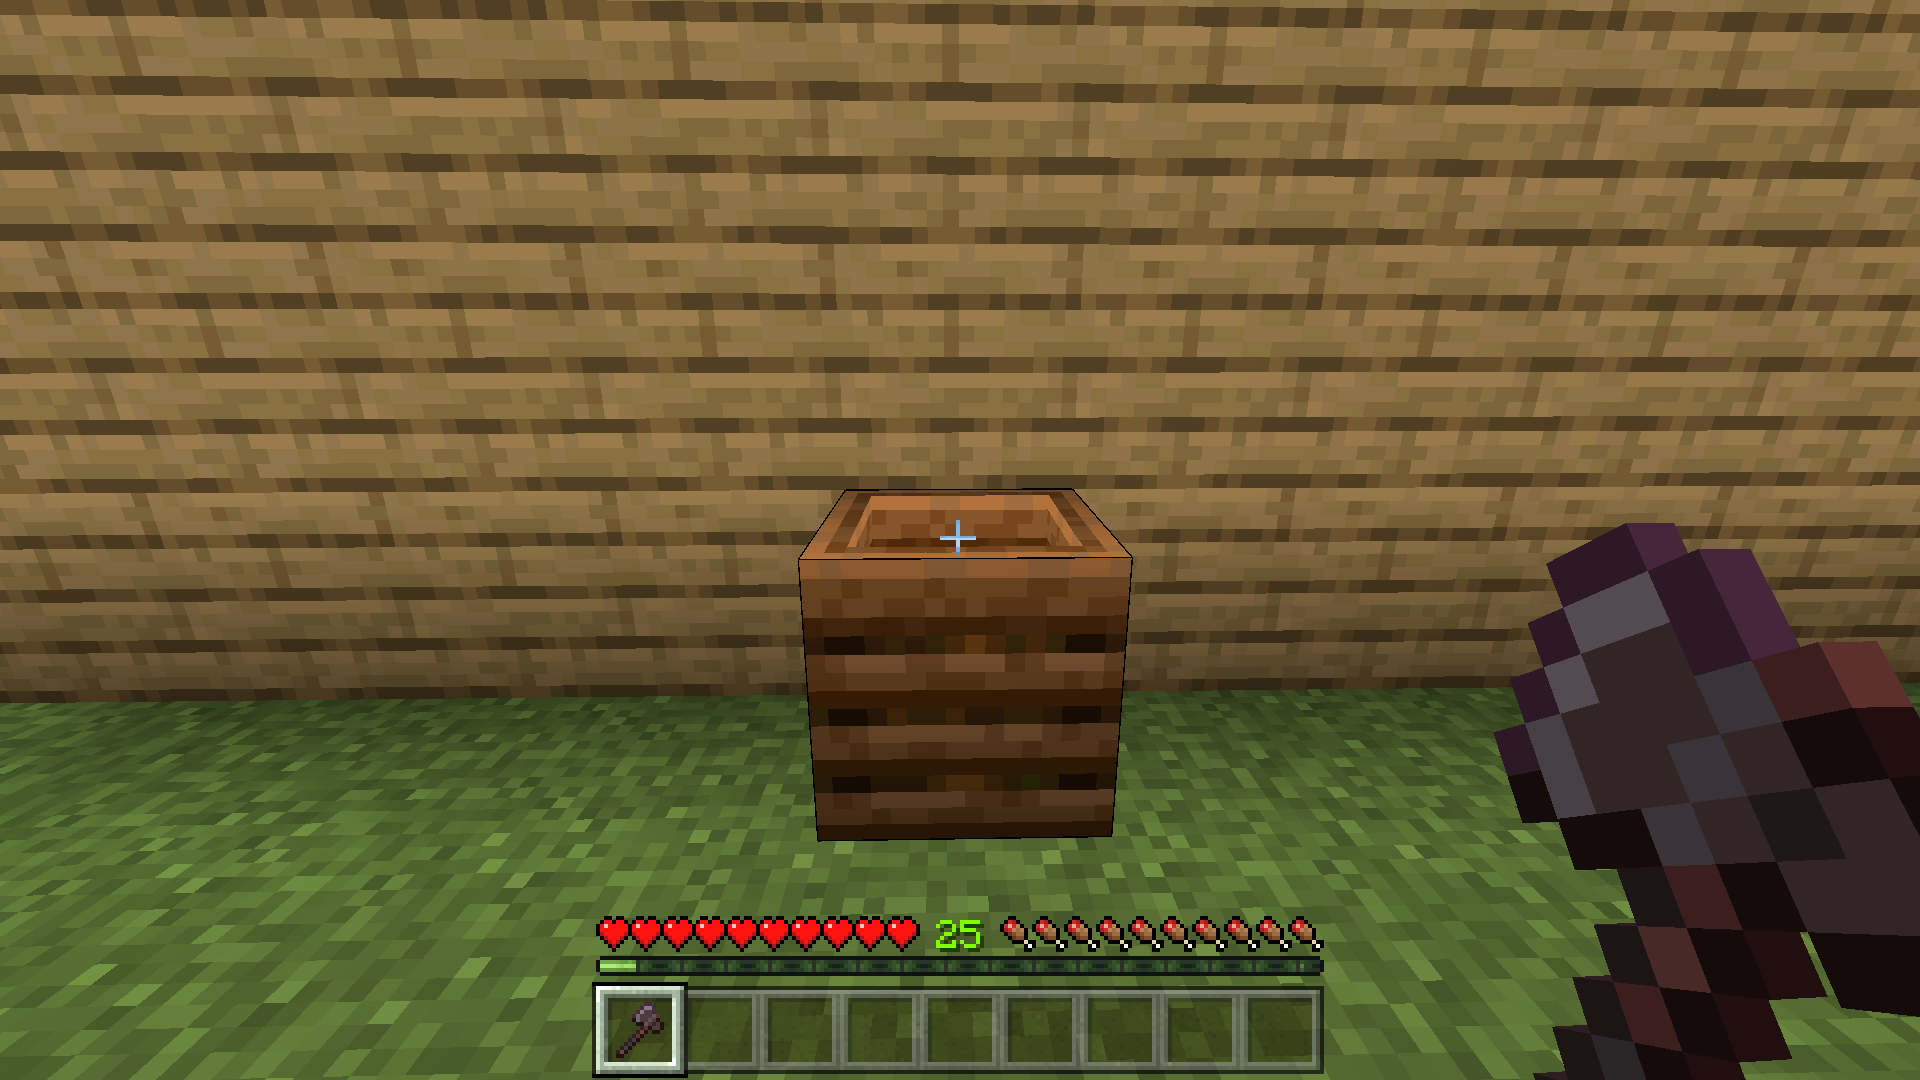
To start with, let me briefly explain what exactly a Composter is in Minecraft. This wooden barrel can be loaded up with raw materials, which are then converted into Bone Meal for the player to use on their plants. Unlike real Composters, which can take weeks or even months to create compost, the ones in the game can create Bone Meal as soon as they are filled up to their limit.
Similar Article: How To Repair A Bow In Minecraft.
This makes them a lot more easy to use than players might initially assume, and they can produce Bone Meal at an astoundingly fast rate. They’re also extremely easy to use, but first, let’s start with how to build them in the game. In order to make a Composter, you only require wood of any kind as a starting material.
Then, follow the steps seen below:
|
Step-By-Step Instructions |
| 1. Cut down any type of tree and gather some Wood. |
| 2. Turn the Wood blocks into Planks in your inventory. |
| 3. Place three of these Planks horizontally on a Crafting Table to craft Wood Slabs. |
| 4. Lastly, place seven of these Slabs in a ‘U’ shape on the Crafting Table again to make a single Composter. |
How To Use The Composter
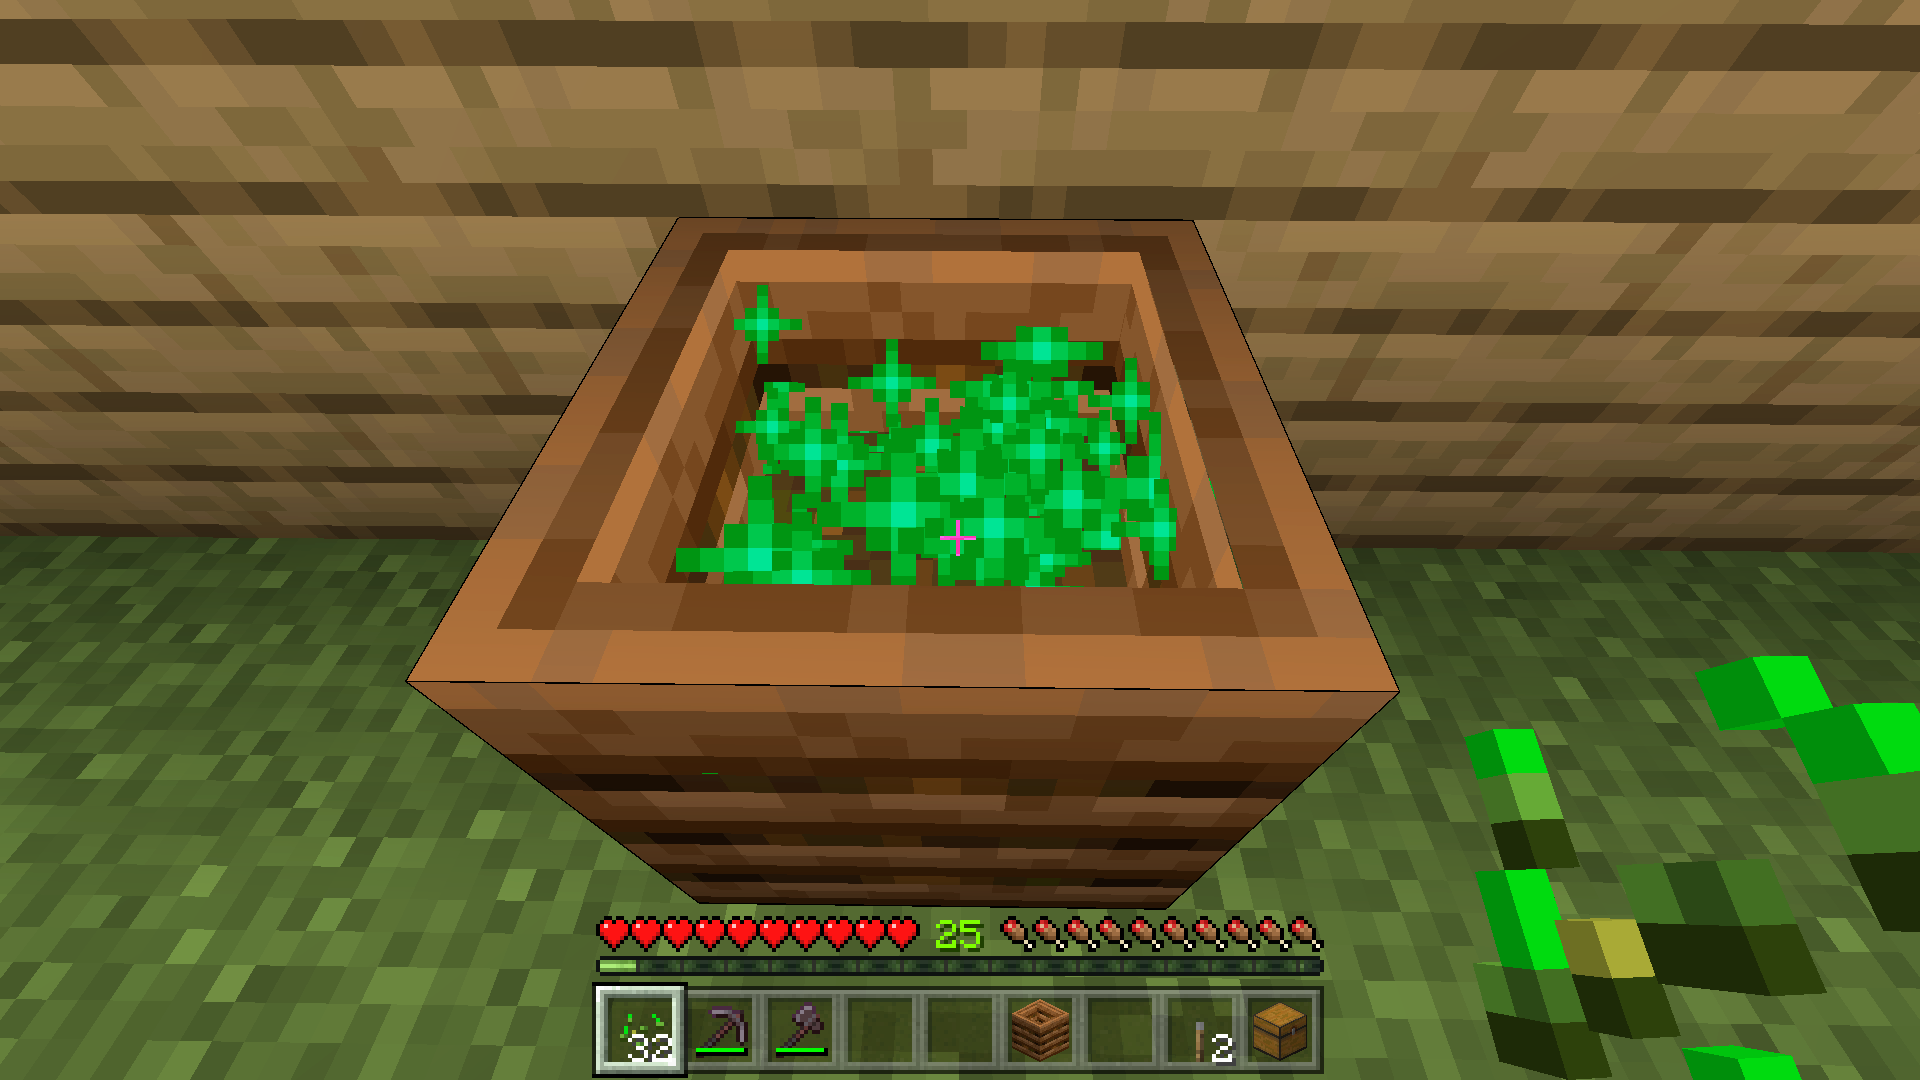
The Composter works by taking in food and other plant-based items and converting them into Bone Meal. The player actually has to have these items in their hand, at which point they can walk up to their placed Composter and right-click on it to deposit the selected material.
Similar Article: How to Reset or Reload Chunks in Minecraft
If you successfully feed the container items that it can accept, then a green sparkling effect will signal that your actions are working. If you see nothing at all, then that means the item in your hand is not acceptable fodder for the Composter.
As you keep depositing items into the container, you will visually see the compost level inside it rise over time. The goal here is to get the Composter to fill up to the top so that the raw materials can then be transformed into Bone Meal.
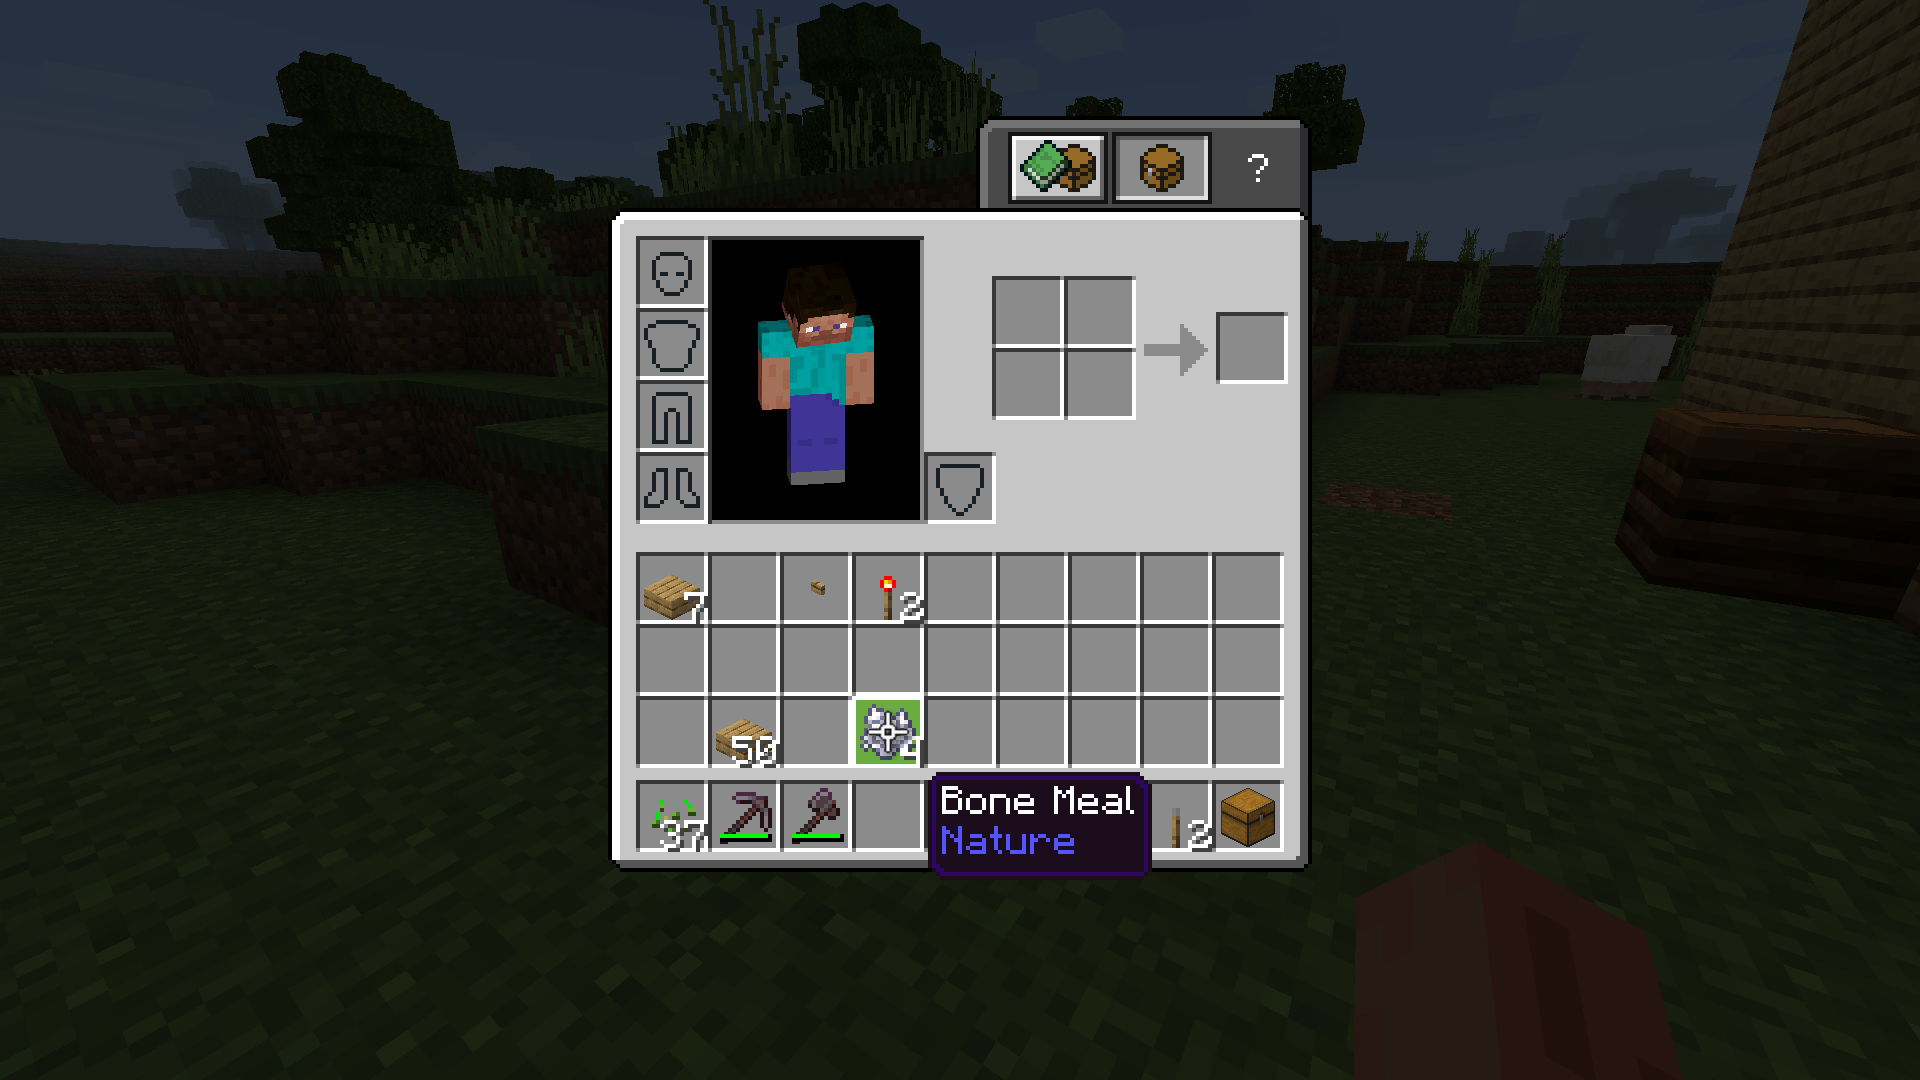
It should also be noted that different materials have a different percentage chance of adding a level to the container. The higher the percentage of a particular item, the more effective it will be at filling up the Composter.
You can find a complete list of all acceptable items, as well as their percentages, in the table below:
|
30% Chance |
50% Chance |
65% Chance |
80% Chance |
100% Chance |
|
Beetroot Seeds |
Cactus | Apple | Baked Potato | Cake |
| Dried Kelp | Dried Kelp Block | Azalea | Bread |
Pumpkin Pie |
|
Glow Berries |
Flowering Azalea Leaves |
Beetroot |
Cookie |
– |
|
Grass |
Glow Lichen |
Big Dripleaf |
Flowering Azalea |
– |
|
Grass Block |
Melon Slice |
Carrot |
Hay Bale |
– |
|
Hanging Roots |
Nether Sprouts |
Cocoa Beans |
Mushroom Blocks |
– |
|
Kelp |
Sugar Cane |
Ferns |
Nether Wart Block |
– |
|
Leaves |
Tall Grass |
Flowers |
Warped Wart Block |
– |
|
Saplings |
Vines |
Fungus |
– | – |
|
Melon Seeds |
Weeping Vines |
Lily Pad |
– | – |
|
Moss Carpet |
Twisting Vines |
Melon |
– | – |
|
Pumpkin Seeds |
– |
Moss Block |
– | – |
|
Small Dripleaf |
– |
Mushroom Stem |
– | – |
|
Seagrass |
– |
Mushrooms |
– | – |
|
Sweet Berries |
– |
Nether Wart |
– | – |
|
Wheat Seeds |
– |
Potato |
– | – |
|
– |
– |
Pumpkins |
– | – |
| – | – |
Roots |
– | – |
| – | – |
Sea Pickle |
– | – |
| – | – |
Shroomlight |
– | – |
| – | – |
Spore Blossom |
– | – |
| – | – |
Wheat |
– | – |
Once again, the composting process happens instantly as soon as the container is full. The only noticeable change that occurs is that the layer of dirt at the top of the Composter slightly changes color to signal that it is ready to be extracted.
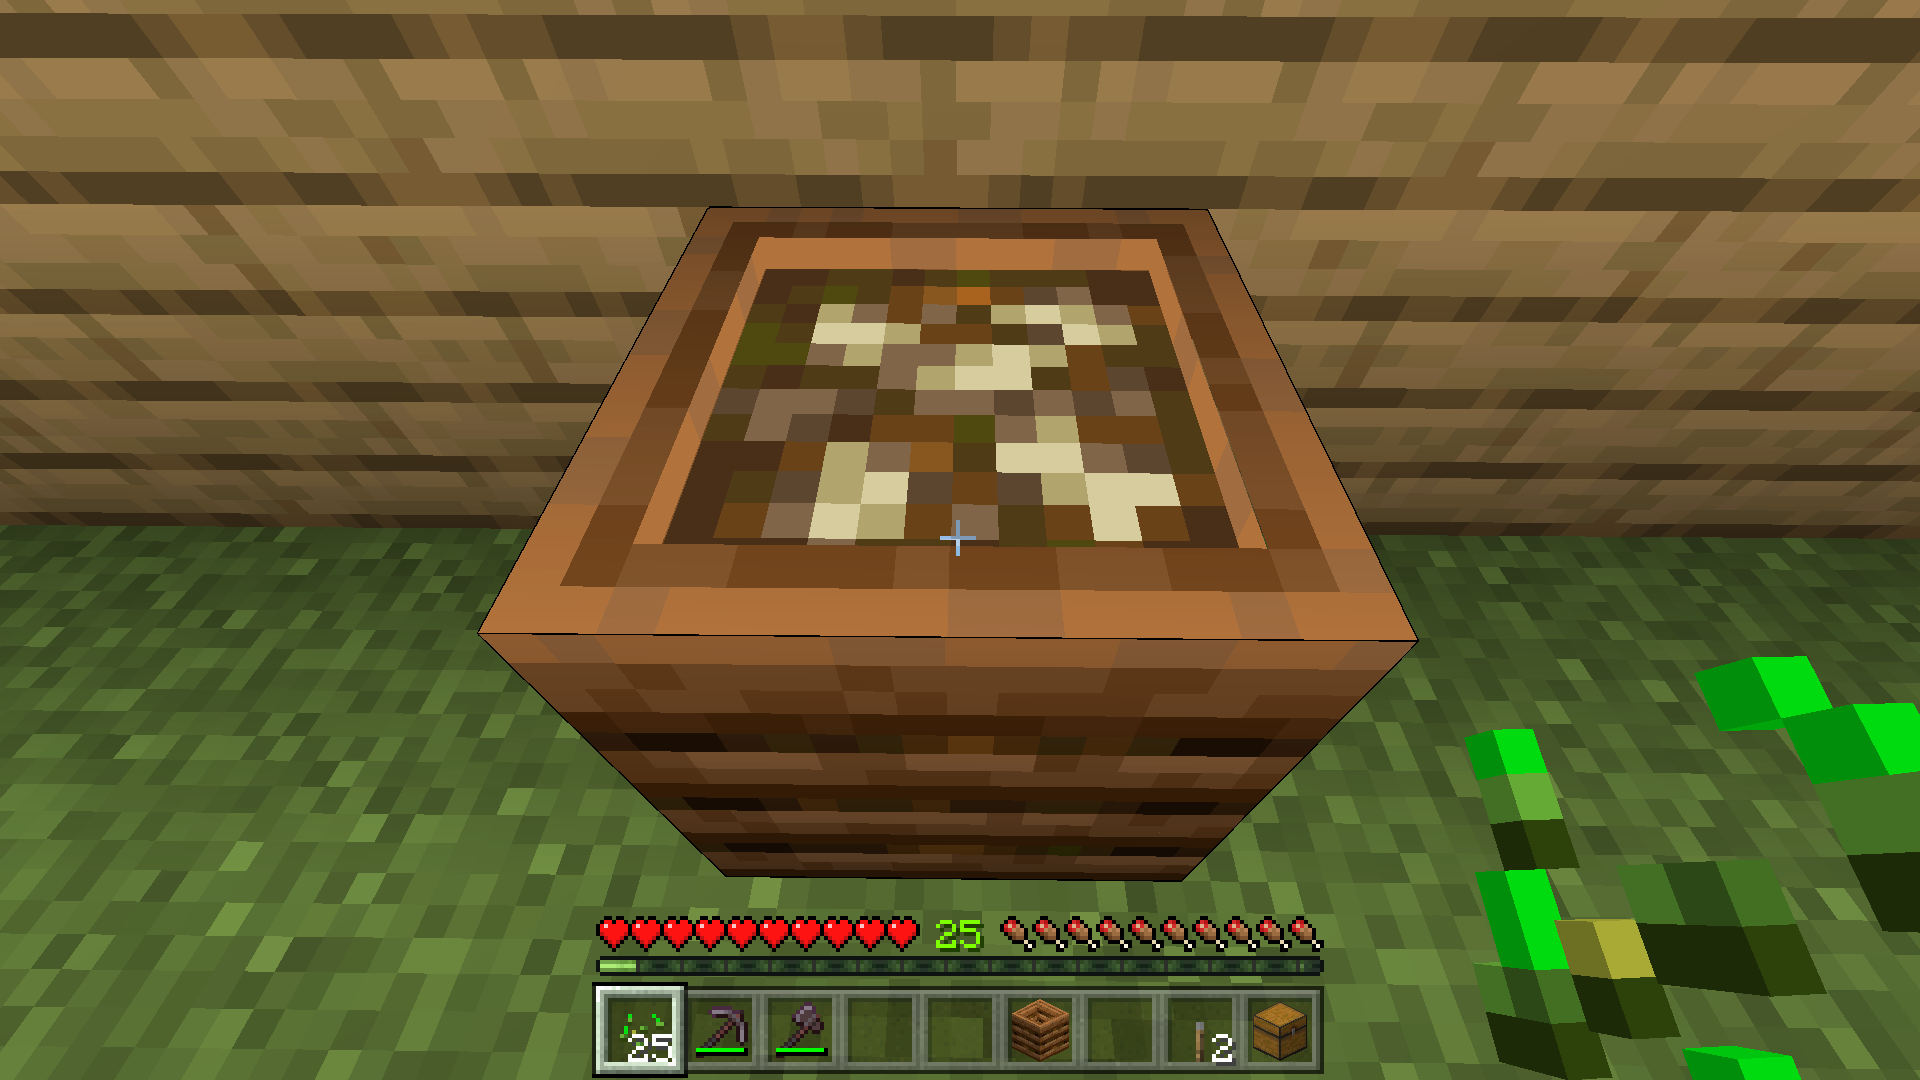
And that’s basically all the information you require to start making Bone Meal.
How To Automate The Composter
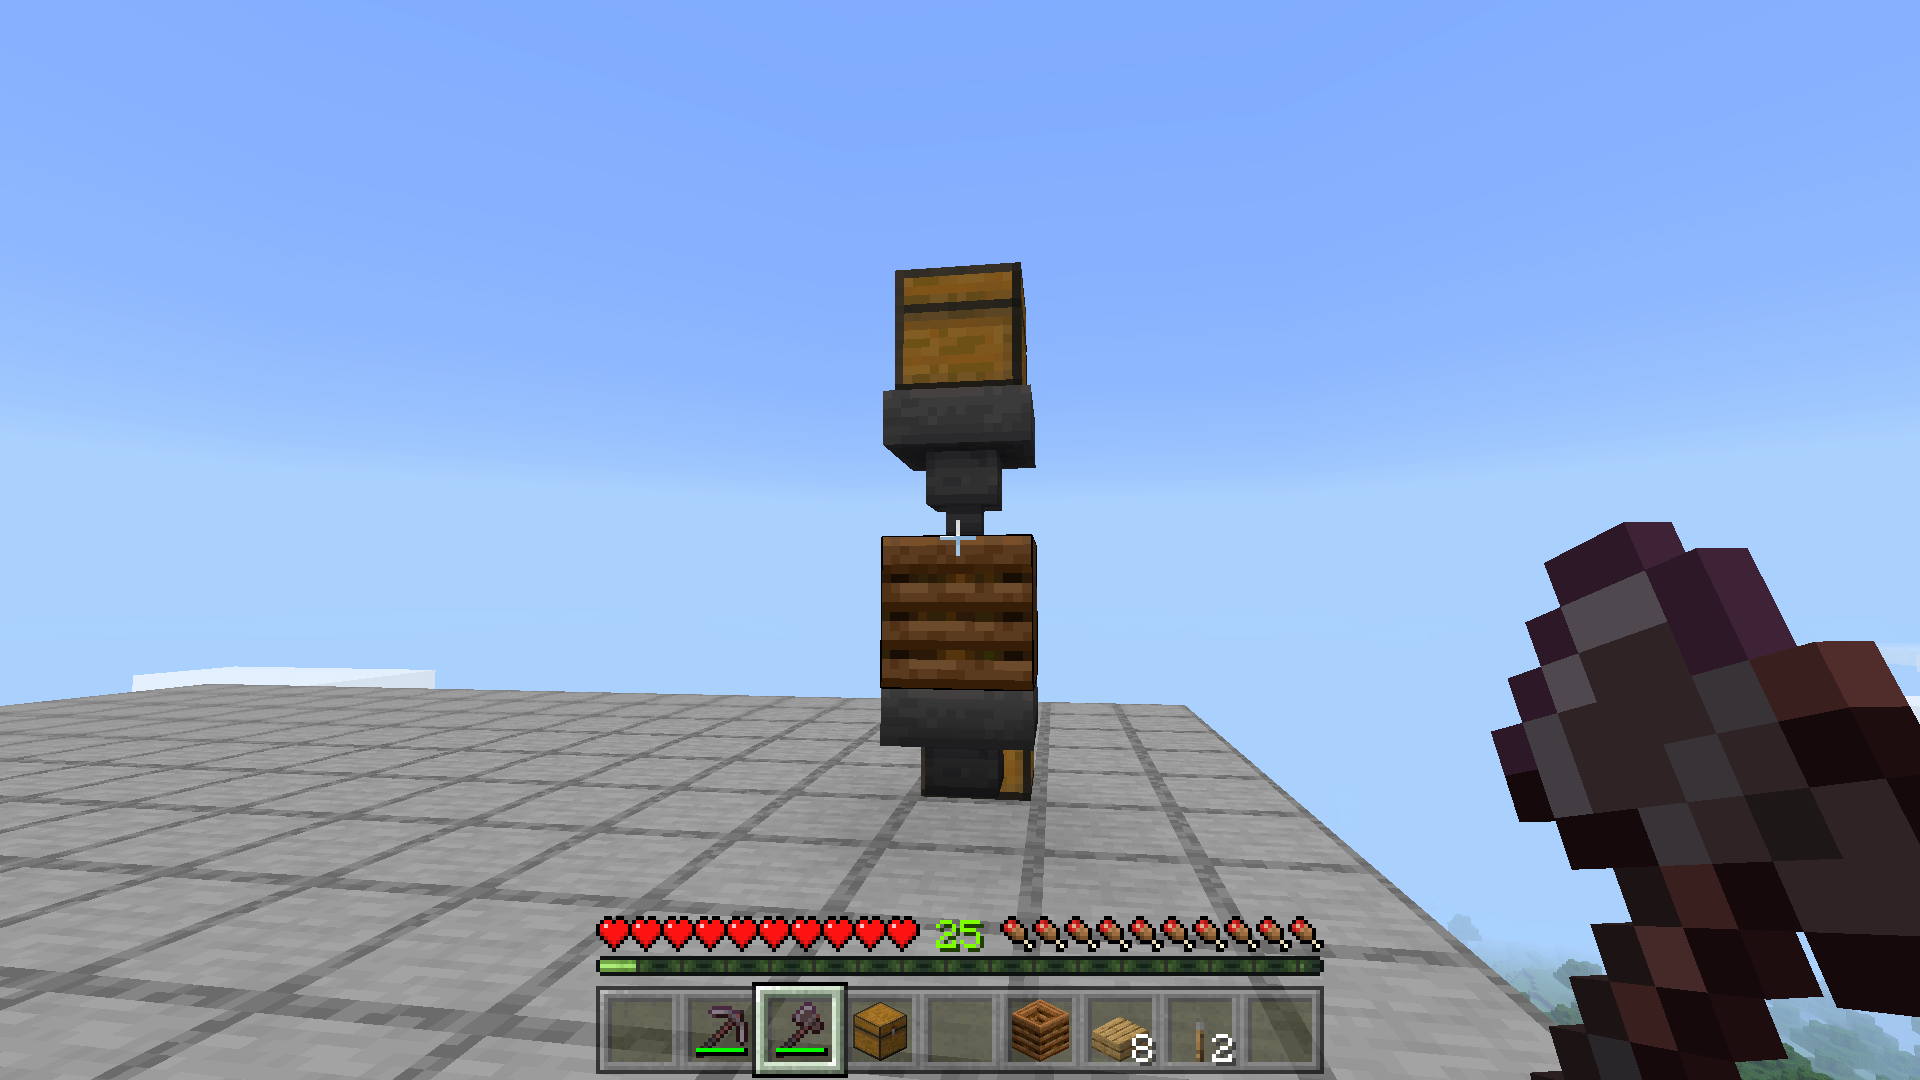
Now that you’ve learned how to make a Composter, it’s time to move on to the process of automation because not everyone has the time to stand around and repeatedly push materials into the bin to make Bone Meal. So why not leave it up to the game to do the whole thing by itself? And no, you do not have to know How To Use Redstone Torches In Minecraft for it.
This is actually an extremely simple assembly line that you can set up to automate most of the composting process. It still requires you to provide raw materials and collect the finished product, but other items handle everything else.
This setup is also extremely fast, and we’ll show you the proper layout in a step-by-step guide below. But before we start.
You should have the following items in your inventory:
- 2x Chests.
- 2x Hoppers.
- 1x Composter.
Now, let’s move on to the actual assembly. I’ll also include pictures so that you always understand what step we’re on.
Step 1: Place a regular Chest onto the ground. This will serve as the endpoint of the assembly line, and the container that will hold the finished Bone Meal.
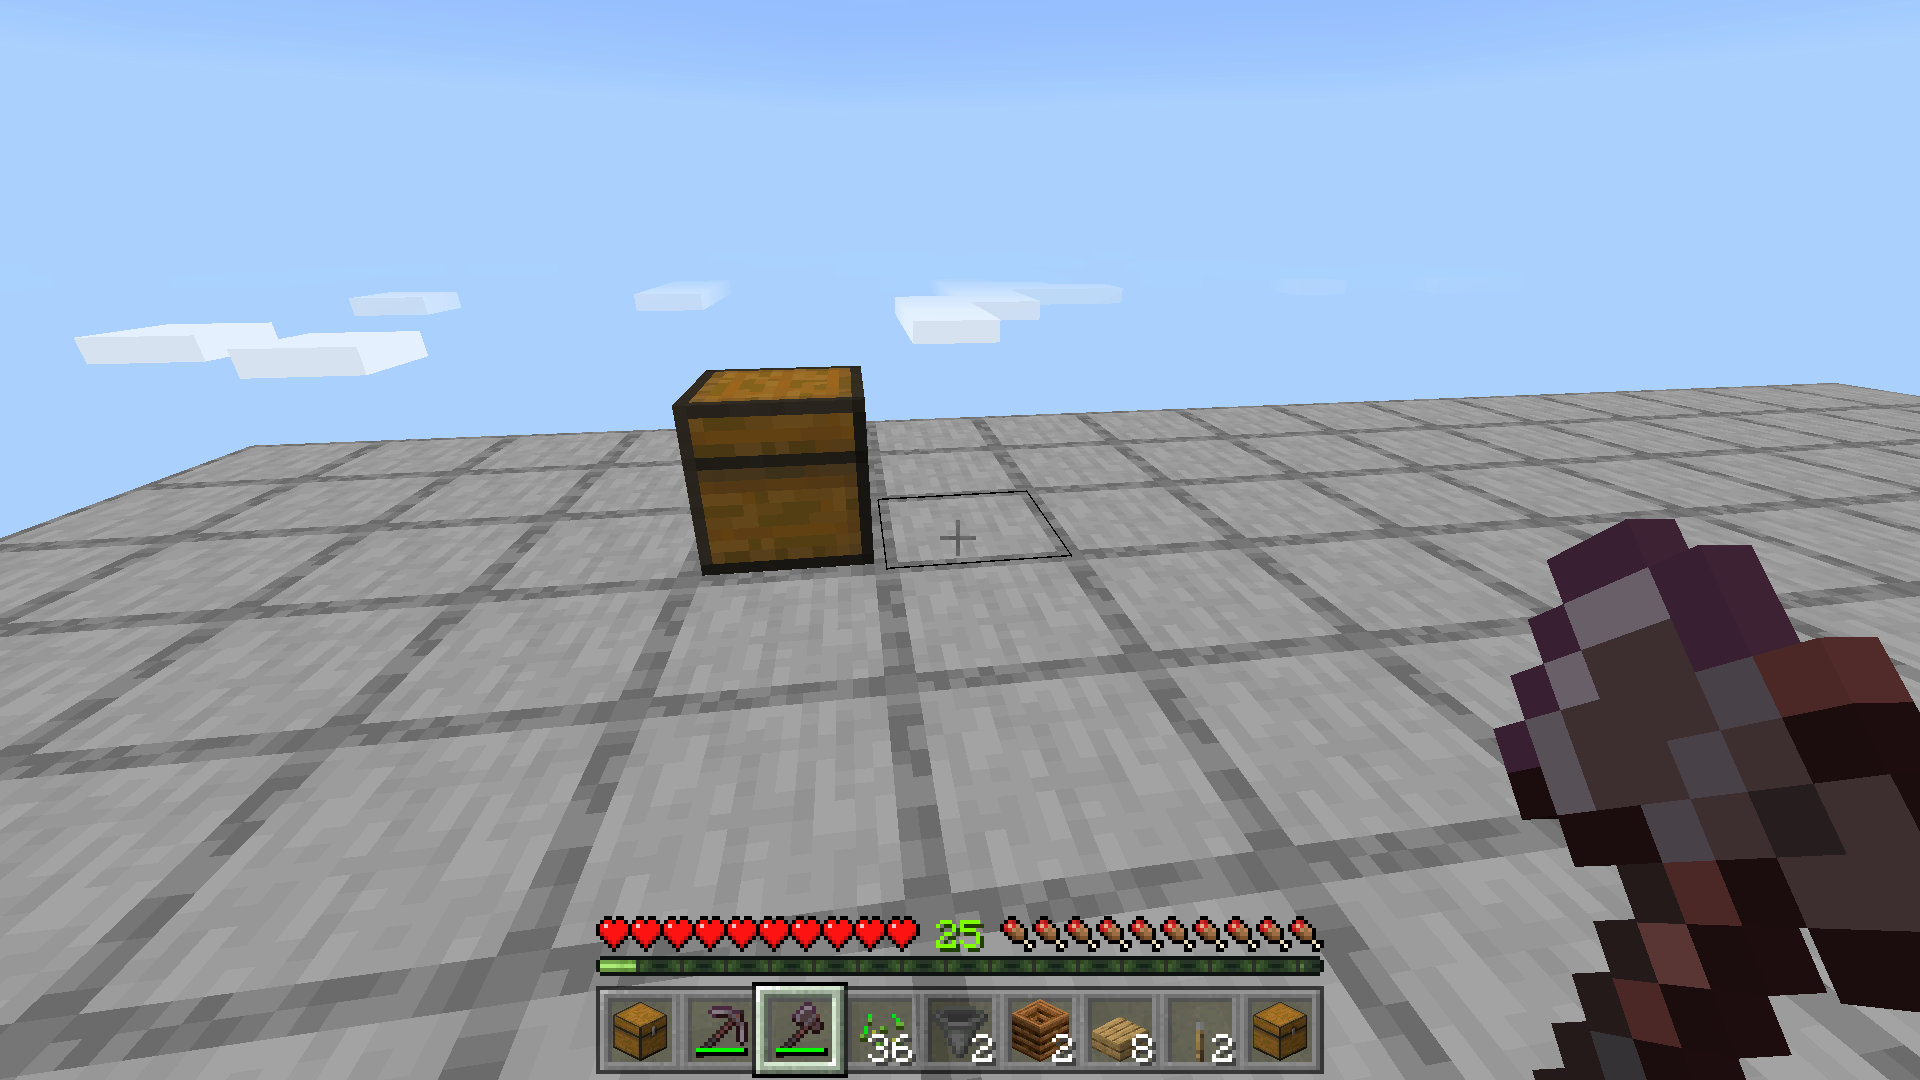
Step 2: Now crouch down and connect a Hopper to the back of the Chest by right-clicking it. If you do not crouch, the game does not allow you to connect the blocks together.
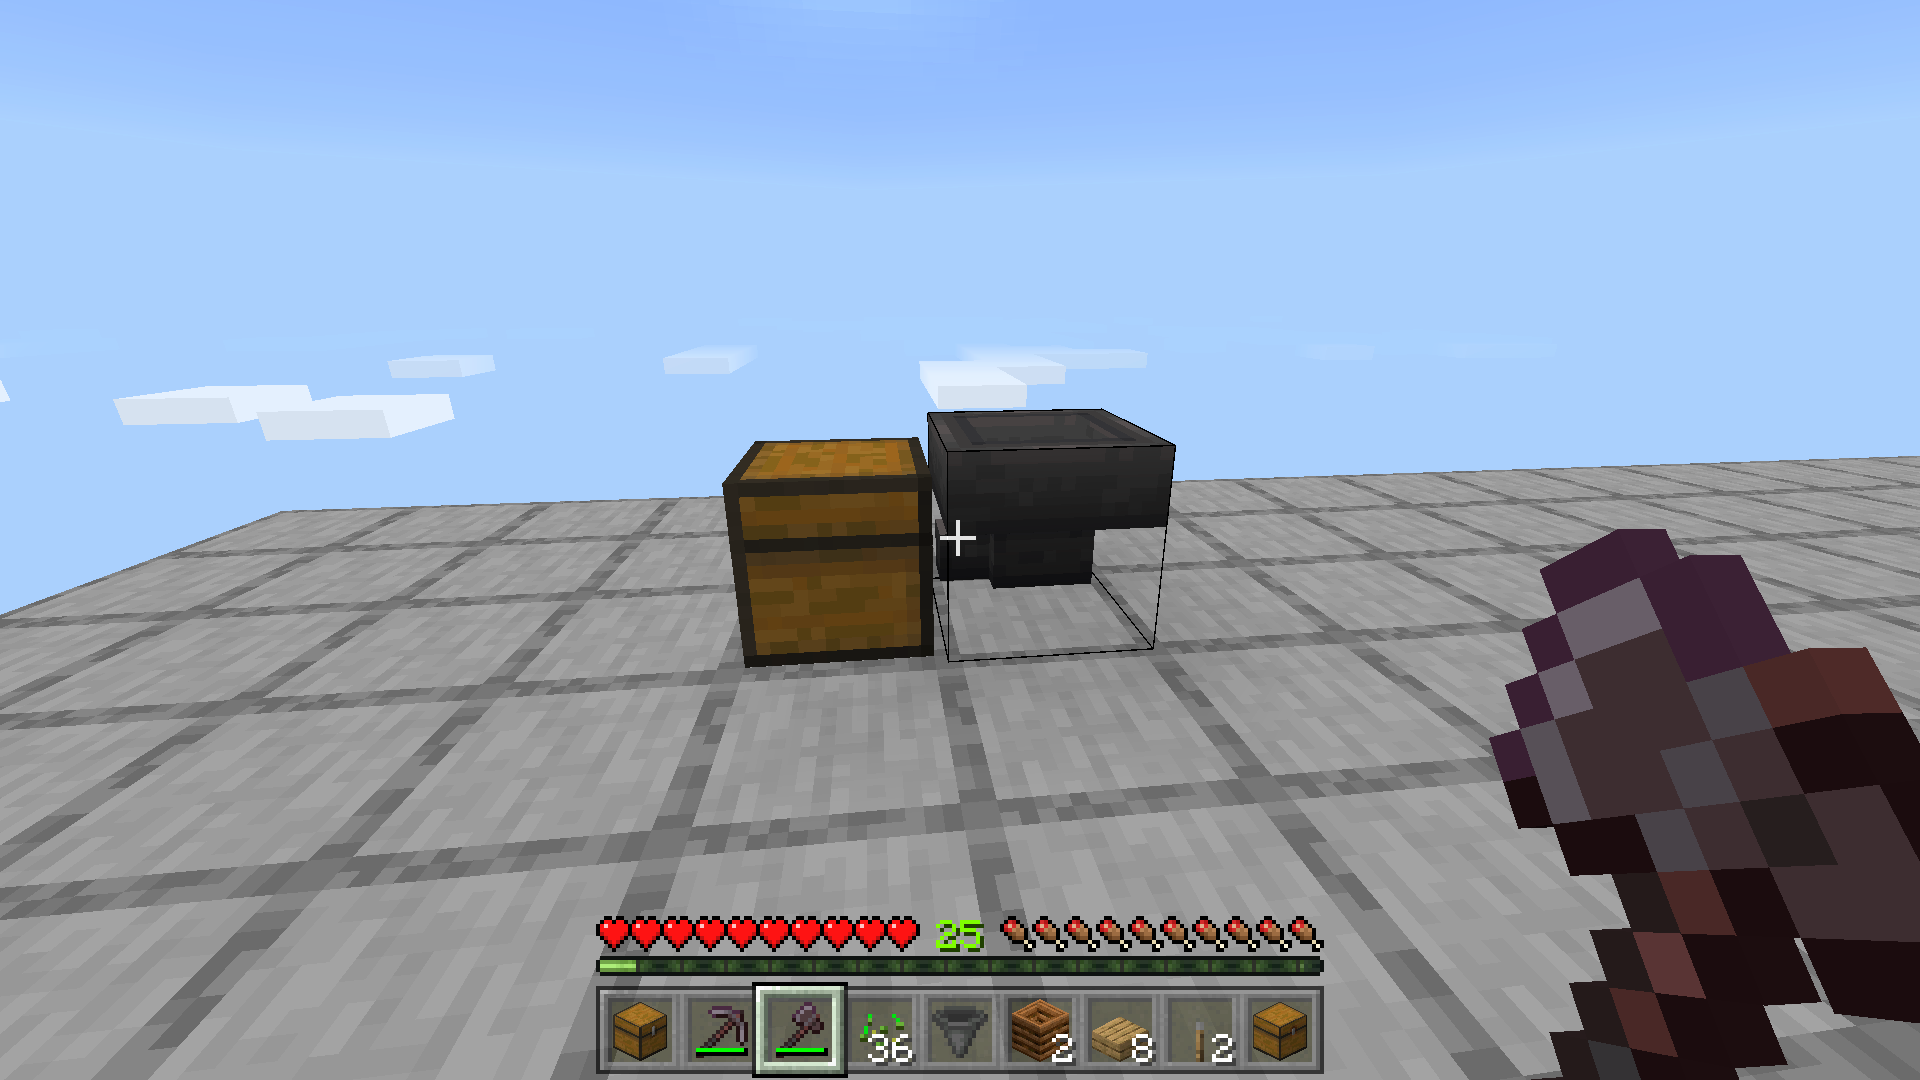
Step 3: Crouch down once more and place a Composter directly on top of the Hopper you placed in the previous step.
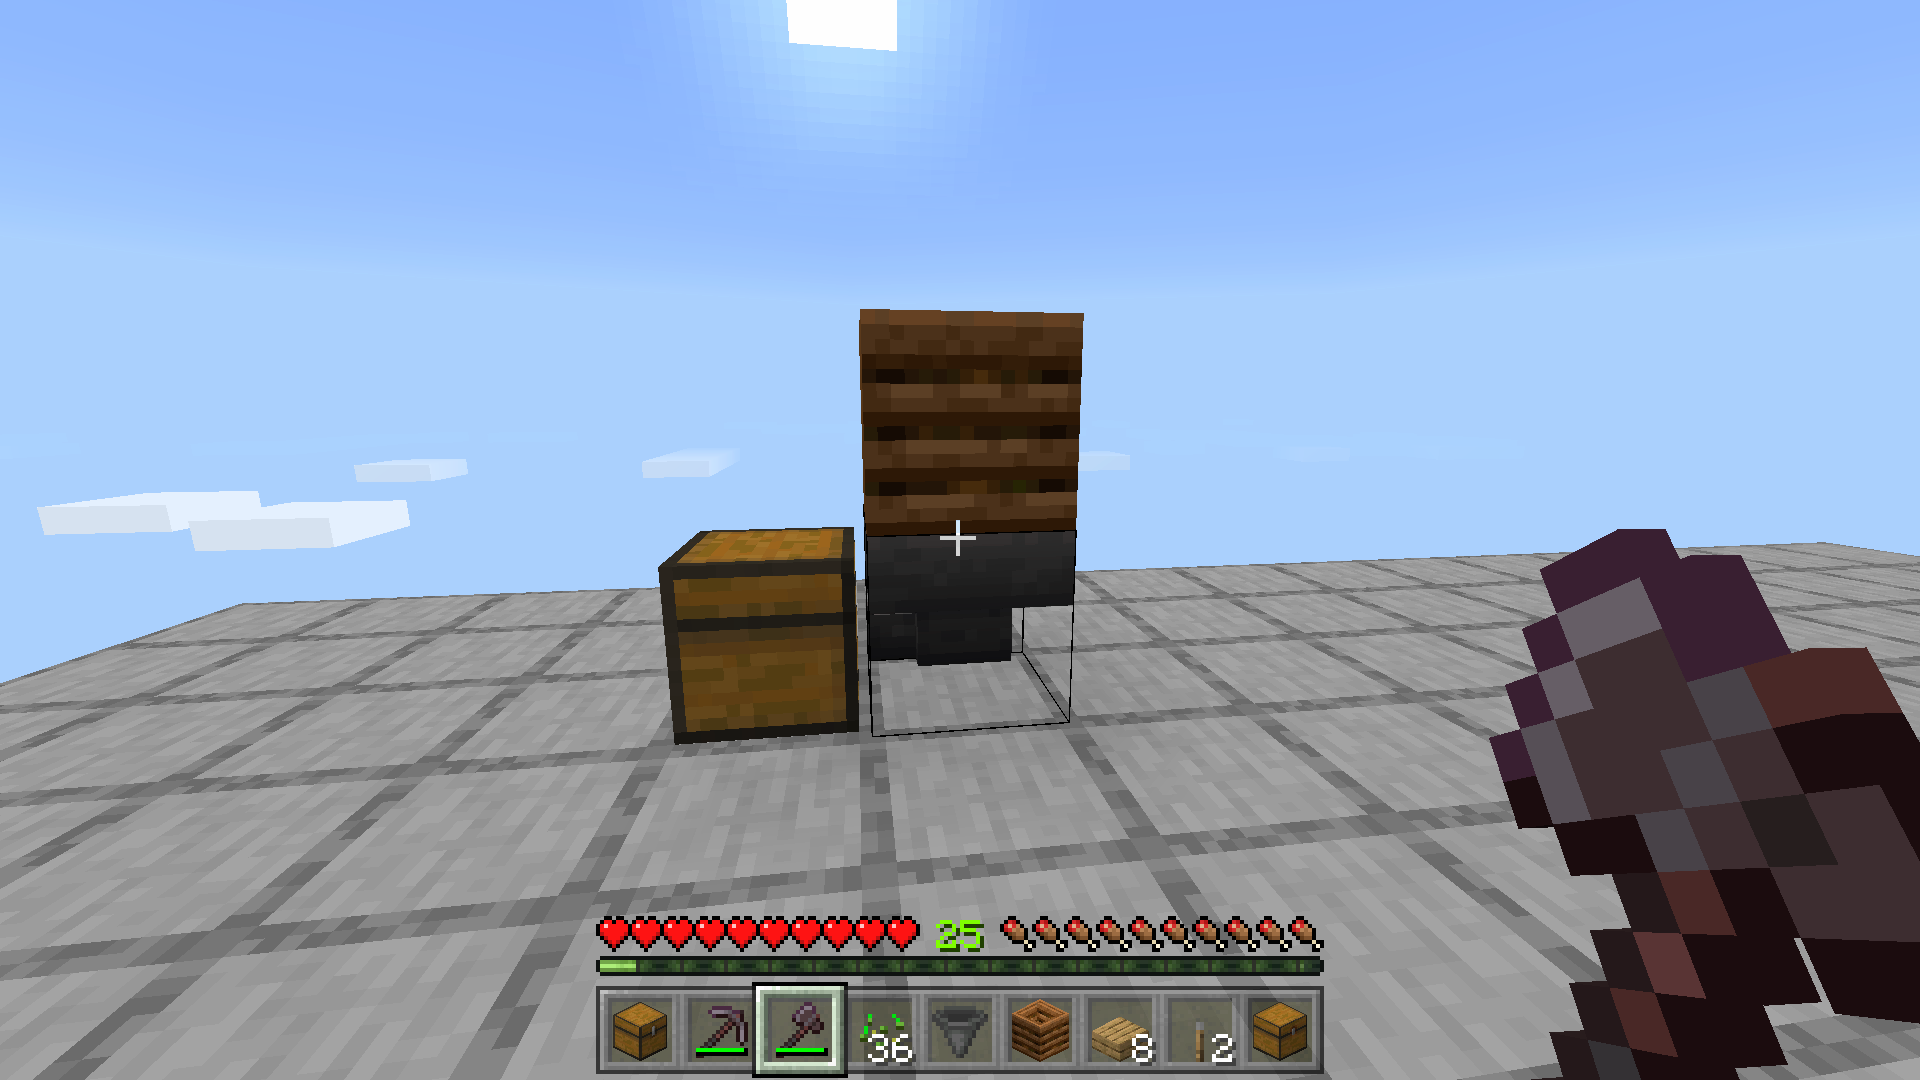
Step 4: Take your other Hopper and place it directly on top of the Composter. Once again, you have to crouch for the game to let you connect the two blocks.
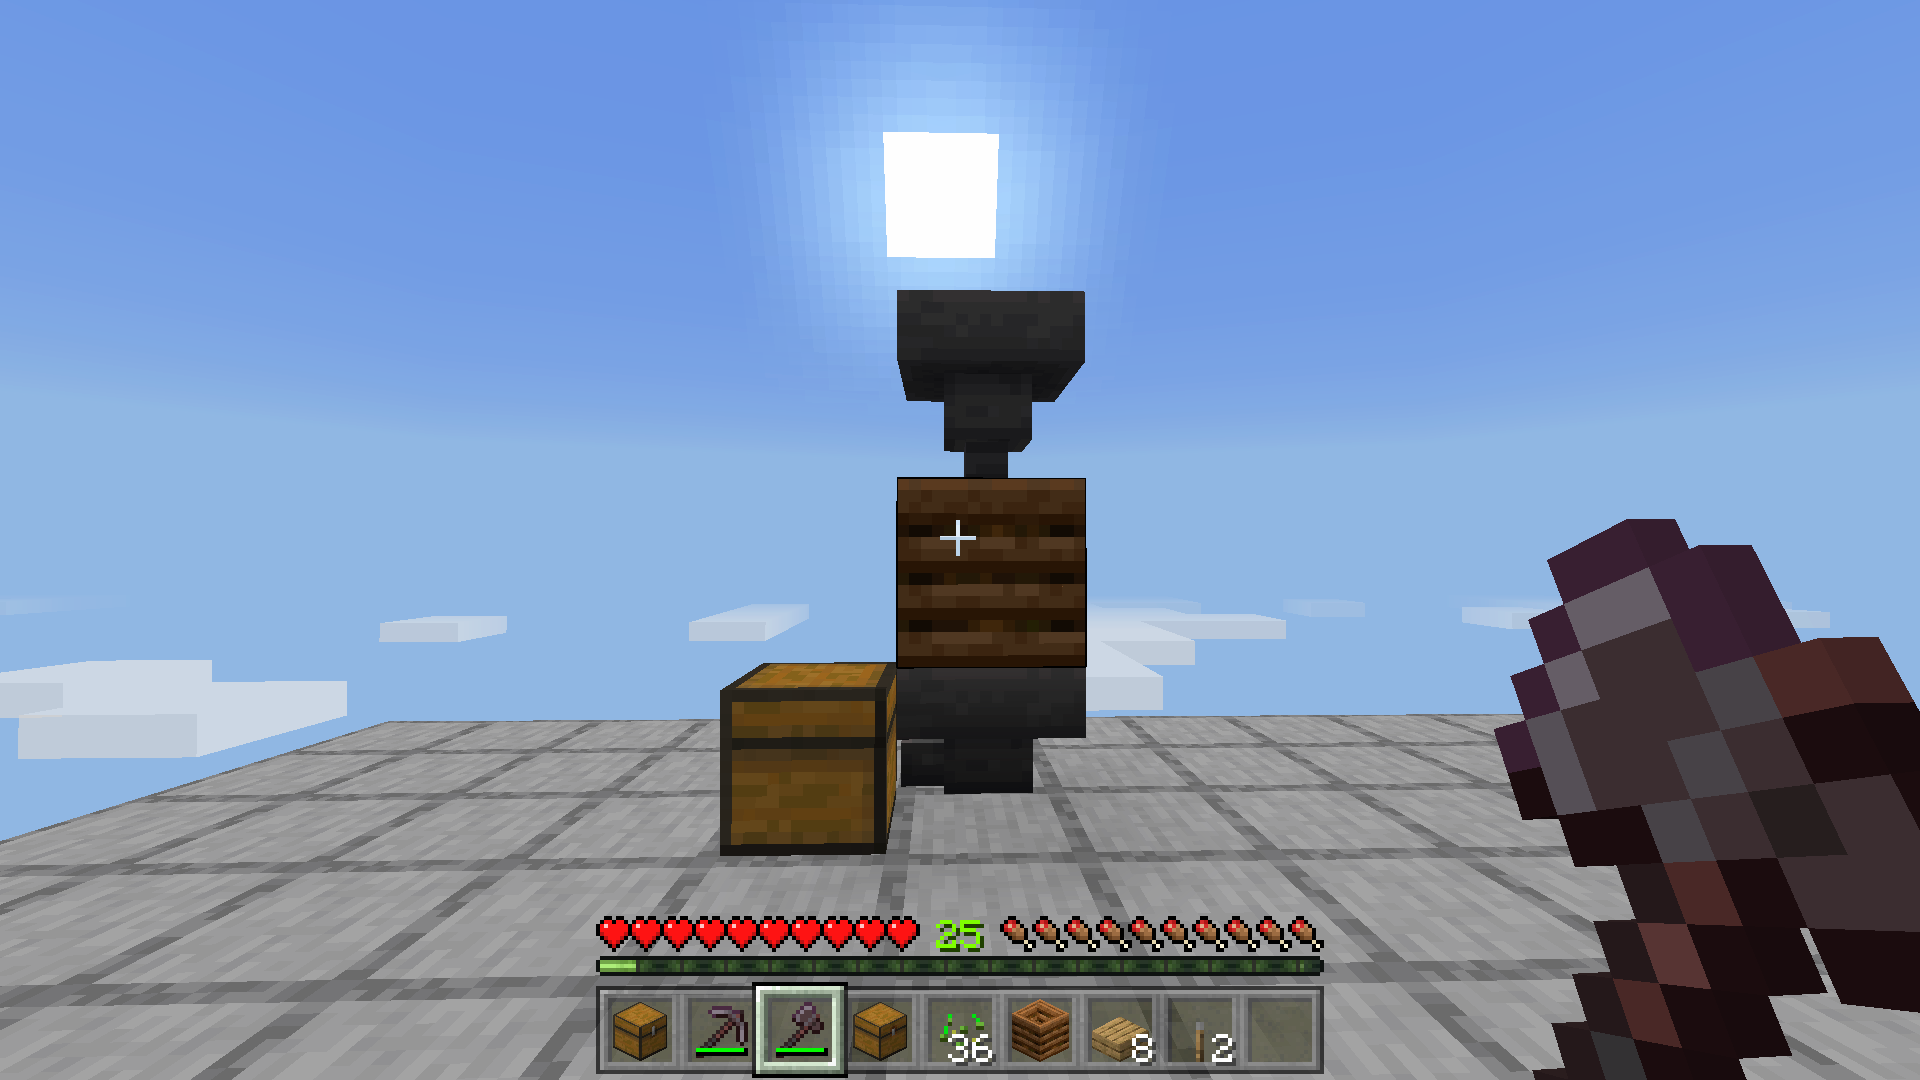
Step 5: Finally, place the second chest on top of the second Hopper. Your Bone Meal machine is now complete.
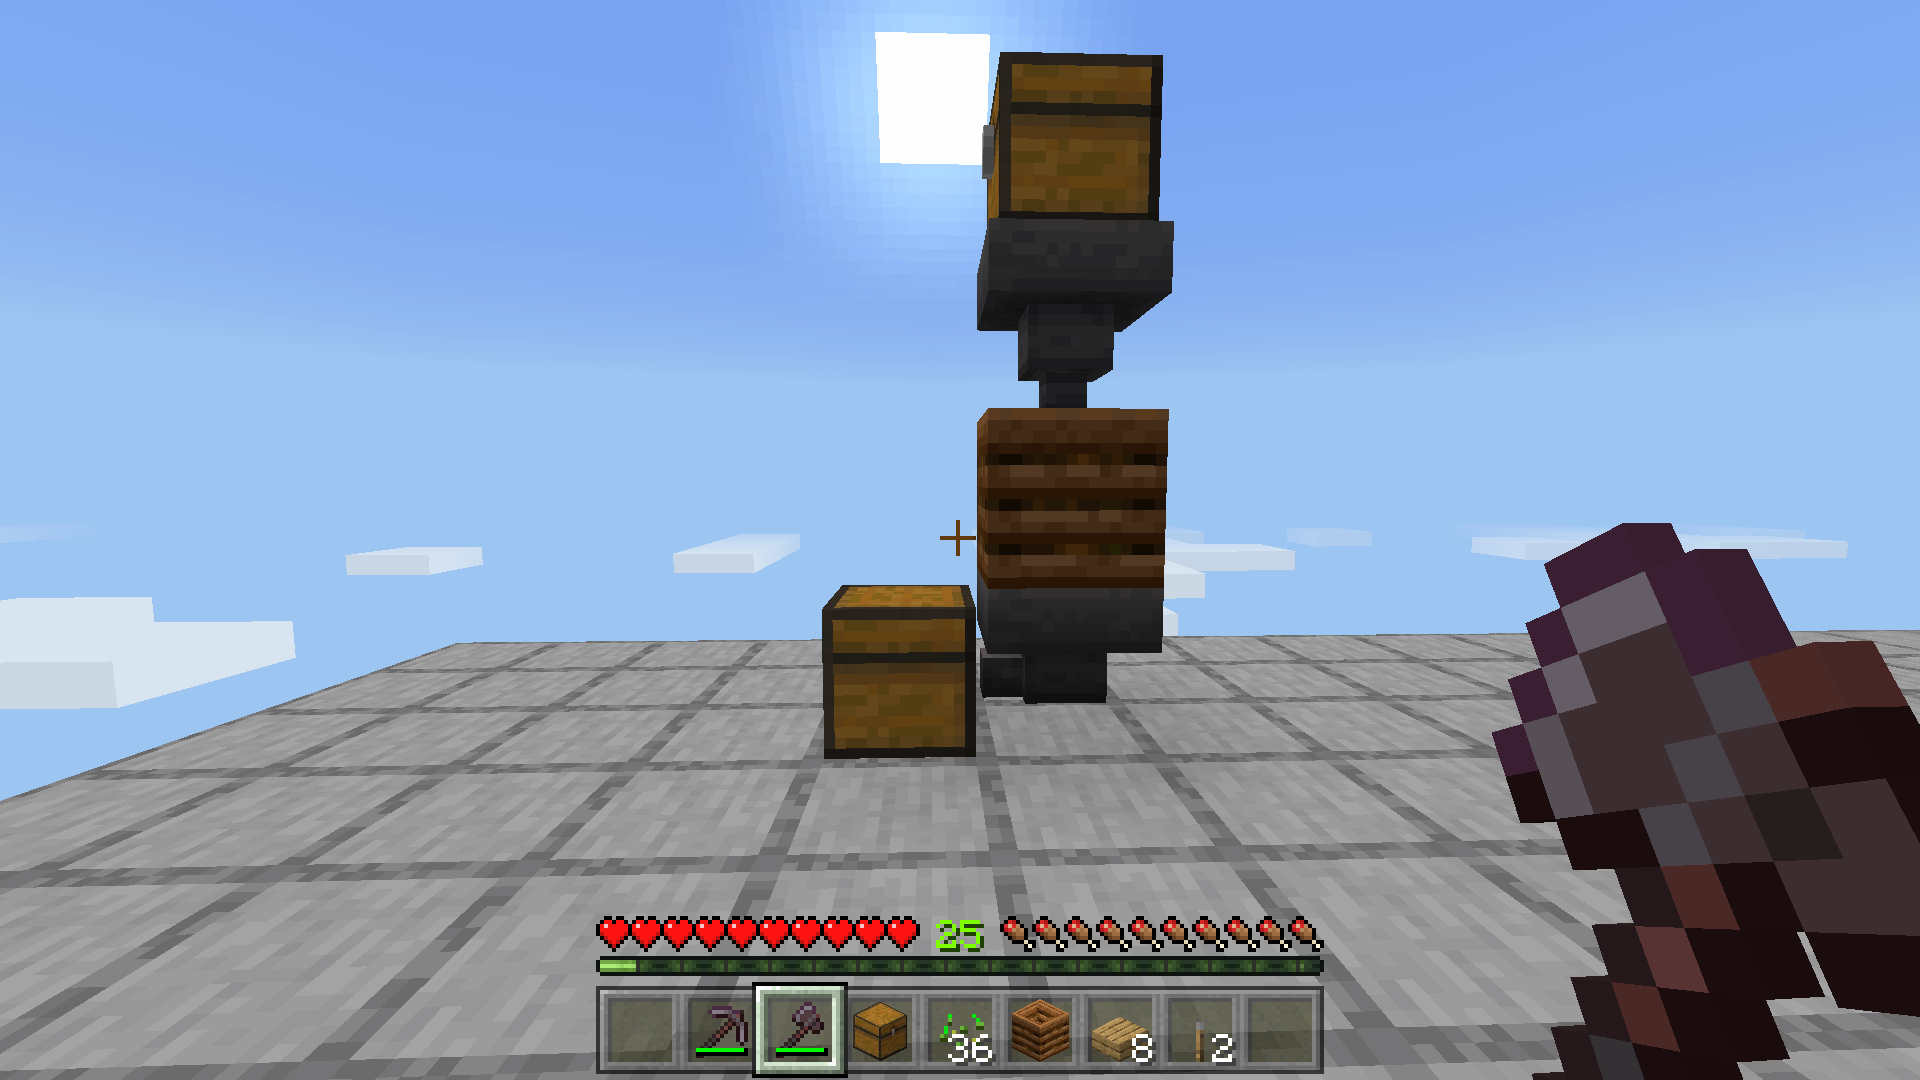
Now, whenever you place any of the raw materials mentioned above into the chest at the top of the assembly line, the Hopper will automatically push them into the Composter. Once it is full, the finished Bone Meal will then be pushed by the second Hopper into the first Chest on the ground.
With the introduction of the relatively new Composter, players were granted another avenue of acquiring Bone Meal. Establishing a decent supply of this item has now become an absolute cakewalk. It still takes a bit of time and effort to gather the new raw materials, obviously, but compared to the previous hassle of going out hunting for Skeletons at night, this is monumentally more convenient and appealing.
And that’s about it for our Composter In Minecraft guide. While you’re here, why not also check out our how to Make an XP Farm in Minecraft article?
Next:
Thanks! Do share your feedback with us. ⚡
How can we make this post better? Your help would be appreciated. ✍
