The scalping business is booming in the modern era, targeting an audience that will stop at nothing to get their hands on what they “want.” From scalpers selling Street Fighter 6 closed beta test codes for $900+ to the PlayStation 5 listed north of $2000 at the time of its release, the profit margins are huge on this side of town.
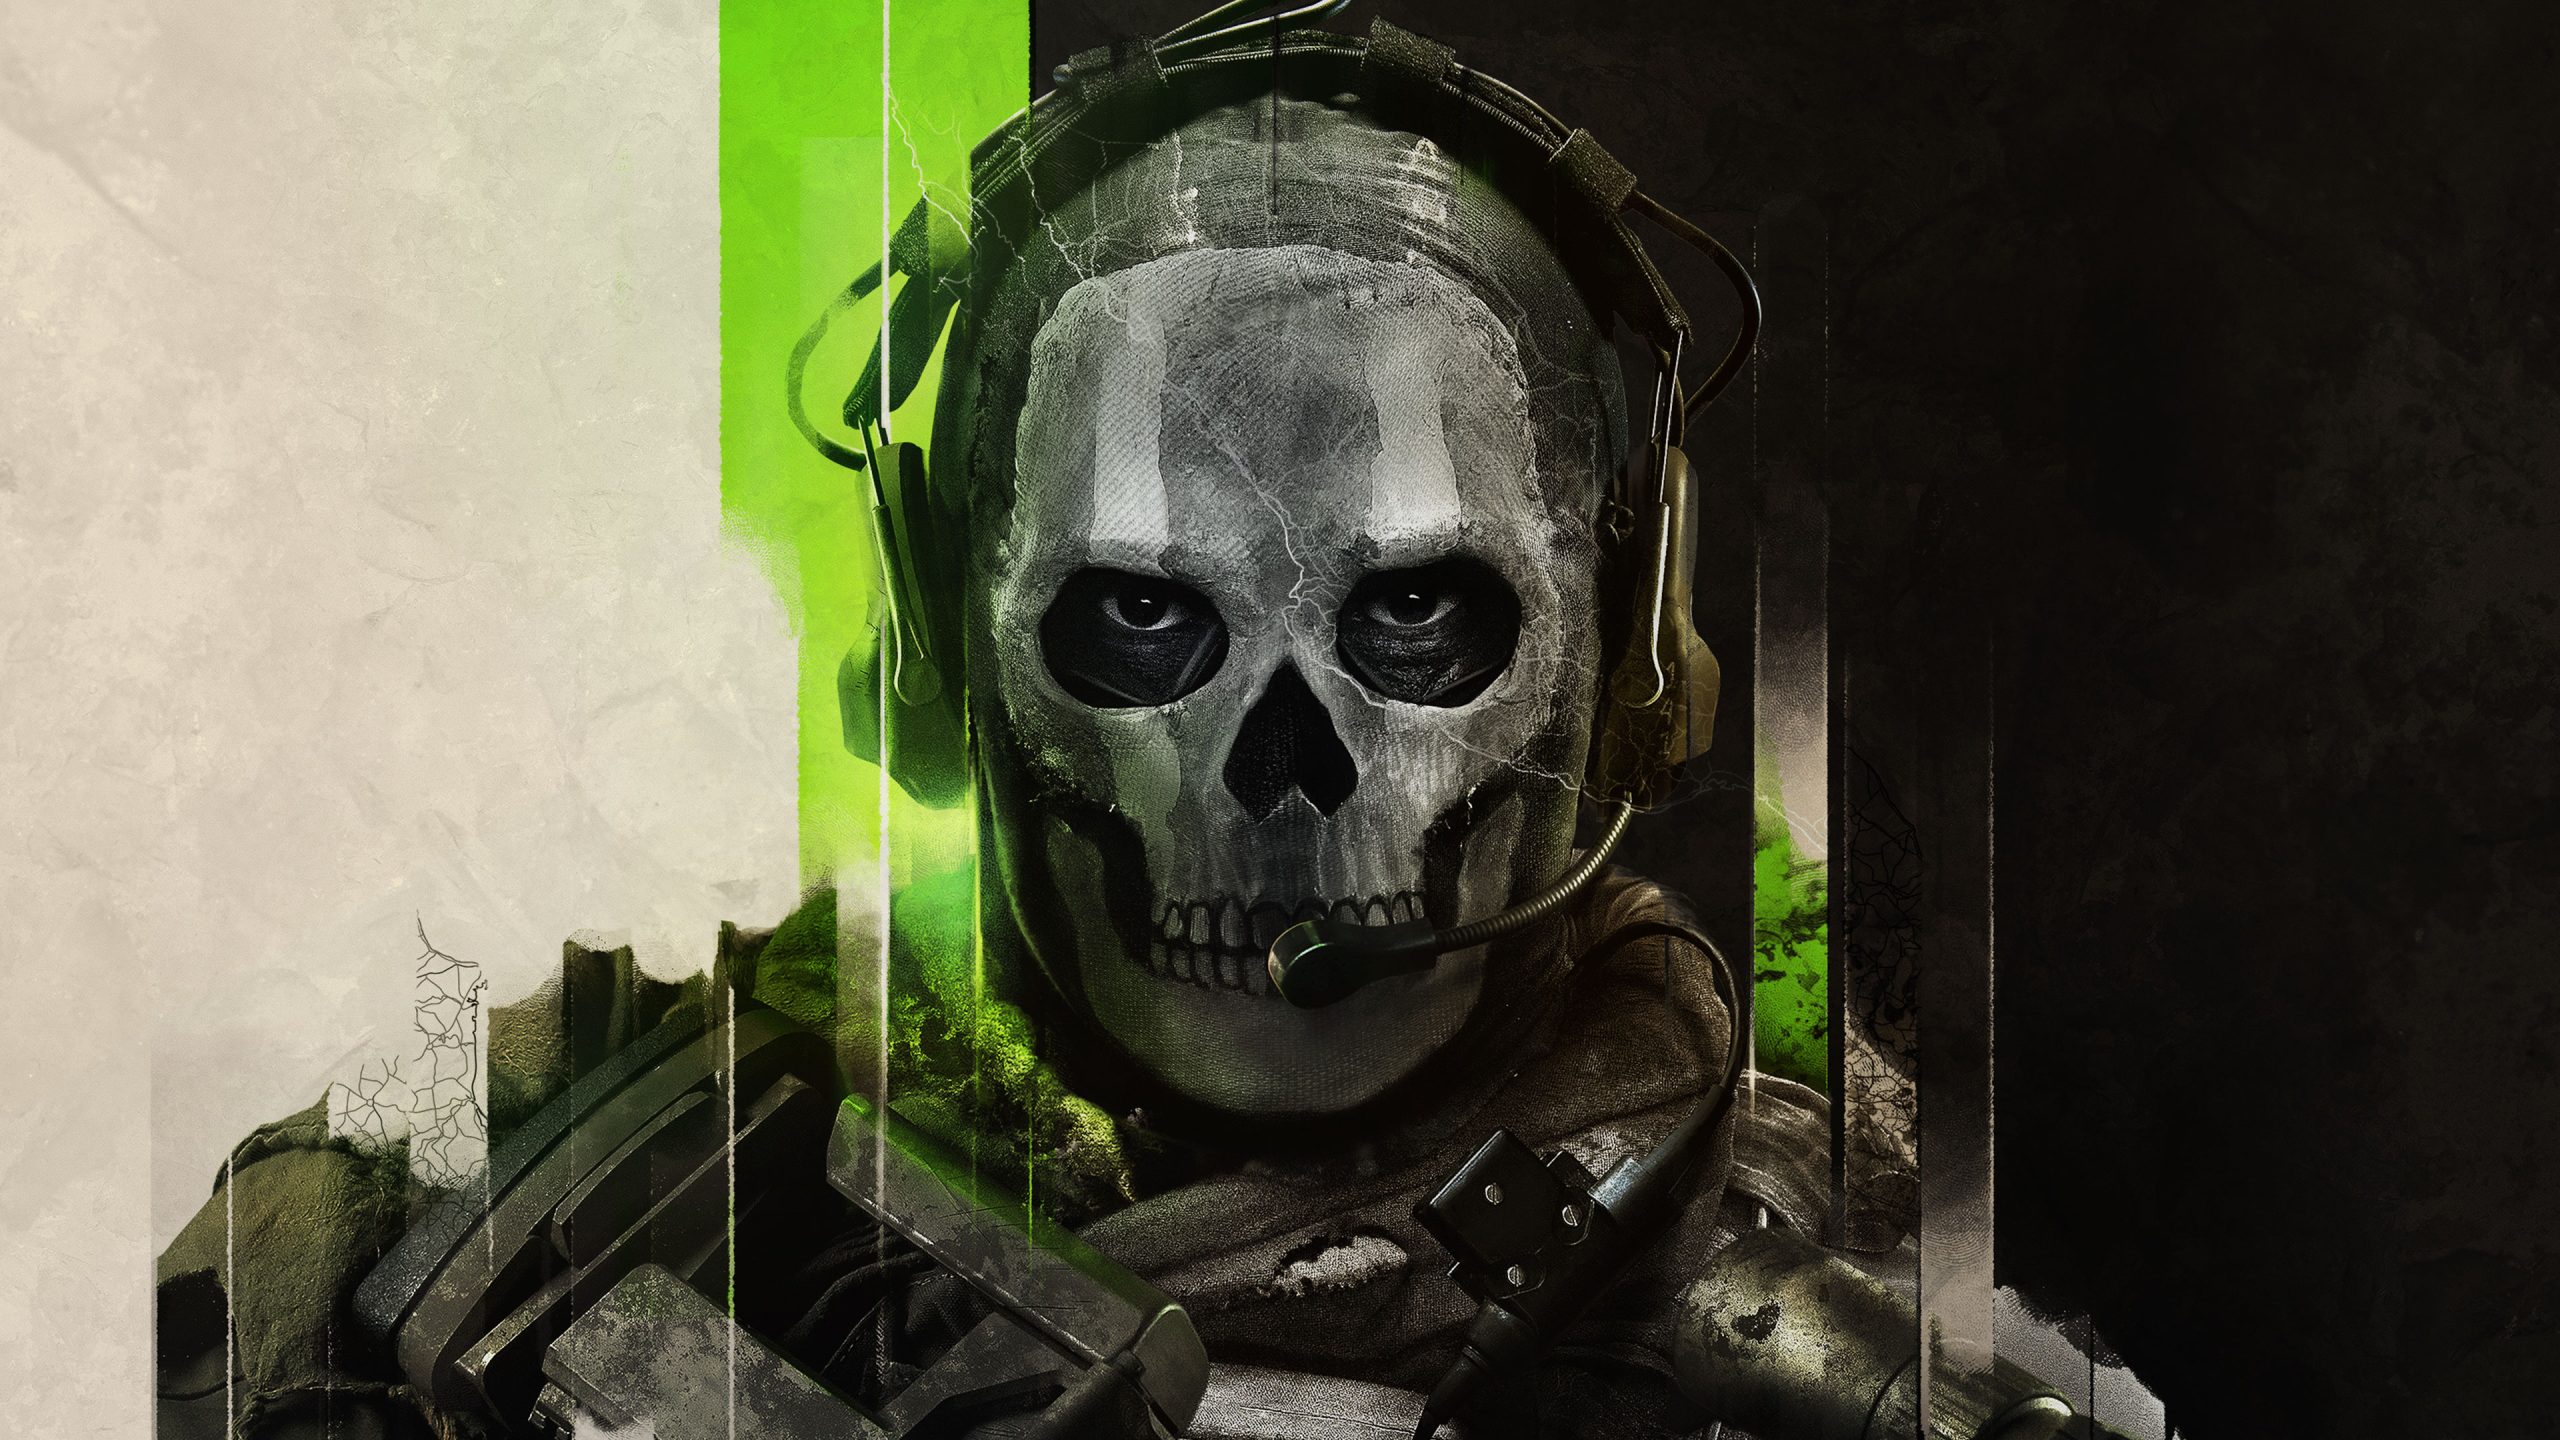
The latest IP to join in on this hysterical fun is Call of Duty Modern Warfare 2 right after the developers announced a collaboration with multinational fast food chain Burger King. Apparently, Activision has brought the DLC to about 40 countries across the world, according to CharlieIntel’s, well, intel.
The DLC is said to have brought 1 hour of double XP to help players level up their rank faster and a brand-new, exclusive Operator Skin. Unfortunately, the one thing giving more power to scalpers yet again is the DLC’s unavailability in the United States among all the regions it’s been introduced in.
The Rundown:
- Call of Duty: Modern Warfare 2 has been released in recent times, making landfall for modern-day platforms such as Xbox Series X, Xbox Series S, PlayStation 5, and PC.
- Due to the onset of the game’s fresh launch, the developers of the much-anticipated first-person shooter have teamed up with Burger King to promote Call of Duty: Modern Warfare 2. The promo includes one hour of a double experience point boost and a specialized Burger Town King skin.
- However, since the promotion isn’t available in the United States, individuals are selling the exclusive Operator Skin and the XP boost on eBay for ridiculous prices, with some listings even reaching $50 (thanks PC Gamer).
The promo video uploaded on YouTube has quite the ring to it, and there’s even a hilarious dig at McDonald’s ice cream machine never working in there. Burger King is definitely making moves here.
I even remember the fast food chain mocking McDonald’s from my teen years, putting this up on billboards, “Why eat with a clown when you can dine with a king?” So many years later, Burger King is still taking no prisoners with its competitor.
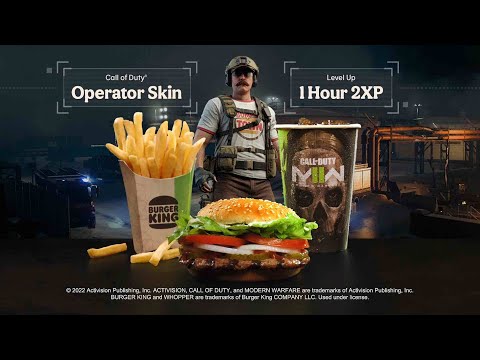
As you can comprehend by watching the video above, the promotional offer can be utilized if you go to your nearby Burger King and purchase the Modern Warfare 2 meal. Once done, you’ll receive a code that you can enter on the official Call of Duty: Modern Warfare 2 website after signing in with your account.
Doing so will redeem the DLC and you can finally start enjoying the game’s multiplayer boost from the perspective of a guy who looks like a Burger King employee. The only problem is, people from the USA aren’t having any of this, literally.
It’s unfortunate but the promotion hasn’t been spotted in the United States anywhere for now. On the contrary, people from Puerto Rico are peripherally spotting these special Modern Warfare 2-themed Burger King outlets.
https://twitter.com/fer_machado123/status/1584950779621752833?ref_src=twsrc%5Etfw%7Ctwcamp%5Etweetembed%7Ctwterm%5E1584950779621752833%7Ctwgr%5E88ef1562a390d096ffa354ca8edea48d400905ff%7Ctwcon%5Es1_c10&ref_url=https%3A%2F%2Fwww.pcgamer.com%2Fpeople-are-spending-dollar40-on-black-market-modern-warfare-2-burger-king-skins%2F
Seeing this to their advantage, a certain group of individuals has managed, as always, to grab these codes and are painlessly selling them on eBay online. Many new listings have already sold out, thereby hinting at the unflinching passion of the Call of Duty franchise.
Check out some of these entries ahead and you’ll know what we’re on about.
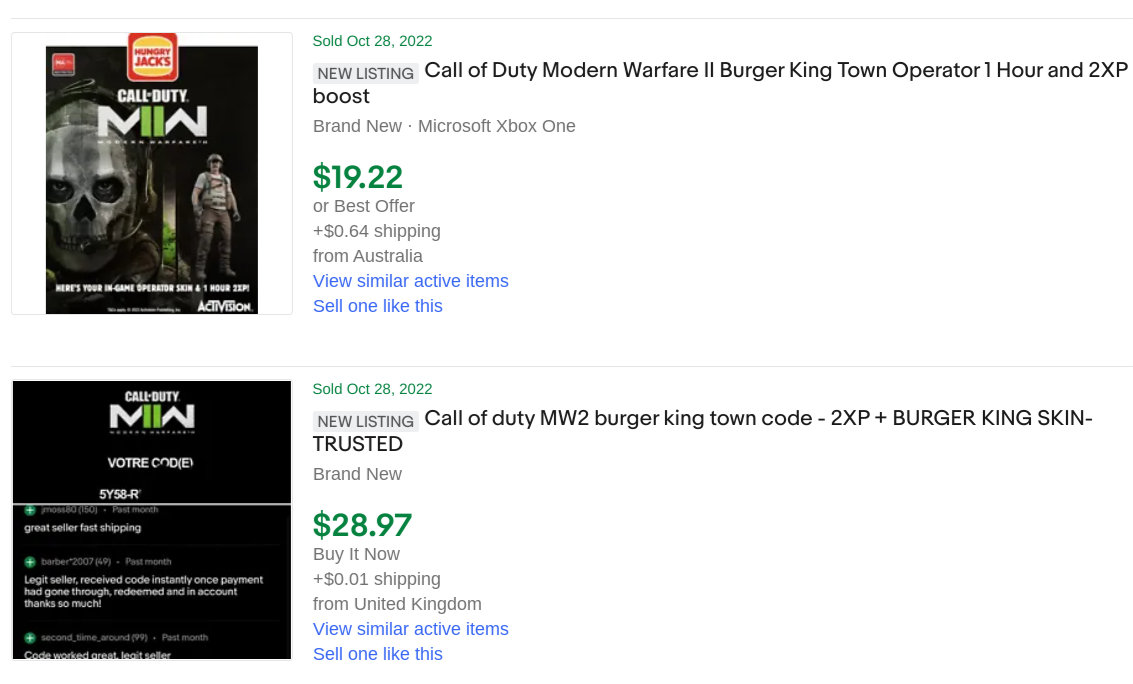
One particular listing seems to be showing no regard for decency, putting up the mere Operator Skin and 1-hour XP boost for a whopping $40. The funny part is, this listing also happens to be the top seller among the bunch, selling a total of 57 units up until the time of writing. Pretty ridiculous, if you ask us.
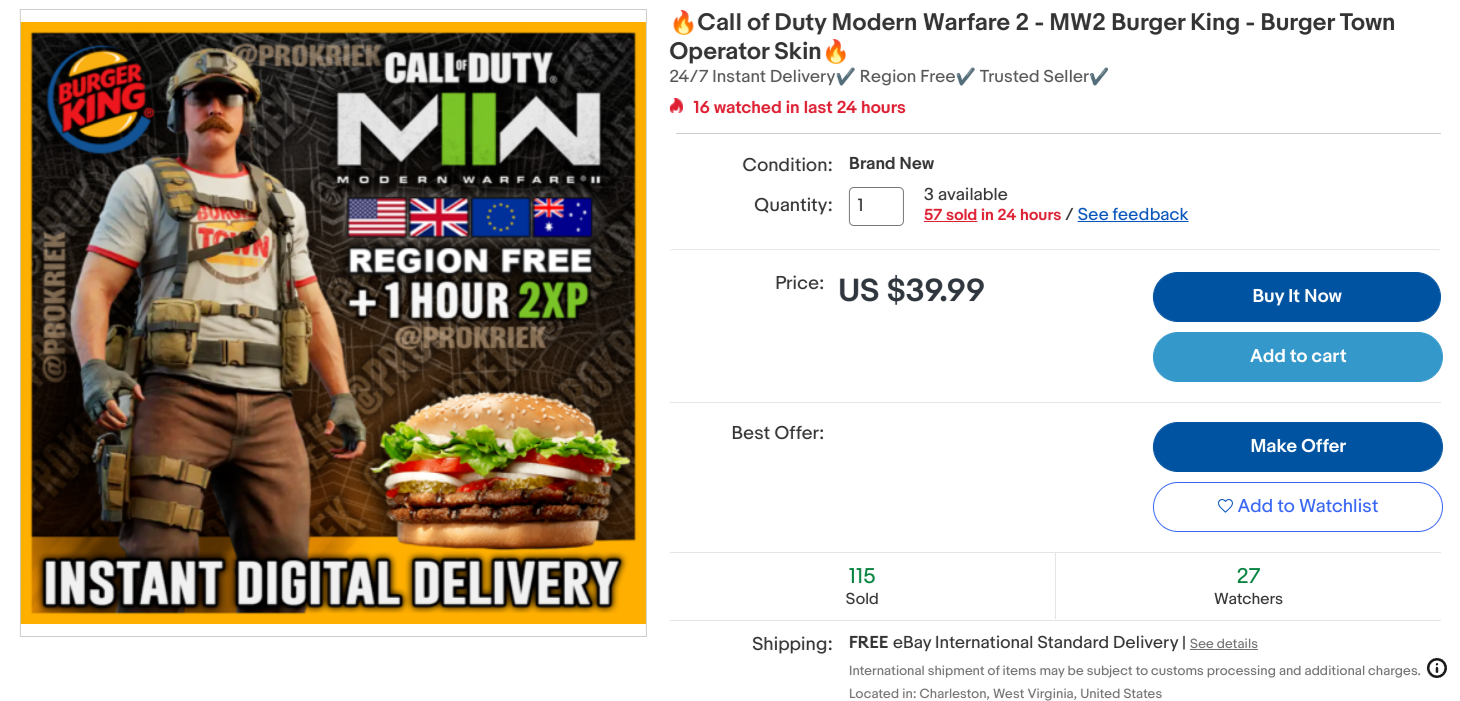
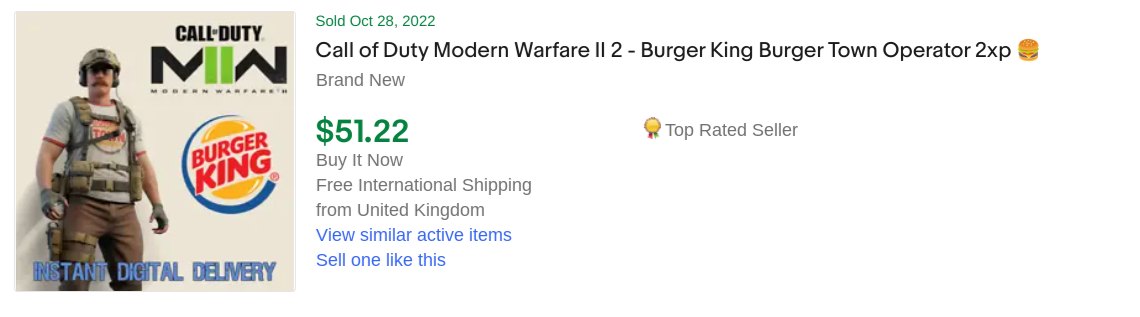
But wait, that’s not all. Another individual is selling the DLC for about $50. You got that right. We’re not so sure what’s so special about a skin with an uncanny mustache wearing a shirt that says Burger Town. You know what? You tell us that in the comments section down below. We’ve had it with the internet for today.
In case you missed it though, Call of Duty Modern Warfare 2 is already Call of Duty’s most successful release on Steam to date. In addition, rumors have surfaced in recent times that the recently released first-person shooting title will go on to receive DLC for its campaign next year. Not sure how that will turn out though.
Thanks! Do share your feedback with us. ⚡
How can we make this post better? Your help would be appreciated. ✍