Encountering an Error Code, especially the recently reported “Weasel” bug, while playing Destiny 2 can be quite annoying. Presumably, server issues and connectivity problems are causing the error, which has kept many players out for hours without any resolution. Nonetheless, you can try out some viable fixes to get over this error code.
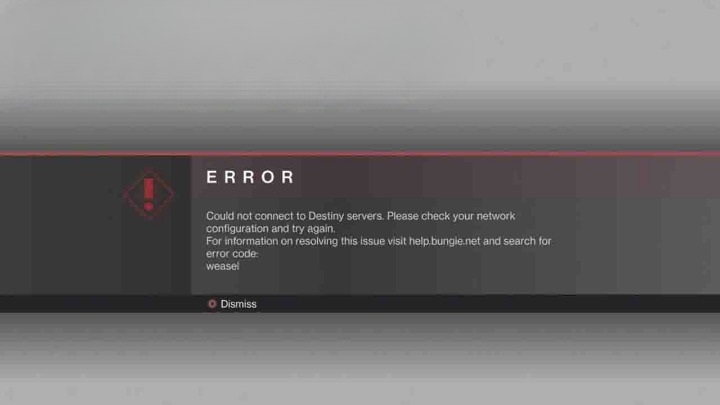
The message that follows Error Code Weasel states, “Could not connect to Destiny servers. Please check your network configuration and try again.”
- Using a VPN Connection
- Test Internet Speed
Here’s how to fix The “Weasel” error code:
- Clan Feature
- Verify Game Files
- Unlinking Accounts
- Open NAT Type
- Power Cycling Your Consoles
Enable an Open Nat Type Connection
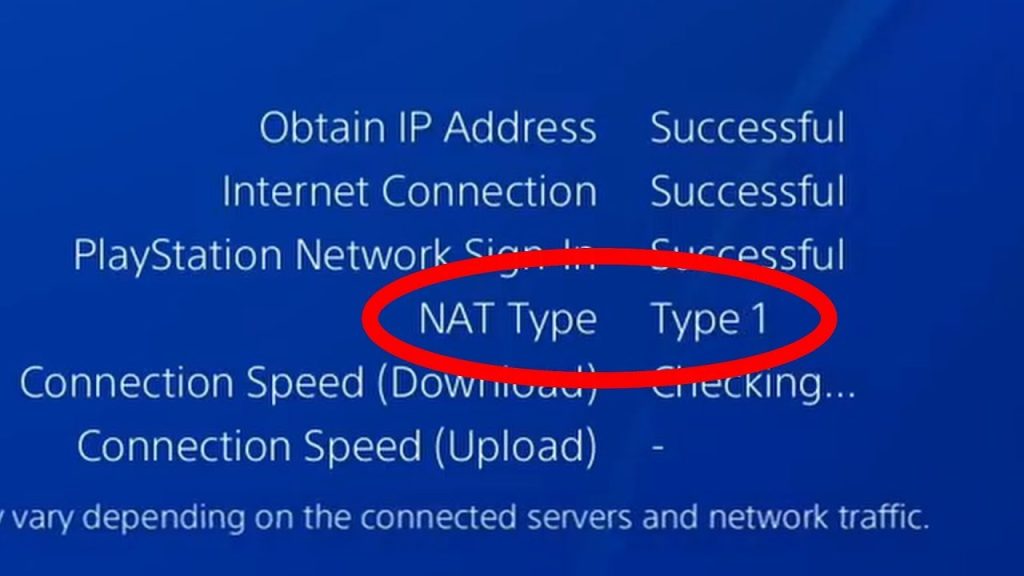
Nat Type (Network Address Translation) defines how your router handles data from online gaming servers to your console or system. It’s categorized into Open, Moderate, and Strict types. Open (Type 1) allows the best connectivity, while Moderate (Type 2) is acceptable for most gameplay. Strict (Type 3) severely limits connections.
Changing Nat Type involves router settings adjustments, which could be intricate. As router interfaces differ, it’s beneficial to explore your router’s menus beforehand to navigate through the settings.
To enable Open Nat manually, follow these steps:
- Check the router for internet login details > Log in to the router using its main IP Address portal.
- Look for “Port Forward” under DMZ or IPv4 settings.
- Input Destiny 2’s port numbers, your system’s IP, and the console’s MAC address.
- Find console-specific port numbers on official websites.
- Example Port Numbers for PS5: TCP: 1935, 3478-3480 & UDP: 3074, 3478-3479.
After updating settings, save changes, restart the router, and check if the Weasel error in Destiny 2 has been resolved.
Unlink the Destiny Companion App
In addition to helpful accessibility features found within the game’s settings, Bungie has allowed the players of Destiny 1 & 2 to access further information about the game through the companion app. The application is designed for smartphones and is available on the Android Play Store and Apple App Store.
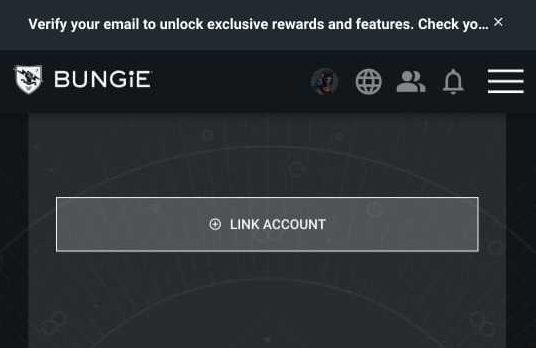
It is reported by Bungie that the Destiny Companion app may be a potential cause of a few issues. Error code Weasel is one of the few to name, and you can learn how to fix it by un-linking the app from your Bungie account:
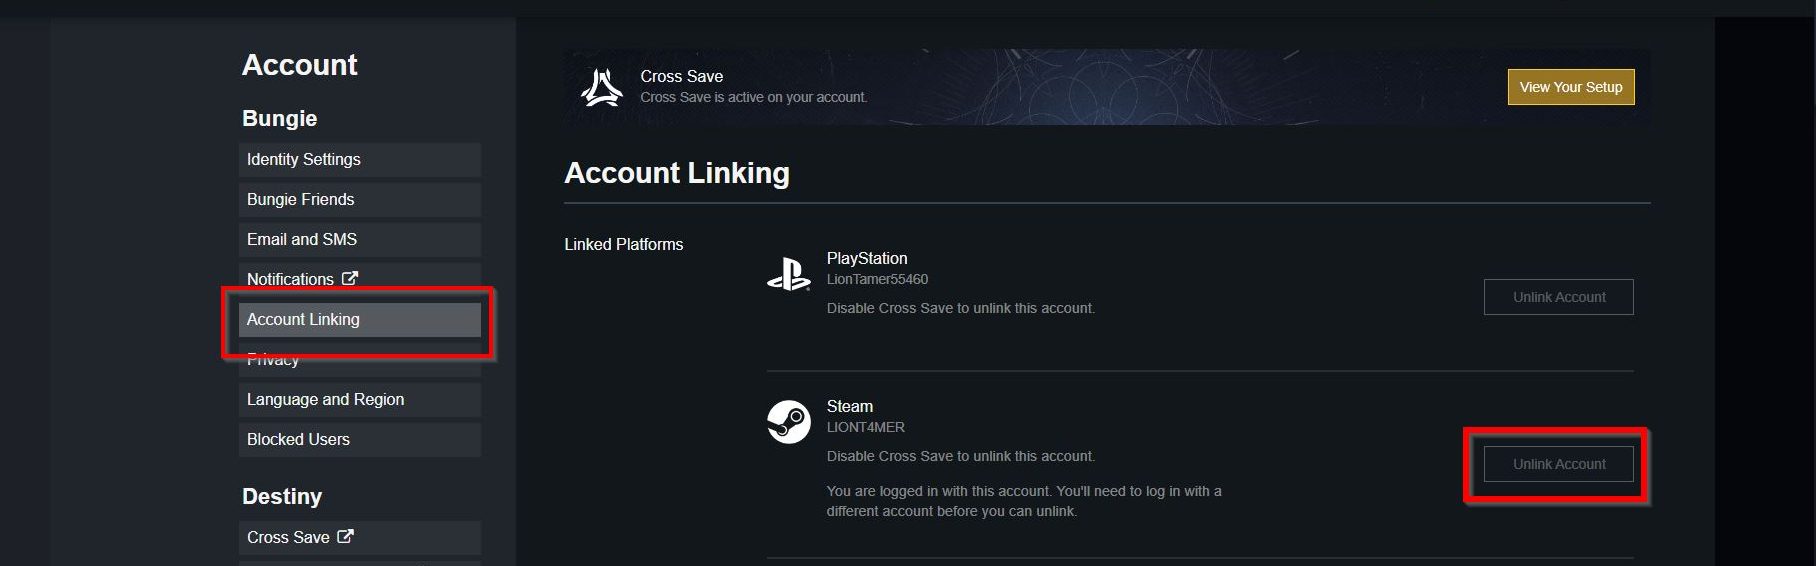
- Sign in to Bungie.Net with your account.
- Navigate towards the Settings menu > click on the “Accounts & Links” option.
- Choose whichever current platform you are playing on and Click on the unlink option for the App.
Alternatively, you simply uninstall the app on your phone too. Check if this error code persists in the game.
Deleting Pending Clan Invites
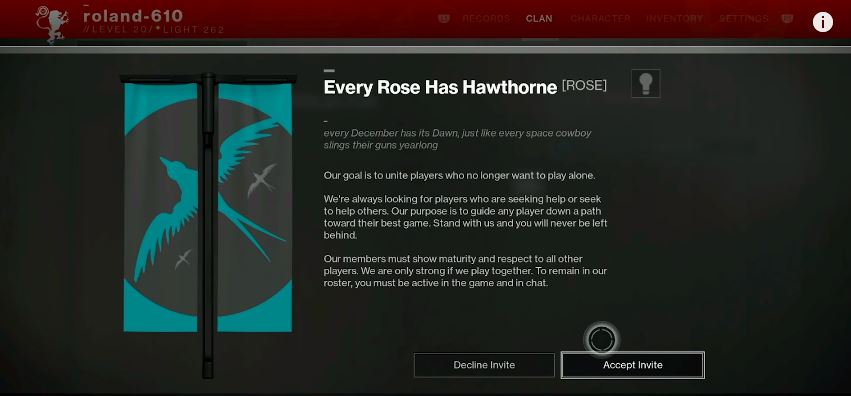
In Destiny 2, clans are crucial for endgame tasks, working like guilds in other MMOs. However, this particular error code is linked to pending clan invites and it was also causing the issue for me. When you receive new invitations, this error may pop up.
To fix it, reach out to the clan admin to remove the pending invite promptly. Alternatively, you can delete the invite on Bungie.net in the clan’s membership tab. Another solution involves leaving the clan and rejoining to troubleshoot the problem within the game. This also seemed effective for other players too
Verify File Integrity On Steam
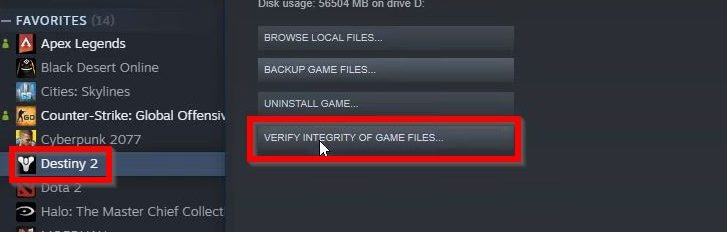
Sometimes, there is a chance that games may suffer from corrupted or deleted game files. These files may be essential to the core functioning of the game and its software. Even a single missing file in the game’s directory can cause it to have multiple issues or disruptions to hinder your gameplay.
Thankfully, in the case of Destiny 2, you can verify the files through the Steam launcher. This process is highly beneficial as it lets you check and scan the entire game directory for any file errors. This error code can potentially occur when the game has some vital files corrupted or removed in some way.
Power Cycle Your Console
This is a method specifically tailored for console users. The error code weasel in Destiny 2 often occurs due to connectivity issues or disruptions in network connections, leading to errors while trying to join activities or access certain features.
Power cycling your console helps to refresh the system, potentially resolving temporary glitches that might be contributing to this error.
Steps to Power Cycle Your Console:
- Ensure all your games and applications are closed.
- Completely power off your console. For PlayStation, hold the power button until the system powers down. For Xbox, press and hold the Xbox button on the console for around 10 seconds.
- Once powered down, unplug the power cable from the console. Leave it unplugged for about 5-10 minutes. This step helps to discharge any residual power.
- After waiting, plug the power cable back into the console and power it on. Wait for the console to fully restart.
- Once the console is fully rebooted, launch Destiny 2 and check if the error code issue persists.
This method was suggested by the developers officially. However, if the problem persists after power cycling, try contacting Destiny 2 support for assistance.
My Thoughts
The “Weasel” error code causing connectivity issues is widespread (Steam, Bungie, and Reddit), provoking frustrations among players globally. Fix attempts revealed mixed results. While some solutions like VPN usage were promising, others involving router tweaks were complex due to diverse configurations.
Official responses on Twitter acknowledge the issue but lack detailed insights into the fix progress.
Issues causing Destiny 2 players to experience elevated error codes WEASEL, CALABRESE and BABOON have subsided. https://t.co/69m7TNZRR9
— Bungie Help (@BungieHelp) September 5, 2022
Bungie’s blog suggests unlinking the Destiny Companion app, verifying file integrity, and addressing clan invite glitches as potential solutions.
The error’s emergence post-patch hints at a possible connection, but the exact cause remains unclear. Clarity from developers would be a welcomed sight in resolving this pesky Weasel error affecting Destiny 2 gameplay for many.
Next: SOLVED: Destiny 2 Error Code Chicken [2024]
Thanks! Do share your feedback with us. ⚡
How can we make this post better? Your help would be appreciated. ✍