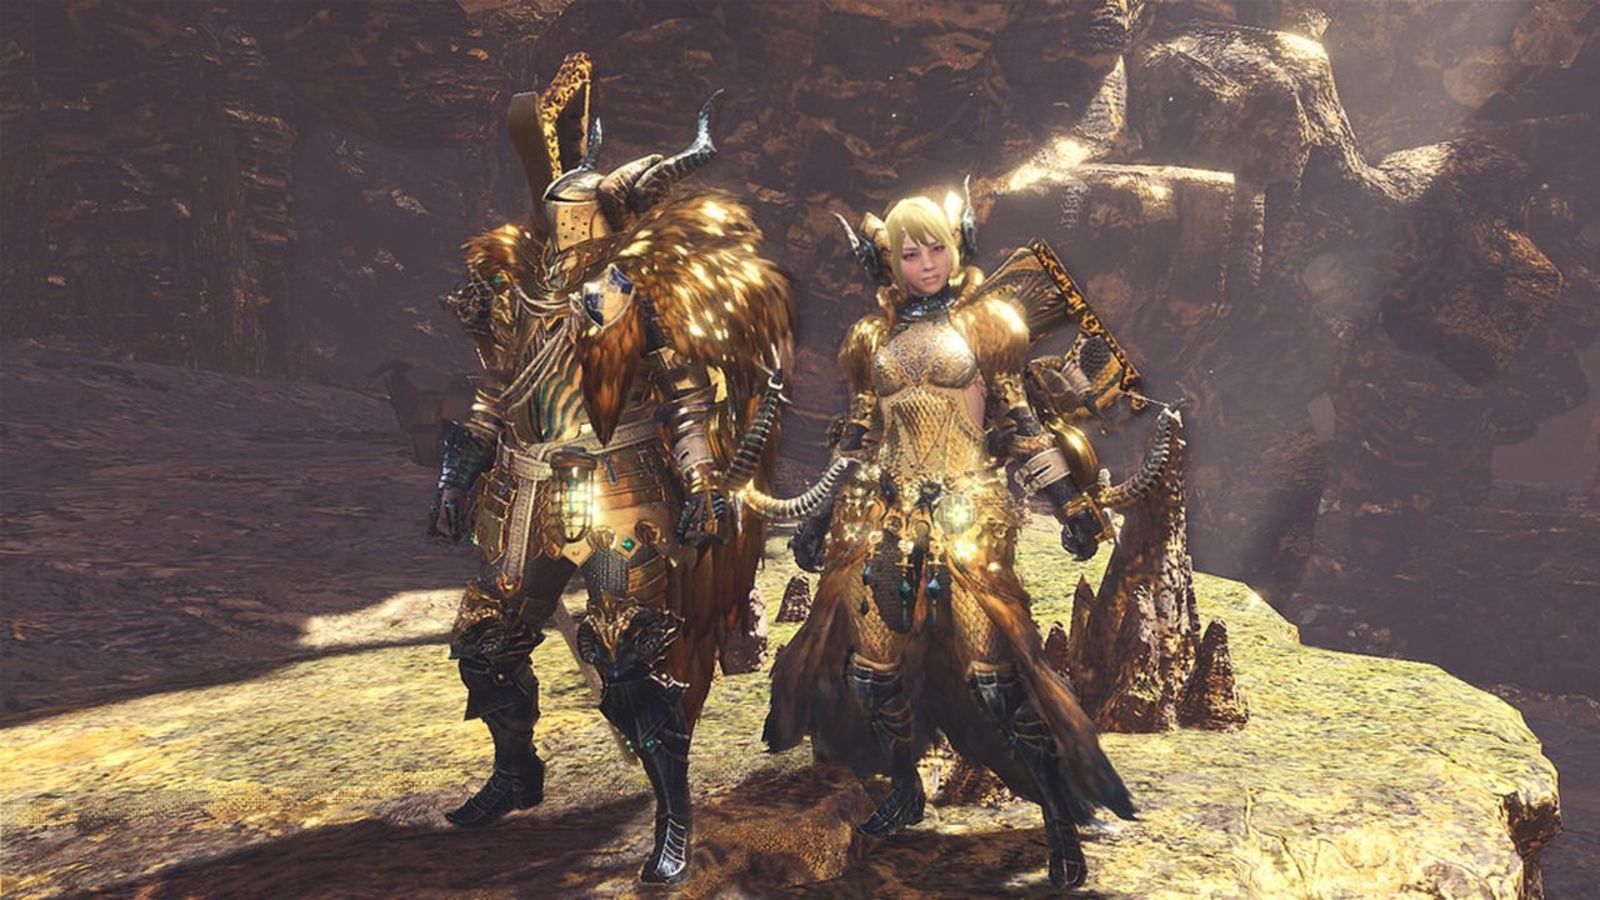
Kjarr-based Weapons are part of Monster Hunter World’s endgame arsenal. Due to their strength and rarity, obtaining them can be difficult. In the past, you had to take on Kulve Taroth in a 16-player Siege to get these weapons. With Iceborne’s release, however, you now have an alternative method as well. Welcome to our Kjarr Weapons Compendium.
Kjarr Weapons
- Categories: Gold, Taroth, Kjarr.
- Kjarr Weapons rely on random drops.
Farming Methods
- The Fury Of El Dorado (HR Siege)
- The Eternal Gold Rush (MR Event Quest)
Mechanics for Better Rewards
- Pursuit Level: Increases damage output, higher levels mean easier Kjarr Weapon farming. Applies to all players in the session.
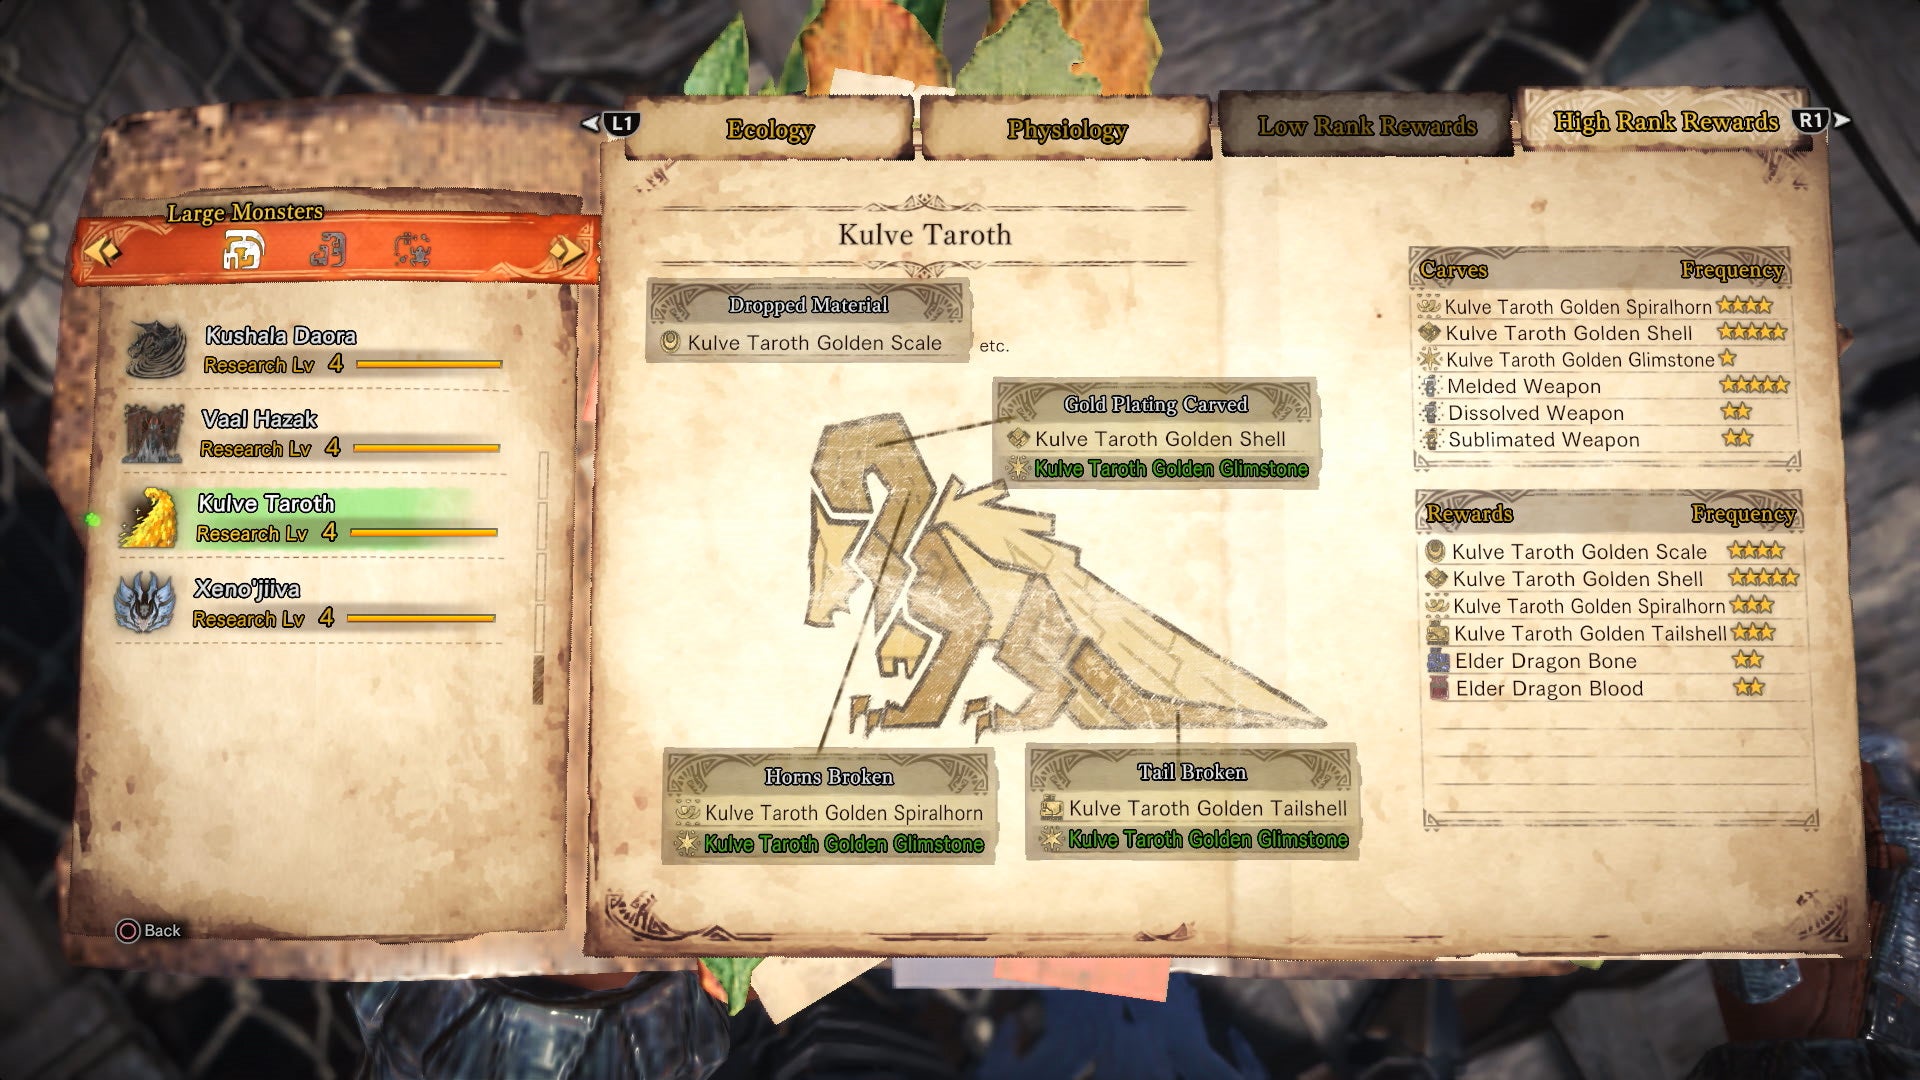
- Reward Level: Increase by breaking Kulve Taroth’s body parts. 2 levels for gold part breaks, 1 for the horn, 1 for the naked tail. Not shared by all players in the session.
Alchemy and Kjarr Weapons
- After defeating Master Rank Kulve Taroth, complete the Eternal Golden Rush quest.
- Talk to Elder Melder to unlock alchemy.
- Use alchemy to meld materials, aiming for Kjarr Weapons, though Taroth Weapons are also possible outcomes.
Related: MHW Weapon Tier List
Optimal Method To Farm Kjarr Weapons
Considering that there are two pathways to getting your weapons from Kulve Taroth, each has its own limitations. Said limitations in mind, you should be able to choose the method that is most convenient for you.
Kjarr-based Weapons are based on randomized drops. You’ll need to appraise Incandescent versions in order to get a usable version, not unlike Decorations. These weapons are divided into three categories: Gold, Taroth, and Kjarr. As of Iceborne’s release, you have two methods of farming Kjarr-based Weapons, and both have their pros and cons.
The Fury Of El Dorado – HR Siege
- A multiplayer mode with up to 16 players.
- Success depends on the squad quality and coordination.
- Team up with like-minded and experienced players for efficient runs.
- Progress carries over between runs.
- Pursuit and Reward levels make this method more lenient.
- Consider forming a group of players with similar skills or get friends to join.
You can visit the Monster Hunter Hub community discord server to play with other hunters.
The Eternal Gold Rush – MR Event Quest
- No special siege benefits and progress doesn’t carry over.
- Requires consistent damage output to prevent Kulve Taroth from retreating.
- Plan and play seamlessly to bypass hidden timers.
- Soloable but can use SOS flare for co-op.
- The quest can be completed in about 15 minutes, saving time.
Arch-Tempered Kulve Taroth Special Quest
- Mechanics for better rewards include Pursuit Level and Reward Level.
- Collect monster tracks to increase Pursuit Level, boosting damage.
- Pursuit Level increase applies to all players in the session.
- Breaking Kulve Taroth’s horns resets Pursuit level.
- Break her body parts to increase Reward Level.
- Shatter gold parts for two levels, break her horns for one level, and the naked tail for another.
- Increasing reward rarity involves a successful non-failure Pursuit session.
- Triggering Kulve Taroth’s Fury can yield additional random rewards.
- Reward level is not shared, so break monster parts and contribute to the party.
Pursuit Level
- Increases damage output and helps break Kulve Taroth’s parts.
- Collect monster tracks to raise the Pursuit Level.
- Higher Pursuit Level makes farming Kjarr weapons more efficient.
- Pursuit Level increase applies to all players in the session.
- It doesn’t affect ongoing runs but impacts rewards if you don’t join a raid at a higher Pursuit Level.
- Breaking Kulve Taroth’s horns resets the Pursuit Level.
- Complete the run after breaking her horns for maximum rewards.
You might find this interesting: How to find Skippy in Cyberpunk 2077
Reward Level
- Directly affects individual rewards from the siege.
- Increases by breaking Kulve Taroth’s body parts, e.g., shattering a gold part, breaking her horns, or the naked tail.
- Higher Pursuit Level helps increase reward rarity.
- Triggering Kulve Taroth’s Fury can yield additional random rewards, but it’s based on RNG.
- Reward Level is not shared among players.
- To maximize rewards, actively contribute to the party by breaking monster parts and supporting your team.
For Kjarr And Glory
It goes without saying that you need to prepare before you face off against Kulve Taroth. To that end, there are some noteworthy things you can bring along to make it easier.
Partbreaker
- This skill makes it easier to break off monster parts.
- Essential for the Kulve Taroth siege as breaking her parts yields more rewards.
- Mix and match gear to enhance this skill for better results.
A similar read: Best Weapons in Terraria
Barrel Bombs
- Use Barrel Bombs to maximize your damage output.
- Large Barrel Bombs are effective in areas with room to maneuver.
- Incorporate the Bombardier skill to boost your damage from Barrel Bombs.
Weapons
- Choose weapons based on Kulve Taroth’s weaknesses.
- Use weapons dealing Cut and Blunt damage for her gold-plated head.
- Ammo damage works well against her forelegs.
- Kulve Taroth is primarily weak against the Ice element.
Demondrug, Demon Powder & Might Pill
- Enhance your damage output with these strength enhancers.
- Demon Powder has an area-of-effect (AoE) buff for the entire party.
- Combine with Powertalon for increased damage.
Fireproof And Vitality Mantle
- Fireproof Mantle helps mitigate damage from Kulve Taroth’s flames.
- Vitality Mantle absorbs a certain amount of damage before wearing off.
- Both mantles improve your survivability during the fight.
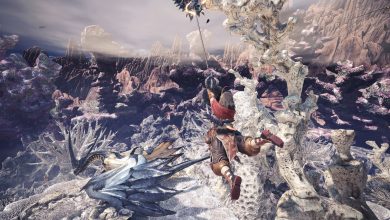
Kulve Taroth Four Areas Battle Strategy
The Kulve Taroth battle in the Caverns of El Dorado is divided into four areas, each with specific objectives. To effectively farm for Kjarr Weapons, you need to manage each area and complete the objectives.
Area One
- The goal here is to prevent Kulve Taroth from leaving the area by dealing enough damage.
- Focus on dealing damage to meet the damage threshold.
- Use Partbreaker and Barrel Bombs to increase your damage output.
- Pursuit runs at this stage can help raise your damage multiplier.
Area Two
- Shatter Kulve Taroth’s gold-plated parts to contribute to the damage required.
- Attacking broken parts won’t count towards the objective.
- Each area has its own time limit for completing the objective.
- Failure to meet the objective will result in Kulve Taroth leaving the area.
Area Three
- This area serves as a transition phase to Area Four.
- If you met the objectives in the previous areas, Kulve Taroth will briefly pass through this zone.
- The objective is to shed her gold-plating if it wasn’t done in the previous area.
Area Four
- Prioritize breaking Kulve Taroth’s horns.
- Only damage to the horns matters in this area.
- Attacking other parts won’t stop her from retreating.
- You can target her limbs to make her trip, increasing your damage to the horns after she falls.
The Eternal Gold Rush – Master Rank
- Access in Events under Master Rank tab on Quest Board.
- A timed quest without Pursuit or Reward levels.
- Failing to defeat Kulve Taroth within the time frame is resource-wasting.
- Utilize Partbreaker, strength enhancers, Barrel Bombs, and mantles for consistent damage output
Utilizing Alchemy
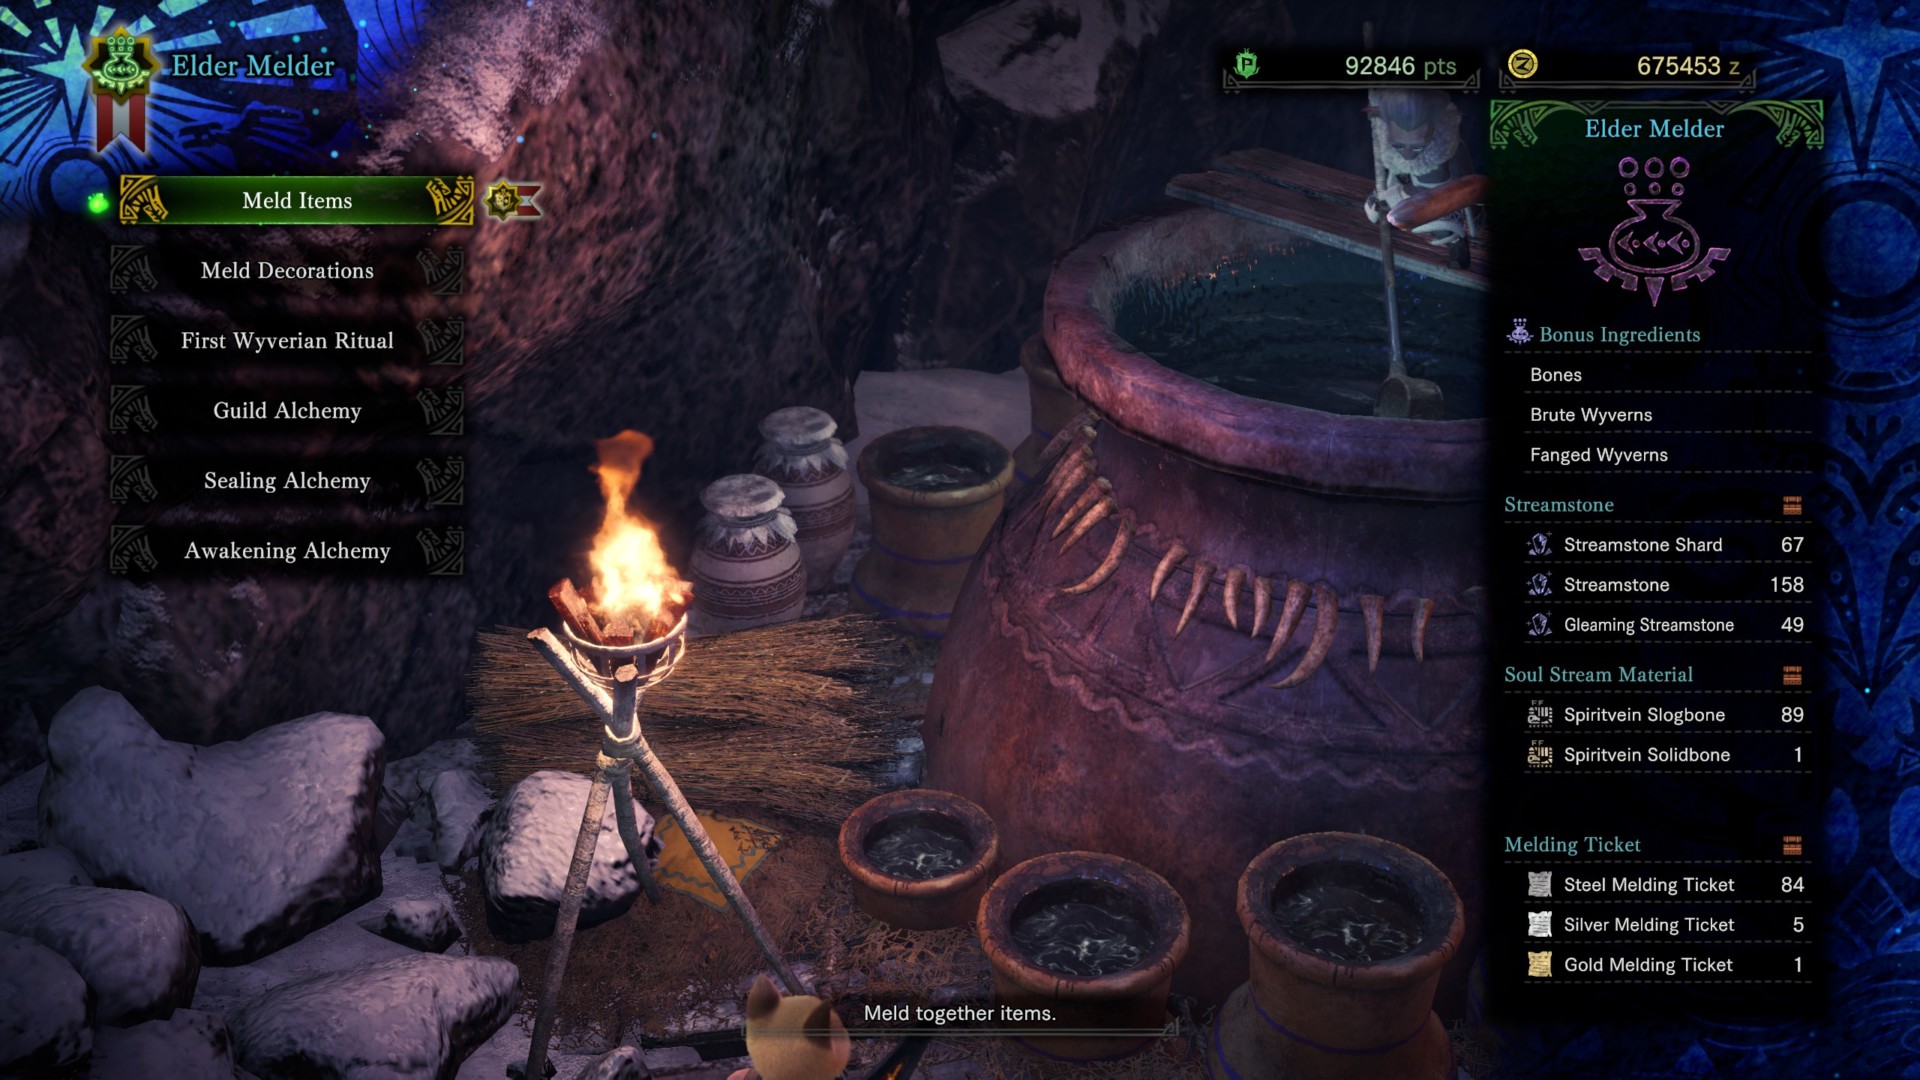
- Access alchemy by defeating Master Rank Kulve Taroth via The Eternal Gold Rush.
- Meld Kulve Taroth materials using Large Elder Dragon Bones.
- It’s a time-saving way to obtain Kjarr Weapons.
- RNG element involved; persistence is key.
- Upgrade these weapons at the Smithy for increased rarity and power.
Conclusion
This brings us to the end of our Kjarr Weapons guide. We hope this breakdown proved helpful to you in your encounter with Kulve Taroth. Be sure to get your pre-hunt on from the Canteen before you face off against the Golden Behemoth!
Thanks! Do share your feedback with us. ⚡
How can we make this post better? Your help would be appreciated. ✍