Raft is a game that has been in early access for more than four years. After a long time, the game got released. With the release, the game developers decided to add new content, known as the Final Chapter. The Final Chapter updated the whole game and added new locations. Varuna Point is one of these locations in Raft The Final Chapter.
Varuna Point has several interesting points for you to locate. You can find the Crane Key in Raft to further progress in the story. But exploring isn’t all in Raft, and you can craft a Juicer and get Juicer recipes.
In the latest update, upgrading your Raft has become easier thanks to the addition of Trash Cubes in the Raft. With these, you can make items from the blueprints and decorate your Raft.
How To Explore Varuna Point in Raft:
- Clear Tangaroa Area to unlock Varuna Point Tab in your book (coordinates #7528).
- Bring food, water, and a weapon for rat encounters.
- Essential gear: Oxygen Tank, Zipline, and Fins.
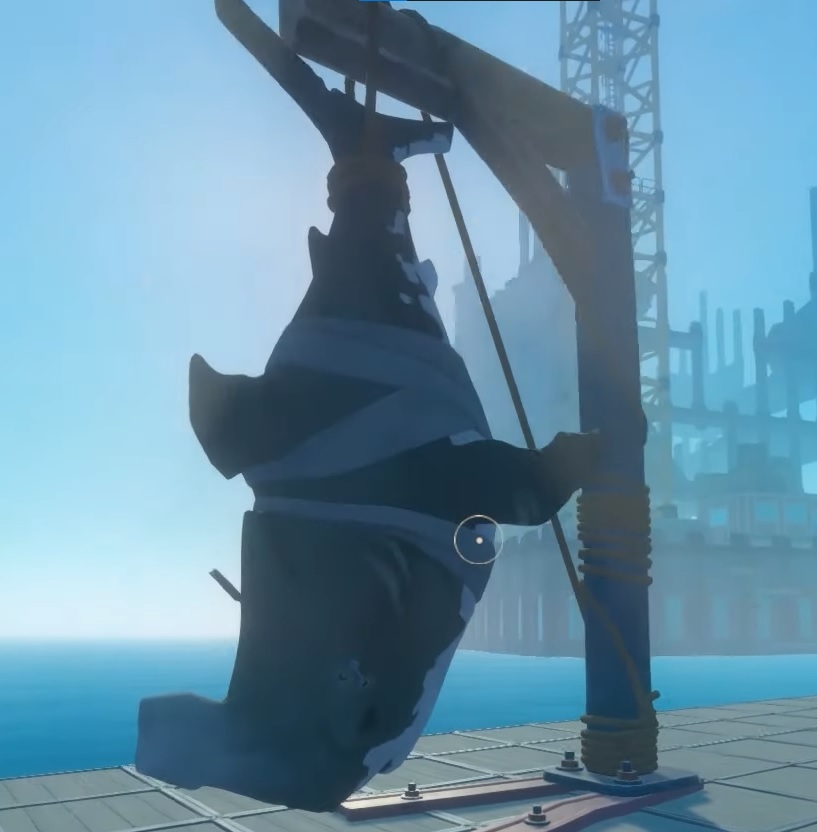
- Climb the crane to find the key for its operation.
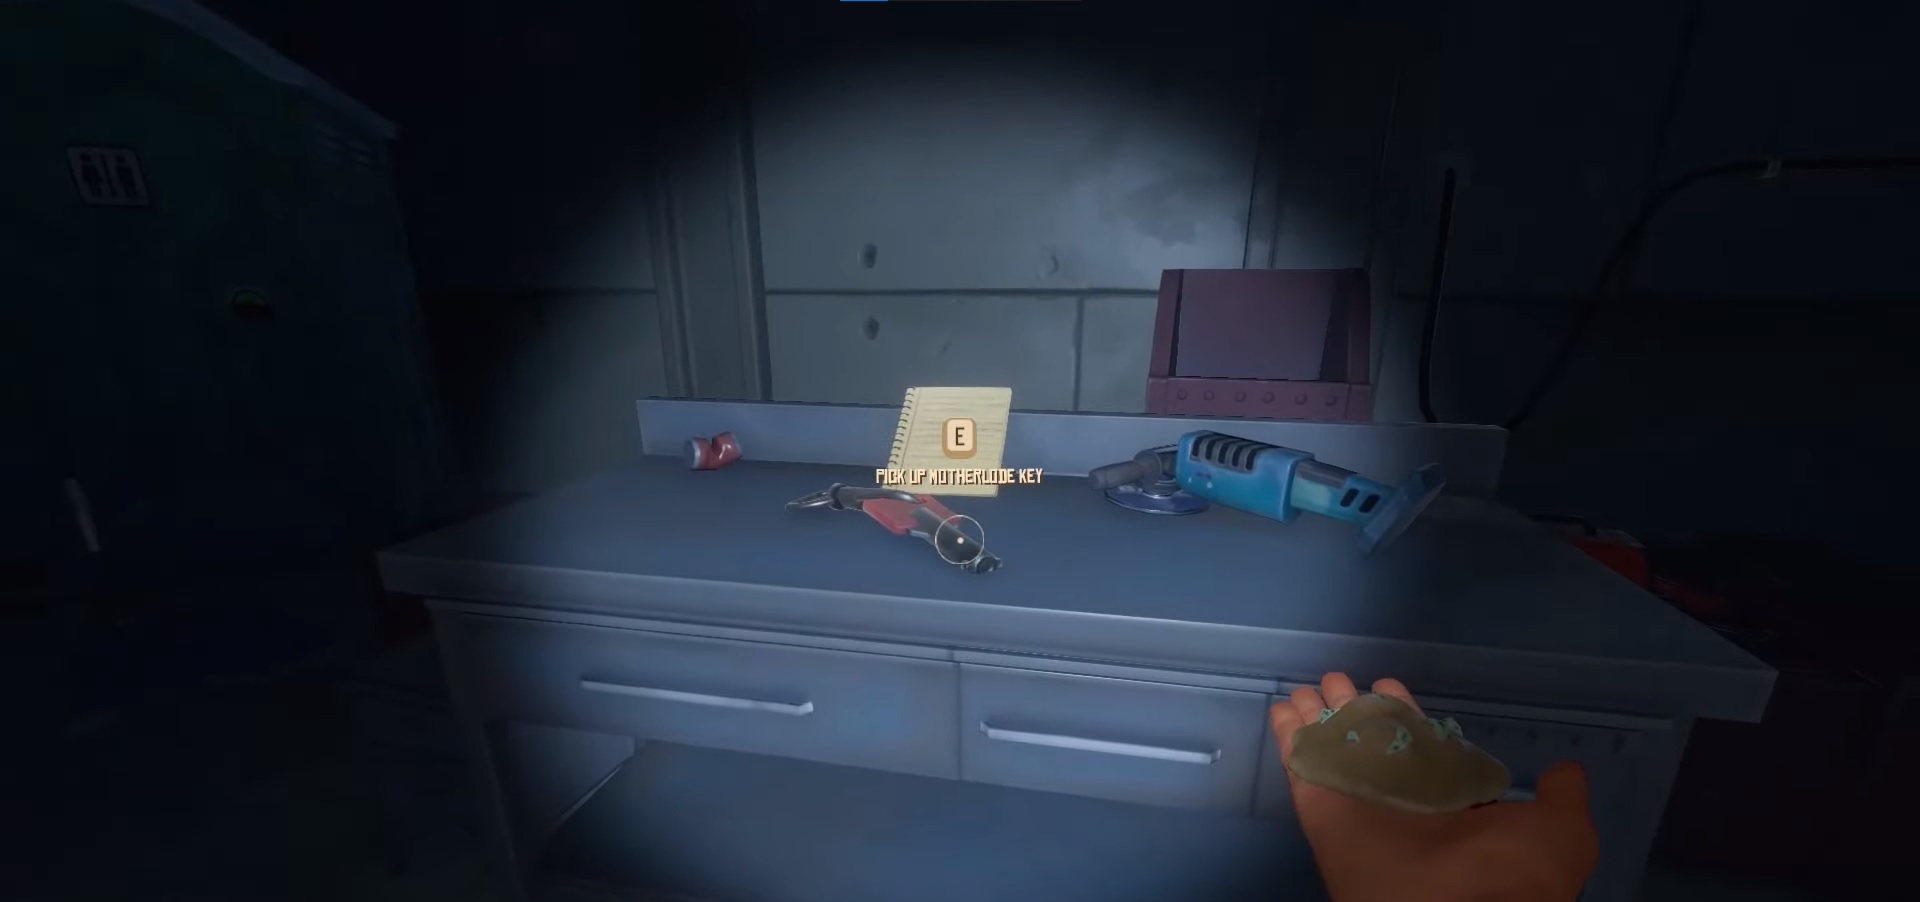
- Underwater, retrieve the Motherload Key for another location.
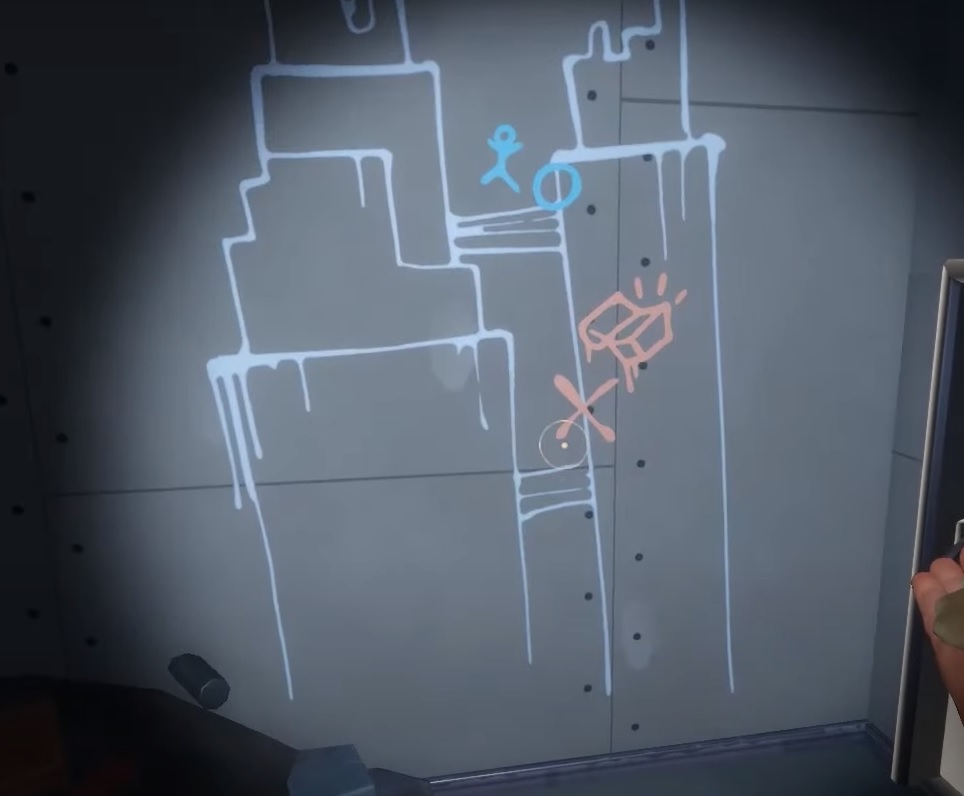
- Locate the Motherload on the map found nearby.
- Battle the Rhino Shark, luring it to hit explosive pillars.
- On the third floor, break the platform to defeat the shark.
- Loot the shark for meat.
- Find the crane key and Wind Turbine Blueprint in the office.
- Activate the crane to demolish the roof.
- Use the Zipline to reach the 2nd Building, where you’ll find valuable items.
Explore Varuna Point thoroughly to uncover its secrets and rewards.
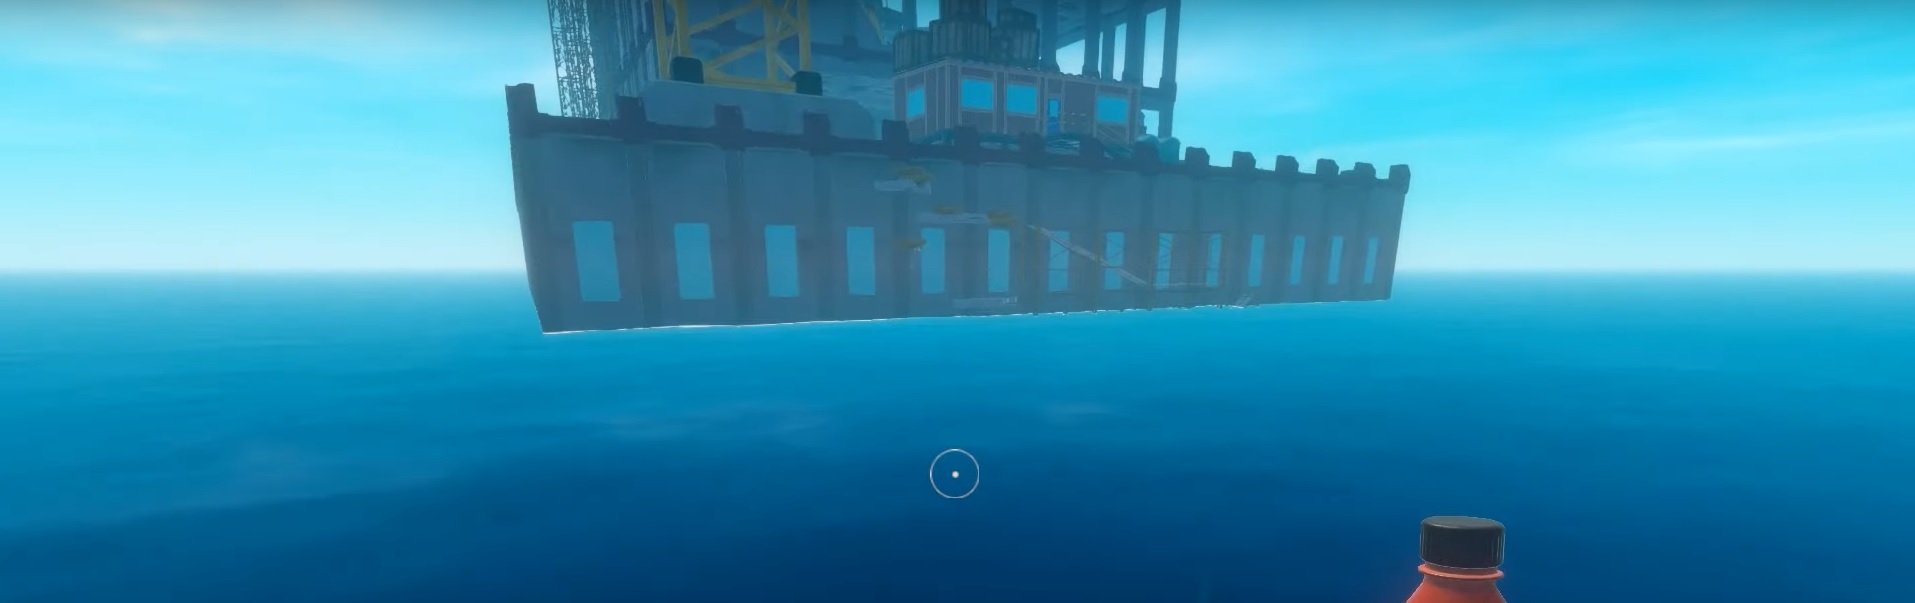
Varuna Point in Raft The Final Chapter

In Raft The Final Chapter, Varuna Point is a tall submerged building that was left incomplete due to unknown circumstances. The building was under construction, that’s why it has a crane on it. Over time, this unfinished building became home to underwater sea life. Under the water, the building is filled with fish and jellyfishes. While above the water, you’ll find it infested with lurkers such as rats.
Getting to Varuna Point
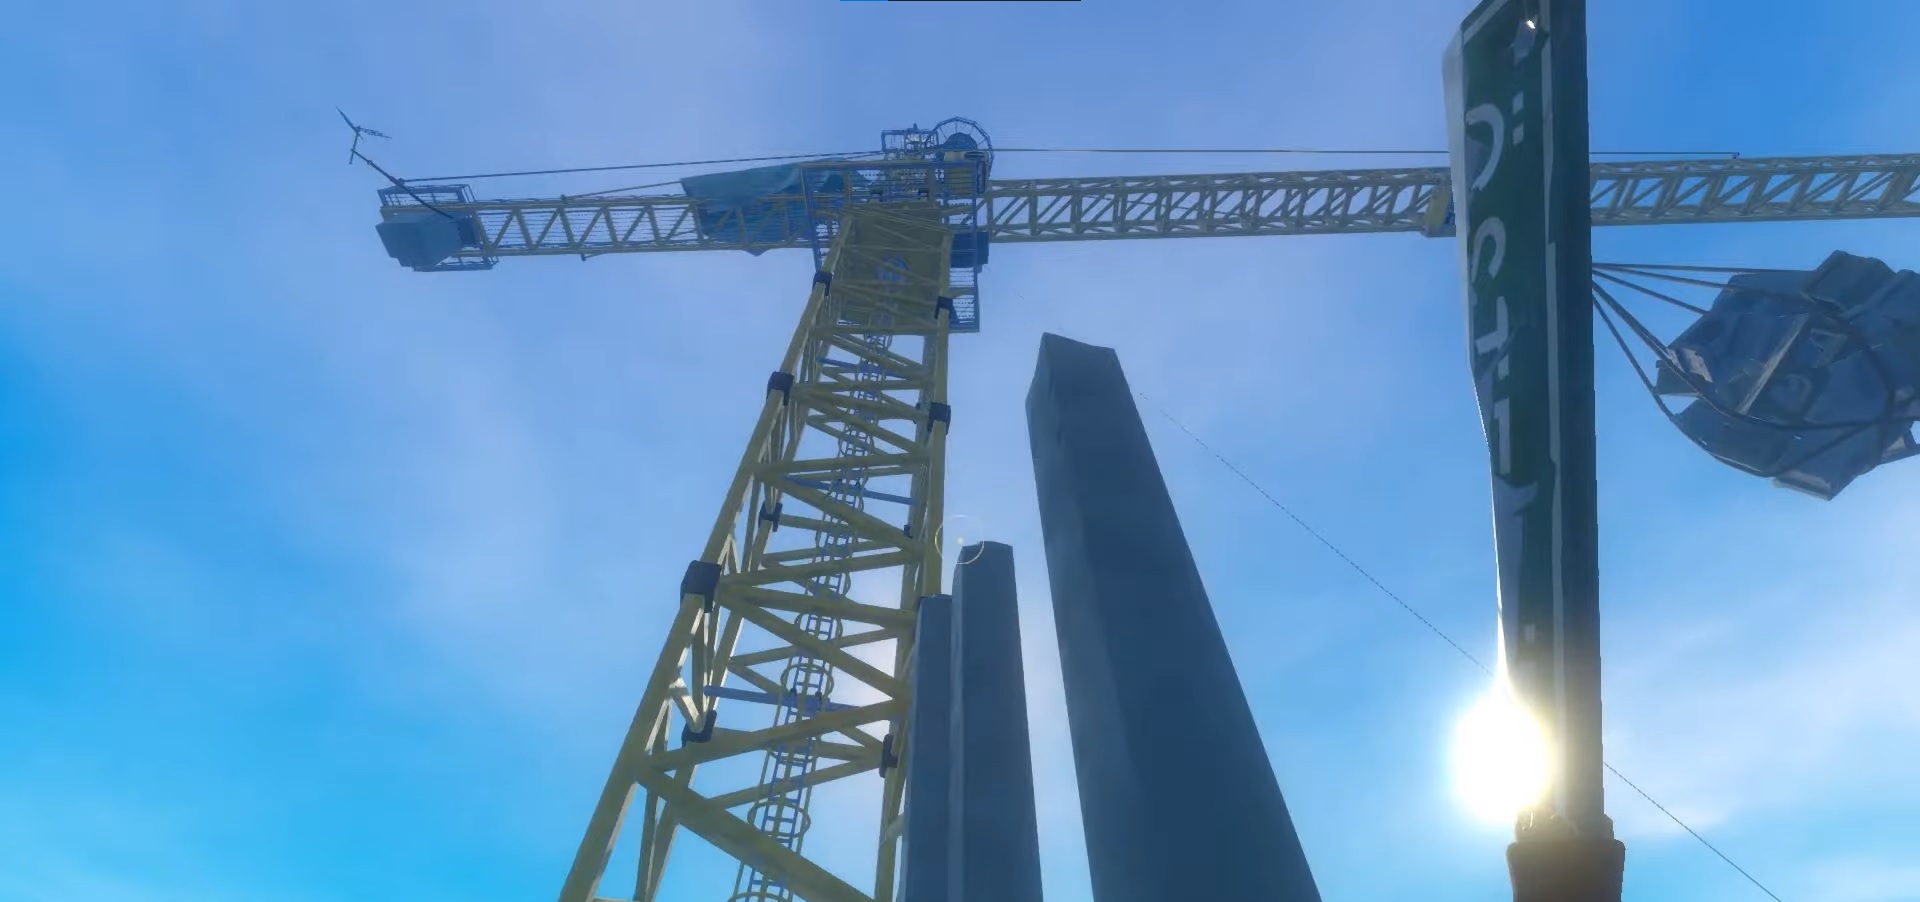
- Your first task is to reach the top of the crane.
- Be vigilant for rats and perform parkour to access the crane.
- Be cautious while navigating heights to avoid damage.
- Use the stairs to reach the Crane’s Operating Room.
How to explore Varuna Point
- Craft a weapon for protection against rats.
- Carry food and water, or find them while exploring.
- Equip an Oxygen tank, Zipline, and Fins for underwater exploration and a boss fight.
- Park your Raft to the side upon arrival and climb onto the scaffoldings to access the building.
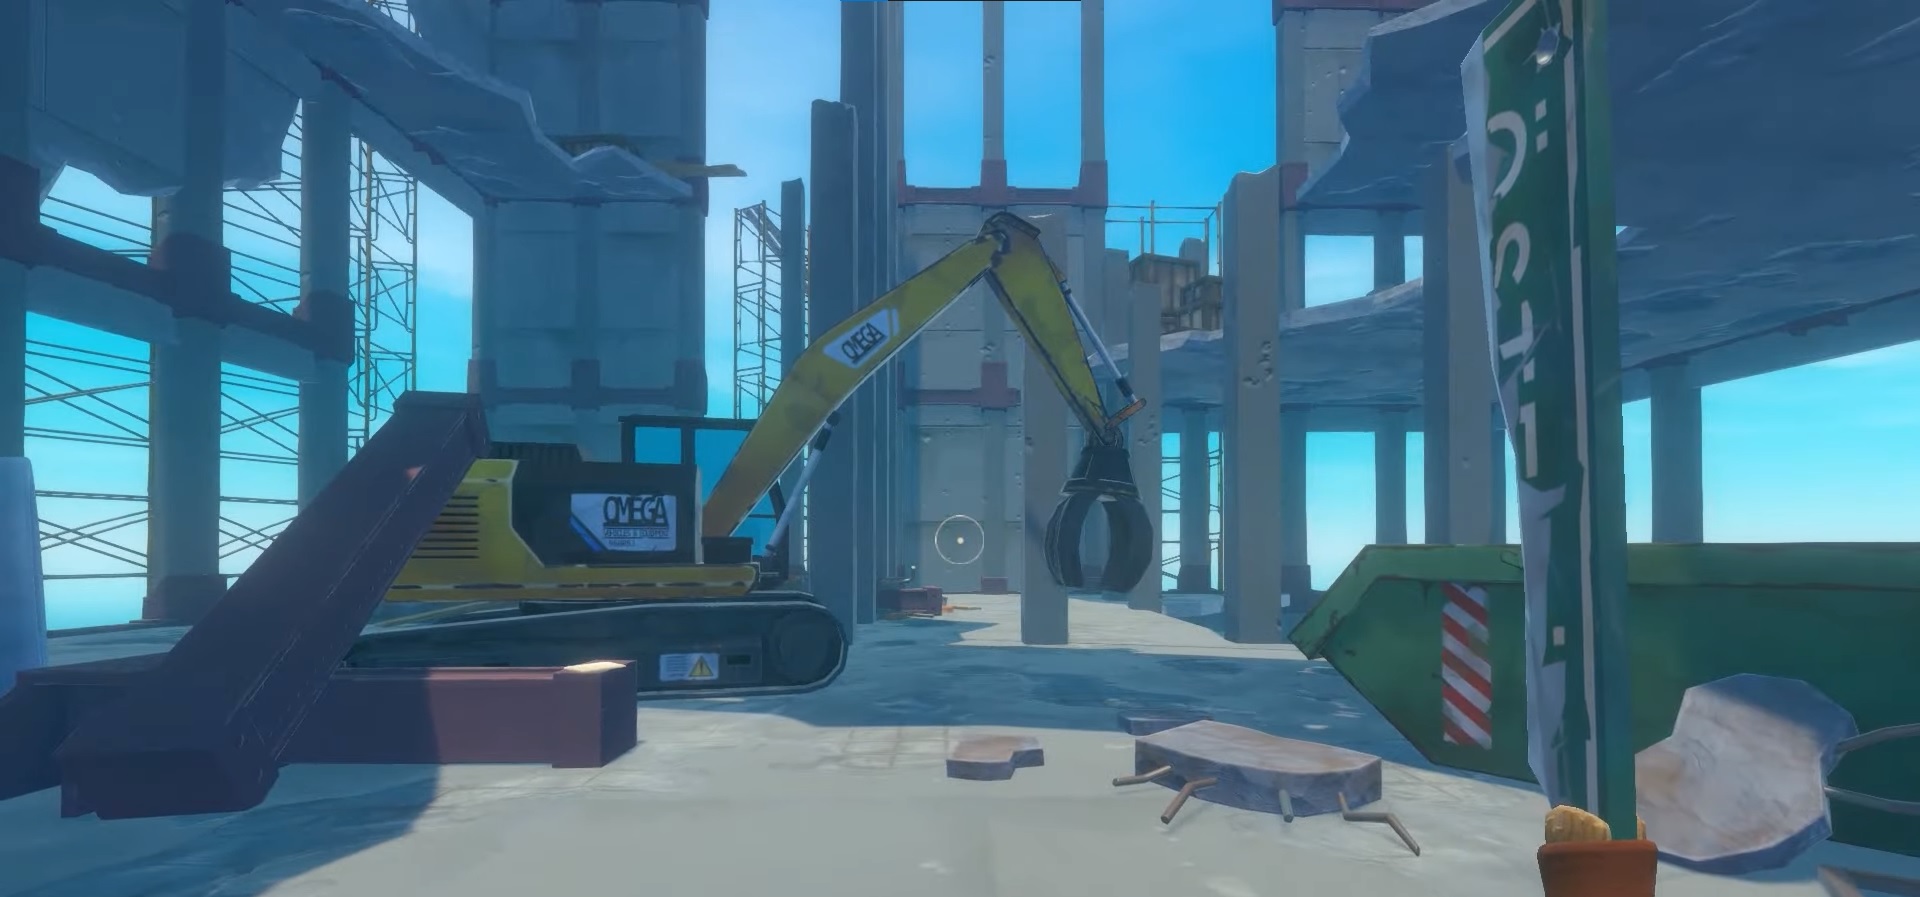
Getting to the Crane
- In the Crane’s Operating Room, you’ll discover the crane needs a key, which is missing.
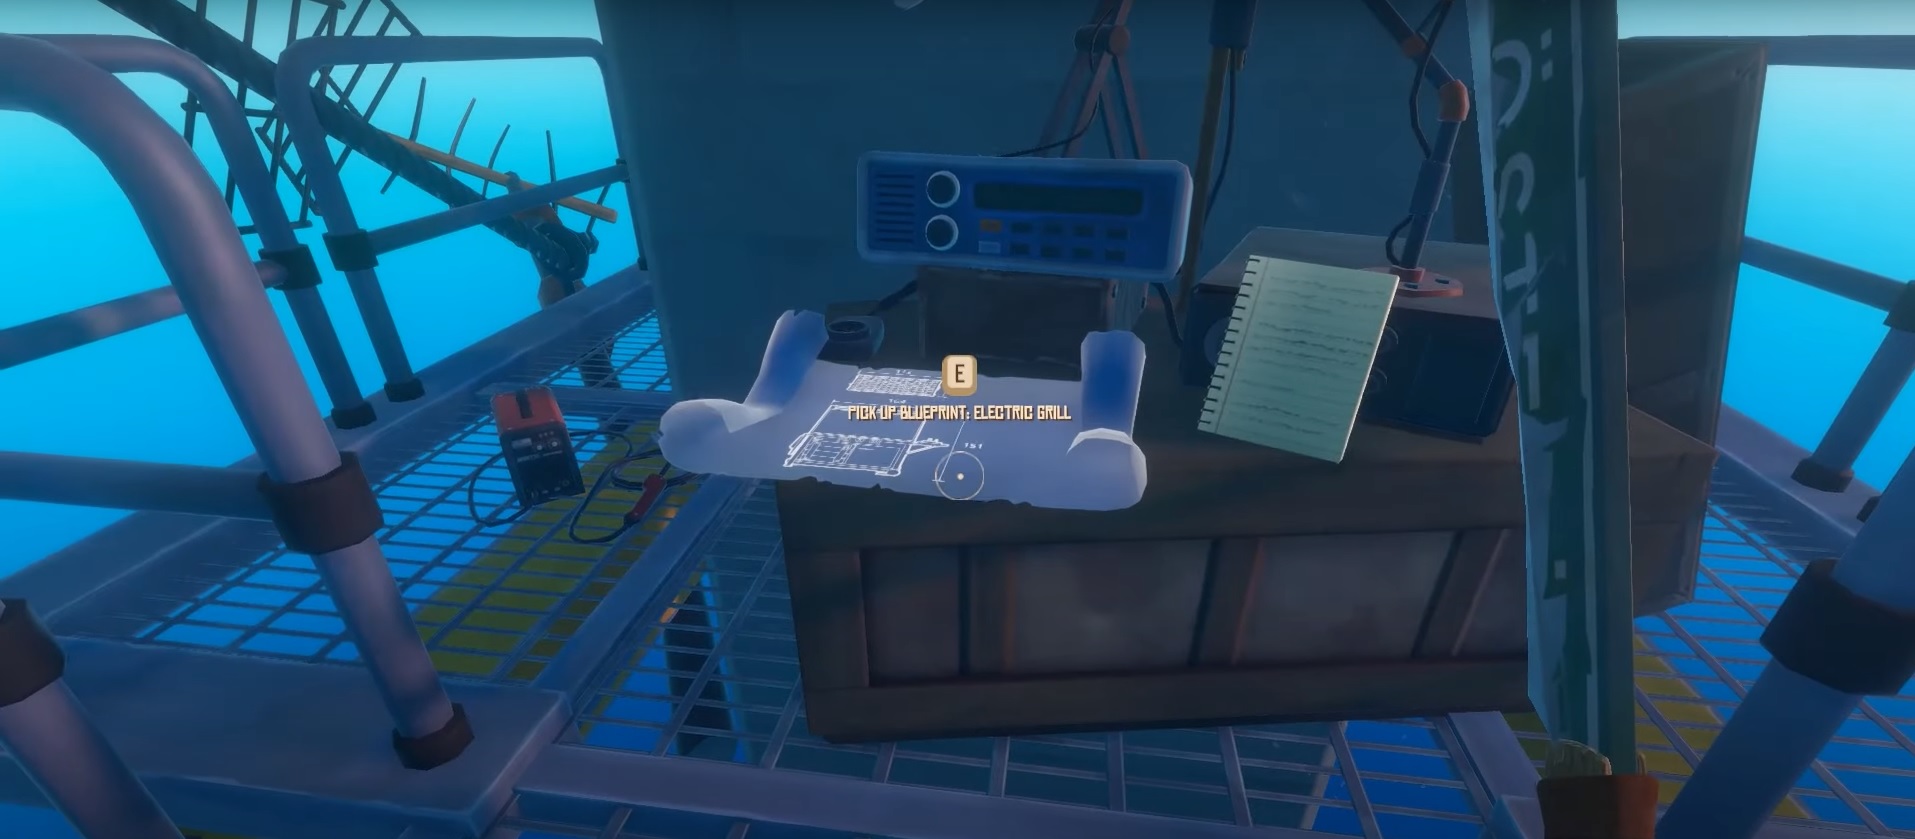
- Ascend the ladder to find a note and an electric grill blueprint.
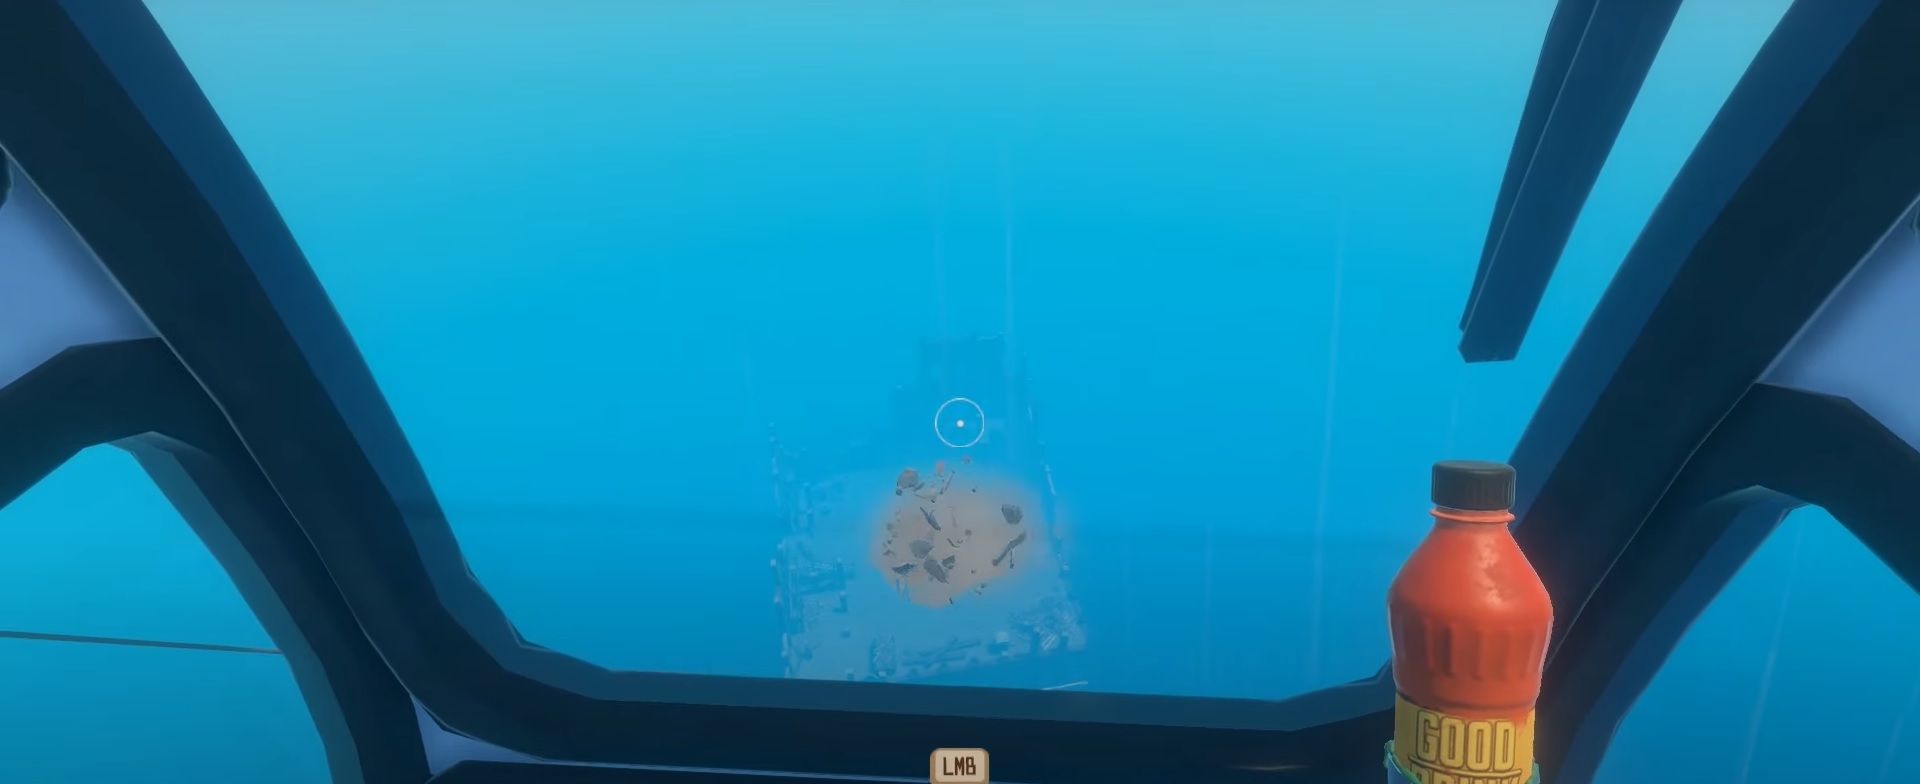
- Look for a shining light underwater to enter the building.
- Be prepared to encounter an Angler Fish, which you should defeat for an Angler Fish Hat.
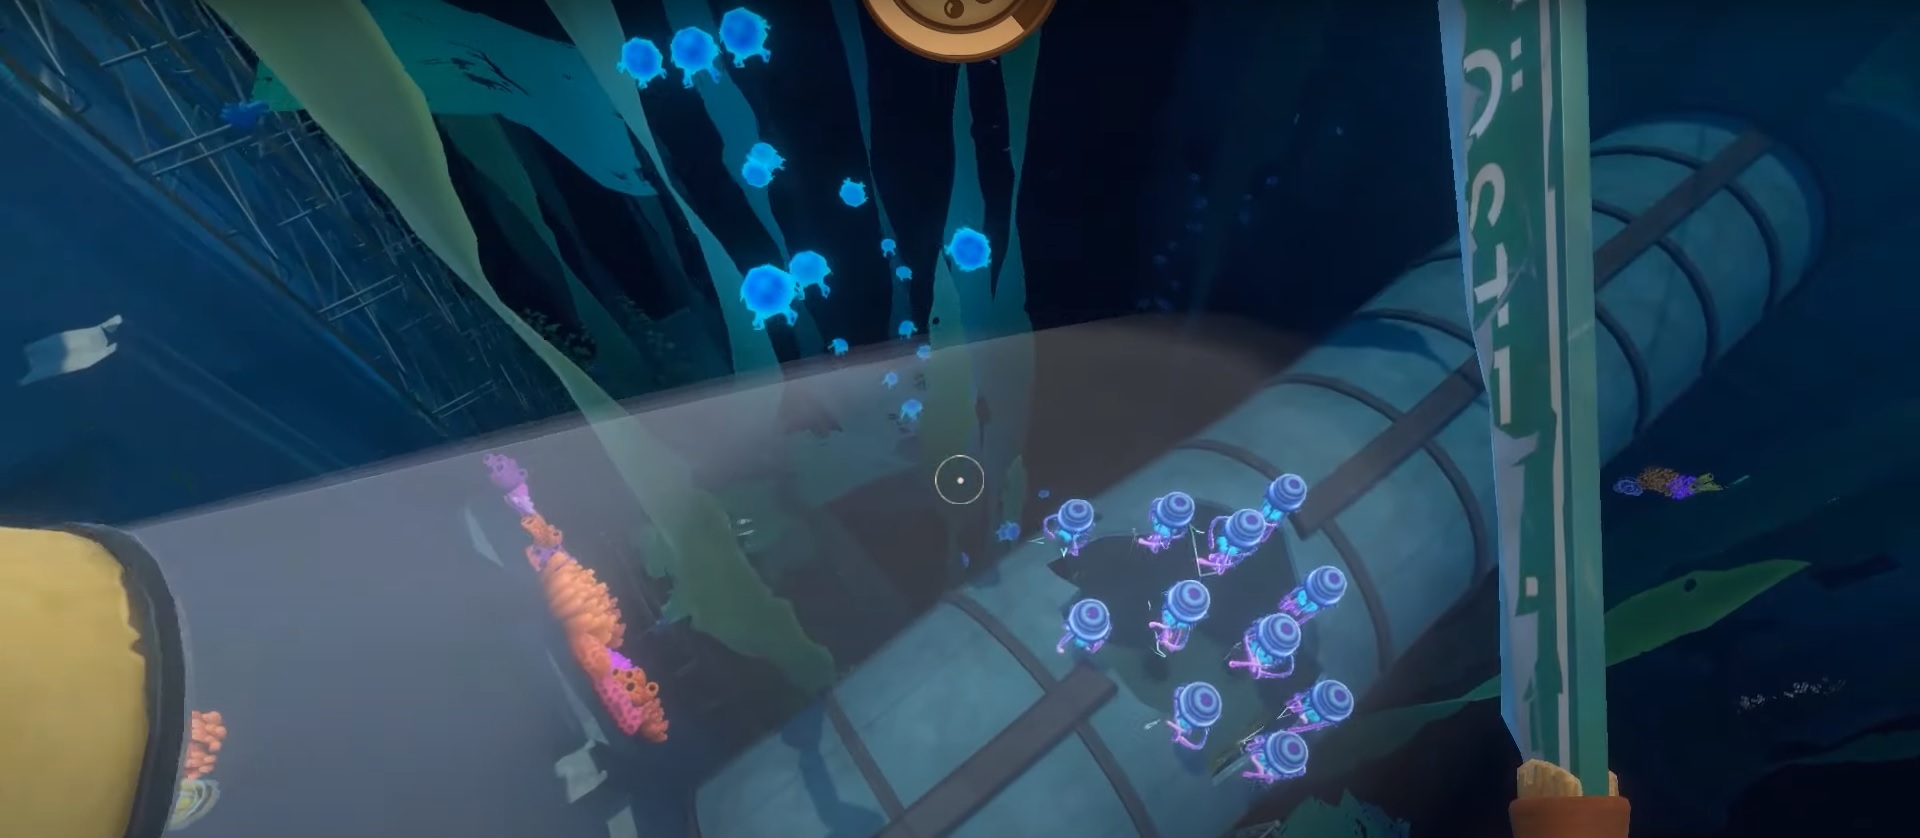
- Collect spotlight parts, activate a spotlight to repel jellyfish, and proceed.
Finding the Key
- In the Crane’s Operating Room, you’ll discover the crane needs a key, which is missing.
- Ascend the ladder to find a note and an electric grill blueprint.

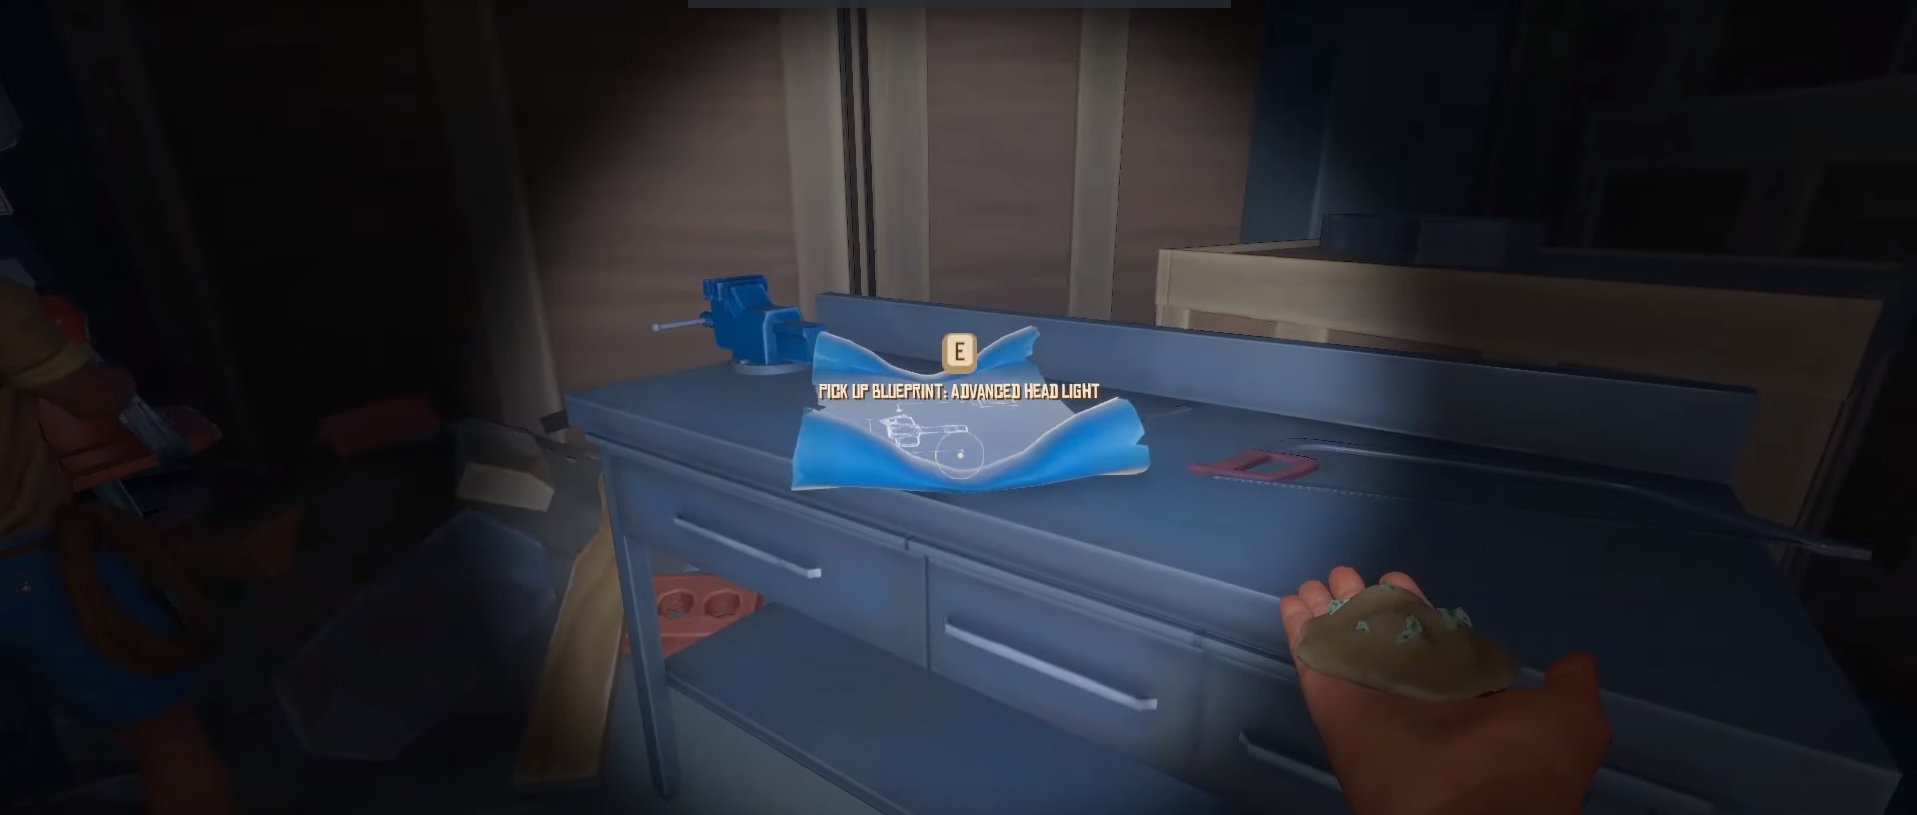
Advanced Headlight’s Blueprints. - Look for a shining light underwater to enter the building.
- Be prepared to encounter an Angler Fish, which you should defeat for an Angler Fish Hat.
- Collect spotlight parts, activate a spotlight to repel jellyfish, and proceed.

Locating Motherload at Varuna Point
- After finding the Motherload Key, locate a map indicating its whereabouts.
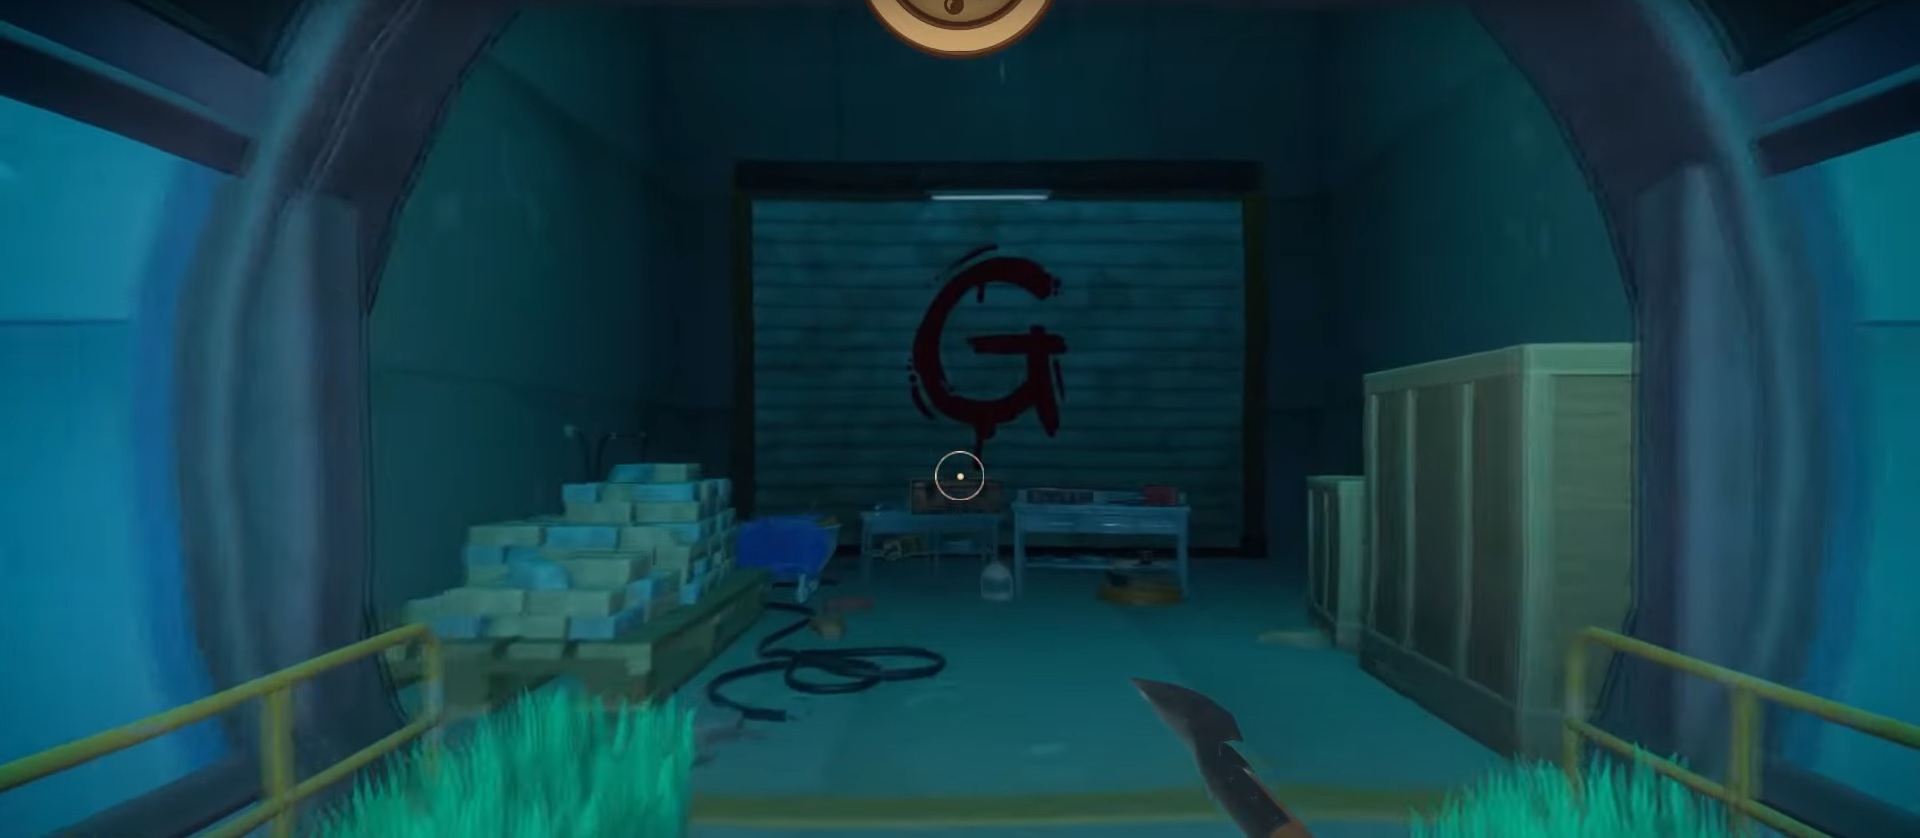
- Descend further and use the key to open a garage door, allowing exploration of the Motherload area.
- Break a wall with a giant letter G, initiating a Boss Fight with the Giant Rhino Shark.
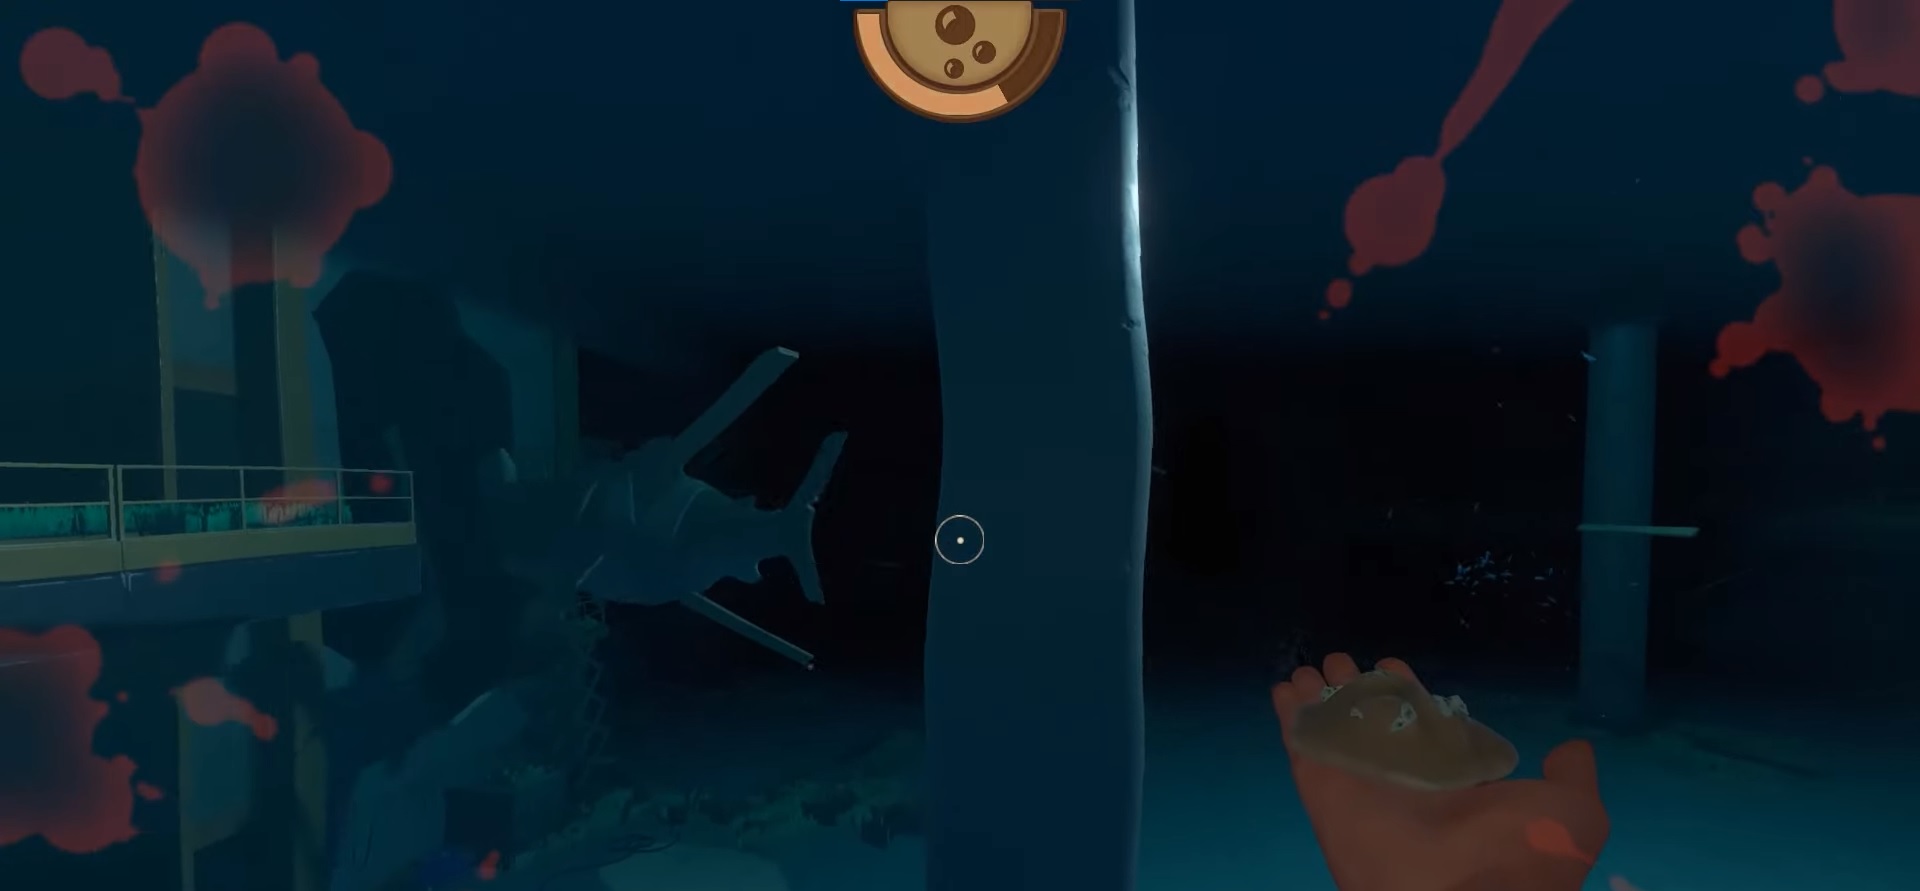
Varuna Point’s Rhino Shark Boss
- Fighting the Rhino Shark is challenging as it’s immune to weapons and arrows.
- The boss fight area has four pillars, which you can use strategically.

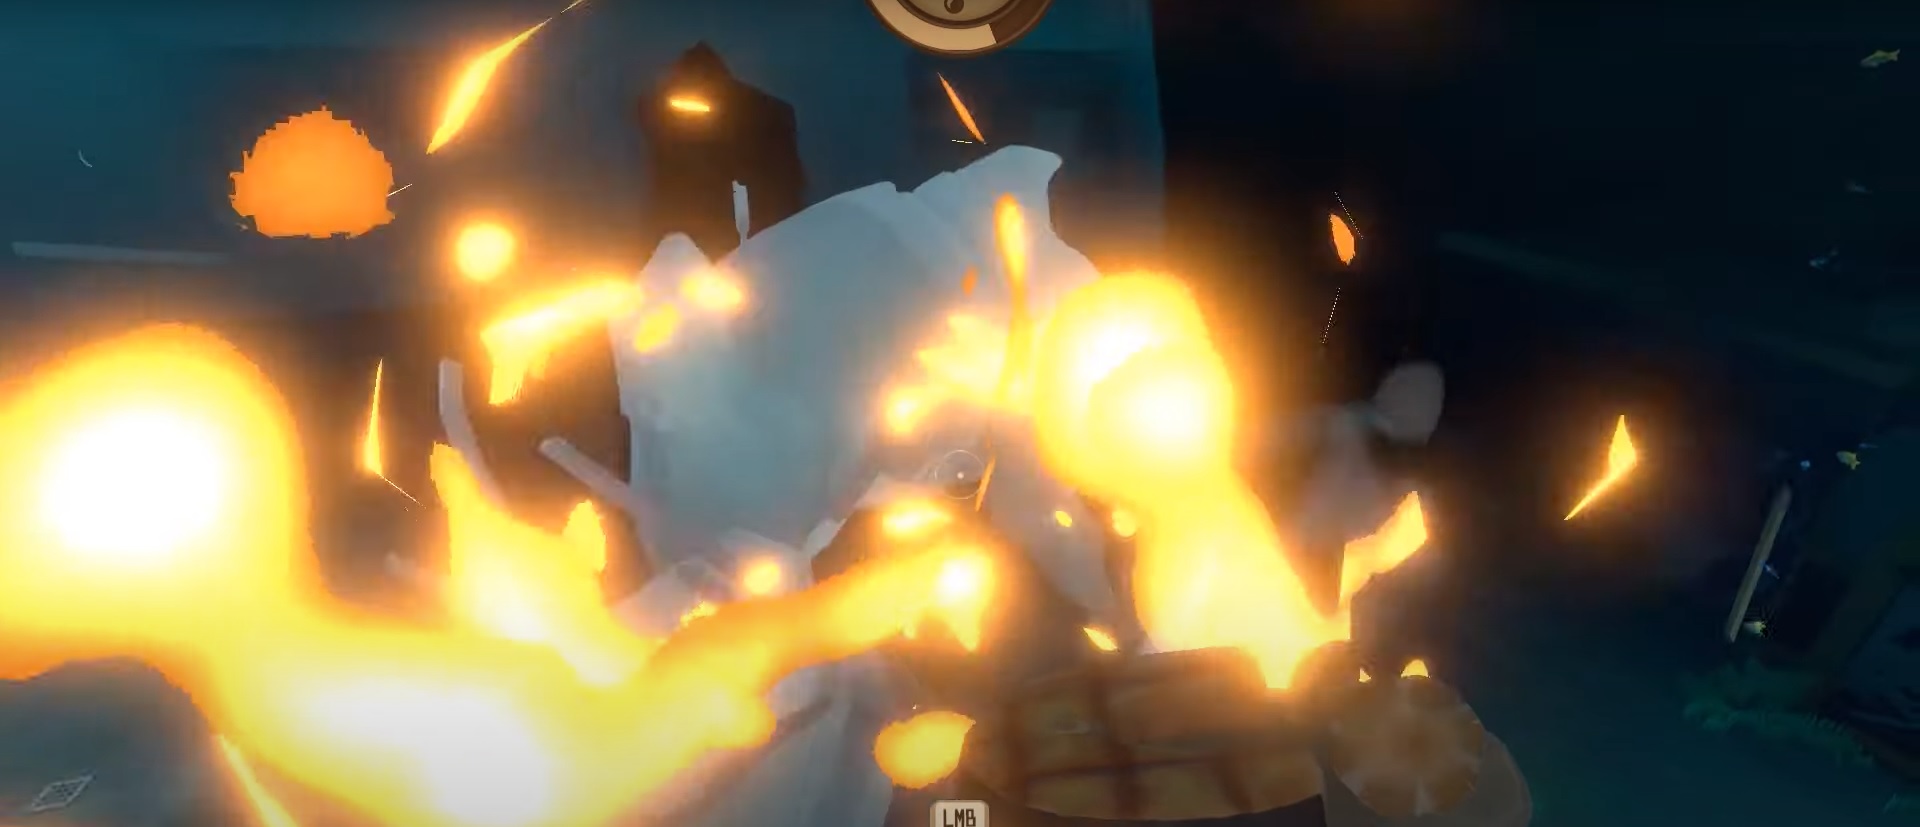
Rhino Shark boss fight underwater. - Lure the Rhino Shark to break pillars, then place explosive barrels between them.

Rhino Shark was killed. - This process will break platforms, allowing you to reach the third floor.
- On the third floor, position yourself between a pillar and place an explosive barrel.
- When the Shark rams the barrel, it will break the platform, leading to its demise.
Unlocking the 2nd Building
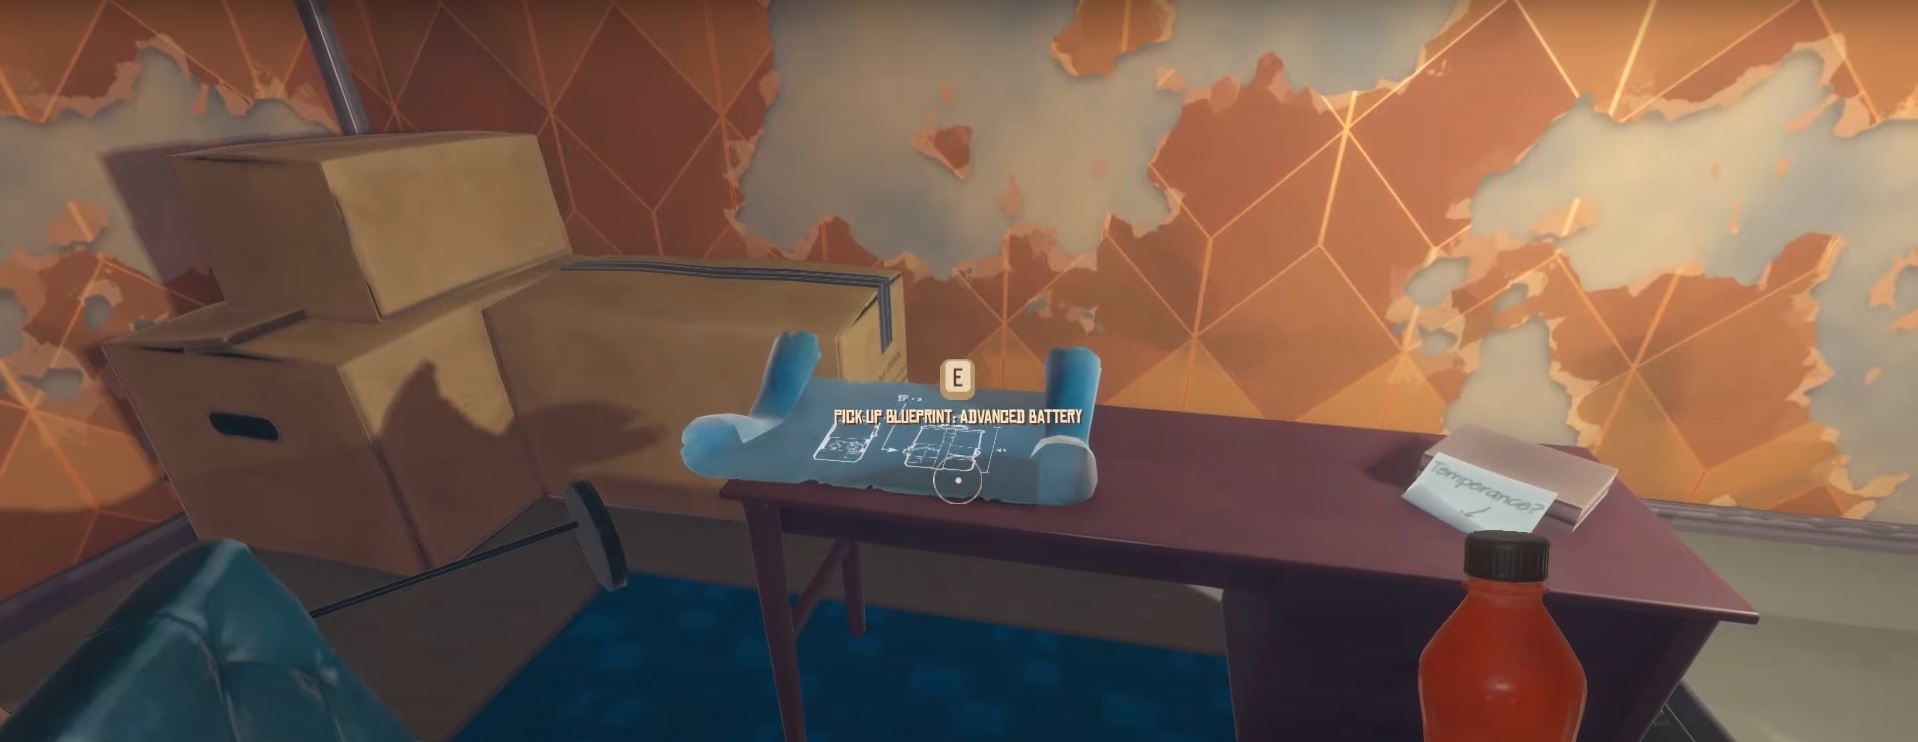
- After defeating the Rhino Shark Boss, return to the office near the crane area.
- Find the Crane key on the table and obtain wind turbine blueprints.
- Activate the crane with the key, breaking the roof, and use a zipline to access the second building.

Unlock the next building using the Crane. - Inside, discover a room with a note, advanced battery blueprints, and materials inside a briefcase.
What To Do Next After Varuna Point?
The note that you found in the new building indicates where you need to go next to progress in the game. This new place is called Temperance Ice Island in Raft. While getting there, you can improve your ship with the newly found blueprints of Wind Turbine and Advanced Battery.
Thanks! Do share your feedback with us. ⚡
How can we make this post better? Your help would be appreciated. ✍