The most recent raid that has been added with the Lightfall expansion is Destiny 2 Root of Nightmares. We understand a raid can be an intimidating experience for some players, but Root of Nightmares is one of the easiest in the entire history of the franchise. There are four encounters in this raid, along with a jumping puzzle, which can be fairly challenging to transverse if you’re unfamiliar with previous raids or their mechanics.
- Why Trust Us: You can trust and rely on my expertise since I’ve gone through Destiny 2 for over 3000+ hours.
With more than dozens of hours of experience in Destiny 2’s PVE, I feel more than obliged to provide you with hands-on experience on the topic below.
- Destiny 2 Root of Nightmares is the latest raid that was introduced in the Lightfall expansion.
- Recommended supers: I strongly encourage using Well of Radiance, Thundercrash, and either Shadowshot or Golden Gun.
Root of Nightmares Mechanics:
- Nodes are a central mechanism in the Root of Nightmares raid, granting you the light or darkness buff.
- Cataclysm and Scission are pretty similar encounters as they feature parallel mechanics.
- Macrocosm requires players to move four planets to their respective sides.
- During Macrocosm, you will also face off against Zo’Aurc, Explicator of Planets, and deal damage to him in several DPS phases.
- There is a jumping puzzle before the last encounter in which players must cycle between light and dark buffs to stay alive.
- Final fight against Nezarec can be done fairly quickly and involves handling his gaze and preventing the wipe mechanic.
Cataclysm – First Encounter
Approaching the first encounter in Destiny 2 Root of Nightmares raid, you want to equip any Anti-Barrier and ad clear weapons. Since most of the encounter is just slaying enemies, however, some mechanics are involved. Arbelast and Commemoration is the perfect combo for this encounter.
Mechanics
The following encounter has two goals.
- Connecting the nodes from the beginning node all the way to the node at the end of the arena.
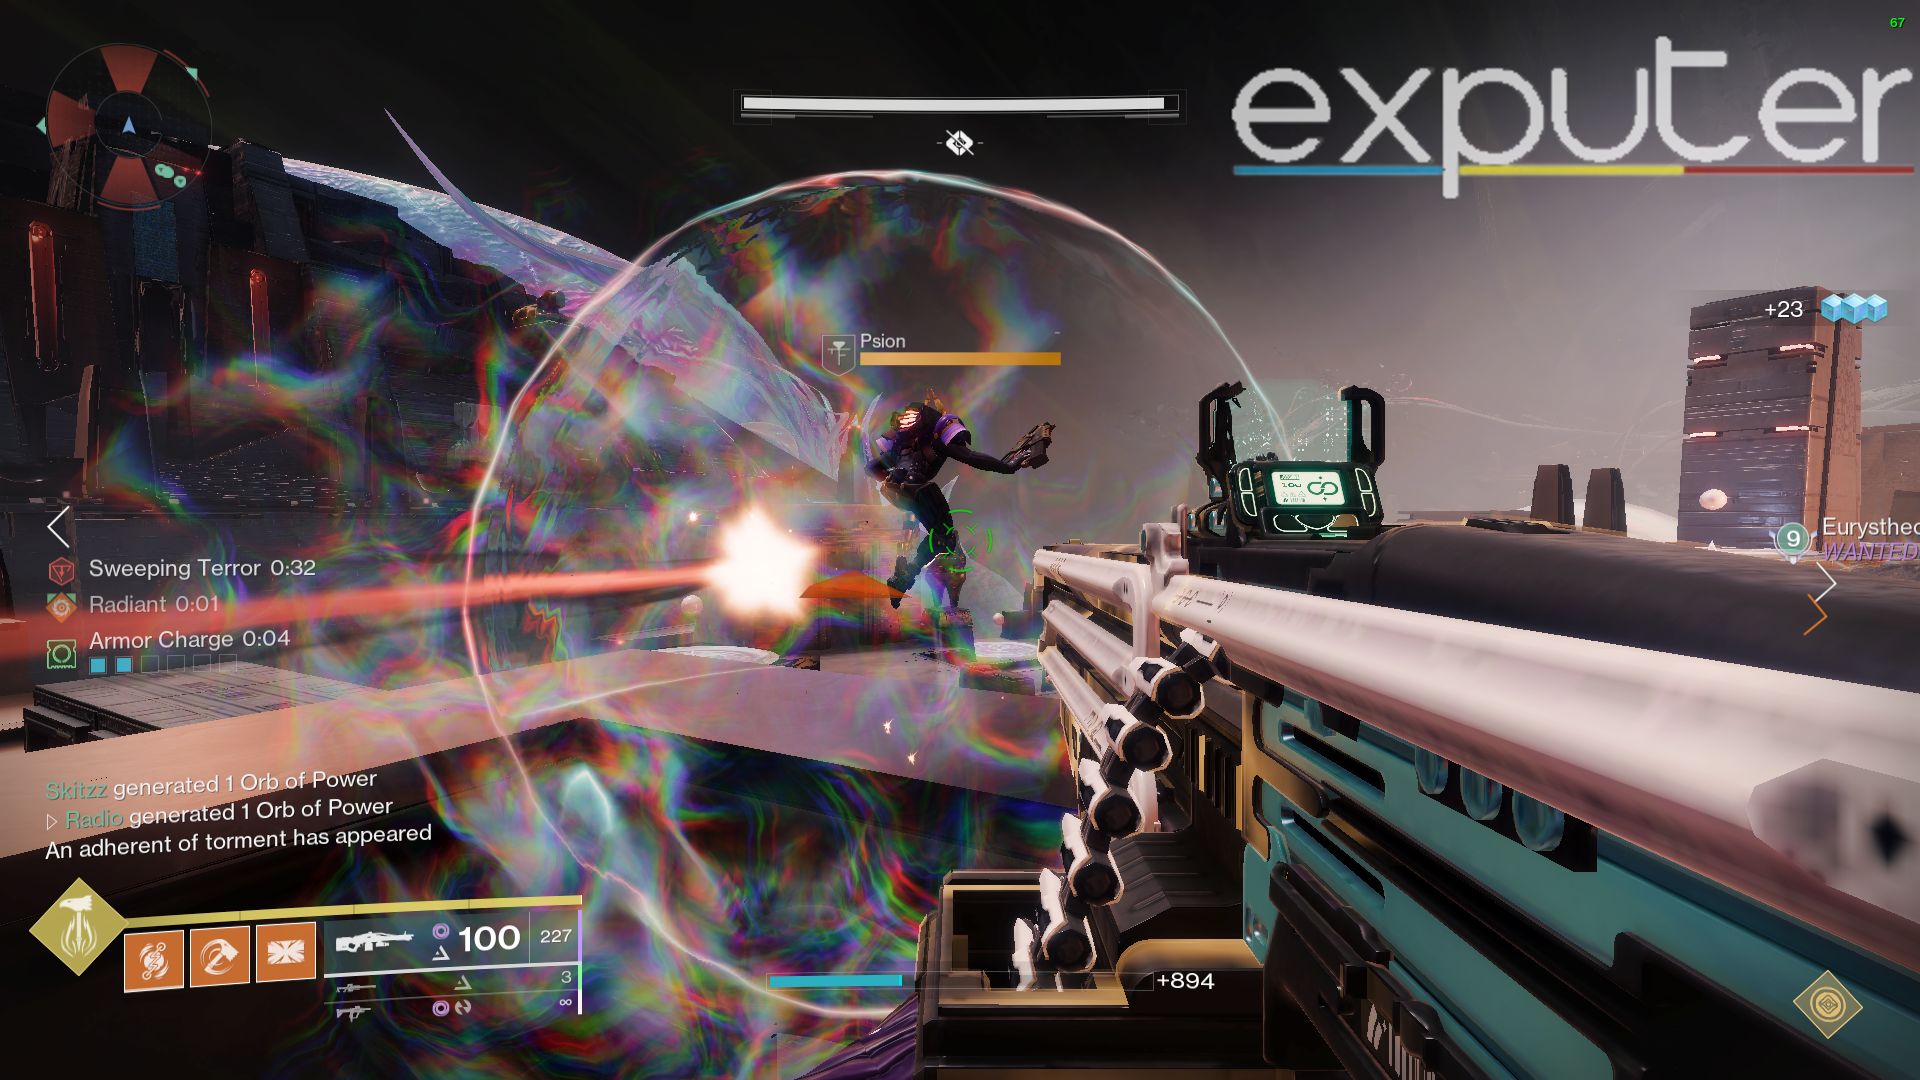
- Punching the Psions, as shown in the screenshot above, will spawn the Tormentor and kill the Tormentor quickly to reset the wipe timer.
Tormentor and Adds
- To start the encounter, have your designated runner stand in the aura and shoot the node.
- It will spawn the two Psions inside the bubble that must be punched immediately.
- You and your team should spread around the map to scout for any Psions spawning.
- After the Psions are dead, everyone should focus on killing the Tormentor within thirty seconds.
- Kill the Tormentor immediately to reset the timer and avoid wiping the encounter.
Node Runner
The job of your fireteam members who are the Node Runners will be as follows.
- The player who shot the node will get a buff known as “Field of Light.”
- This will last for fifteen to seventeen seconds.
- This player’s job is to locate and shoot another such deactivated node that is black in color and has no aura around it.
- The location of the next node in order is random, but it is usually located near the previous node.
- Once a new node is shot, the player returns to the node with the aura around it to refresh the buff and repeats the process until the last node.
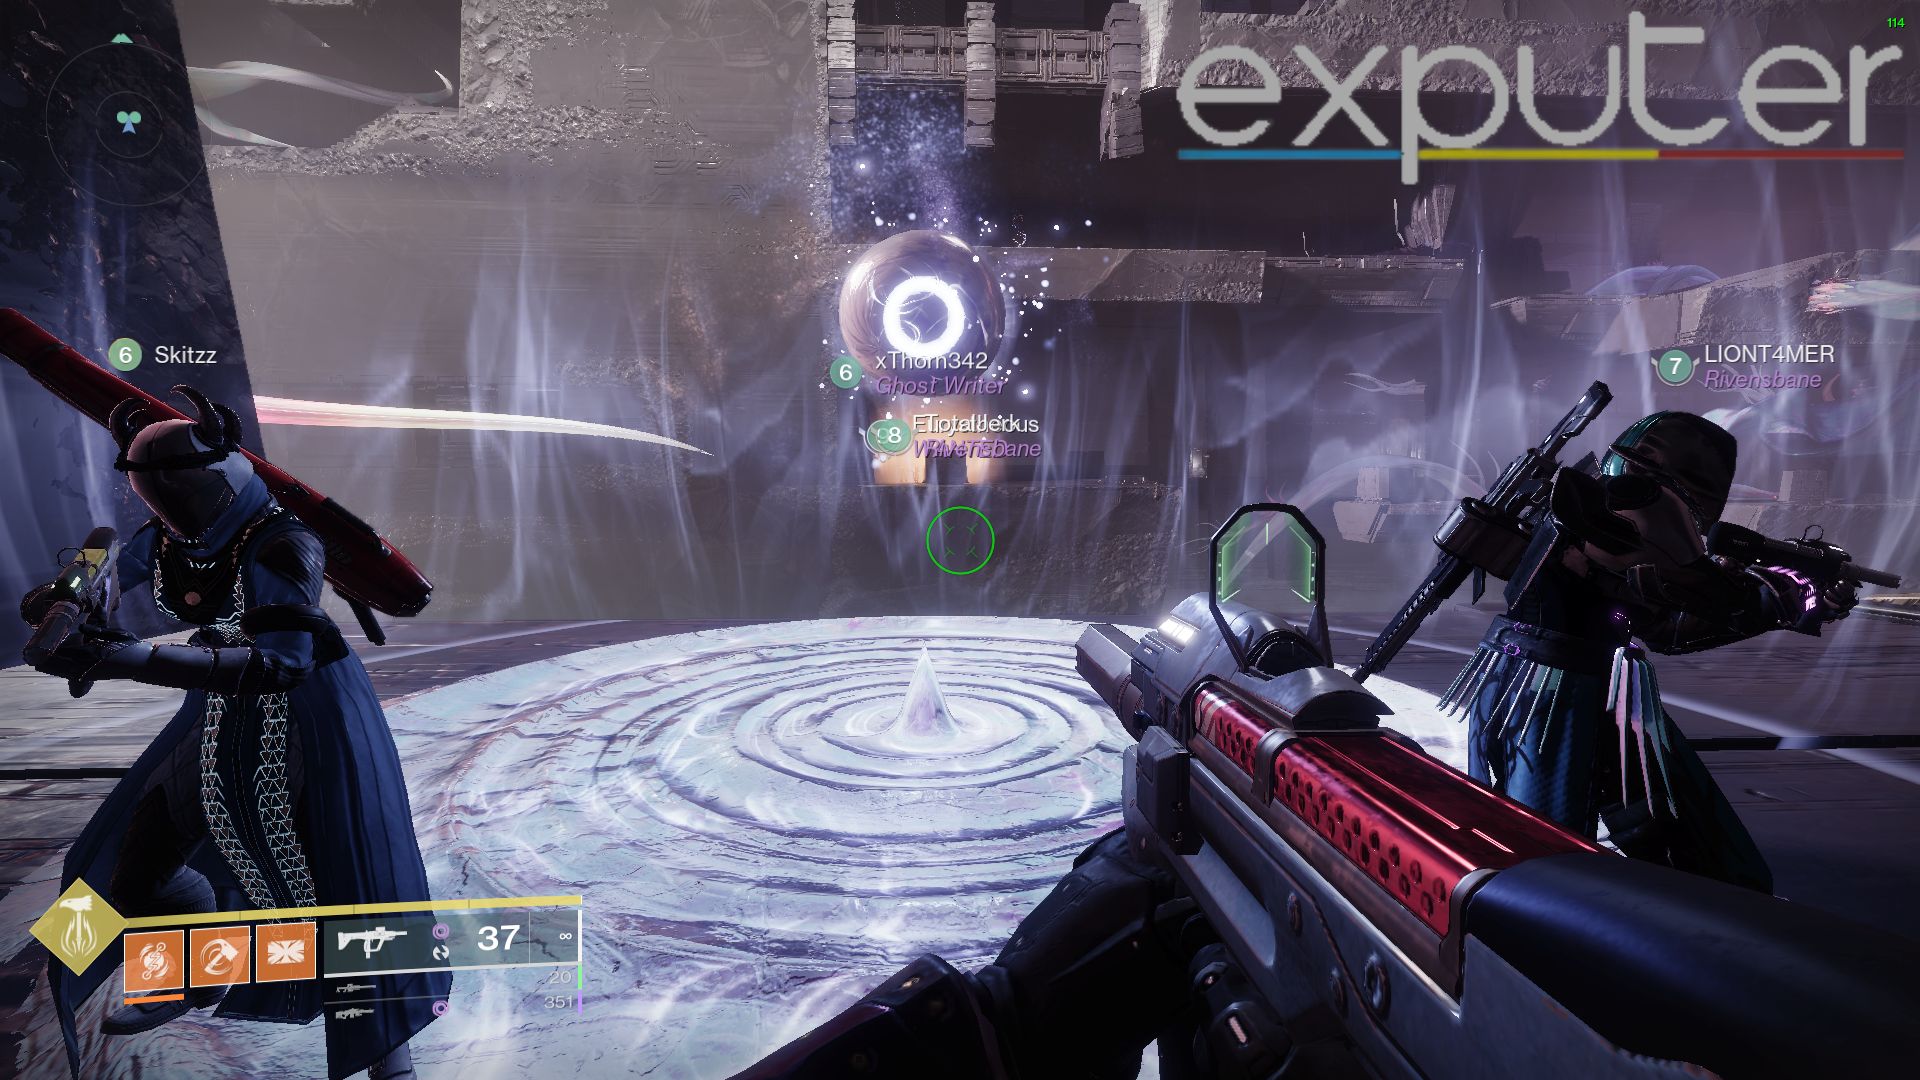
Scission – Second Encounter

For this part of the encounter, you need to split up into two teams of three people. This encounter has the same mechanics as the previous one, but instead of one person on node duty, you now need two people on node duty. Furthermore, there are two buffs now, “Field of Light” and “Flux of Darkness.”
Mechanics
- Both teams go on each of the two sides as runners start the encounter by shooting the Light and Dark nodes on their respective sides.
- All players should stand in the aura, to get the buff, so they can kill the ads with immune shields.
- Runners have the same job as they get the Light and Dark buff, then use the launcher to transverse across the arena and shoot the inactive node.
- Afterward, runners return to their respective sides using the same launcher to refresh the buff.
- This process is repeated five times.
- Once all Dark and Light nodes are activated, a mini-boss and anti-barrier champion will spawn, so players need to refresh their buffs to kill the mini-boss.
All of this needs to be done quickly because there is a countdown timer that causes a wipe. When the mini-boss on both sides is dead, a launcher towards the end of the arena will spawn that can be used to reach the second floor. The encounter has a total of three floors, but the mechanic is the same.
Jumping Puzzle
Congratulations! You are now halfway done with the Destiny 2 Root of Nightmares raid; although it is not difficult, this next encounter can be extremely annoying.
The primary mechanic for this encounter is exactly the same as before.
- You get the Field of Light buff by shooting the node with a white aura around it.
- Then shoot the dark node with a dark aura around it, as it will give you what is known as Darkness’s Refuge.
- Darkness’s Refuge buff will protect you from the Darkness Pulse that emits every thirty seconds.
- If you do not have the Darkness’s Refuge buff, the Darkness pulse will kill you.
- Now, all you have to do is alternate between the Light node and then the Dark node to keep Refuge up all the time and transverse the arena.
- Once all the players are at the final door, it will open, leading you into the third encounter Macrocosm.
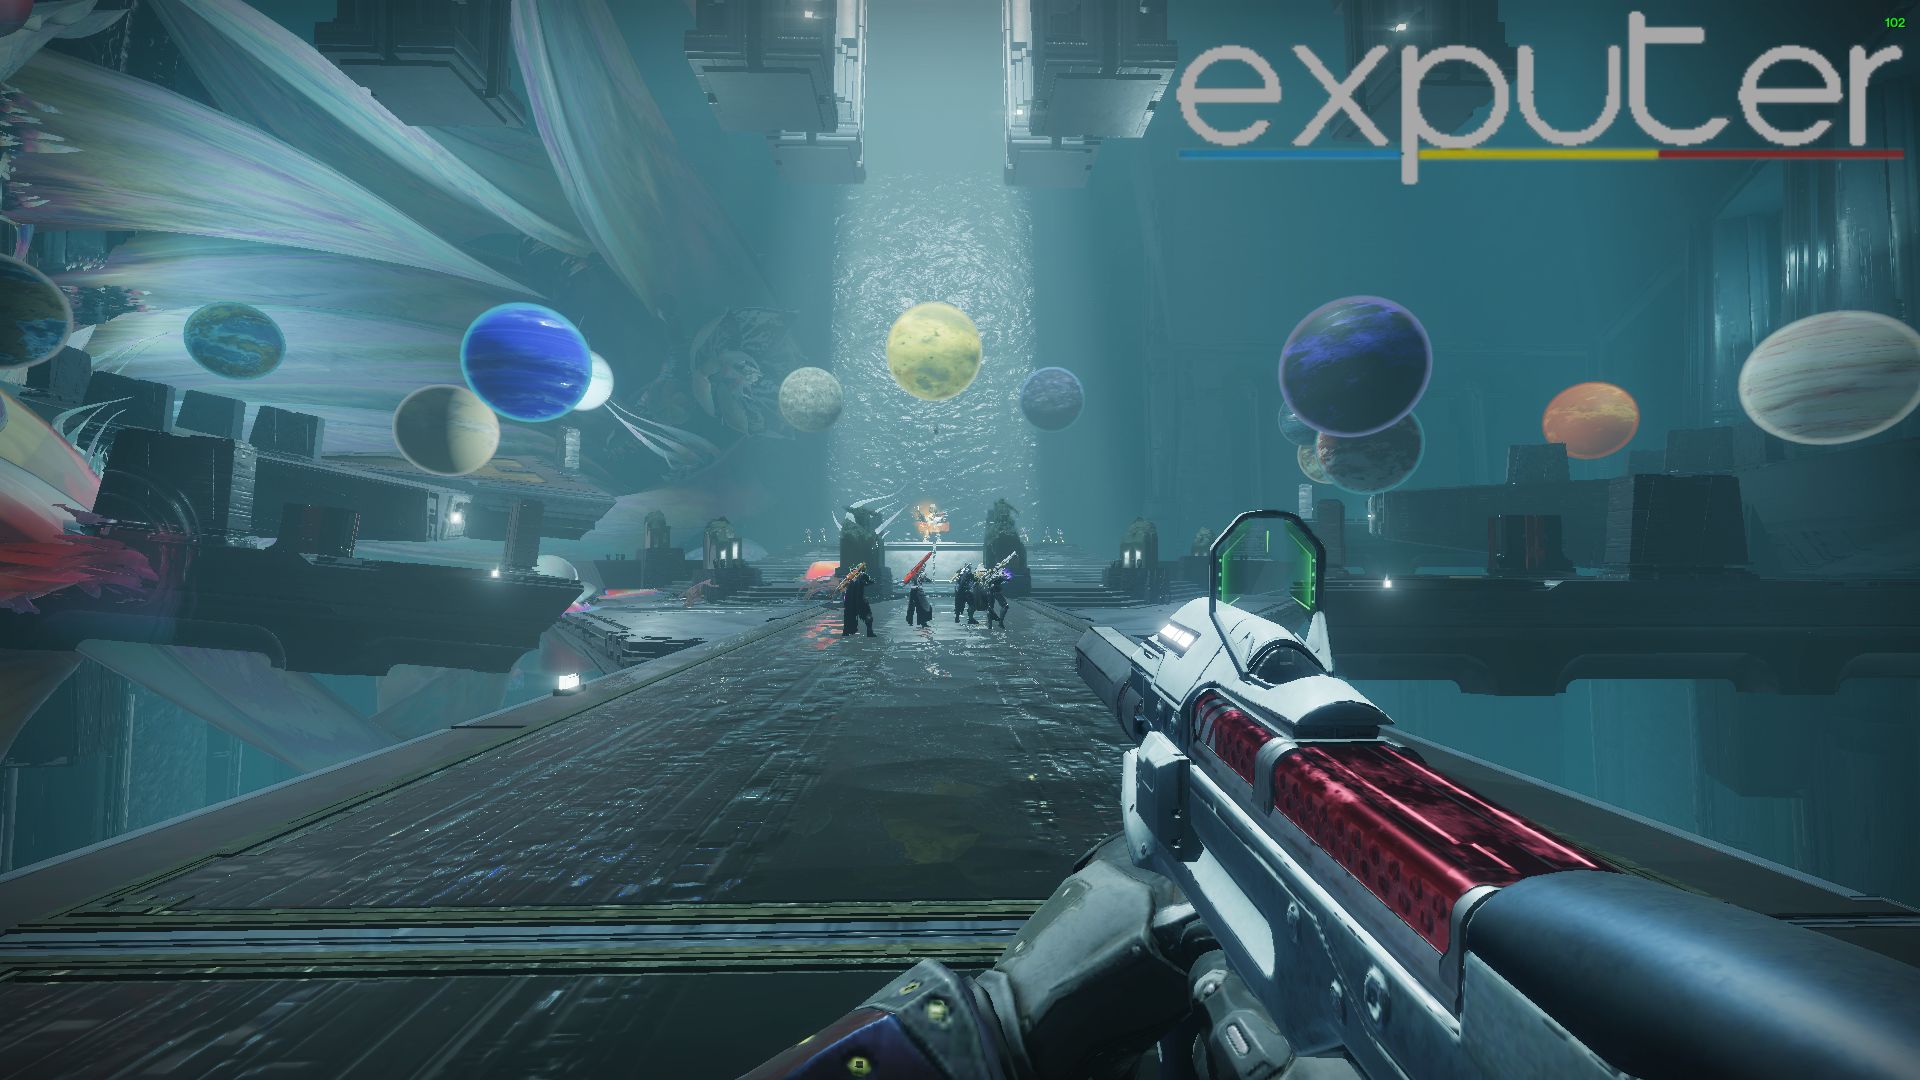
Macrocosm – Third Encounter
Before we begin, it is vital we understand the layout of the room to avoid any confusion.
- Macrcosm’s arena is divided into two sections: the Dark on the right side and the Light on the left side.
- This is indicated by the two planets floating in the middle of the arena.
- Each of these sides has two platforms, an upper platform and a lower platform, with three sets of planets each, making six planets on the left and six planets on the right side.
Team Composition
- Divide your team into two, three players going on each side.
- Furthermore, each team should pick two players whom we will call planet movers.
- The other two players should be on ad-clear duty.
- Have each of the four planet movers stand on their respective platforms.
Mechanics
Your main goal for the encounter is to move all the Light planets on the left side and all the Dark planets on the right side. Then replace the three planets in the middle with the correct corresponding planets.
Moving The Planets
Once each player has taken their position, start the encounter.
- Clear some ads, and after a short duration, two Centurion will spawn near the boss.
- These centurions should be dead as soon as possible.
- Killing these two centurions will spawn two Colossus on each of the four platforms.
- Only the planet movers should kill this Colossus.
The Planetary Insight buff lets you see what planets are on the wrong side and need to be switched, so it is very important players on adds clear duty avoid them to avoid any confusion.
- Once the Colossus is dead, you will get a buff called Planetary Insight,
- Top and bottom Planet Movers should call out which planets need to be switched.
- Go under the planet on your side that needs to be switched and interact with it when it says Attune Planet.
- After interacting with the planet on your side, you go across the map and interact with the planet that needs to be switched.
- Once all planets are in their correct places, a message will display on the bottom left saying, “The indexed planets reveal themselves.”
Starting The Damage Phase
At this point, the centurions and colossus need to be killed again, and the same player should get Planetary Insight.
- Once you have the Planetary Insight again, look in the middle for the three planets, and see which of the three planets is dark and light.
- Replace the planets from left and right with the correct ones in the middle. For instance, if the middle three planets are Dark, Dark, and Light.
- So then players should take any two dark planets from the right side and any Light planet from the left side and replace them with the respective ones from the middle three planets.
- Once all three planets are replaced correctly, the damage phase will start.
For optimal damage, we recommend one person running Gjallahorn and the other 5 running an Aggressive Frame rocket launcher such as Hothead. Furthermore, make use of Well of Radiance, Divinity, and Chill Clip fusion rifles such as Riptide for more optimized DPS.
Nezarec – Fourth Encounter
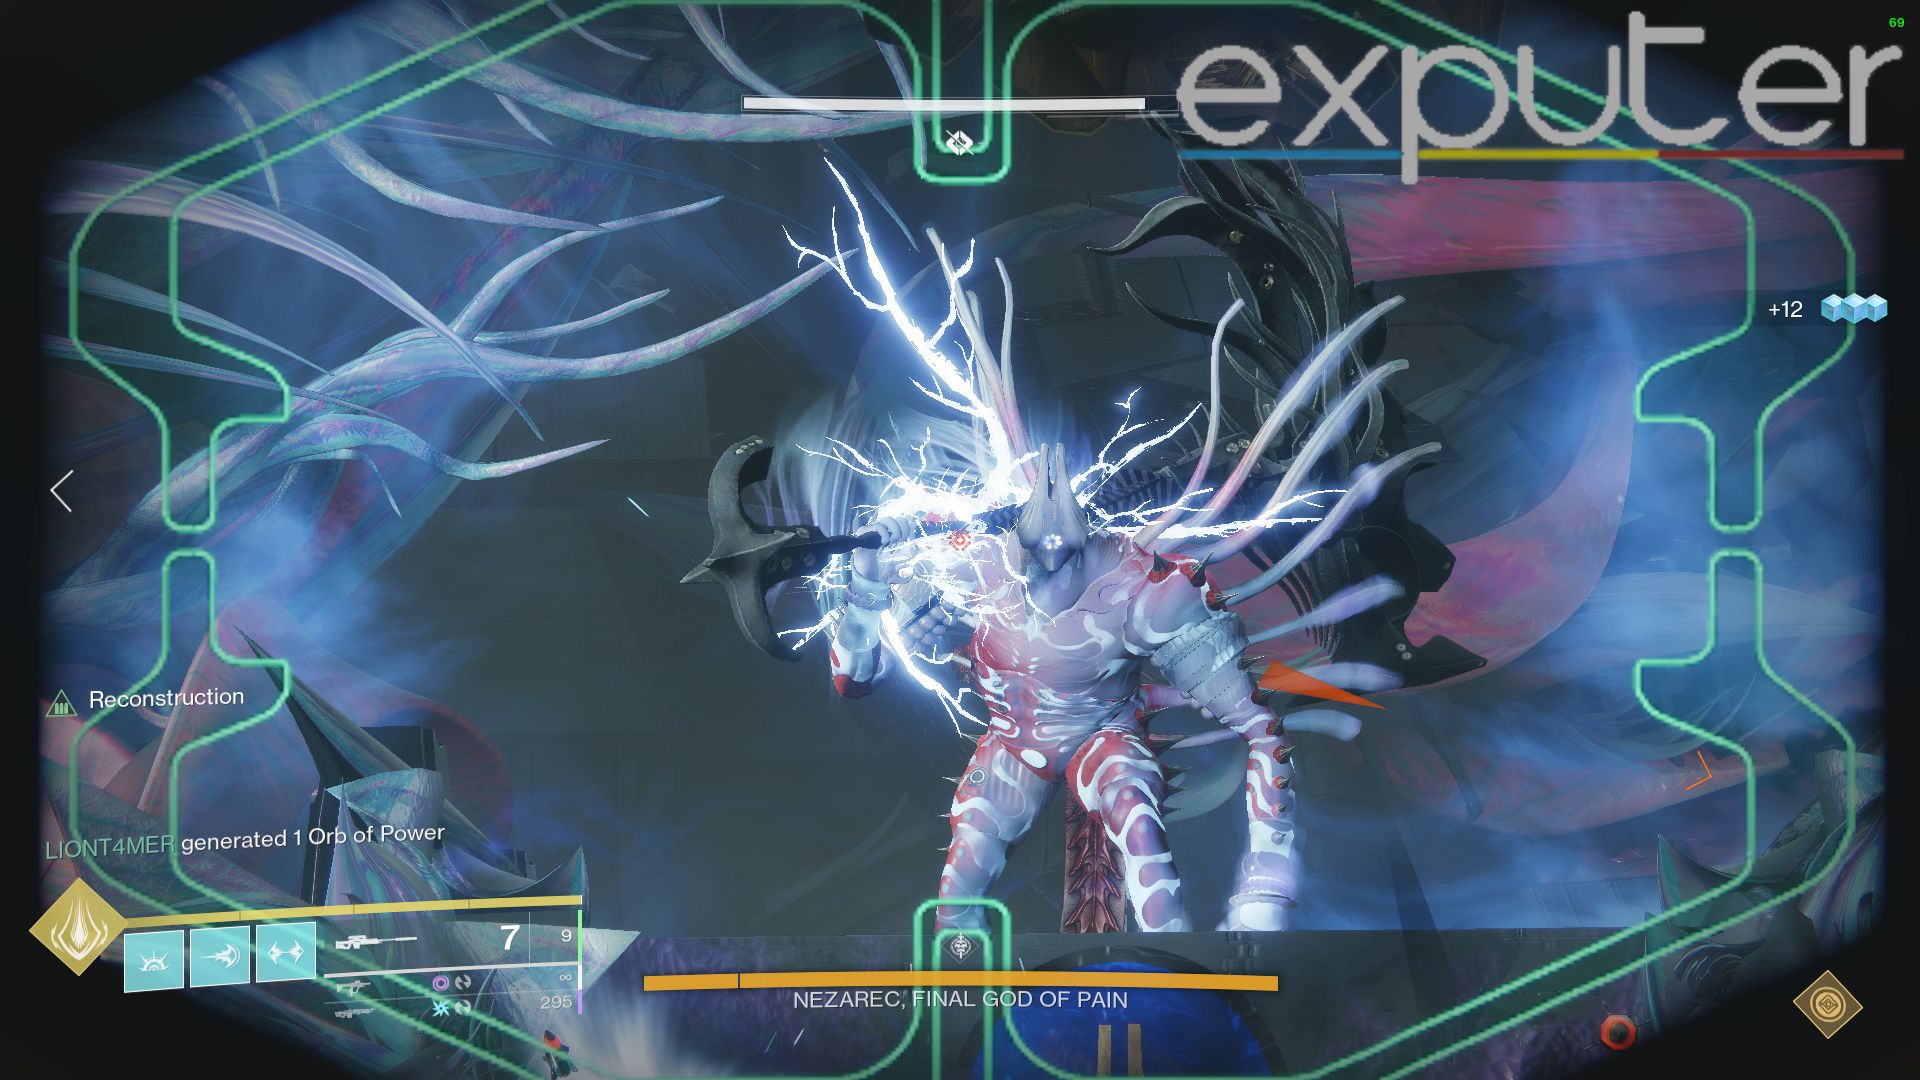
Good job! Beating The Explicator. You are now almost done, this is the final encounter in the Root of Nightmares raid, and with our guide, you will beat Nezarec too.
Mechanics
The arena has 5 Light nodes on the left side and 5 Dark nodes on the right side. Simply put, Runners will have the same job as they did in the Scission encounter, which is to connect the nodes.
- Two runners connect the Dark and Light nodes on their respective sides.
- Players on ad clear should keep killing enemies, especially the colossus that spawns at the far end of the arena.
- Once all nodes are connected on both sides, all players should gather on the first plate on the left side for DPS.
- The boss will shortly teleport there, and players can begin to damage the boss.
- One of the players should shoot Nezarec’s chest to keep getting Hatred debuff.
Preventing The Wipe
If the runners are fast enough to connect both nodes on the left and right sides, you don’t need to create a refuge and head straight to DPS. However, if the need arises, here is how to do it.
- One player should shoot Nezarecs on both shoulders; they will flash either Dark or Light.
- It indicates what refuge the players should seek to avoid dying from the boss’s wipe mechanic.
- If, for instance, the shoulder flashes Light, players shoot the Light node with an aura around it.
- If the shoulder flashes Dark, the Light runner gets a Field of Light by shooting the Light node, then shoots a Dark node on the right side of the arena, and it will turn that Dark node into a refuge node.
- Now players can shoot this Dark node and get Darkness Refuge to avoid a wipe.
For DPS, we recommend using the same loadouts as used in the Macrocosm encounter. Similar to The Explicator boss fights, Nezarec also has low health. Therefore, this boss fight should be a two-phase as well.
Final Remarks
Congratulations! You have now completed Destiny 2 Root of Nightmares; we hope our raid guide was of some help. Despite being one of the easiest raids in Destiny 2, with its flaws and simplicity in mechanics, this raid still manages to impress the player base and is a fun experience overall.
Bungie never fails to amaze us with its peak art direction and mesmerizing locations. In our review of Lightfall, we discussed each of the new strand classes and the story content heavily. While there is much left to be seen on the narrative side of things, the content is seemingly endless such as hunting down the Deterministic Chaos.
If you have any more questions regarding the raid or what load-out to run, you can reach out to us. The loot table guide for the Root Of Nightmares drops may just entice you to tackle this raid in Destiny 2. But again, we are always glad to help if you face any confusion regarding any encounter or mechanic. As always eXputer wishes you luck!
Up Next:
- Destiny 2 World First Race
- Destiny 2 Lightfall: How To Get the Chalice Keycard
- Destiny 2: How To Get Particle Acceleration Emblem
- How To Get Dawn Chorus In Destiny 2
Thanks! Do share your feedback with us. ⚡
How can we make this post better? Your help would be appreciated. ✍