Star Wars Jedi Survivor: All Stim Upgrade Locations
Learn about the all locations of stim upgrades in Star Wars Jedi Survivor, which can be used to increase the stims BD-1 can carry.

In Star Wars Jedi Survivor, players can find up to 10 stim upgrades and one perk allowing BD-1 to carry 13 stims, which can be used to heal Cal Kestis. Some of these stims can be found right after the intro mission, while some are later game finds. Finding some of these stim upgrades can prove to be hard for a lot of players. So, in this guide, I will cover all the stim locations in Star Wars Jedi Survivor, and how to get your hands on these stim upgrades.
- By default, BD-1 can carry only 2 stims to heal Cal.
- The number of stims carried by BD-1 can be increased by finding the stim upgrades.
- These stim upgrades allow BD-1 to carry a total of 12 stims.
- Adding the perk “Fellowship” to your perk slots will increase the number of total stims to 13.
- Overall, BD-1 can carry a maximum of 13 stims in Star Wars Jedi Survivor.
- Stim locations where players can find the upgrades are:
- Undercity Meats
- Sheltered Hollow
- Doma’s Shop
- Basalt Rift
- Foothill Falls
- Viscid Bog
- Derelict Dam
- Observatory Understructure
- Crypt of Uhrma
- Automated Forge
- The location where the “Fellowship” Perk can be found is Boiling Buffs.
All Stim Locations In Star Wars Jedi Survivor
| Stim Upgrades | Planet | Location |
|---|---|---|
| 1st | Coruscant | Undercity Meats |
| 2nd | Jedha | Sheltered Hollow |
| 3rd | Koboh | Doma's Shop |
| 4th | Koboh | Basalt Rift |
| 5th | Koboh | Foothill Falls |
| 6th | Koboh | Viscid Bog |
| 7th | Koboh | Derelict Dam |
| 8th | Koboh | Observatory Understructure |
| 9th | Jedha | Crypt of Uhrma |
| 10th | Shattered Moon | Automated Forge |
Star Wars Jedi Survivor provides a total of 10 stim upgrades. These upgrades can be used to increase the number of stims that BD-1 can carry as BD-1 can carry two stims by default, so these upgrades can allow it to carry 12 stims. However, BD-1 can carry a total of 13 stims if you use the perk “Fellowship.”
Undercity Meats
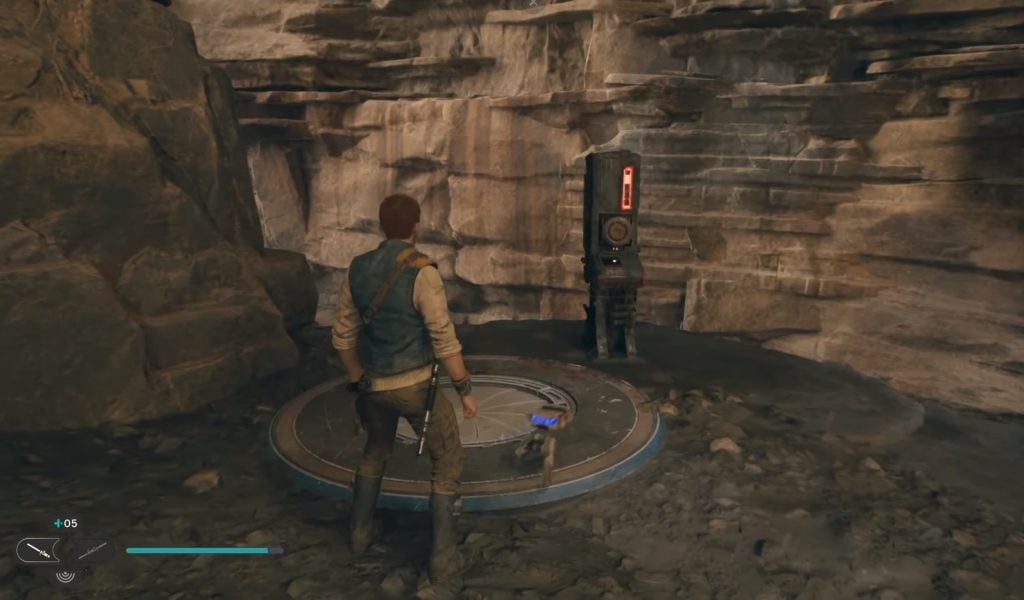
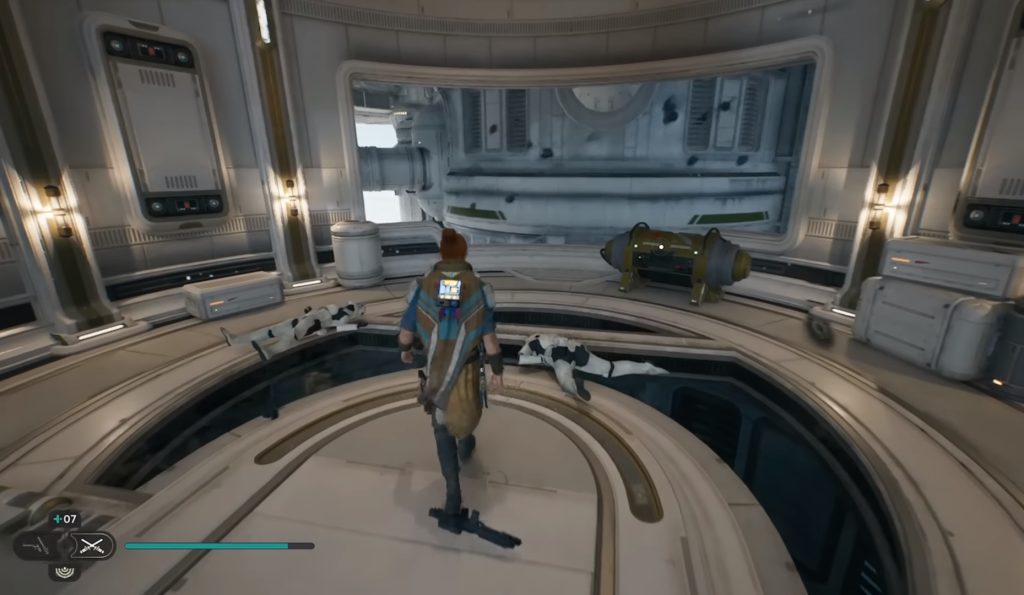
The first stim upgrade that can be acquired in Star Wars Jedi Survivor is on planet “Coruscant“. This is the only stim upgrade that is available on Coruscant. This upgrade can be acquired while completing the tutorial mission. While at the meditation point in Undercity Meats, head to the platform with glowing red lights.
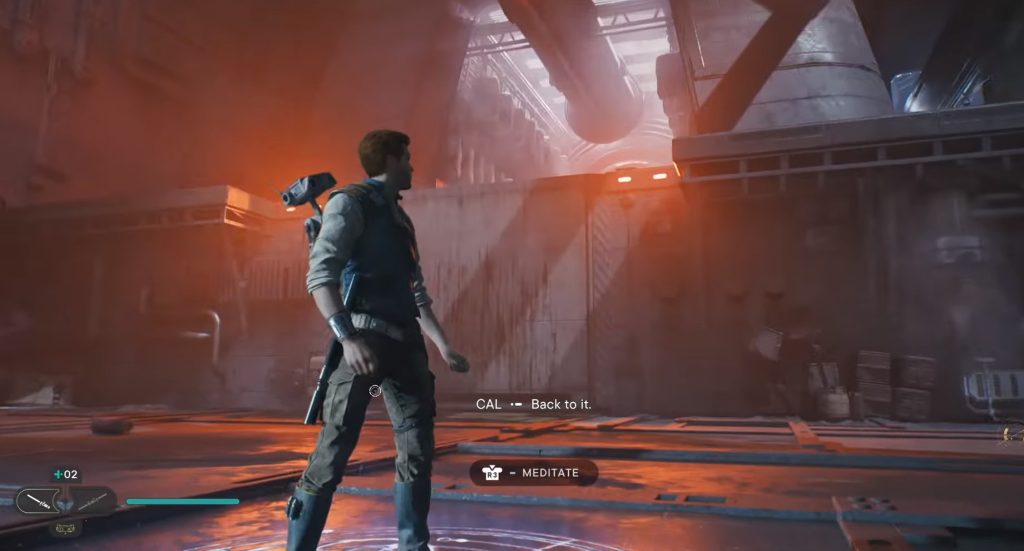
Once you climb up the platform, you will see a yellow chest. However, this chest is being guarded by a KX Security Droid. Before you can get your hands on the chest, you must defeat the droid. After defeating the droid, open the yellow chest, and you will find your first stim upgrade.
Sheltered Hollow
This is probably the easiest stim upgrade that one can find in Star Wars Jedi Survivor. You can get this stim upgrade right after the cutscene, where Cal and Marin get stuck in Sheltered Hollow during that storm.
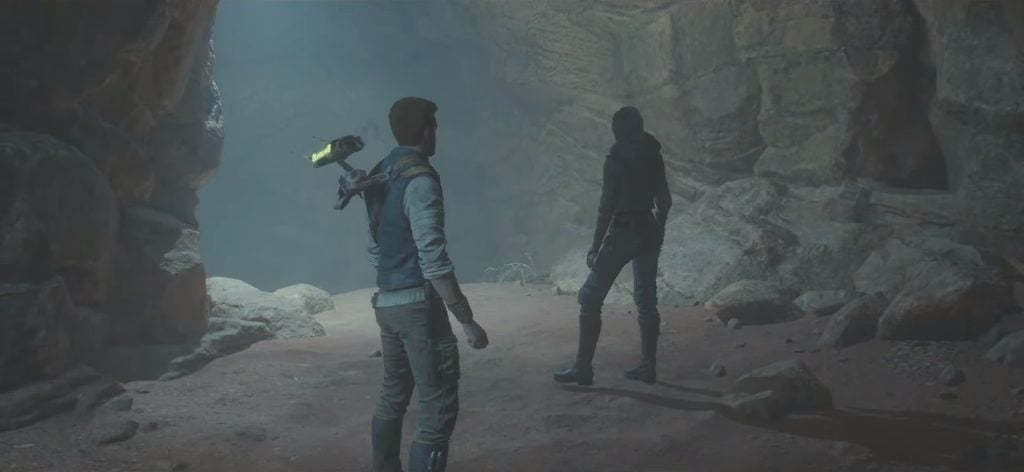
Once you are inside the cave, follow Marin to the cave exit. Keep a keen eye on the left side of the cave. While you are close to the exit, you will find a chest hugging the left wall of the cave. This is the chest that contains the stim upgrade. Open the chest, and you will get the stim upgrade.
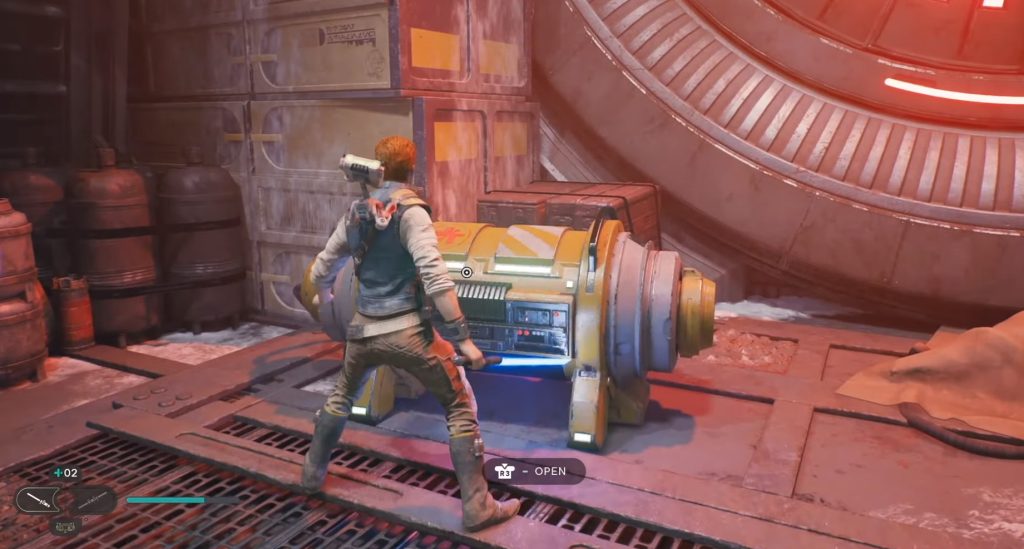
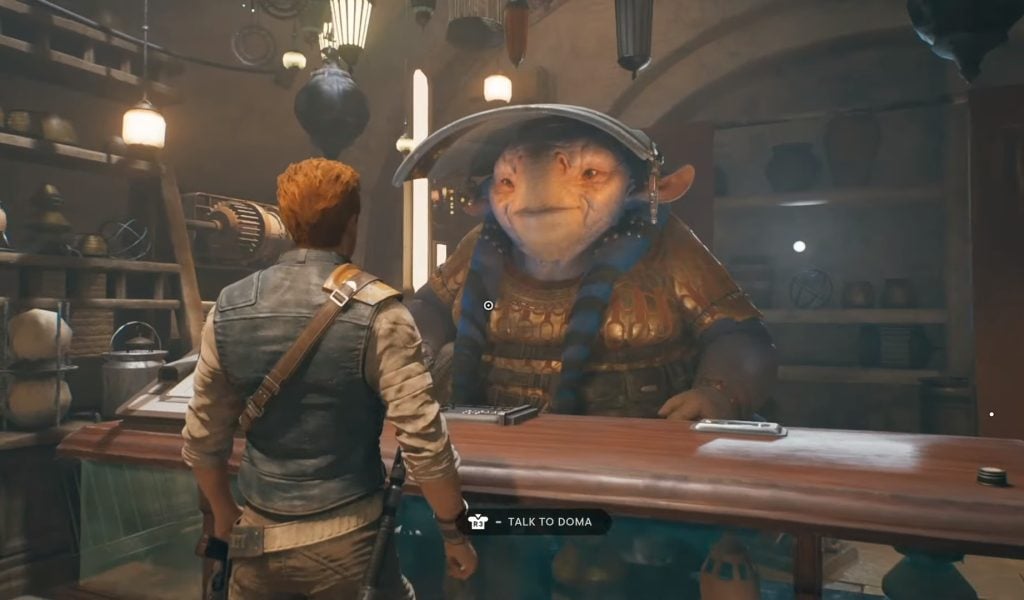
Doma’s Shop
While you are on the planet “Koboh,” follow the below instructions to get your hands on the next stim upgrade:
- Head to Doma’s shop.
- Interact with Doma.
- Purchase the item “Mysterious Keycode.
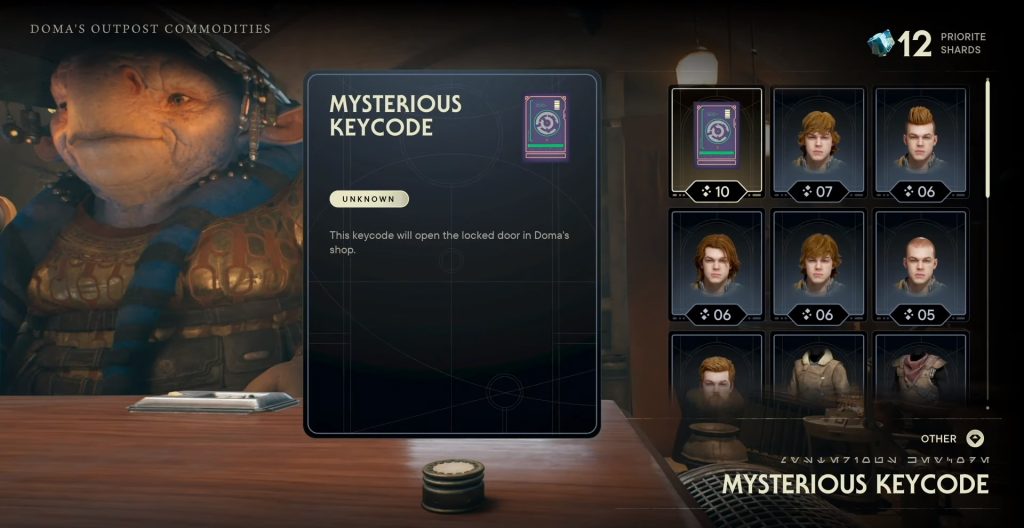
- To purchase the mysterious keycode, make sure that you have 10 Priorite Shards.
- Purchasing this keycode will allow BD-1 to slice a locked door inside Doma’s shop.
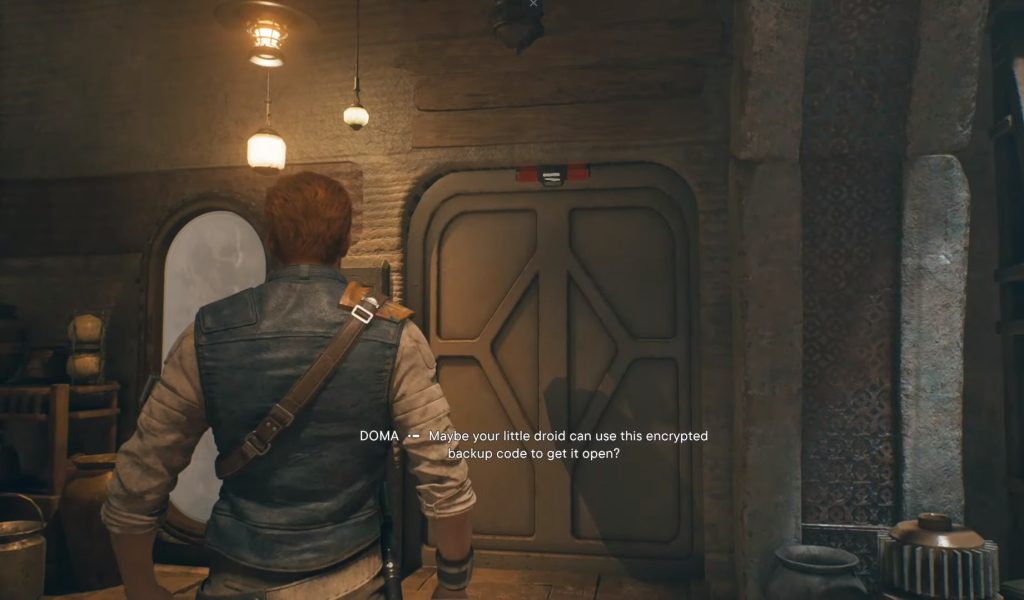
- Go inside the room and there you will find a yellow chest.
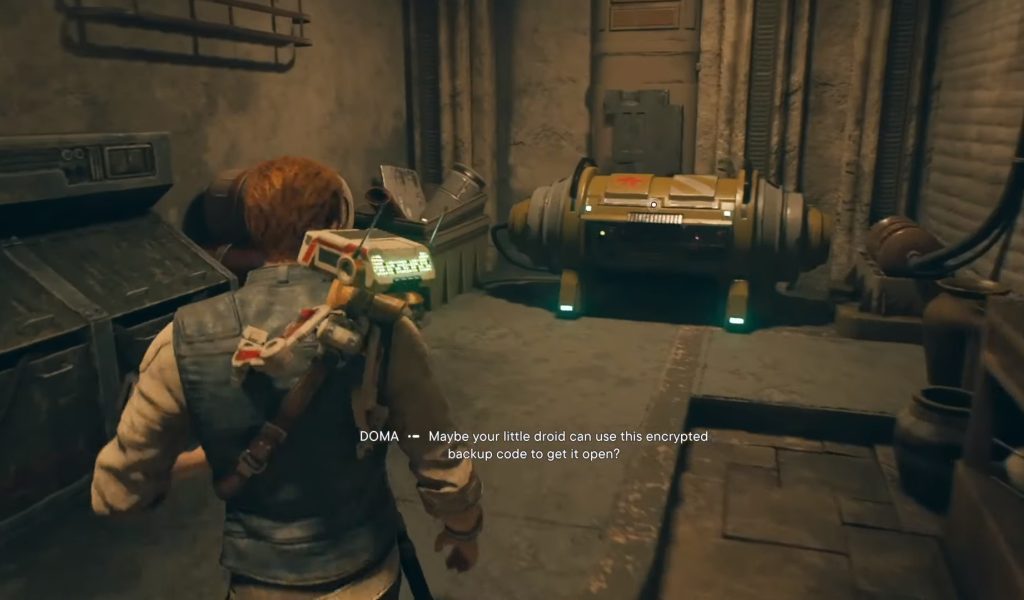
- Open the chest, and you will get the stim upgrade.
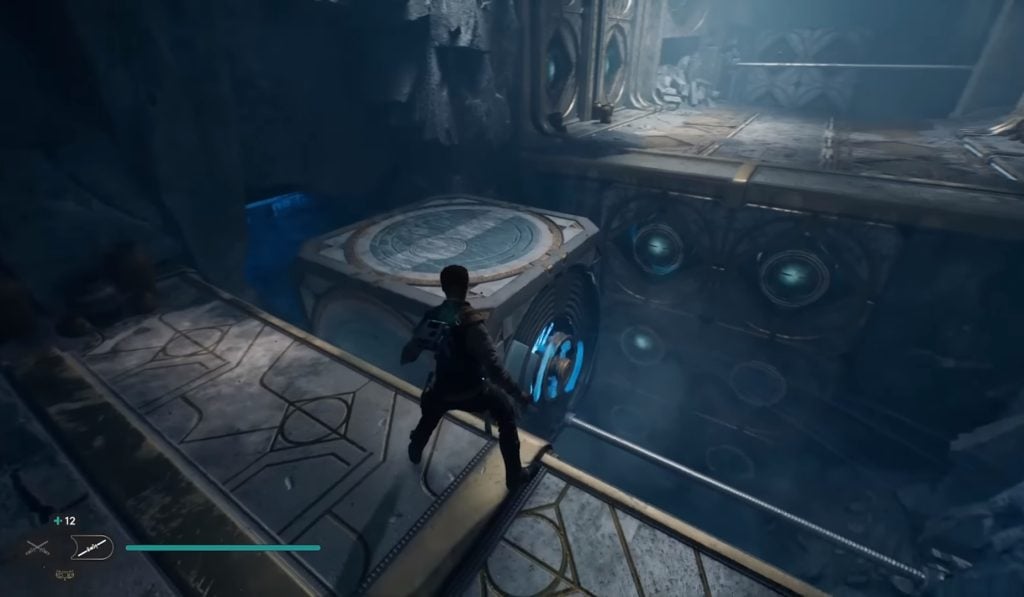
Basalt Rift
You must fast-travel to the Basalt Rift meditation point to acquire this stim upgrade. Once you have fast-traveled to the Basalt Rift, head to the North and cross the fallen pillar. Pass through the single archway and see a short hill ahead.
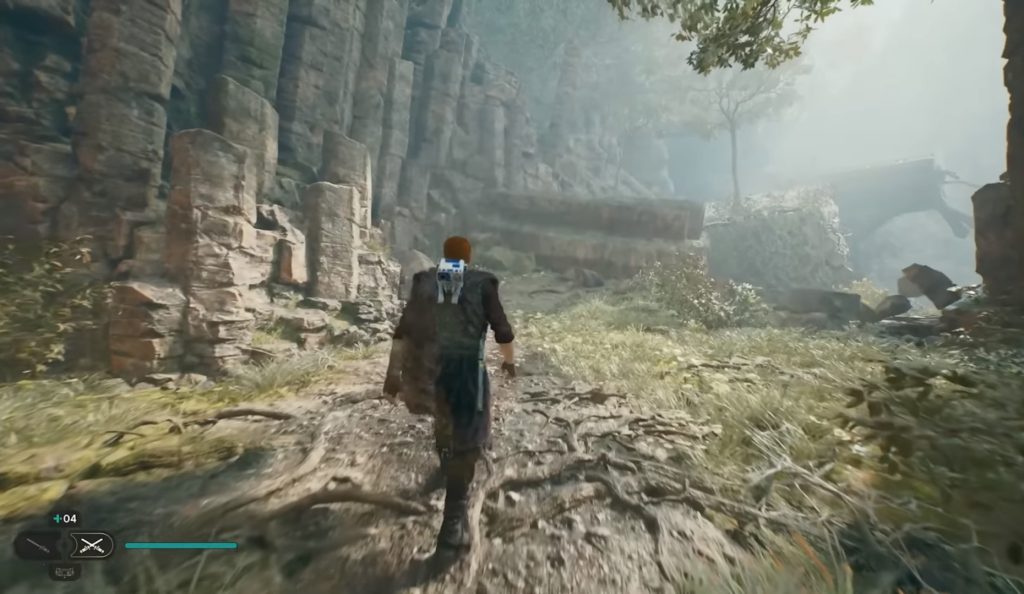
Climbing the short hill will lead you to two different paths. Take the left route, and you will see a platform right ahead. Defeat the Mogu here.
Now you have to get to the platform above you. For that wall, run on the walls of the current platform circularly, and you will reach close to the top. From there, grab the green vines and get to the top. The rest of the route is simple. Follow the route until you reach a yellow chest with a flyer sitting on it. Open the chest, and you will get the stim upgrade.
Foothill Falls
Use the meditation point to fast-travel to “Mountain Ascent” on Koboh. From the meditation point, follow the straight route to Foothill Falls. In Foothill Falls there, you will find a blue abandoned shack. Once you get inside the shack, you will find a giant door. On the other side of the door is a chest containing stim upgrade.
Follow the given instructions, and you will be able to get your hands on the chest:
- Get out of the shack and call a Nekko.
- On the backside of the shack, there is a blue wall.
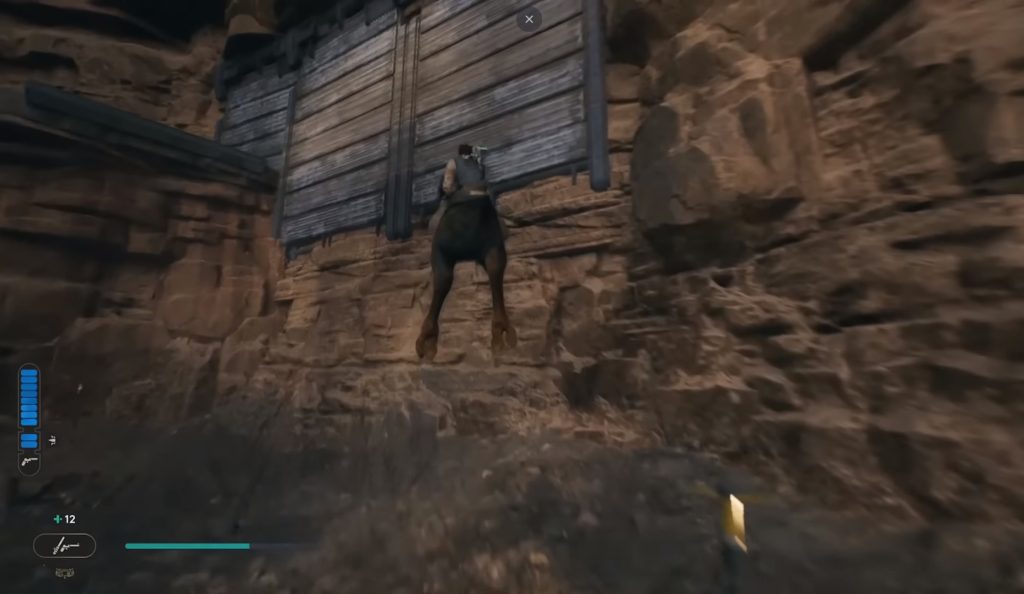
- Ride the Nekko to the blue wall and super jump off the Nekko to get to the upper level of the wall.
- Once you climb up the wall and jump to the platform on the left, you will see 2 poles ahead.
- Jump across the poles to the other side.
- On the other side, you will find a terminal.
- Interact with the terminal using BD-1.
- After the interaction, a roller mine will come out.
- While standing at the platform’s edge, you will see a huge hole in the roof of the blue shack.
- Use the “Force” to grab and throw the roller mine into the hole.
- Now, go back into the blue shack.
- There, you will see that the giant door has been blasted away by the roller mine.
- Now go through the giant door and claim the stim upgrade inside the chest.
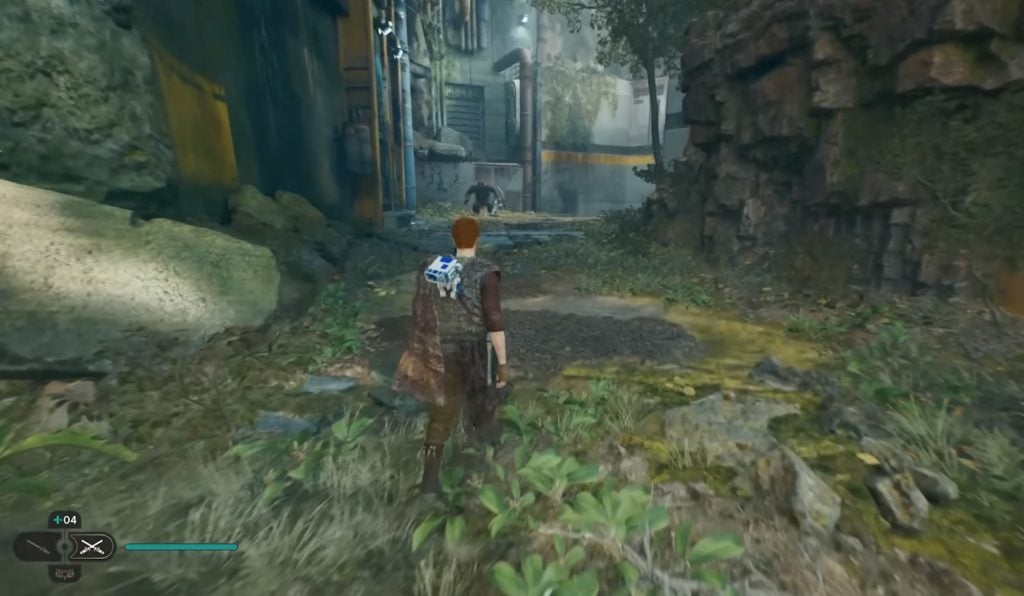
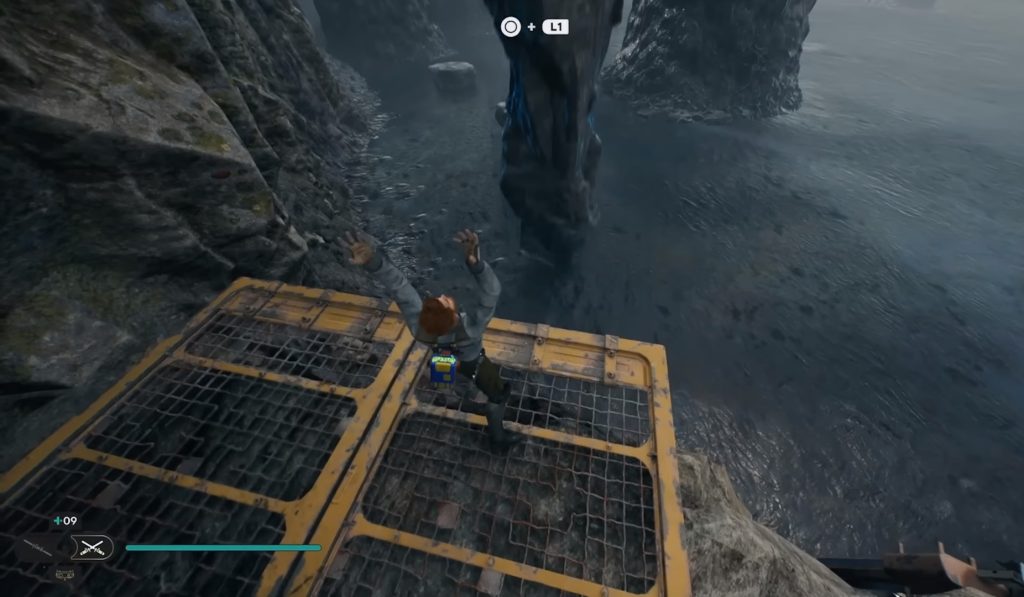
Viscid Bog
Viscid Bog is a location outside the Luker Hulk. Once you fast travel to the meditation point at Viscid Bog. Take the zipline right in front of you. Cross over the mud using the grapple or jumping on the stones. Get to the yellow platform in front, however you want.
After reaching the yellow platform, use Force Lift to lift the stone pillars that are stuck inside the mud. Cross these pillars and reach the platform in front.
There, you will find a yellow chest. But getting this chest won’t be easy. Because two ferocious enemies guard it, one is a Mogu, and the other is a legendary boss, “The Mire Terror“.
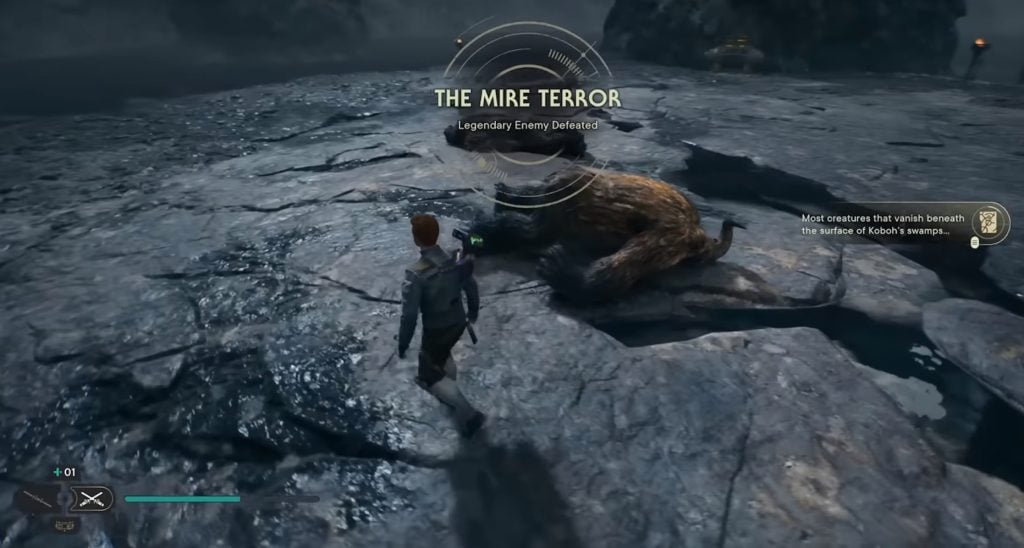
After defeating these two enemies, you can acquire the stim upgrade inside the chest.
Derelict Dam
Another Location inside Koboh, where you can find the stim upgrade, is the “Derelict Dam.” Upon fast traveling to Derelict Dam, find the big tunnel in front of the yellow bridge near the river.
Get inside the tunnel, and there you will find a roller mine. Let the roller mine follow you until you see the workbench. Stand at the platform’s edge, and you will see a cave. A huge chunk of breakable wall blocks its entrance. Throw the roller mine towards the cave entrance, and it’ll break the wall that was blocking the entrance.
Now, go through the cave until you come across a giant yellow gate. Use Force Lift to open this gate. Pass through this gate and keep moving forward until you encounter the legendary boss, “Gorocco Matriarch“. Defeat this legendary boss and grab the stim upgrade from the chest.

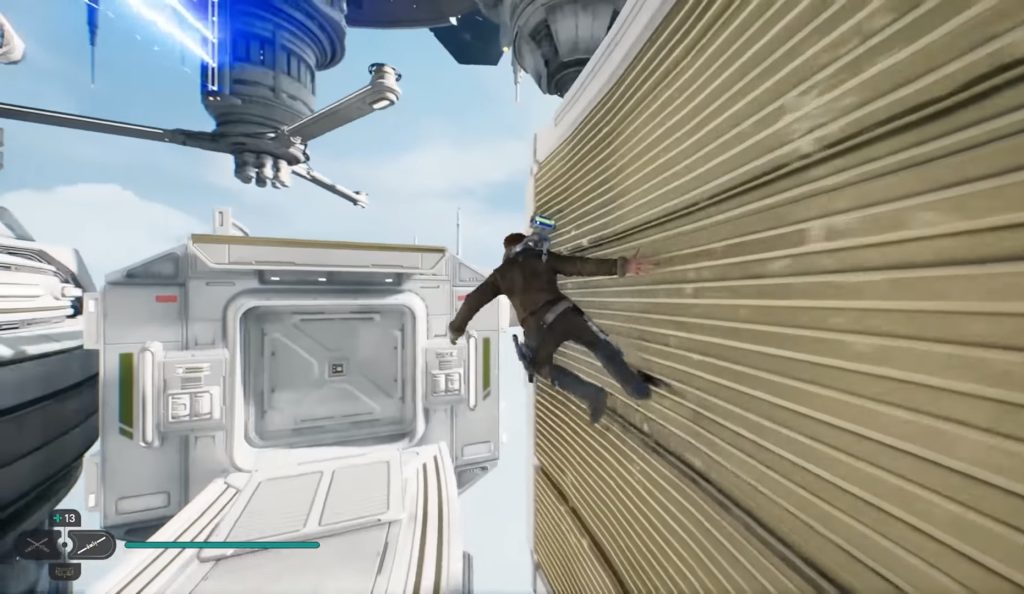
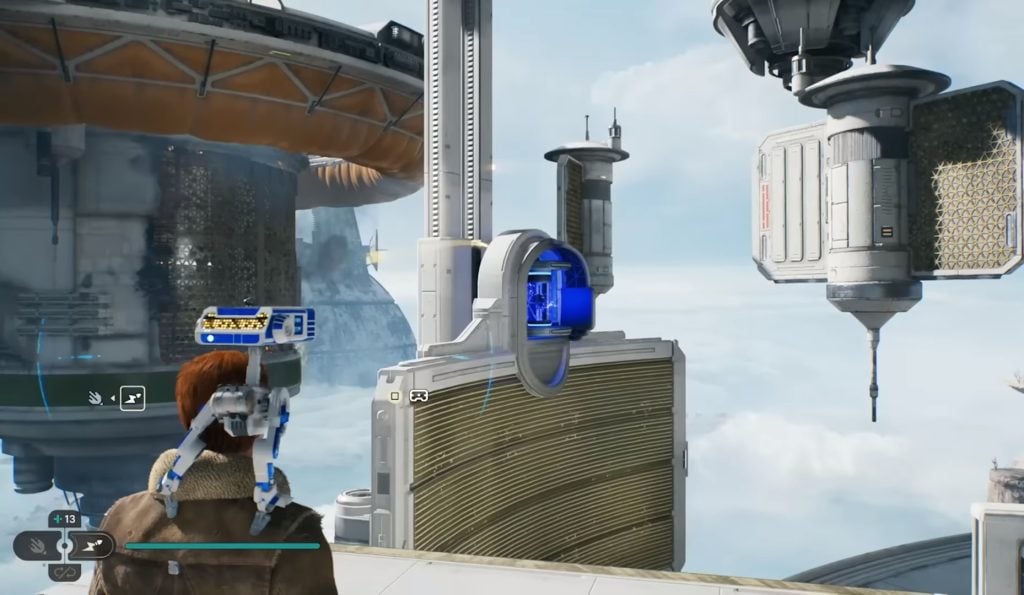
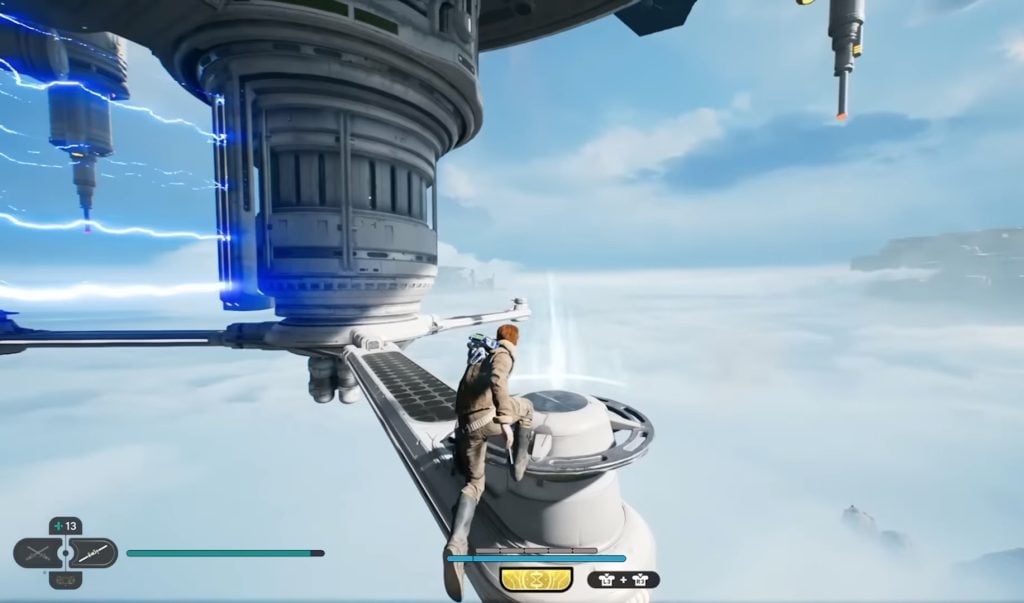
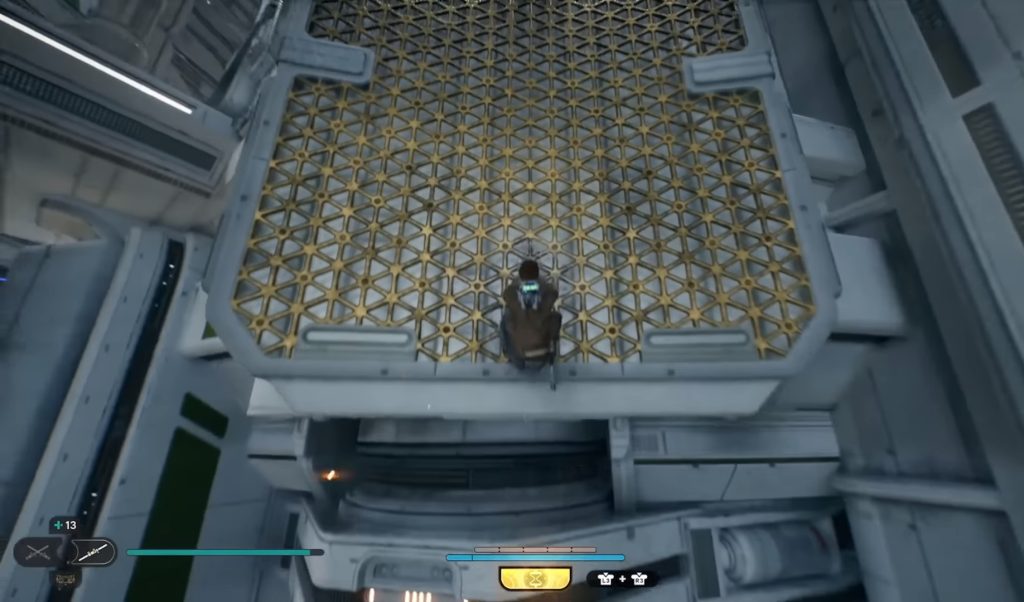
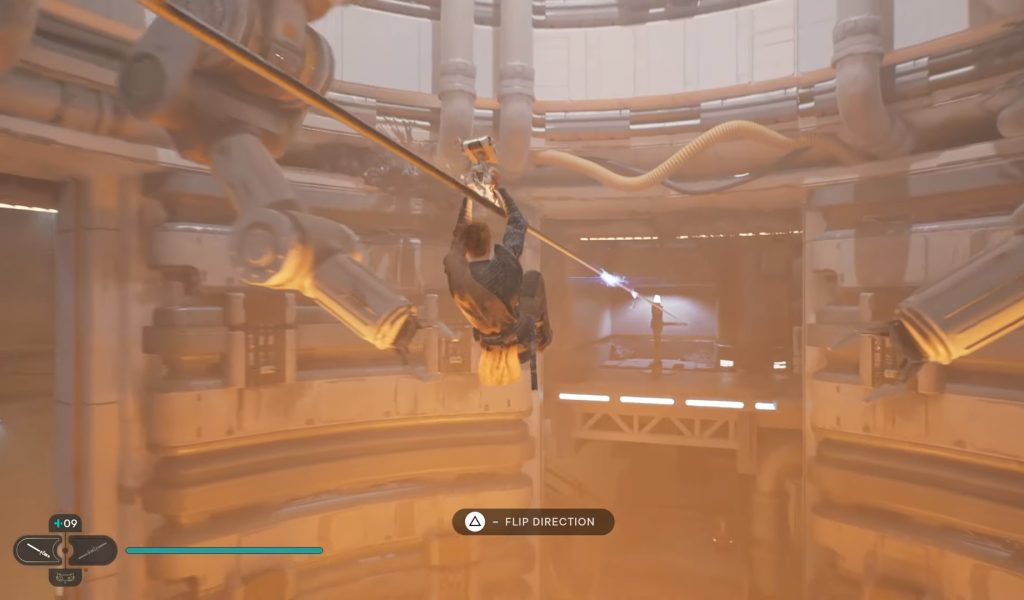
Observatory Understructure
The next location where I found one of the stim upgrades is “Observatory Understructure” on planet Koboh. To get this stim upgrade, you must fast-travel to the meditation point in Observatory Understructure. From there on, follow the steps mentioned below:
- Go up the rope right in front of you, which will take you to the top of the platform.
- Once you are at the top, jump to the closest platform.
- After covering some distance straight, you will see a wall with golden wires.
- Use BD-1’s electro dart to bring the wall down.
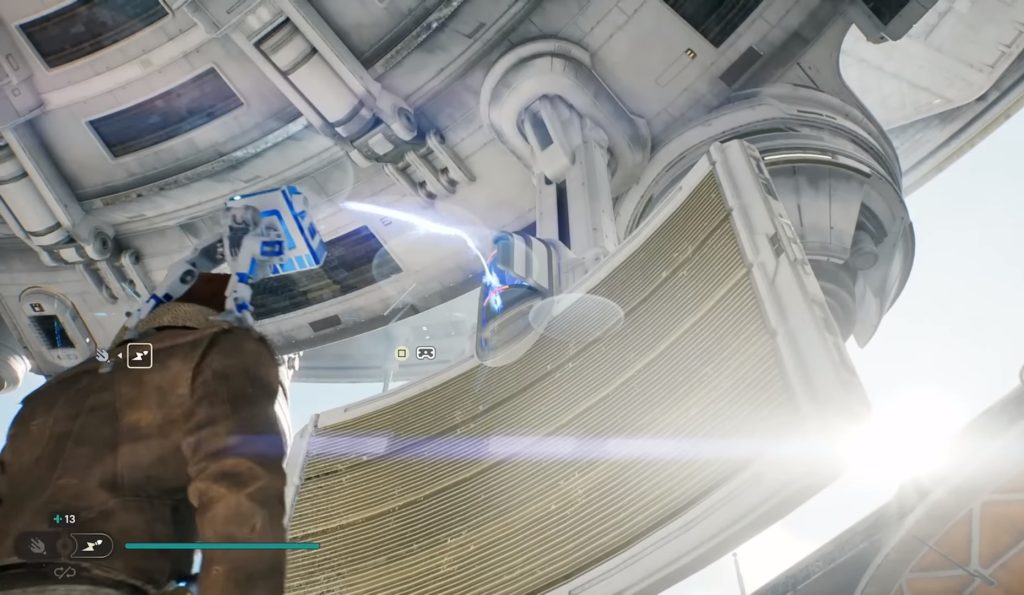
- Wall run to the left and jump onto the platform in front.
- While you are on top of this new platform, again, use BD-1’s electro dart to bring the wall up.
- Now wall run towards the right side.
- During the wall run, you will see a top-shaped wall in front.
- Jump onto this wall.
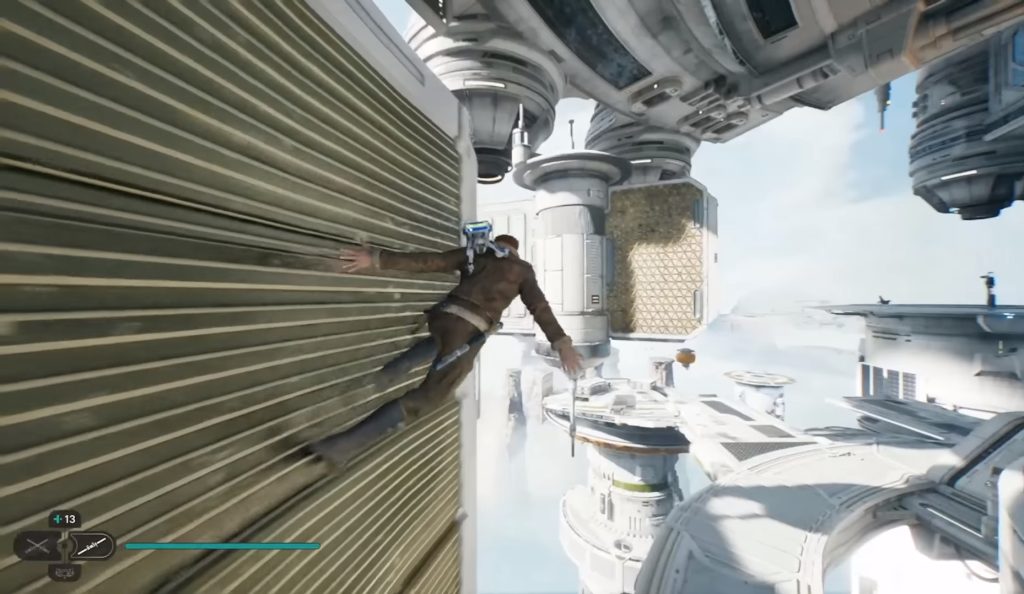
- This wall will start rotating.
- Once the rotation stops, jump to and grab the next wall in front of you.
- This wall will also start rotating.
- Once the rotation stops, You will see a rotating wall in front.
- Jump on and grab this wall.
- Climb to the top while navigating through this rotating wall. Also, watch out for the electric charge.
- After making it to the top of this wall, you will see a ledge ahead.
- Jump and grab this ledge.
- Climb up the ledge, and you will reach another platform.
- On your right, you will notice three rotating arms.
- Jump and grapple across these arms to cross the electric currents.
- While you have crossed the current, you will see a wall on the left. Grapple onto that wall and grab it.
- Climb to the top of this wall.
- Upon reaching the top of this wall, on the left, you will see a room.
- Inside this room, there is a Grapple device.
- Pick up and throw this grapple device, and it will create a grapple point in the air.
- Use your grapple on this grapple point.
- Upon reaching this grapple point, you will see a platform behind you.
- Jump and try to get on top of it.
- Once you get on top of this platform, you will find a chest containing the stim upgrade for BD-1.
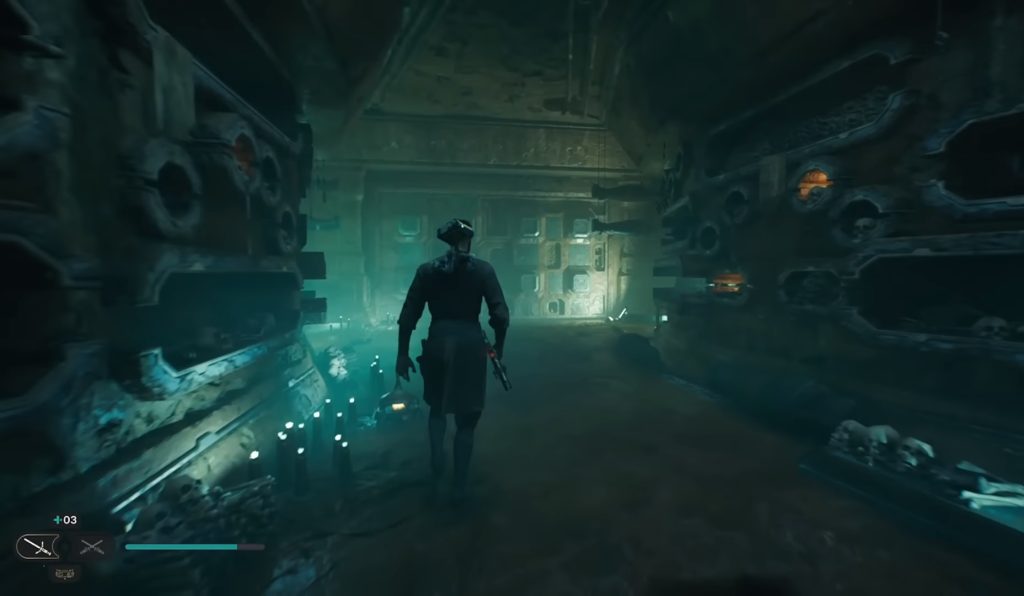
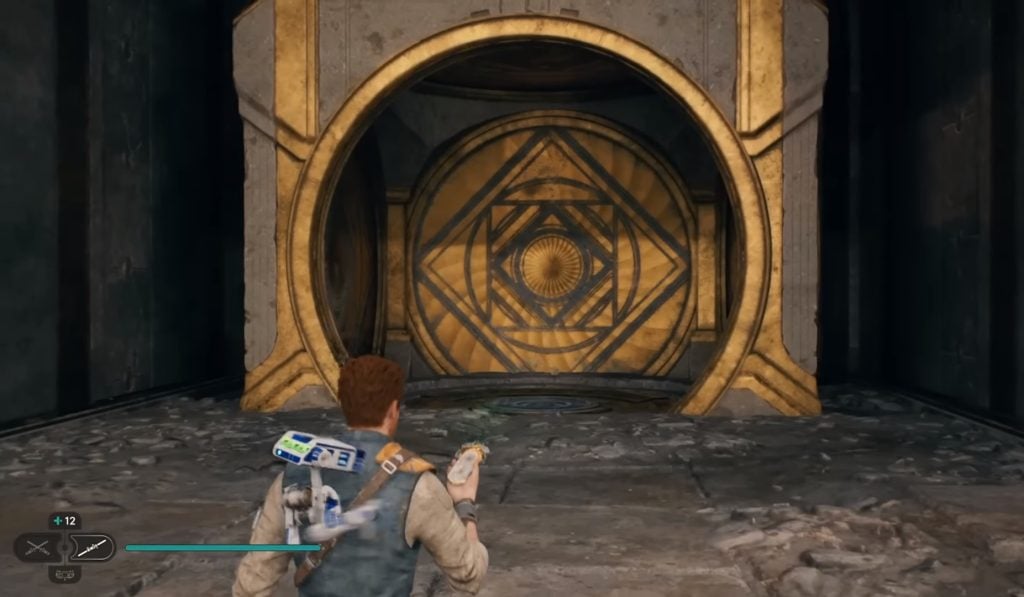
Crypt Of Uhrma
While you are on the mission to the safe house to rescue Brother Armias, you will pass through the Crypt of Uhrma on planet “Jedha.” You will find a puzzle on the back wall when you reach there.
To solve this puzzle, you must pull the two outside pillars on the top and the two inside pillars on the bottom. Use the image provided below for help:
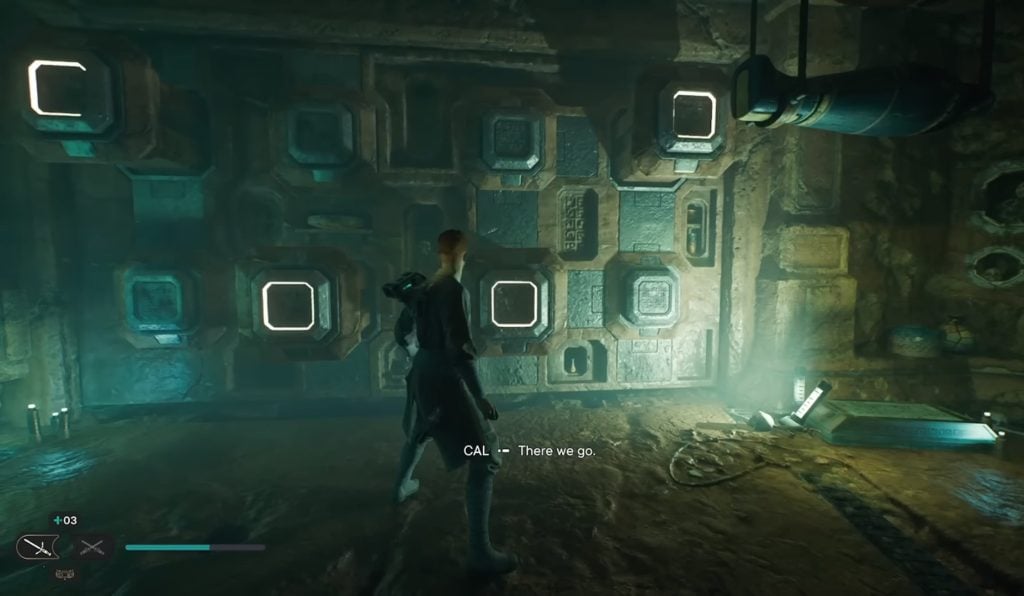
After solving the puzzle, a door will open. Get inside and follow the path straight. Jump across the two platforms, and to the right corner, you will see a chest. Open the chest and grab the stim upgrade.
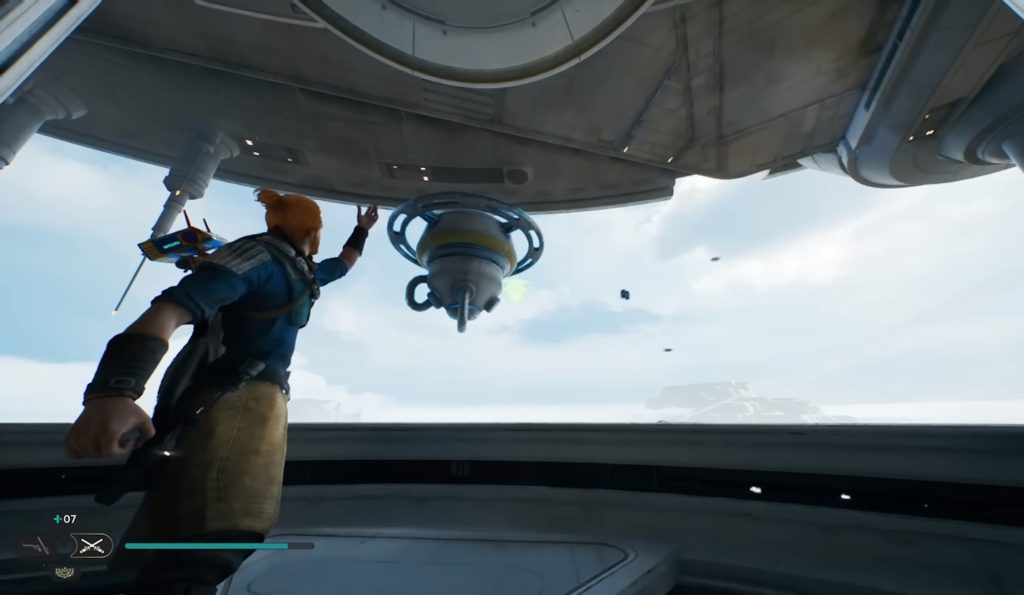
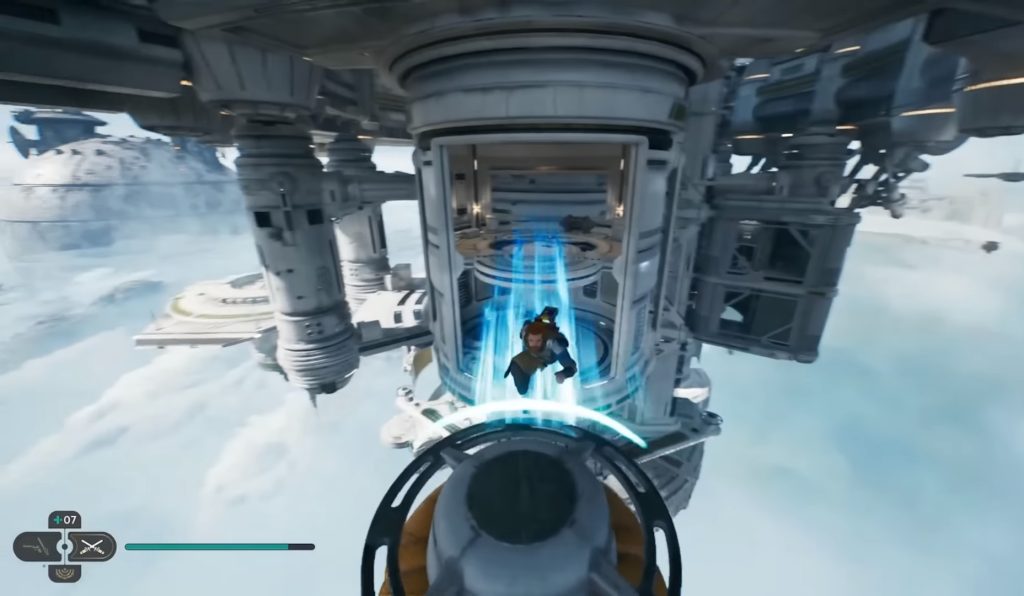
Automated Forge
On the planet “Shattered Moon“, you will find the final stim upgrade on Automated Forge. Fast-travel to the meditation point that is available on Automated Forge. From there, pass through the yellow door in front.
You will eventually run into a zipline. Take the zipline. This zipline will take you to a point where you will see two paths ahead. Now, take the right path. Cover some distance, and you will see a drop-down ledge.

Drop down from this ledge and grab the wall. Now, go towards the right and see a white wall. Wall run the right on this wall; to the right, you will see a zipline. Jump and grab onto the zipline. Now, while you are in the middle of the zipline, drop down from the zipline to the platform below you.
While standing on this platform, look towards the right, and you will see a grapple point on a wall. Use the grapple to get to the top of the wall. Now, take the zipline in front of you and make sure to jump over the electric current flowing through the zipline.
Once you land on the platform to where the zipline leads, go towards the right and keep moving until you find a chest. In this chest, you will find the last stim upgrade. Now, BD-1 can carry the maximum number of stims in Star Wars Jedi Survivor.
Fellowship Perk
Apart from the other stim locations, there is one more location that you have to explore. This location is known as “Boiling Bluff.” Here, you can find the Fellowship perk, which allows BD-1 to carry one extra stim along with the 12 others.
How To Find The Fellowship Perk
In this part of the guide, I will explain how I found the Fellowship Perk. It is not that hard to find this perk. All you have to do is follow the listed instructions, and you will find it easily.
- Fast travel to the Boiling Bluff meditation point on Koboh.
- Follow the route and go out into the open fields.
- There, you will come across a chamber.
- The chamber is on a higher platform, and the path leading inside is broken.
- So, to get inside the chamber, you must call a Nekko.
- Get close to the broken path and jump while riding the Nekko.
- Now, super jump from Nekko’s back and grab the vines under the chamber.
- Using the vines, climb up to the chamber.
- Go through the yellow door and get inside the chamber.
- Inside the chamber, you will see giant blue blocks.
- Get on top of these blocks and use push and pull force to navigate them.
- There is no exact way to navigate these blocks.
- Keep navigating these blocks until you reach a platform that has a glowing altar.

- Jump from the block to that platform and get to that glowing altar.
- This is where you will find the Fellowship Perk.
- Now, equip this perk to one of your perk slots, and it will allow BD-1 to carry one extra stim.
With all the stim locations provided above, our guide on all the stim locations in Star Wars Jedi Survivor ends. In this guide, I have shared the stim locations and explained how to get the stim upgrades available in these locations. However, players are reminded again that they must have these locations explored beforehand. Otherwise, they won’t be able to use the fast travel.
Apart from this, if you are trying to make a balanced skill tree using the best skills in the game, then make sure to read our guide on the Best skills of Star Wars Jedi Survivor. Other guides like How to Beat Oggdo, how to Reach the Forest Array, and all planets and locations in Star Wars Jedi Survivors have also been covered by our team.
Next:
- Star Wars Jedi Survivor Holotactics
- Star Wars Jedi Survivor Cheats & Trainers
- Star Wars Jedi Survivor: Increase Maximum Health
- Star Wars Jedi Survivor: All Blaster Skills
Thanks! Do share your feedback with us. ⚡
How can we make this post better? Your help would be appreciated. ✍