In order to master any game, you need to get used to the sensitivity and controller settings. Starfield is a highly-anticipated space exploration game and finding the optimal settings can greatly enhance your gaming experience. Whether you’re a seasoned spacefarer or a rookie astronaut, you must know the Starfield best controller settings to maximize your gaming experience and dominate your opponents.
- To dominate the Starfield universe, players must have the perfect controller settings and key bindings.
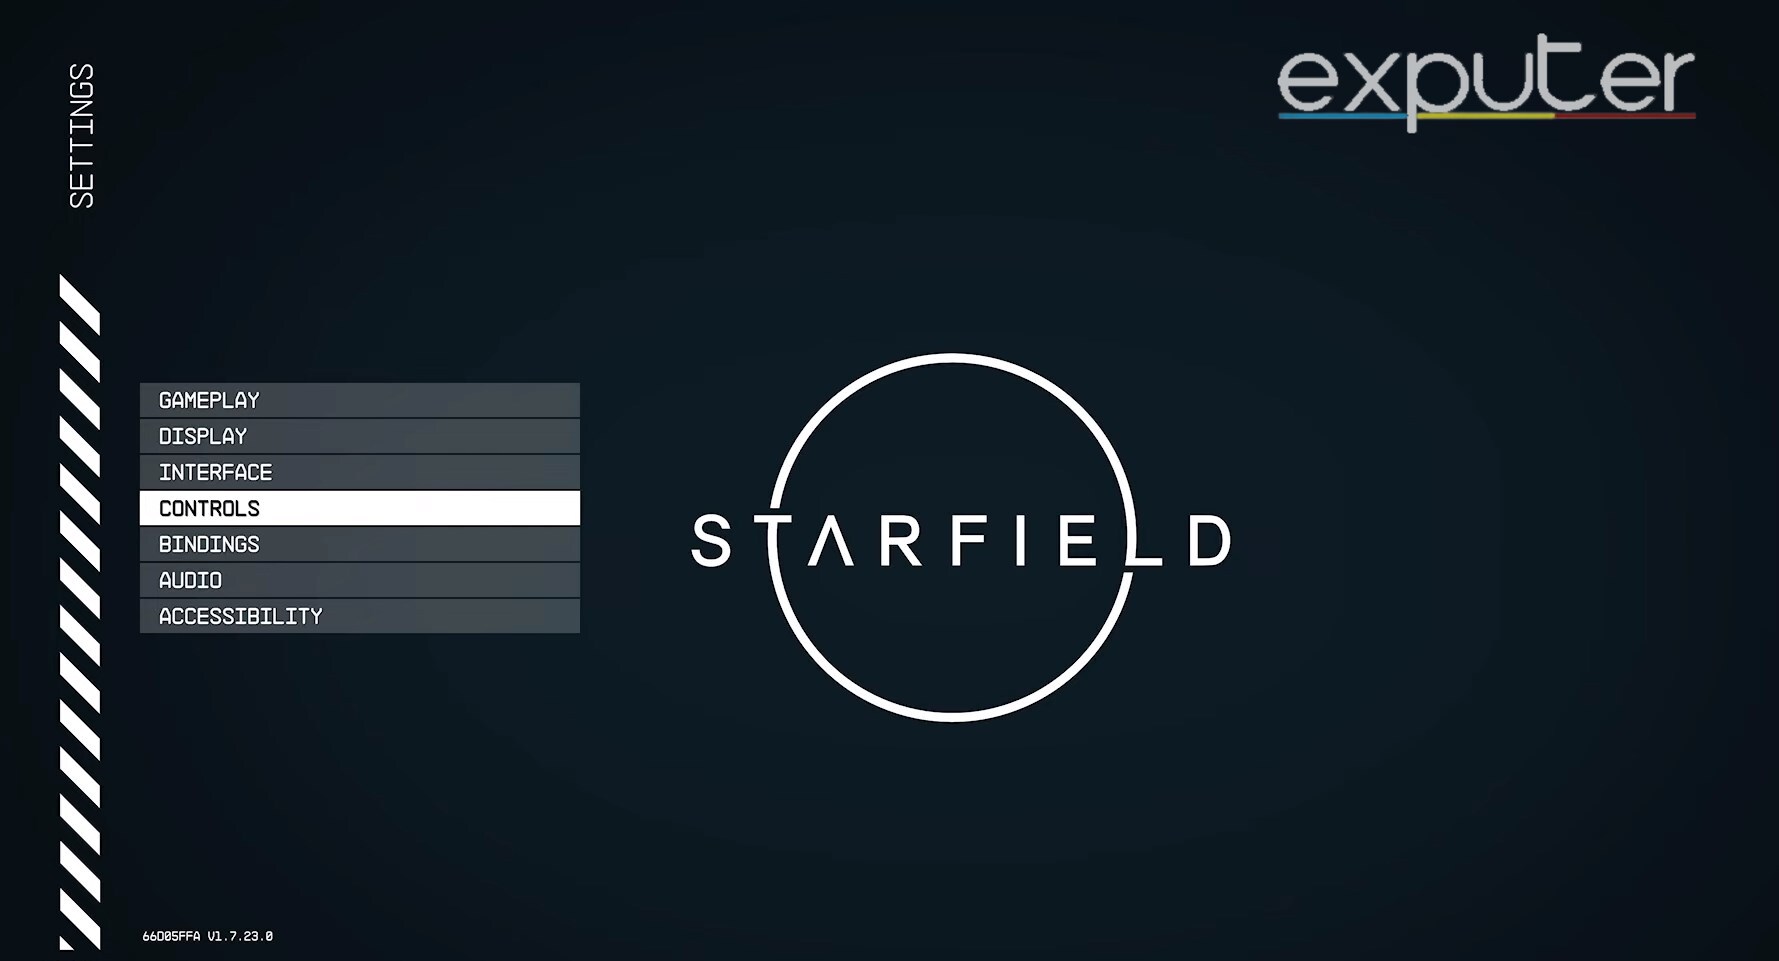
- Players can change the settings and allocate the buttons according to their choice in the settings menu.
- The main section to focus on is the Sensitivity Settings in Starfield, as it performs a major role in your gameplay experience.
- Players can find the best settings with some practice and test out different configurations to see which one works out for them.
Starfield Best Controller Settings
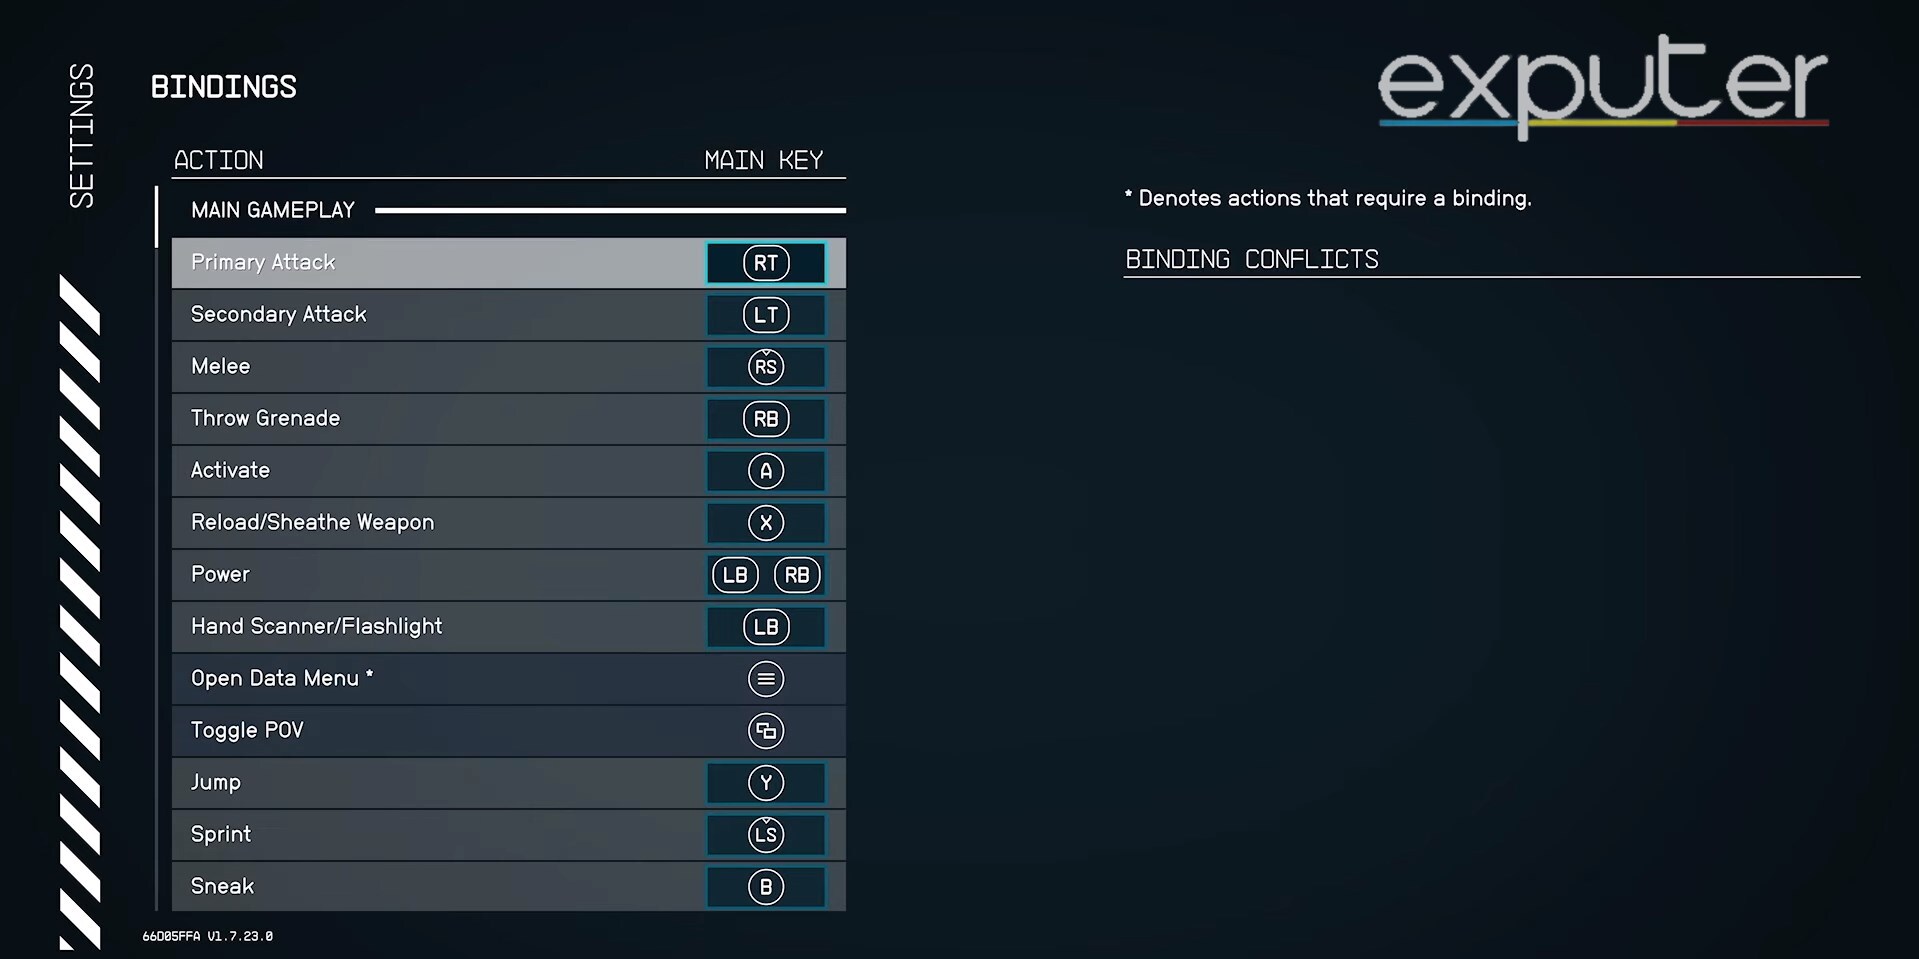
Main Gameplay Settings
| Action | Button |
| Primary Attack | RT |
| Secondary Attack | LT |
| Melee | RS |
| Throw Grenade | RB |
| Activate | A |
| Reload/Sheathe Weapon | X |
| Jump | Y |
| Power | LB+RB |
| Hand Scanner/Flashlight | LB |
| Sprint | LS |
| Sneak | B |
| Quick-Key Up | Up (D-Pad) |
| Quick-Key Down | Down ((D-Pad) |
| Quick-Key Left | Left (D-Pad) |
| Quick-Key Right | Right (D-Pad) |
Sensitivity Settings
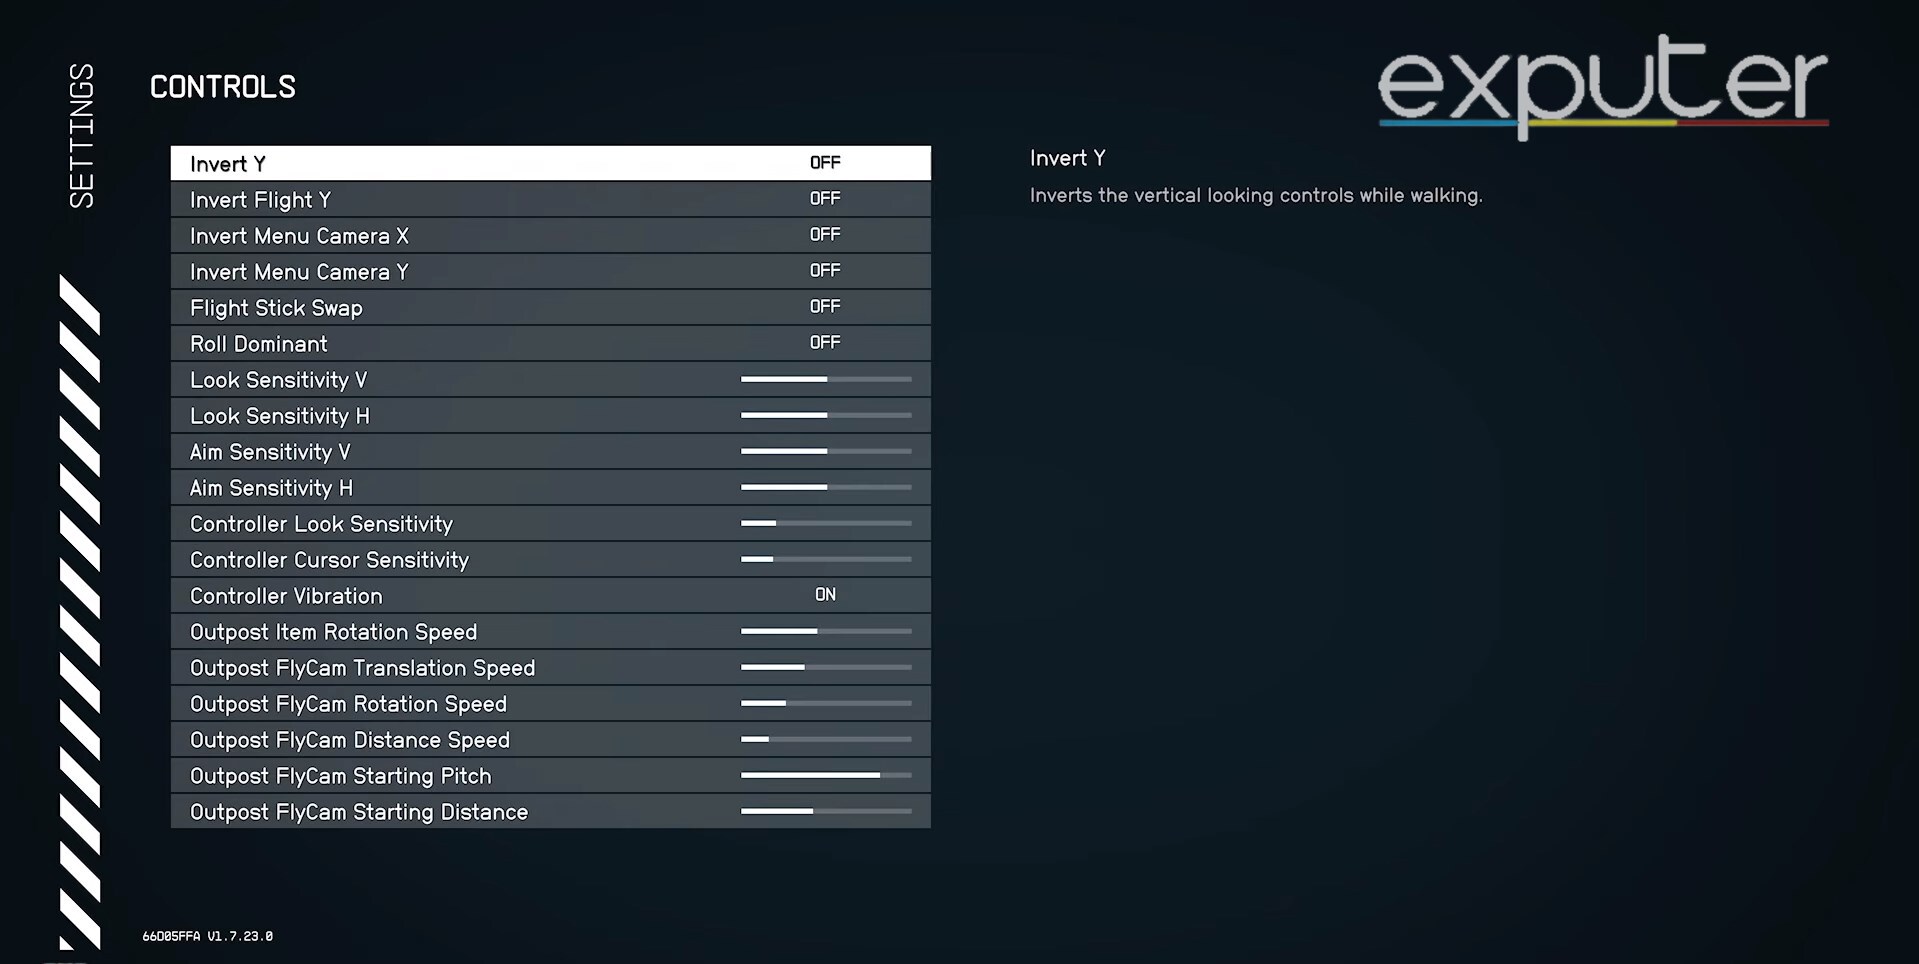
Here, you can have a general idea of decent sensitivity settings, but you can alter it according to your playstyle.
| Action | Button |
| Invert Y | Off |
| Invert Flight Y | Off |
| Invert Menu Camera X | Off |
| Invert Menu Camera Y | Off |
| Flight Stick Swap | Off |
| Roll Dominant | Off |
| Look Sensitivity V | 60 |
| Look Sensitivity H | 60 |
| Aim Sensitivity V | 50 |
| Aim Sensitivity H | 50 |
| Controller Look Sensitivity | 50 |
| Controller Cursor Sensitivity | 25 |
| Mouse Look Sensitivity | 50 |
| Ship Reticle Sensitivity | 50 |
| Controller Vibration | On |
| Controller Hotswap | On |
| Outpost Item Rotation Speed | 5.00x |
| Outpost FlyCam Translation Speed | 2.00x |
| Outpost FlyCam Rotation Speed | 1.50x |
| Outpost FlyCam Distance Speed | 1.00x |
| Outpost FlyCam Starting Pitch | 50 |
| Outpost FlyCam Starting Distance | 50 |
Other Important Settings
Once you set the difficulty settings in Starfield, primary controls, and sensitivity settings, there are some other crucial settings to check.
Here are a few important options in the settings that I recommend paying attention to.
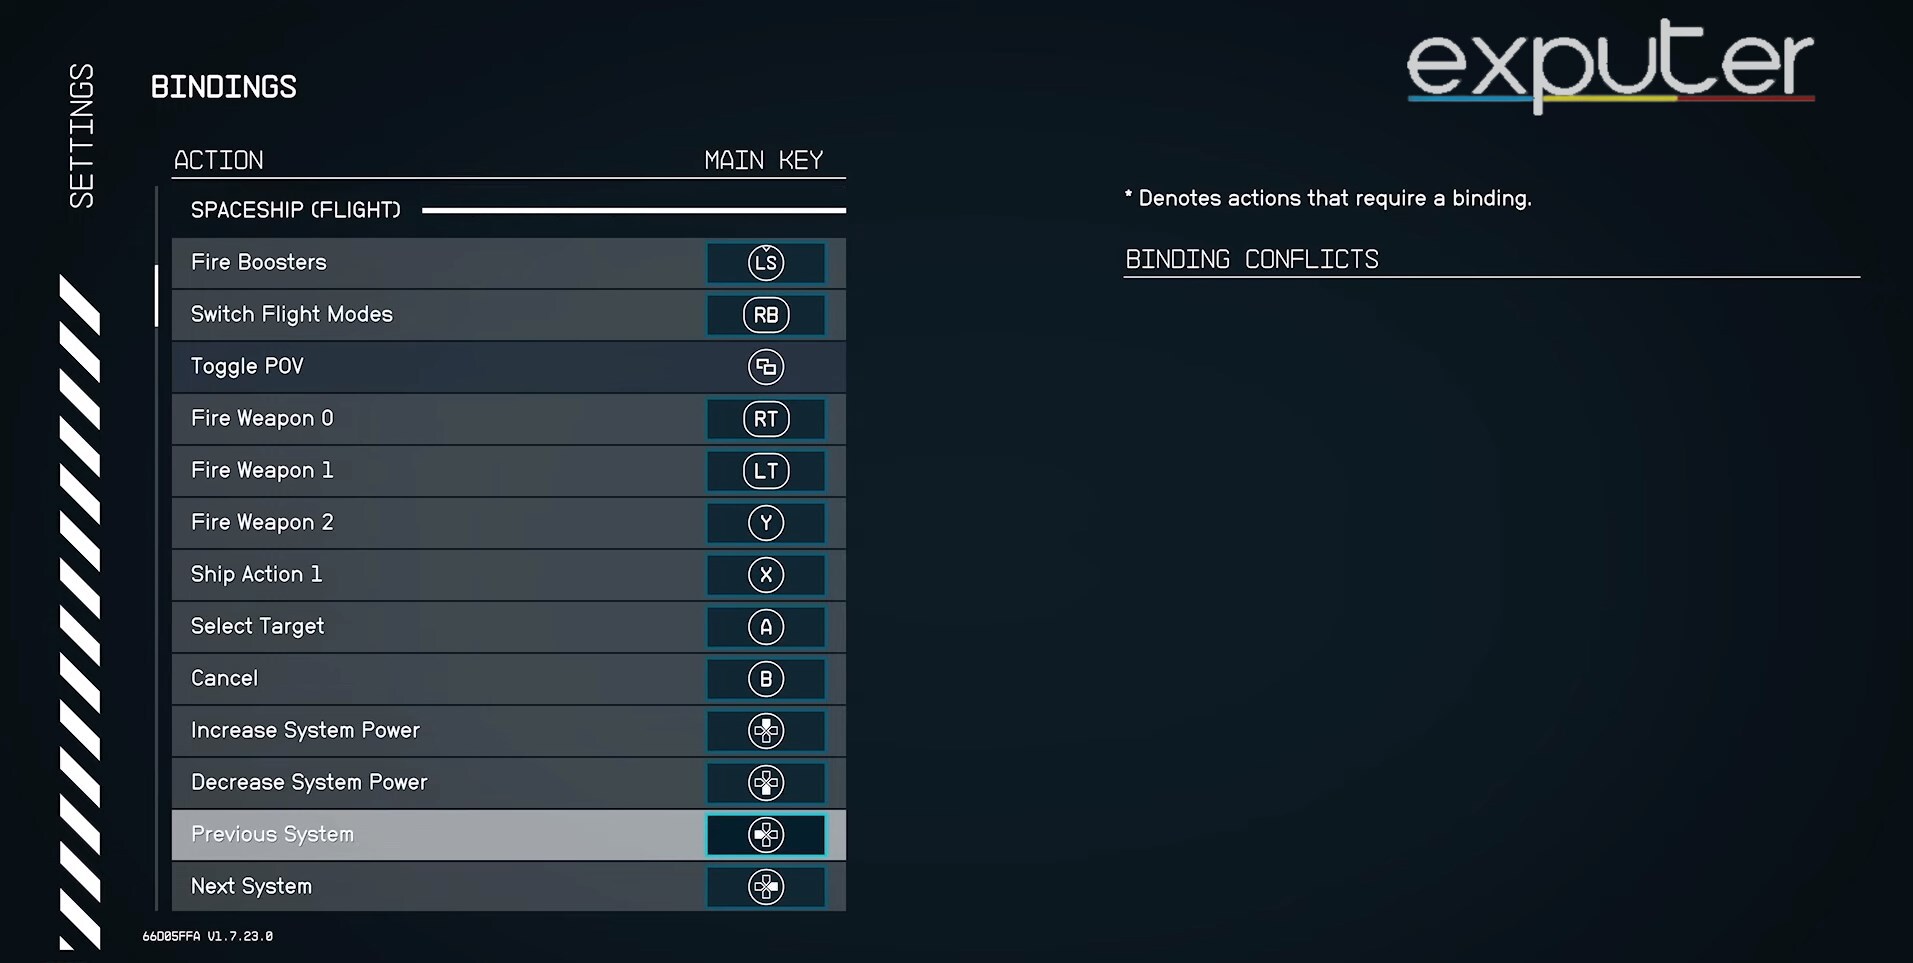
Spaceship (Flight)
| Action | Button |
| Fire Boosters | LS |
| Switch Flight Modes | RB |
| Toggle POV | View Button |
| Fire Weapon 0 | RT |
| Fire Weapon 1 | LT |
| Fire Weapon 2 | Y |
| Ship Action: 1 | X |
| Select Target | A |
| Cancel | B |
| Increase System Power | Up (D-Pad) |
| Decrease System Power | Down (D-Pad) |
| Previous System | Left (D-Pad) |
| Next System | Right (D-Pad) |
| Open Scanner | LB |
| Repair | RS |
Menu Navigation
For Menu Navigation, I use the following controls:
| Action | Button |
| Accept | A |
| Cancel | B |
| UP | Up (D-Pad) |
| Down | Down (D-Pad) |
| Left | Left (D-Pad) |
| Right | Right (D-Pad) |
| Previous Tab | LB |
| Next Tab | RB |
| UI Action 1 | X |
| UI Action 2 | Y |
| UI Action 3 | View Button |
| UI Action 4 | LS |
| UI Action 5 | RS |
| Zoom Model In | RT |
| Zoom Model Out | LT |
Outpost
In Starfield, you can use the following settings for Outpost:
| Action | Button |
| Build/Confirm/Edit | A |
| Cancel | B |
| Up | Up (D-Pad) |
| Down | Down (D-Pad) |
| Previous Variant | Left (D-Pad) |
| Next Variant | Right (D-Pad) |
| Rotate Object Left | LT |
| Rotate Object Right | RT |
| Delete/Replace Object | X |
| Change Color/Previous Category | LB |
| Repair Object/Next Category | RB |
| Toggle View | View Button |
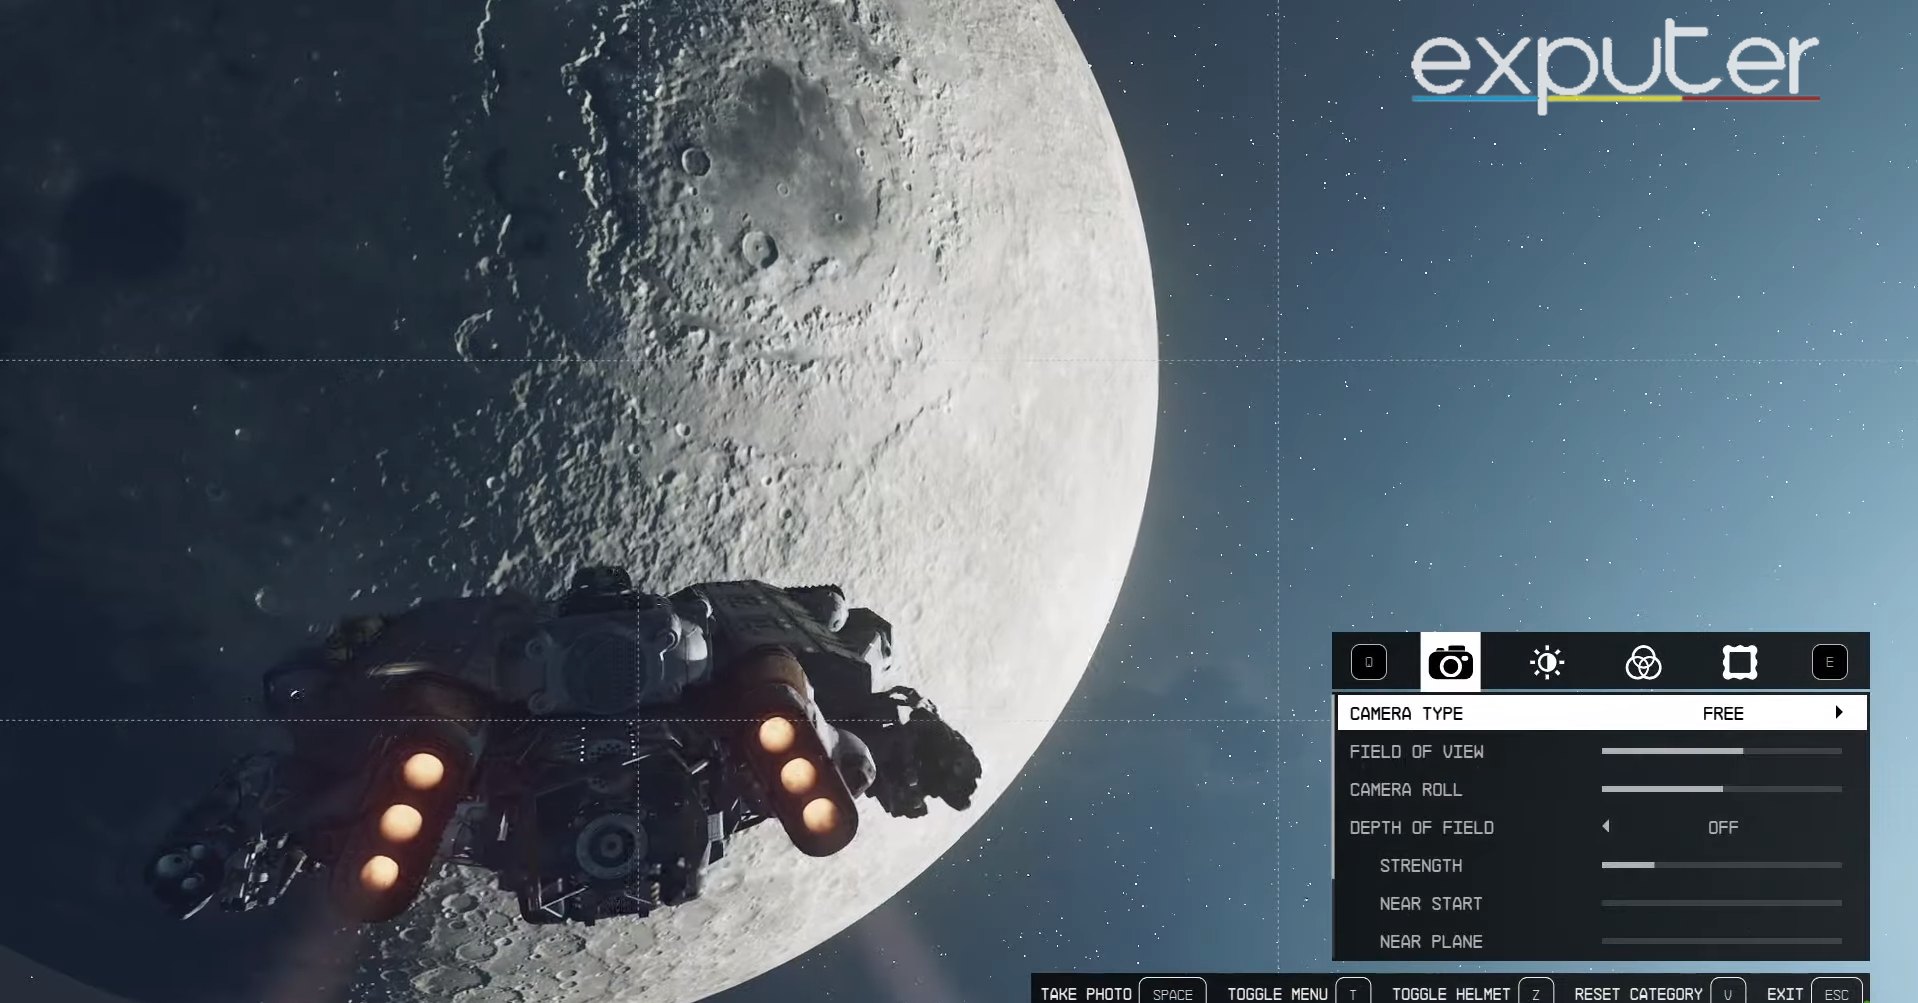
Photo Mode
| Action | Button |
| Snapshot | A |
| Exit | B |
| Reset Settings | View Button |
| Toggle UI | Y |
| Next Mode | X |
| Move Camera Up | RT |
| Move Camera Down | LT |
| Next Category | RB |
| Up | Up (D-Pad) |
| Down | Down (D-Pad) |
| Left | Left (D-Pad) |
| Right | Right (D-Pad) |
| Toggle Headtracking | RS |
| Toggle Helmet | LS |
Starmap
To operate the Starmap, you can use the following controls:
| Action | Button |
| Open Mission Menu: | Option Button |
| Show Me: | Y |
| Zoom In: | RT |
| Zoom Out: | LT |
| Surface Map: | RB |
| Set Route Destination: | X |
| Pan Up: | Up (D-Pad) |
| Pan Down: | Down (D-Pad) |
| Pan Left: | Left (D-Pad) |
| Pan Right: | Right (D-Pad) |
| Reset Camera | RS |
| Fast Travel to Ship | Y |
Ship Settings
While interacting with the sips, I suggest using the following settings:
| Action | Button |
| Floor Up | Up (D-Pad) |
| Floor Down | Down (D-Pad) |
| Right Shoulder | RB |
| Left Shoulder | LB |
| Add/Edit/Confirm | A |
| Cancel | B |
| Delete | X |
| Duplicate/Flip | Y |
| Undo/Previous Variant | Left (D-Pad) |
| Redo/Next Variant | Right (D-Pad) |
| Flight Check | Option Button |
| Color | LS |
| Repair | A |
| Cargo Hold | X |
| Crew | Y |
| Previous Ship | LB |
| Next Ship | RB |
| Exit | B |
| Inspect | RS |
| Home Ship | Option Button |
| Register Ship | View Button |
My Take On Starfield Settings
Finding the perfect controller settings in Starfield is a highly personalized experience. What works for one player might not work for another. Therefore, take the time to experiment with different configurations and find the settings that align with your playstyle and comfort. Whether you’re a daring space captain or a meticulous explorer, optimal controller settings will help you make the most of your journey across the Starfield universe.
Once you find the best controller settings, you can check the guide on How To Lockpick and Starfield Ship Storage to have a better understanding of the game. You can also learn How To Use Boost Packs and jetpacks In Starfield to get fairly better at it.
Next:
Thanks! Do share your feedback with us. ⚡
How can we make this post better? Your help would be appreciated. ✍