Season of the Wish has just been released, and with it comes a new Dungeon called the Warlords Ruin. It will take you through freezing platforming puzzles and three intense and high-octane boss fights. I understand that such an activity can be difficult for some players, especially those who are returning to the game after a break. Therefore, my Destiny 2 Warlords Ruin guide will walk you through all the encounters, mechanics, and strategies.
- Why Trust Us: Usama Mehmood has over 2500+ hours in both Destiny 1 & 2, so you can rely on his expertise when reading the Dungeon guide.
- Warlords Ruin Destiny 2 Dungeon was released with Season 23.
- There are a total of three boss fights or encounters in the Warlords Ruin Dungeon:
- Raithil, First Broken Knight of Fikrul
- Locus of the Wailing Grief
- Hefnd’s Vengeance, Blighted Chimaera
- I recommend these supers: Thundercrash, Celestial Nighthawk, and Well of Radiance.
- For weapons and loadouts, I recommend Snipers, Rocket Launchers, and Fusion Rifles.
- As you progress in Warlords Ruin Dungeon, mechanics from previous encounters will build up on each other.
Similar Read: Destiny 2: All Warlord’s Ruin Dungeon Weapons
First Traversal
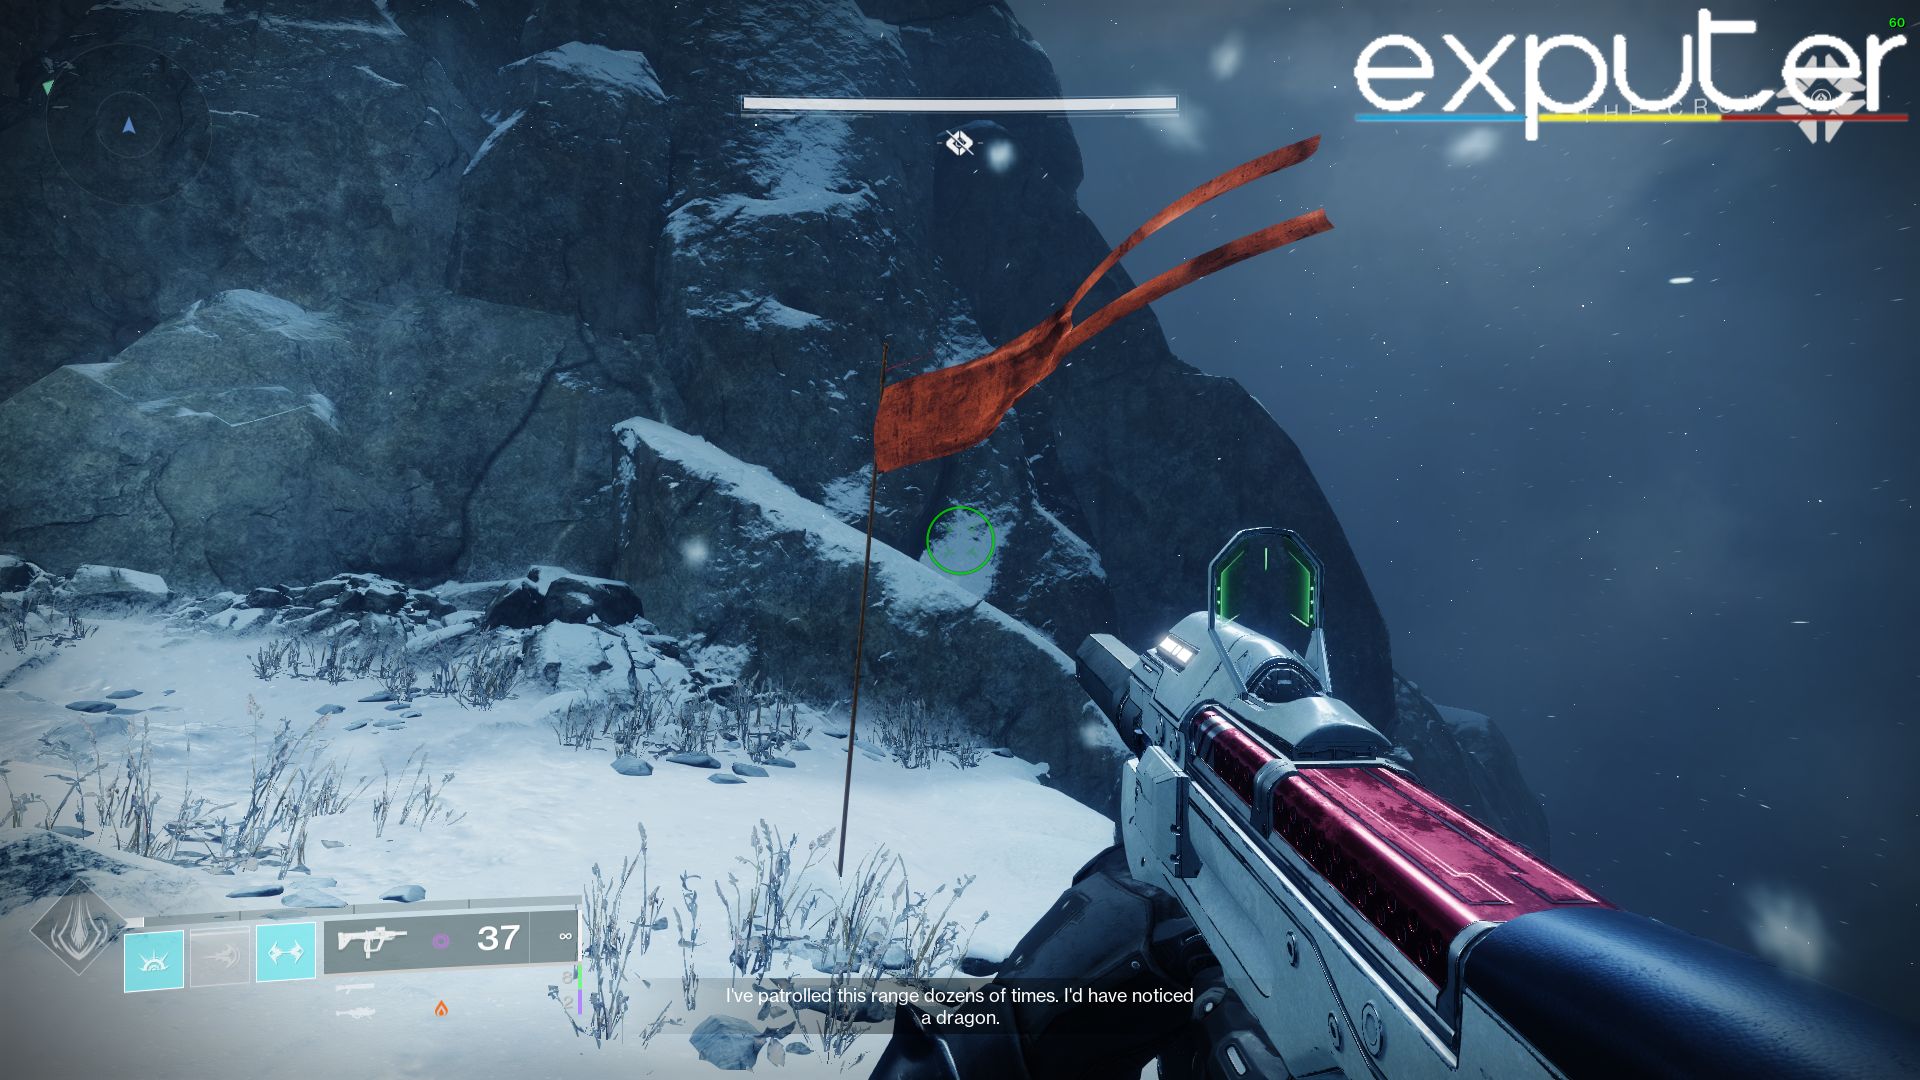
Once you have landed, navigate your way through the mountains to progress forward. To make navigation easy, follow along the red flags until you reach the first encounter. I recommend you make use of an Eagers-Edge perk Sword to make platforming easier.
Rathil, First Broken Knight Of Fikrul – Boss Fight
The first encounter of Destiny 2 Warlords Ruin guide is straightforward and does not require much communication. At this stage, you are free to use whatever weapon or sub-class you prefer.
However, I recommend using Strand or Thundercrash for Titans, Celestial Nighthawk for Hunters, and Well of Radiance for Warlocks. In regards to weapons, I have found rocket launchers and shotguns to be the best boss DPS weapons for the first encounter.
 Rathil - First Boss. (Image By Me)


")
Damaging The Boss
- Once the encounter has started, clear out some enemies.
- After a while, the boss will drop two Iron Lanterns with a Taken Blight inside it.
- A white circle surrounds these Iron Lanterns.
- Stand inside the white circle until the Lantern starts glowing blue.
- You also have a countdown timer of 20 seconds called Imminent Wish.
- Activate as many Lanterns as possible before the timer runs out.
- Once Imminent Wish runs out, the DPS phase will start.
- More Lanterns activated will increase the duration of DPS.
Iron Cages
- Occasionally, all players will be teleported to Iron Cages above the arena.
- To escape the Cage, locate and kill Taken Eyes around the cage.
- The cage door opens once all three Taken Eyes are killed.
- If you run out of time, you will die.
The Prison Cell – Puzzle
Once the boss is dead, all players will be teleported to a prison cell. Since there are no enemies here, you are free to use weapons you feel comfortable using. However, I highly recommend using a ranged weapon like a Hand Cannon, Scout, or Auto Rifle.
Unlocking The Prison Cell
- White Tally Marks. (Image By Me)


- Two of the three players will have a skeleton and a rock with tally marks next to their cell.
- A rock with white tally marks indicates the number of cogs that need to be turned clockwise.
- The other rock with red tally marks indicates the number of cogs that need to be turned anti-clockwise.
- All the cogs are located around the prison cells.
- Shoot once to turn it anti-clockwise, and shoot twice to turn it clockwise.
- Once all cogs are shot correctly, the third player will shoot the key located near the prison cell door.
- The doors to all prison cells will now be open.
The First Maze
- Prison Corridor - Exiting. (Image By Me)


Navigate through the maze to proceed to the next encounter. The maze is almost linear in direction, so you don’t need to worry about getting lost.
However, I recommend you be aware of the following traps:
- There are trap doors on both sides of the walls. Jump above them to avoid getting killed.
- A few chests, glowing blue, will be found around the maze.
- Opening these ones kills you instantly.
- Keep progressing through the maze until you arrive outside.
- Once outside, proceed to the left side of the mountain until you reach the top of the wall.
- You will now face some enemies; I recommend you skip them.
- Push forward until you see a huge door with an Iron Gate. Go left from here.
- Enter the drainage hole on the wall towards your right side.
- You will now arrive at the second encounter.
Locus Of Wailing Grief – Boss Fight
The next encounter is another boss fight. It brings back the Iron Lantern mechanic from before, with the addition of a few more mechanics. Before you start, I recommend that you switch to your DPS Class build, preferably ranged weapons like rockets and snipers.
Iron Lantern
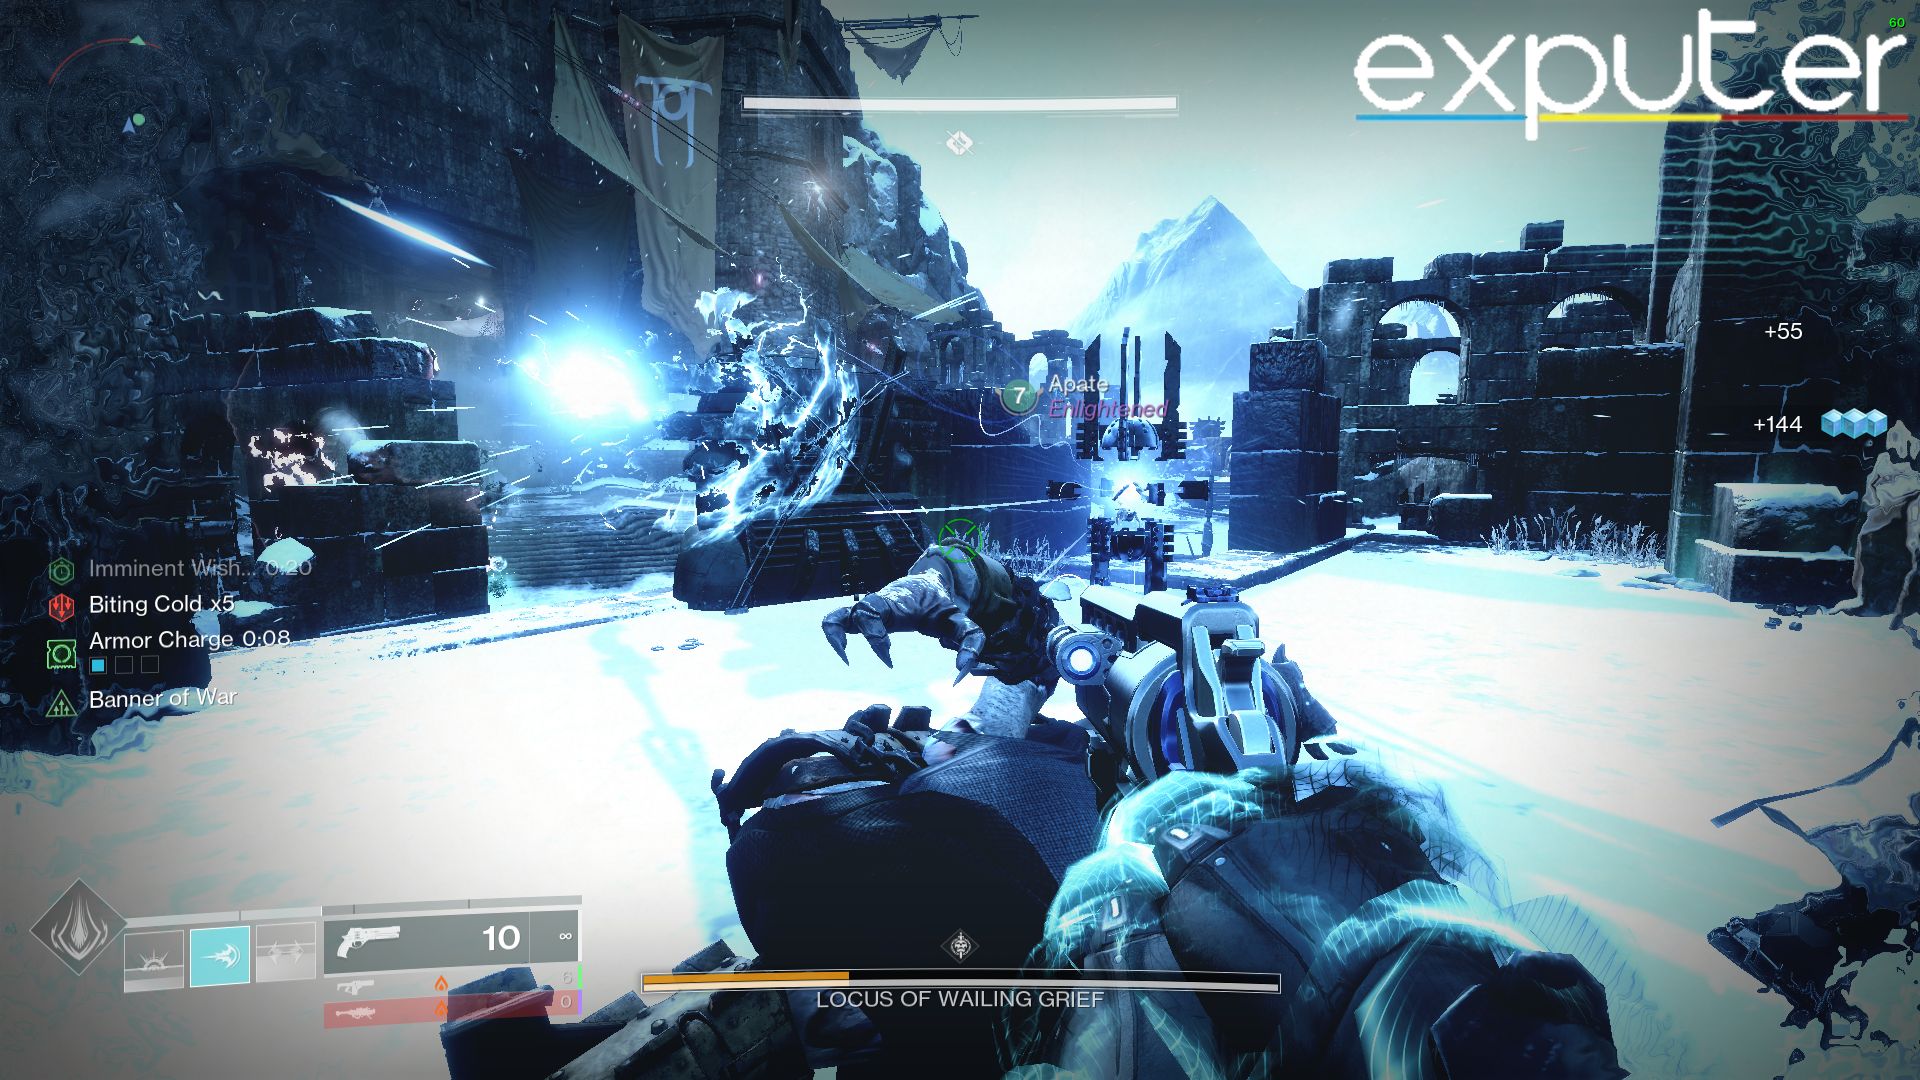
- When the encounter has started, start clearing out enemies, especially the Taken Eyes.
- After a while, two Scorn Mini-Bosses will spawn on each side of the arena.
- Killing each mini-boss will drop two Iron Lanterns. (Total four Iron Lanterns)
- Activate the Lanterns by standing inside the white circle.
- When all four Lanterns are activated, four Solar charges will spawn in the middle.
Lighting The Flames
- Solar Charge To Ignite Flames. (Image By Me)


- Now, you need to take the Solar charges one at a time to the pillars near the boss.
- Ignite three pillars first, and wait to ignite the last pillar until all players are together.
- When the fourth pillar is activated, boss DPS will begin.
Shelter From The Storm

- While all this is happening, you have a debuff called ‘Biting Cold’.
- The debuff has x10 stacks; once it reaches 10, you will die.
- To prevent the debuff from increasing, go to the back corner of the map.
- Once in that area, you will have Shelter From The Storm from the Torches.
- I recommend you refresh your debuff often, as it takes a couple of seconds to do it.
Boss Damage

- You will have a total of four DPS phases.
- When the damage phase has started, stand near the ignited pillar inside the white circle.
- The Boss will slowly make its way to extinguish the flame, which will end the damage cycle.
- Head over to the next pillar to start the next DPS cycle and repeat until all flames are extinguished.
- I recommend all players move together to avoid starting DPS too early or late.
Route To Final Boss
- Exit Door Second Boss. (Image By Me)


Similar to the previous traversal encounter in my Destiny 2 Warlords Ruin guide, the traversal to the final boss is also straightforward.
- Progress through the corridors until you arrive outside.
- Follow through with the ledges at the side of the mountain.
- Where the ledge ends, jump, turn left, and turn around inside the doorway.
- Keep going forward until you see a huge cave with a large Taken Blight.
- Take the ledge on your right side until you reach the exit.
- I recommend you to be quick in this cave because rocks orbiting the Taken Blight can kill you.
- Once outside, using rocks and platforming sections, reach the top of the mountain.
- You should now see a Tower with stairs.
- Take these stairs to the upper level for Final Boss.
Hefnd’s Vengeance, Blighted Chimaera – Final Boss
The final encounter in my Destiny 2 Warlords Ruin guide is Hefnd’s Vengeance. I highly recommend using ranged weapons like snipers, rockets, and fusion rifles. If you have an exotic weapon like Sunshot, I recommend you use that since it makes clearing enemies easier.
Three-Stage Boss Fight
- Level 1. (Image By Me)


- The final encounter has four levels. On each level, you deal some damage to the boss.
- Once you reach the health check mark, the boss becomes immune.
- Now you proceed to the next level, Rinse and repeat.
- The final level has a longer damage phase.
Iron Lanterns

- Two Scorn Mini-Bosses will spawn. Killing them will drop the lanterns that need to be activated.
- I recommend you play safe and activate the Lanterns after clearing some enemies, especially the Wizards.
- Activating both the Lanterns will remove the immunity shield from the boss, and you can start DPS.
Hex Of Vengeful Corruption
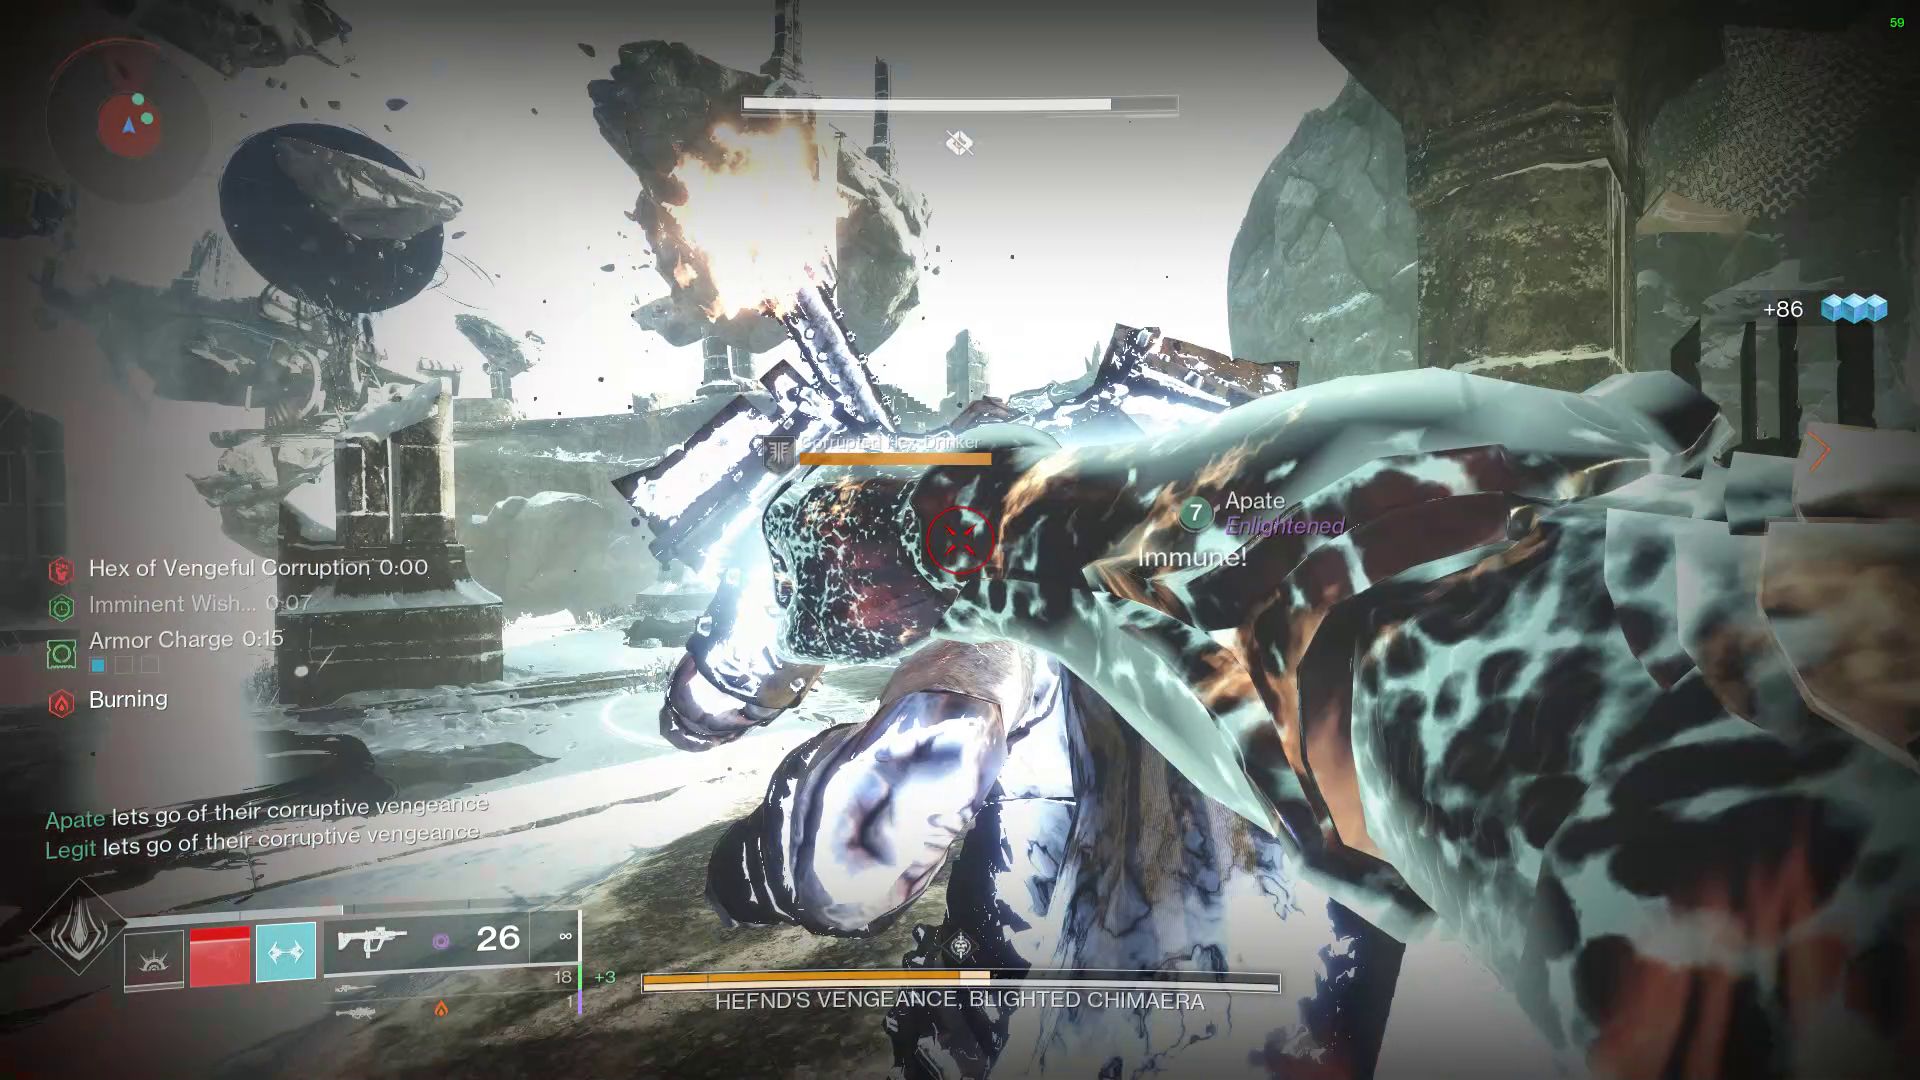
- After you have killed the two Scorn Mini-Bosses, you will get a debuff called Hex of Vengeful Corruption.
- This debuff has a 15-second timer; when it ends, you will die instantly.
- To get rid of the debuff, melee one of the Scorn enemies that has a dark aura on them.
- Punching them will transfer the debuff onto them.
- However, if they punch back, you receive the debuff again.
- I recommend you melee the Scorn enemy when the debuff timer is near the end.
Boss Damage
- Final DPS One. (Image By Me)


- You will have four damage cycles to do DPS, of which the first three are short.
- The first three damage phases will start when you have activated two Iron Lanterns and transferred debuff.
- With these damage phases, you can only damage the boss until the health check mark.
- On the final level, quickly take out Taken Blighted Eyes and begin DPS.
- At this stage, the boss will switch direction three times, rotating anti-clockwise.
- Jump onto the next platform to face the boss and continue DPS.
Once the damage phase has ended, rinse and repeat until Hefnd’s Vengeance dies. This boss also has a final stand like Raid bosses. I recommend you save some heavy ammo and Supers to avoid a wipe.
My Thoughts On The Dungeon
I found Warlords Ruin Destiny 2 Dungeon surprisingly good, especially the location and aesthetics of the dungeon. The thing I enjoyed the most was the three boss fights, each slightly different from the other. However, one problem I experienced in my few runs was not getting any heavy or special ammo despite using Ammo Finder Mods. This forced me always to have Malfeasance equipped due to its insane viability right now.
Lastly, be sure to check out my guide on the Best Glaives, which includes both their legendary and exotic variants. Also, be sure to read my Review of Destiny 2, where I discuss each of its previous expansions prior to Lightfall.
Up Next:
Thanks! Do share your feedback with us. ⚡
How can we make this post better? Your help would be appreciated. ✍