FIXED: Destiny 2 Error Code Cat [2024]
Destiny 2, a renowned looter shooter by Bungie, faces occasional bugs like the error Centipede, Cat, and Chicken mainly on PC. While it might affect consoles with different titles, the error generally stems from networking issues and server problems. Bungie’s guide highlights network restrictions or server problems as potential causes, often related to NAT type or regional server issues.
- Basic Fixes: Make sure to verify your Destiny 2 game files, launch it as an admin, test your network connection, and update your network drivers before proceeding ahead.
Destiny 2 Error Code Centipede Error
To resolve Error Code Centipede in Destiny 2 on PC, consider the following steps:
- Check Bungie’s Maintenance List.
- Switch from NAT Type 3 to NAT Type 1 or 2.
- Enable Port Forwarding for Destiny 2.
Evaluate The Server Status
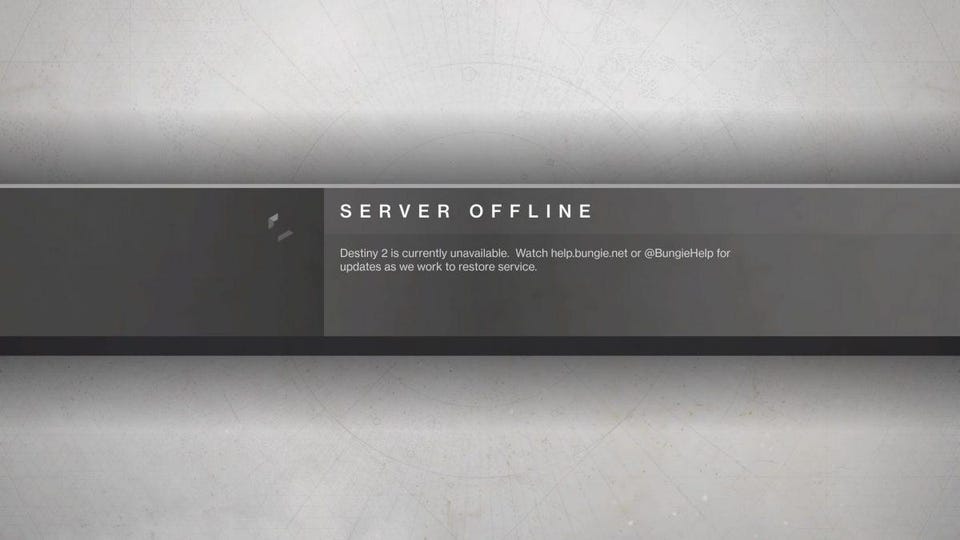
Multiplayer games like Destiny 2 rely on Bungie’s backend servers for smooth operations. Bungie maintains an updated Maintenance List, informing players about server downtimes and addressing issues in patch notes post-maintenance.
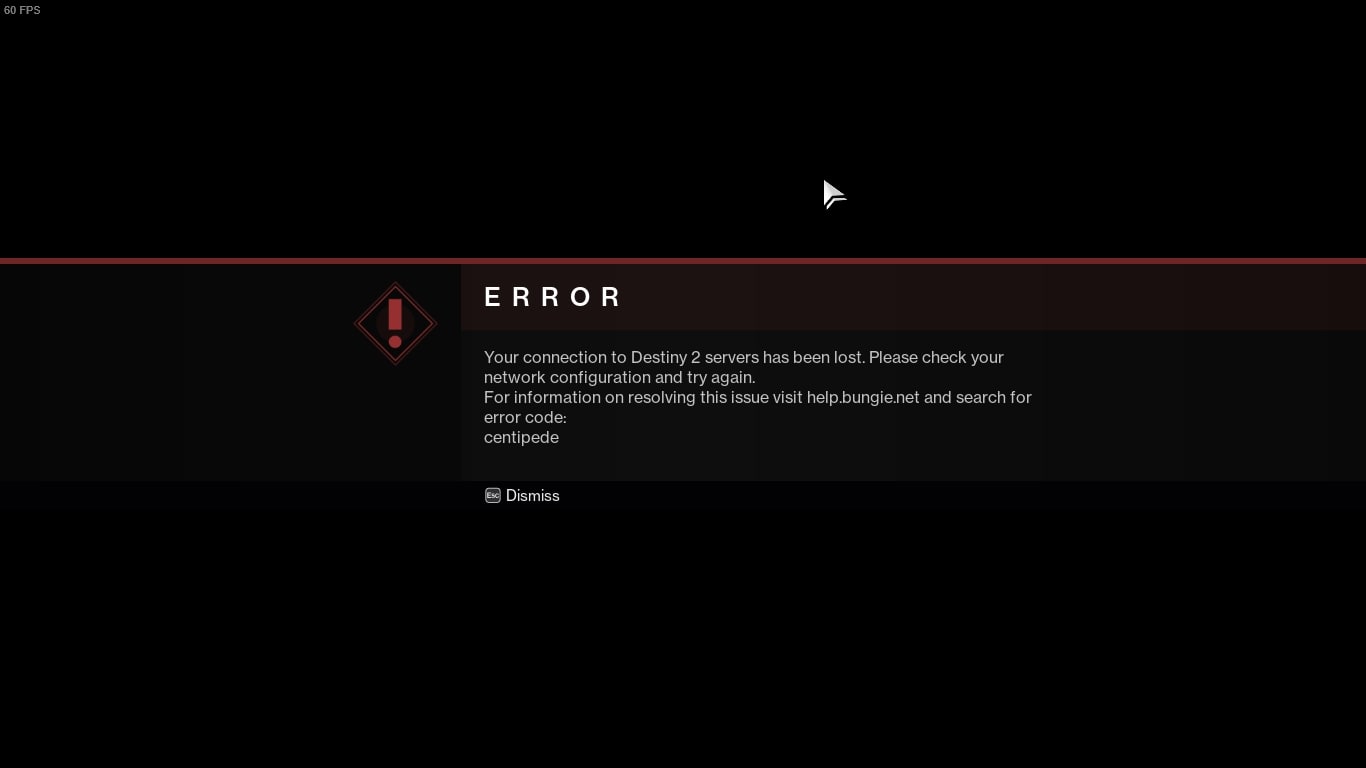
Centipede errors are often linked to server problems according to Reddit and Official Forums. If servers are offline, the error will appear on Destiny 2’s login screen. Following Bungie Support on Twitter provides real-time updates on maintenance procedures.
Switching From Nat Type 3 To Nat Type 1
Now the most crucial steps of fixing the error code, as listed accordingly from Bungie’s website for Destiny 2, revolves around switching some of your internet connection properties. It is called the Network Address Translation (NAT), which in layman’s terms can be described as a bridge or internal link between connecting your system’s IP address with the game’s backend servers. It has a total of three kinds:
- Nat Type 1 (Open)
- Nat Type 2 (Moderate)
- Nat Type 3 (Restricted)
To resolve Destiny 2’s Centipede error, adjust your router settings for Port Forwarding and switch to a Moderate or Open Nat Type, ensuring it’s not Nat Type 3. Contact your ISP for assistance or follow these steps to manage it independently.
- Press Windows + R > type ‘CMD,’ > run it.
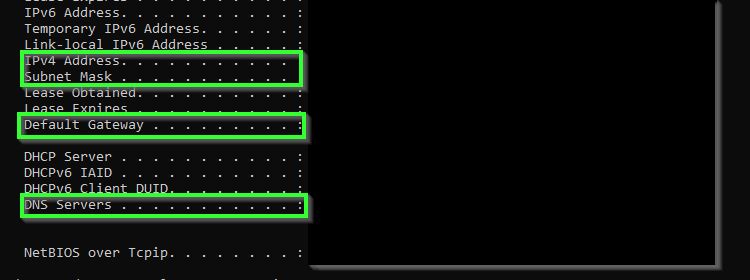
- In the Command Box > enter “ipconfig /all” > press Enter to find your IPv4 Address, Subnet Mask, Default Gateway, > DNS Servers information for later use.
Next up is assigning the static IP to get a secure connection of your System to your internet router or modem and remove the Nat Type 3 from your PC, which is covered in the following step-by-step procedure:
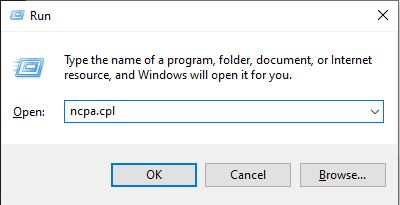
- Press Windows + R.
- Type “ncpa.cpl” > press Enter.
- Choose your current Network connection.
- Click on Properties.
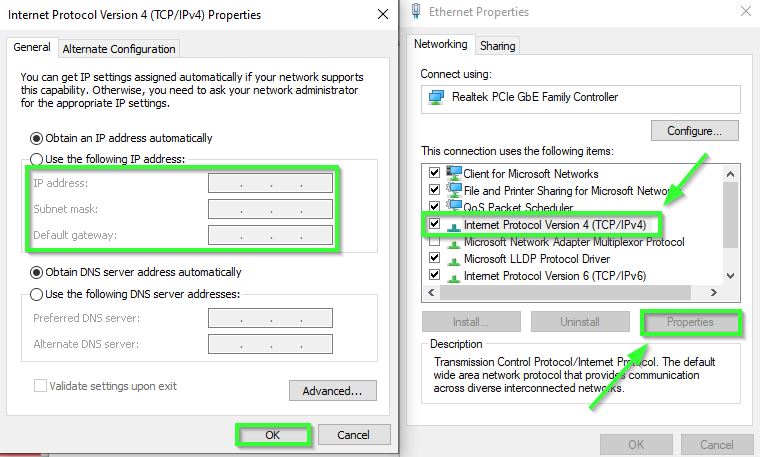
- In the Network Connections menu (ncpa.cpl) > locate your connection > choose Properties.
- Click on “Internet Protocol Version 4 (TCP/IPv4)” > select Properties.
- Choose “Use the following IP Address”.
- Input the IP address, Subnet mask, Default gateway, and DNS servers obtained earlier.
Click on OK to apply the changes that you made, and then head back into Destiny 2 to verify if it fixed the error code.
Port Forwarding Destiny 2
If even adding a static IP didn’t do the job, you can further add another ray of hope of connecting to the Bungie servers of Destiny 2 to resolve the error code.
It essentially involves heading into your router settings manually and setting up various port numbers from two different port destinations: TCP & UDP. Just keep in mind that the router menu may differ for everyone, so here is how you can enable ports in Destiny 2:
- Access router settings using the Default Gateway IP address.
- Log in with ISP-provided credentials.
- Find the Port Forwarding menu.
- Enter Static IP if required.
- Input TCP and UDP port numbers for Destiny 2 (PC version).
TCP: 80, 443, 1119-1120, 3074, 3724, 4000, 6112-6114, 7500-7509, 30000-30009

UDP: 80, 443, 1119-1120, 3074, 3097-3196, 3724, 4000, 6112-6114, 27015-27200
So using this method should ultimately fix any network issues with your internet connection as well as remove any presence of NAT type 3 from your system.
Destiny 2 Error Code Chicken
You can use the following methods to fix Error Code Chicken:
- Check the Bungie servers.
- Change your DNS server.
- Allow Destiny 2 through the firewall.
- Delete your system’s Cache files.
- Close any Background apps.
Also, utilize the fixes mentioned above.
Power Cycling
If you are encountering this error, then you might have some issues with your internet connection or the Console/PC you are using at the current moment.
Power cycle your modem and while you are at it, power cycle your PC/console as well. You can easily power cycle your modem/router and console/pc by following these steps.
For Modem/Router
- To Power Cycle your Modem/Router, first press the power button behind the router.
- Now Unplug the Ethernet cable from your router and wait for 4 to 5 minutes.
- Then plug the Ethernet cable into the router again.
- Lastly, press the power button behind the Modem/Router again to turn it back ON.
For Console/PC
- To Power Cycle your PC/Console, first press the Power Button on them.
- Then wait for 1 to 3 minutes.
- Then press the power button on your Console/PC again to start it.
Change DNS Server
Changing your DNS server can also help improve the overall stability and speed of your internet connection. It helps your internet connection route through optimized servers, reducing instability and high ping issues.
Moreover, changing your DNS server results in improved responsiveness, reduced latency, and significantly faster loading times.
Bungie has an official troubleshooting guide for server-related errors that also recommends changing your DNS server.
Allow Destiny 2 Through Firewall
Your Windows Firewall can also cause connectivity issues with Destiny 2 as it can restrict the app. Your game needs to have unrestricted access to the internet on your PC to maintain a stable connection with Bungie servers.
Hence, you should allow Destinty 2 through the firewall and then try launching the game to verify if the issues have been fixed.
Delete Cache
Cache files can create short-term files that may interfere with the connection and performance of the game. These files are present on both the console/pc and you can easily clear your cache files.
You should first know the game client you have Destinty 2 on as the methods from Steam and Epic Game Launcher differ.
Close Background Apps
Your copy of Destiny 2 might be running into network issues due to a lack of bandwidth needed to run the game properly. Other applications running on your PC might be hogging up the bandwidth; hence you’ll need to terminate them.
Destiny 2 Error Code Cat
Below are the methods to fix the Error Code Cat:
- Wait For Maintenance.
- Clear Steam Download & Console Cache.
- Repair corrupt Game Files.
Also, utilize the fixes mentioned above.
Repair The Game Files
First off try the other fixes mentioned above, if the error code Cat persists, it could be linked to your files. Files, in general, are essentially the life and blood of any application or program. So, games like Destiny 2 can not function when they go missing or become corrupted, as they require them for proper functioning.
For this, I recommend verifying the integrity of your files for Destiny 2. This process will examine them, identify and re-download any corrupted or missing data, potentially fixing the issue.
Winding Up Destiny 2 Error Codes Guide
The Centipede Error in Destiny 2 appears predominantly on PC, though it may also affect consoles under different names. Many players on several forums (Reddit, Steam, and Bungie) have come face to face with this issue.
The Error Code Cat issue primarily relates to outdated game versions after maintenance periods end. So, it’s a simple problem. However, because of this simplicity, it has been frequently widespread, with players reporting on forums like Steam, Reddit, and Nvidia.
The Error Code Chicken is quite common and widespread across PCs and consoles have been reporting this issue on forums such as Steam, Reddit, Tomshardware, and Bungie. It’s so common that Bungie had to put out an official Error Code Chicken troubleshooting guide to help players fix this issue. You can check it out to understand and diagnose the error better.
More Destiny 2 Error Fixes by eXputer;
Thanks! Do share your feedback with us. ⚡
How can we make this post better? Your help would be appreciated. ✍