Can’t sink your fangs into this freshly released vampire-oriented MMORPG? You’re not alone in experiencing the V Rising server error. A large amount of players are all coming across to be similarly troubled where it’s getting increasingly difficult to play Stunlock Studios’ latest IP online.
The V Rising Server Error is mostly caused due to server issues but it can also be caused due to corrupted save files.
First and foremost, you should try these basic fixes:
- Testing your internet connection
- Running Steam as admin
- Verifying your game files
- Using a wired connection via an Ethernet cable
To fix the V Rising Server error, try the following steps:
- Check Server Status.
- Delete autosaved files.
- Disable IPv6.
- Use the command prompt.
- Allow V Rising through Windows Firewall.
- Enable Port Forwarding.
- Decompressing the Save File.
Confirm Server Availability
V Rising is mediated by an official Twitter handle where regular updates are posted consistently. It’s also from here that you can stay up-to-speed with everything the devs intend for the game to undergo, may it be major season updates or timed improvements.
If the title’s servers are down at the moment, you won’t be able to play the multiplayer survival title by any chance whatsoever.
Therefore, it’s a good idea to keep track of official updates now and then, especially in the case of V Rising server error. The main Stunlock Blog+ is also a good place to bookmark the latest V Rising news and stories as well.
Delete Your Autosave Files
Sometimes, the last autosave becomes corrupted, causing you to not be able to connect to the server. Therefore, if you want to get back on track and start playing the vampire-focused title online, you need to dive deep into its configuration files. Players online also found this fix helpful.
Here’s what you need to do:
- The first step is to get to the “AppData” folder > To get to this folder use the “Run” utility > Press WIN + R Key.
- Once the “Run” window pops up > Type in “appdata” and press the “Enter” key.

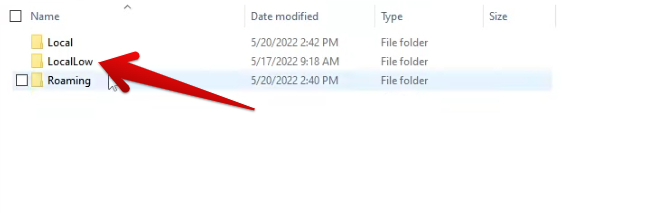
Searching for the “AppData” Folder (image by eXputer) - You’ll be taken straight inside the “AppData” folder on your Windows PC > Next, click on “LocalLow.”

Clicking on “LocalLow” (image by eXputer) - Scroll down and spot the “Stunlock Studios” folder > Click on it to get to the next step.

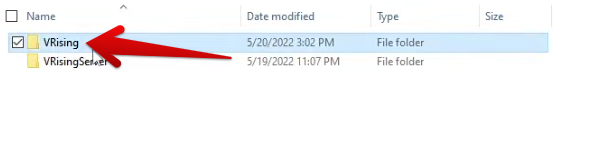
Selecting the “Stunlock Studios” Folder (image by eXputer) 
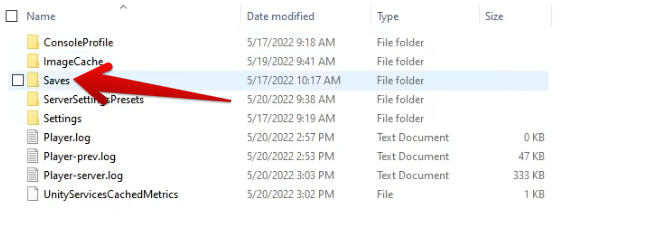
Selecting the Main “VRising” Directory (image by eXputer) - Continue by selecting the “Saves” folder. You’re almost at the end now.

Accessing the “Saves” Folder of V Rising (image by eXputer) - Clicking on “Saves” will take you to yet another folder.
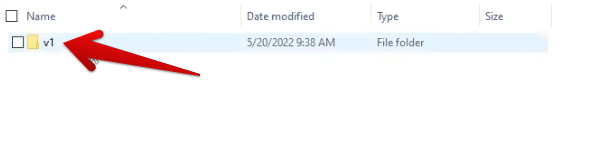
- Select “v1” from here to continue ahead.

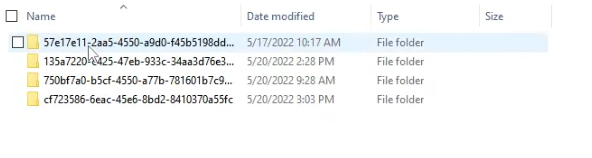
Clicking on the “v1” Folder of V Rising (image by eXputer) - After completing the last step, you’ll be taken to an area where all of your manual saves in V Rising will be available at your disposal.
- Delete the most recent autosave in the game > For this purpose, you must go inside each folder and click on the “ServerHostSettings.json” file.
- That way, you will be able to see the name of the saved file in a more understandable format as compared to the last one.
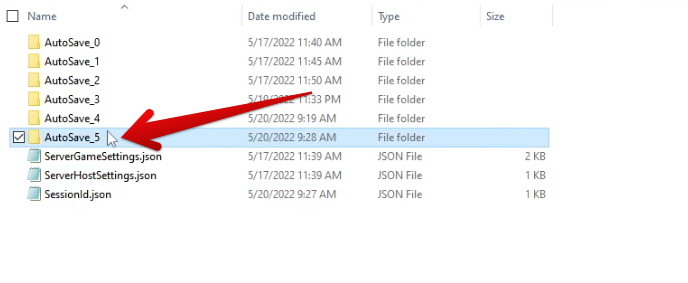
Selecting the Right Save File (image by eXputer) - After figuring out the save file that’s most recent in your copy of the game, delete the “AutoSave” folder as shown in the screenshot below. Just make sure that you’re erasing the most latest save file for the best results.

Deleting the Most Recent Autosave of V Rising (image by eXputer)


You should be able to get the game up and running once again after getting rid of the most recent V Rising to save the file.
Disable IPv6
IPv6, the latest internet protocol for device communication and internet connectivity, replaces IPv4 as the standard. While V Rising should inherently support both IPv4 and IPv6, sometimes server connection issues can occur, specifically with IPv6 due to compatibility issues.
Disabling IPv6 would force the game to use IPv4 only, potentially bypassing these issues.
Here are the steps to disable IPv6 on a Windows PC:
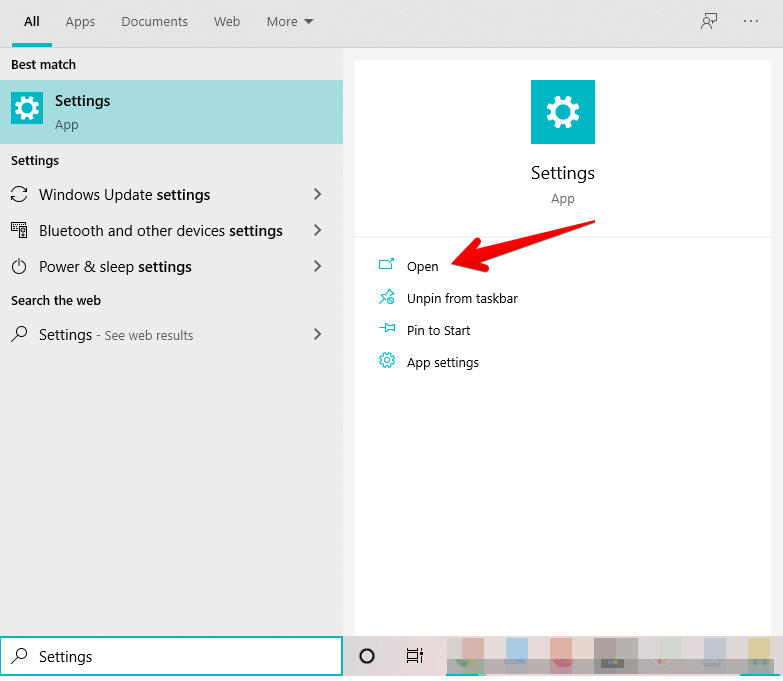
- Get started by making haste to your device’s “Settings” app.
-

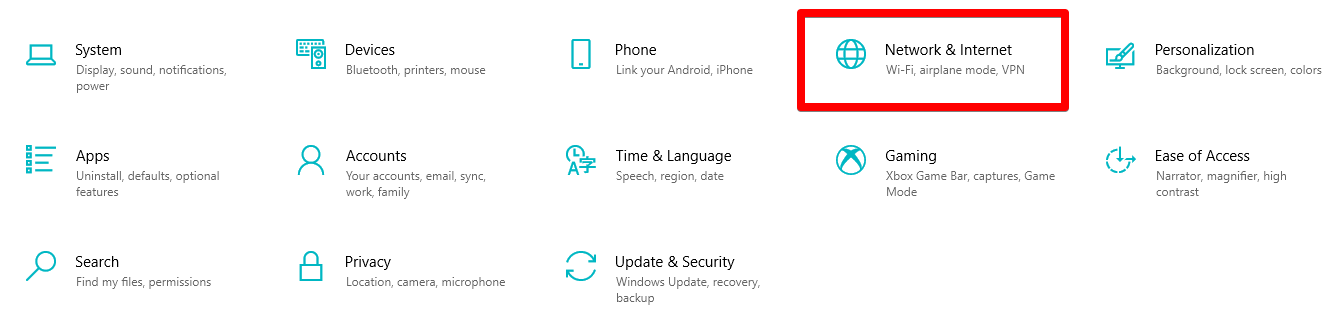
- Once in the main “Settings” panel, click “Network and Internet” to get to the next step.
-

- After that, click “Change adapter options” to go to the next page. There, you’ll choose what kind of connection you’re using currently.
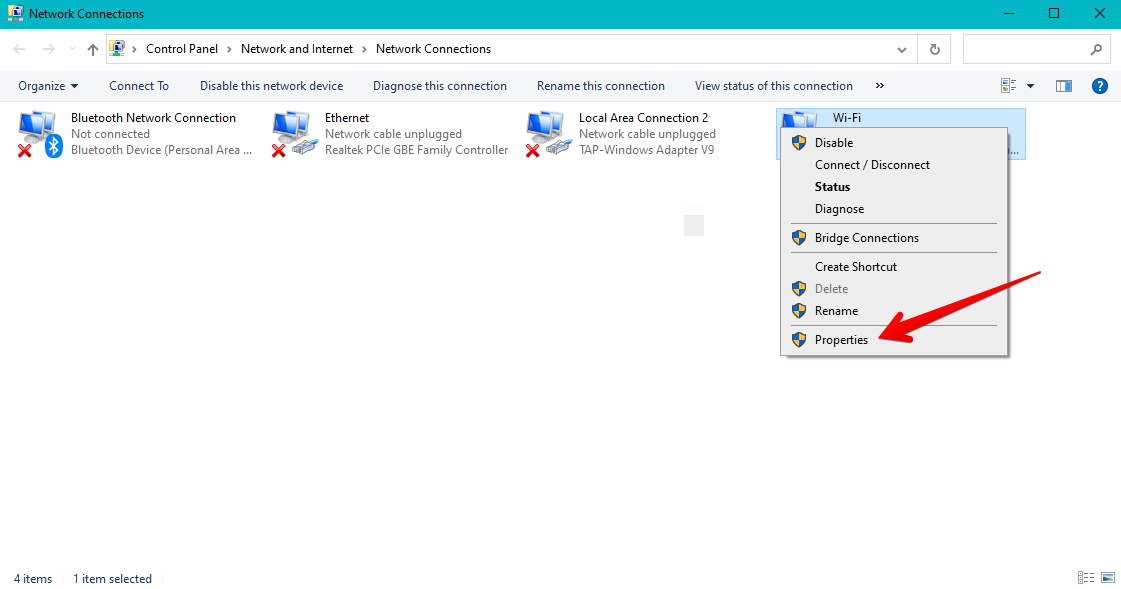
- For example, I’ve got my PC connected to Wi-Fi and select the Wi-Fi tab. Other options are LAN, Bluetooth, and Ethernet.
- Once you’ve identified the type of connection, click on it and select “Properties.”

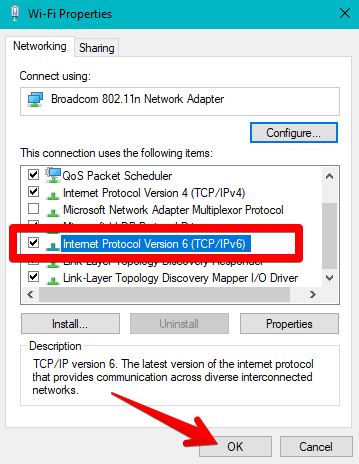
Opening the Properties of the Network Connection (image by eXputer) - After clicking on “Properties,” another window will open for you too. This is where you’ll scroll down a small amount (be sure to remain on the “Networking” tab) and locate Internet Protocol Version 6 or IPv6.
- Once you’ve it on your list, remove the checkmark beside it, and then click “OK” to finalize the procedure.
-

Use The Command Prompt
To improve your online experience and address V Rising’s server-related issues, I suggest using the Command Prompt utility to run various commands and refresh your IP address.
Follow the steps below to utilize this effective Command Prompt function and avoid prolonged server problems in V Rising:
IP Config / Flush DNS
This command removes outdated or incorrect DNS records that might be causing connection issues with the game servers by forcing your computer to re-obtain fresh DNS information from your internet service provider.
Here’s what you need to do:
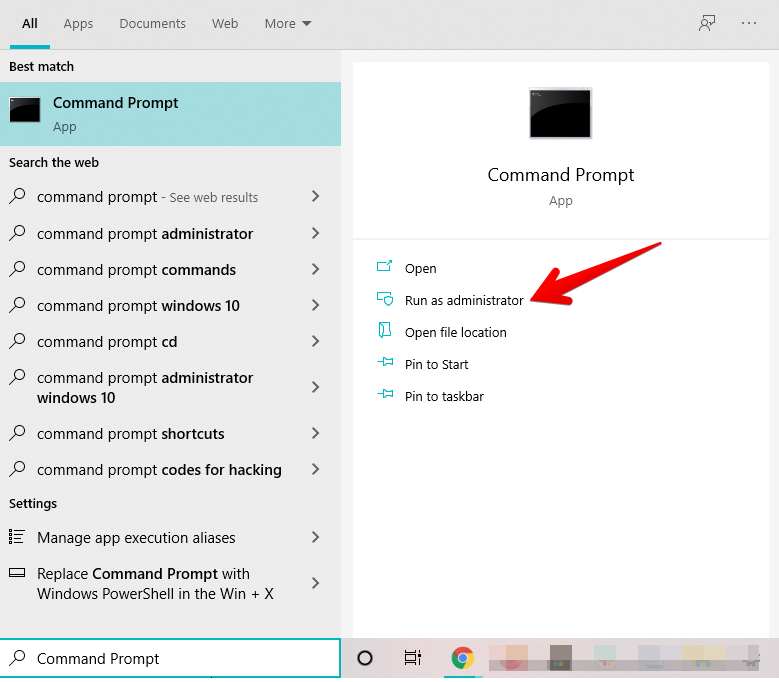
- The first step is opening the Command Prompt on your Windows PC. Utilize your Windows Start menu or the Taskbar area if the app is pinged there to accomplish this.
- When you are sure that the Command Prompt is up and running, you can use the following command and then press the “Enter” key.
- The first line of text will allow us to clean our DNS, which means that it’ll remove any remaining IP addresses that could affect our connection to V Rising’s servers on the internet.
- Type “ipconfig /flushdns” in the console window.

Flushing the DNS Resolver Cache (image by eXputer)

IP Config / Register DNS
This command re-registers your computer’s hostname and IP address with the DNS server, ensuring that your network information is up-to-date and accessible to the game servers.
The next time we’ll register the DNS in a new way rather than clearing the old one. This process could take some time, and you should be patient.
We’ll also create a perceivable report, and it will appear within “Event Viewer. “Event Viewer” menu after about 15 minutes.
Type “ipconfig /registerdns” in the console window.
IP Config / Renew
This command is helpful if you’re experiencing IP address conflicts or if your current IP address has issues reaching the game servers. It can potentially resolve connectivity problems by assigning a fresh, valid IP address to your computer.
To renew your DNS, use the following command:
- Type “ipconfig /renew” in the console window
Allow V Rising Through Windows Firewall
It appears that Windows Firewall categorizes V Rising as a potential threat, which can cause problems when launching the game. Trying to connect to the server is one of these cases in which having the app allowed through the Firewall is essential in minimizing connection issues.
Forward Your Router’s Ports
One thing I recommend doing to resolve the V Rising server issue in the game revolves around forwarding some of your internet router’s ports.
By forwarding specific ports used by V Rising, you can direct the server traffic directly to the game server running on your machine, bypassing any internal network routing that might cause delays or connection errors.
However, you don’t have to forward all of your router’s ports to get the game’s multiplayer to start working again.
Instead, I’ve picked up a handful from the Steam Support page that you need to tend to specifically for V Rising. Under the “Dedicated for Listen Servers,” Steam advises us to have the following ports opened:
- TCP local port 27015 (default): SRCDS Rcon port
- UDP local port 27015 (default): gameplay traffic
If you know your way around internet routers and are already familiar with the concept of port-forwarding, check whether the relevant ports that need to be opened are already available for your copy of the game. Otherwise, you can simply contact your ISP (Internet Service Provider) and get them to tend to the matter themselves.
Decompressing the Save File
Sometimes, the save files are saved in a compressed format to save drive space. If the saving pipeline is not implemented correctly, then the save file can have some underlying issues like corruption.
That is why I suggest performing the following steps:
- Navigate to App Data.
- Local > LocalLow > StunLock Studios > V Rising.
- Saves > V1.
Edit the “ServerHostSettings.json” file in your save files and add the following lines in the middle of the file:
- “AutoSaveInterval”: 120,
- “CompressSaveFiles”: false,
The first line makes the server autosave every 2 minutes (120 seconds) and the second makes the server skip the compression step ensuring that your save file doesn’t get corrupted due to default compression.
- Important: Doing this should change the save file size from ~10 MB to ~70 MB
My Thoughts on the V Rising Server Error
V Rising is the kind of game most enjoyed when playing with a group of friends which is why booting the game up and seeing server problems occur is quite annoying. The error has been discussed on forums like the official Stunlock Studios forum, Reddit, and Steam.
The error has not been fixed completely but the developers have addressed the server issues in their Patch Notes and also on the official Forums.

Since the game is relatively new, server issues like these are quite understandable. Hopefully, the servers will become more stable in the future.
Thanks! Do share your feedback with us. ⚡
How can we make this post better? Your help would be appreciated. ✍