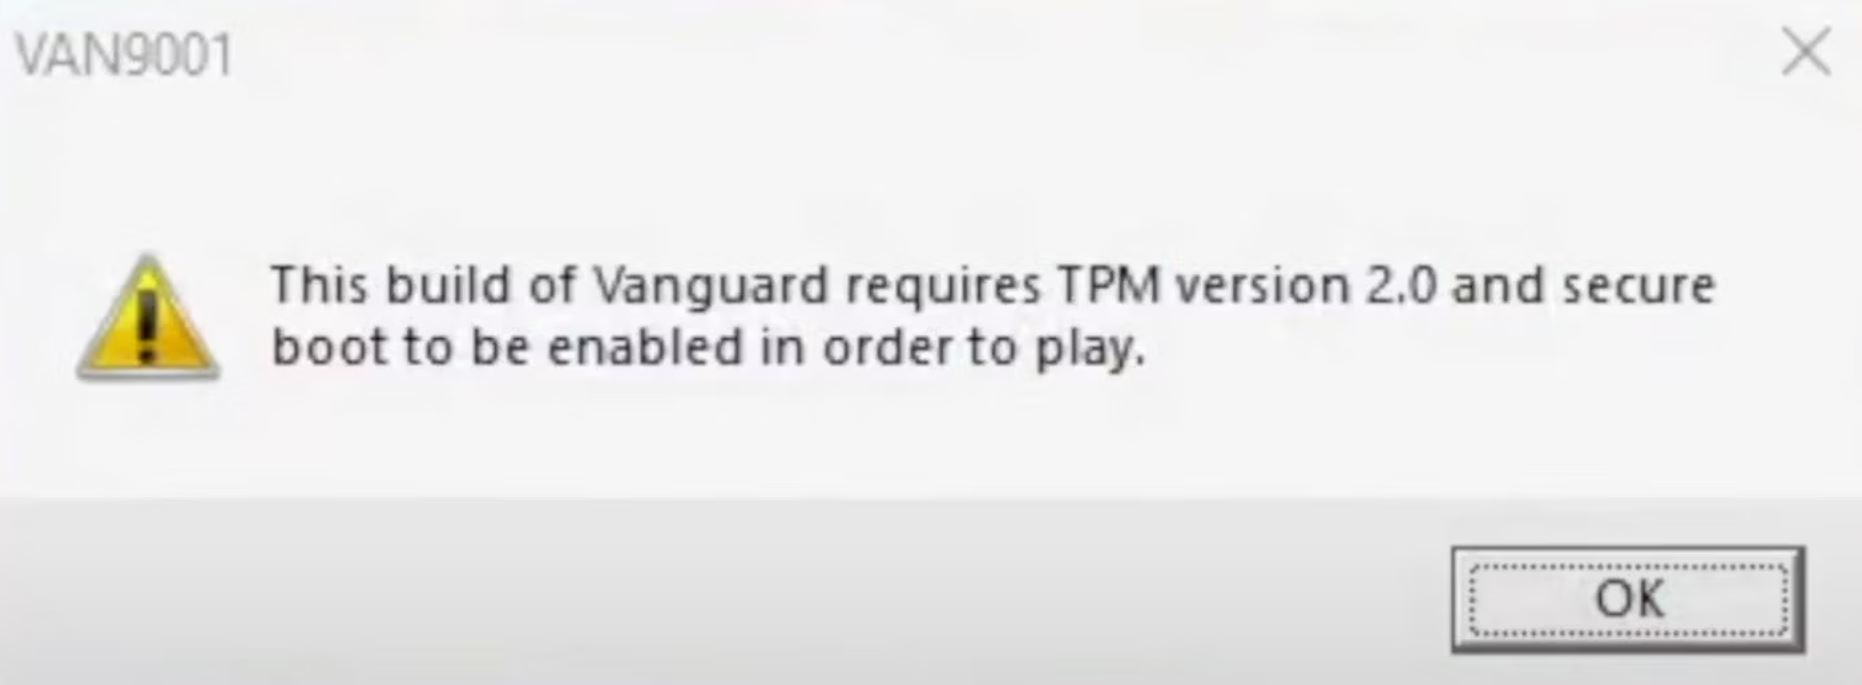
TPM 2.0 Error has been commonplace among players trying to run Valorant on Windows 11. The problem comes from the Operating System itself, requiring two functionalities to be enabled. These two components, which Vanguard also requires because it is kernel-level, are Secure Boot and TPM 2.0.
Without going into detail, both are required security features for various Windows components. But, if you’ve also been affected by this issue, there is no need to worry: I have a few workarounds to get you back into the queues.
I suggest going through the basic methods to rule out your end before jumping into the specific ones:
Go through the following methods to fix the problem:
- Enable Secure Boot and TPM in the BIOS.
- Unenroll from the Windows Insider Program.
- Disable 3rd-Party Overlays.
- Roll back to Windows 10.
Enable Secure Boot And TPM
First and foremost, I suggest enabling Secure Boot and TPM. These are both requirements for running Vanguard on Windows 11. So, if they are disabled, or in the worst case, unsupported, Valorant will greet you with the TPM 2.0 Error.
So, it would be a good idea to ensure it is enabled to avoid problems, as Riot also recommends in their Support Article.
- Important: If your hardware doesn’t support Secure Boot and TPM 2.0, move to the subsequent methods.
Here is how you can do so:
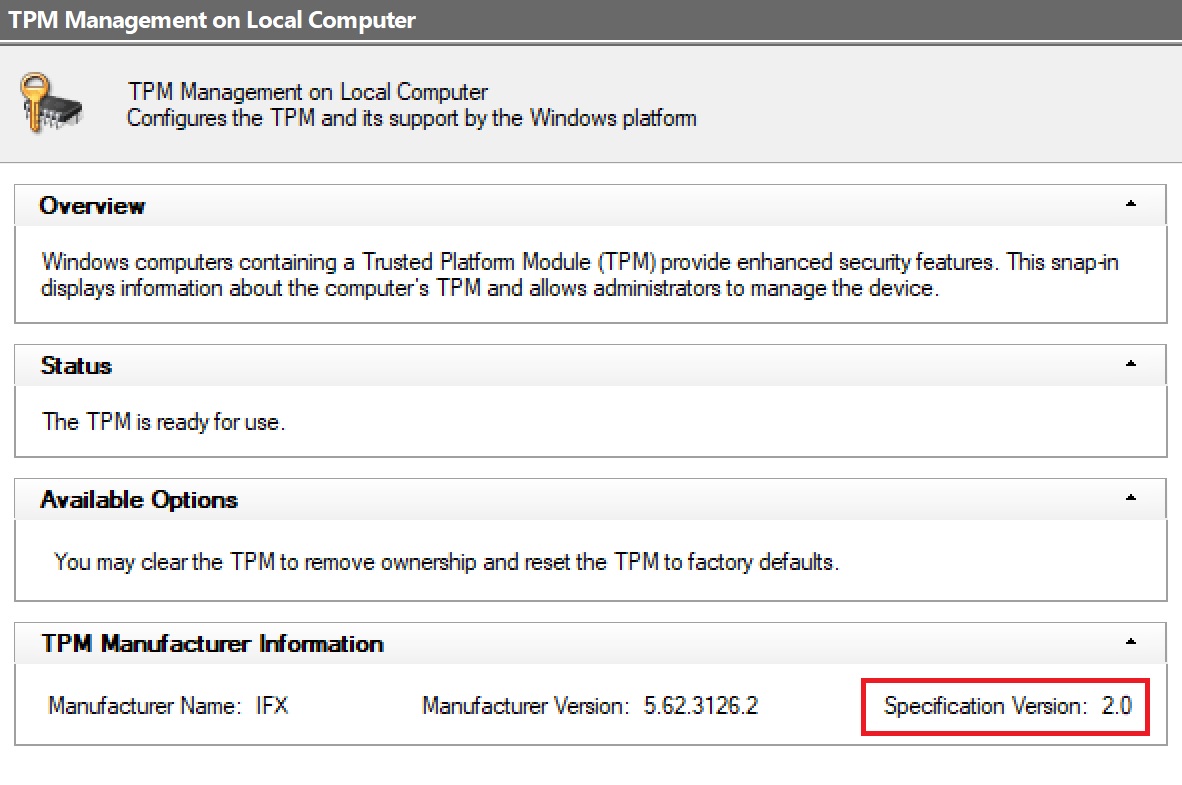
- Check for Secure Boot and TPM Support:
- For TPM: Press Win + R > Type ‘tpm.msc’ > Check if the Specified Version is 2.0.

Checking for TPM Support (Image Copyrighted by eXputer) - For Secure Boot: Press Win + R > Type msinfo32 > Check if Secure Boot State is On/Supported.

Checking for Secure Boot Support (Image Captured by eXputer)
- For TPM: Press Win + R > Type ‘tpm.msc’ > Check if the Specified Version is 2.0.
- Boot into BIOS:
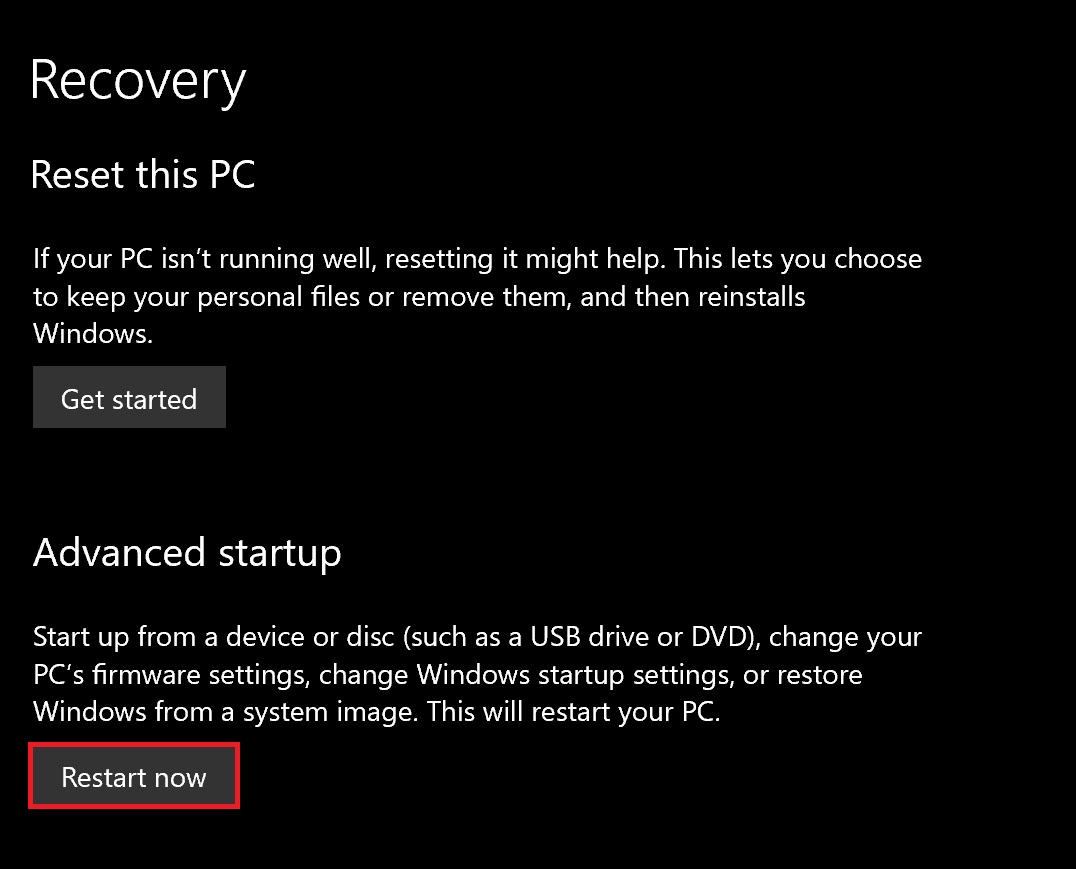
- Click on Start Menu > Type Advanced Startup > Press Enter.
- Click on Restart Now > Wait for it to open the Advanced Start Menu.

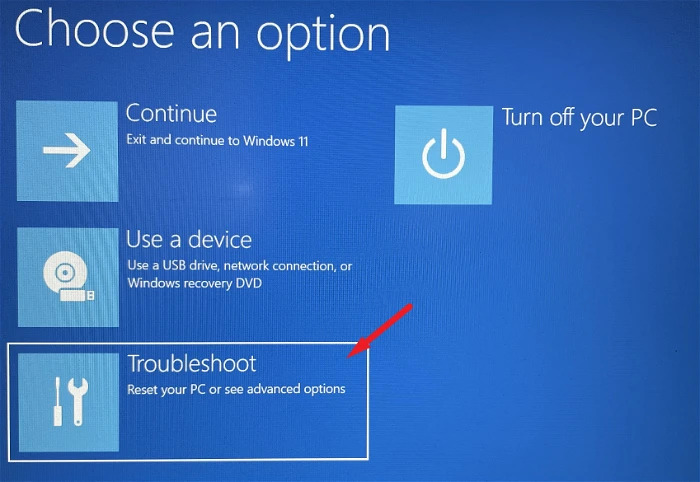
Booting into Advanced Startup (Image by eXputer) - Click on Troubleshoot > Advanced Options > UEFI Firmware Settings > Click on Restart.

Options in Advanced Startup Menu (Image Captured by eXputer)
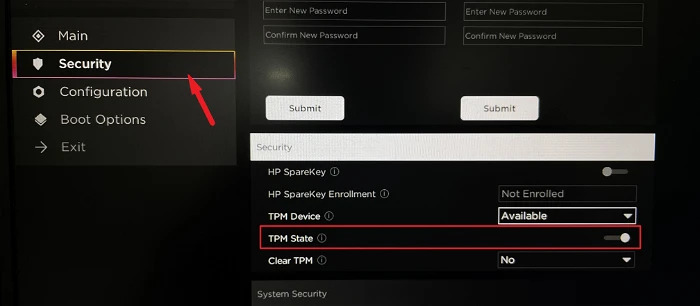
- Enable Secure Boot and TPM:
- Enable TPM: Go to Security (Sometimes Advanced/Trusted Computing) > Toggle TPM State.

- Enable Secure Boot: Go to Boot Options (Sometimes under Advanced) > Enable Secure Boot.
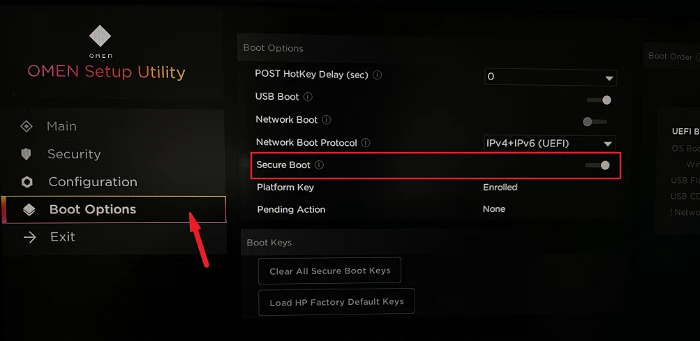
Once done, save the changes and restart your computer. Afterward, check if the issue persists.
Unenroll From The Windows Insider Program
Windows Insider Program is a neat feature from Microsoft that lets you use preview builds. The problem is that these builds are neither stable nor bug-free. These builds are rolled out for testing and are often filled with issues or bugs. These problems might be why TPM 2.0 is not working for you in Valorant.
So, I would recommend unsubscribing from them. Additionally, you get no actual benefits from doing so in the first place, except you get features a bit earlier. So, you don’t lose anything and gain a lot of stability.
The process to do so is as follows:
- Click on your Start Menu > Type Windows Insider Program > Press Enter.
- Click on Stop Getting Preview Build > Toggle Unenroll this Device with the Next Version of Windows On.

Unenrolling from Windows Insider Program (Image by eXputer)
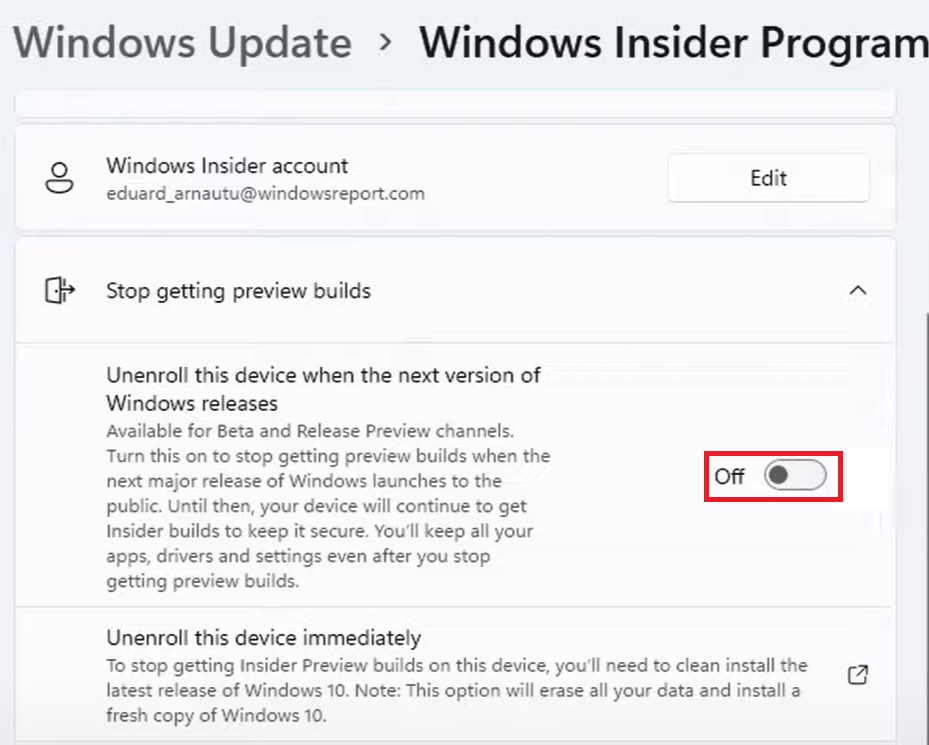
Once done, the TPM 2.0 Error in Valorant will not be resolved immediately. As listed in the toggle, it will only unenroll on the next official release. So, you can either wait or roll back to a stable version.
Disable 3rd-Party Overlays
At this point, I suggest turning any active third-party overlays off. While they are generally useful, providing information in a non-intrusive format, they can be performance hogs. Additionally, they go over your games, messing up their resource priority and causing issues like the TPM 2.0 Error in Valorant on Windows 11.
So, it would be a good idea to rule them out as a potential factor. However, if they are not the culprit, you can just as easily re-enable them. So, while tedious, it should be an easy check.
Roll Back To Windows 10
Lastly, if the issue goes unresolved or if you are using unsupported hardware, I recommend rolling back to Windows 10. I know reinstalling your OS can be a tedious task. However, TPM 2.0 is not a requirement on Windows 10. So, by doing this, you will essentially be bypassing the issue in its entirety.
- Warning: Before attempting this, back up your essential files and programs. This is because the process will reset at least your operating system partition.
Here is how you can do so:
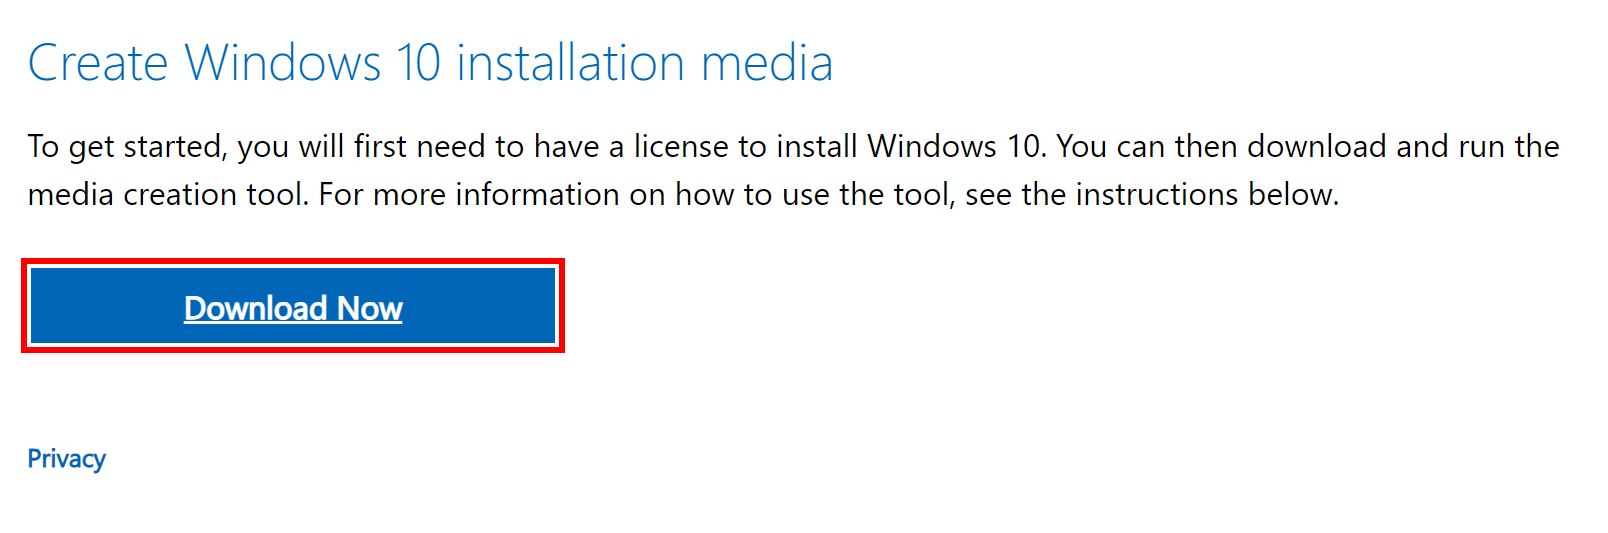
- Head to the Official Site for the Disk Image of Windows 10 > Click on Download Now.

Downloading Media Creation Tool for Windows 10 (Image Captured by eXputer) - Use the downloaded Media Creation Tool to create a Bootable Flash Drive.
- Once done, go through the Installation Process to install Windows 10.
My Thoughts
I am not a fan of Microsoft forcing everyone to upgrade to Windows 11. Additionally, as Secure Boot and TPM are only available for 8th Gen or newer CPUs, enforcing such hardware-locked security features is a big no in my book. Making it a requirement essentially makes older hardware useless and void of essential security features.
Further, there are tons of people still using older hardware. So, as expected, the issue has also been widespread, with reports on Reddit, Valorant, Microsoft, UnknownCheats, and TomsHardware Forums. Additionally, the Official Valorant Twitter handle never explicitly announced this specific change.
Starting March 14, VALORANT/Vanguard will end support for Windows 7, 8, and 8.1 for security reasons. By switching support to the newer version of Windows, we can take advantage of the latest security features and patches–making it harder on cheaters.
— VALORANT (@VALORANT) February 25, 2023
But, an Official Troubleshooting Guide was set up by Riot Games. So, they have been on top of it to a certain extent. However, although Vanguard running on Ring 0 (Kernel-Level) is not to my liking, it’s hard to deny cheaters are a rare sight. So, this is a trade-off they made at the expense of their lower-end player base.
But, no matter your specific case, I am confident the methods highlighted will help you get back into the game. However, in the rare case they fail, I recommend opening a ticket with Riot Support.
More Error Guides for Valorant covered on eXputer:
- All Valorant Error Codes.
- SOLVED: Valorant Crashing.
- Valorant Error Code Van 6.
- Startup Error In Valorant.
- Valorant Invalid Access To Memory Location Error.
- Required Dependencies Error In Valorant.
- Valorant Error VAN9003 In Windows 11.
- Valorant Not Working On Windows 11.
Thanks! Do share your feedback with us. ⚡
How can we make this post better? Your help would be appreciated. ✍