God of War Ragnarok thrives off of main and side-quest missions, which offer players various rewards such as crafting materials, which is what a gleaming crystal is. In our God of War Ragnarok Gleaming Crystal guide, we will uncover how you can get it, what it is used for, and its prerequisites!
- In GOW Ragnarok, the Gleaming Crystal is a valuable crafting material in the Vanaheim region’s Wishing Well.
- It’s used for upgrading armor.
- To acquire it, complete 13 prerequisite side quests like Surviving Fimbulwinter, The Quest For Tyr, and more.
- Once these quests are done, you can access the crystal.
- To reach the Wishing Well, use a docked boat, head to a small barrel in the water, and proceed to a small island on the cliff’s left.
- Enter the closest small tunnel to the right, reach the land, and enter a cave with a hidden pathway.
- Exiting the cave, you’ll find a large tree with red leaves leading to The Pond, where the gleaming crystal is located.
How To Get Gleaming Crystals
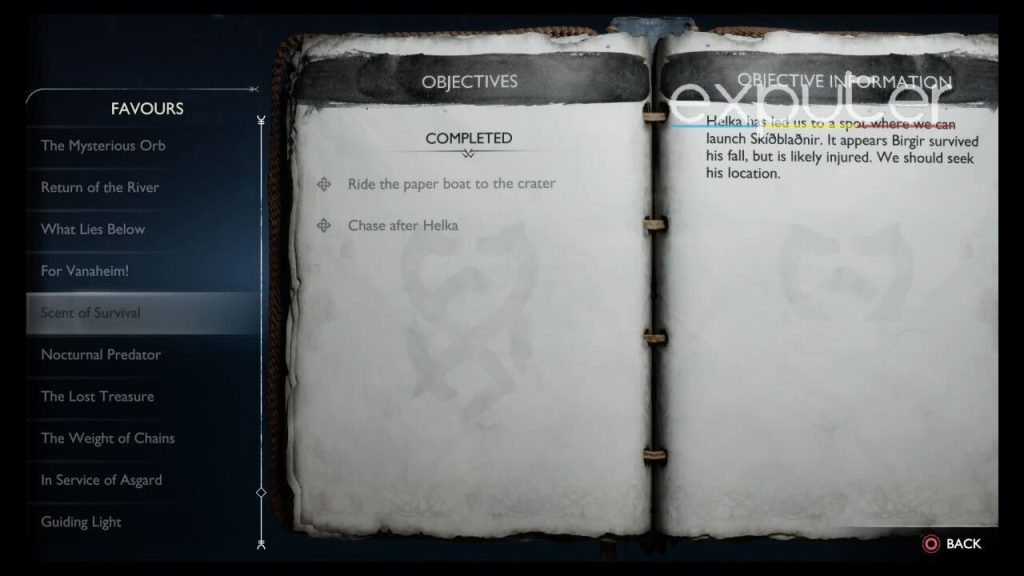
Before even thinking of getting the gleaming crystal, players will need to fully complete the side quest, known as Scent of Survival, accessed after completing the 13th main questline in GOW Ragnarok.
Once you’ve done that, let’s begin the quest! To get started, you will need to go into the Vanaheim area, which will have a place that is located on the northernmost end of the general Vanaheim region. Near the crater, there will be yellow crystals that you will need to break apart, which you will then need to travel down to a wishing well and throw in there.
Full Walkthrough
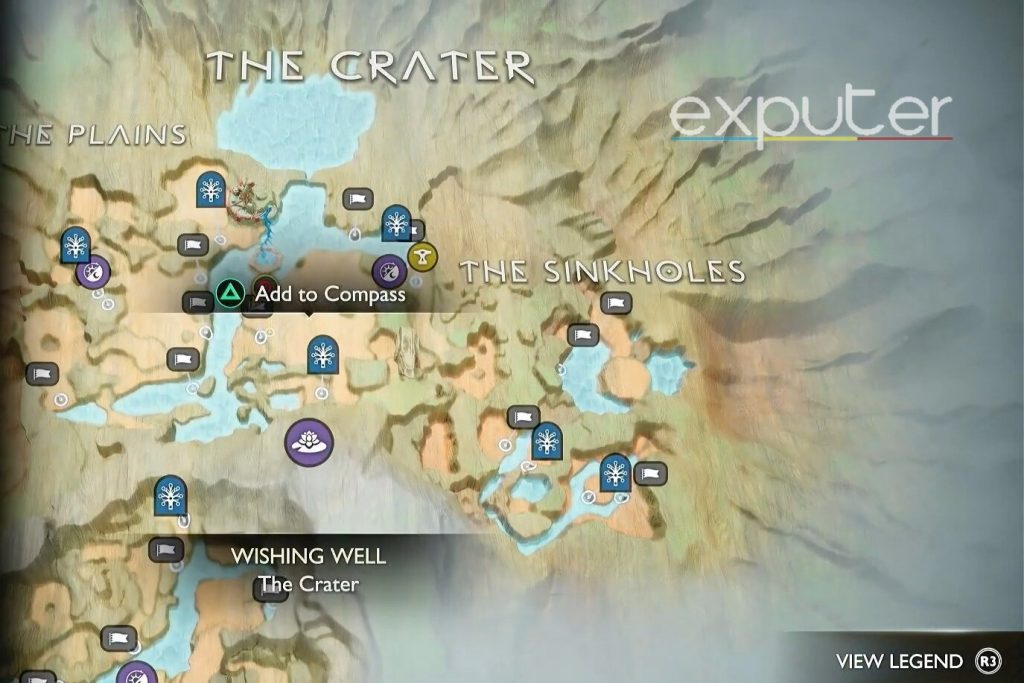
On your map, the wishing well will be symbolized by a purple icon with a small flower inside of it, and hovering your controller over it will showcase its exact location on the map, which will be on the southern end of the crater.
Start by being near a beach with a small boat docked towards the water’s edge. A flag will be set on the right side, which will be blue and slightly in the middle, and it will be set near a stepping platform.
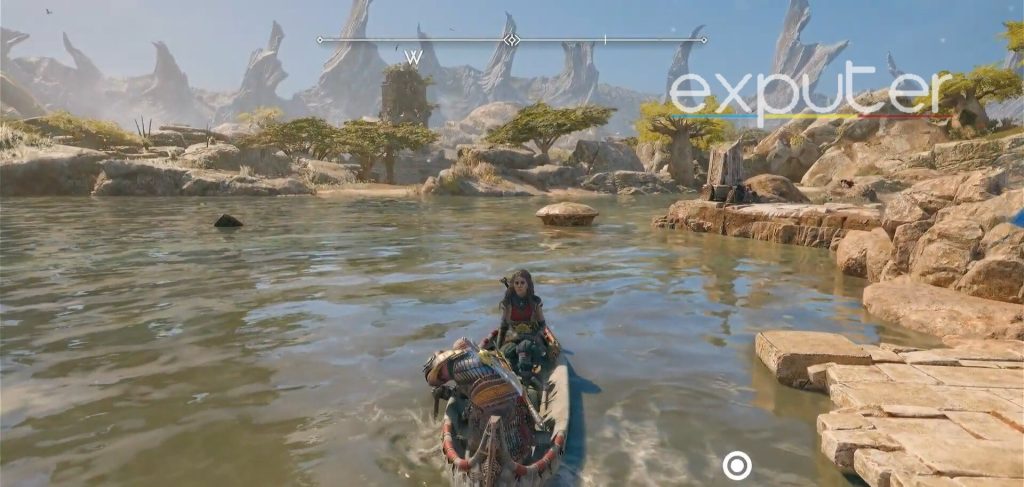
- To start your journey, interact with the docked boat by pressing the O button.
- Head towards the small barrel in the water to collect some hack silver.
- As you approach the barrel, Kratos will ask Freya about her thoughts.
- Proceed towards the small island nestled between a cliffside on the left and a tree on the right.
- It divides the water into two channels, and you should navigate north along the left channel.
- Keep following the lake until you reach a dead end.
Diverting To The Small Tunnel
- After reaching the dead-end, turn your boat to the right, leading you into a covered pathway filled with vines and branches.
- Navigate through the channel until you come across a stone wall.
- Turn your boat to the left and then make another left turn.
- Keep moving ahead until you face a solid wall. Look for a small opening near the bottom.
- Align your boat with the entrance, press the O button to interact, and Kratos and Freya will duck down. Kratos will lead the boat through the small passageway.
Getting Out Of The Tunnel
Once you make your way out, start heading straight, and then steer your boat a bit to the right, and keep heading straight when Freya says, “My little fool” which will eventually lead you out of the tunnel and into the open air. After that, head over on straight for a bit, and then steer a bit to the right until you encounter a beach that you can dock your boat on.
Once you dock the boat, it will prompt Kratos and Freya to get out of it and get on land. Once you’re on land, a marshy area will surround you, and a small pathway will be laid in front of you.
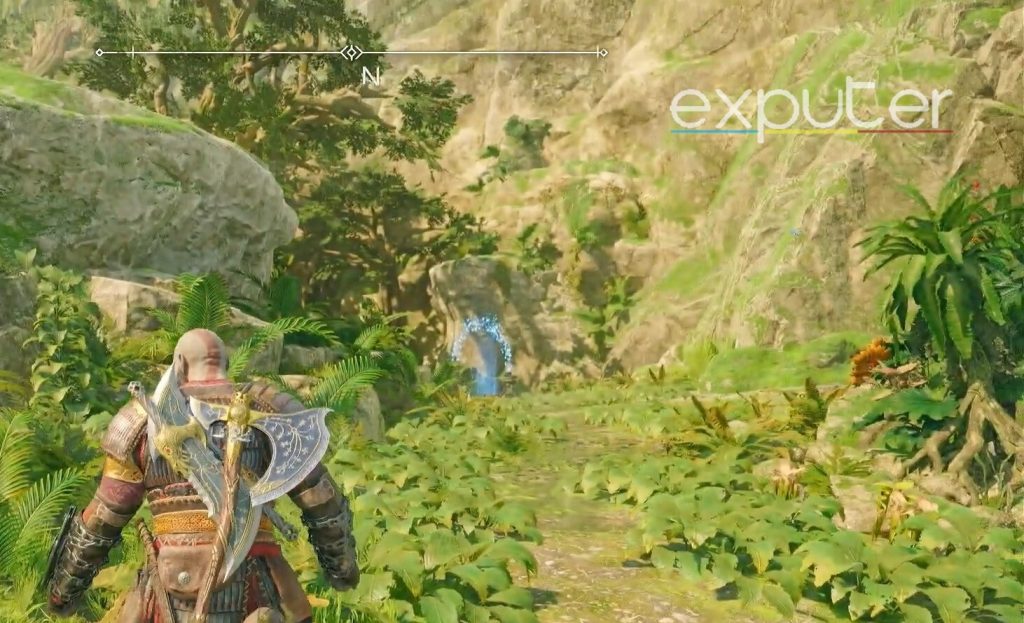
From the place where you landed, you want to start heading straight, where there will be a mystic gateway towards your left. However, you want to make a swift turn to the right from the small vines that are present on your right with orange flowers on them.
You will come across the pathway’s edge right in front of you. There will be a small gap that you will need to cross, and you can do that by taking your blades of chaos and hanging across the small ledge on a tree branch.
Take the ledge and make your way onto the platform that is present in front of you. Once you’ve safely made your way there, you want to start making your way forth and keep going straight until you come across an entrance on your left.
Entrance To The Cave
- You’ll spot a smallholder on the left, gripping a chain. Don’t interact with it. Instead, steer to the right and enter the domed entrance.
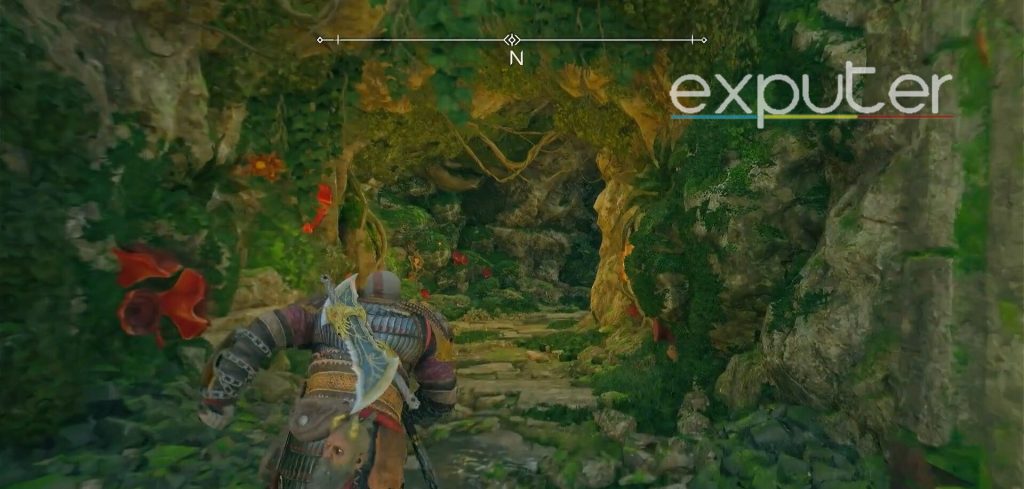
- Inside the passage, vines and branches will cover the walls.
- Pass the first orange lamp, then the second one, and continue to a curve in the pathway.
- From the curve, turn right and venture further into the cave.
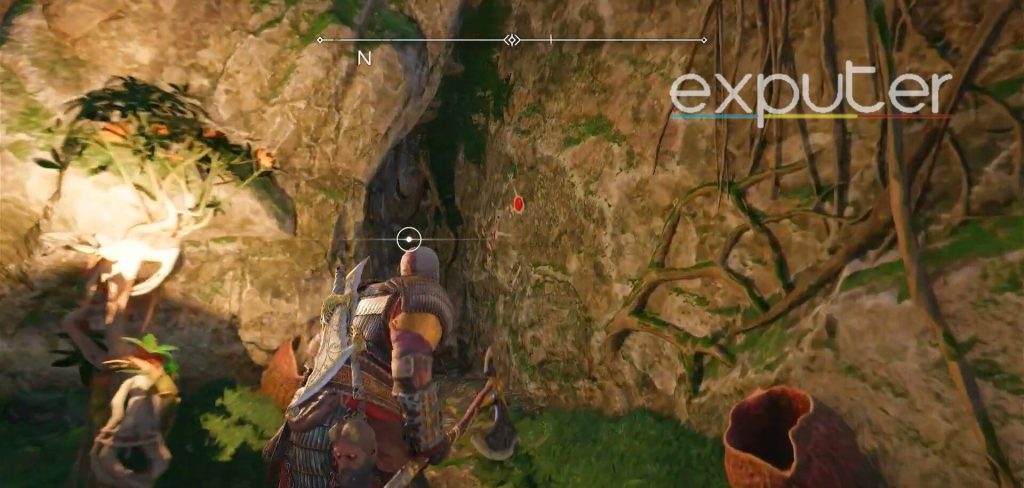
- In the center, you’ll find a giant tree. Move left until you reach the platform’s edge.
- If you haven’t, insert a spear into the small hole on the left wall. Then, sprint along the platform’s edge, grab the spear, and let Kratos hop onto it. He will then pull himself up to the platform’s edge.
- Shift your camera to the right; you’ll see a small pathway along the edge. Grab any resources on the ground.
- Proceed until you reach a wall covered in thin branches.
Entering Hidden Pathway
- Now, shift your camera to the left and spot a small hole in the wall.
- Interact with it using the ‘O’ button, and Kratos will enter the small passageway.
- As Kratos moves through the passage, he stays close to the wall and occasionally needs to duck to navigate the smaller sections.
- Continue until you reach the red flowers marking the end of the pathway.
- Step onto the stone platform’s edge and jump to the ground. Then, run forward and make a quick right turn, creating a U-turn. Proceed ahead, and you’ll see the familiar cave entrance you used.
- Head toward it, and you’ll eventually exit the cave
Heading Out Of The Cave
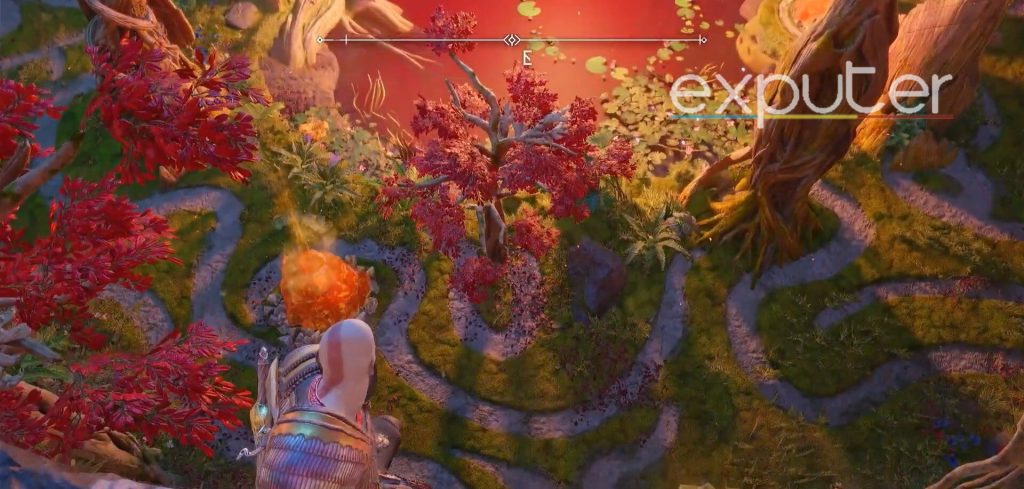
- Head out of the cave and notice the large tree on your right with a nearby pathway. Move to the platform’s edge; below, you’ll see red-leaved trees and an ornate pathway.
- Use your blades of chaos to grip the wall, slide down, and land on the ground.
- In front of you is a large lake with red water and an orange/golden-colored ore nearby.
- Pass the ore, cross the first tree you come across, then veer slightly to the left onto the main path.
- Continue forward and head left toward the tree along the lake’s edge.
- Turn your camera to the left from that tree, hugging the lake’s edge.
- Follow the lake’s perimeter, and you’ll come across a yellow crystal on the lake’s edge.
- To collect the yellow crystal, perform a heavy attack with your axe, shattering it into pieces that fall into the lake.
The Pond
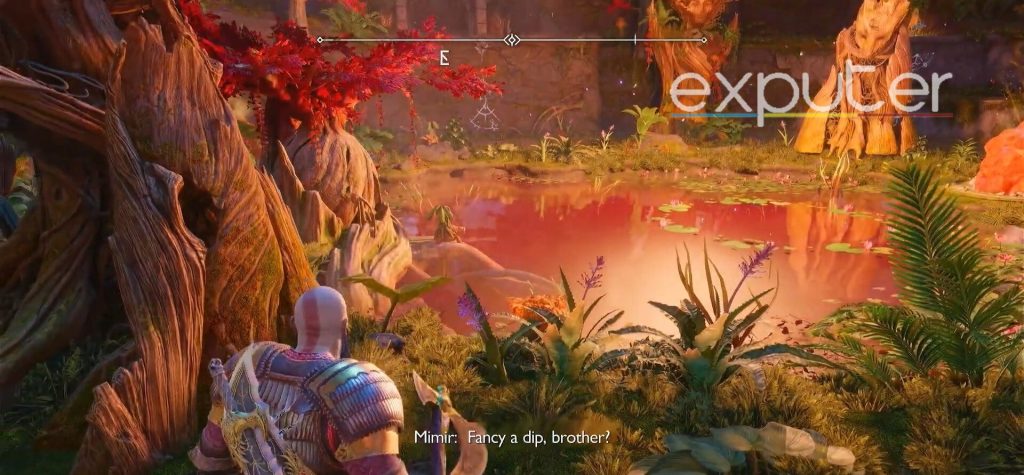
If you look at the middle of the pond, it will start causing water ripples to appear. On the platform where you broke down the yellow crystal, you can take up a few resources, including crystalline shards.
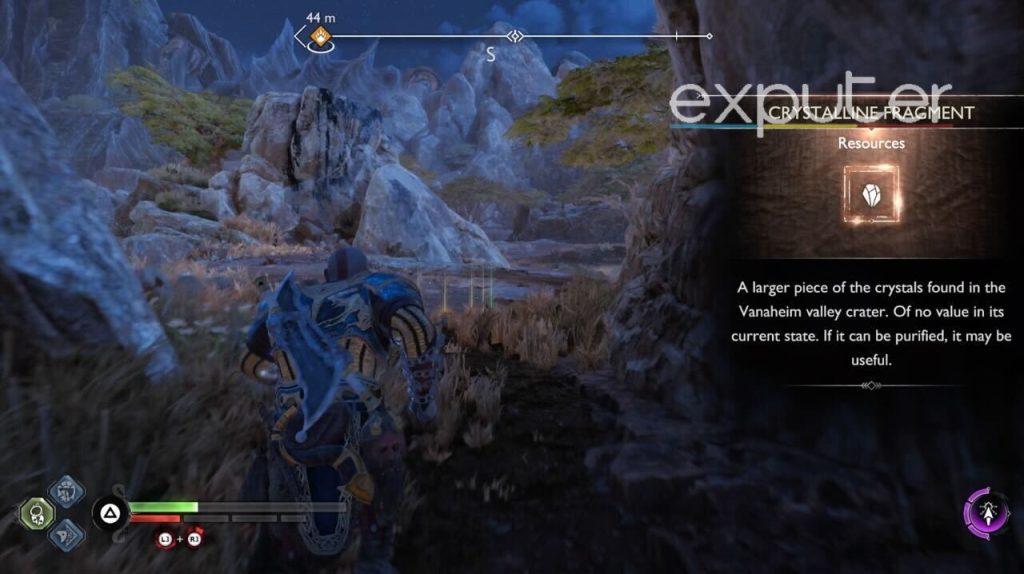
After Freya says something along the lines of how it speaks its language and that it is one she understands, an item will appear on the right of your screen, which will be a Crystalline Fragment, and its description will say that it is a larger piece of the crystals that are found in the Vanaheim’s valley crater.
After that, Freya will say that you want to show your gratitude to the pond, and she will guide you that you need to toss a crystal into the wishing well. And once you interact with it, it will showcase Kratos throwing in a small crystal.
Once you do so, you will be rewarded with a few things. One of them will be a plackart of fallen stars, which is chest armor. Kratos will ask what it is, whereas Freya will say that it is armor.
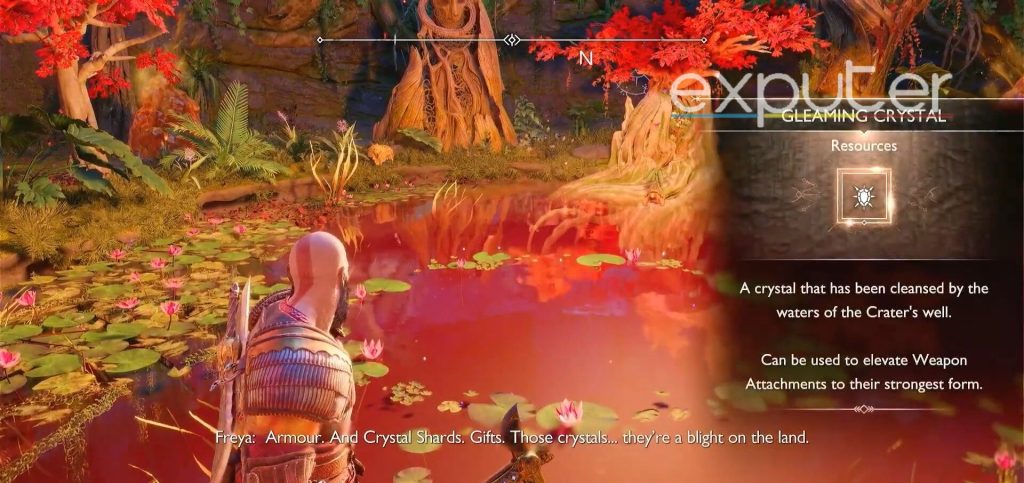
Along with that, you also get your very own gleaming crystal, which is a crystal that has been cleansed by the waters that are present in the Crater’s wishing well. Freya will also explain why the crystals exist and what they can be used for.
Pre-Requisites
Note: Major spoilers ahead!
Now, to actually get to this questline, players will need to complete a total of 13 main quests before, alongside the scent of survival side-quest.
Therefore, we will briefly explain the pre-requisite quests’ names:
- Surviving Fimbulwinter
- The Quest for Tyr
- Old Friends
- Groa’s Secret
- The Lost Sanctuary
- The Reckoning
- The Runaway
- Into the Fire
- The Word of Fate
- Forging Destiny
- Unleashing Hel
- Reunion
- Creatures of Prophecy
And there we have it, a detailed walkthrough on how to get your hands on the gleaming crystal! And with that, we will wrap up our God of War Ragnarok Gleaming Crystal guide!
Up Next:
Thanks! Do share your feedback with us. ⚡
How can we make this post better? Your help would be appreciated. ✍