God of War Ragnarök has one of the most impressive armor sets, specifically for players who want to get stronger in early-mid-game content. In our God of War Ragnarök Lunda’s Armor guide, we will uncover the full quest players must do to get their hands on the beauty.
Note: This guide will most definitely contain spoilers; proceed at your own risk. (Major Spoilers are in Pre-Requisites)
- Players must finish the main story mission called The Reckoning to unlock Lunda’s Armor in God of War Ragnarok.
- Once players have defeated Nidhogg at the end of this mission, head to Freyr’s Camp and speak with Lunda.
- She will give the favor called The Mysterious Orb. This quest will take you to 3 locations with the 3 armor pieces.
- These locations will be marked on your map and are relatively straightforward.
- Once this quest is done, Lunda’s Armor will be available for use.
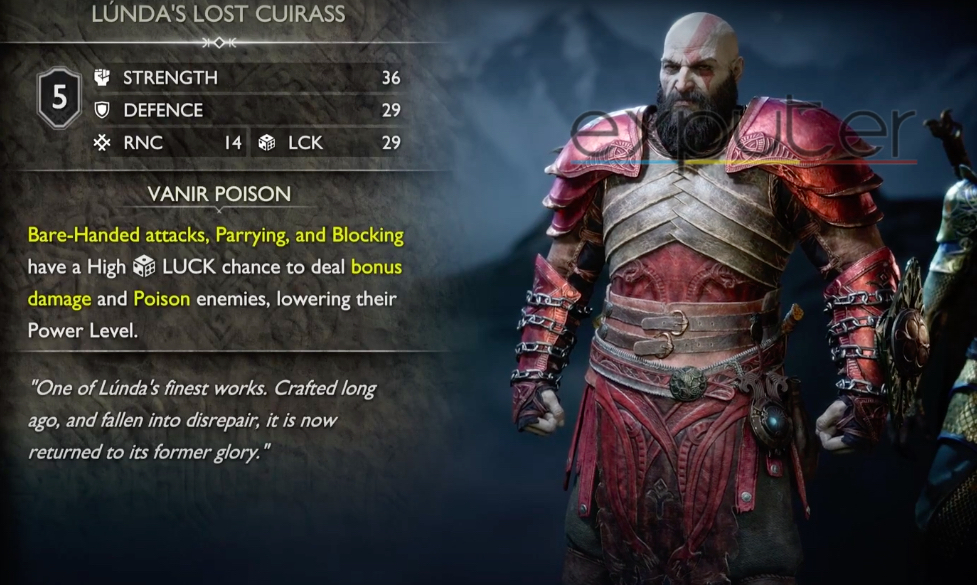
- This set provides 36 in Strength, 29 in Defense, 14 in Runic, and 29 in Luck.
- In addition, using bare-handed attacks, parrying, and blocking can inflict poison on enemies.
First, look at the Stats of each armor piece in Lunda’s Set:
| Armor Piece Name | Strength | Defence | Runic | Luck | Perks |
|---|---|---|---|---|---|
| Lunda’s Lost Cuirass | 36.0 | 29.0 | 14.0 | 29.0 | Vanir Poison |
| Lunda’s Lost Bracers | 41.0 | 0.0 | 9.0 | 18.0 | Prey Upon Poison I |
| Lunda's Lost Belt | 0.0 | 41.0 | 9.0 | 18.0 | Prey Upon Poison I |
Starting The Quest
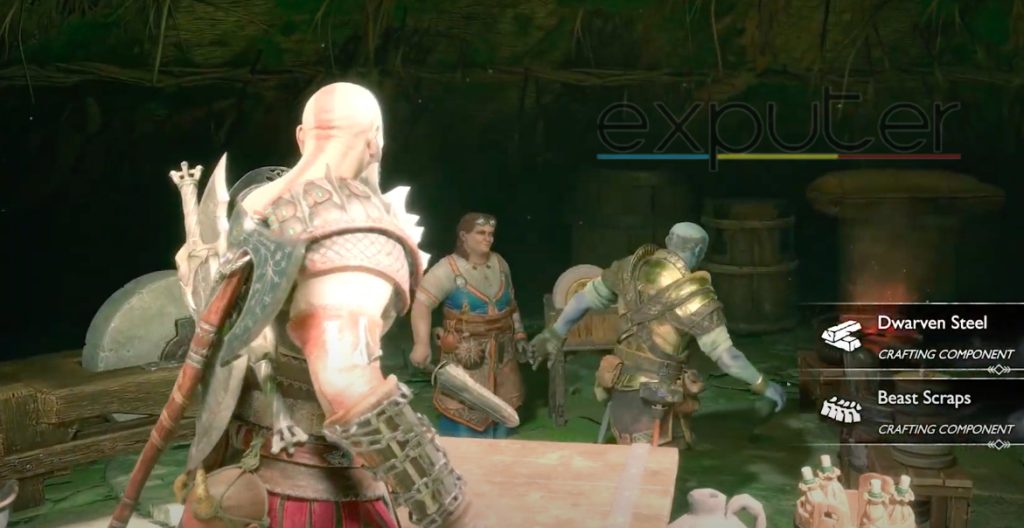
Once players finish The Reckoning, they can return to Freyr’s Camp, which will be when they get the quest marker “Depart Freyr’s Camp When Ready”. When you’ve made your way back there, head over to the table where Lunda is standing at the back, and you can interact with her.
Once you do so, she will ask you to find a certain orb for her, which will immediately trigger the Favor The Mysterious Orb, and the questline itself will feature the orb and the three pieces you need to complete the entire set.
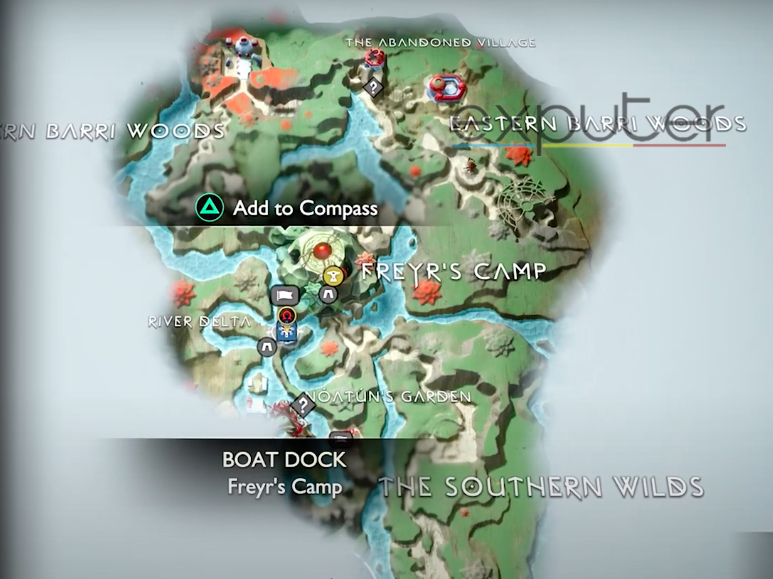
Accept the favor, and from there, you want to start going to the gate Freyr wants you to head towards. However, instead of going to the gate, players want to go toward the Noatun’s Garden.
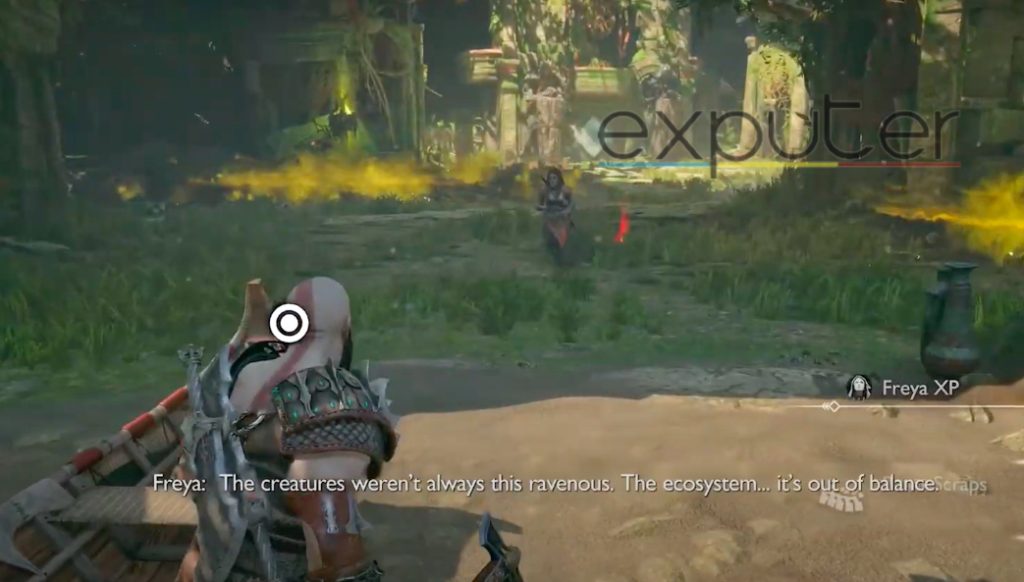
Keep heading forward, and in between your journey, Mimir will continue to interact with Freya (or at least attempt to).
Pass through the overhead branches, enter the smaller channel, and steer left until you cross another giant tree. Once more, steer left until the river clears, then turn right at the overhead branch. Keep going until you reach the larger tree that separates the channel. Enter the left channel and proceed until you reach land to dock your boat.
Broken Belt
Now, to get the first piece, dock your boat and head off into the main area, where you will find enemies you need to eliminate. After that, if you look to your left, there will be an entrance to a ruin in the wall, which you can interact with.

Go up to it, and once you interact with it, Kratos will stab the middle, activating orange symbols, and the door will burst open. Once that is done, there will be a smaller door that will be behind the original symbols that Kratos will need to open.
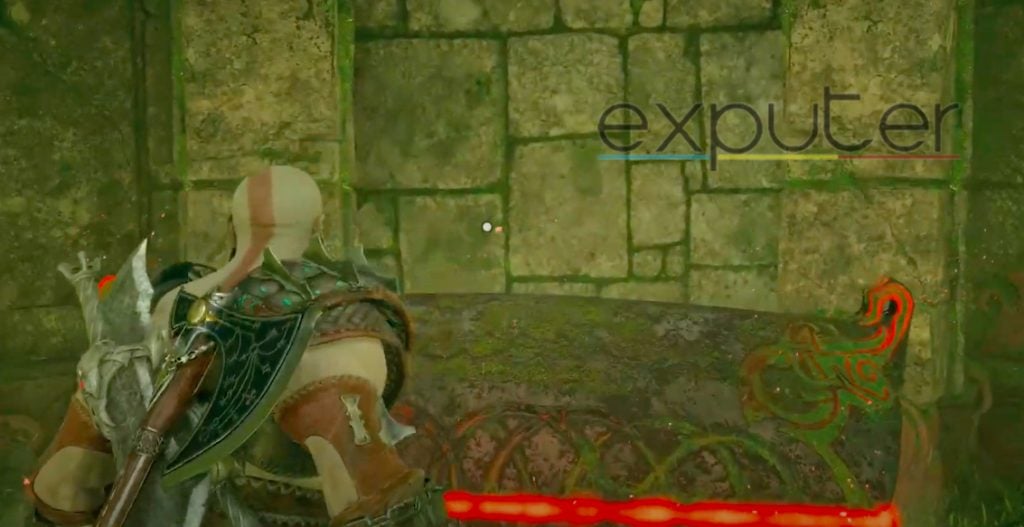
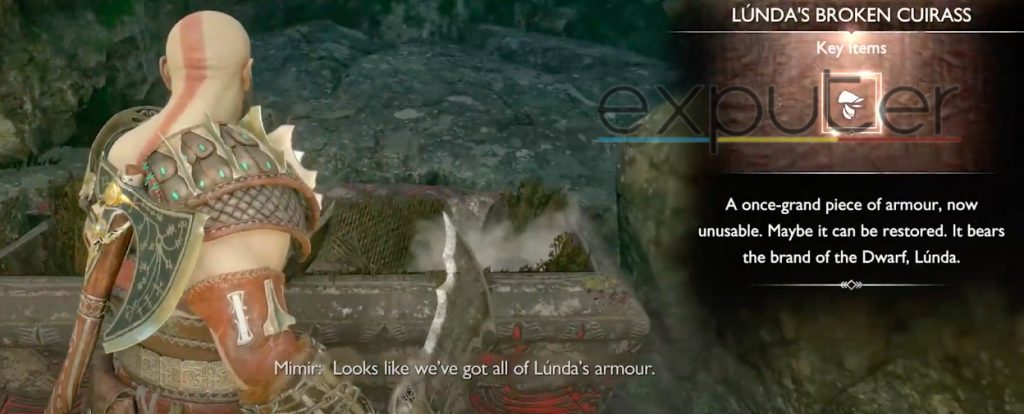
Once you head in the door, there will be a red chest that you can open, containing Lunda’s Broken Belt.

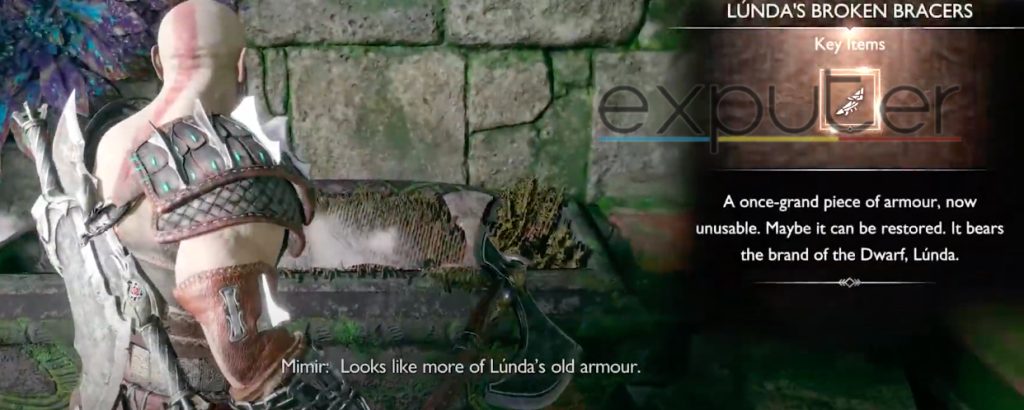
Lunda’s Broken Bracers
From there, you want to return from the ruins and then head back until you’re near a small tree. Cross the red item on the ground until you can see your docked boat.
Head into your boat, make a sharp left turn, and keep heading forth and cross the first right turn that you can come across and keep heading straight. From there, head into the smaller channel surrounded by stones, then steer right into the main river and turn all the way right, crossing the overhead branch as well.

Head forward, steer left until you can see land yet again, and dock your boat there, where you will have arrived at the Cliffside Ruins. There will be quite a few enemies that you will need to take out over here, which you can easily do so.

From there, head forth until you see a wall on your left that you can interact with. Start climbing the wall, get on top of the platform, and Freya will follow you. Tread carefully on the platform, and there will be an entrance that will not have a door; inside it will lie another red chest.
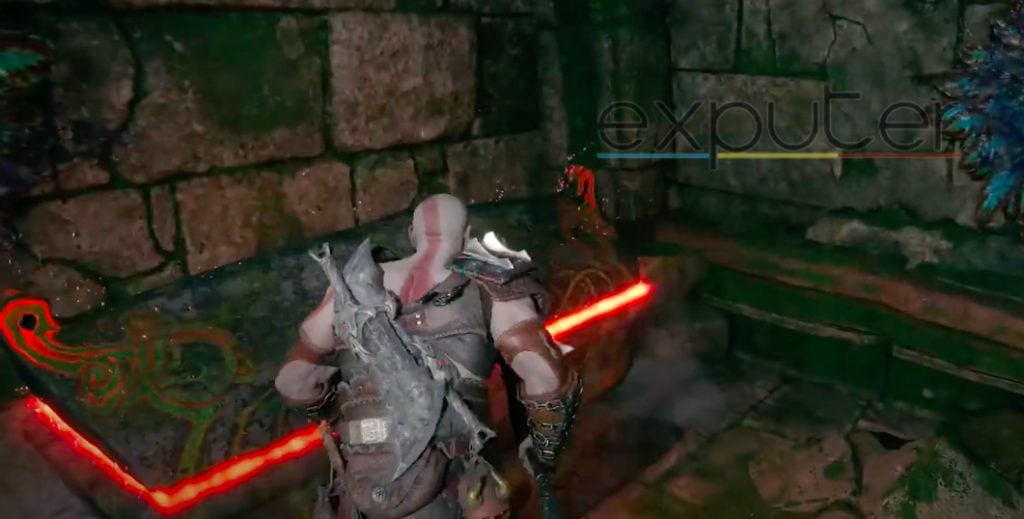
Opening the chest will grant you access to Lunda’s Broken Bracers.
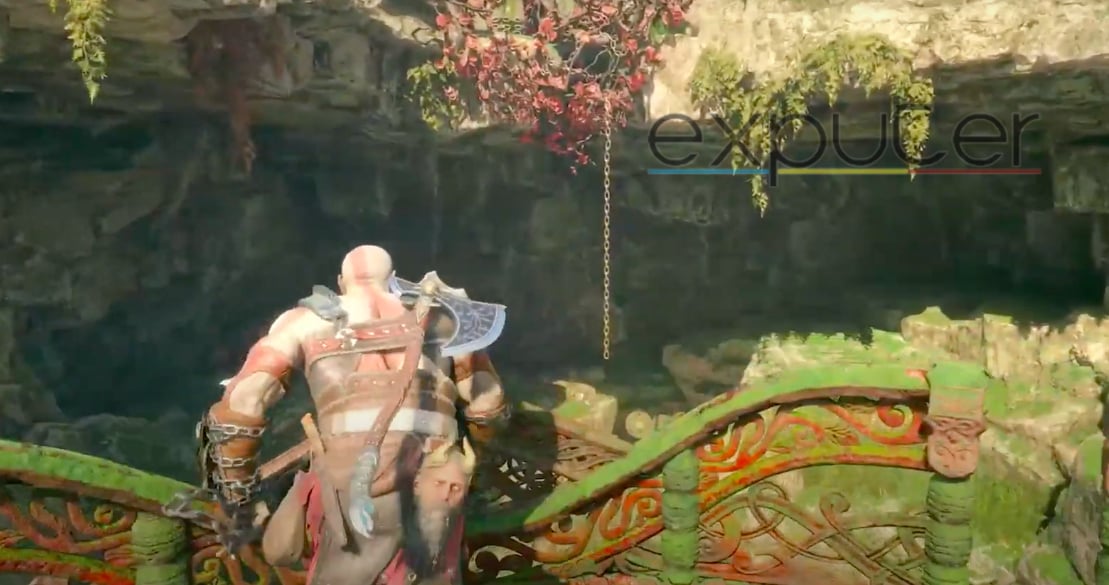
Broken Cuirass
Let’s discuss how players can get their hands on the broken cuirass. From the point where you opened the chest for the broken bracers, head back towards the main entrance to the ruin where the chest was located, and Freya was standing originally.
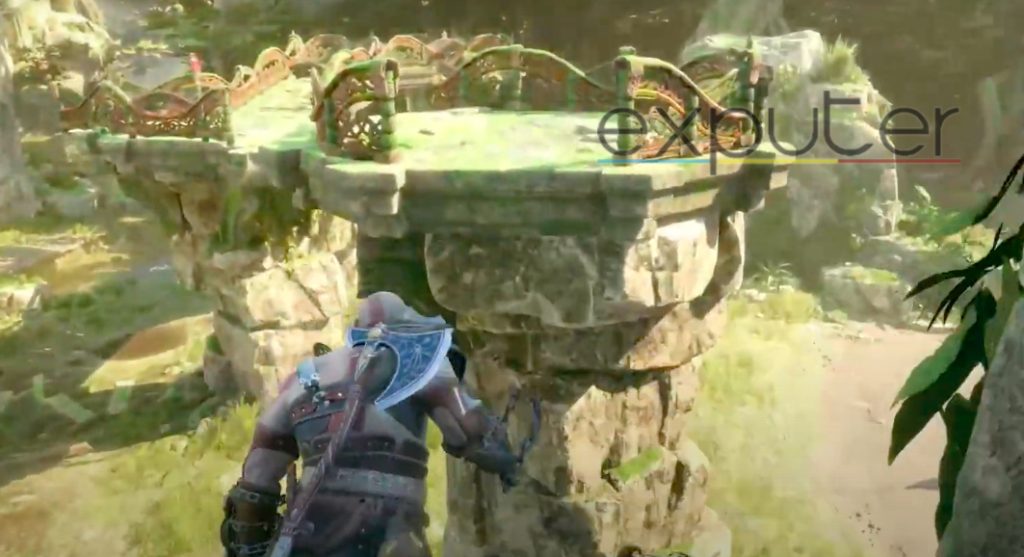
Right from the entrance, you will come across the edge of the main platform you were standing on, and there will be a platform right in front of you that you will need to leap onto. To leap onto the platform, hold down on L3 to sprint, then press O to jump.
Once you’re on the platform, sprint onto the next one that is present towards your left, which is a bit down. Once you’re on there, a bridge will lead ahead, but instead, you want to jump onto the platform on the right of the handle. Make the same sprinting motion and hop onto the forward platform safely.
Once you reach there, there will be a chain hanging from a few vines, and Freya will exclaim that we can’t do anything about it since the vines are in the way.
Once you’re aiming at the vines, take your blades and aim just to the left of the platform’s edge where the vines are hanging against the chain. Take your blades of chaos, aim them at the edge of the platform, and pull back your blades, which will immediately blow up that part of the platform.
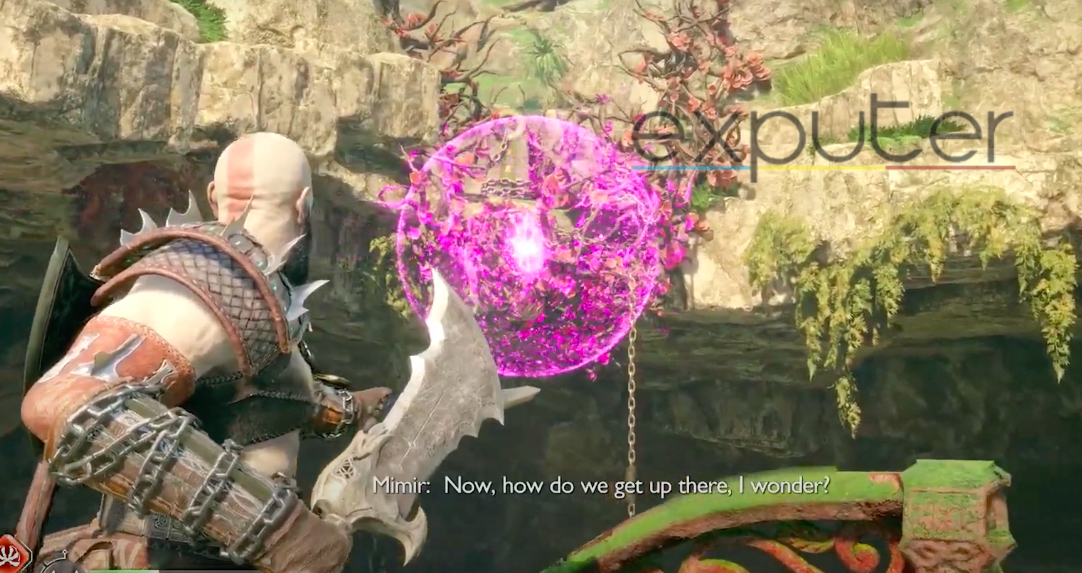
Fire the Hex Arrow on the right edge near the blown-up part. Aim your blade at it to trigger a new explosion. Repeat this for about 4 or 5 hex orbs to set the vines on fire, causing them to vanish and freeing the chains.
Return to the main platform, where the bridge used to be, and interact to jump down. Proceed to two stone ledges, turn left from the left one, head toward the freed chain, and climb down.
Getting Up The Chain
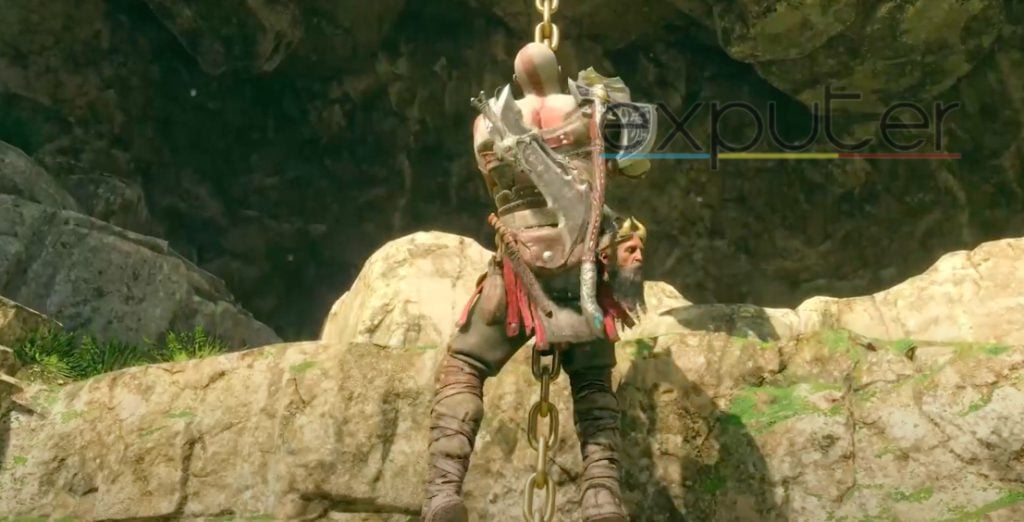
Once on the platform, start heading forth until you can reach the cliff’s edge. There will be a teal puzzle that players will need to solve, and to do that, take hold of the orange item in your hand, slant down on the teal board, then slant down another line towards the right, making sort of like a < shape but wider. Interact with it, which will simultaneously also cause those four edges to collapse.
After that, Freya will say that you should be able to head over to the wedding site now safely.
Heading To Goddess Falls
- Start by retracing your steps to the boat, then head back and take the chains to descend to the ground.
- Proceed towards your docked boat.
- Make an extreme right turn, cross the large waterfall, and enter the smaller channel.
- Move towards the waterfall in front of you, and at the rainbow, take a left.
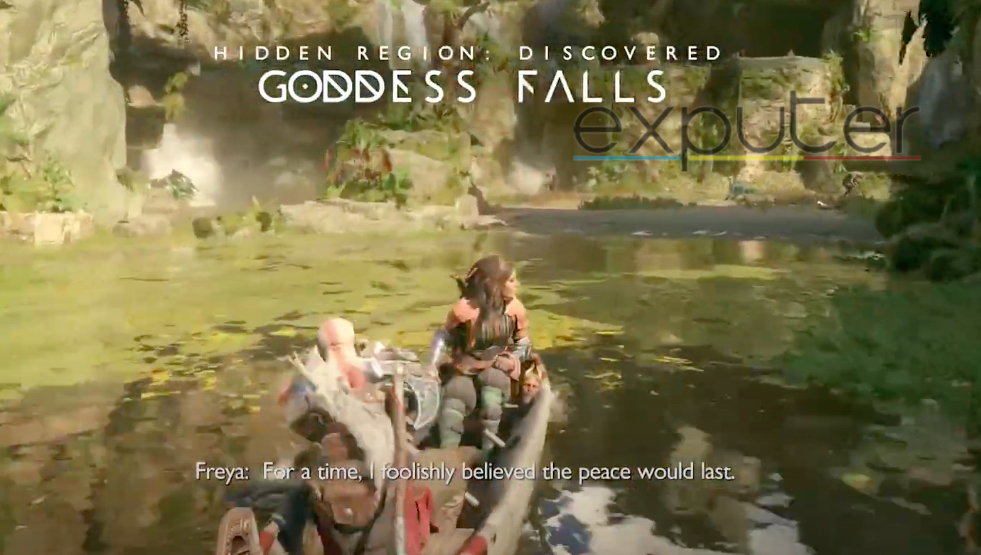
- Keep going until you find a red chest, then turn right. Continue until you reach the hidden area called Goddess Falls.
- Instead of beach docking, turn left and follow the main river.
- At the river’s end, locate a secret cave entrance.
- Proceed inside, steer left, and spot some hack silver barrels.
- As you navigate, Freya will mention more Seior markings, indicating your proximity to the objective.
- After her cue, dock your boat at the beach.
On the beach, right behind the pillar in the middle, a red chest will be neatly tucked away against the wall. Interact with the chest to open it, granting you Lunda’s Broken Cuirass.
Getting The Mysterious Orb
From the chest, turn back and un-dock your boat, get inside, and start steering to the left until you can encounter another area to dock your boat. Get off your boat, and a small shining orb will be placed between a few pieces of equipment. Picking it up will successfully get you all the pieces to the quest.
From there, you can return to the camp until you find Lunda calling for you. You can easily craft the entire set by interacting and handing her the broken pieces.
Lunda’s Complete Set
Last but not least, let’s look at the actual armor set and its overall stats.
Stats
The chest armor will have an overall strength of 36, a defense of 29, an RNC of 14, and 29 luck. The chest piece will give the player’s bare-handed attacks, as well as parrying and blocking, a high luck chance whereby they can deal additional damage and poison to enemies, which will automatically lower their power level.
Here is a complete look at Lunda’s Lost Cuirass piece in God of War Ragnarok:
| Levels | Stats | Crafted / Upgraded |
| Level 5 |
|
Crafted: Needs 1 Lundas Broken Cuirass |
| Level 6 |
|
Upgraded: Need 15,000 Hacksilver and 2 Asgardian ingot |
| Level 7 |
|
Upgraded: Need 20,000 Hacksilver and 4 Asgardian ingot |
| Level 8 |
|
Upgraded: Need 25,000 Hacksilver, 5 Asgardian ingots, and 20 Purified crystalline |
| Level 9 |
|
Upgraded: Need 35,000 Hacksilver, 40 purified crystalline, and 2 Smoldering embers |
Moving on, here are the stats of Lunda’s Lost Bracers in God of War Ragnarok:
| Levels | Stats | Crafted / Upgraded |
| Level 5 |
|
Crafted: Needs 1 Lundas Broken Bracers |
| Level 6 |
|
Upgraded: Need 10,000 Hacksilver and 1 Asgardian Ingot |
| Level 7 |
|
Upgraded: Need 13,500 Hacksilver and 2 Asgardian ingot |
| Level 8 |
|
Upgraded: Need 13,500 Hacksilver, 3 Asgardian ingot, and 10 purified crystalline |
| Level 9 |
|
Upgraded: Need 25,000 Hacksilver, 20 purified crystals, and 5 tempered remnants |
Finally, these are the stats of Lunda’s Lost Belt:
| Levels | Stats | Crafted / Upgraded |
| Level 5 |
|
Crafted: Needs 1 Lundas Broken Belt |
| Level 6 |
|
Upgraded: Need 10,000 Hacksilver and 1 Asgardian Ingot |
| Level 7 |
|
Upgraded: Need 13,000 hacksilver and 2 Asgardian ingot |
| Level 8 |
|
Upgraded: Need 16,500 hacksilver, 3 asgardian ingot, and 10 purified crystalline |
| Level 9 |
|
Upgraded: Need 25,000 hacksilver, 20 purified crystalline, and 10 sparkling crystals |
Pre-Requisites To Get Lunda’s Armor Set In GOW Ragnarok
Before players are able even to start the quest that needs to be done to know how to get GOWR Lunda’s Armor, players will need to progress through the first five main missions of the Missions list in GOWR, which will be:
- Surviving Fimbulwinter
- The Quest for Tyr
- Old Friends
- Groa’s Secret
- The Lost Sanctuary
And there we have it! A complete walkthrough on how you can attain each piece to complete the armor set! With that, we will wrap up our God of War Ragnarök Lunda’s Armor guide!
Up Next:
- God of War Ragnarok All Draugr Holes Locations
- God of War Ragnarok All Voice Actors
- God of War Svartalfheim Geyser Puzzle
Thanks! Do share your feedback with us. ⚡
How can we make this post better? Your help would be appreciated. ✍