The Pond Lab is the only lab that is surrounded by a large body of water. Thus, you should visit this lab once you have the right underwater gear to make the journey. Ideally, this could be the second lab you visit, right after the Oak Lab, since there aren’t any high-tier requirements to explore this place. You can save the Black Anthill lab for last. So without any red herring, let’s begin with the complete guide to approach and explore the Pond Lab!
There are 5 total labs in Grounded, all of which can be visited at any time. One of these five labs is the Grounded pond lab, which is found in Koi Pond in the Northern region.
- To explore the Pond lab in Grounded, you will need Gill Tube, Fin Flops, Slime Lantern and Acorn Shovel.
- To reach the pond lab, head to the Koi Pond located North on the map and jump into the pond at the Armed Raspberry Punch-O juice box on the Eastern shore.
- Swim downwards and along the blue pipelines until you reach the Sunken T-Rex, the pond’s first landmark.
- Continue on the path and enter the Pond lab through the wide, rounded door.
- Once inside, go to the Power Grid, pull the switch to reset it and press the three switches of the breakers to restore power to the lab.
- Go to the next room and interact with the ARC.R robot to start exploring the Pond lab.
Requirements To Complete Before Exploring Pond Lab
First things first, we need to make sure that we have the right set of tools, weapons, and gear for our journey. We’ll mainly need some underwater tools, weapons, and a healthy supply of food and stamina for the expedition. Here’s a list of items that you should have before you make your way to the Pond lab in Grounded:
1. Gill Tube
A gill tube is an absolute must-have for this journey since it increases your overall underwater breathing time by nearly 40 seconds. Moreover, it’s easy to craft due to its low requirements, so you don’t have to go too far looking for its raw materials.
How To Craft A Gill Tube?
To craft a gill tube, here’s a set of raw materials along with their quantity:
| Item Name | Quantity |
| Lilypad Wax | 2 |
| Silk Rope | 2 |
| Eelgrass Strand | 4 |
2. Fin Flops
Fin Flops are a set of flippers in the game that can drastically increase your swimming speed. Since most of our journey through the Pond lab will be underwater, Fin Flops can help us to explore the lab much quicker.
Resources Needed To Craft Fin Flops
To craft yourself a pair of Fin Flops, you will need the following items:
| Item Name | Quantity |
| Eelgrass Strand | 2 |
| Lilypad Wax | 2 |
| Water Boatman Fin | 4 |
3. Slime Lantern
Unlike most other torches in Grounded, the Slime lantern can be used underwater, and since we’ll be making our way to the depth of the Koi Pond, a Slime lantern will aid in lighting up the darker areas.
Slime Lantern Requirements
To craft a Slime Lantern, you will need to obtain these resources:
| Item Name | Quantity |
| Plant Fiber | 2 |
| Slime Mold Stick | 2 |
4. Acorn Shovel
To dig up the Pond chips, you’re gonna need a digging tool. Therefore, an acorn shovel will be perfect for this task, since it’s generally easy to craft.
Crafting An Acorn Shovel
These raw materials will be needed to make an acorn shovel:
| Item Name | Quantity |
| Acorn Shell | 1 |
| Crude Rope | 1 |
| Sprig | 2 |
Heading To The Pond Lab
Once we have all the items we need, we can now proceed to the Pond lab in Grounded. We’ll start by going to Koi Pond, which is located to the North of the map. To be more specific, we’ll head to the Armed Raspberry Punch-O juice box on the Eastern shore of the Koi Pond.
As you move your way toward the eastern pond shore, you’ll eventually stumble upon a giant juice box sitting at the edge of the pond.
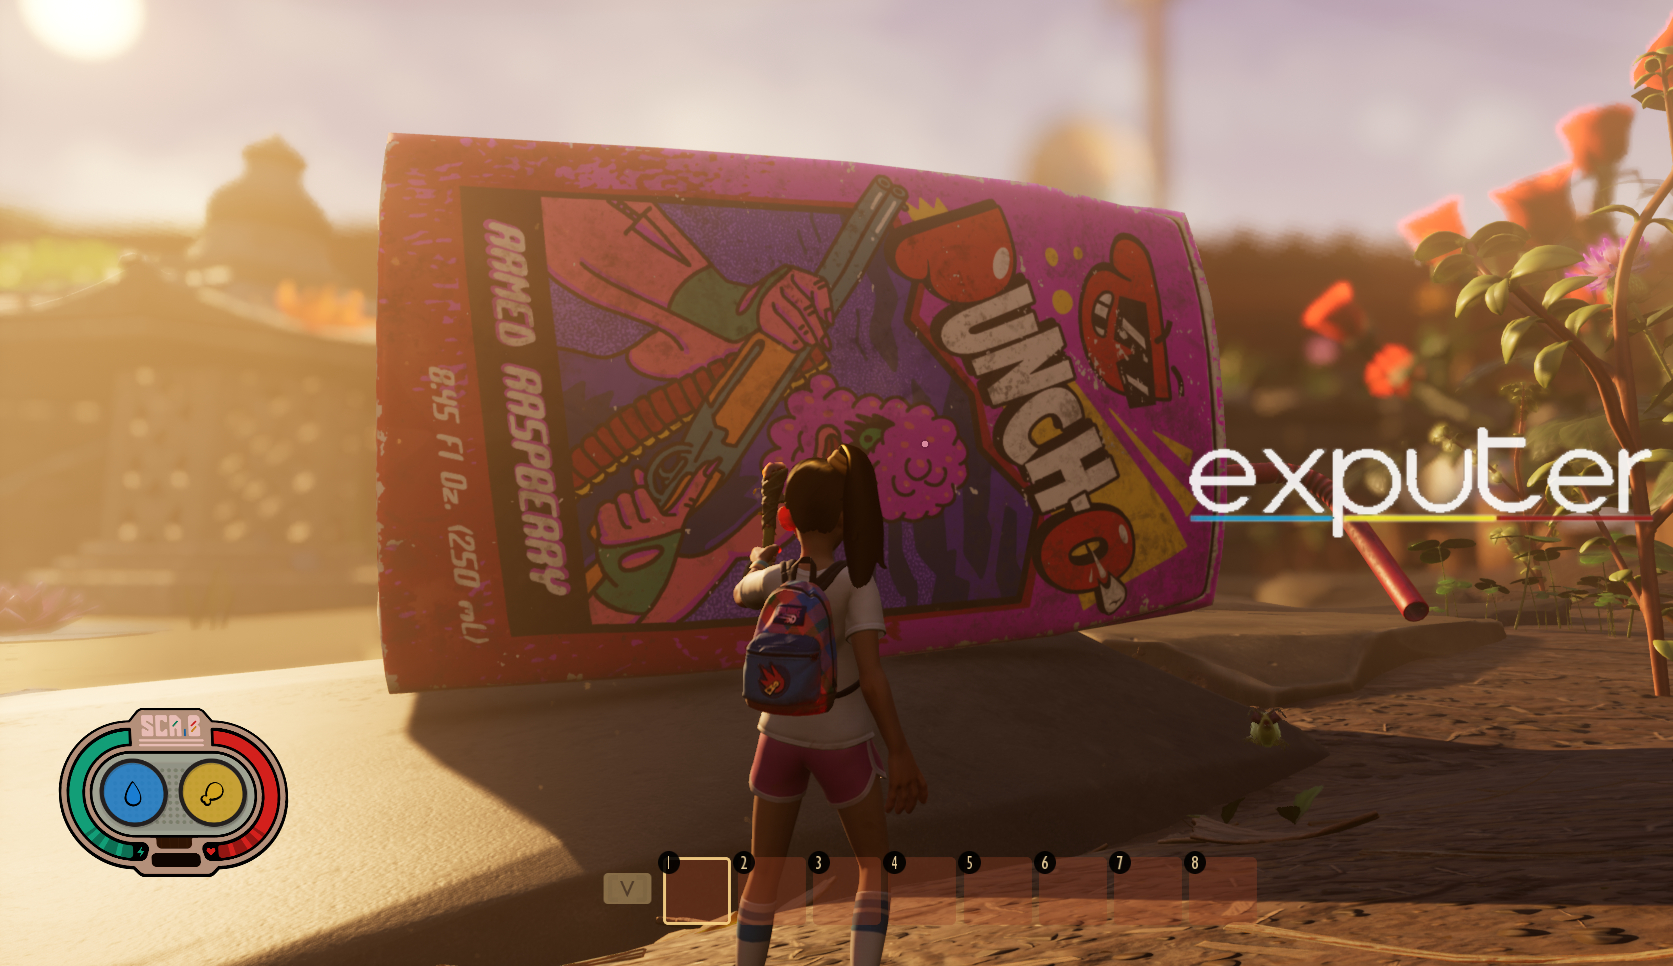
Now that you’re at the Punch-O, go to its back and jump into the pond. Be sure to equip your breathing and swimming gear as this is going to be a long swim directly to the lab. Once you’re in the pond, swim downwards to the pond floor, and head North. Follow the blue pipelines further down into the pond and continue to go straight. Eventually, you’ll reach the Sunken T-Rex, your first milestone of the pond.
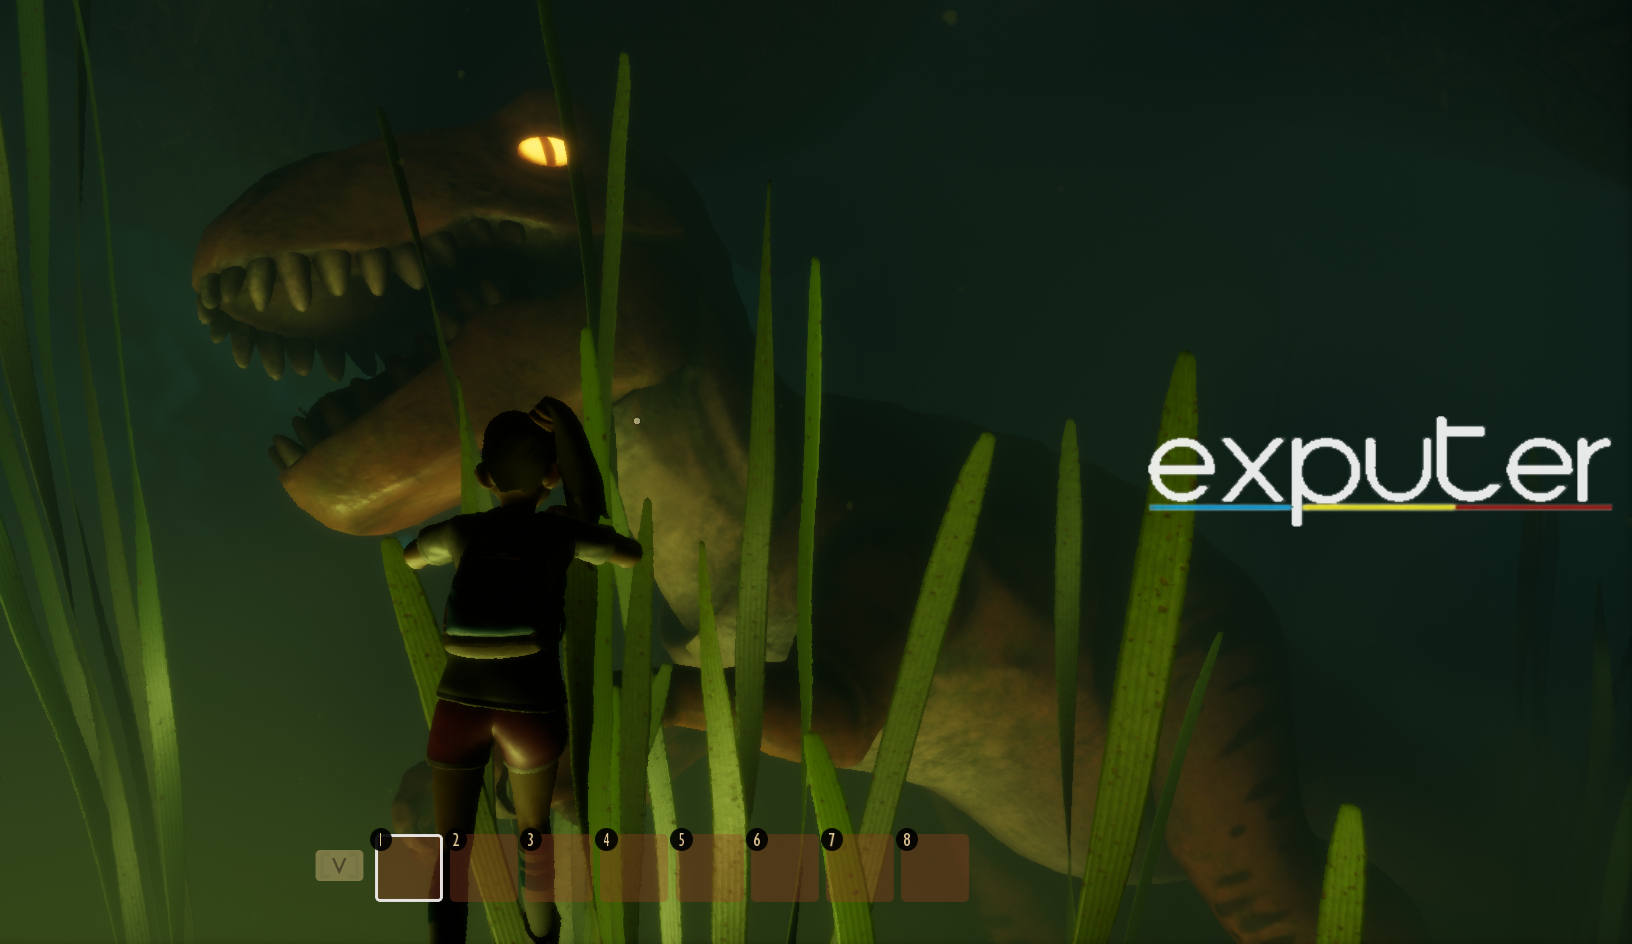
You can grab 500 Raw Science near the T-Rex’s belly if you want to. Additionally, you can also find a few Sunken bones on the left side of the T-Rex, which will help you to craft the Tier 2 best weapons, such as a Bone Dagger or Bone Trident.
After that, head west to the cavern, which should be illuminated by a couple of pillars with blue LED lights. Each pillar along the path will have a small vent pushing some air out of it. These vents will push you in the direction of the Pond Lab so that you can use them as guides.
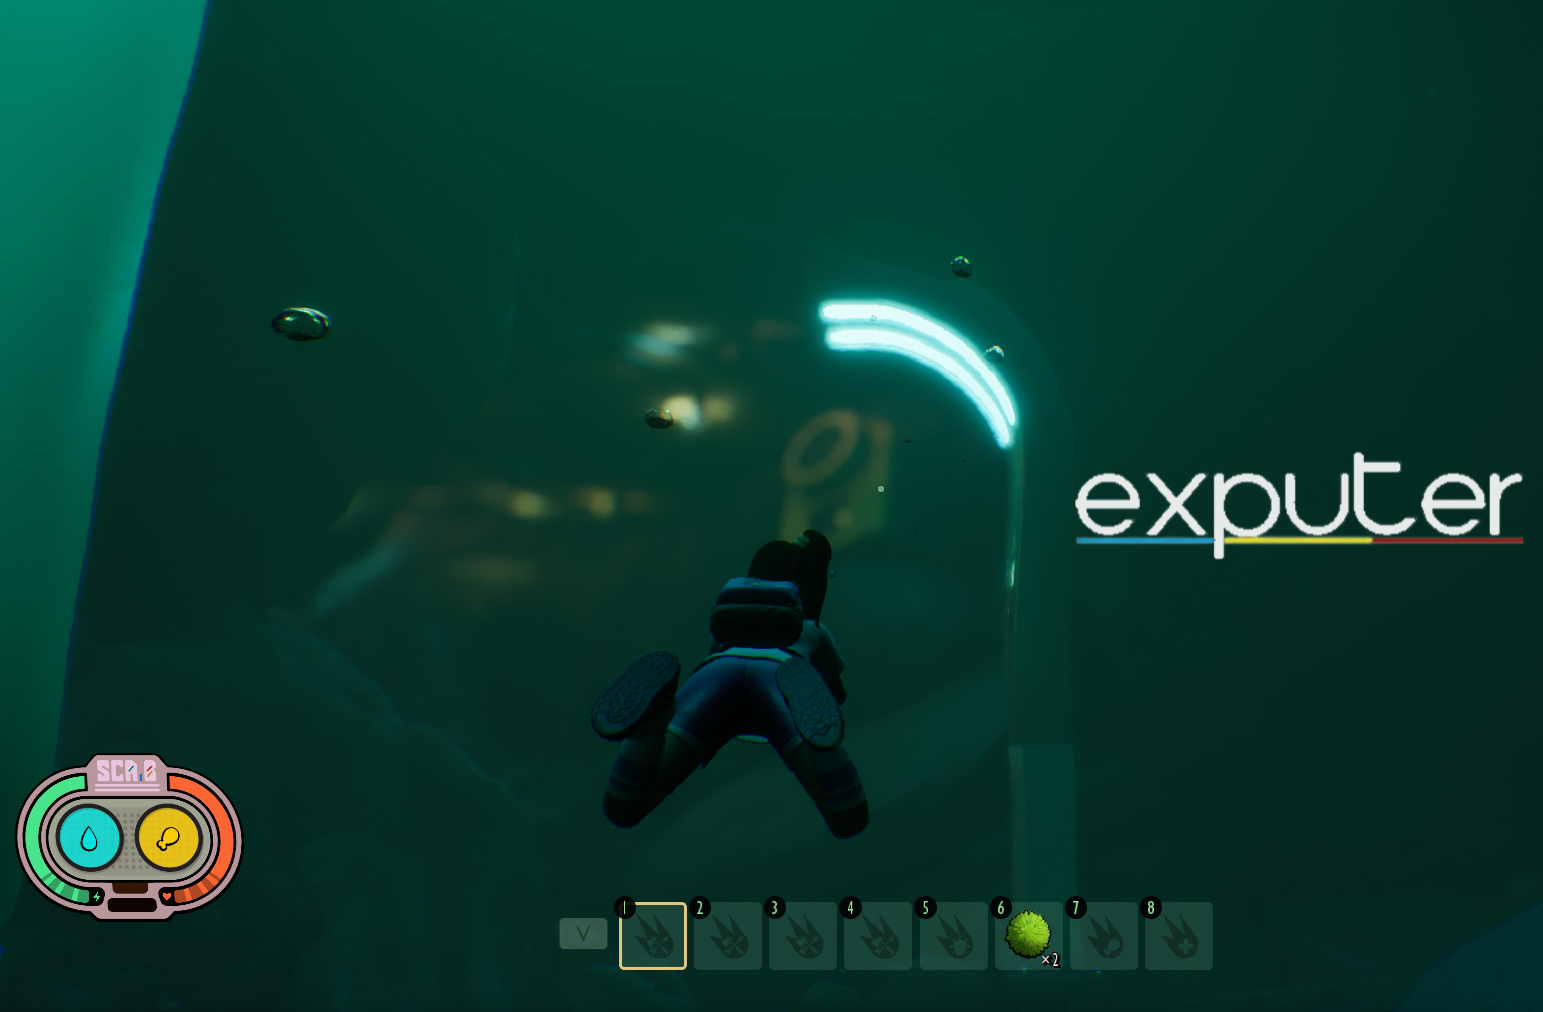
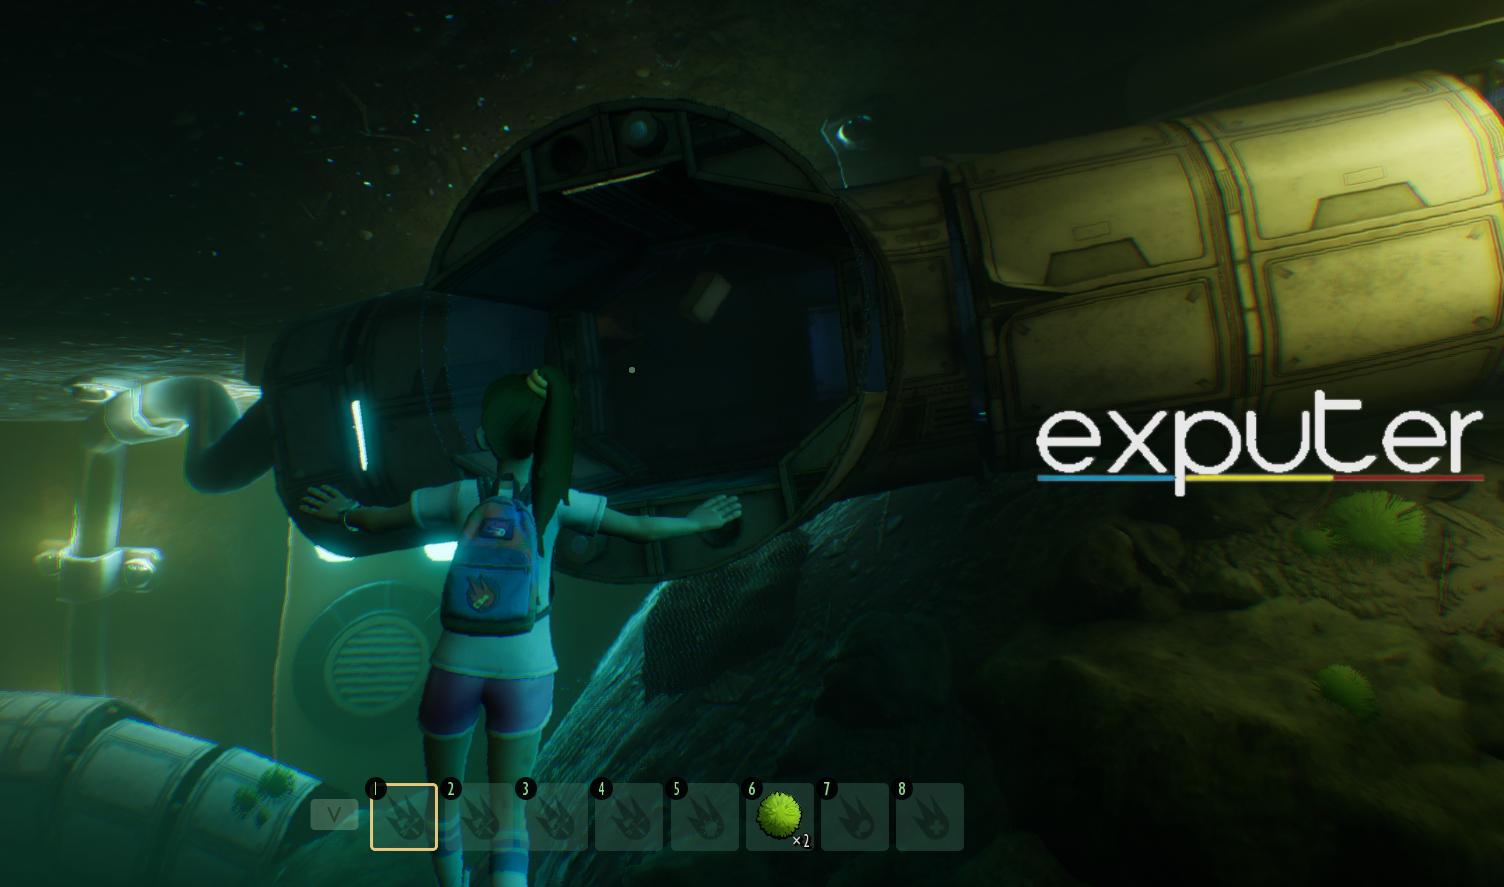
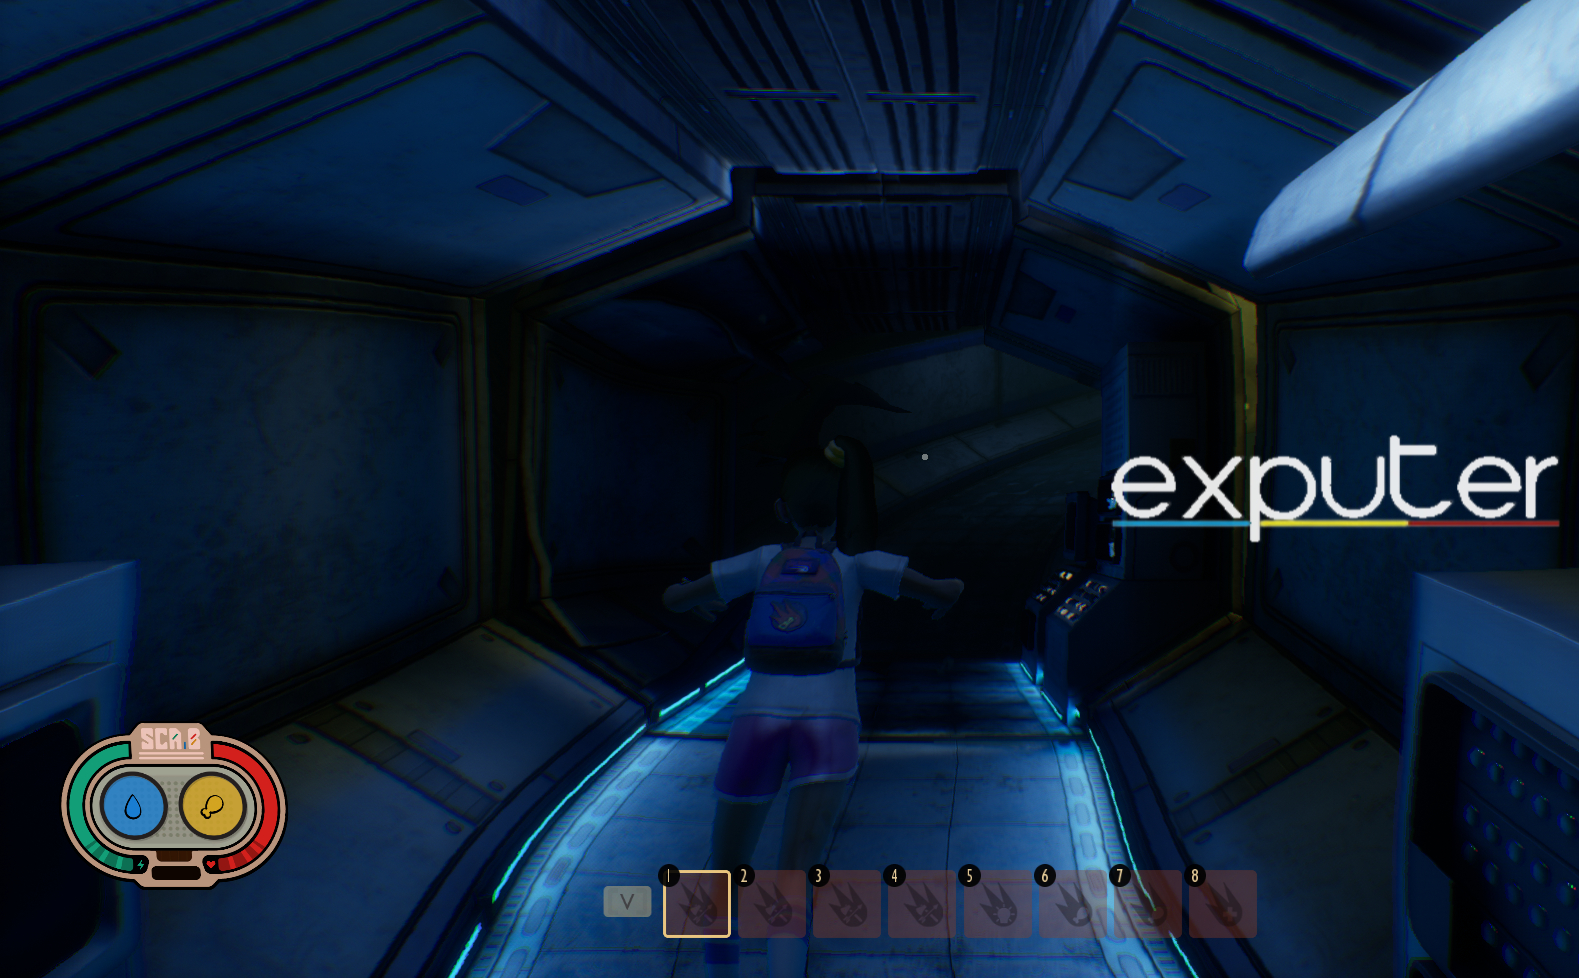
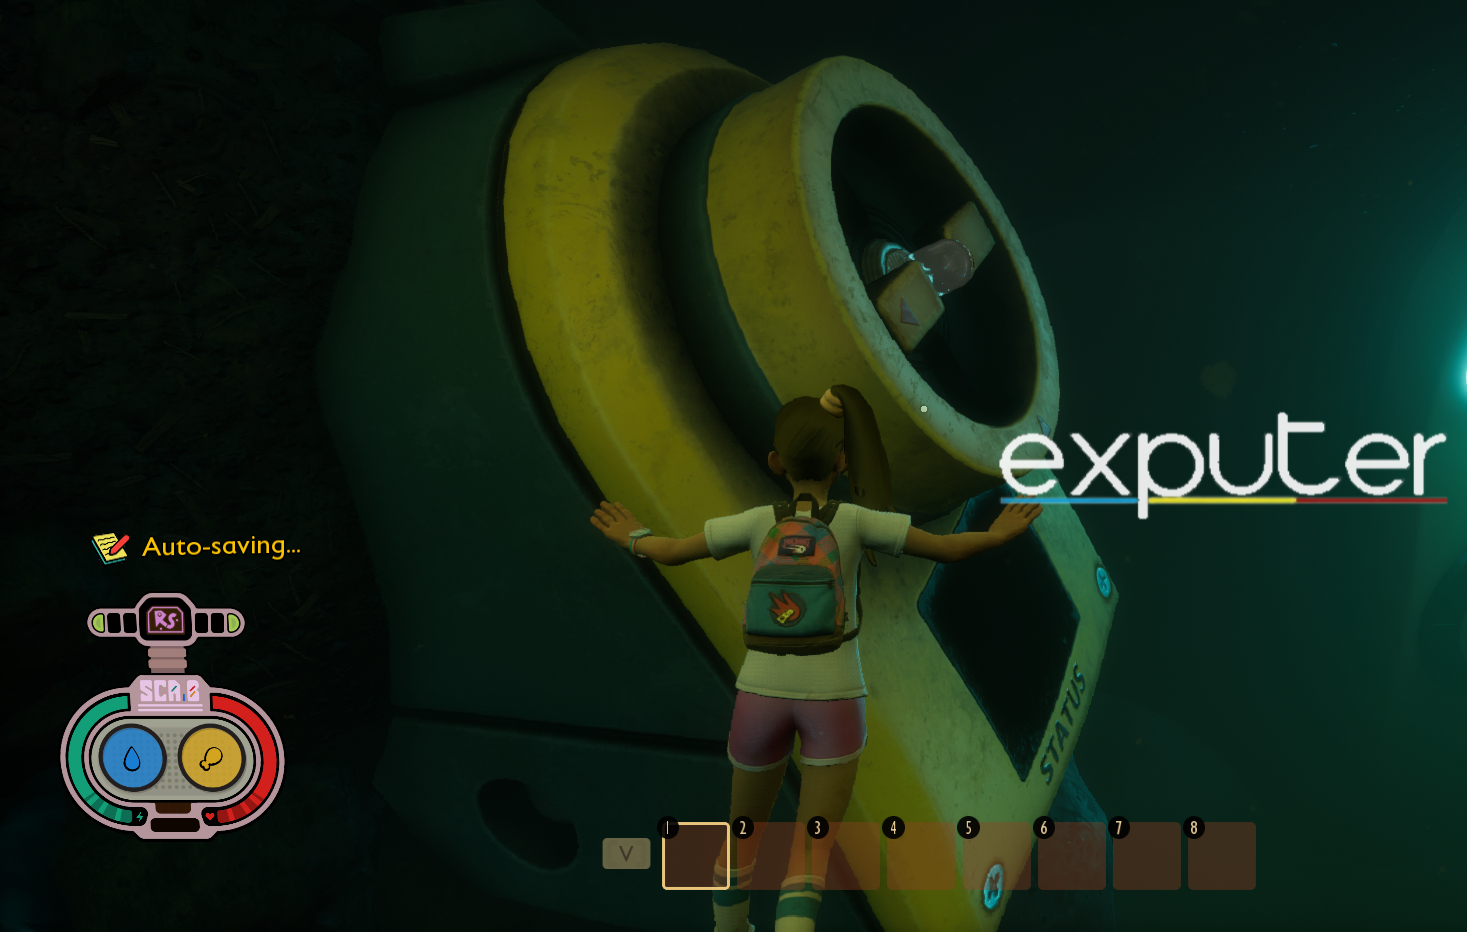
You can continue down the path until you see a large, round opening. This is the entrance to the Pond Lab.
Entering the Lab
Now, turn right and head up the narrow hallway. You’ll see a locked door right in front with a Biometric Scanner on the side. Use the Biometric Scanner to open the door and then go through it until you reach atop the hallway and are no longer underwater.
Exploring the Pond Lab And Restoring Power
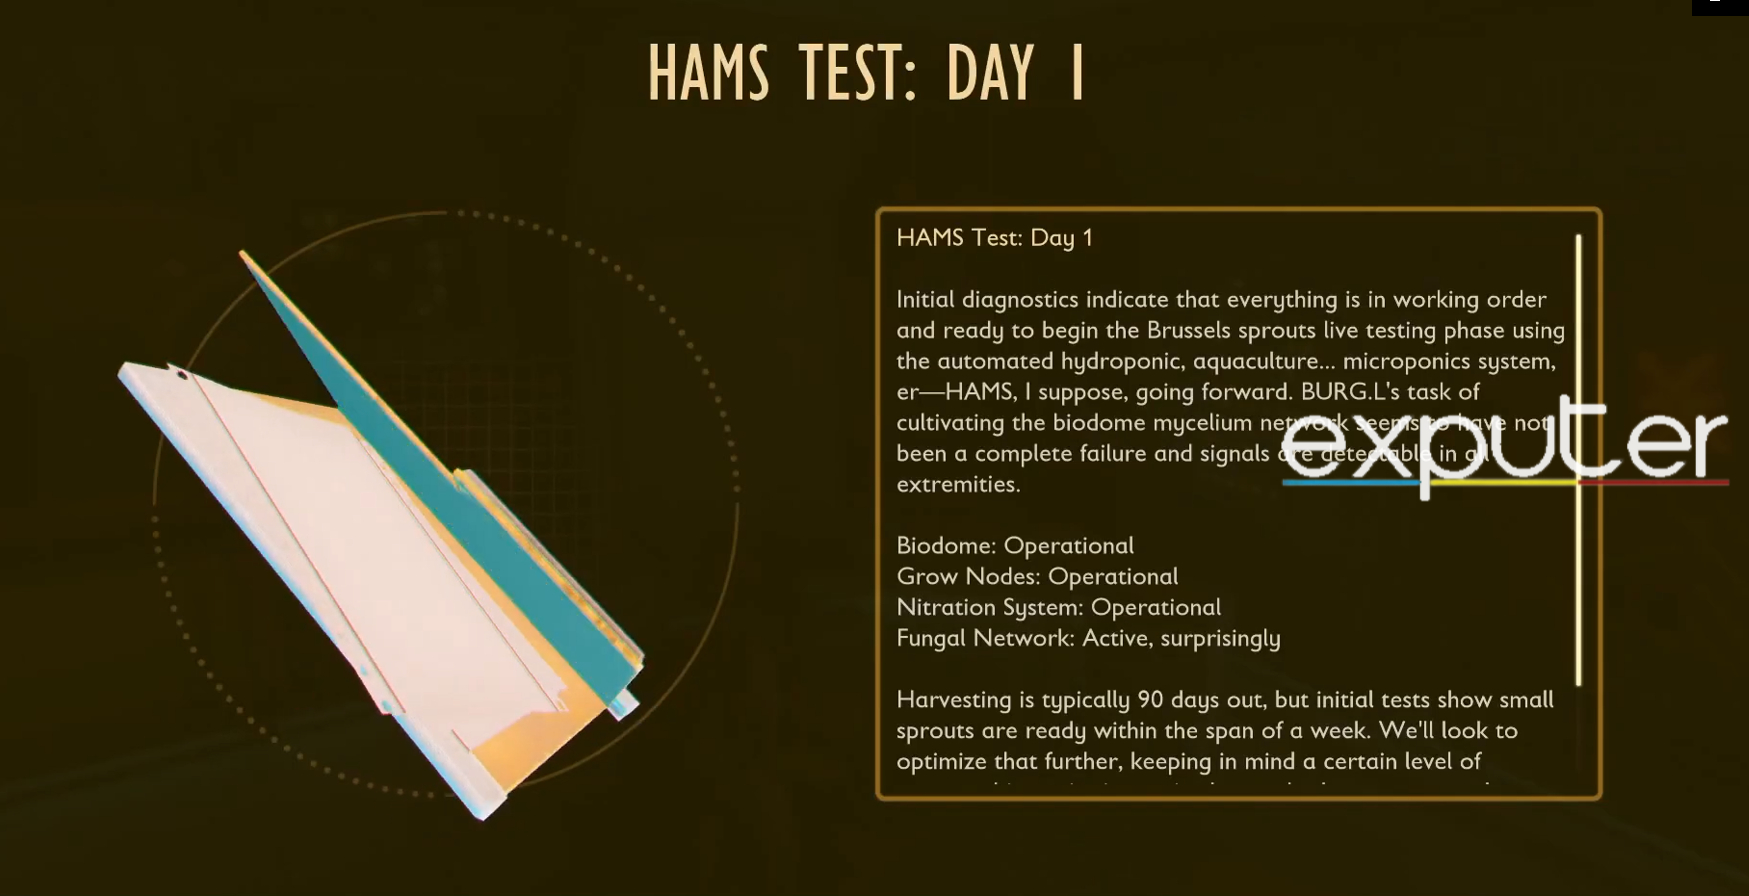
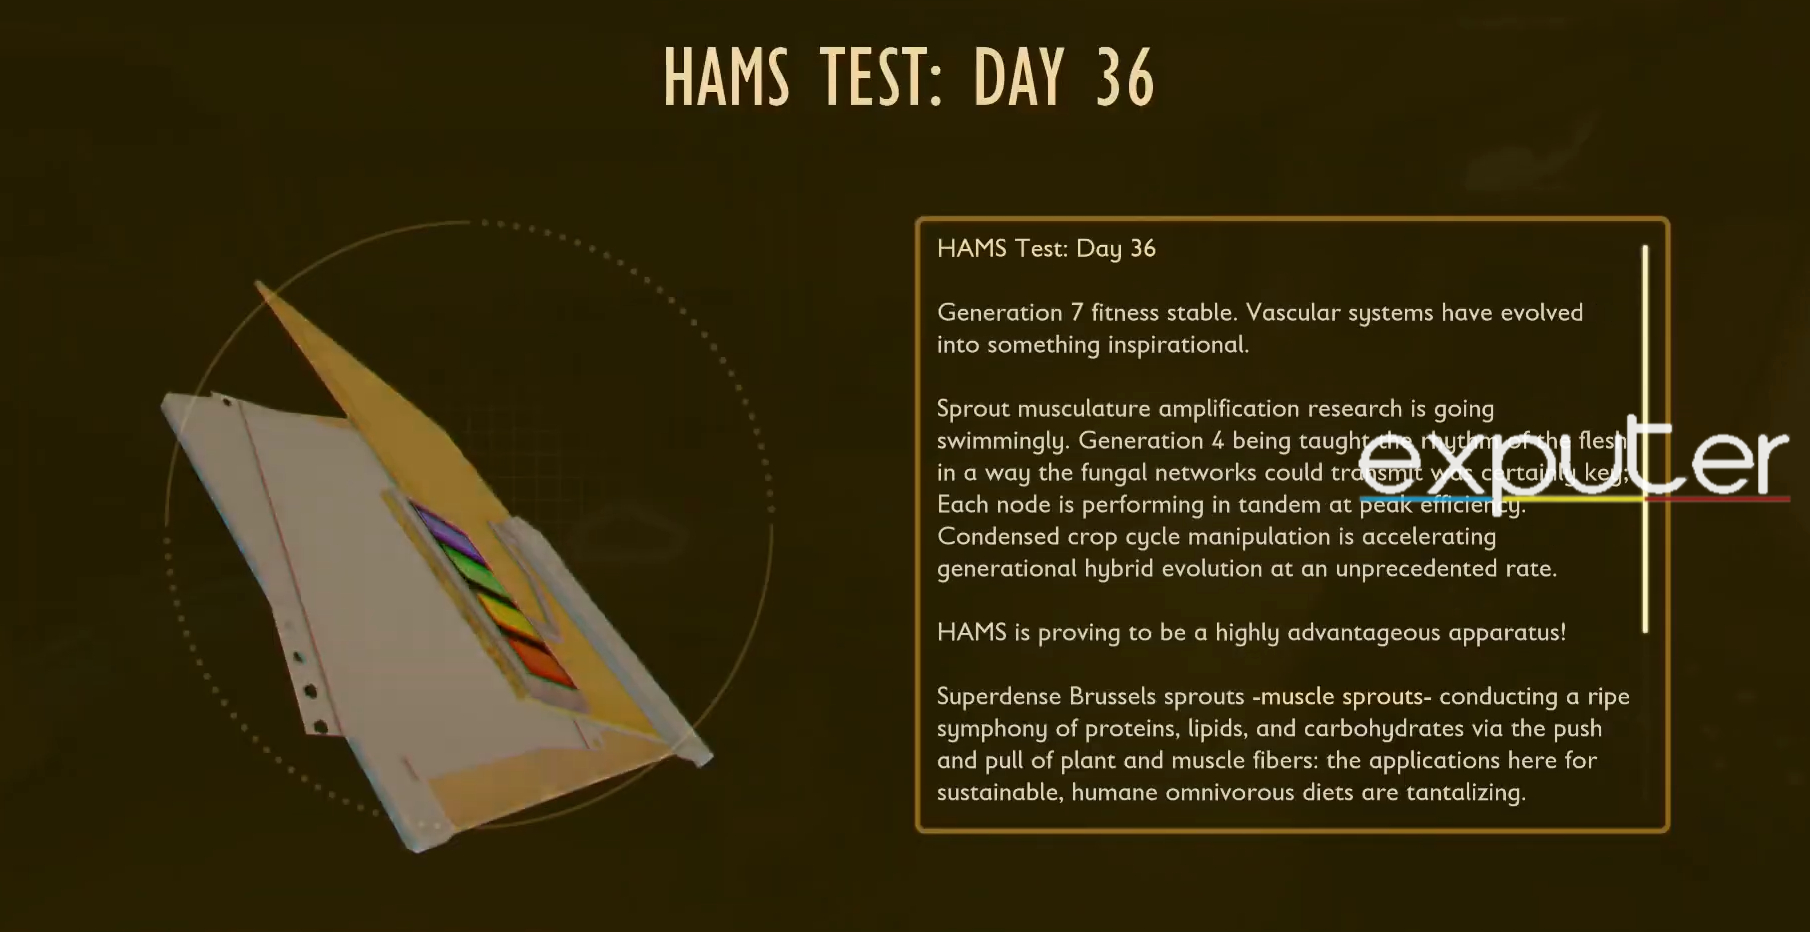
Congratulations! You’re inside! The first thing you need to do once you’re inside the lab is to go to the Power Grid in front of you and pull the switch to reset it. After that, our next objective will be to press the three switches of the breakers to restore power to the lab. In the meantime, you can also go and grab the HAMS Test: Day 1 Pamphlet sitting on the desk beside the breaker.
After that, you can go down the narrow hall to the next room, where you’ll be greeted by an ARC.R robot. Although this mech may seem kind of threatening, you just need to poke it with your weapon and block its electric blob attack with your shield, and you’ll easily kill it without any trouble. Once you’ve killed the robot, you can now go to the Workbench at the corner of the room, where you can craft some higher-tier weapons and equipment to make the rest of your journey easier.
First Switch
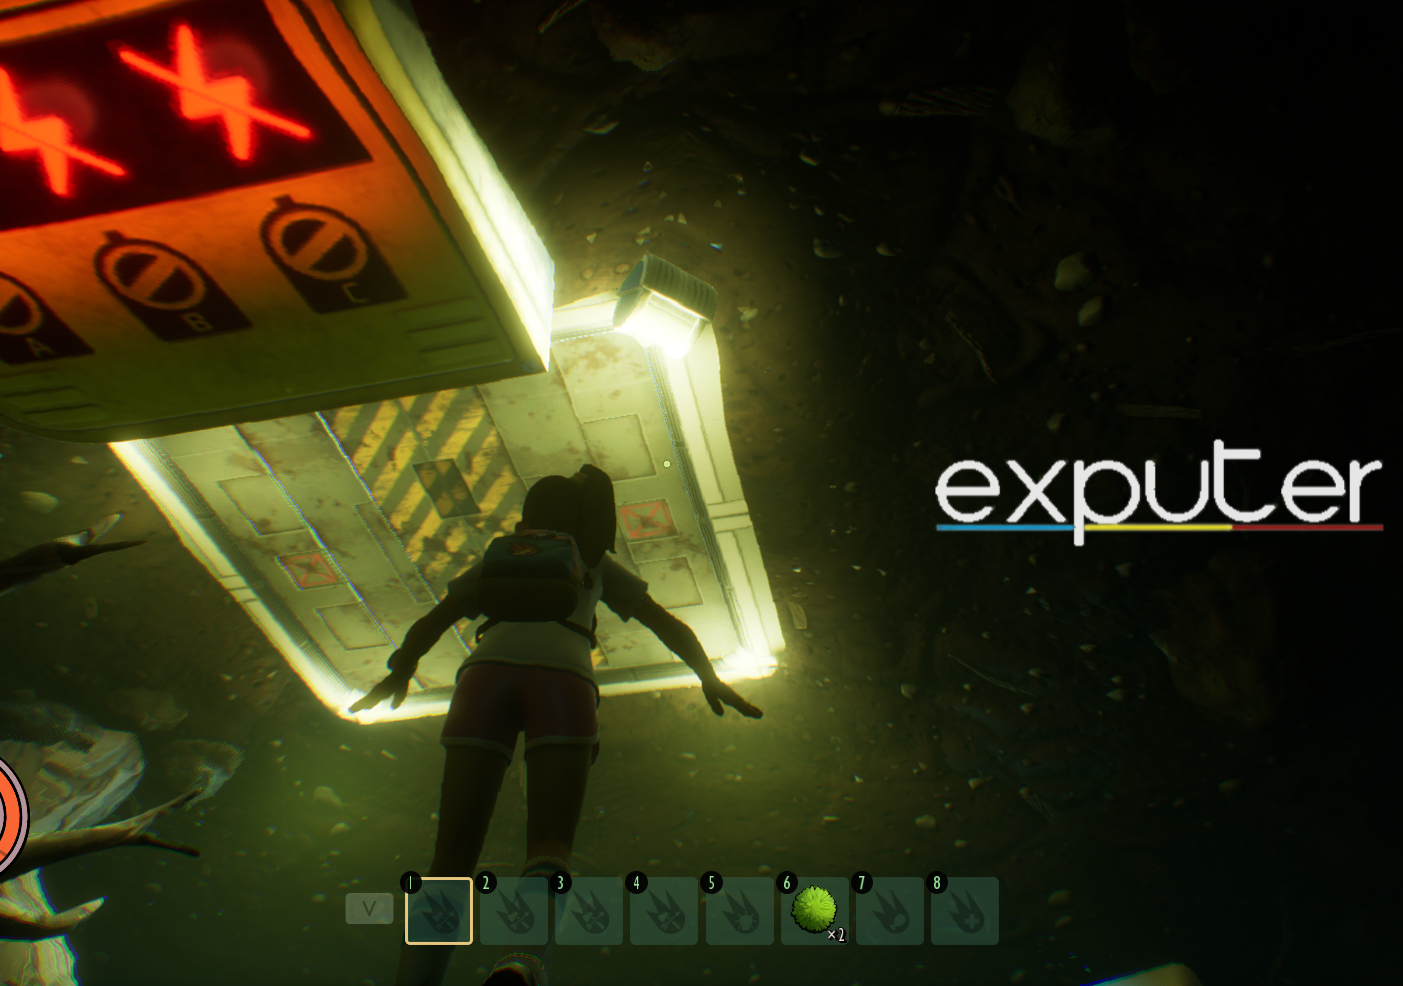
Make your way outside the room and head back down to the Pond lab entrance hallway. Get out of the lab via the left side of the hallway and follow the large, white pipe in front of you. There should be an open slit of an air vent at the end of the pipe. Enter the vent and continue down the narrow path inside.
There is where your Fin Flops will come in handy since you’ll most likely experience some resistance here from all the pressure pushing you back. The flippers will help alleviate this issue. Take the first left, then the first right, and then the first left again until you enter a room with a yellow, spinning breaker. Turn the dial at the center of the machine to turn on the first switch.
The switch turned on should be indicated by the LED at the center turning from red to green.
Second Switch
Now, we’ll head towards turning on the second breaker. Make your way outside the pipeline via the air vent by taking the route you came from. Once you’re outside, swim back to the pillars that you crossed before entering the Pond lab. The second breaker should be located just beside the Pond lab entrance, near one of the pillars.
Turn the dial of the switch at its center, and voila! The second switch has been turned on!
Third Switch
Finally, we move on to the third switch. This one should be located directly opposite the Pond lab entrance. Simply make your way across the area past the oak branches, dive down a little, and you’ll see the third breaker switch right ahead.
Keep in mind that there will be a few diving spiders in this particular area, so equip any weapon you can in case things get messy. Otherwise, you can avoid them by swimming right past them as quickly as you can. Turn the dial of the third switch and head right back to the Pond lab.
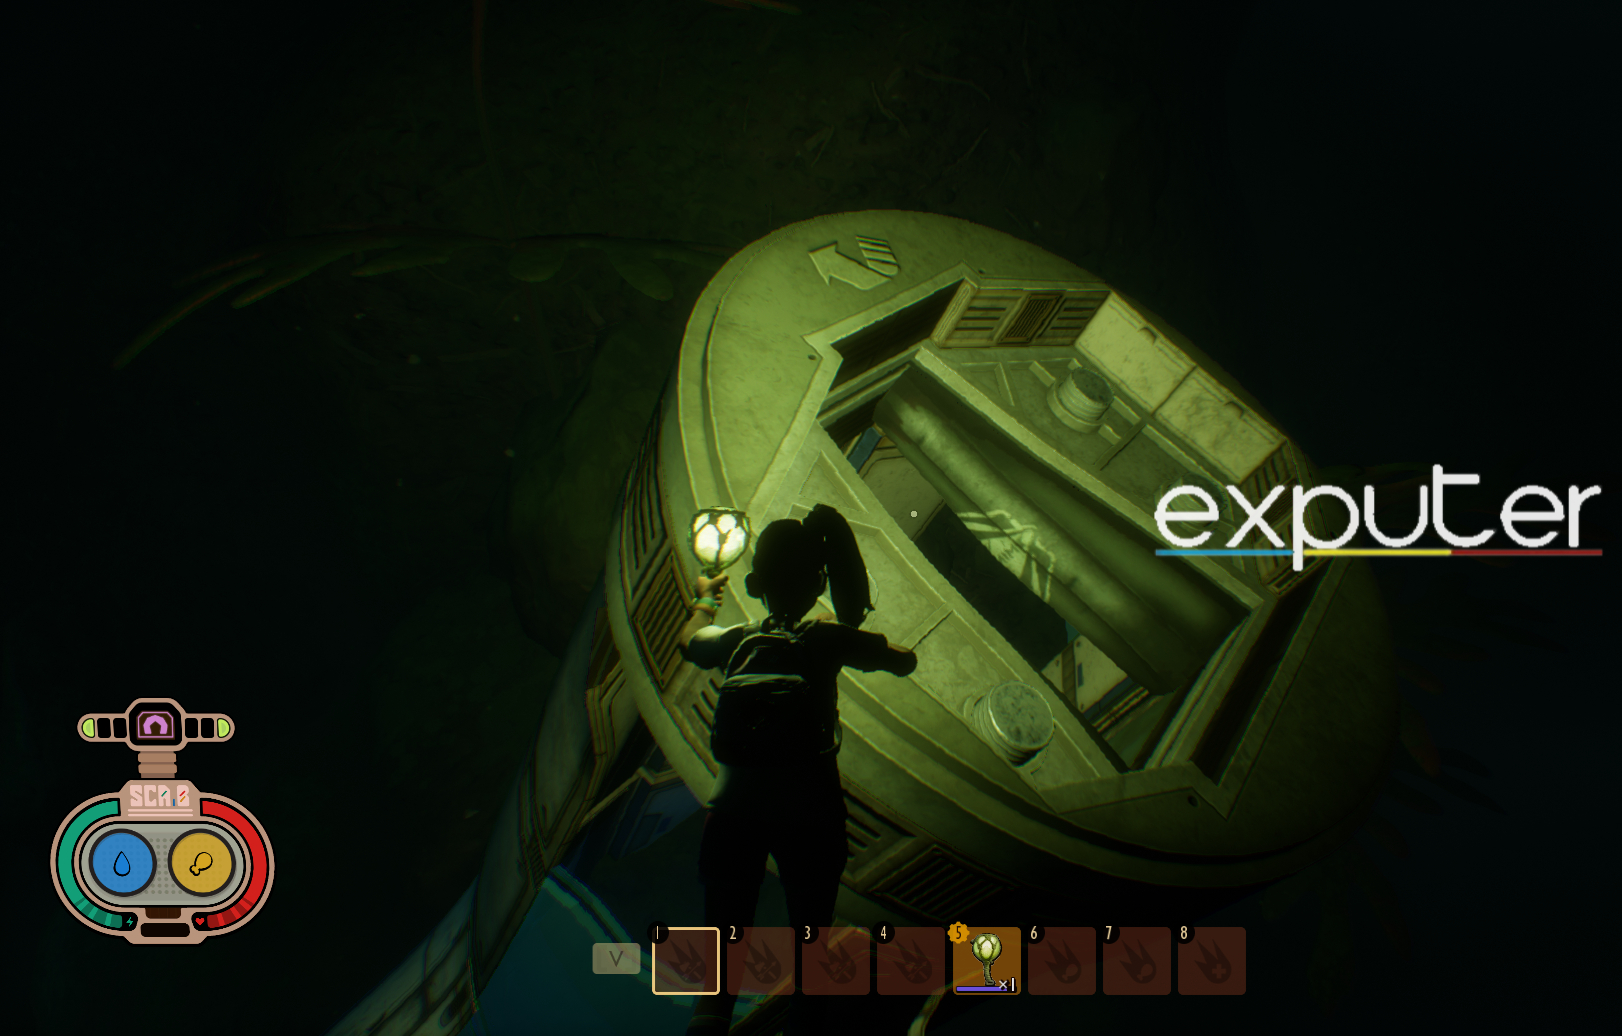
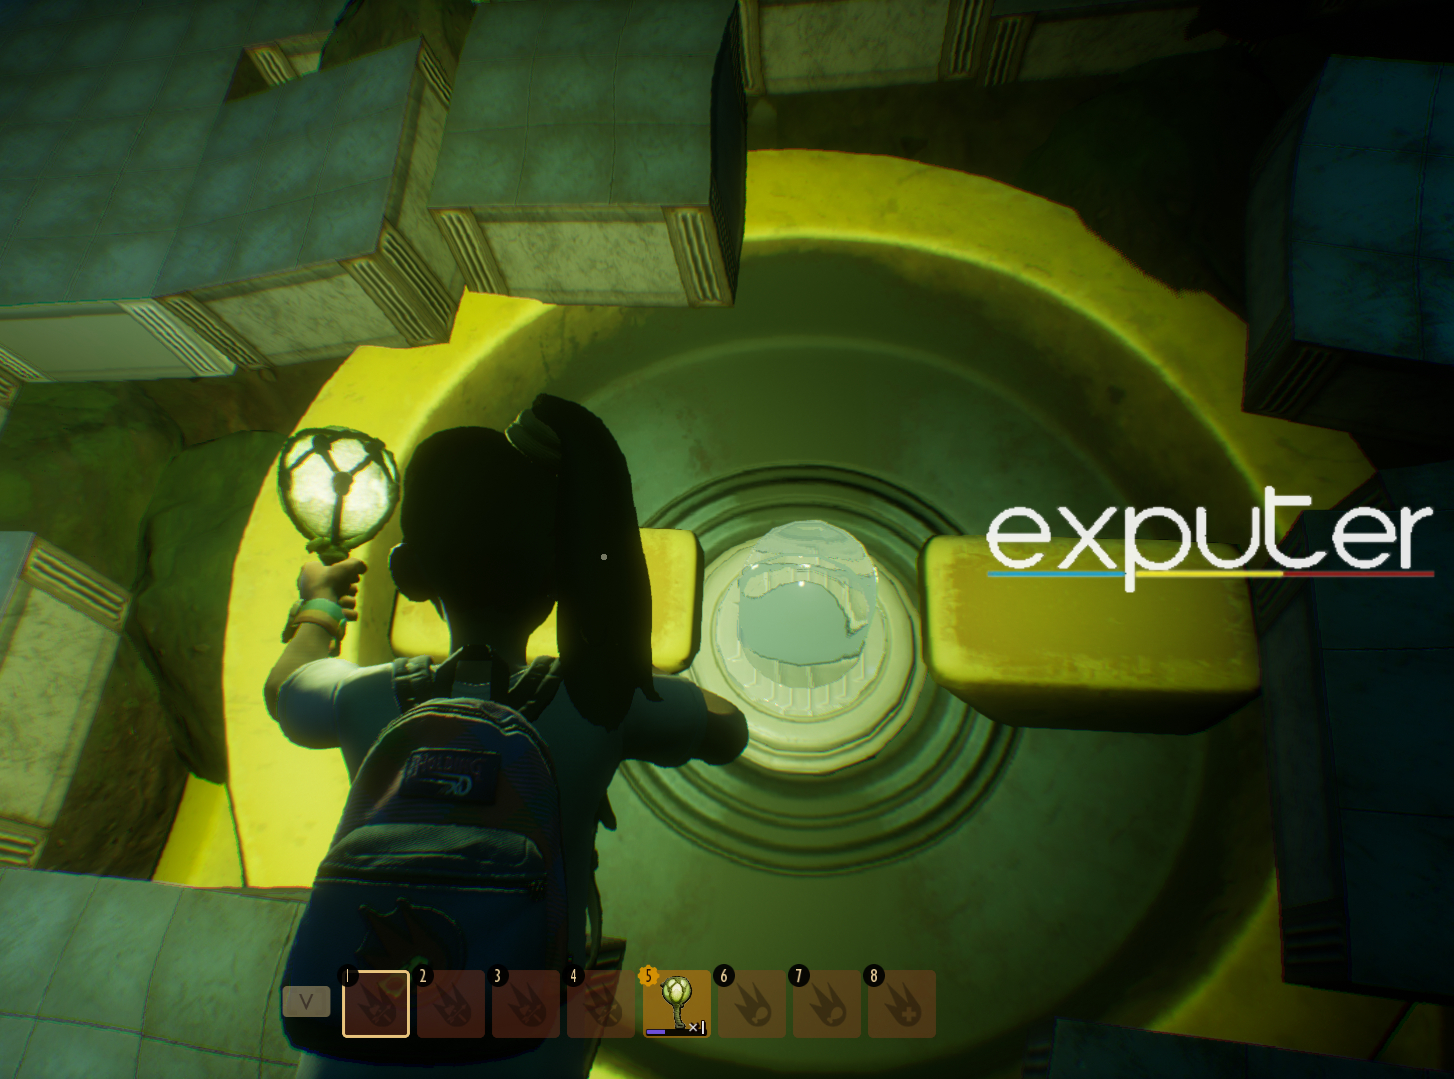
Once you’re back at the breaker room, you will notice that the three electricity logos beside the breaker are green. This means that all the switches have been successfully turned on. You can now make your way outside the laboratory and go to the Moonpool right above you. Jump out of the water onto the platform of the pool.
Gingerspice SCA.B
Go through the only open door, turn left, and after a few steps, there should be another HAMS Test Pamphlet and a tough nugget on the table to your right. There will also be a hidden chest at the back, right alongside the table.
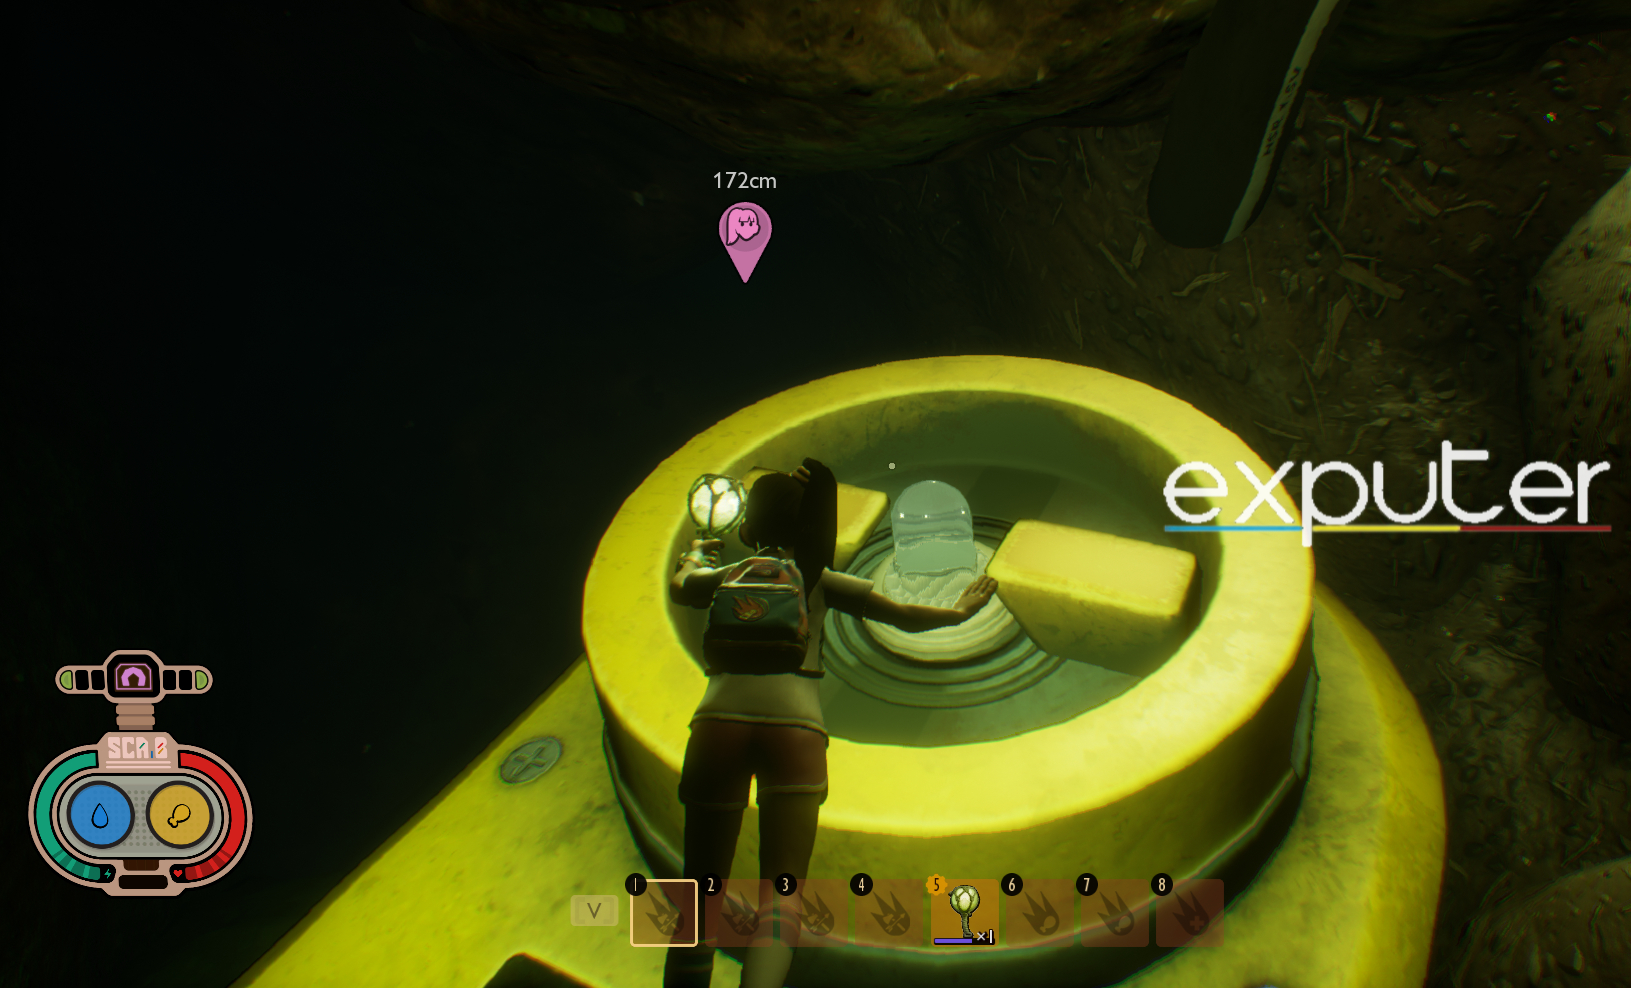
Now, head further straight down the alley and take a right at the end to another underwater section. Go through the broken door in front and swim down the hole. Follow the linear path of this hole until you reach a room filled with clay where you can find a SCA.B right underneath the clay. You will be able to notice the SCA.B via its green aura. Be sure to equip a weapon, as you’ll find a diving spider here as well.
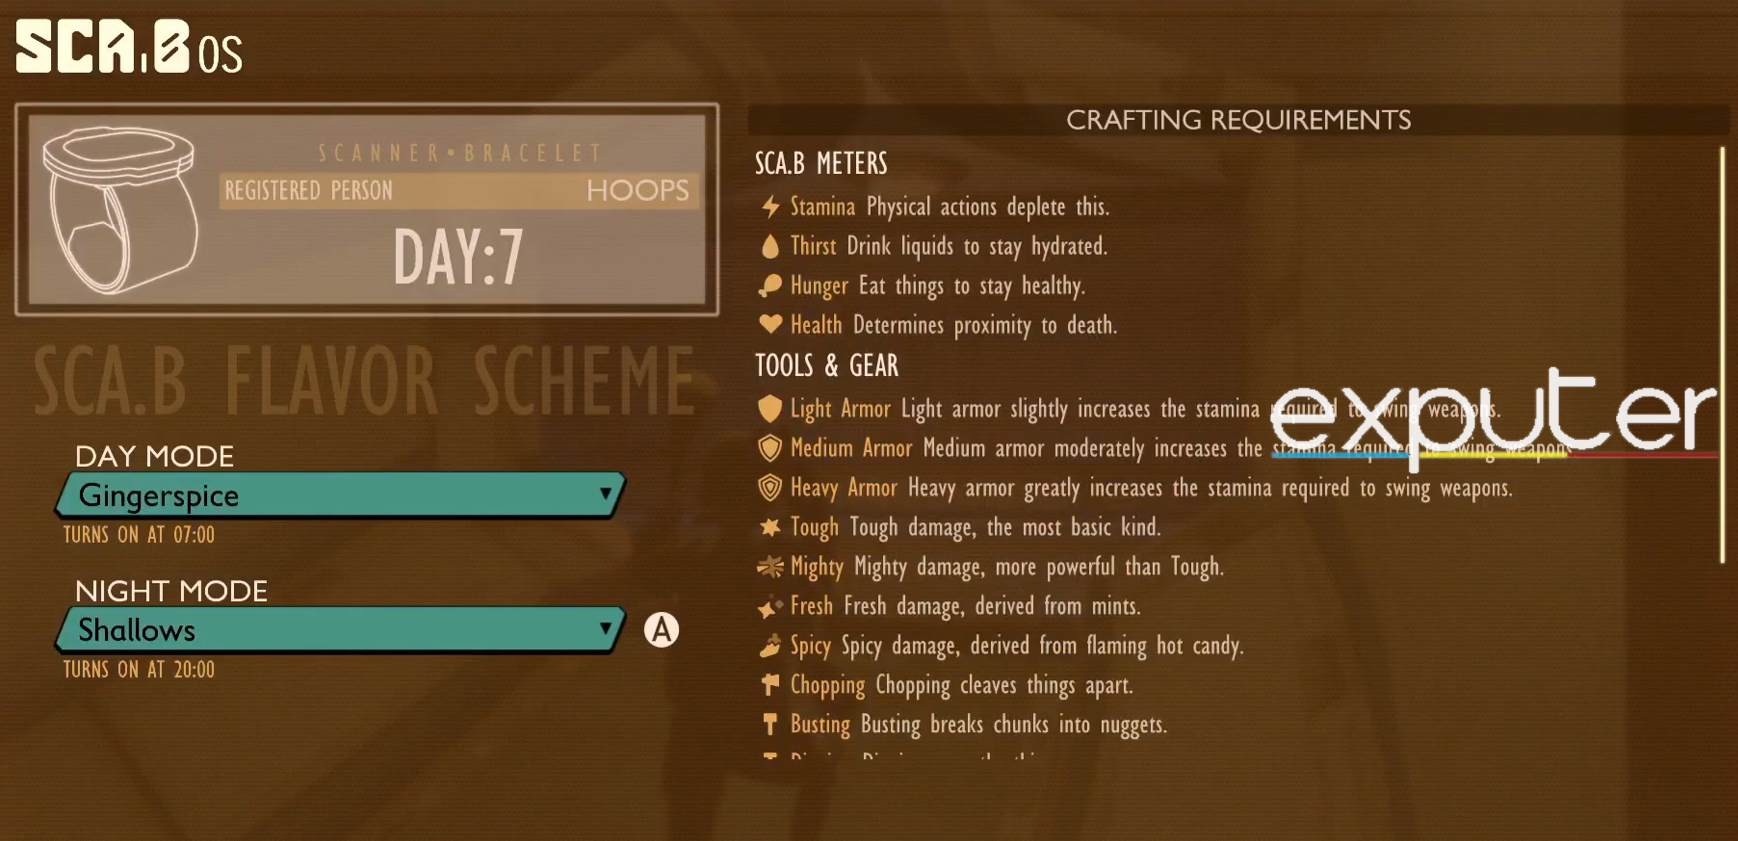
Use your shovel to dig out the SCA.B, and you will have successfully obtained the Gingerspice SCA.B.
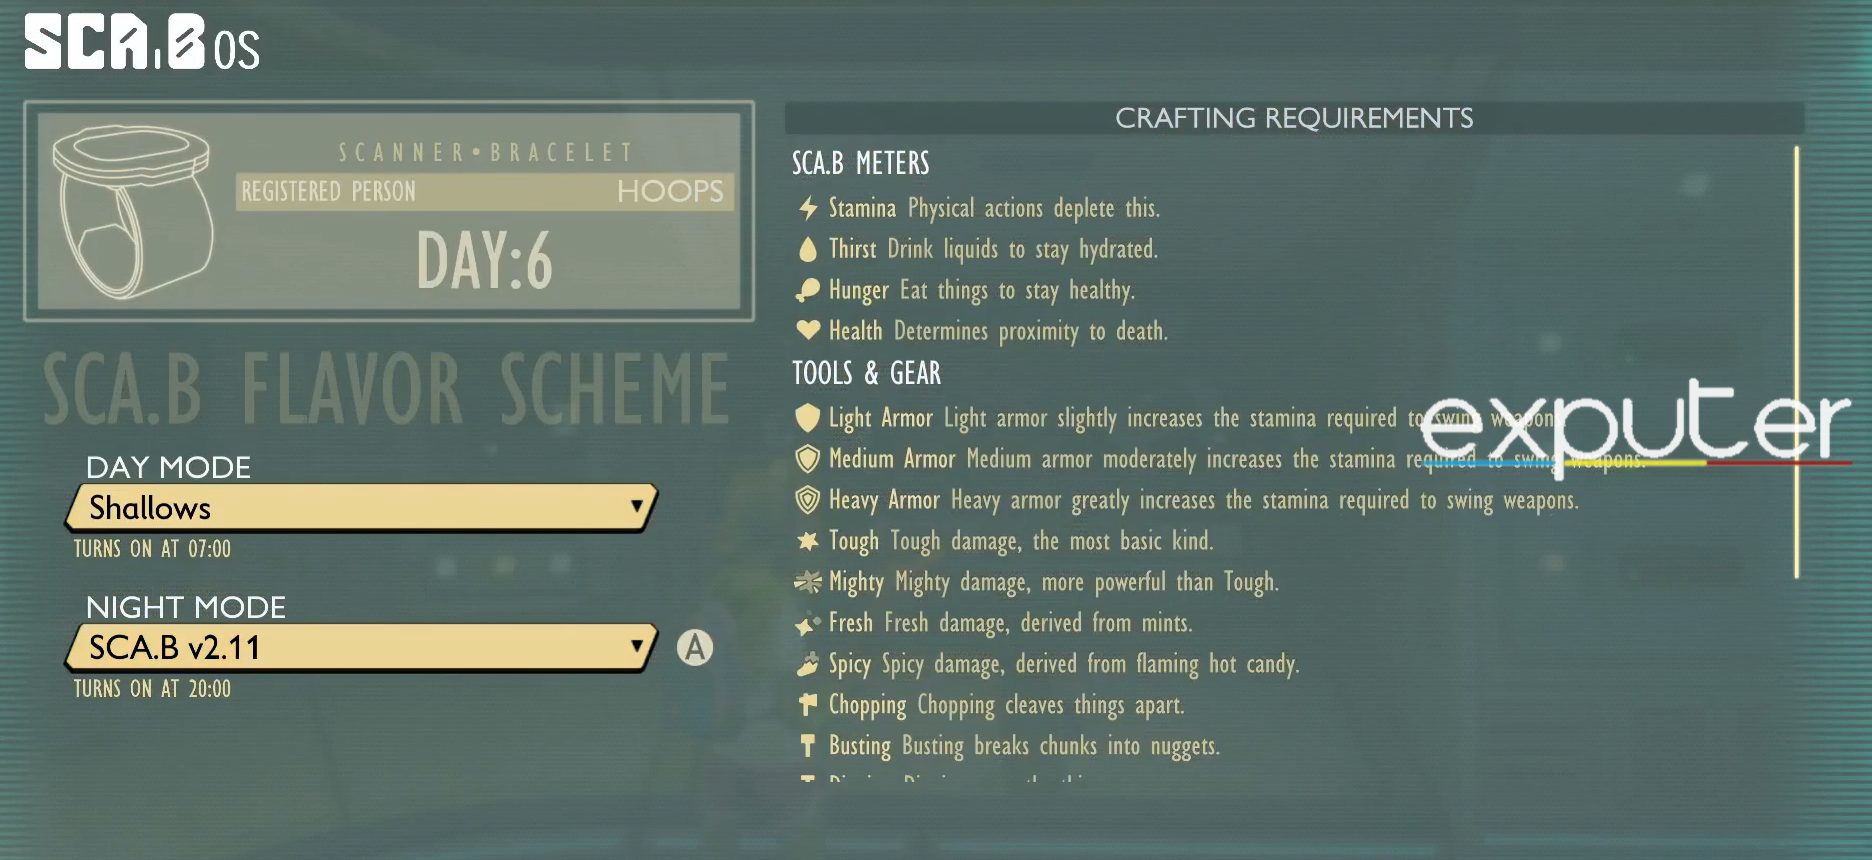
Shallows SCA.B
After obtaining the Gingerspice SCA.B, continue swimming through the rubble until you see a hallway going upwards. Follow the hallway until you reach the top. Now, you can turn on another switch by Mashing the Keys on the machine left of you to open the next section of the laboratory.
From there on, head back to the room of the moonpool entrance where you initially jumped out of, and go through the second newly unlocked door, which should be towards the right side. Follow the linear pathway beyond the door, and you’ll end up in the central laboratory room. Take out the few TAYZ.T robots in the room and collect the Shallows SCA.B that should be on the shelf at the corner of the room.
Muscle Sprouts And The Pond BURG.L Chip
You can find the Muscle Sprouts on the first floor in the central laboratory room. Simply climb the ramp in the room, and you’ll find a ton of Muscle Sprouts. These Sprouts can be used as a food source or to make smoothies more efficient in healing.
You can also find the Pond BURG.L chip lying on the desk atop the first floor.
Next: Grave Robbery BURG.L chip
Thanks! Do share your feedback with us. ⚡
How can we make this post better? Your help would be appreciated. ✍