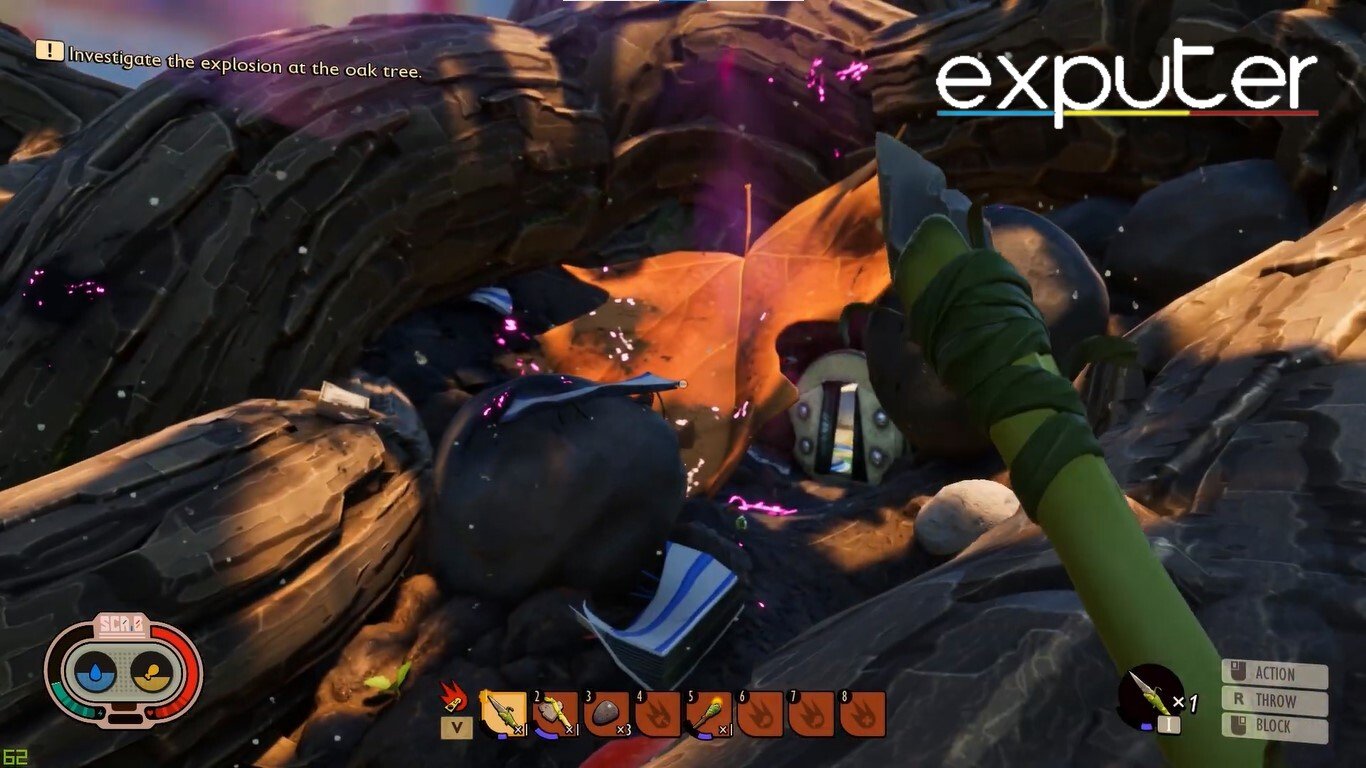
Earlier, I discovered how to activate the Mysterious Machine. It is about time you started moving toward the dangerous Oak lab in order to progress further into Grounded. Activating the Mysterious Machine triggered an abrupt and huge explosion, and you are to investigate the cause behind it.
- Starting Route: Begin north of Mysterious Machine, head to Oak Tree. Craft armor and workbench, avoid spiders.
- Old Ant Hill: Find juice boxes and soda cans for hydration.
- Encounters: Face hostile Mites, Gnats, and Ants.
- Oak Lab Entrance: Behind metal door in Oak Tree trunk.
- Inside Oak Lab: Explore central area for sap, fibers, bandages, and audio logs.
- BURG.L Encounter: Help friendly robot restore memory using ASL terminals and four special chips.
- Raw Science Currency: Used for upgrades at lab and field stations.
Investigating The Explosion At The Oak Tree
As soon as the cut-scene is finished and you regain control of the character, look exactly to the north of the Mysterious Machine. For your convenience, you will find that the Oak Tree is the large circle to the south of the pond on the map.
The Old Ant Hill
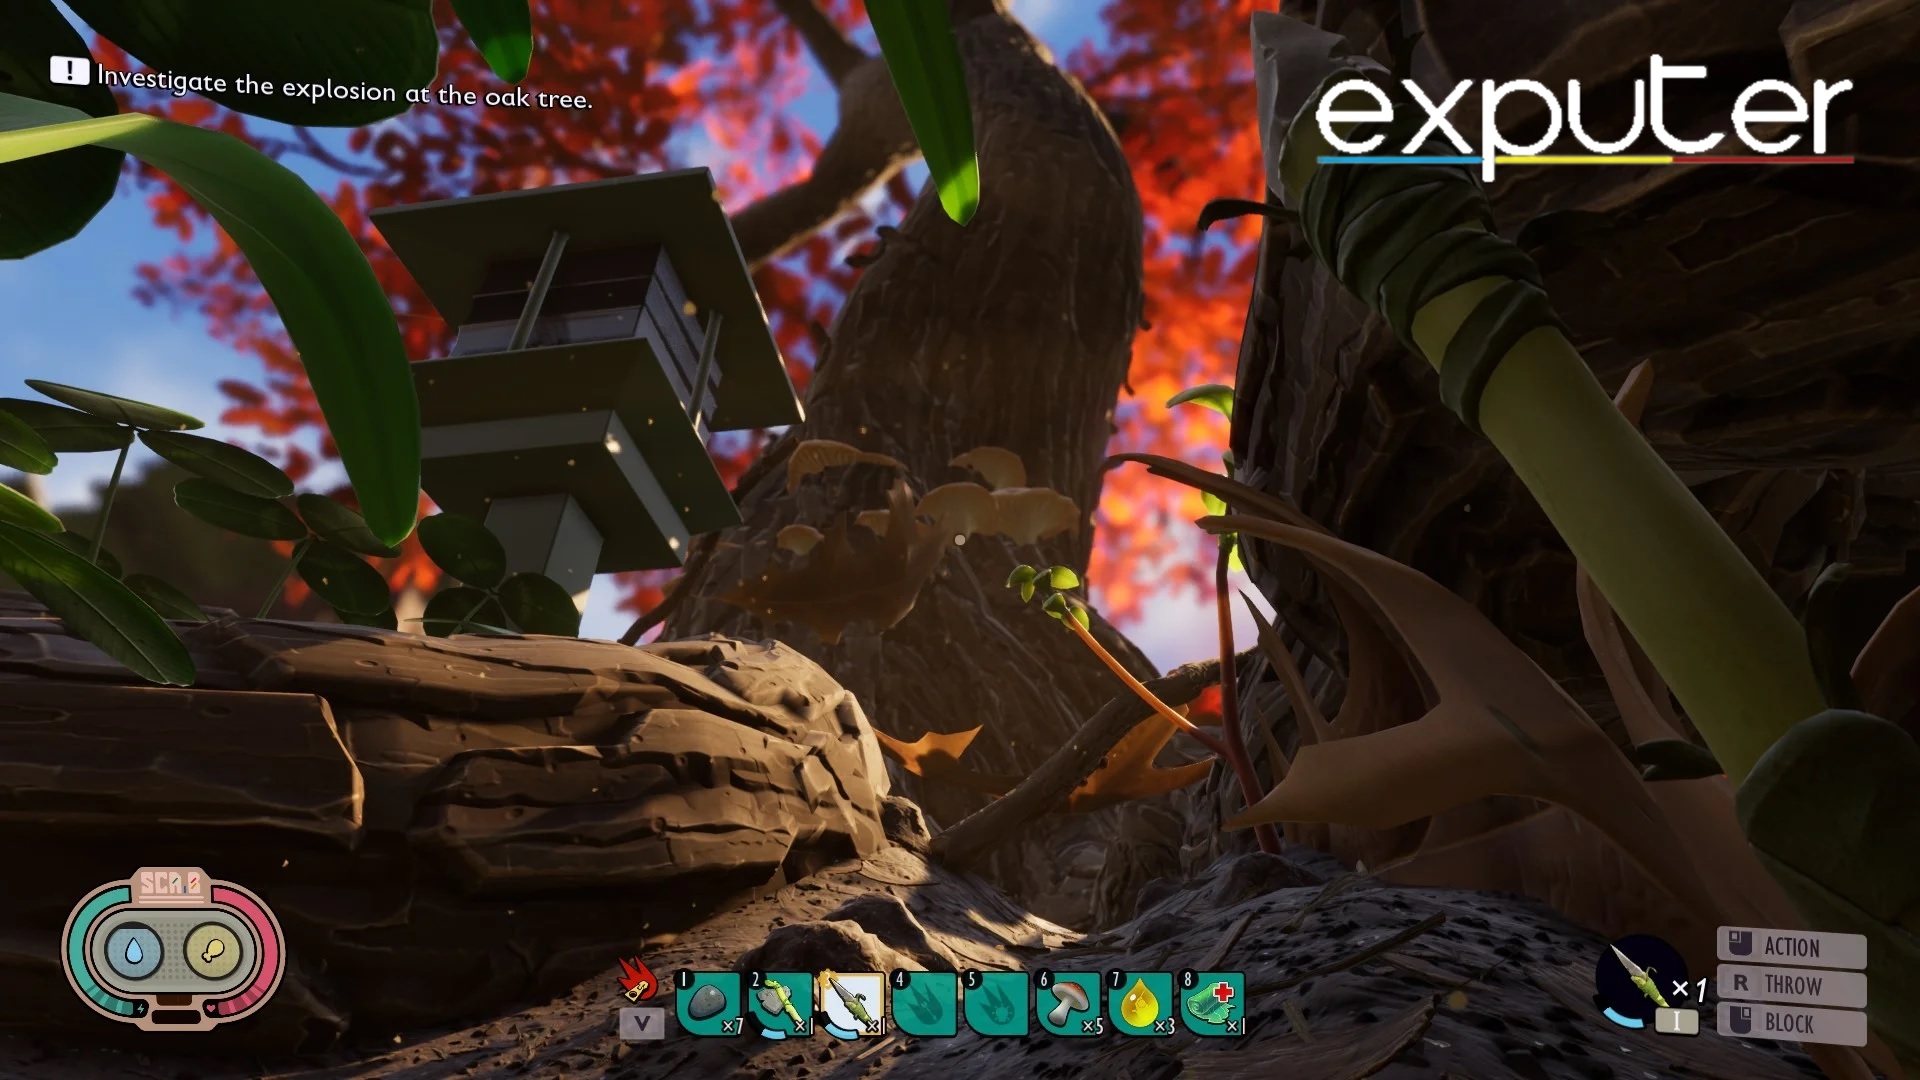
You are to continue moving northeast while keeping the Oak Tree in the center of your field of view. When you move enough units in the said direction, you will see that a large lantern sits right at the base of the tree. There is also a new significant location here known as the Old Ant Hill right next to it.
Leftover Juice Boxes And Soda Cans
There are some boxes of juice and soda cans lying around in this area as well. An important point to note here is that most of these leftover containers have at least one drop for you to drink. These drops have the potential to replenish more hydration than you would expect under normal circumstances. Some might even fill you up to a certain minute extent.
As you march your way toward the tree itself, you are bound to encounter some hostile figures. There are chances that you could encounter Mites, Gnats, or even Ants. They do not pose that much of a threat, though, provided that you do not disturb them enough for them to react.
Entering The Oak Lab

As soon as you reach the Oak Tree, you will discover that there are pink fumes just around the north side of the tree. Follow the pink fumes to reach the trunk of the tree. You will find that behind some scorched leaves is a metal door tucked directly in the bottom of the trunk of the tree. This metal doorway is the entrance to the Oak Lab.
The Oak Lab’s Central Area

The central area of the lab is home to several shelving racks. These racks have items that can be of use to you as you progress further into the game. One rack is loaded with sap, one with fibers, and one with bandages. Make sure to salvage all that you can from these items since you will be in dire need of them very soon.
You will also find a lot of acorns in this area. Also, do break open the acorns with a hammer that you have on hand. Acorns primarily leave behind edible bits of acorn along with some other crafting materials for your use. So make sure to salvage some consumables and necessities for later on.
Exploring The Oak Lab

The first impression of the Oak Lab is that of a particularly safe place with no hostile figures waiting to charge you. You can look around the place to take in all the details. One important thing to do is to grab the audio logs as you wander around.
From this point onward, every lab, lab outpost, or field station that you come across will sport at the very least one audio log. These logs have information regarding the events that happened before you shrank in the story. Some of these logs also hint at potential threats looming in the area so that you can prepare yourself beforehand accordingly.
BURG.L – The Friendly Robot

At one point, while exploring the lab, you will come across a robot with the name of BURG.L. We discover that BURG.L has a very friendly demeanor and that they ended up losing their memory, unfortunately, at some point. They are an ally who need your help. In order to progress further, you should talk to them. Make sure that you select every available dialogue option to proceed further into the game.
Science And ASL Terminals
The friendly robot introduces you to ASL terminals, allowing you to interact with them and unlock doors in labs and field stations. Your task is to recover four special chips to restore BURG.L’s memory. Raw Science, the in-game currency, becomes crucial as you use it to buy upgrades at terminals across different locations.
Following a tutorial, you’ll make initial purchases. Still, it’s advisable to start saving Raw Science for torch upgrades, especially as you progress to the Hedge Lab, where an improved torch becomes essential.
BURG.L’s Quests

In Grounded, BURG.L presents you with optional quests that, although not essential for the main story, offer valuable rewards. Completing these quests provides Raw Science, a crucial in-game currency for upgrades, and may yield items and blueprints to aid your progress.
After receiving quests, your next destination is the Hedge Lab, marked on your map by BURG.L. Before heading there, it’s advisable to farm acorns near the Oak Tree using a Pebblet Hammer to craft armor. Since the Hedge Lab hosts tougher foes, consider gathering ant remains to craft more advanced weapons and armor for better survivability.
Summary
This concludes my guide to finding and exploring the Oak Lab in Grounded. The Oak Lab is a relatively safer place to wander around, but that will not be the case for locations in the future. The game keeps you immersed in the detailed environment. It also makes you stay vigilant at all times of immediate, impending threats. Make sure to check out our Grounded Best Controller & Keyboard Settings guide to have the most optimum experience while playing.
You might also want to check out our BEST Settings: FPS & Performance guide for a balanced mix of quality and performance. Make sure to get the best weapons available in the game so that you can mash the creepy creatures and send them to Valhalla.
Thanks! Do share your feedback with us. ⚡
How can we make this post better? Your help would be appreciated. ✍