Grounded has a number of intriguing places to uncover and explore. One such place is the Hedge Lab. Although the path that one has to take to reach the Hedge Lab is considerably long and tiresome, full of danger lurking right around every corner, it is worth exploring the place.
- Journey to Hedge Lab is lengthy and necessitates preparation for hostile figures and harsh weather.
- Required items include a torch, armor, weapons, bandages, food, and water.
- Begins in the Hedge biome’s southeast part, requiring finding a trowel in the hedge area.
- Utilizes ziplines to traverse the Hedge biome, offering two paths with distinct challenges and rewards.
- Last zipline leads to Hedge Lab, requiring the discovery of a password to power it up, increasing complexity and danger.
- The analyser room holds the first password segment, possibly containing a hostile Orb Weaver that needs defeating.
- Encounter “TAYZ.T” robots in the hallway, necessitating their defeat.
The Journey Begins

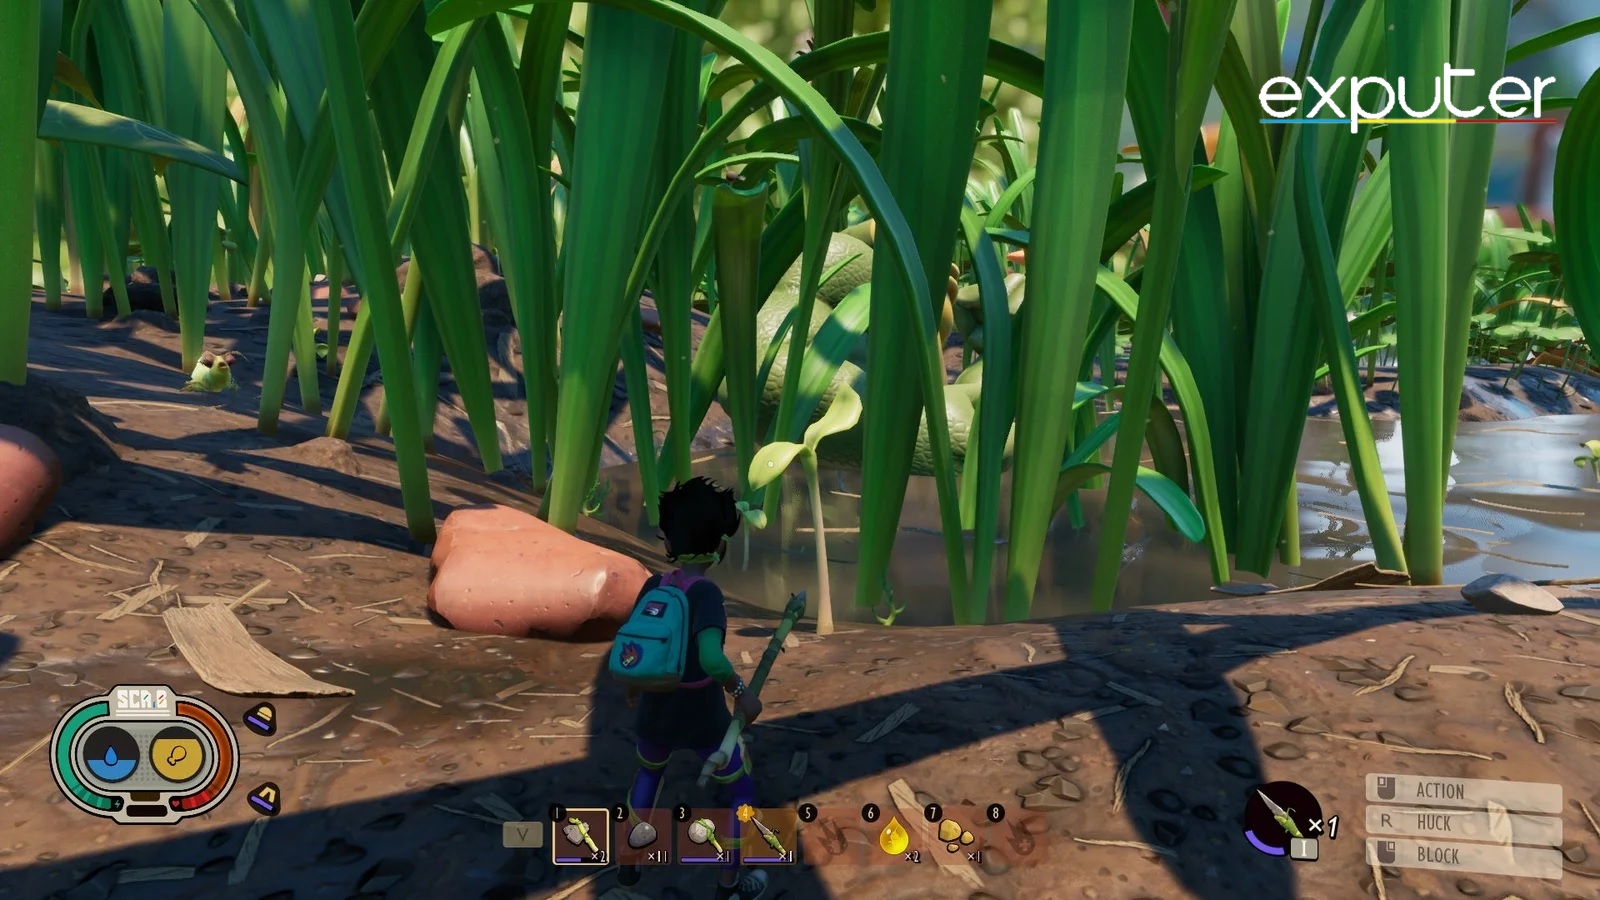
You will need to begin your journey toward the Hedge biome, where the entrance to the Hedge Lab lies. The Hedge biome can be seen on the map as the large empty area. It lies particularly in the south-eastern part of the map.
The Start Of The Climb
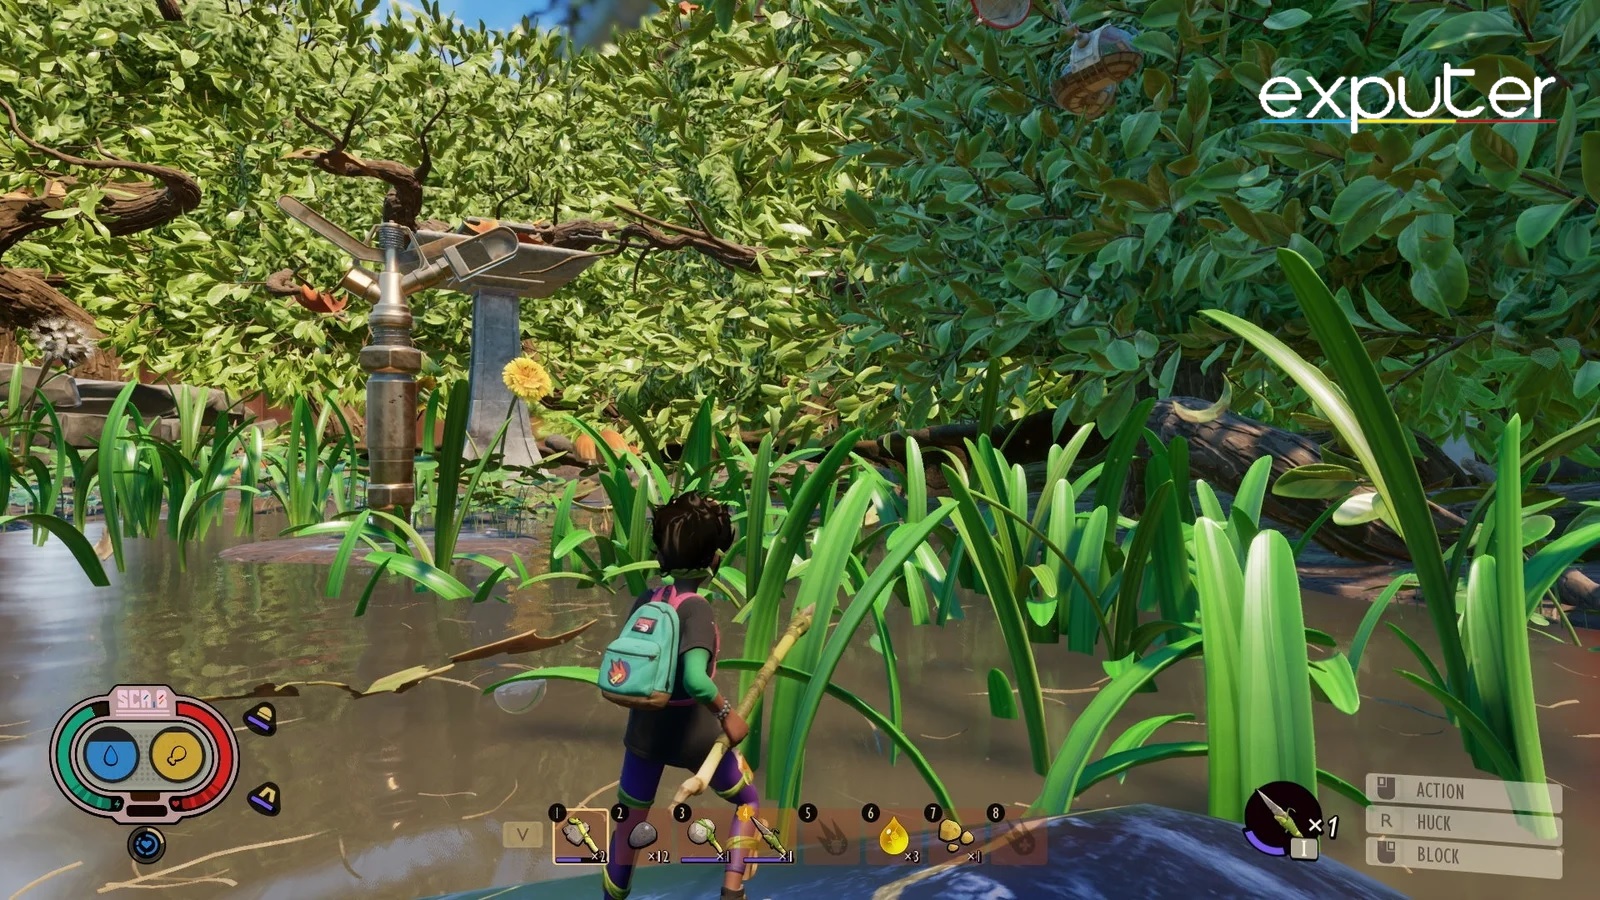
When you reach this area, you have to look for a trowel protruding out of the ground. As soon as you see it, you should move toward the hedge area that is closest to you and move inside. If you move into the right direction, you are going to come across a large red cable along with a green paper clip. Right next to them will be a small twig, which is where you will start your climb.
The First Zipline
Do note that there is also a Research Station above this area that houses some Granola Bars. These can be used to get yourself some extra food supplies. Keep following the red cable and you will end up with a juice box directly ahead of you in the branches. This is the first instance where you will be using a Zipline to make your way through the Hedge.
In the backrooms, upon arrival, you’ll encounter two paths, each with its challenges and rewards:
- Left Path:
Opting for the left path offers fewer enemy encounters, particularly Orb Weavers and Spiderlings. Though this route involves more demanding jumps to reach the next Zipline point, it may reward you with a Dandelion Tuft, providing a safer descent option. - Right Path:
The right path involves more enemies but provides easier access to the next Zipline point. Along this route, a bonus small Lab Outpost awaits, compensating for the increased challenges. Exploring the outpost yields Granola Bars, Water Droplets, and notes. To locate the lab, follow the red cables, guiding you to this facility.
After exploring the outpost, return to the large branch. Avoid moving all the way up, as the Zipline point is accessible only from the mid-section of the branch. When you spot mushrooms on the left side of the branch, walk on them – indicating proximity to the Zipline point, just around the corner.
The Third Zipline
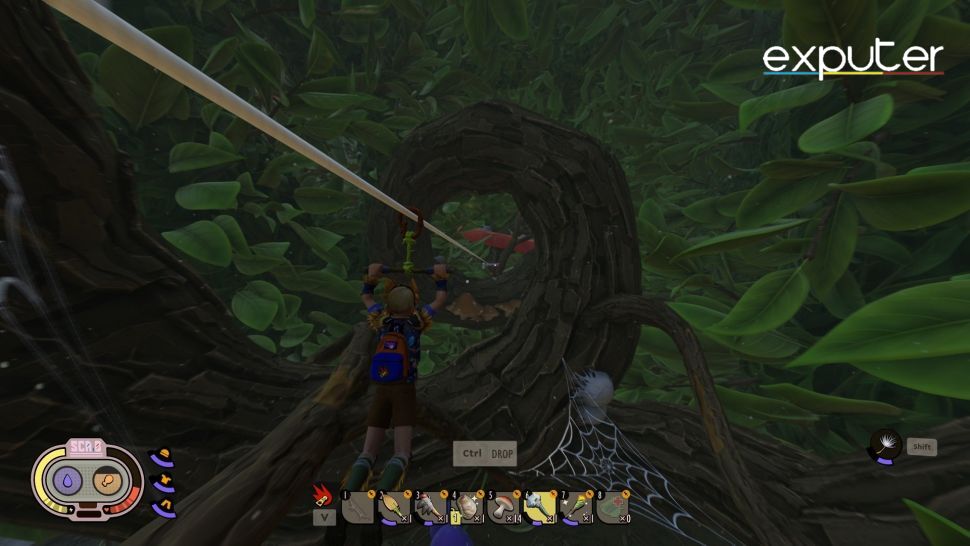
As soon as you have moved across the second Zipline, you will find yourself next to a huge Frisbee. Make sure to grab the Supreme SCA.B, which lies near the center of the Frisbee. You might have to face some small Spiders and Egg Sacs, which you can deal with very easily. You have to get on top of the frisbee, move down its length, and you will find the third Zipline point right in front of you.
The Entrance To The Hedge Lab
When you move across the third Zipline, you will find a destroyed lag segment, which is now inhabited by Spiders and Egg Sacs. Salvage whatever items you lay your eyes upon and then move out of the segment through the other door. Move on top of the large branch. This marks the end of your journey through the Hedge. You will see the last Zipline point, taking which will get you to the Hedge Lab.
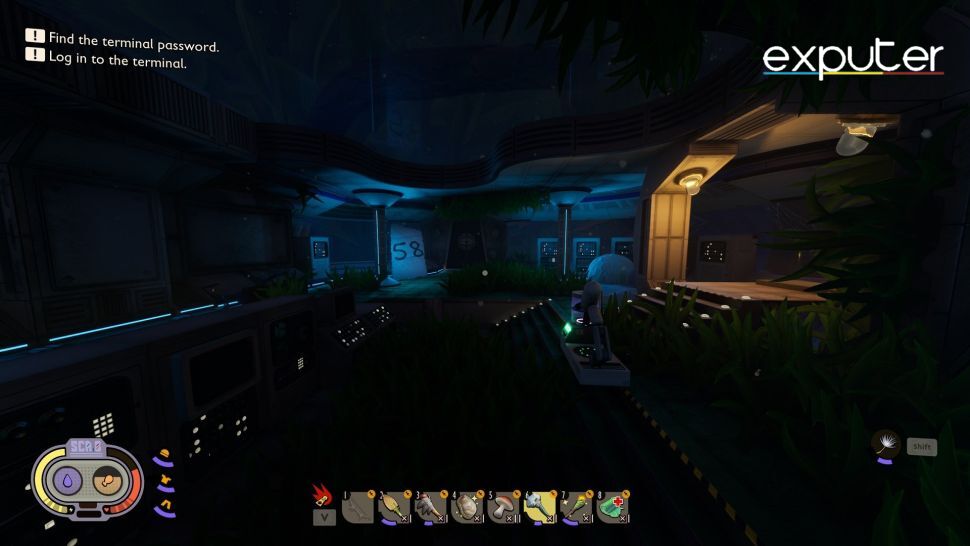
Finding The Password To Power The Lab Up

Upon reaching the lab, you’ll discover a power outage, and your current task is to restore power.
To achieve this:
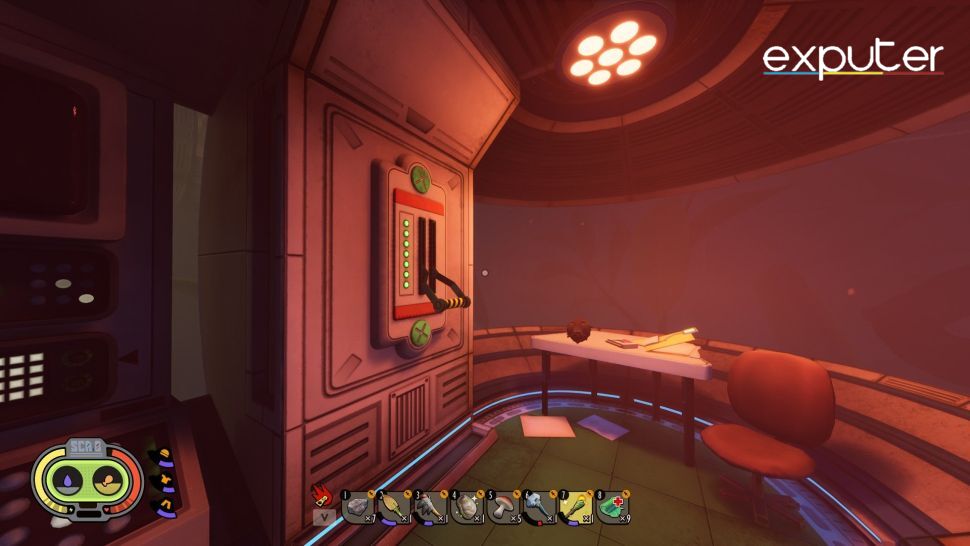
- Password Retrieval: Find the password for the computer in the room where you landed. A giant piece of paper glued to the window reads “Password.” The complexity and danger in the game increase from this point onward.
- Exploring the Lab: Choose between two doors; one leads to the power switch, the other unlocks more areas in the Hedge Lab. Before proceeding to either door, interact with the computer keys, as access to the remaining lab areas depends on it.
- Analyzer Room: Interact with the object to open a door leading to a hallway. Clear spider webs and proceed to the analyzer room. Defeat an Orb Weaver, collect the password segment, and find Fiber Bandages. Face three doors; choose the middle one, unstick it without moving down the hallway, unlocking access for later return to the computer room.
- Defeating TAYZ.T Robots: Upon receiving a warning, face hostile robots called “TAYZ.T” in the hallway. These formidable foes possess critical combat moves and can be challenging. Take them out one at a time, avoiding letting them clump up. Defeating TAYZ.T robots rewards you with 100 Raw Science for upgrades.

- Clearing the Line of the Berry: Return to the analyzer room and take the Zipline to the next password segment. Before doing so, eliminate nearby berries to prevent interference with the Zipline. Shooting arrows, throwing pebbles, or smashing the berry will suffice. Take the Zipline afterward.
- Grabbing the Second Password Segment: Upon landing in a small room, find the password segment in the corner and grab the SCA.B Cosmetic to your right. Clear spiderwebs from the door, enter a room with egg sacs, and ascend the ramp leading to the attached room. In the blue room, head diagonally across and proceed upward.
- Grabbing the Third Password Segment: Navigate a long tunnel to reach a supply room. Gather needed items, toss grass planks over, and salvage them on the floor. Take the Zipline halfway down, land near an open hatch, and face Orb Weavers and small spiders inside. Grab useful items, including the password segment. The door to the left leads back to the blue room.
- Back to the Blue Room: Return to the blue room and move diagonally across the hallway to a room with remains of berries. While taking the Zipline for the last segment, be cautious of a branch, and continue sliding down.
- Grabbing the Last Segment: The Zipline leads to a small room with the final password segment. Assemble all segments, then return to the computer room to restore power. Jump down the hole in the current room, land on the large branch, and move toward the open lab door to complete the process of restoring power to the lab.
Restoring Power
Continue your way up the tunnels until you reach back to the computer room. Interact with the computer to use the password. This will divert the power, essentially giving you access to the room directly behind you, the one with the power switch. This is your cue to move into the room. There are a number of items to grab here; a BURG.L Chip, Lab Notes and a Gas Mask. Pull the lever once you grab these items.
Voila! The power has been restored in the Hedge Lab. Moreover, you just opened up all remaining lab doors which were otherwise not accessible previously.
Summary
This has been my take on how to find and explore the Hedge Lab in Grounded. If you still have any queries related to Grounded or exploring the Hedge Lab, do not hesitate to leave a comment down below. You might also want to check out some of our other Grounded guides:
- How To Repair Tools
- Grounded Floors: How To Unlock And Build
- BEST Grounded Weapons
- How To Kill Spiders
- How To Fix The Mysterious Machine
- How To Get Club Of Mother Demon
- Grounded: How To Find & Explore The Oak Lab
Thanks! Do share your feedback with us. ⚡
How can we make this post better? Your help would be appreciated. ✍