Best Cards and Combos in Marvel Snap allows you to utilize decks in a much better way. Yes, you can combine almost any two Combo ability cards, and they will make a good combo. But you need to have that perfect combo that is fully utilized. In these combos, not only one but both cards are helping each other increase their power.
- There are tons of Card Combos available in Marvel Snap.
- Each of these Combos can turn the tide of a battle if used correctly.
- Pools 1 & 2 use the same Combos because they have some of the early-game cards.
- Pool 3 has separate combos as it has many powerful late-game cards.
- Card Combos can be disrupted if the opponent uses one of the Combo Counter Cards.
- Why Trust Us: Daniyal has spent more than 140 hours in Marvel Snap, making his guides trustworthy!
Marvel Snap Best Card Combos
Below listed is a summarized version of the best Card Combos:
| Marvel Snap Best Card Combos | Why It Was Chosen | Best For |
|---|---|---|
| Ant-Man, Squirrel Girl, Armor | +3 power from Ant-man. | Power |
| Squirrel Girl, Kazar, Blue Marvel | Potency for combo gets enhanced with Kazar and Squirrel Girl together | Potency |
| Hawkeye, Medusa | Hawkeye's +2 power is useful. | Deadly Moves |
| Angel, Bucky Barnes, Carnage | 2 power card can benefit players with Angel | Replacement |
| White Tiger and Odin | -7 power | High-Power |
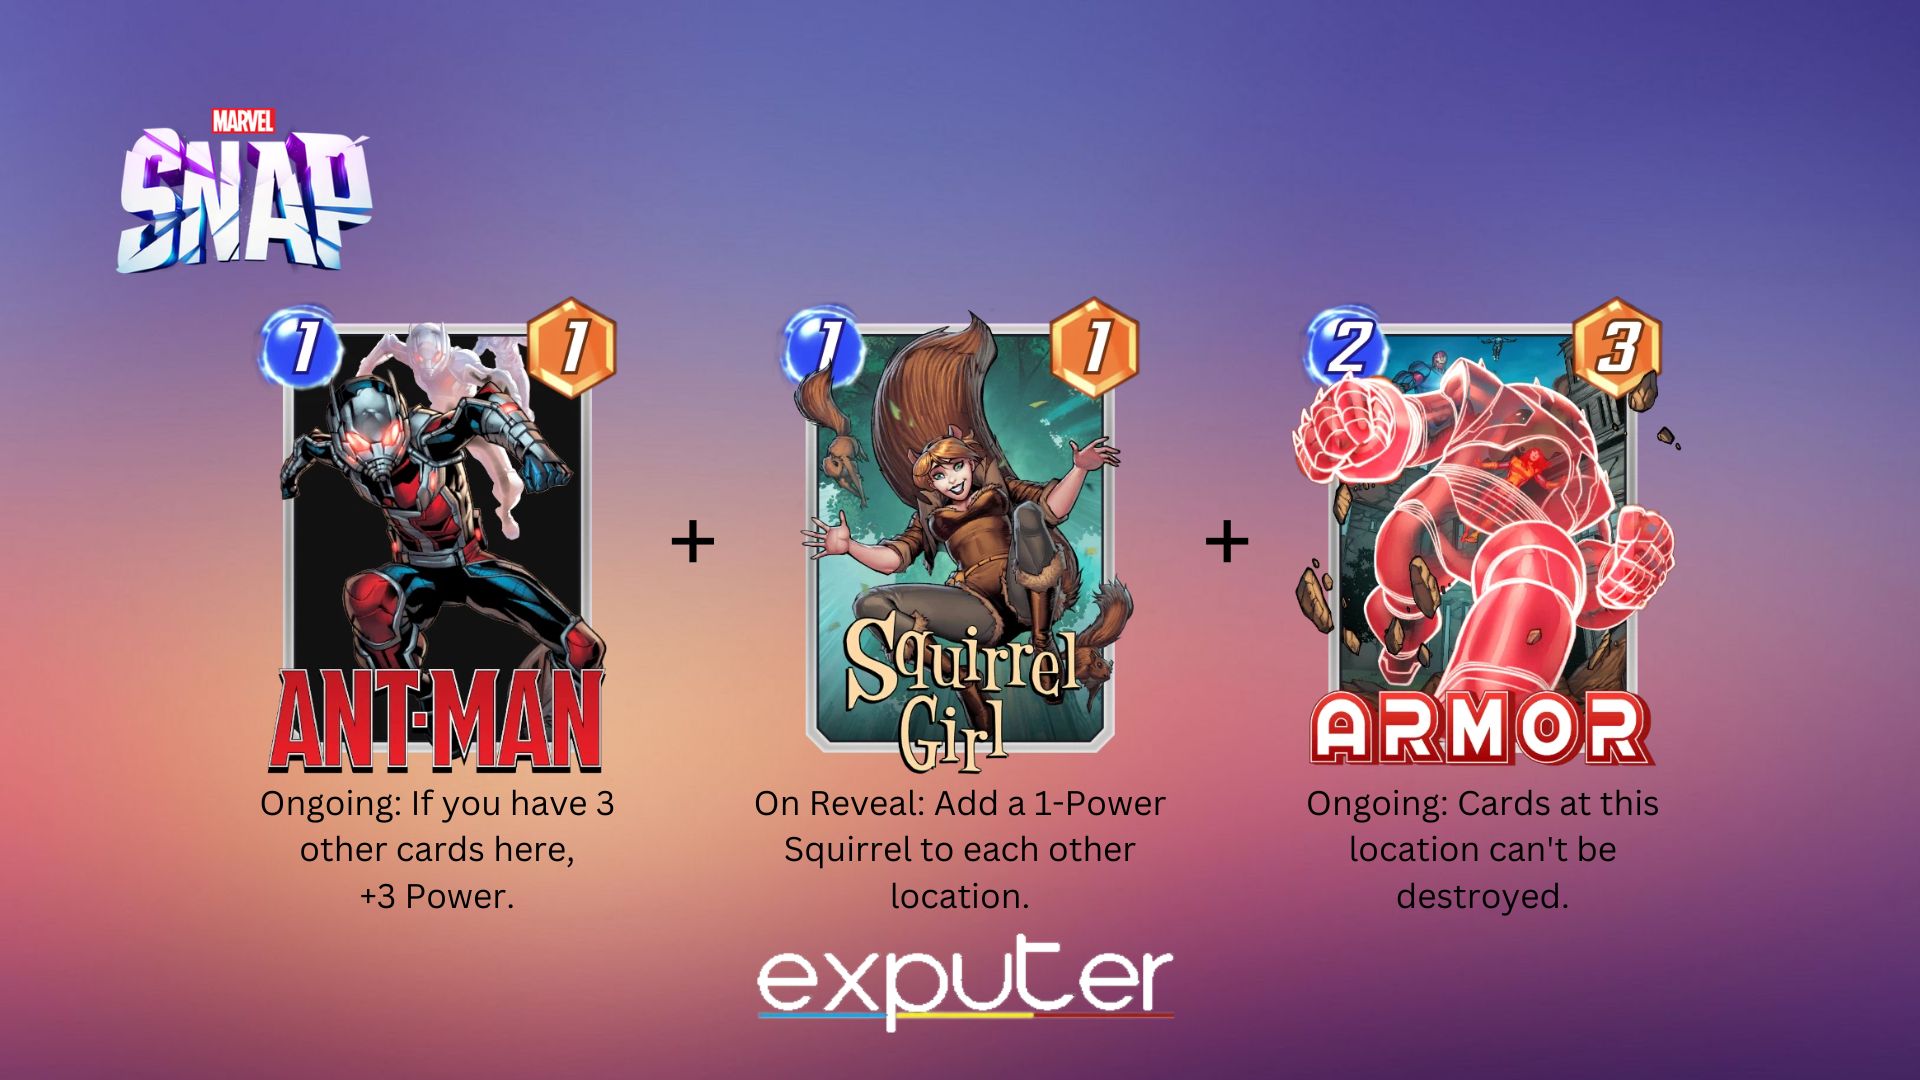
Ant-Man, Squirrel Girl, And Armor
- Why I Chose This: Ant-man can gain power anytime locations are filled with cards which comes in extremely handy.
Early in the game, execute the Ant-Man and Squirrel Girl Combo. Ant-Man gains +3 power when all spots in a location are filled with cards. Squirrel Girl fills one spot in all 4 locations with a squirrel, aiding Ant-Man in meeting his ability condition. With 3 filled locations, Ant-Man gets +3 power.
Note that Squirrel Girl, Ant-Man, and Squirrel are all 1-cost cards. Beware of Killmonger, who can disrupt the combo by destroying all 1-cost cards. Counter this threat with Armor, whose Ongoing ability safeguards cards at a location from Killmonger’s destruction.
The pros and cons of this combo are mentioned below in my opinion:
- Ant-man can gain +3 power.
- Armor’s ability can safeguard cards.
- None.
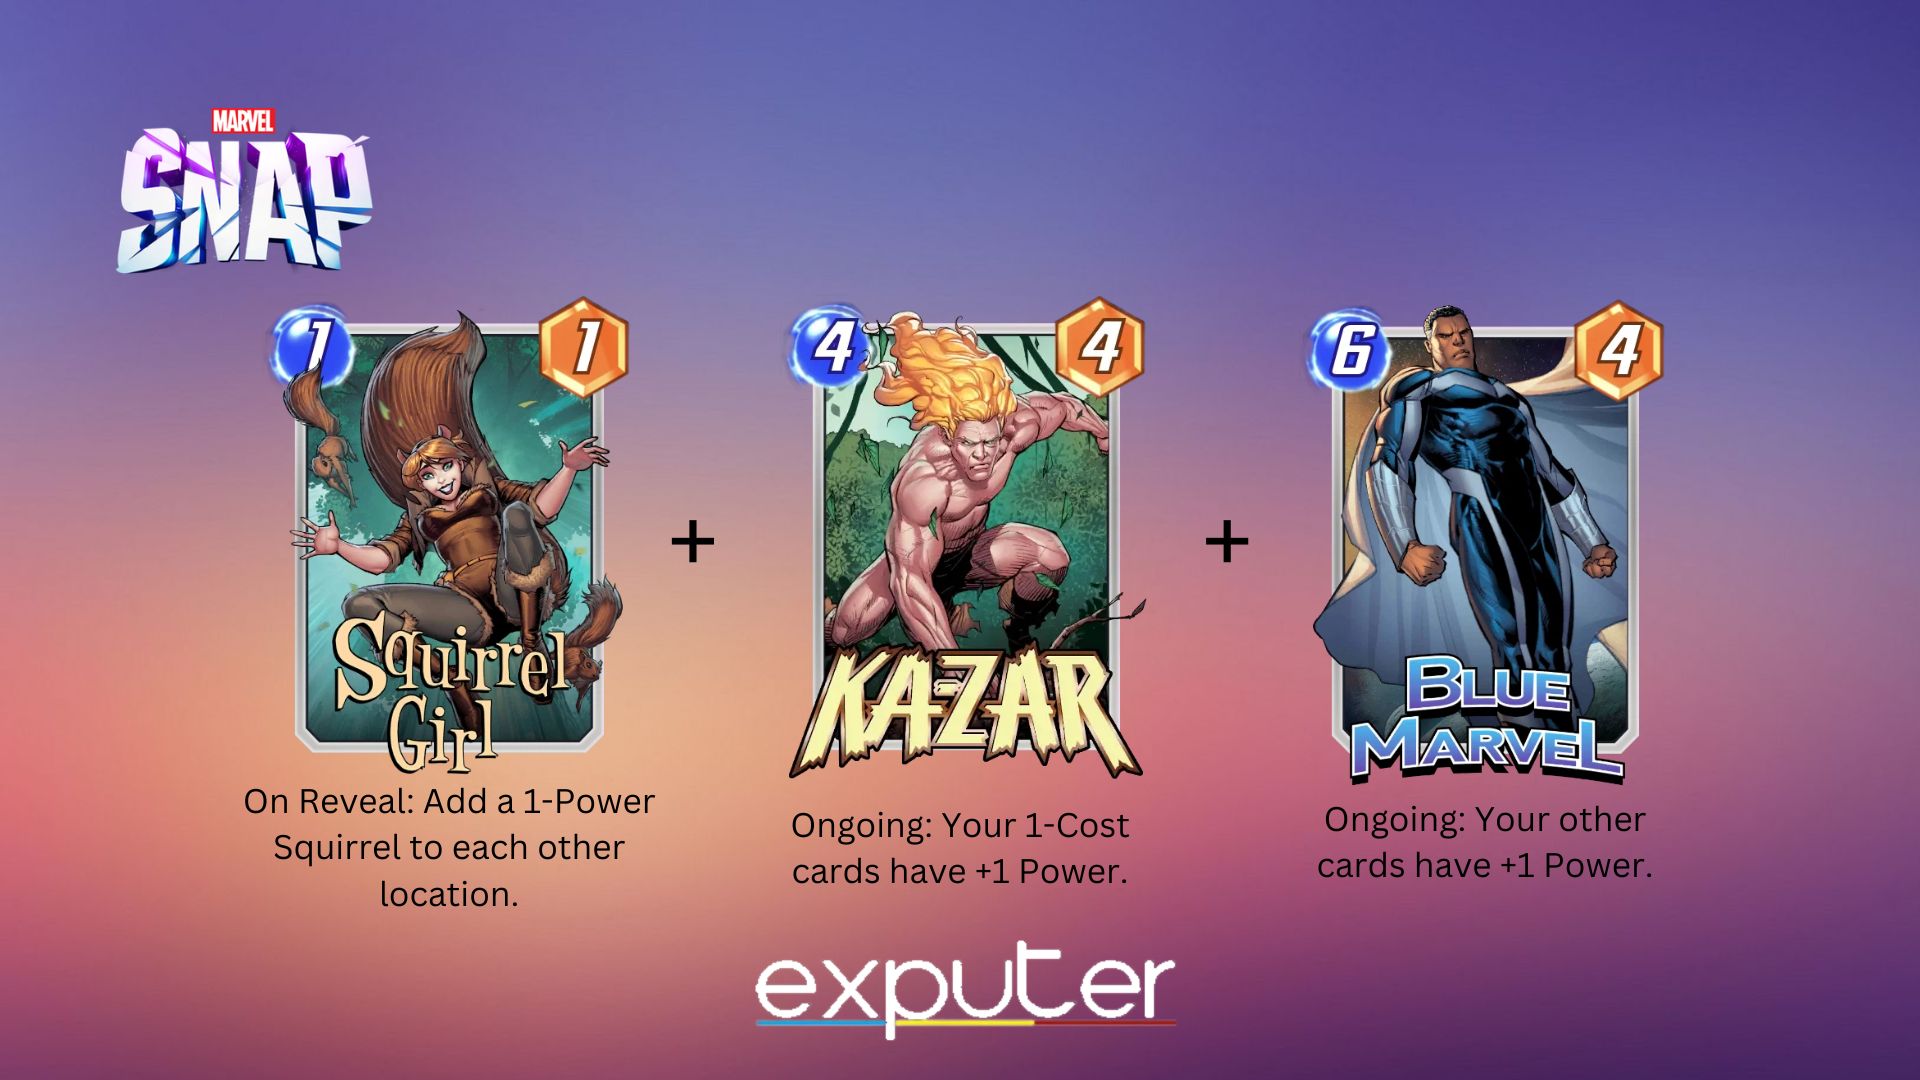
Squirrel Girl, Kazar, And Blue Marvel
- Why I Chose This: The potency for the combo is increased with Kazar and Squirrel Girl’s Combo.
Successfully execute the initial combo with Ant-Man, Squirrel, and Armor. This extension enhances the combo’s potency. Once the location is secure with Armor, proceed to the next step.
Place Kazar in any lane, preferably without Ant-Man or any other ongoing ability card. Kazar’s ongoing ability boosts the power of all 1-cost cards by +1, amplifying Ant-Man, Squirrels, and Squirrel Girl.
For maximum impact, conclude with Blue Marvel. His ongoing ability boosts all cards’ power by +1, further strengthening the entire combo. Though powerful, be wary of counters.
The pros and cons for the Squirrel Girl and Kazar combo are listed below in my experience:
- Combo’s potency is increased.
- Difficult to acquire.
Despite these counters, deploy the combo right after the opponent plays these cards, as they only possess on-reveal abilities. Once used, proceed with the combo.
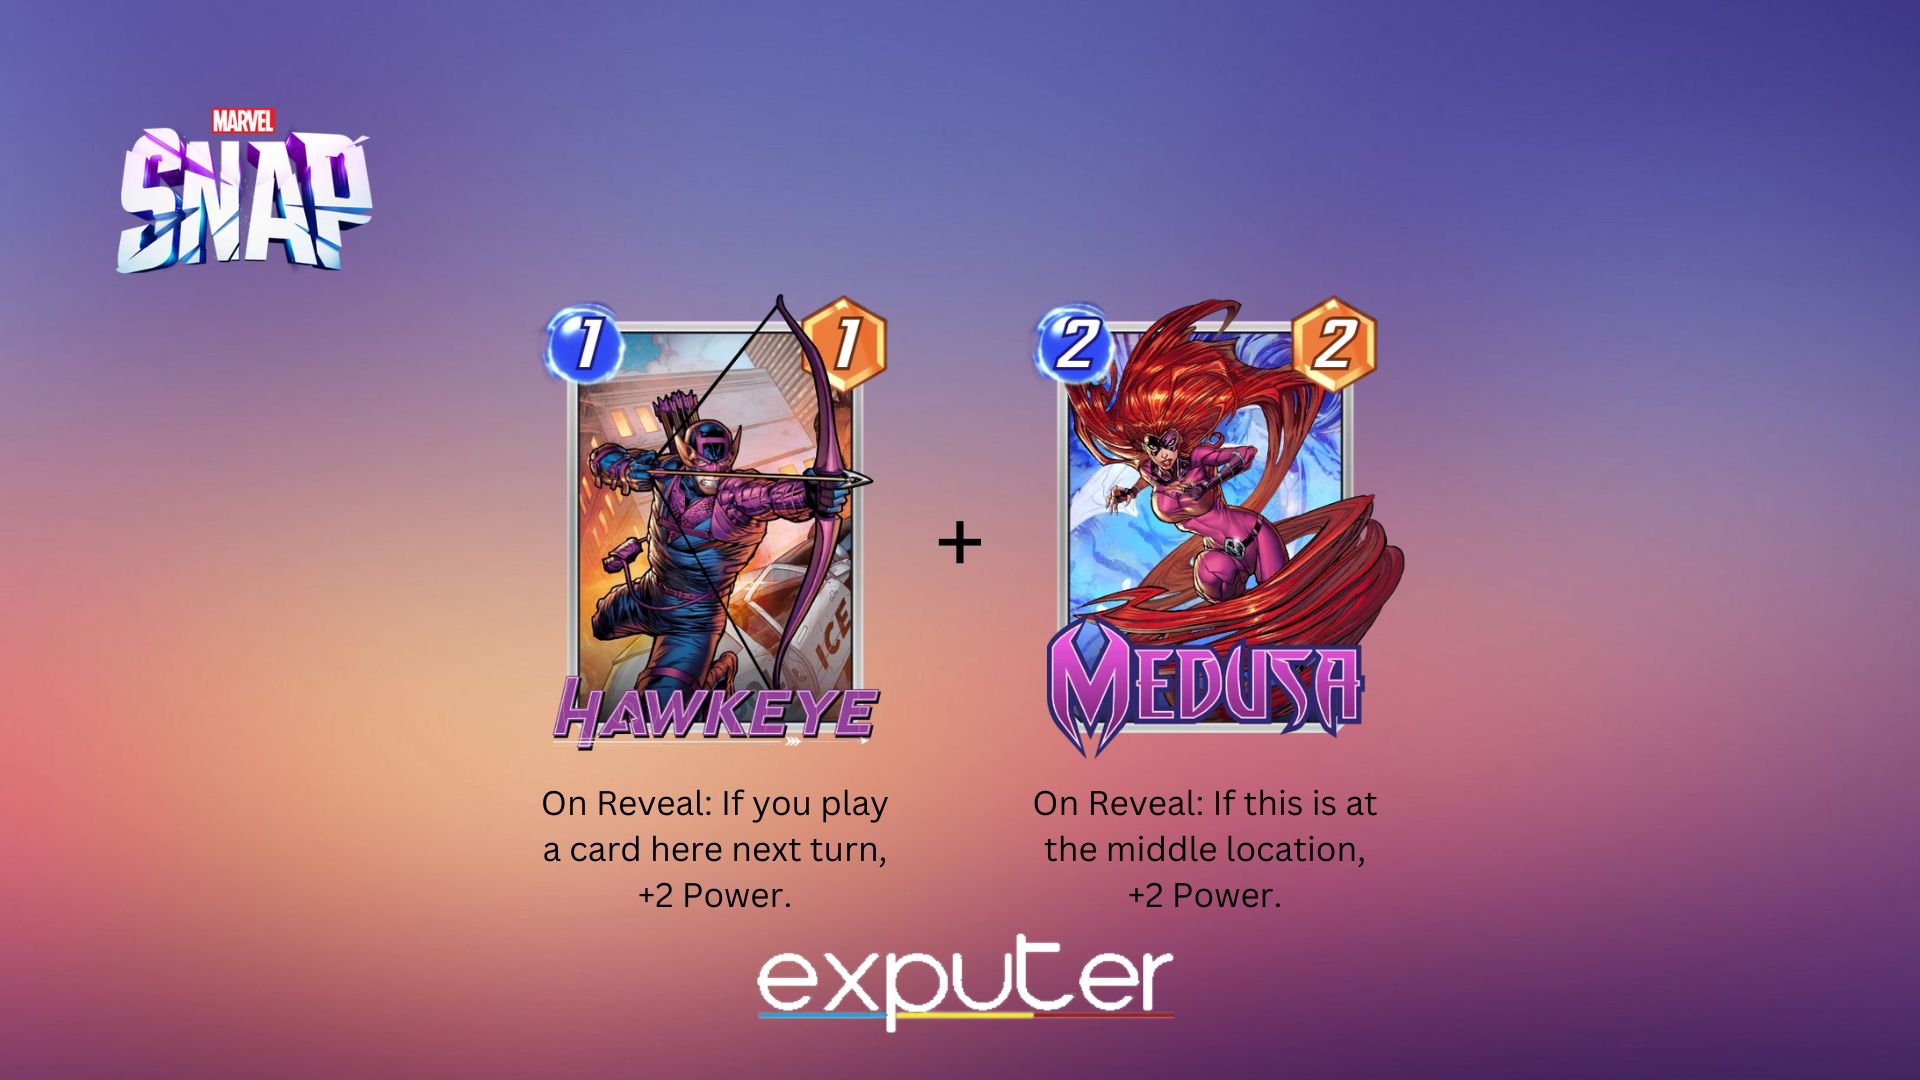
Hawkeye And Medusa
- Why I Chose This: Hawkeye can gain +2 power using the on-reveal ability, which is very useful.
In early-game matches, a potent combo involves using Hawkeye and Medusa cards. Placing Hawkeye in the middle location on the first turn grants him +2 Power through his On Reveal ability when a card is played there next.
On the second turn, capitalize on this by playing Medusa in the same spot, activating her On Reveal ability for an additional +2 Power. This straightforward tactic yields a total of 7 Power, making it both advantageous and easily executable early in the game, given that Hawkeye and Medusa are among the initial cards obtained.
The pros and cons for Hawkeye are mentioned below as I have tested it:
- Hawkeye’s On-reveal ability is broken.
- Medusa can grant you +2 power.
- None.
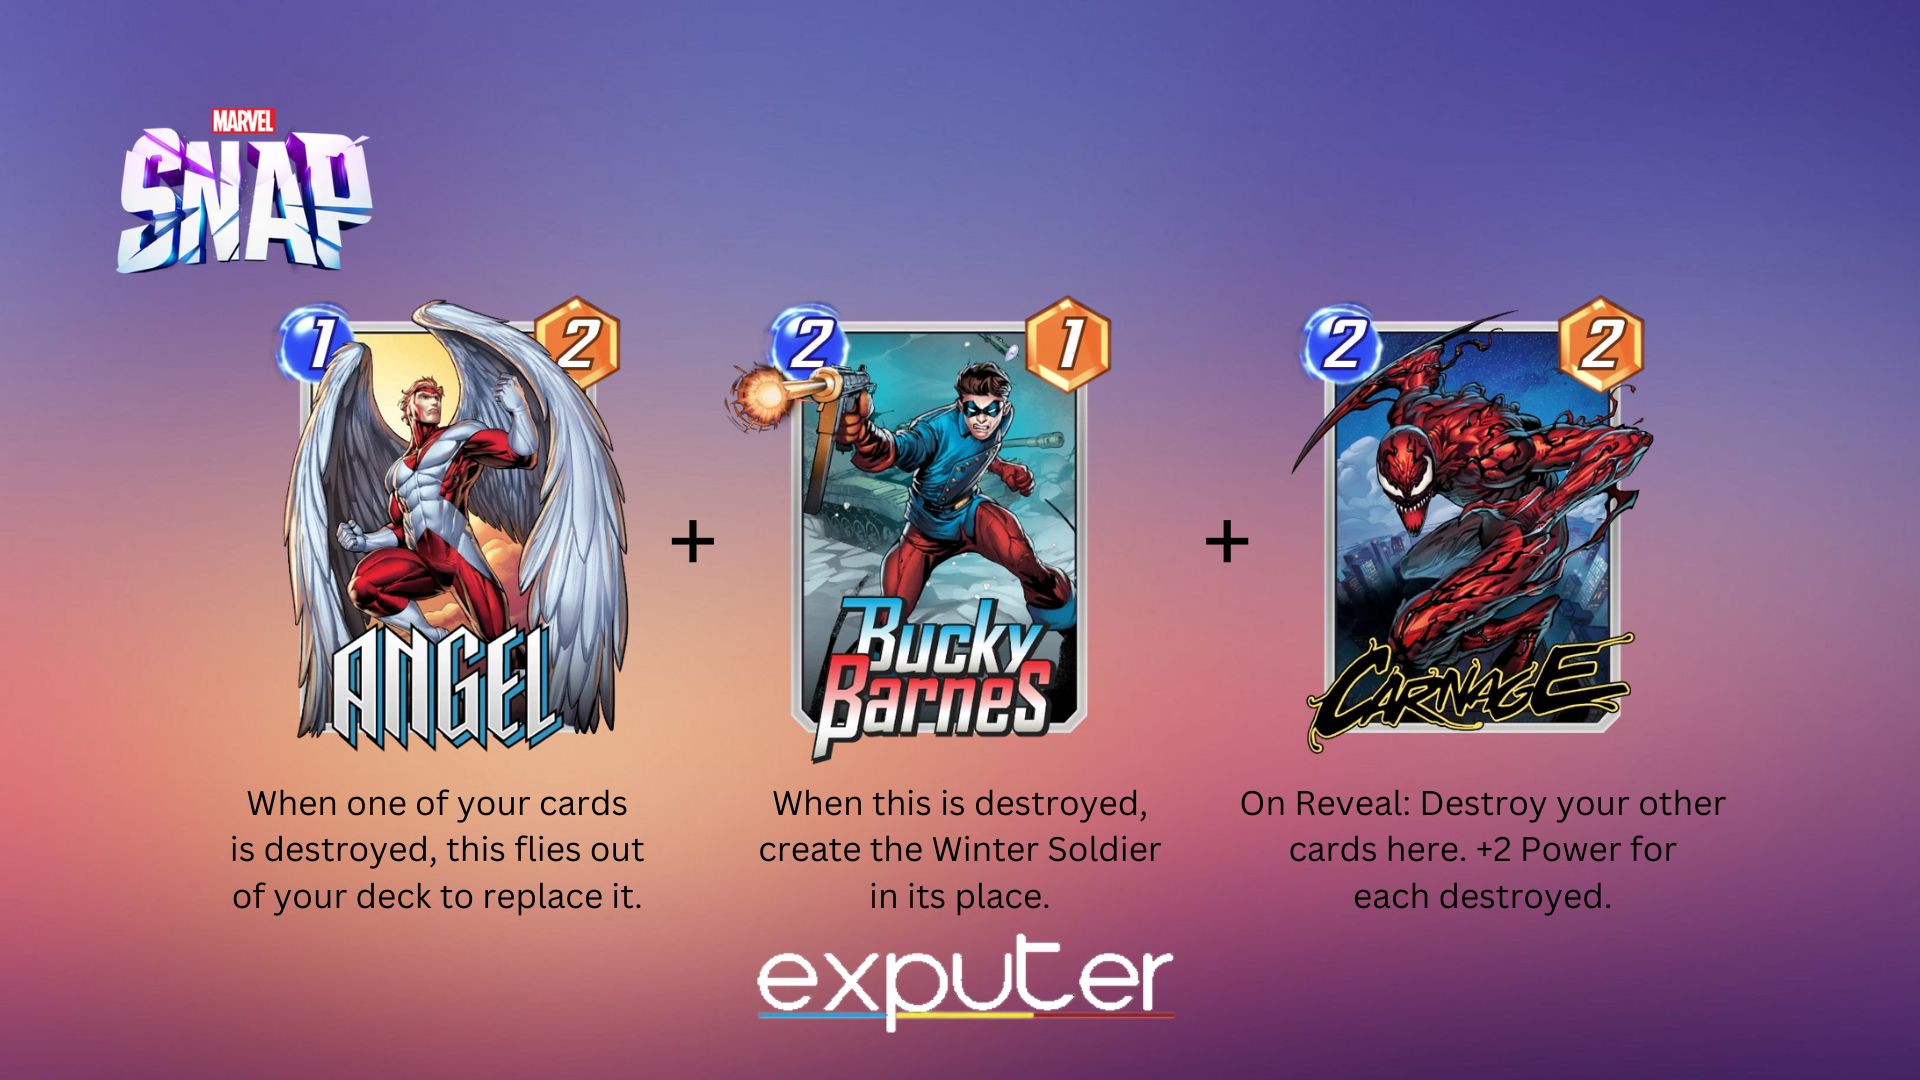
Angel, Bucky Barnes, And Carnage
- Why I Chose This: 2 Power card is able to highly benefit you when combined with Angel.
The Angel card, when a card is destroyed, replaces it in your deck. This ability benefits you in two ways. Firstly, it’s a 2-power card, valuable when every bit counts. Secondly, when Angel moves, it thins your deck, which is advantageous for many players.
To execute the strategy, deploy Bucky Barnes. Despite being a 2-cost and 1 Power card, Bucky Barnes transforms into the Winter Soldier when destroyed. Place Carnage at that location. On Reveal, Carnage destroys all cards there, gaining +2 Power for each card destroyed.
The pros and cons for the Angel and Carnage combos are listed here:
- Replacement of card
- Winter Solider transformation from Bucky is broken.
- None.
Read more: Marvel Snap BEST Decks
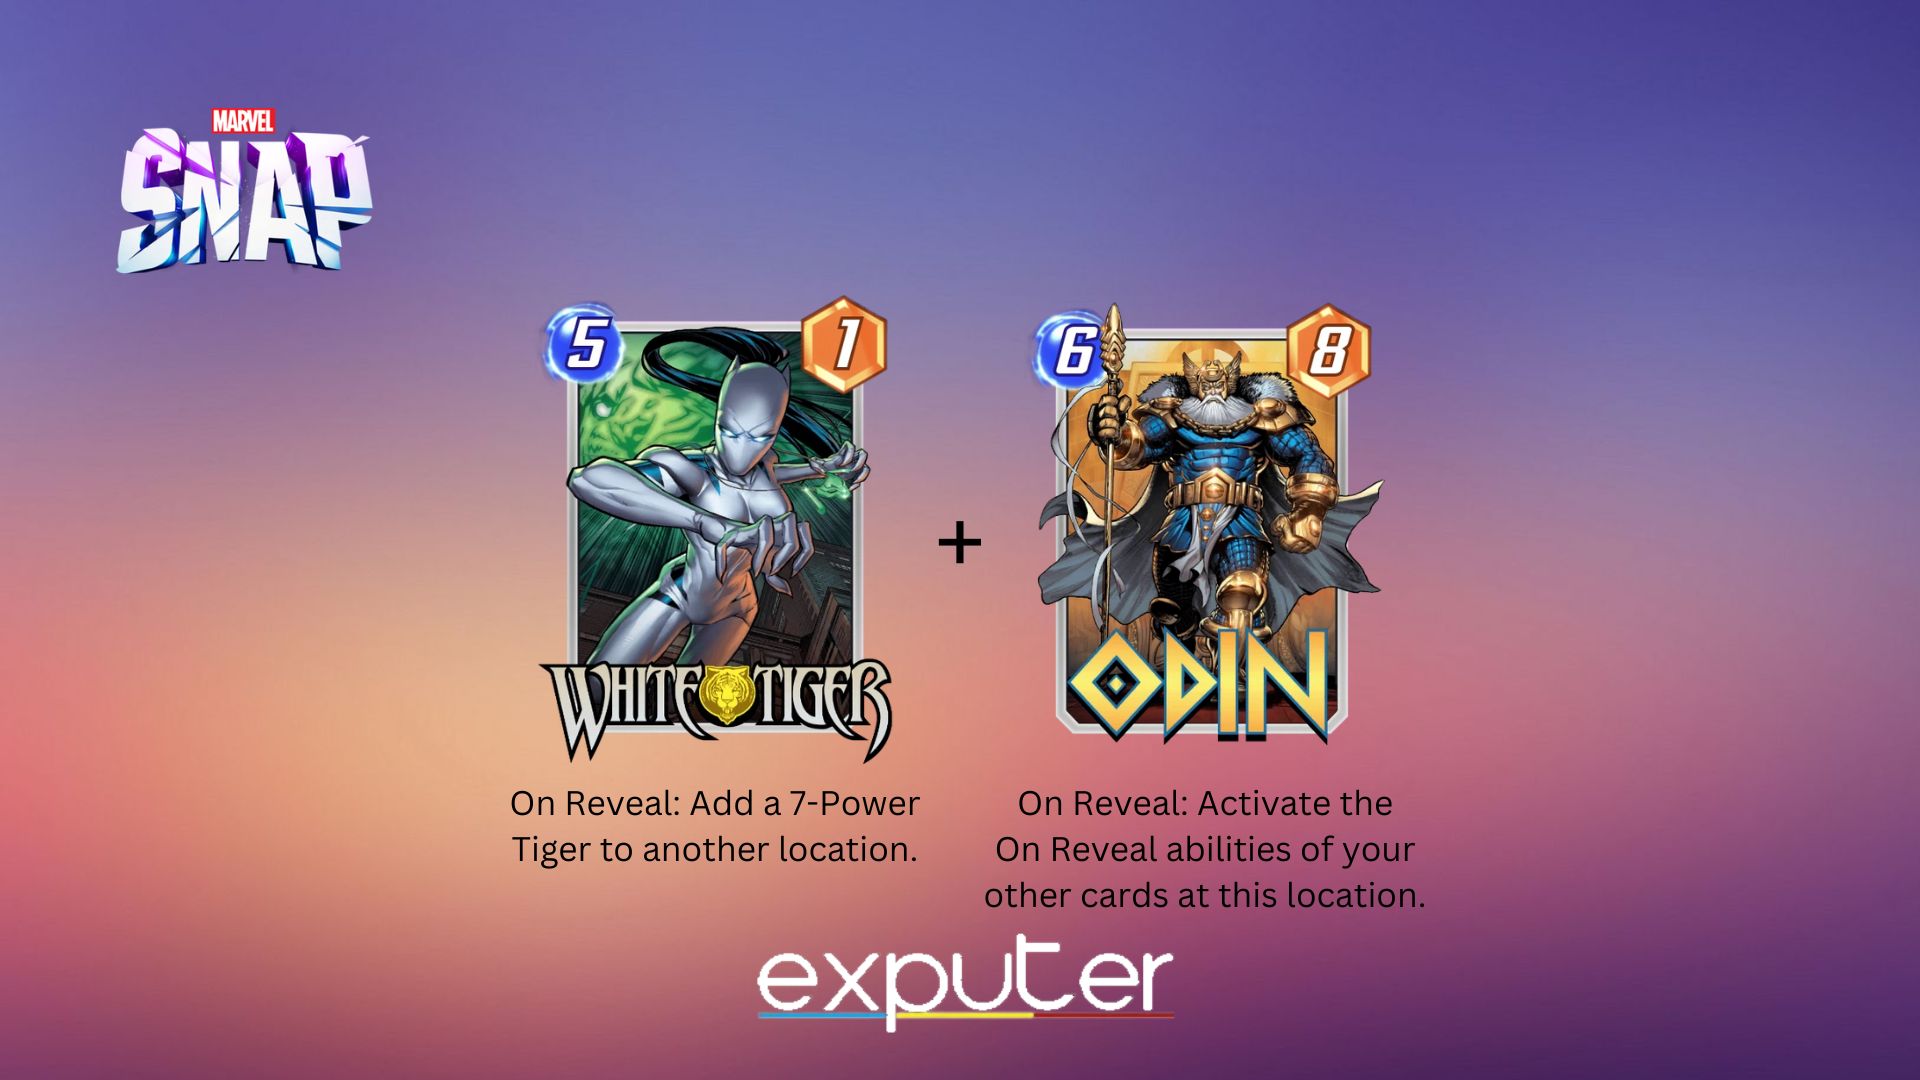
White Tiger And Odin
- Why I Chose This: White Tiger’s -7 power ability can render enemies useless if played properly.
The next combo involves some high-power spikes for your side of the battle. If you play White Tiger, the On Reveal ability will add a 7-Power Tiger to any of the locations. A 7-power card can make all the difference in a battle with an opponent when you’re losing at a specific location.
The Tiger card will randomly go to one of the two locations. You won’t have any control over it. But you can turn it in your favor by throwing in the Odin Card. Odin’s On Reveal ability activates the On Reveal abilities of all the cards at the location where he is played. This means he will then again activate White Tiger’s ability.
The pros and cons for White Tiger are below as per my testing:
- Provides high-power spikes.
- Tiger card is not in your control.
My Thoughts On The Best Card Combo
I’ve tried every card combo mentioned on this list, along with their respective decks, and in my experience, the best pairs are the ones your opponents can’t immediately figure out or combat in Marvel Snap. With the recent updates, I found that the Black Panther, Wong, and Arnim Zola pair that you get in Pool 3 is undoubtedly the strongest and most frustrating pair to deal with.

These three cards are so overpowered that whenever I got them in your hand, I basically won the match. I placed Wong in one location, then put Black Panther alongside him to get +16 Power. Finally, when I played Arnim Zola, my +16 Black Panther would play on the other 2 locations thanks to his ability.
That was all there was to Marvel Snap Best Cards Combo. The guide covers everything there is to Cards Combo. We’ve covered some of the best combos that you can do. These combos include Pool 1 & 2 and Pool 3 Cards. As they all are unlocked at different levels, I decided to show their combos separately.
Next: Marvel Snap: Best Thor Deck
Thanks! Do share your feedback with us. ⚡
How can we make this post better? Your help would be appreciated. ✍