Engineer is one of the best characters in Risk of Rain 2. Not only is this choice extremely useful for newer players, but it also scales really well for more experienced veterans. As a master of gadgets, the Engineer’s strength comes from his ability to deploy a number of both offensive and defensive tools. These allow him to control the battlefield and change the tide of combat in an instant.
- Engineer in Risk of Rain 2 is unlocked after completing 30 stages.
- Abilities rely on gadgets like Bouncing Grenades, Pressure Mines, Spider Mines, and Bubble Shields.
- Additional skills include Thermal Harpoons for targeting and TR12 Gauss Auto-Turret firing 3 times per second.
- TR58 Carbonizer Turret slows enemies with significant damage output.
- Pressure Mines and Spider Mines damage varies with charge duration; Bubble Shield provides temporary protection.
- Recommended items for Engineer: Bustling Fungus, Hardlight Afterburner, Bandolier, Harvester’s Scythe, and Shattering Justice.
- These items complement the Engineer’s playstyle, enhancing damage output and survivability.
How To Unlock The Engineer?
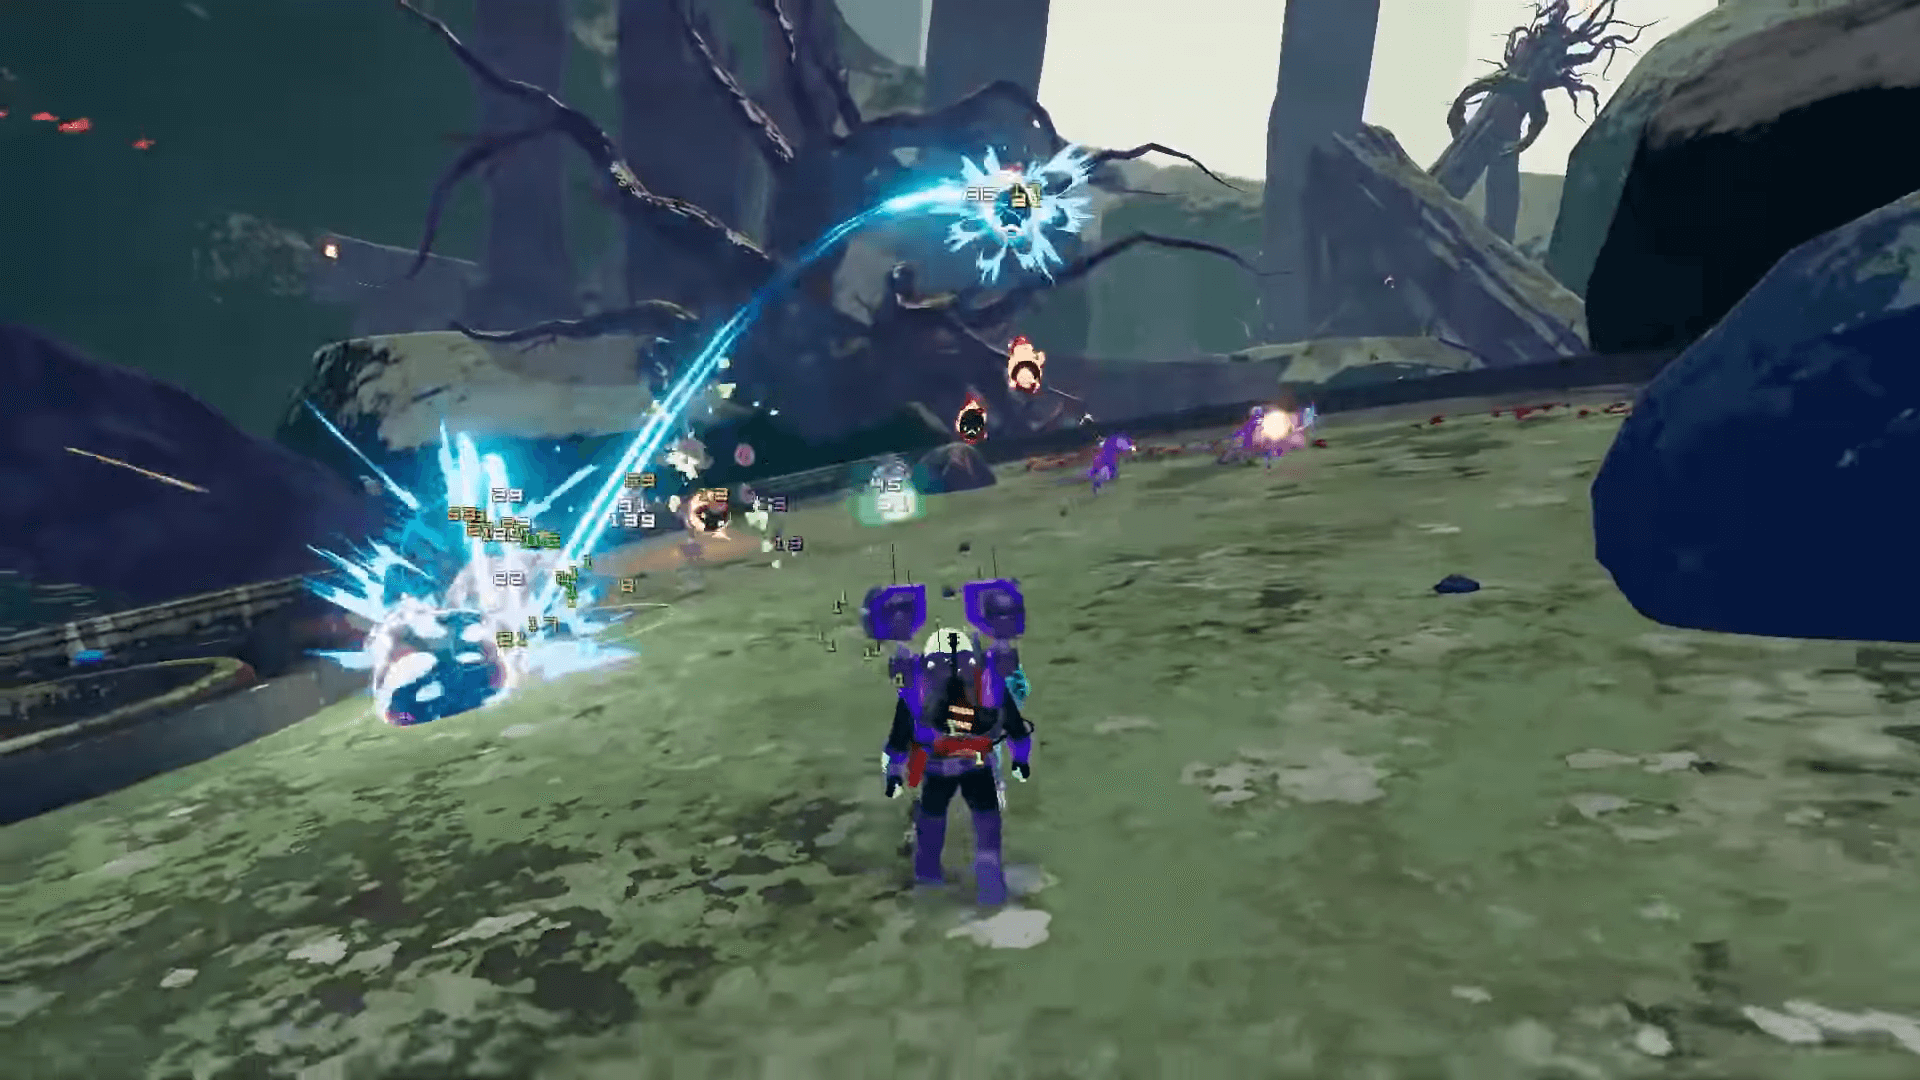
First, here are some stats regarding the Engineer in Risk of Rain 2:
| Character | HP | HP Regen | Damage | Speed | Armor |
|---|---|---|---|---|---|
| Engineer | 130 [+39 per lvl] | - Drizzle: 1.5/sec [+0.2 per lvl] - Rainstorm: 1/sec [+0.2 per lvl] - Moonsoon: 0.6/s [+0.2 per lvl] | 14 [+2.8 per lvl] | 7 m/s | 0 (Drizzle => 70) |
To gain access to this class, players simply have to complete thirty stages in the game.
The order does not matter, and neither does the number of runs it takes to finish this task. All you have to do is ensure that thirty stages are completed with any character.
Even if you’re a new player, this should take you no more than five or six runs to accomplish.
Engineer Abilities
Here are all the abilities of the Engineer at a quick glance:
| Ability Name | Type | Cooldown | Proc Coefficient | Buffs/Description |
|---|---|---|---|---|
| Bouncing Grenades | Primary | N/A | 1 | - Releases 8 grenades - Total Dmg: 8 x 100% |
| Pressure Mines | Secondary | 8 secs | 1 | - Set up a 2 stage mine attack - Damage: 300%/900% if armed fully - Max Limit: 4 Mines |
| Spider Mines | Secondary | 8 secs | 1 | - Set up a spider robot mine - Damage: 600% - Max Limit: 4 Mines |
| Bubble Shield | Utility | 25 secs | N/A | - A Shield That Stops All Damage - Time Limit: 15 secs - Radius: 9.75 meters |
| Thermal Harpoons | Utility | 2.5 secs | 1 Per Harpoon | - Launched Heat Seeking Harpoons - Damage: 500% - Max Storage Limit: 4 |
| TR12 Gauss Auto Turret | Special | 30 secs | 1 | - Set Up A Turret That Contains All Your Items - Fires A Canon That Does 100% Damage - Max Placement Limit: 2 |
| TR58 Carbonizer Turret | Special | 30 secs | 0.6 | - Mobile Turret That Contains All Your Items - Fires A Laser That Does 200% Per Second - Slows Down Enemies - Max Placement Limit: 2 |
Bouncing Grenades – Primary

As his primary attack, the Engineer is able to deploy grenades that bounce against the ground and explode after a few seconds. In addition, this gadget has a reasonably decent spread, so it can get multiple enemies with a single attack.
Each projectile deals 100% damage, and you can charge up the attack to deploy a maximum of 8 grenades. This ability also allows you to sprint while charging, so you don’t have to waste an attack if no enemy is in sight.
A good strategy is always to have the attack charging whenever possible. This way, you can use it instantly when a combat encounter begins.
Pressure Mines – Secondary

Up to 4 Pressure Mines can be placed at a time, and they explode automatically whenever an enemy walks into their area of effect. They also deal a different amount of damage depending on how long they are allowed to charge.
By default the damage done is 300%, but letting them arm for a few seconds increases this amount to a whopping 900%. When fully charged the mines have an enemy detection radius of 7.5 Meters. They also do not stick to enemies, so placement has to be taken into consideration.
One good strategy is to use these at the start of an encounter and then allow them to reach full power. After that, you can cart enemies into their range to deal massive damage.
Spider Mines – Secondary

Our other secondary attack can only be unlocked by completing a challenge known as “Engineer: 100% Calculated.” For this, players have to defeat a Teleporter boss in less than 5 seconds after it spawns.
These mines deal an instant 600% damage without ever having to arm first. Additionally, when an enemy has entered range, the Spider Mines themselves seek them out instead of waiting for the target to get close enough.
Once again you can deploy a maximum of 4 of these mines. And since there is no charge time involved, I recommend that you use these in the middle of combat as much as possible.
Bubble Shield – Utility
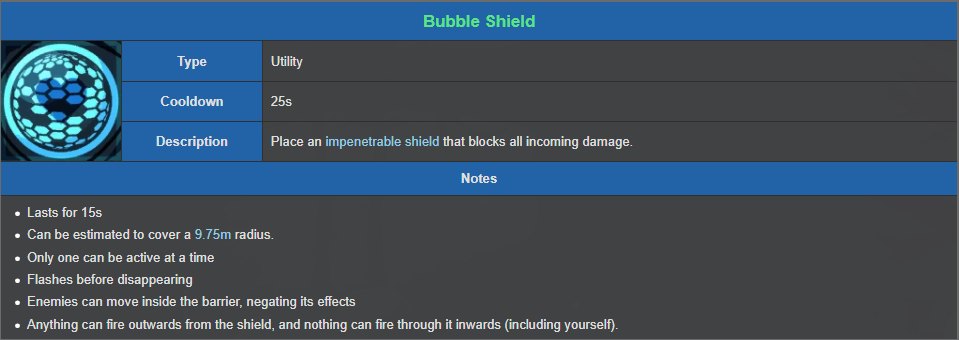
As the name suggests, the Bubble Shield creates a spherical force field where you deploy it, creating a barrier that blocks any and all incoming damage. It lasts for a total of 15 seconds, and it covers a radius of 9.75 meters.
While standing inside, players can fire their weapons outside of it, but enemy attacks cannot penetrate it. Unfortunately, the shield does not stop moving, so monsters can walk inside it and attack you.
Thermal Harpoons – Utility
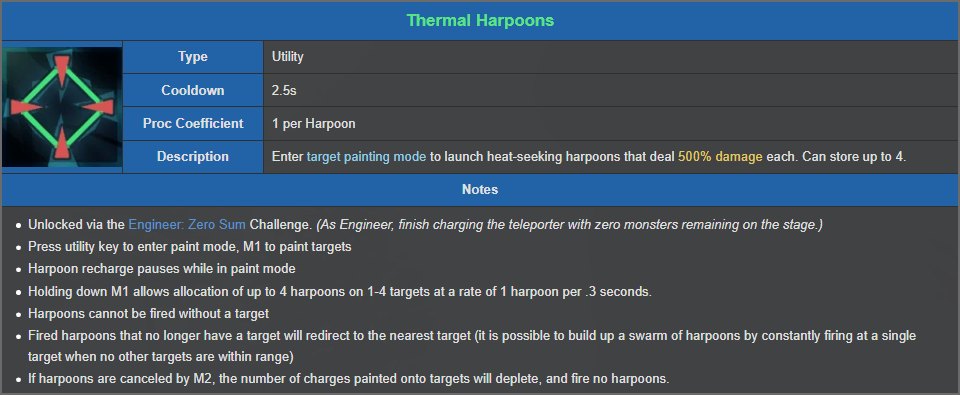
Players can unlock the Thermal Harpoons by completing the “Engineer: Zero Sum” Challenge. This can be done by finishing charging the Teleporter with no monsters remaining on the stage.
The attack itself allows you to enter into a targeting mode, where enemies can be marked to launch heat-seeking harpoons towards them. A maximum of 4 harpoons can be stored at a time, and they deal 500% damage each.
TR12 Gauss Auto-Turret – Special

Your first turret has a cannon weapon that can fire 3 times per second for 80% of the Engineer’s damage. A maximum of 2 of these can be placed at any one time.
These turrets also get the buffs and abilities of all of your equipped items. So whatever bonuses you have, get replicated for your gadgets as well. As a standard Engineer ability, you should always have this turret deployed in combat.
TR58 Carbonizer Turret – Special

The second turret available to you is the TR58 Carbonizer, which can only be unlocked by completing the “Engineer: Better With Friends” challenge. This is complemented by recruiting 12 minions as an Engineer and keeping them all alive at the same time.
Unlike the cannon turret, this one is equipped with a laser that slows down enemies and deals 200% damage per second on top of that. You can place two of them at a time, and they will follow you around as you walk. These also inherit the buffs and abilities of all of your equipped items.
Since this type of turret follows you, you’re able to move around the stages much more than usual. You don’t have to feel the burden of being grounded in one spot any longer.
Best Items For Engineer
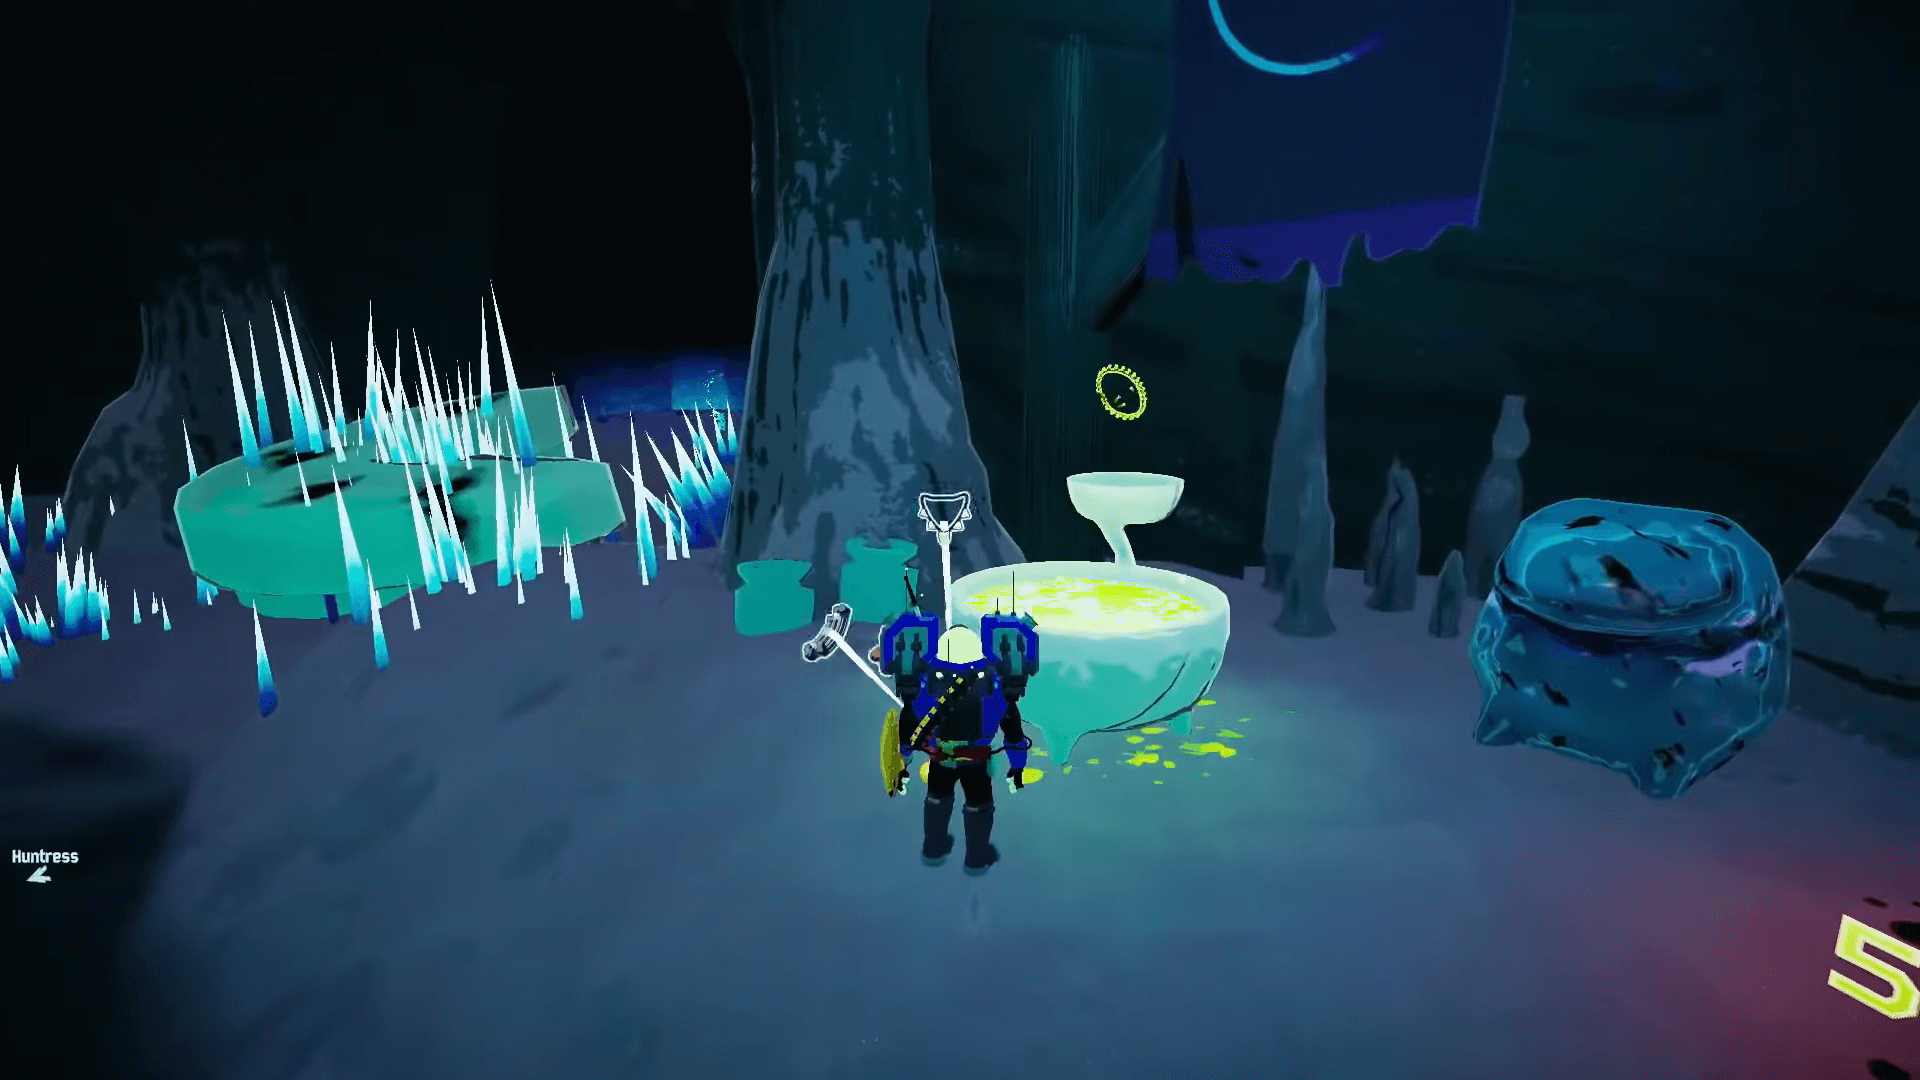
The following items all work secularly with the Engineer in Risk of Rain 2.
Special consideration was taken to include those items that work particularly well with the Turrets and their ability to replicate buffs.
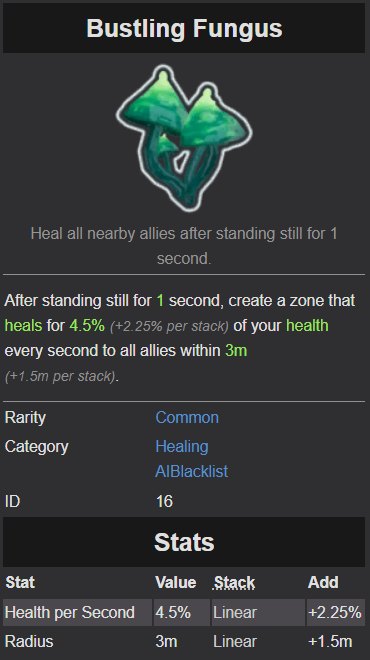
Bustling Fungus
| Rarity | Category | Effects | Per Stack Buffs | Stack Type |
| Common | Healing |
|
|
Linear Type |
With the Bustling Fungus, players can create an area of effect healing circle that restores 4.5% health per second when standing still inside it. The effect is increased by 2.25% per additional stack.
Now since the turrets also get this effect, you can create up to three different healing circles that simultaneously give you health. This is on top of the damage they dish out.
This item is perfect for boss encounters, where you quickly have to deal damage while also maintaining your health bar.
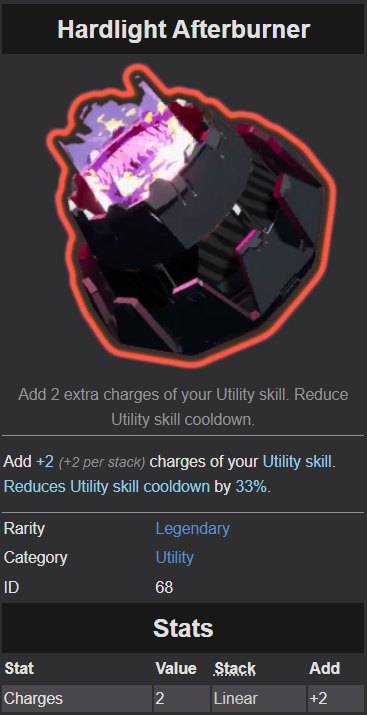
Hardlight Afterburner
| Rarity | Category | Effects | Per Stack Buffs | Stack Type |
| Common | Healing |
|
|
Linear Type |
When you’re under attack by a horde of enemies, the Bubble Shield is a godsend that can help you negate a lot of damage. But you can also only deploy one of these at a time, which limits your movement.
But with the Hardlight Afterburner, you get +2 charges for all of your Utility skills. On top of this, the Utility skill cooldown rate is also reduced by 33%.
In short, you’re able to deploy three different shields at a time and get them back significantly faster. When used strategically, there will never be a moment where you’re without cover.
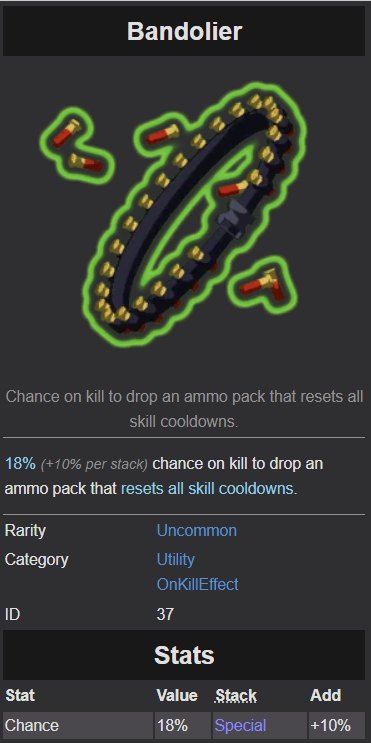
Bandolier
| Rarity | Category | Effects | Per Stack Buffs | Stack Type |
| Uncommon | Utility | Chance: 18% | +10 percent chance increase of a kill dropping an ammo pack | Special Type |
Your key abilities as an Engineer are your two turrets. You want them ready to go out at all times, but there’s a 30-second cooldown between each use. This is exactly why you want to get the Bandolier.
Each enemy in the game has an 18% chance to drop an ammo box that resets all of your skill cooldowns with this item. And while 18% is not a large number, keep in mind that you’re almost always swarmed with enemies in Risk of Rain 2.
So with the Bandolier, you can expect to get your turrets back faster and spend less time facing enemies by yourself.
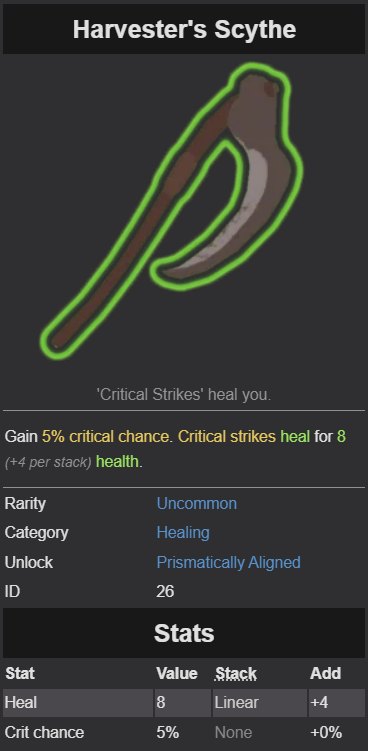
Harvester’s Scythe
| Rarity | Category | Effects | Per Stack Buffs | Stack Type |
| Uncommon | Healing |
|
|
Linear Type |
With the Harvester’s Scythe, players get a 5% chance to score critical hits on enemies with each attack. When this happens, 8 health is returned to you per successful crit.
This works great with the Engineer since most of his attacks have multiple hits to begin with. So the chances of recovering health are much more likely.
Turrets, in particular, can take great advantage of this due to their high rate of fire.
Shattering Justice
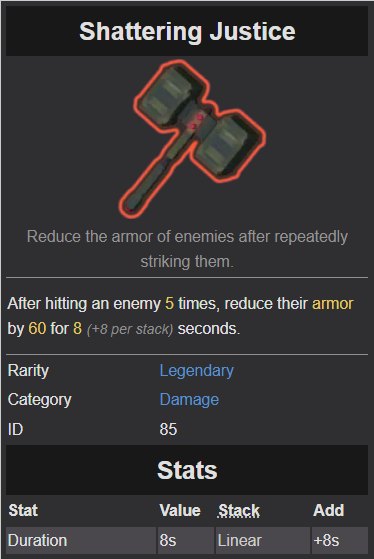
| Rarity | Category | Effects | Per Stack Buffs | Stack Type |
| Legendary | Damage | Duration: 8 secs | +8 secs increase in duration | Linear Type |
Readying targets for your turrets is an effective strategy in helping you take down bosses and elite enemies. And in the case of the Shattering Justice item, this means destroying their armor.
Once you hit an enemy 5 times, they receive the “Pulverized” debuff for 8 seconds. Their armor rating falls by 60 points during this time, allowing them to take much more damage than usual.
The Engineer can use this to his advantage by weakening powerful enemies and then allowing the turrets to finish them off.
This has been eXputer’s Risk of Rain 2 Engineer guide. While you’re here, why not check our Risk of Rain 2 Death Do Us Part Guide?
Thanks! Do share your feedback with us. ⚡
How can we make this post better? Your help would be appreciated. ✍

