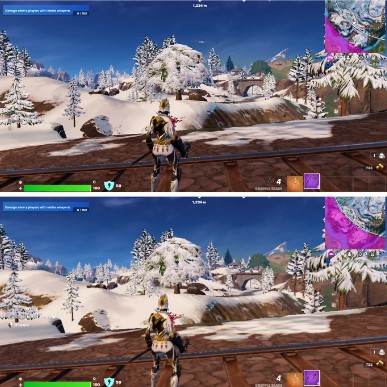
Maximizing your Fortnite Chapter 5 experience involves fine-tuning your PC settings for optimal performance. Adjusting graphics, resolution, and display settings can help achieve smoother gameplay by minimizing stutters and frame drops.
Finding the right balance between visuals and performance is crucial to enjoying the game seamlessly. So, after testing and then re-testing the settings, I’ve come upon some of the best Fortnite settings I suggest you use in this latest season.
I’ve benchmarked Fortnite on the following PC specs:
- CPU: AMD Ryzen 5 2600x
- GPU: Nvidia RTX 3050
- RAM: 16 GB
- Storage: 1TB NVMe SSD
- OS: Windows 11 Pro
To run Fortnite on your PC, you’ll at least need an Intel Core i5 2.8 GHz CPU, Nvidia GTX 660 or AMD Radeon HD 7870 GPU, and 8 GB RAM.
Following are the most demanding Fortnite Settings
- Shadows
- Global Illumination
- Reflections
- View Distance
- Effects
- Post Processing
Fortnite is one of the most optimized games I’ve played to date. It performs extremely smoothly on my hardware and I didn’t encounter any crashes or other stability issues during testing. You’ll even be able to run the game on entry-level hardware. Our Fortnite reviewer Haris reports that the game runs extremely well on consoles as well.
Authors Note: I’ve played Fortnite for over 6000 hours; therefore, you can completely rely on the information below.
Best Fortnite Graphics Settings
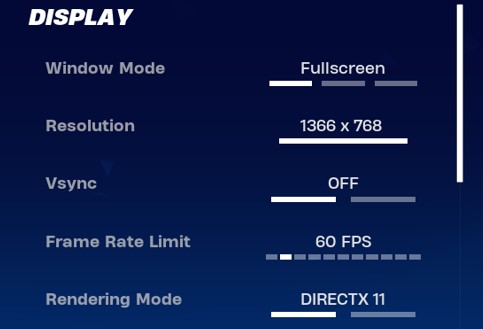
Overview of Display Settings
| Window Mode | Fullscreen |
| Resolution | Native |
| Vsync | Off |
| Frame Rate Limit | According To Your Monitor’s Hz |
| Rendering Mode | DirectX 11 |
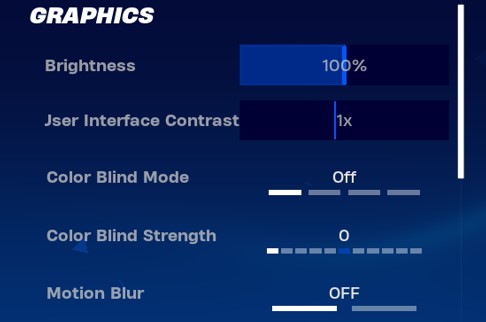
Summary of Graphics Settings
| Brightness | 100% |
| User Interface Contrast | 1x |
| Color Blind Mode | Off |
| Color Blind Strength | 0 |
| Motion Blur | Off |
Fortnite Quality Settings Summarized
| Auto-Set Quality | Auto-Set |
| Quality Presets | Custom |
| Quality Settings Guidance | Open Website |
| Anti-Aliasing & Super Resolution | Off |
| Temporal Super Resolution | Recommended |
| 3D Resolution | 65% |
| Dynamic 3D Resolution | Off |
| Nanitine Virtualized Geometry | Off |
| Shadows | Off |
| Global Illumination | Off |
| Reflections | Off |
| View Distance | Near |
| Textures | High |
| Effects | Low |
| Post Processing | Low |
Now that you know what the presets I’ve set for each setting, here’s a brief description of each one to help you understand each graphics settings.
Auto-Set Quality: Auto-Set
It’s like a helpful assistant for your game. It figures out the best settings for your computer so Fortnite looks good and plays smoothly without you needing to do anything. But I still suggest trying out the settings I listed below.
Quality Presets: Custom
Choosing “Custom” is like having control over how the game looks. You can adjust stuff like textures to make Fortnite look just how you want it on your computer.
Anti-Aliasing & Super Resolution: Off
Turning these off makes the game look a little rough but the FPS boost it provides is worth the trade.
3D Resolution: 65%
This setting balances how good the game looks with how fast it runs. Lowering it to 65% makes Fortnite run faster while still looking okay.
Dynamic 3D Resolution: Off
Turning this off means the game won’t change settings on its own. You get to decide how Fortnite looks and works.
Nanitine Virtualized Geometry: Off
Turning this off makes the shapes simpler in Fortnite. It helps your computer run the game better without losing the important stuff. Keep in time you can only use this feature on DirectX 12.
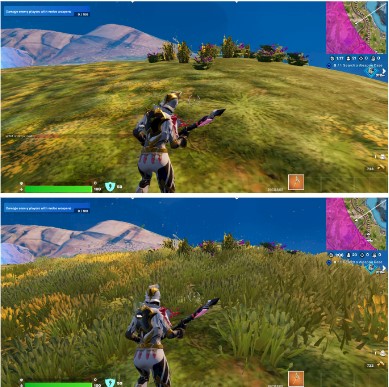
Shadows: Off
Turning off shadows removes some extra details. While they make things look more real, turning them off makes the game run smoother, especially when things get busy in the game.
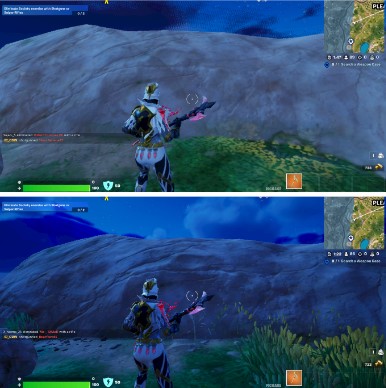
Global Illumination: Off
Turning this off means the game won’t have extra realistic lighting. While it looks nice, it needs a lot of computer power. Turning it off helps the game run faster, especially on slower computers.
Reflections: Off
Switching off reflections means shiny things won’t reflect in the game. They look cool but need more computer power. Turning them off can make the game run better, especially on computers that struggle with these details.
View Distance: Near
Setting this to “Near” means you can’t see things far away in the game. It helps the computer by not showing far-off stuff, making the game run smoother.
Textures: High
Keeping this at “High” makes things in the game look more detailed. It makes the game look better and it will load textures faster.
Effects: Low
Setting this to “Low” makes special things (Explosives, splashes, Storm, etc) in the game simpler. It helps the game run smoother, especially when lots of effects are occurring simultaneously.
Post Processing: Low
Adjusting this to “Low” makes extra pretty stuff in the game simpler. It can make the game run faster on computers that are not very powerful.
Fortnite Controller Settings for Xbox, PS4, and PS5
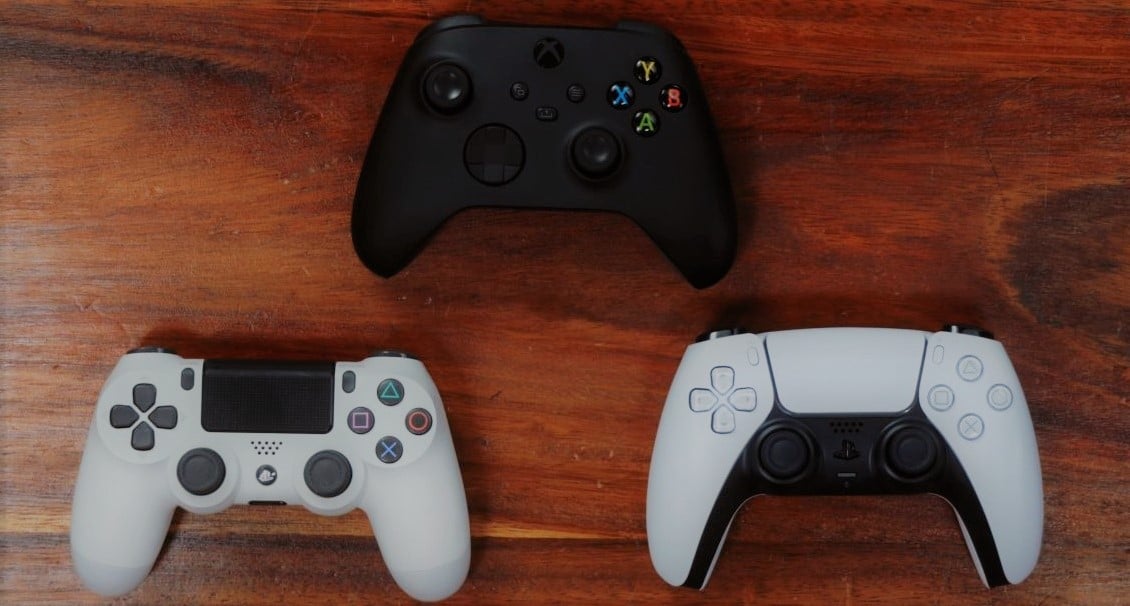
Playstation and Xbox make top-of-the-line controllers that are amazing in every type of game. They are comfortable playing for hours on end. Allow me to help you fine-tune your controller so you can get those precise headshots.
So, no matter what weapon you choose, these Fortnite controller settings are compatible with both Xbox and PlayStation. So, hold onto your controllers and open the settings to begin the configuration.
Fortnite Controller Sensitivity Settings
| Build Mode Sensitivity Multiplier | 1.6x |
| Edit Mode Sensitivity Multiplier | 16x |
| Advanced Options | On |
| Look Horizontal Speed | 50% |
| Look Vertical Speeds | 60% |
| Turning Verticle Boost | 0% |
| Turning Boost Ramp Time | 0 Seconds |
| Instant Boost When Building | On |
| ADS Look Horizontal and Vertical Speed | 17% |
| ADS Turning Horizontal and Vertical Boost | 0% |
| ADS Turning Boost Ramp Time | 0 Seconds |
| Look Dampening Time | 0.20 Seconds |
| Look Input Curve | Exponential |
| Aim Assist Strenght | 80% – 100% |
| Move and Look Stick Deadzone | 6% |
| Foot Controller | On |
| Foot Controller Deadzone and Max Throttle | 1% |
And there you have it! As far as sensitivities lie, these settings should have you covered in detail. Now, let’s jump onto some quality-of-life settings in Fortnite.
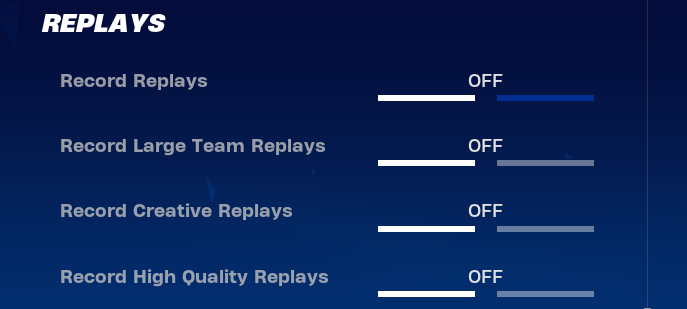
Some Tweaks For Better Performance
These are some of my quick and simple In-game settings adjustments that helped me have better performance.
Turning off Record Replays
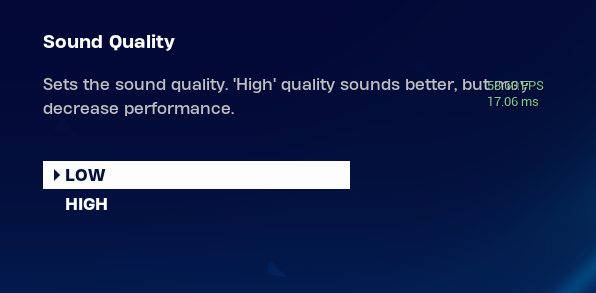
Setting Sound Quality to Low
Here are more Fornite error-fix guides on eXputer for you to explore:
- Fortnite Crashing On PC [FIXED In 2023]
- 7 Ways To Fix Fortnite Matchmaking Error
- SOLVED: Fortnite Unrecoverable Error [2023]
Thanks! Do share your feedback with us. ⚡
How can we make this post better? Your help would be appreciated. ✍
Thank for for straight up giving up the exact settings and not wasting time. Much appreciated
I never really have performance issues with Fortnite tbh. But this extra boost is appreciated
Fortnite used to run so bad on my PC, turning down reflections and using DLSS really helped me cross 70 FPS mark.