Hyrule Castle, situated amidst waterfalls and mountains at the heart of the kingdom, serves as the residence of the King of Hyrule and Princess Zelda. The main quest, “Crisis at Hyrule Castle,” takes place inside the boundaries of Hyrule Castle. Completing this quest can be challenging as it includes many unexplored areas inside Hyrule Castle. I will share a complete walkthrough of Tears of the Kingdom Hyrule Castle in this guide.
- Hyrule Castle In Tears of the Kingdom is the residence of Hyrule’s King and Princess Zelda.
- The main plot of the quest, “Crisis at Hyrule Castle,” takes place inside Hyrule Castle.
- Crisis at Hyrule Castle quest has two parts:
- The first part begins when players return to Hyrule Castle and find Captain Hoz.
- The second part starts after completing the main quest, “Regional Phenomena.”
- After completing the quest “Regional Phenomena,” players must return to Hyrule Castle in search of Princess Zelda.
- While searching for Princess Zelda, players must look for her in six locations inside the castle.
- These locations Include:
- The Second Gatehouse
- Hyrule Castle Library
- Princess Zelda’s Room
- Unnamed Area at B3
- Unnamed Hall at B3
- The Sanctum
- Once players reach the last location, the Sanctum, then they will face the Demon Lord, Ganondorf.
- Ganondorf will resurrect the Phantom Ganon.
- Defeating the Phantom Ganon will mark the end of the quest “Crisis at Hyrule Castle.”
What Is Crisis At Hyrule Castle In TOTK?
The main storyline quest, “Crisis at the Hyrule Castle,” can be divided into two parts. The first part starts when you interact with the guards outside the castle. This is where you will discover that Princess Zelda has gone missing, and everyone in the kingdom is looking for her.

Once you interact with Captain Hoz on the roof of the Hyrule Castle, a small cutscene will play. He will then tell you to go and share the information with Purah. After that, Purah will tell you to explore the four regions where weird phenomena occur.
This will then begin another main quest, “Regional Phenomena.” Once you have completed this quest, head back to Purah in the Lookout Landing. From here, the second part of the quest Crisis at Hyrule Castle starts, which I have covered in this guide, Tears of the Kingdom Hyrule Castle.
How To Get Inside Hyrule Castle?
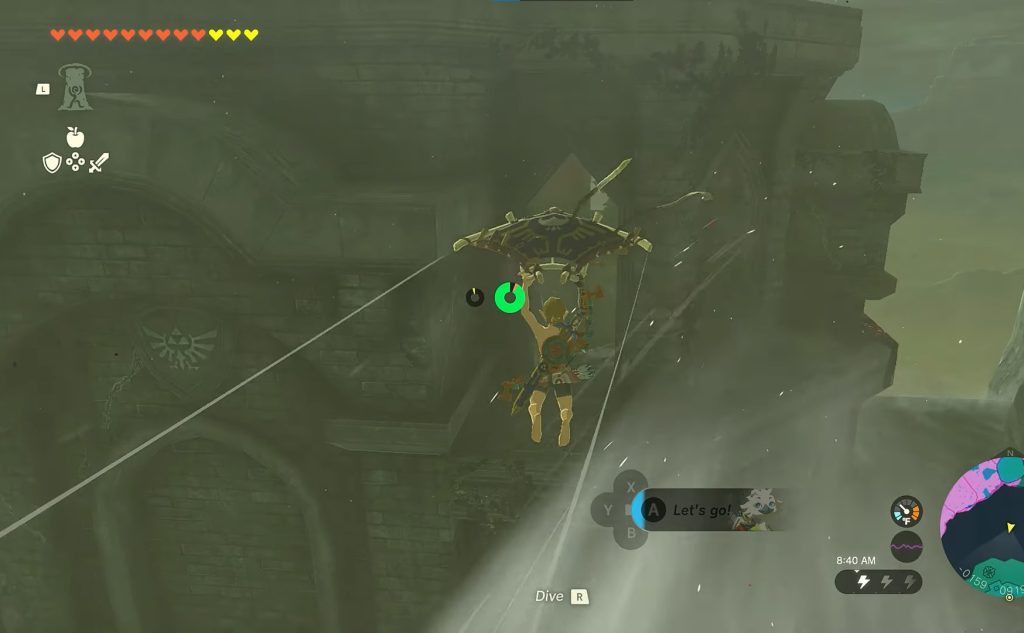
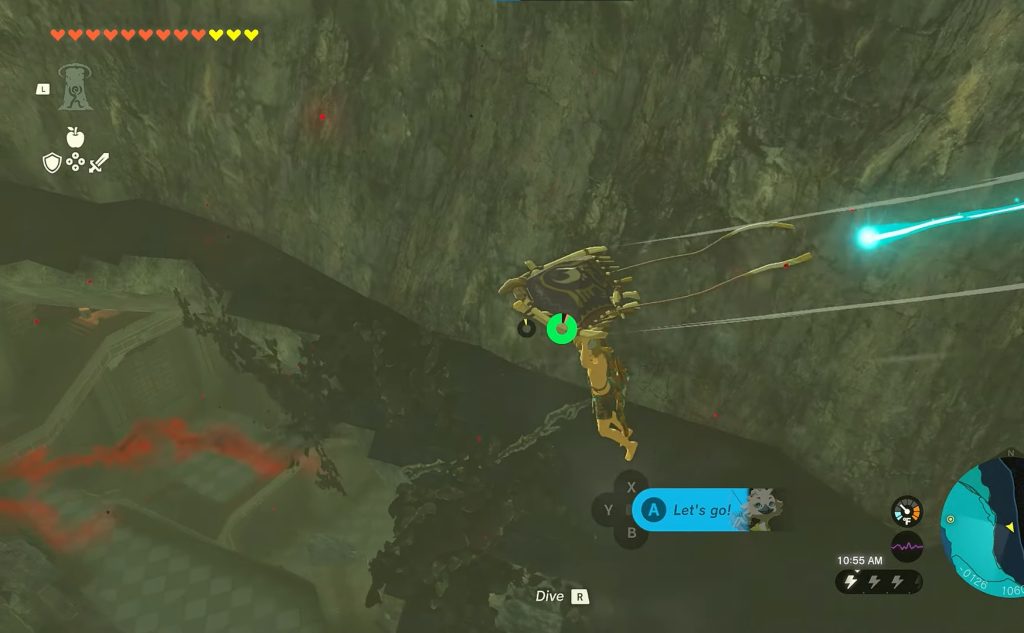
After completing the quest “Regional Phenomena,” meet Purah at the Lookout Landing. She will inform you about Princess Zelda’s last sighting inside Hyrule Castle. Now you have to get inside the Hyrule Castle and find the Princess. The only way to get inside the Hyrule Castle is to glide into the castle.
- Go to the Skyview Tower in the Lookout Landing, and glide into the castle from there.
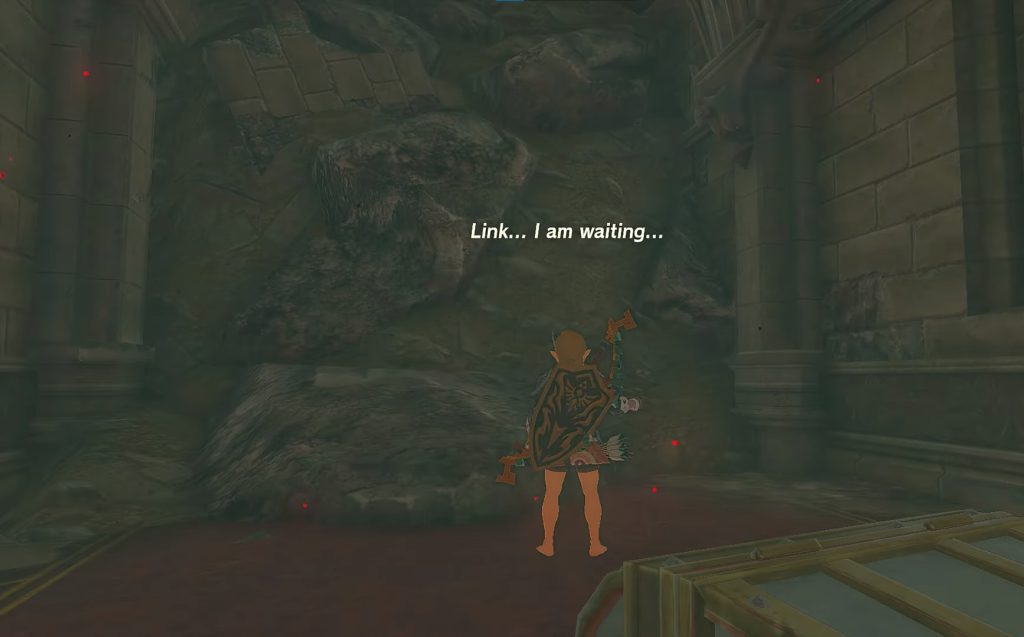
- As you arrive at the castle, you will hear Princess Zelda’s voice calling Link for help.
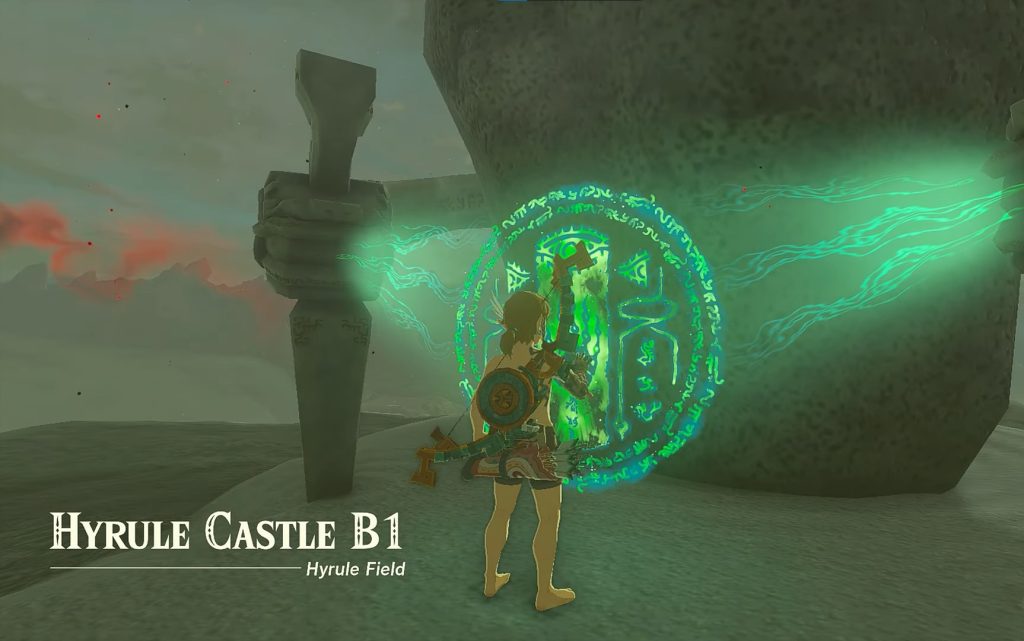
- But before searching for the Princess, glide to the Serutabomac Shrine located at B1 of Hyrule Castle.
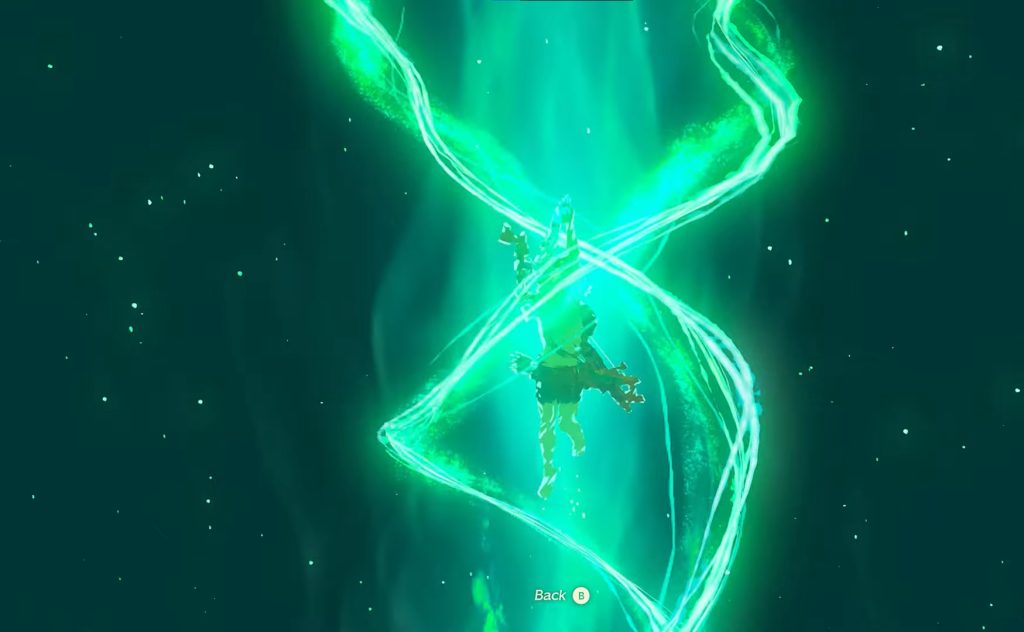
- At the Serutabomac Shrine, interact with the green seal, and it will grant you the power to summon avatars or sages.
- These avatars can be very helpful during fights with the monster forces inside the castle.
As I mentioned above, after landing inside the castle, the next objective of the quest is to search for Princess Zelda. Now you have to explore six different locations inside the castle where you will come across Princess Zelda. These locations are:
- The Second Gatehouse
- Hyrule Castle Library
- Princess Zelda’s Room
- Unnamed Area at B3
- Unnamed Hall at B3
- The Sanctum
Follow the step-by-step instructions I have listed to explore all six locations easily.
The Second Gatehouse
- While you are at the Serutabomac Shrine, glide to the south and land at B2.
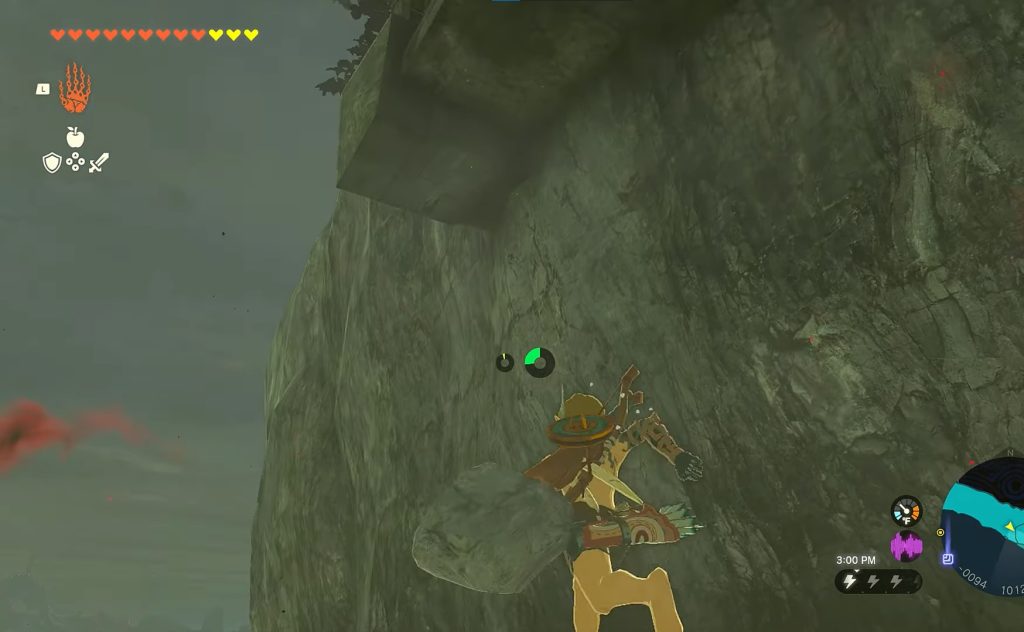
- Climb the wall in front.
- After covering some distance, ascend to the first floor.
- Once you are on the first floor, keep moving straight until you reach the end of the platform.
- From there, you can glide into the second gatehouse.
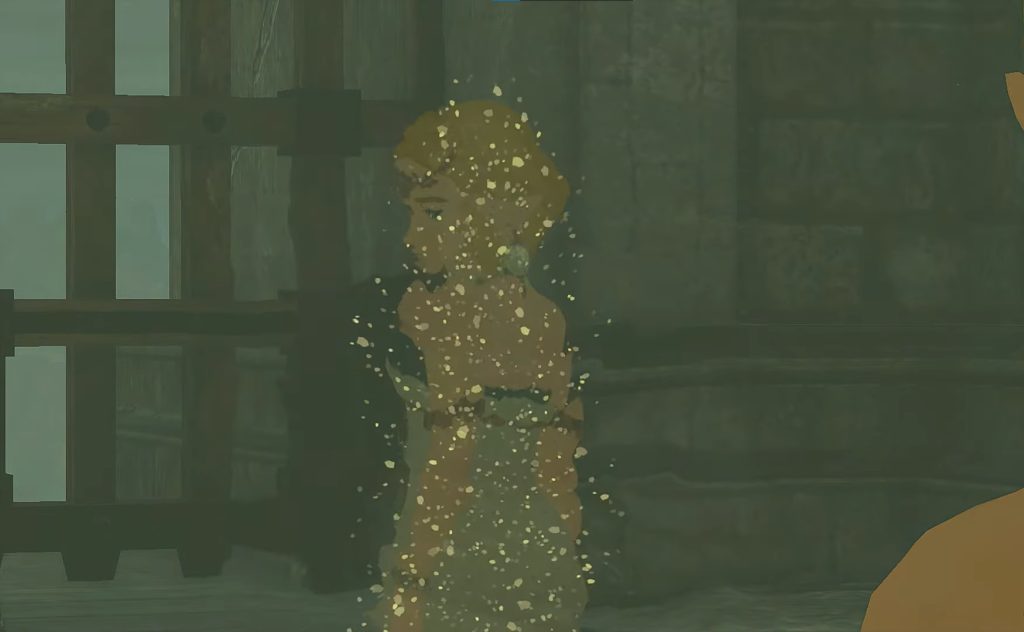
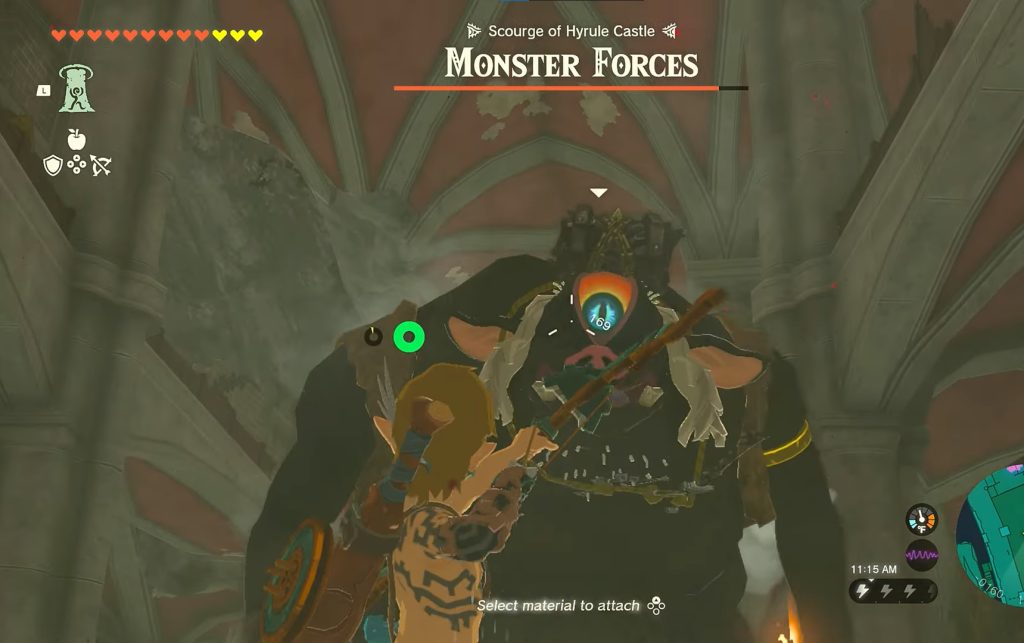
- Inside the second gatehouse, you will see Princess Zelda.
- But she will turn into light particles and vanish.
- Then few monster forces will appear.
- Defeat these monster forces to head to the next location.
Hyrule Castle Library
The following location where you will encounter the Princess is the Hyrule Castle Library, located at B3.
- In order to get to the library, fast travel to the Serutabomac Shrine.
- From there, glide to B2.
- From B2, glide to the massive hole in the wall beneath B2.
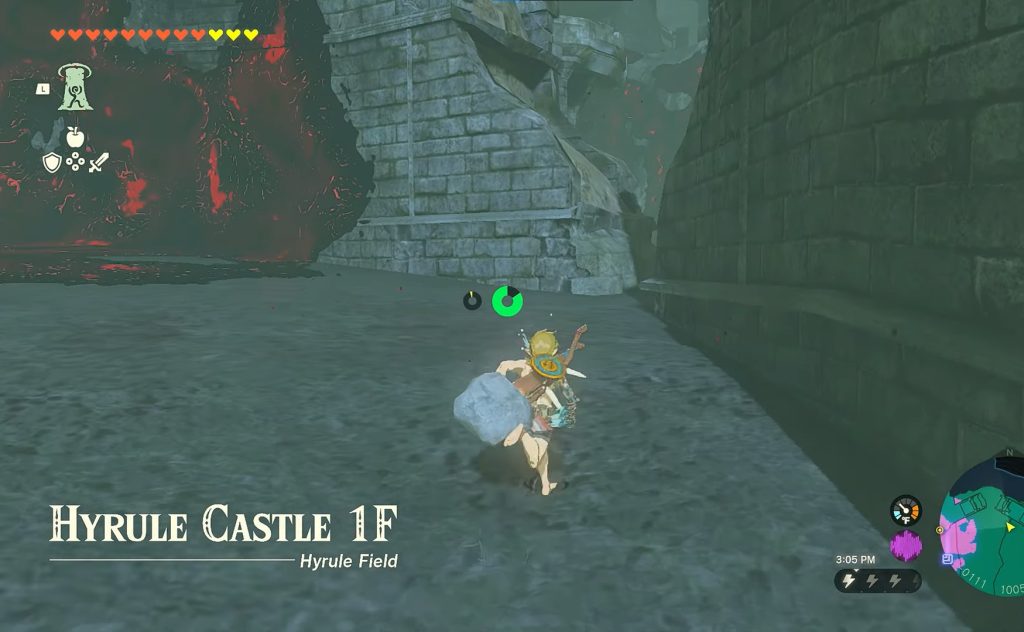
- You will reach the Hyrule Castle Library Hall at B3.
- Right after you land in the hall, monster forces will appear.
- Defeat the monster forces and move towards the objective marker shown on the map.
- Inside the small room, you will see Princess Zelda.
- She will vanish while turning into light particles, and monster forces will appear.
After clearing the monsters in the Hyrule Castle library, head to the next location shown on the map.
Princess Zelda’s Room
The following location that will appear on the map is Princess Zelda’s Room.
- Once again, travel to the Serutabomac Shrine.
- From the shrine, glide to the south and land on the platform in front.
- Now climb the wall right in front of you.
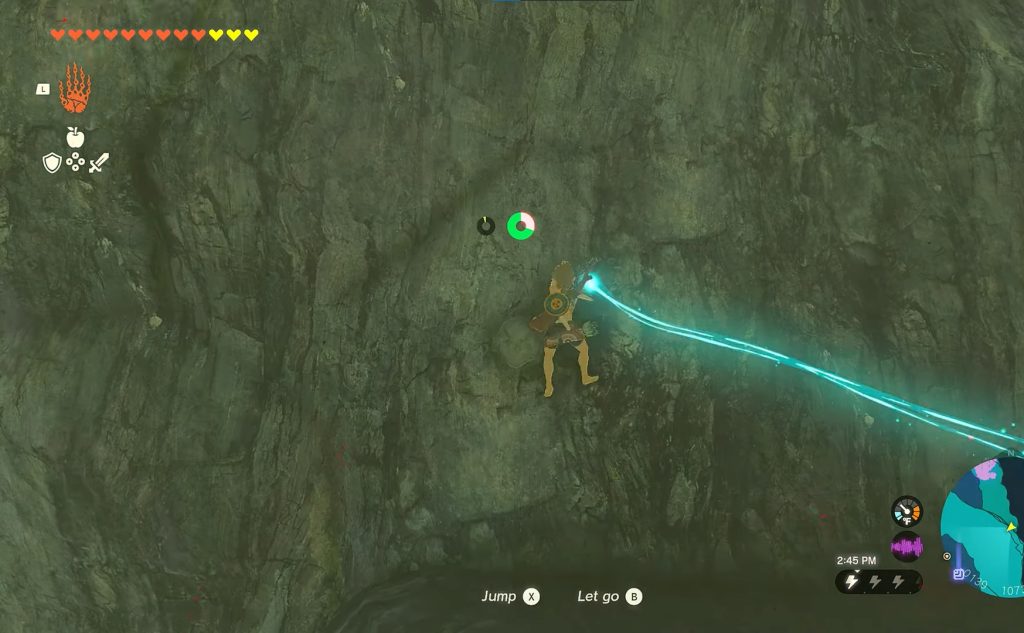
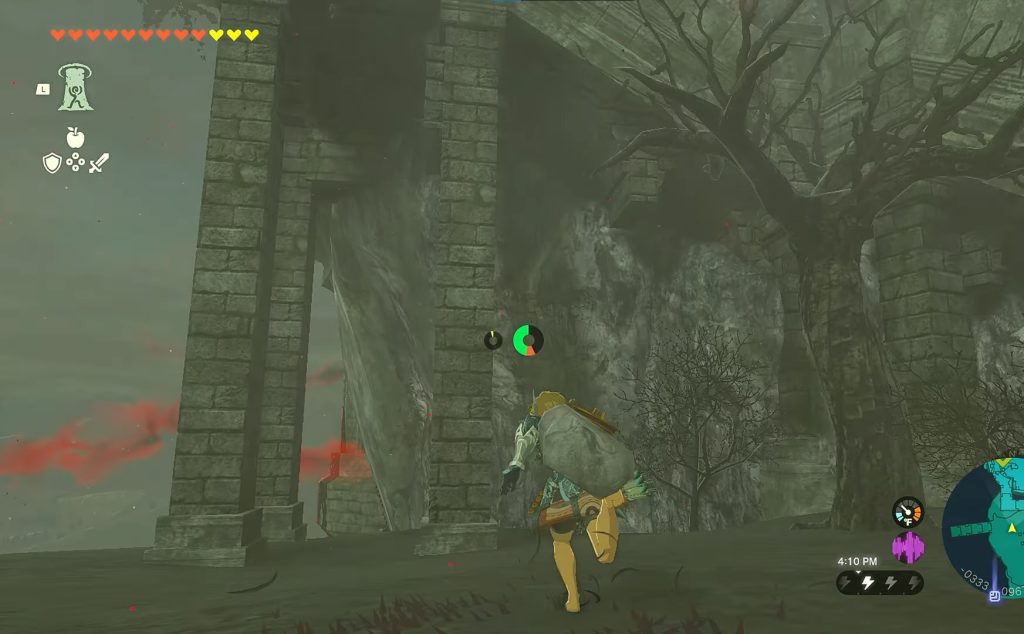
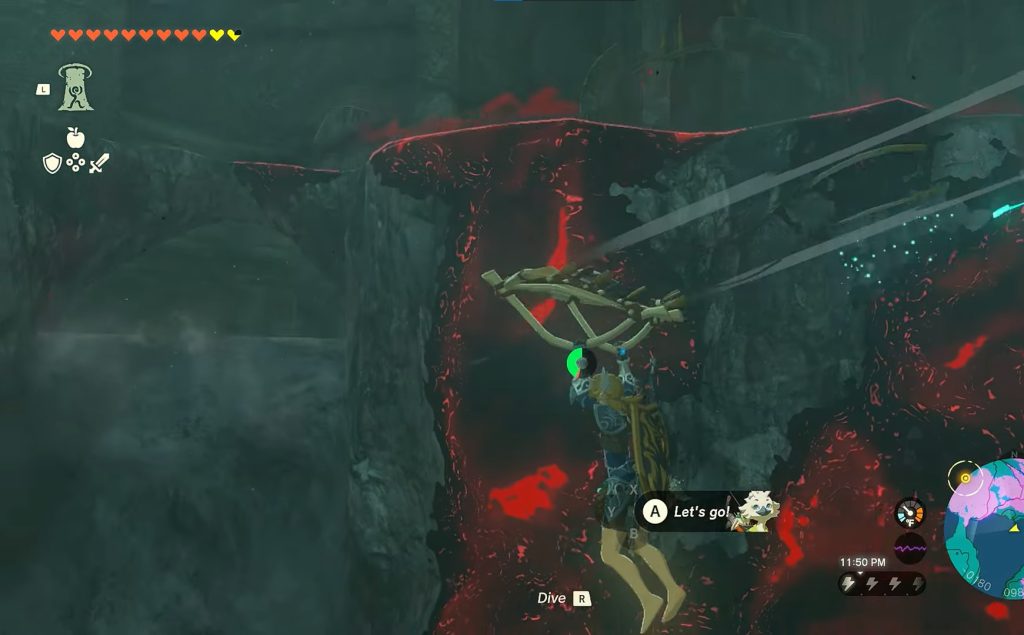
Keep moving on a straight path, and ascend to the first floor once you reach the area shown in the image below.
Go to the broken wall on the right and climb it.
- Now keep moving and climb the first wall you see.
- While you climb to the top of this wall, glide towards the waterfall.
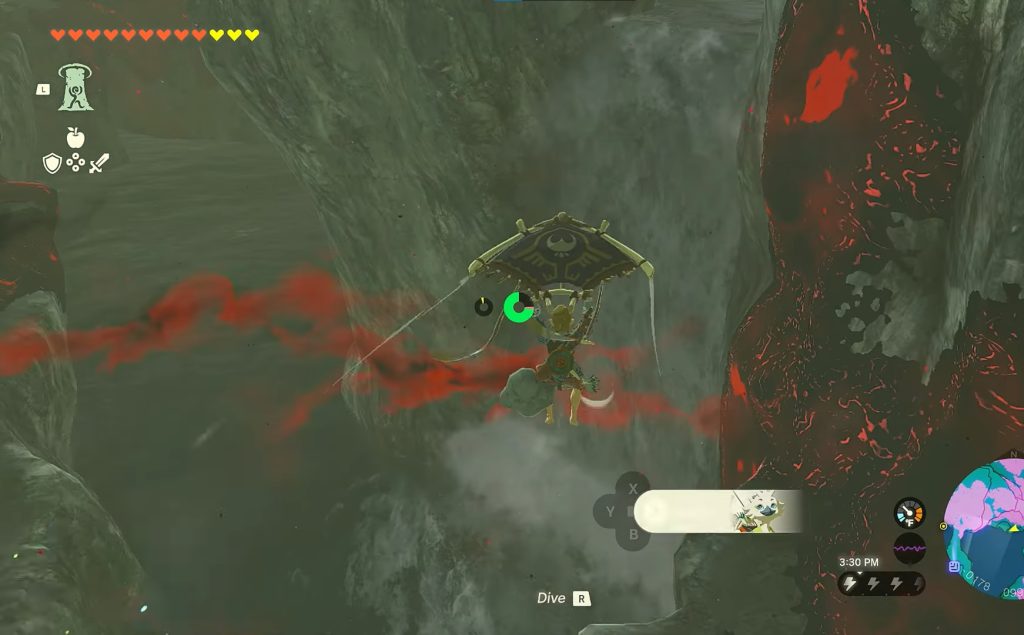
- Once you reach close to the waterfall, jump to reach the platform to your left.
- Now from this platform, glide to the platform below it in the southwest direction.
- Once you reach this platform, again glide to the final platform below it.
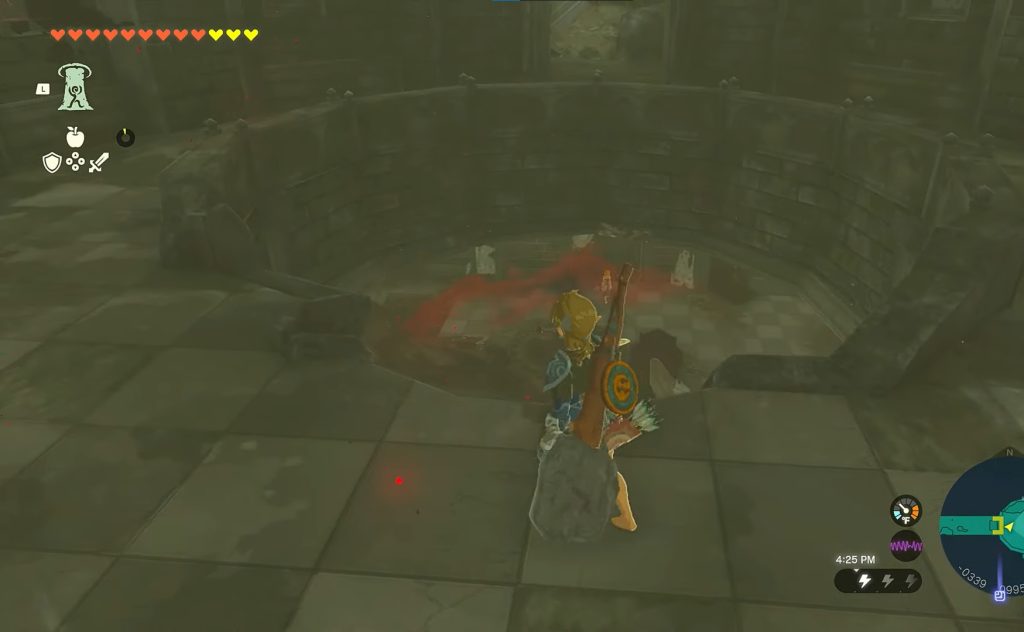
- After landing on this final platform, keep moving until you reach three small pillars.
- Stand in between these pillars and ascend to the floor above it.
- After reaching the floor with some rubble, ascend again to the platform above it.
- Now Princess Zelda’s room is visible.
- Jump into the massive hole in the front, and you will land inside Princess Zelda’s room.
- You will reencounter the Princess, and she will vanish once again.
- The monster forces will appear, and you must defeat them before moving to the next location.
Unnamed Area At B3
Once you have defeated the monsters inside the Princess’s room.
- Get to the balcony of Princess Zelda’s room.
- Jump, and glide past the watch tower.
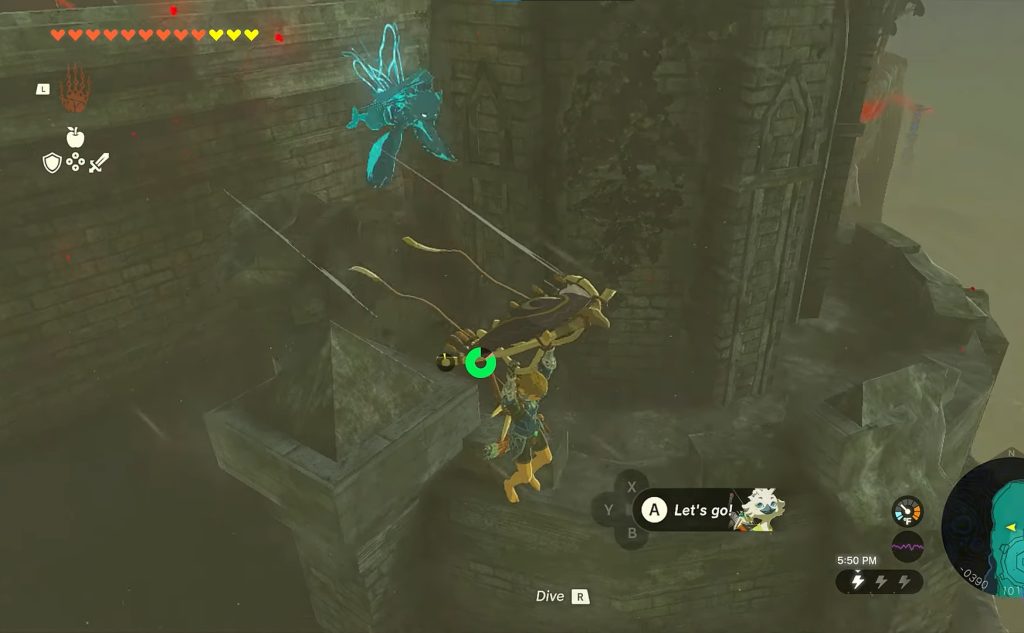
Right beneath the watch tower, you will see an entrance.
- Enter the entrance, and you will meet Princess Zelda here again.
- The following process is going to be the same. The Princess will vanish while converting herself into light particles.
- Monster forces will appear, and you must defeat them before moving to the next location.
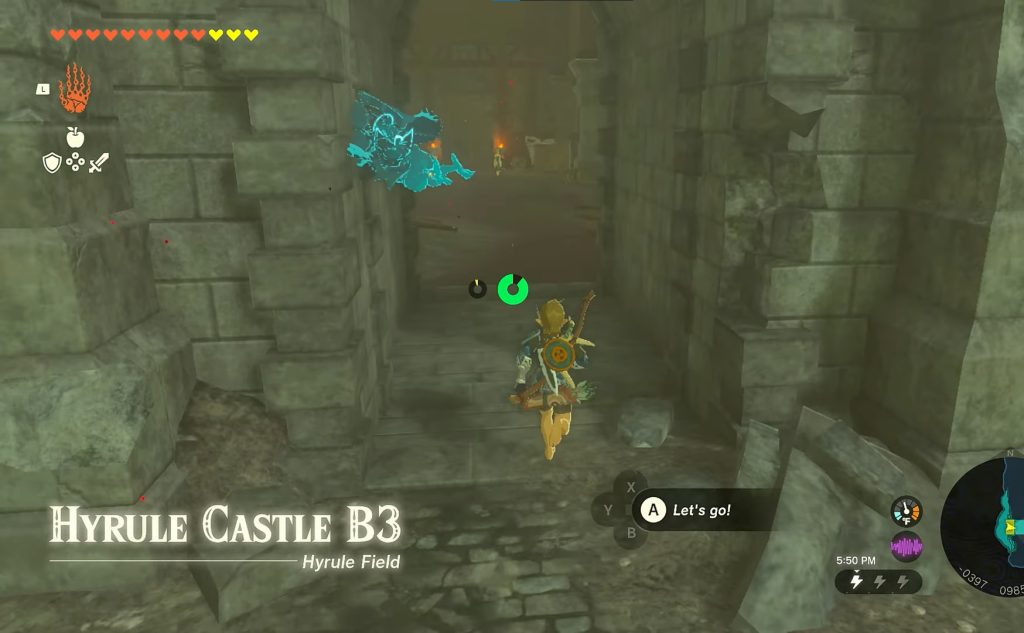
Unnamed Hall At B3
Once you have defeated all the foes inside the unnamed dungeon, return to the entrance.
- From there, glide to the waterfall to the left.
- Jump up the waterfall and land on the platform in front.
- Glide down from this platform and enter the entrance below it.

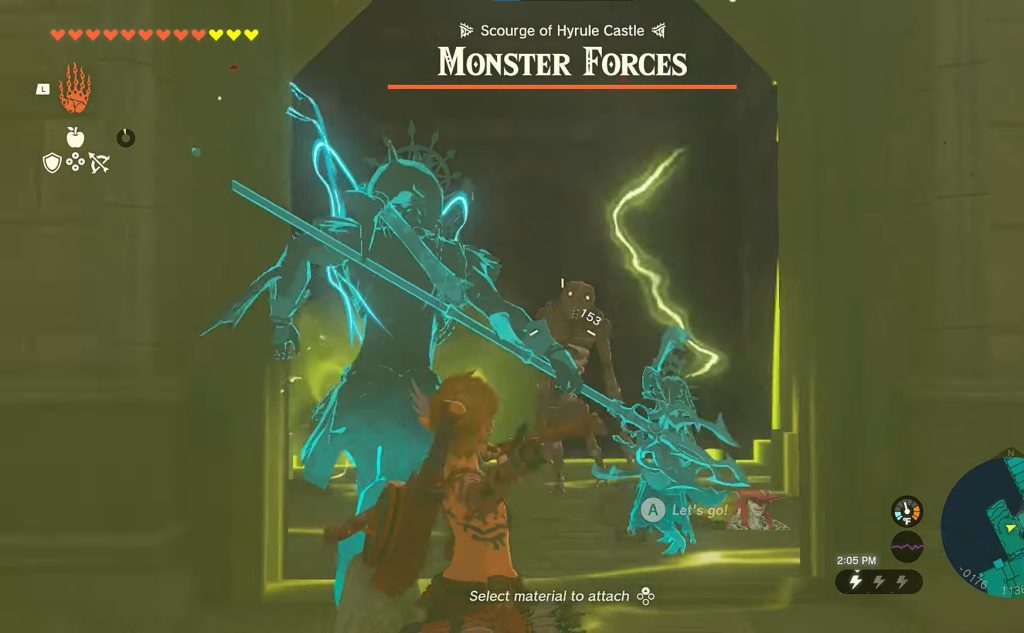
- You will reach an extended hall-type area.
- Again Princess Zelda will show up and vanish, and monsters will appear.
- However, this time the monsters are going to be hard to defeat.
- After defeating these monster forces, you will hear Princess Zelda’s voice again, calling Link for help.
You must head to the final location inside Hyrule Castle, The Sanctum.
The Sanctum
The Sanctum is the final location inside the Hyrule Castle, which ends the main quest, “Crisis at Hyrule Castle,”
- The easiest way to reach the Sanctum is from the Serutabomac Shrine.
- Once again, fast travel to the shrine and glide in the south direction.
- Ascend to the first floor and climb the broken wall on the right.
- Keep moving forward and climb the first wall that you see.
- Glide towards the waterfall on the right from the top of the wall.
- Jump from the waterfall and go towards the platform on the right.
- Keep walking on a straight path, and you will reach the Sanctum.

Encountering Ganondorf & Defeating Phantom Ganon

After reaching the Sanctum, a cutscene reveals that the Princess you’ve been with is a puppet created by Ganondorf. After that Ganondorf will resurrect Phantom Ganon, which you must defeat to finish the quest.
Phantom Ganon appears in Hyrule Castle during the main quest “Crisis at Hyrule Castle.” To defeat it:
- Focus on one phantom while the others oppose your summoned avatars or sages.
- Use a bow to attack from a safe distance, or enhance it for more damage.
- Hitting their heads deals extra damage.
- After defeating two or three phantoms, you can use melee attacks with a spear for more damage.
- This quest only requires defeating Phantom Ganon’s first phase.
- After winning, a cutscene shows Link’s friends rescuing him, ending the “Crisis at Hyrule Castle” quest.
Summary
With the detailed walkthrough above, I will wrap up my guide on Tears of the Kingdom Hyrule Castle. In this guide, I have provided a detailed walkthrough of the Hyrule Castle and shared instructions on completing the main storyline quest, “Crisis at Hyrule Castle.” Defeating the Phantom Ganon, resurrected by Gonandorf, marks the end of this quest.
Furthermore, don’t forget to check out the other exciting guides on Zelda Tears of the Kingdom posted by our team on our website. We have covered Tears of the Kingdom guides such as getting the paraglider, Hookshot location, getting energy cells, and much more. If you are new to the Legend of Zelda series, check out our beginner’s guide on Zelda Tears of the Kingdom.
Next:
- Tears of the Kingdom Best Horses
- Zelda Tears of the Kingdom Master Mode
- Zelda Tears of the Kingdom: Archaic Tunic Location
- Zelda Tears of the Kingdom: Wing Tears
Thanks! Do share your feedback with us. ⚡
How can we make this post better? Your help would be appreciated. ✍