Victoria 3 offers a fresh take on the War System significantly different from its prequel. So we will discuss everything you need to know about this new and unique War System in complete detail.
- Wars are started through Diplomatic Plays. The Countries then Escalate through three different phases before War breaks out.
- War Goals describe what each Country hopes to achieve from the ensuing War,
- Land are Naval Warfare are the two Warfare types available in the game. Generals and Battalions fight at Fronts while Admirals and Flotillas at Sea Nodes.
- Wars can be ended through surrendering via Capitulation or proposing Peace Deals.
Starting Wars (Diplomatic Play)

You cannot directly attack other nations; you must first make your intentions clear through Diplomatic Plays. These are hostile negotiations between warring countries.
Diplomatic Plays clarify your interests to relevant countries in the region, allowing them to choose their next move. Be cautious, as a poorly calculated Diplomatic Play can lead to unexpected allies joining your opponent.
The chosen Diplomatic Play determines the outcome after defeating your opponent and increases your Infamy, making nations with active interests in the region more likely to be hostile.
You must declare a Strategic Interest in the region before using a Diplomatic Play, and the number of regions you can do this in depends on your Prestige and Rank.
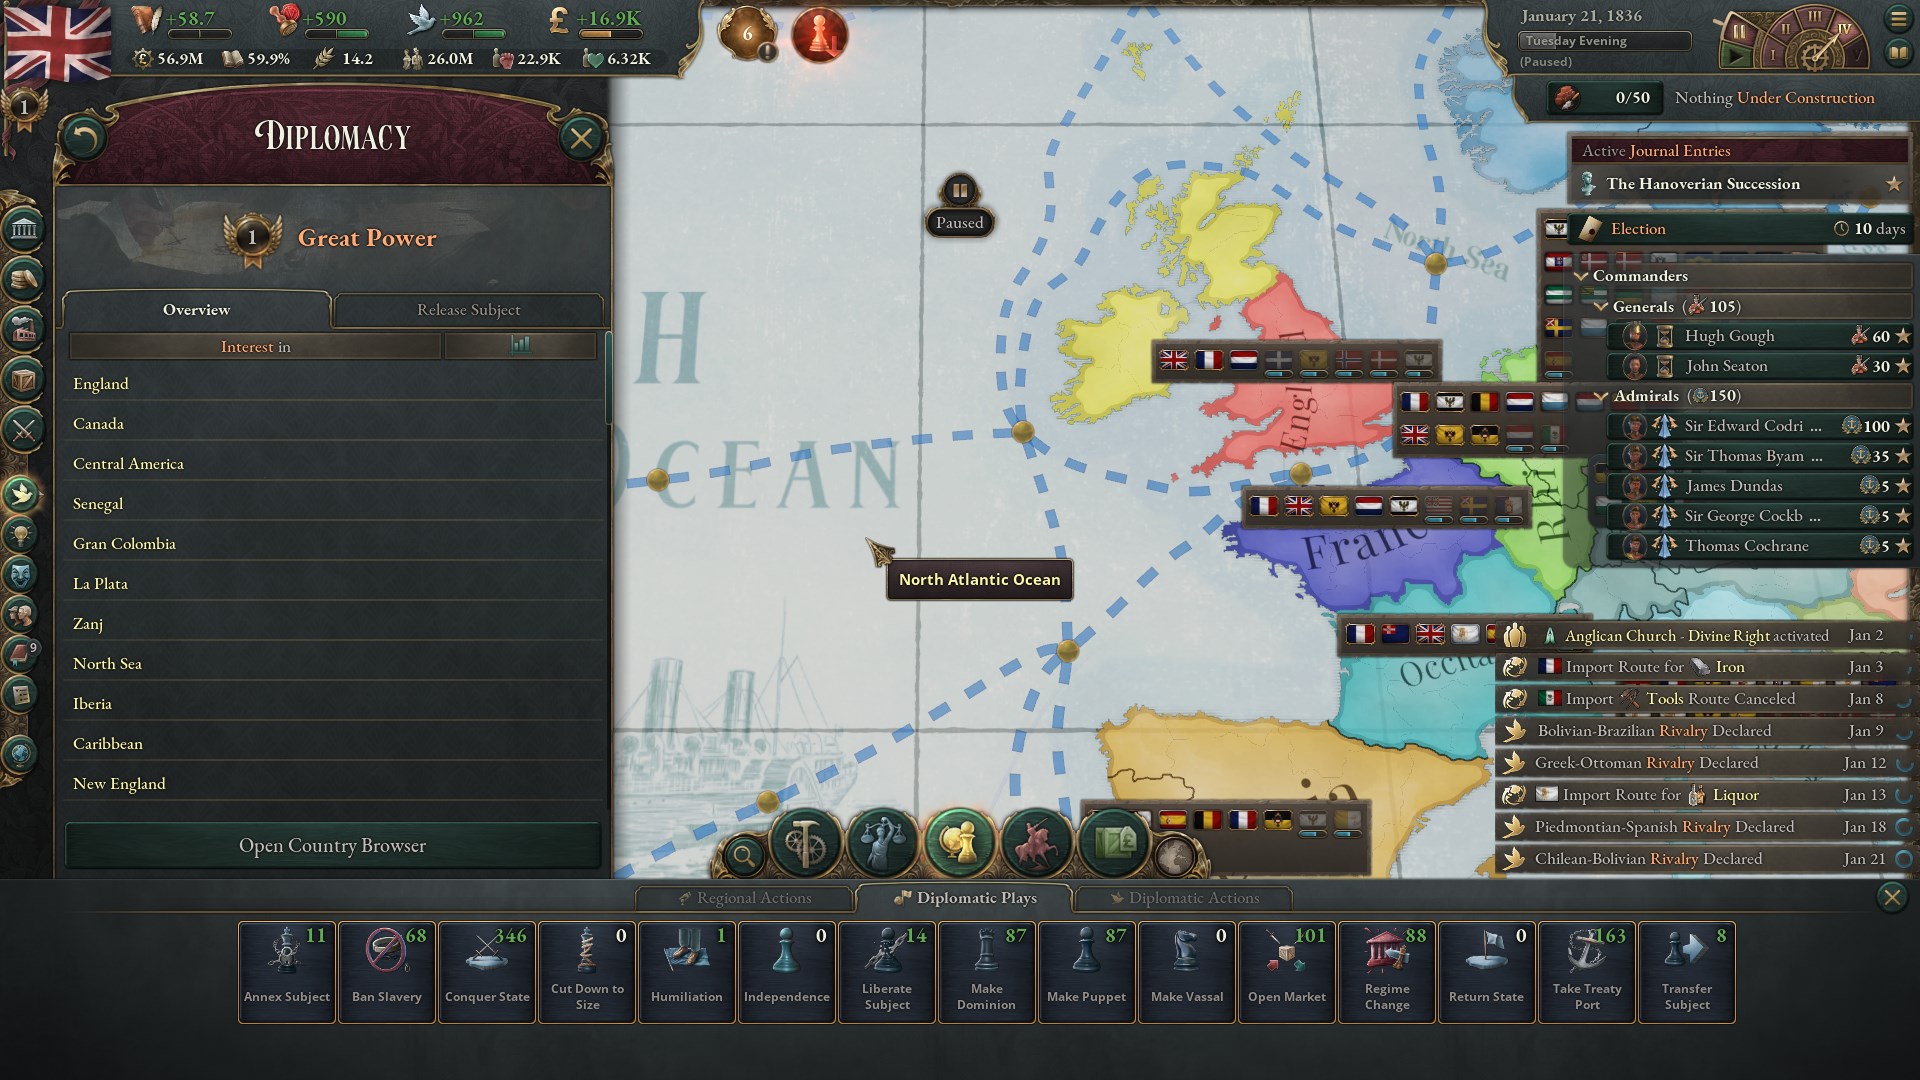
Here are the available War Goals during Diplomatic Plays:
- Annex Subject: Incorporate vassals into your country.
- Ban Slavery: Outlaw slavery in the target country.
- Conquer State: Make the target state part of your country.
- Cut Down To Size: Force the target country to release conquered states or subjects acquired in the last ten years.
- Humiliate: Decrease the target country’s Prestige and prevent them from making Diplomatic Plays against you for a few years.
- Independence: Gain independence from your overlord.
- Liberate Subject: Help the target gain independence from their overlord.
- Make Dominion: Have the target join your Dominion and pay you 10% of their income without participating in wars.
- Make Puppet: Make the target your Puppet, paying you 20% of their weekly income and participating in your wars.
- Make Vassal: Make the target your Vassal, paying you 15% of their weekly income and joining your wars.
- Open Market: Convert the target country’s markets to Free Markets.
- Regime Change: Change the target’s government and laws to match yours.
- Return State: Have the target return states that consider your country home.
- Take Treaty Port: Acquire a Treaty Port from the target, allowing you to trade and skip tariffs.
- Transfer Subject: Make yourself the overlord of the target’s subject.
- Country Unification: Some countries can unify if they control all required states in that country.

A list of all the War Goals available except Country Unification.[Image Credit: eXputer]
Preparing for Wars (Escalation)
The process of preparing for wars involves an Escalation phase, which has three distinct stages:
Opening Moves
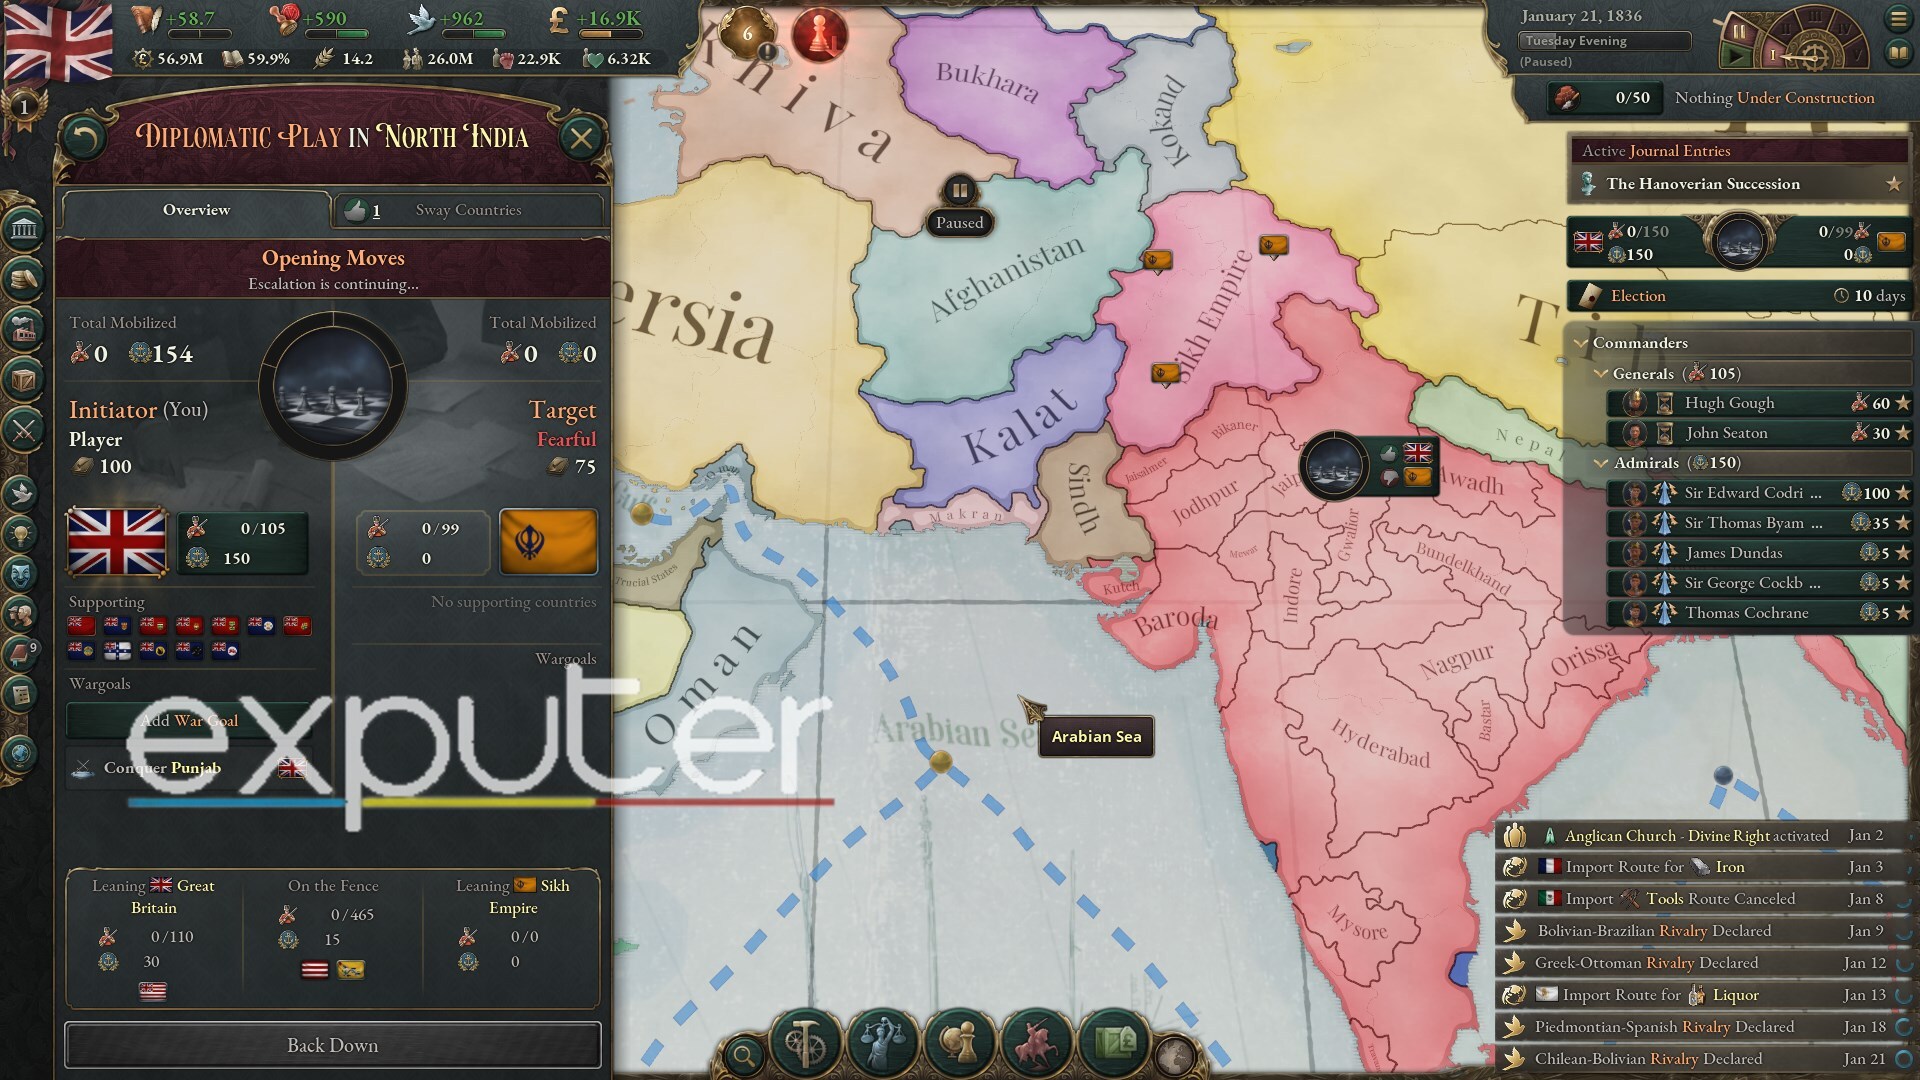
- At the beginning of the Escalation, the Attacker sets their main War Goal, which represents their primary demand for the war.
- Neither party can back down during this phase, and other countries cannot take sides yet.
Diplomatic Maneuvers
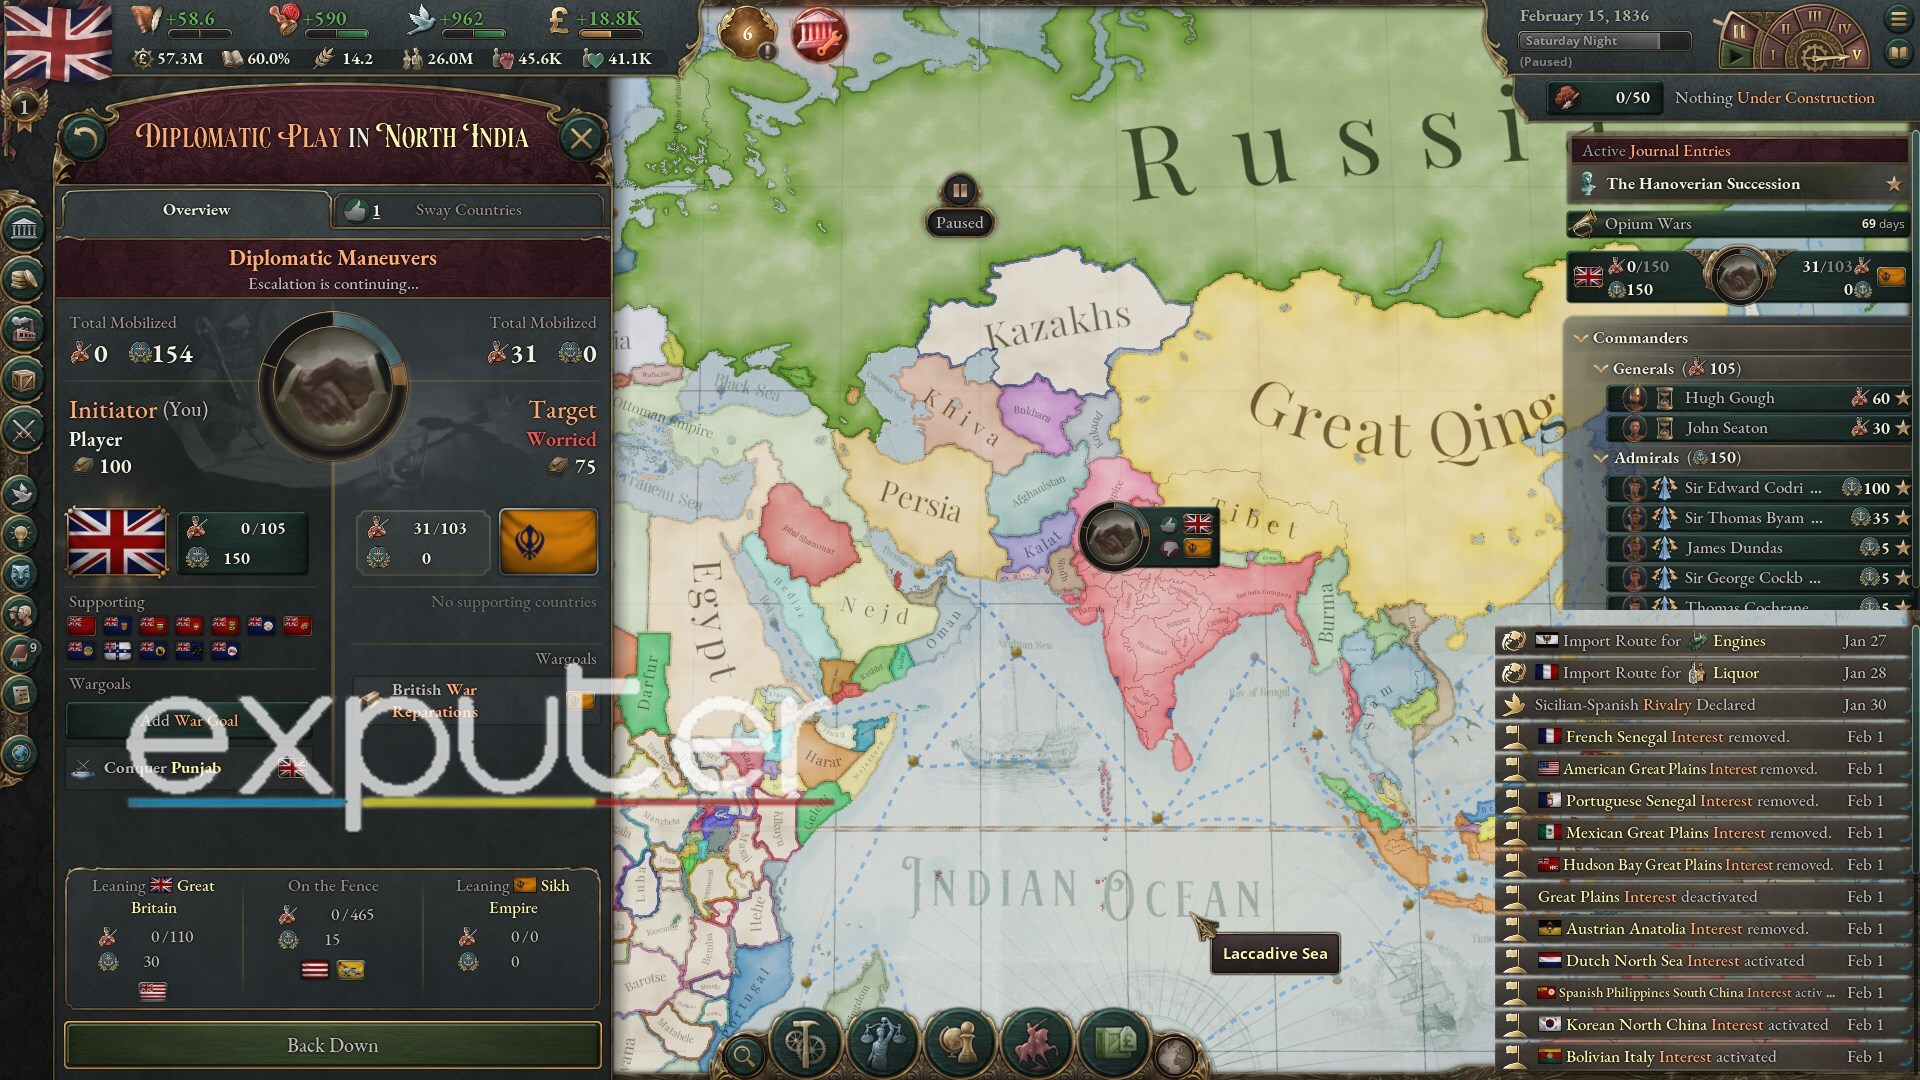
- In this phase, the Attacker has the opportunity to set additional War Goals.
- The number of maneuvers available depends on the Attacker’s Rank and Prestige.
- Other countries can also decide whether to remain neutral or align with a side during this stage.
- The Attacker can attempt to sway other countries to join their side by using the Sway tab and offering incentives.
- Offering an Obligation can make it easier to sway a country, but it may require returning the favor in a future war.
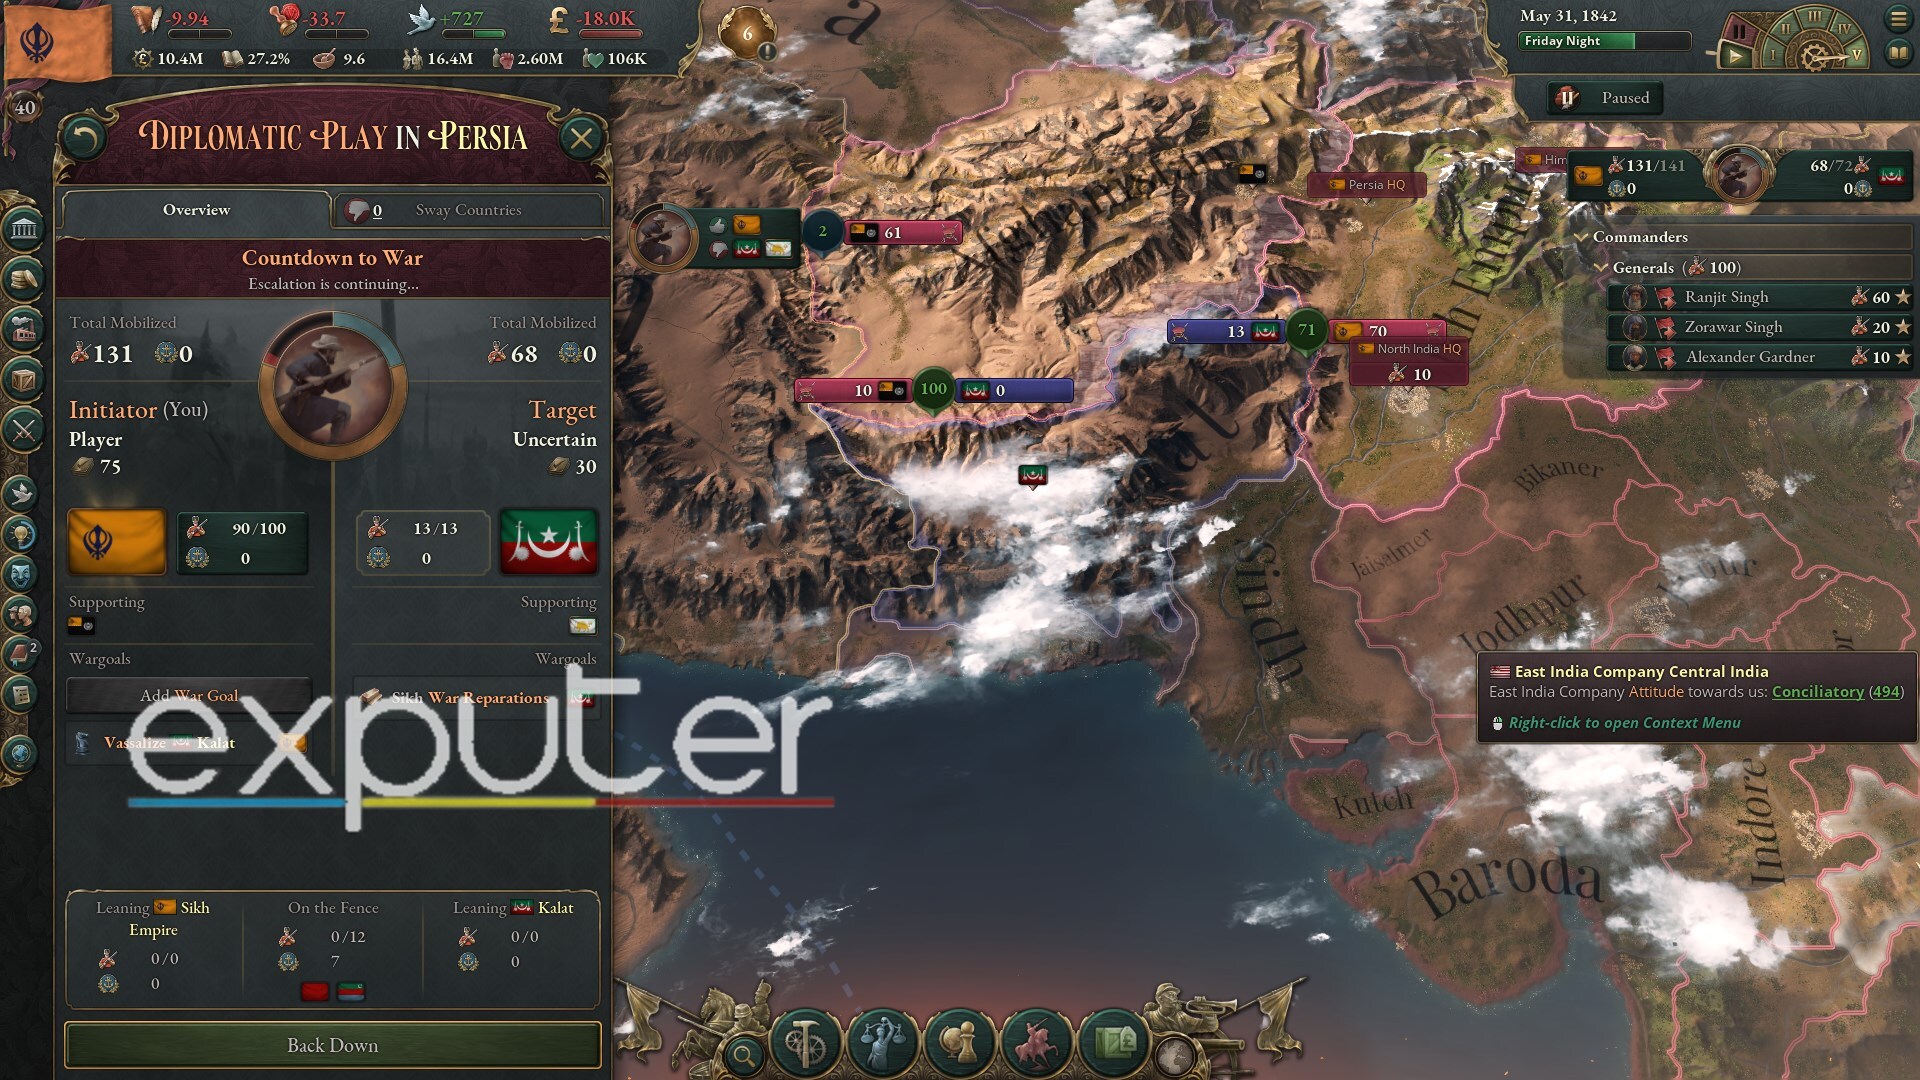
Countdown to War
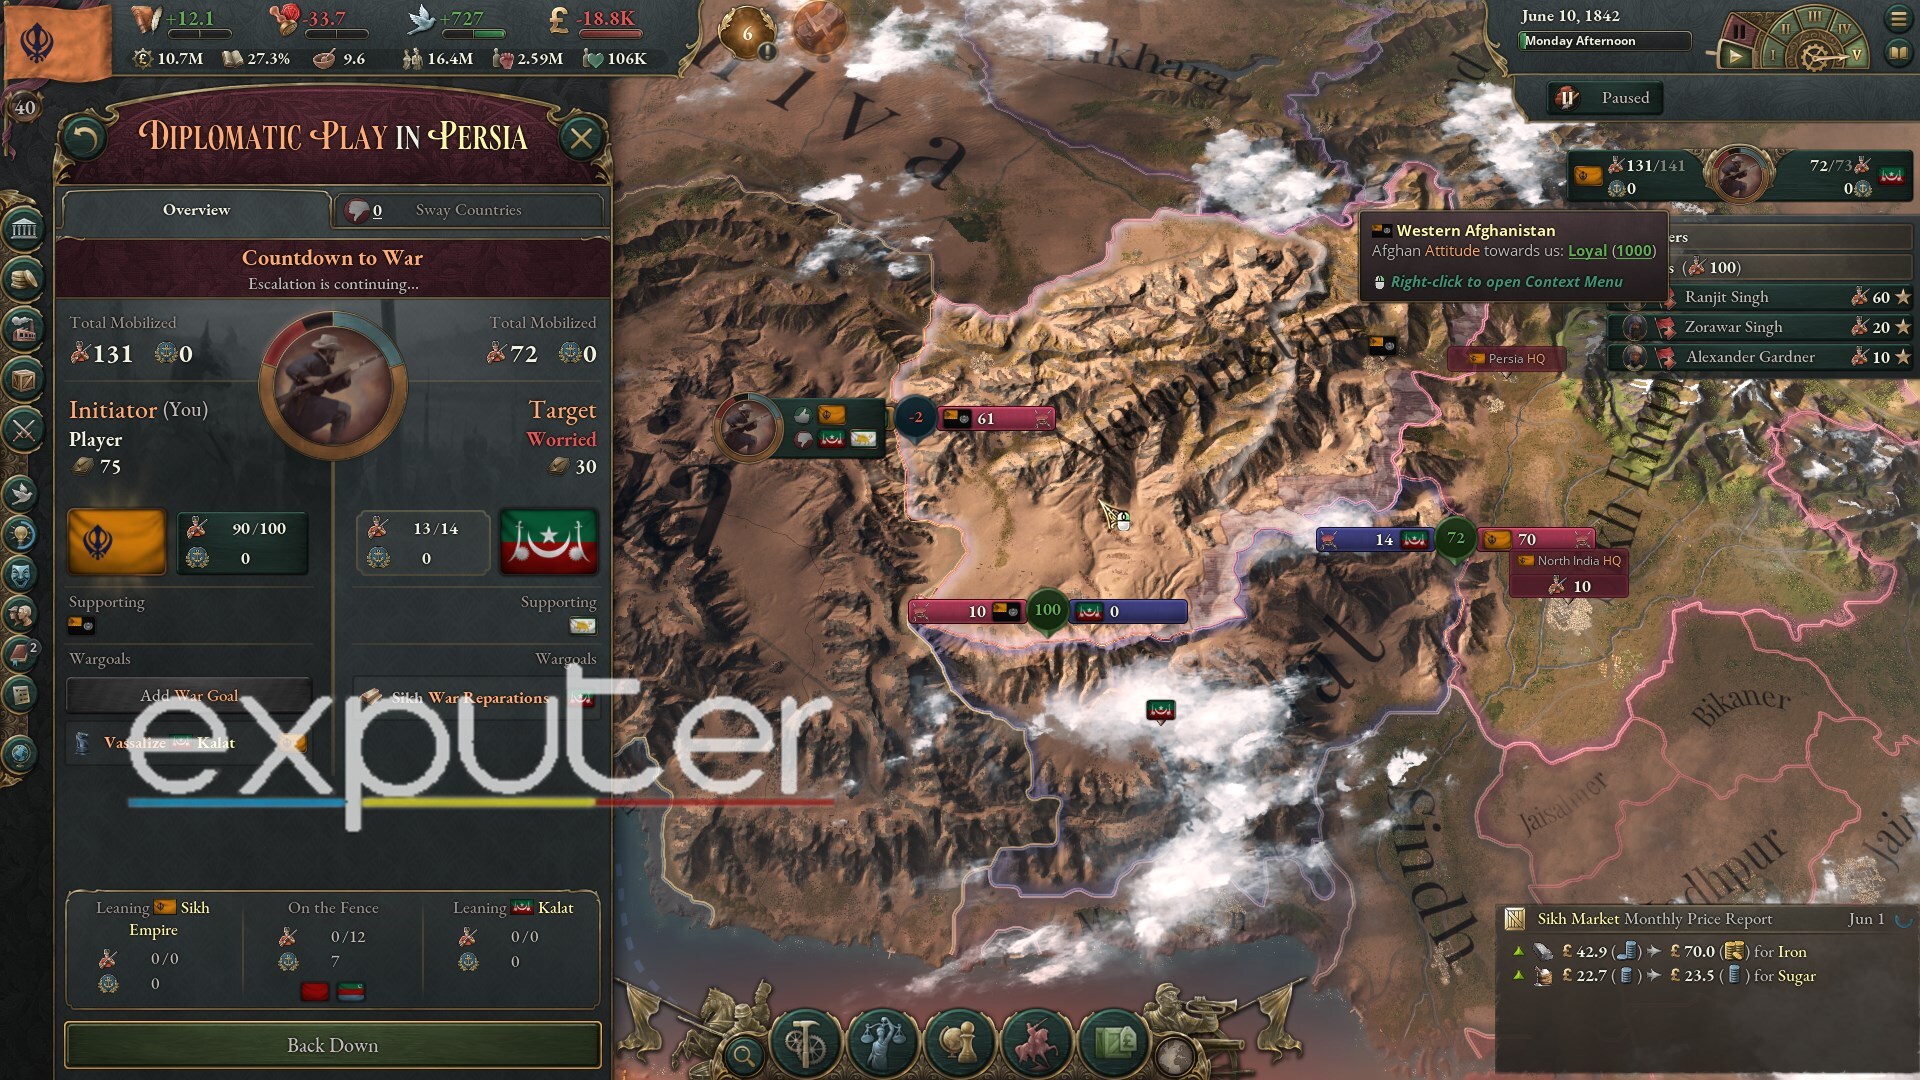
- After both sides have chosen their maneuvers, there is a brief Countdown to War phase.
- During this phase, both countries have the option to Back Down.
- If a side chooses to Back Down, they must concede to all of the War Goals of the victor.
- This decision can help avoid economic turmoil and loss of pops, as wars in Victoria 3 are often resource-intensive and lengthy.
- The AI recognizes the advantages of backing down, especially when facing overwhelming odds, and may surrender in such cases.
Land Warfare
- Fronts represent the lines where opposing forces collide in a war.
- They extend deeper into the losing nation’s territory with each victory.
- The more battles won and land conquered, the more likely the opposing nation is to surrender to your demands.
Generals
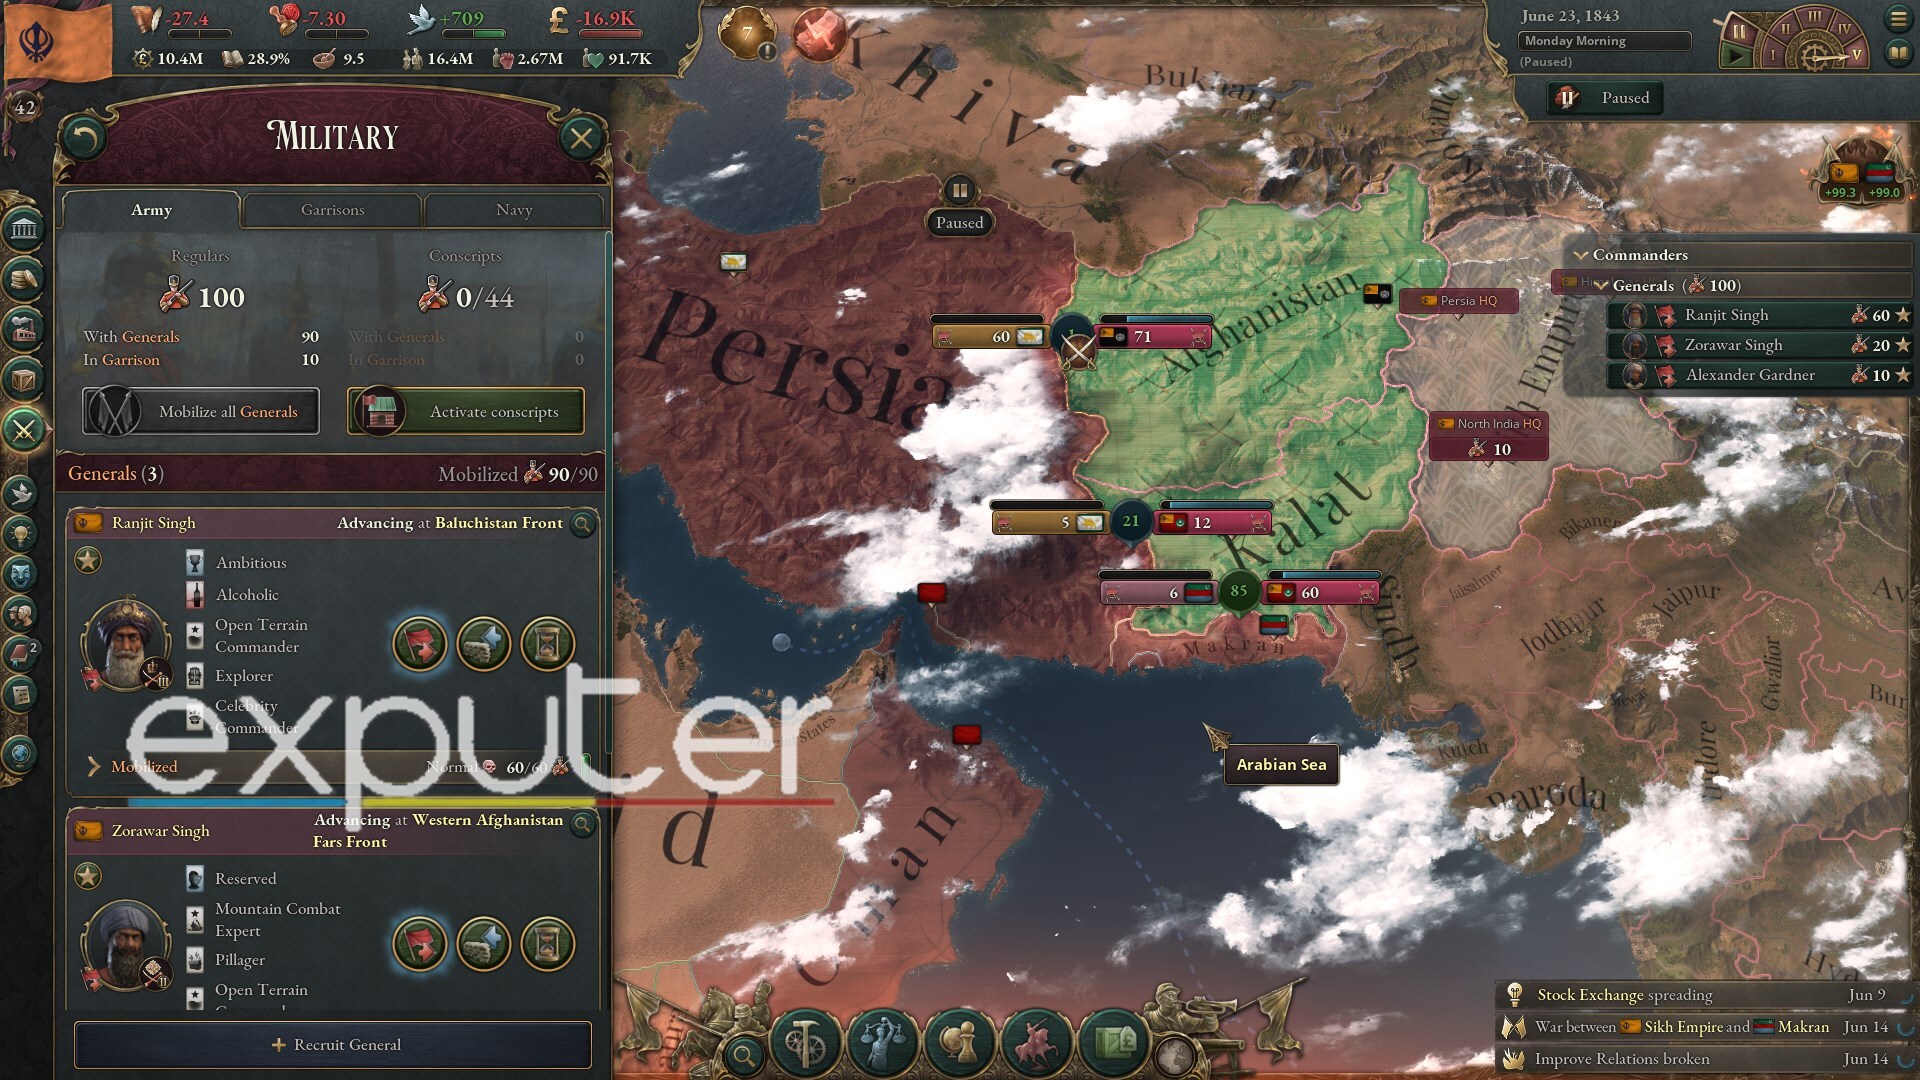
- Generals are essential for commanding troops in land warfare.
- Without a General, troops stationed at HQs cannot be mobilized.
- Generals can be hired at the military screen, requiring Bureaucracy resources.
- Each General has a Command Limit, limiting the number of troops they can lead at each Commander Rank.
- Promoting Generals increases the Political Strength of their affiliated Interest Group, making them more influential and prone to taking sides in Civil Wars.
- Generals have Traits that affect their performance and political influence. Consider their Traits when assigning them to Fronts.
Battalions
- Battalions are the basic army units recruited at Barracks.
- The quality of your Battalions depends on the quality of your Barracks, which impacts their effectiveness in battles.
- Conscript Battalions are temporarily recruited during Diplomatic Plays or wars and have their own capacity within Generals’ Command Limits.
- Conscript Battalions should ideally be recruited from states with a significant peasant population to minimize negative effects on goods production
Fronts
- Fronts are the battlegrounds where land battles take place.
- Decisions regarding which Generals and how many battalions to assign to a Front can significantly impact the war’s outcome.
- Active Fronts can be viewed from the War Overview screen or by examining your country’s borders with the target nation.
- To initiate battles, you must go to a General’s screen, choose “Mobilize,” and select “Advance Front” or “Defend Front” based on the situation.
- It’s advisable to move troops to Fronts ahead of time, although assessing the enemy’s strategy before committing is also an option.
- Each Front displays the chances of winning or losing battles based on troop quality and quantity.
- This real-time update allows you to plan and adjust your strategy accordingly, visible both at the Front and from the War Overview screen.
Naval Warfare
Naval warfare operates differently from land warfare, with Admirals and Flotillas replacing Generals and Battalions, respectively. Here’s an overview of key aspects of naval warfare:
Admirals and Flotillas:
- Admirals are the naval commanders responsible for controlling Flotillas.
- Flotillas are the basic naval units and can be recruited at Naval Bases.
- Admirals give orders to Flotillas, directing them in various types of naval operations.
Naval Orders: Admirals can issue four different types of naval orders, each with unique objectives and playstyles:
Escort Convoys
- This order involves defending against Raid Convoys by assigning Admirals to patrol specific Sea Nodes along a trade route.
- The choice of Admiral should match the strength of the enemy fleet to effectively protect convoys.
- Preparation time for this order is 20 days.
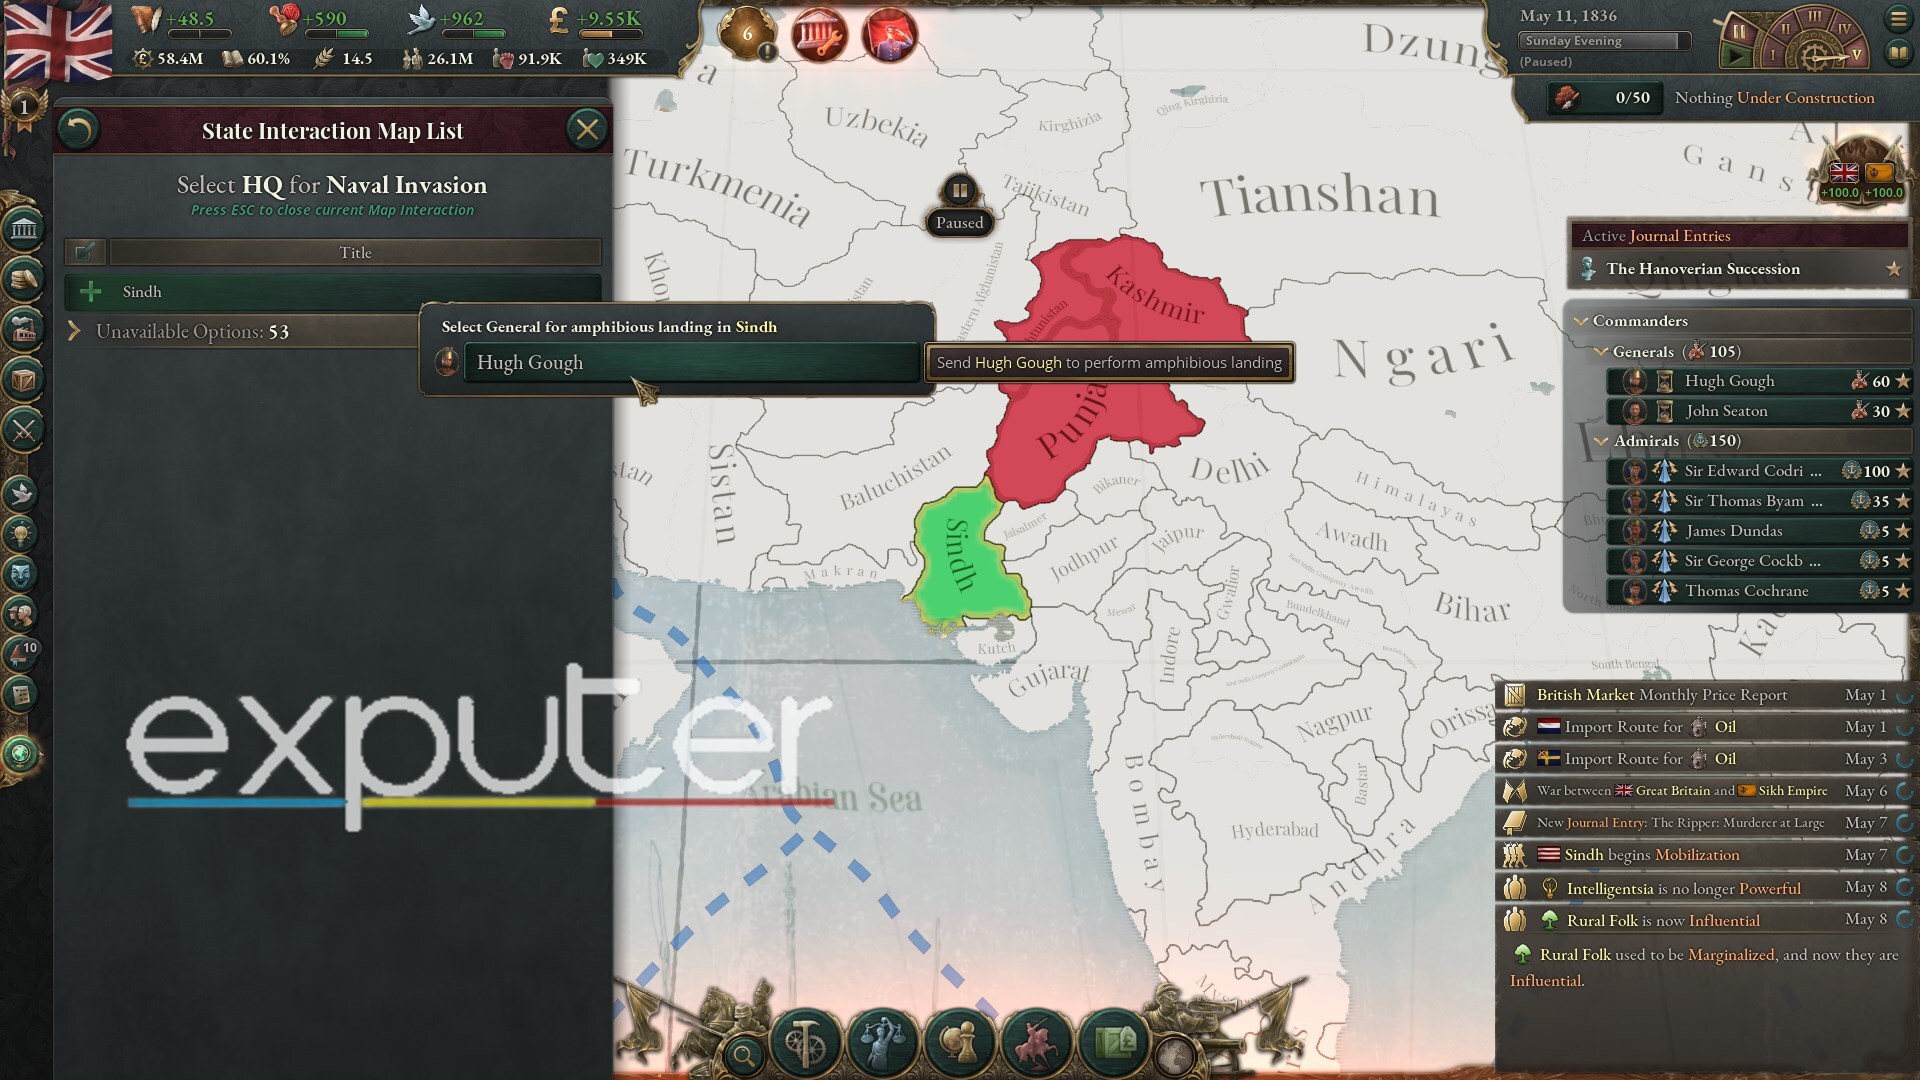
Naval Invasion
- Naval Invasions require both an Admiral and a General stationed at the same HQ.
- The Admiral and General jointly prepare for 43 days before initiating the invasion.
- The naval fleet intercepts any patrolling or raiding enemy fleets along the way.
- In case of defeat at sea, the General safely returns to the HQ.
- If the naval invasion successfully lands, the General engages in battle with the enemy, creating a new Front upon victory.
- The Admiral automatically starts an Escort Convoy from the HQ to the invaded area until instructed otherwise.
Preparation Time:
- Each naval order comes with a specific preparation time, during which the Admirals and Flotillas get ready for their designated tasks.
Naval warfare offers a range of strategic options, allowing players to control and utilize their fleets for different purposes, from protecting trade routes to conducting naval invasions.
Civil War
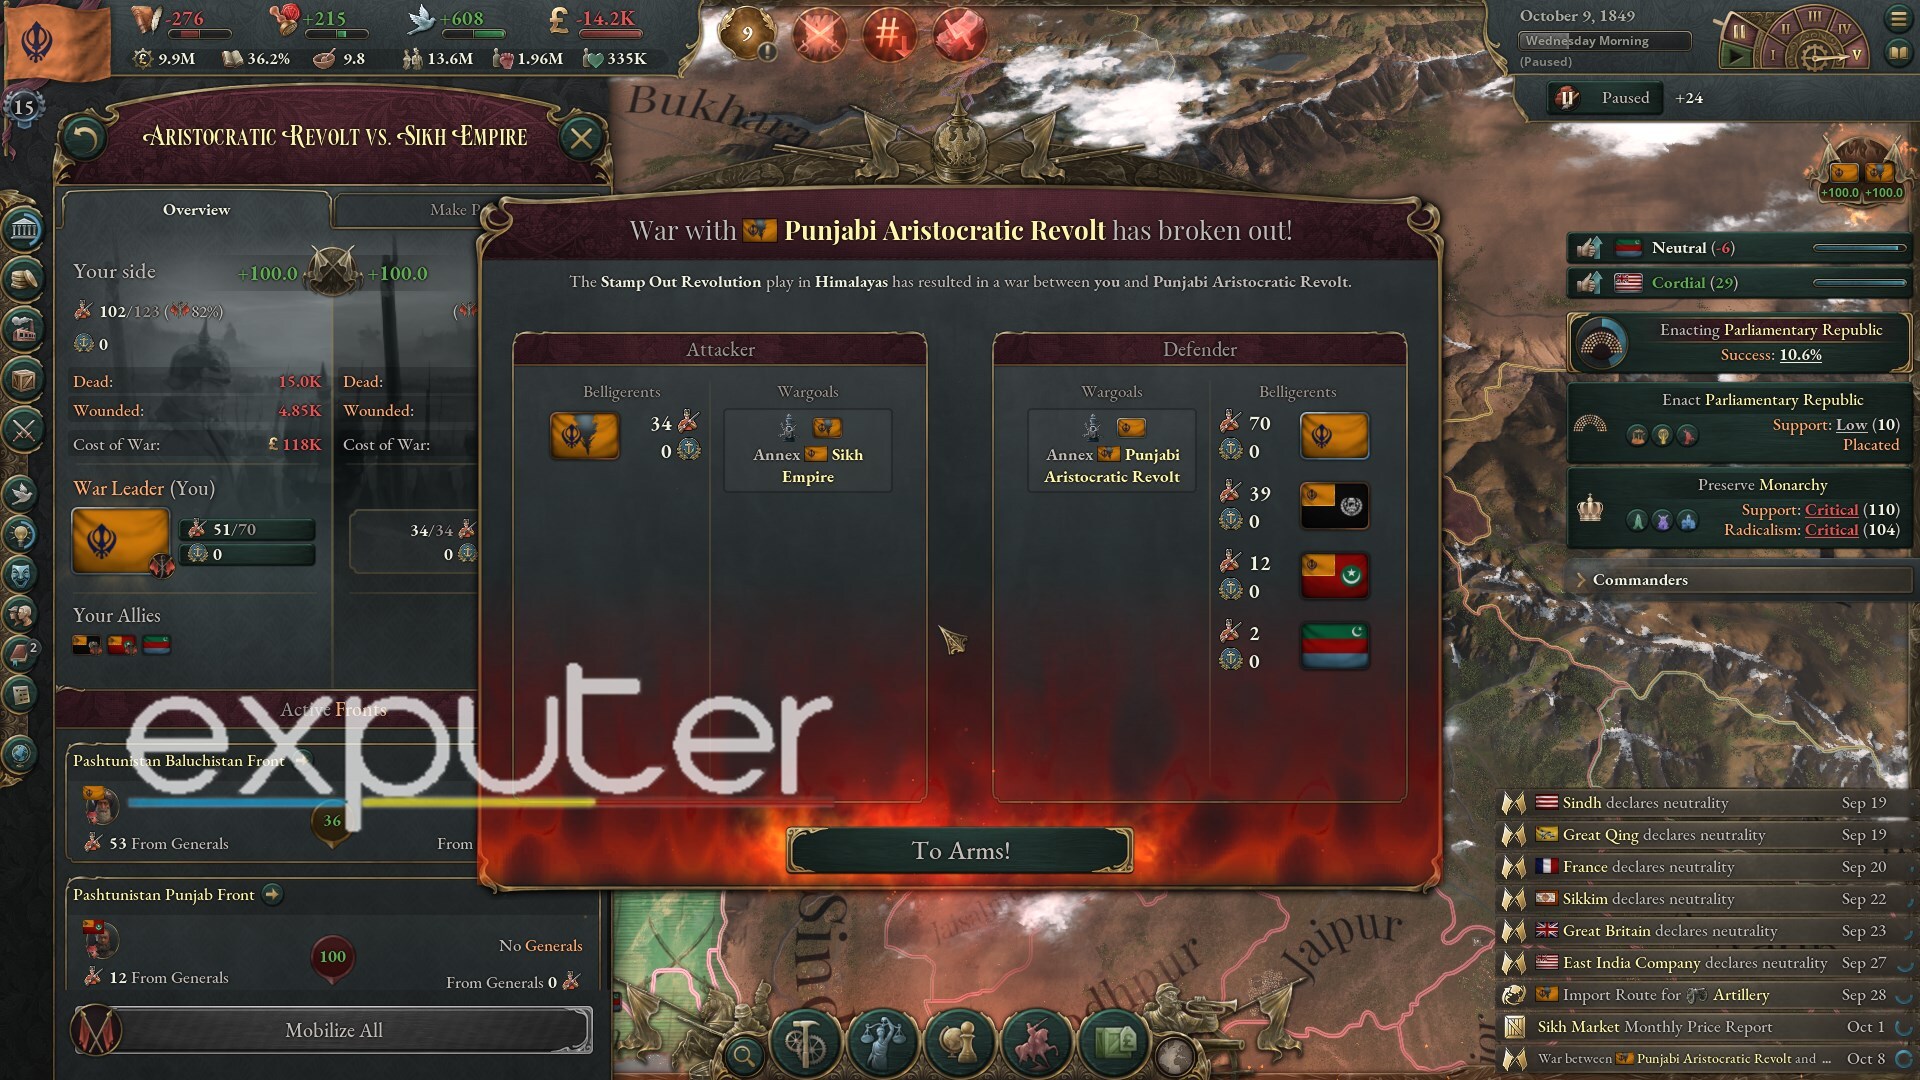
There are two ways to get thrown into a Civil War – Revolutions and Secessions. These two might not always be mutually exclusive. Civil Wars are more difficult than regular Wars as you might lose your Commanders, troops and resources during the War. The gameplay is the same as the regular War System.
Revolution

A Revolution occurs when a Political Movement is left unchecked for too long. The Movement will start gaining support among the Pops and rapidly Radicalize. The States that the Movement’s Interest Groups have significant Clout in will start a Diplomatic Play to Annex your nation.
A Revolution timer will start counting at a rate determined by your Laws. You can stop it by gaining the Approval of Interest Groups aligned with the Movement or forcibly subjugating them through Home Affairs.
Secession
If Cultural Turmoil in a nation gets higher than 0.5, Secession occurs, and the Secessionist Cultures will secede their States from the Country. This will enable an automatic Diplomatic Play to win them back. Reduction of Turmoil or the Home Affairs institution can solve Secessions.
War Effects

Attrition
- Attrition begins as soon as you Mobilize or Conscript your troops.
- It causes wounds or deaths among your soldiers, significantly affecting the war even before battles start.
- High attrition rates can decimate one side’s forces, influencing the outcome of the conflict.
Morale
- Both Battalions and Flotillas lose Morale as battles progress.
- Generals can have positive or negative modifiers that affect troop Morale.
- The side that depletes its Morale first loses the Front or Sea Node, allowing the opposing side to advance.
- Morale gradually recovers over time after troops exit combat, but recommitting them with low Morale can make battles more challenging.
Devastation
- War-torn regions suffer Devastation, which depends on the size and quantity of battles in a State and the technologies used by the warring parties.
- Devastation is represented by a Fire icon over affected States.
- Devastation negatively impacts State Infrastructure, Mortality, and Throughput, particularly in severe cases.
- Devastated States start healing after the conflict ends, but the healing process is time-consuming and depends on the extent of the Devastation.
Ending Wars
There are several ways a War can end naturally or prematurely ended by either party. You can capitulate of your own volition. Otherwise, a War Support value of -100 might force you into an involuntary capitulation. Lastly, either party can strike a Peace Deal at any point during the War.
War Support
- Each nation starts with a War Support value of +100.
- War Exhaustion decreases War Support per week based on various factors, including occupied land, controlled War Goals, casualties, and Radical Pop percentage.
- War Support cannot go below zero if the enemy’s War Goals are Conquer State or Annex the Subject; it only drops below zero after the capital falls.
Capitulation
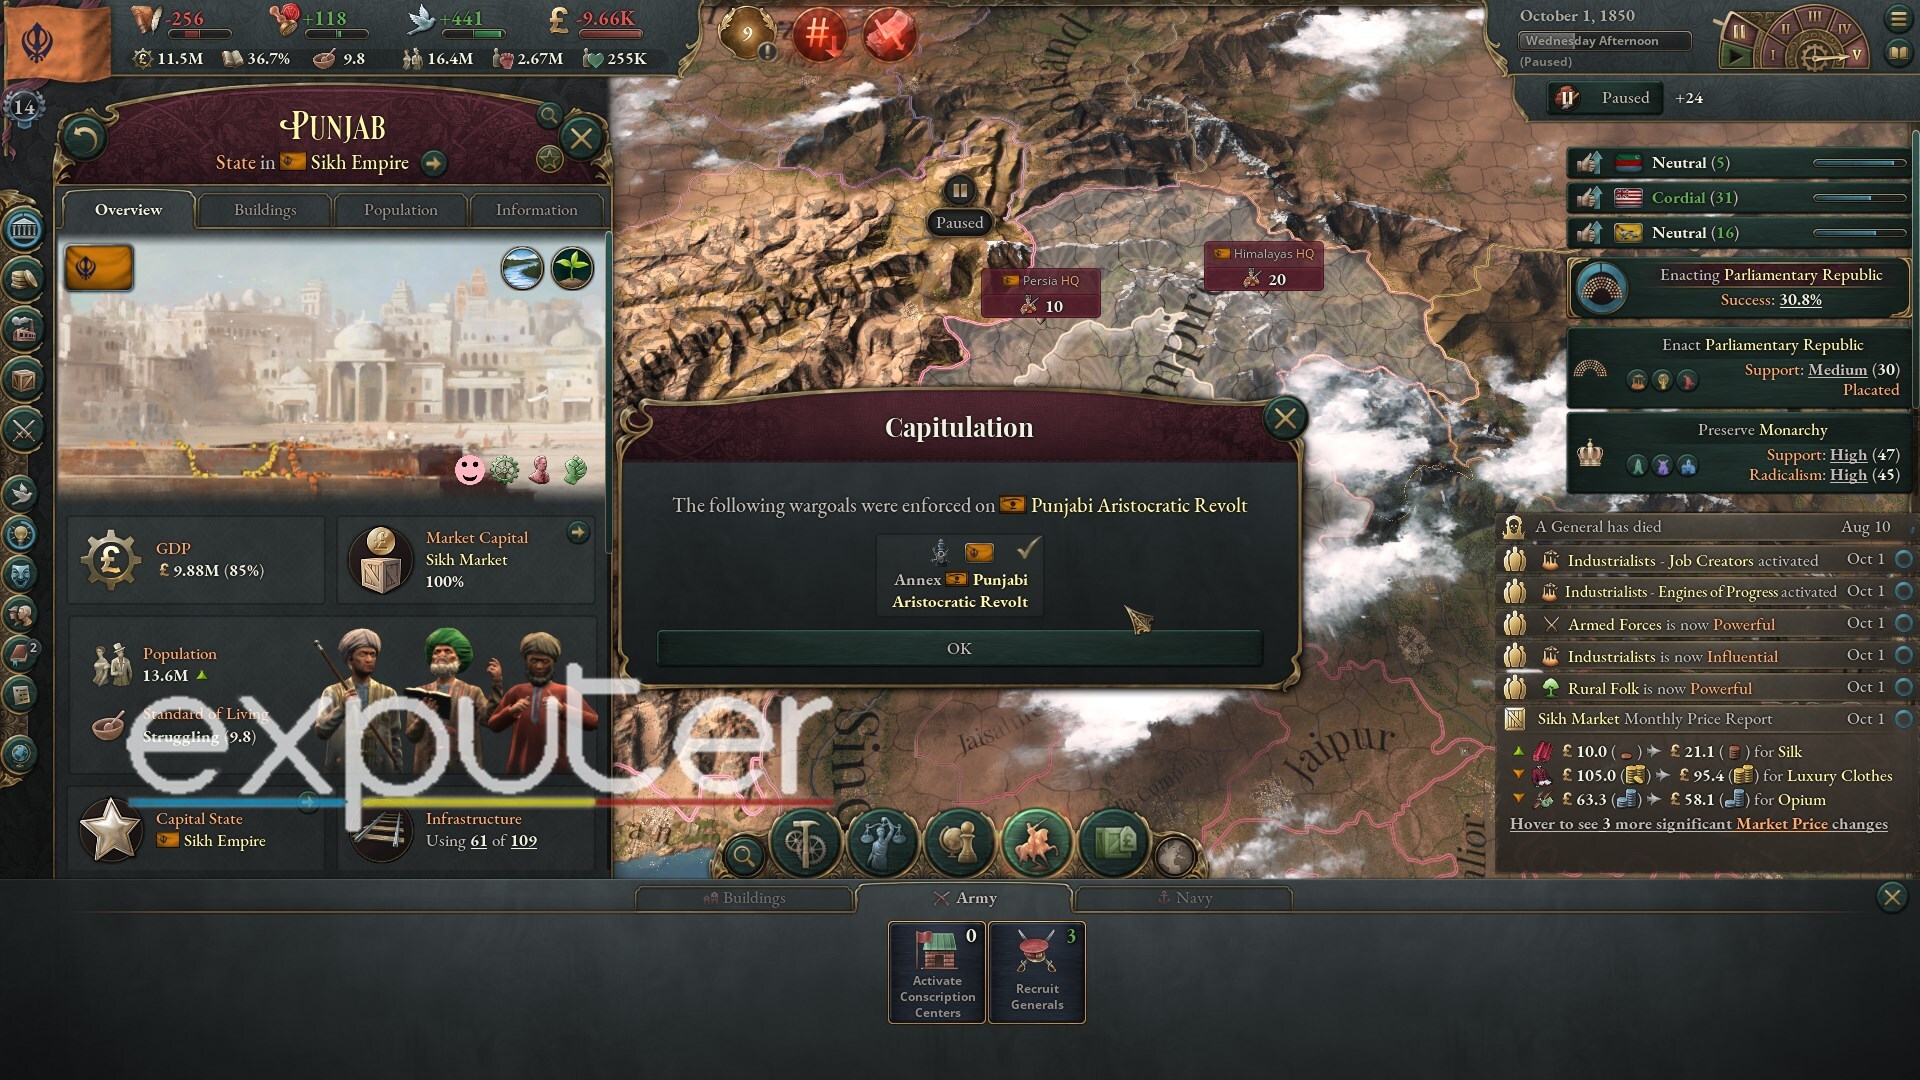
- Capitulation can be voluntary or involuntary and enforces all of the victor’s War Goals on the defeated nation.
- Voluntary Capitulation allows a nation to surrender without negotiation, but it is recommended to propose a Peace Deal first.
- Involuntary Capitulation occurs when a nation’s War Support reaches -100, forcing them to accept all enemy War Goals and exit the war.
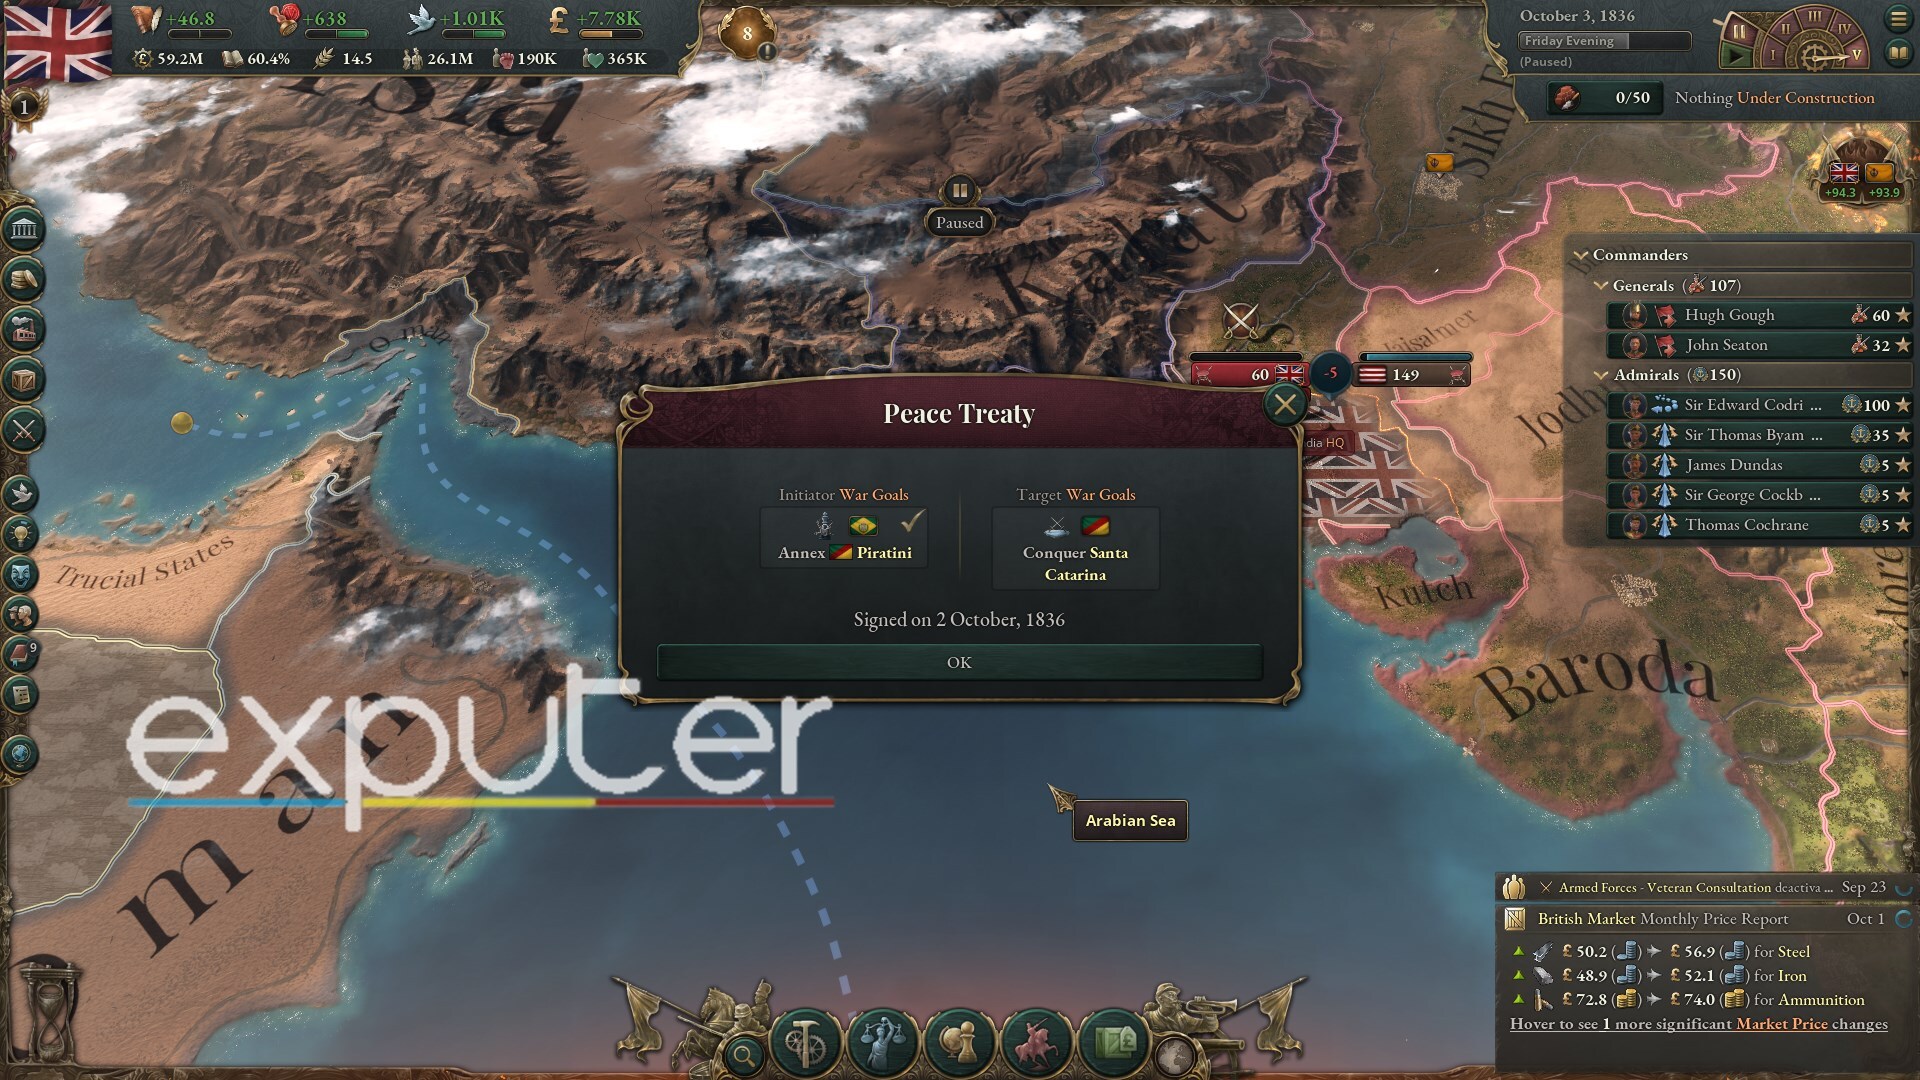
Peace Deal
- Nations can propose Peace Deals during a war, offering a negotiated settlement instead of capitulation.
- Proposing nations can choose which War Goals to press and which to abandon, or they can opt for a white peace, returning the situation to its pre-war status.
- Nations are more likely to accept Peace Deals as the war progresses and their War Support decreases due to War Exhaustion.
This concludes our comprehensive guide about all the inner workings and quirks of the War System in Victoria 3. If you’re looking for an explanation of the War System, you will find everything from starting a War using Diplomatic Plays to squashing niche scenarios like Civil Wars. We have also explained all the Army Units and types of different Warfare in ample but concise detail. Let us know if you’re enjoying Victoria so far in the comments below!
Up Next:
- Victoria 3 Wars: How To Start & Win
- Victoria 3 Annex Puppet
- Victoria 3 How To Switch Country
- Victoria 3 Economy How to Make Money
Thanks! Do share your feedback with us. ⚡
How can we make this post better? Your help would be appreciated. ✍