God of War Ragnarok has a plethora of nornir chests for players to open up and explore, and with the chests being scattered all over the realms, it might become quite the tedious job to unlock and locate the ruins for each of them, therefore, in my God of War Ragnarok All Nornir Chests guide, I uncover all the locations in detail!
- In God of War Ragnarok, players will encounter Nornir Chests throughout their journey through the Realms.
- These Nornir Chests include upgrades to Health and Spartan Rage, which is imperative for your journey.
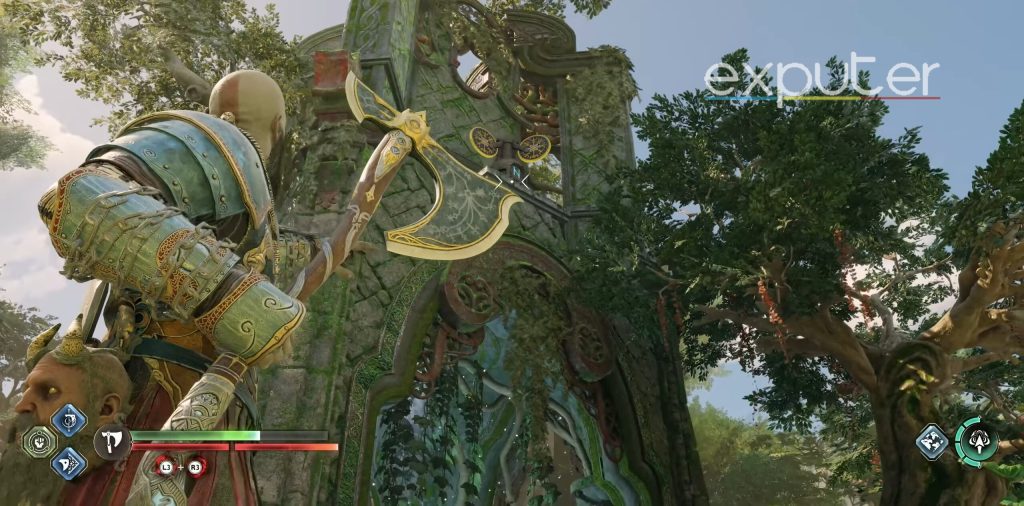
- All of these chests have a puzzle that must be solved to open them. These puzzles require you to get each symbol to disappear from the chest.
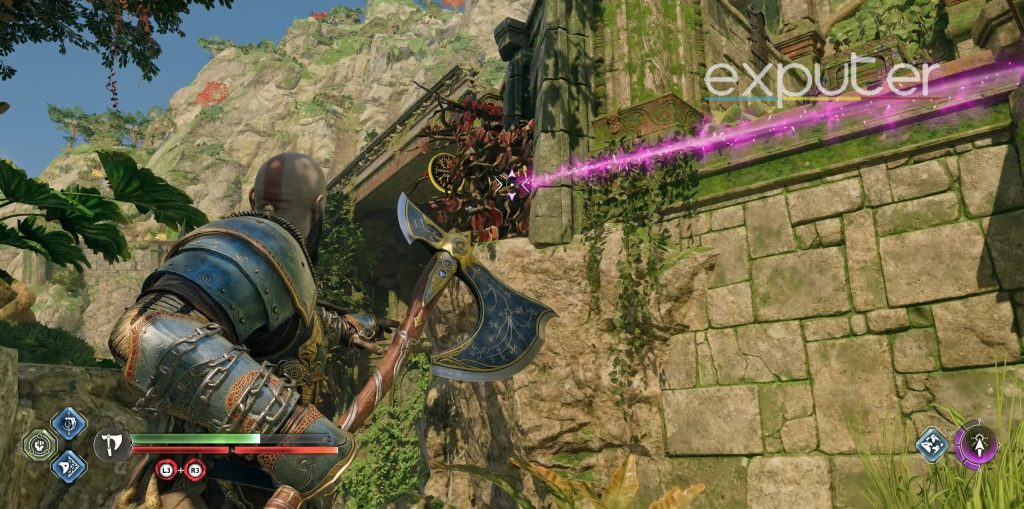
- This can be done by either lighting a Nornir Chest symbolized Brazier on fire with your Blades of Chaos or by rotating/destroying a symboled structure with your Leviathan Axe.
- We have listed all Nornir Chests and their requisite puzzles below.
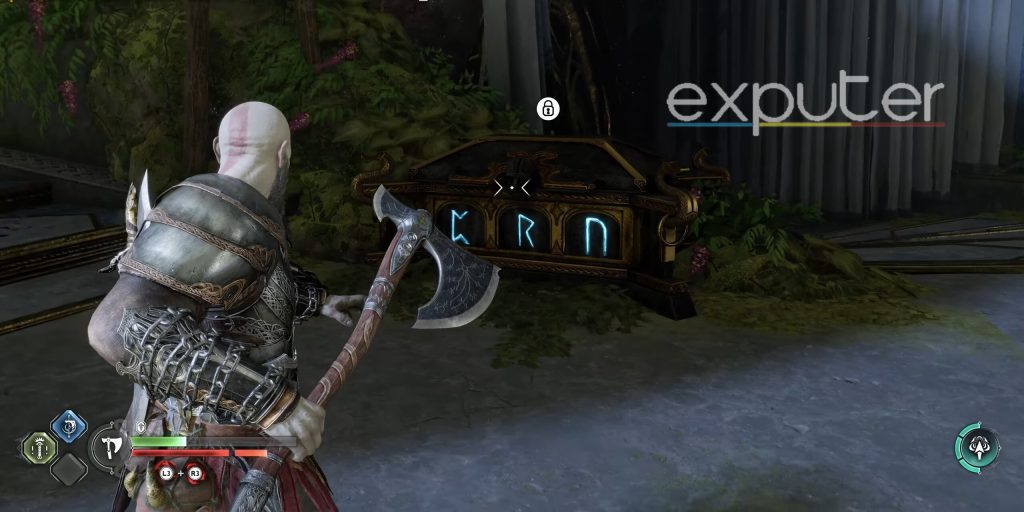
Aurvanger Wetlands First Chest
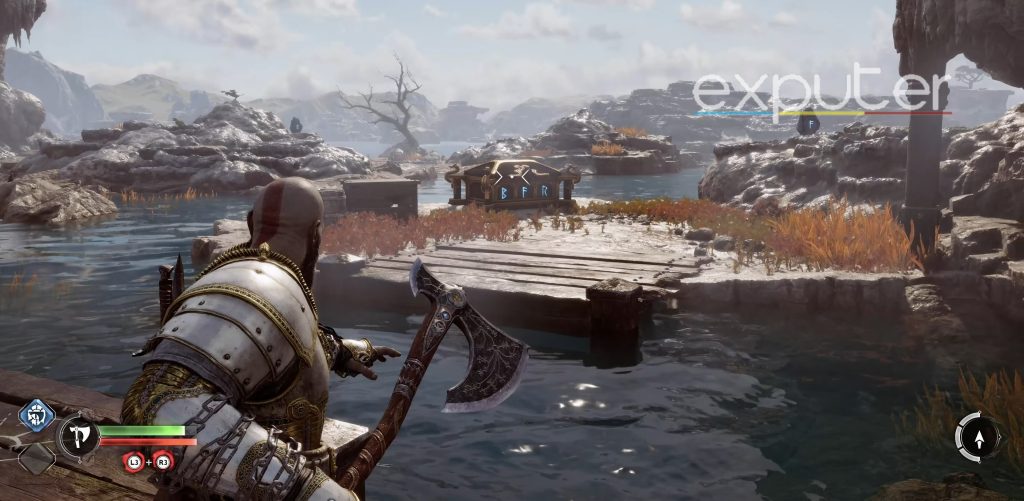
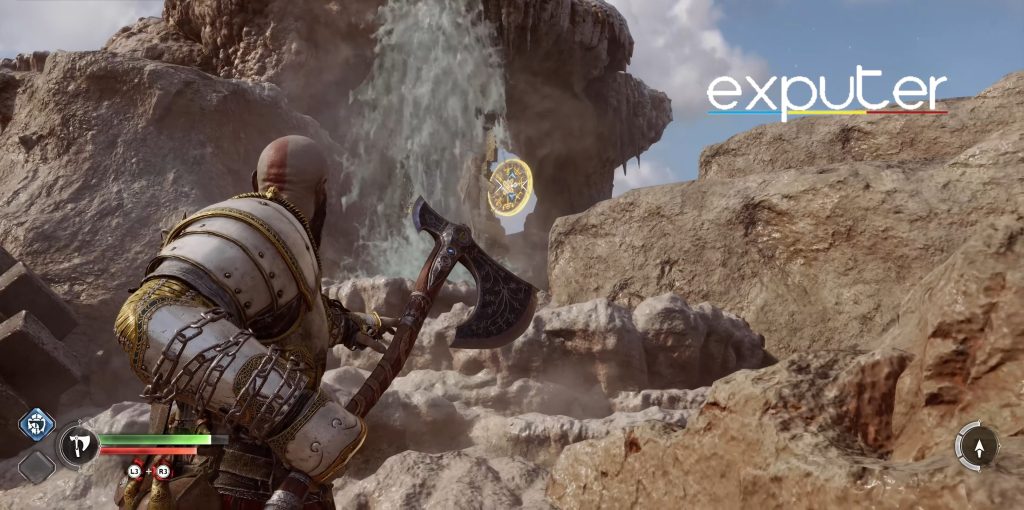
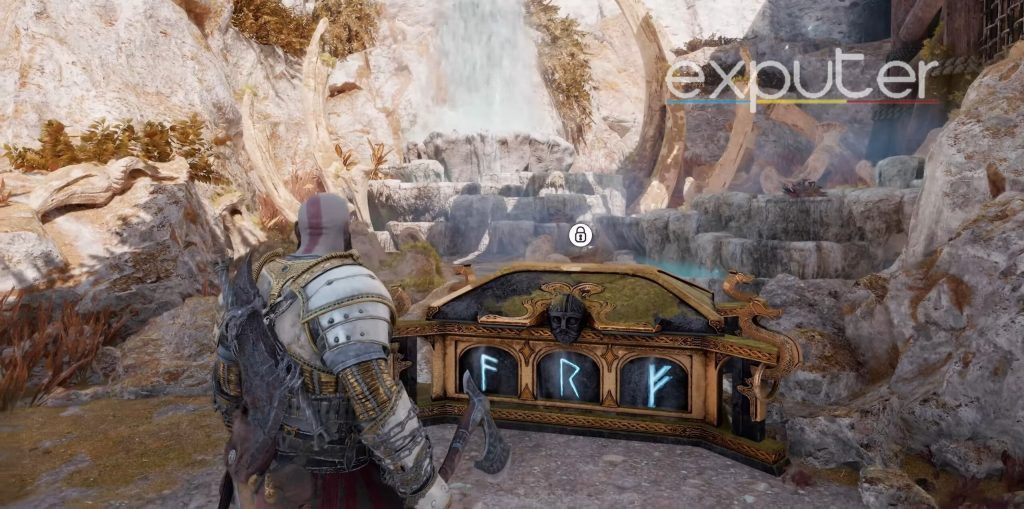
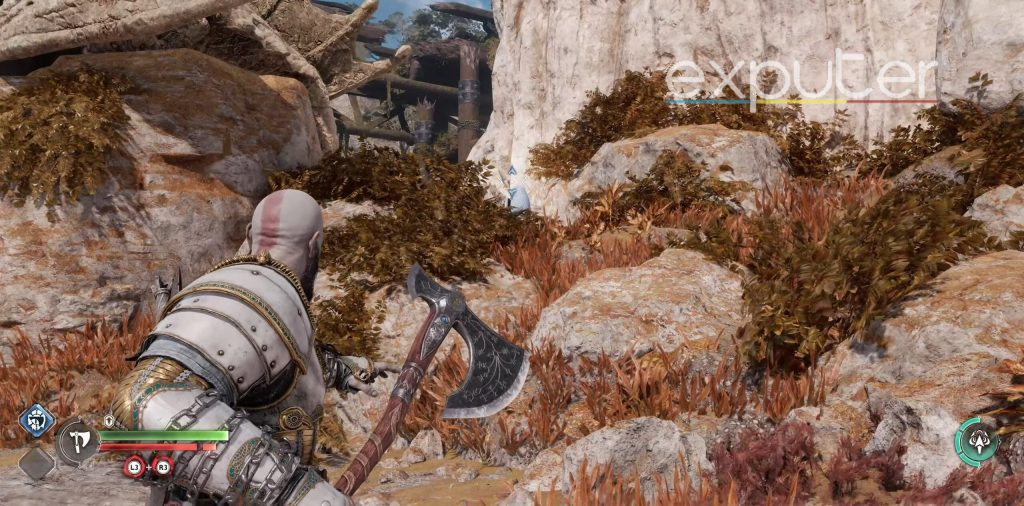
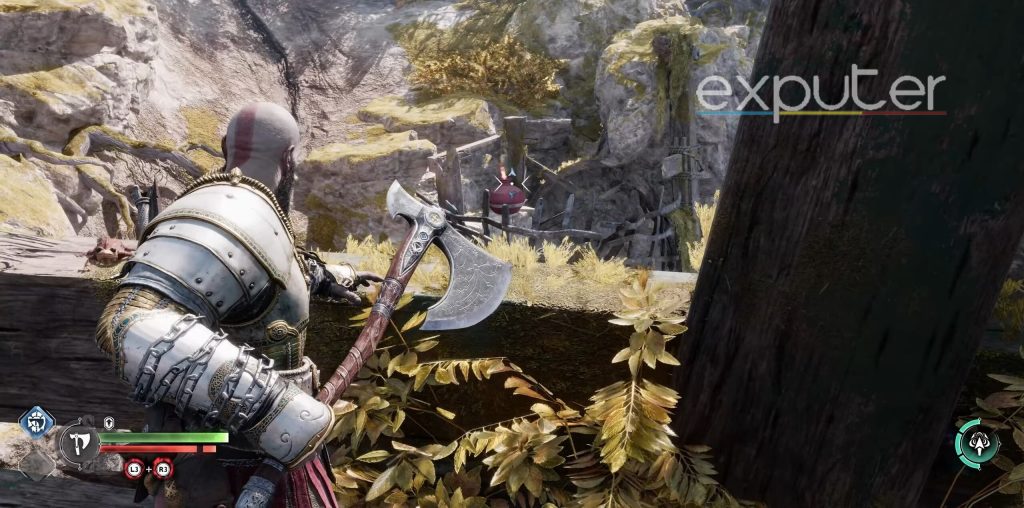
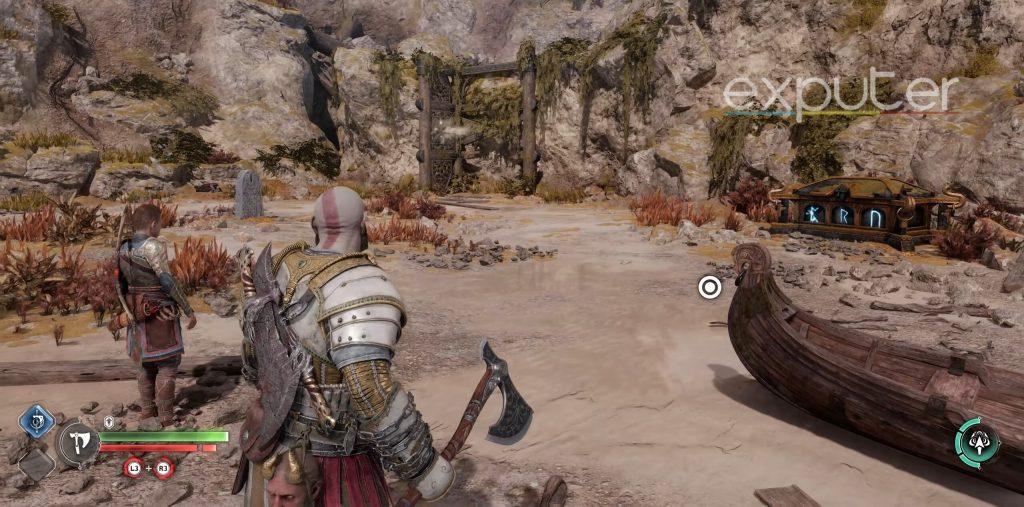
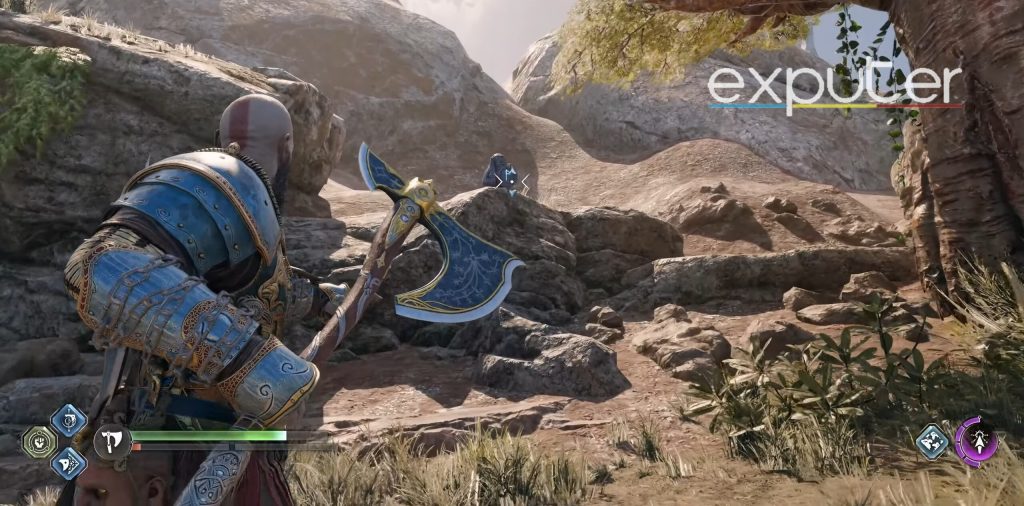
Kicking things off with the first chest, while docking the boat when reaching the aurvanger wetlands for the first time, make your way over to the beach. From there, freeze the geysers with your axe abilities, and pan your camera to the right, which will allow you to see the Nornir Chest present in front of you.
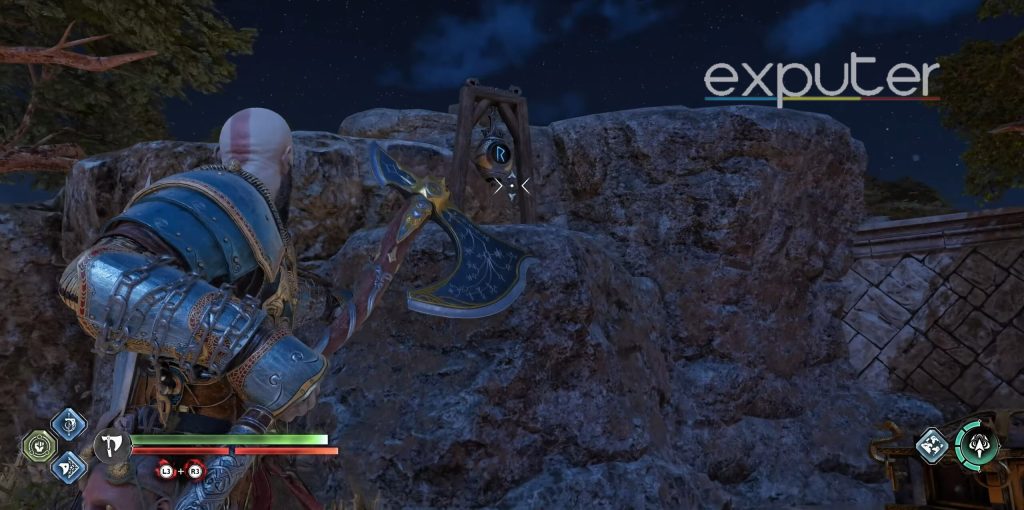
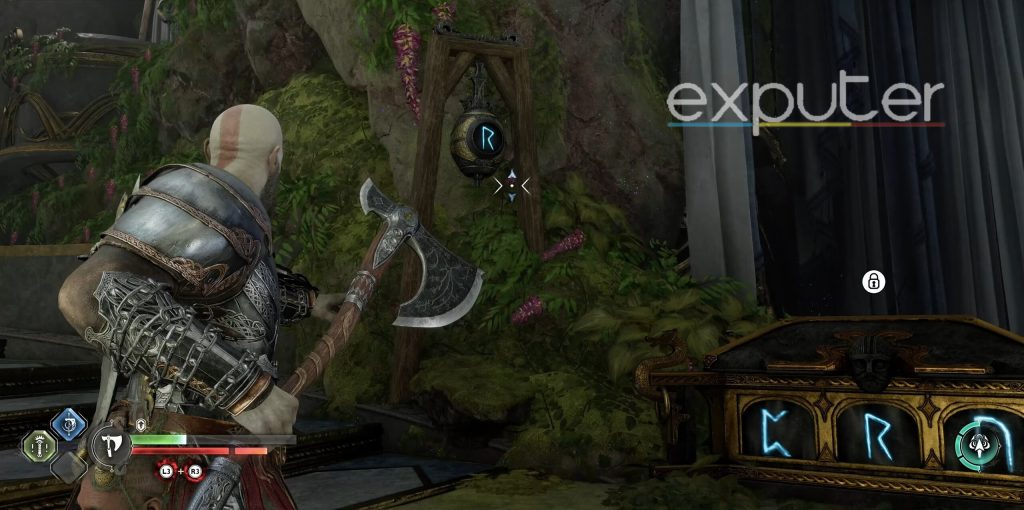
Pan your camera to the right, and you will be able to freeze the geyser present in front of you. From there, head up the platform, and the first rune will be present a bit to the left underneath a small tree, which will be the R Rune.
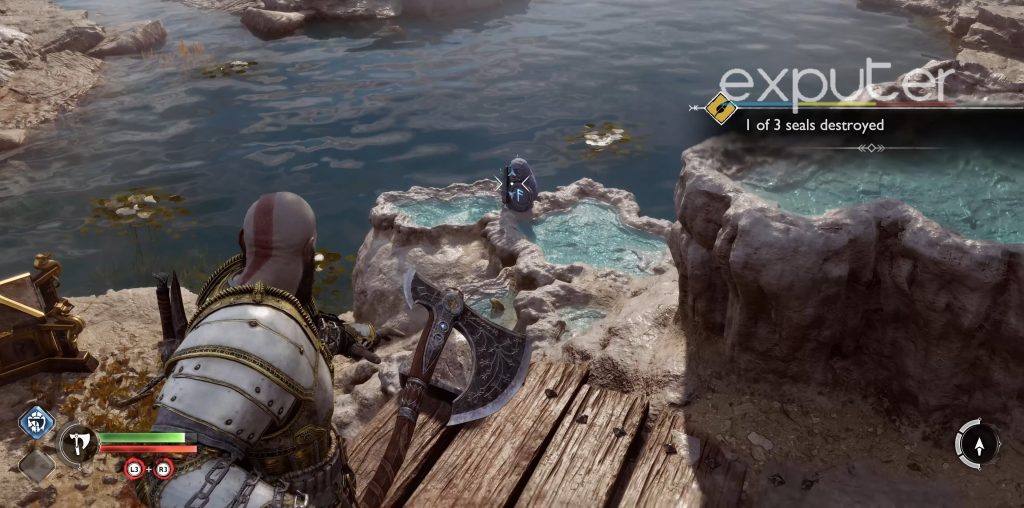
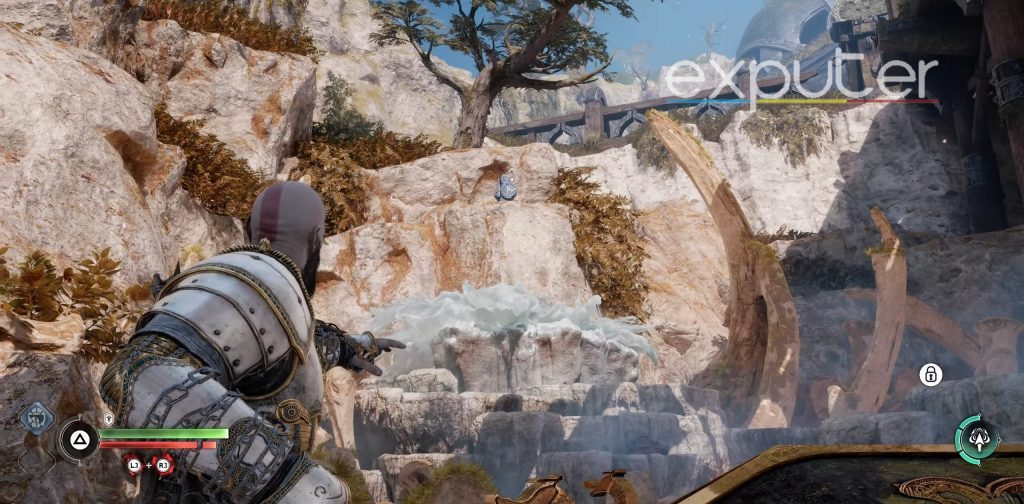
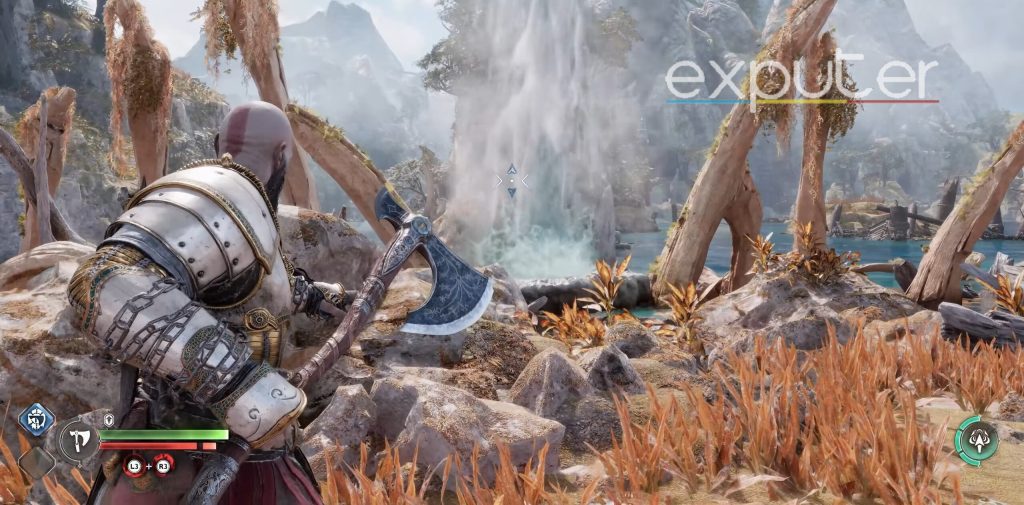
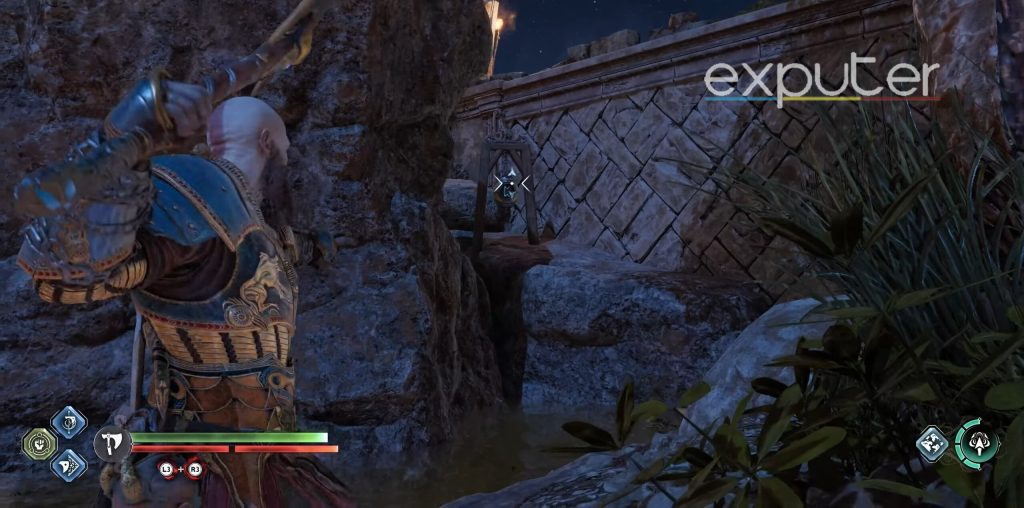
Now, if you head back and stand near the edge of the platform, you will be able to locate the F rune present in front of you right near the bottom of the platform on top of a geyser.
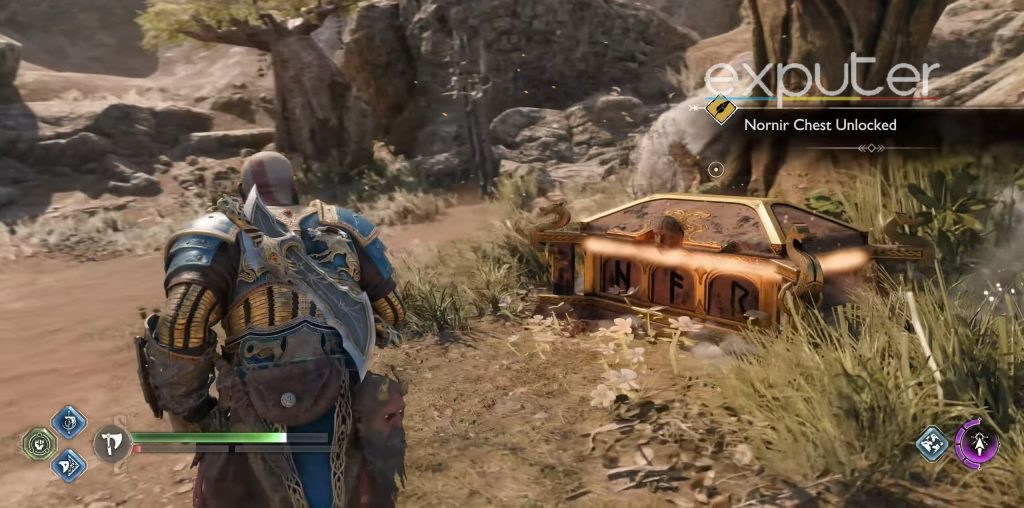
The final rune will be present on the smaller island that is behind the nornir chest.
Aurvanger Wetlands Second Chest
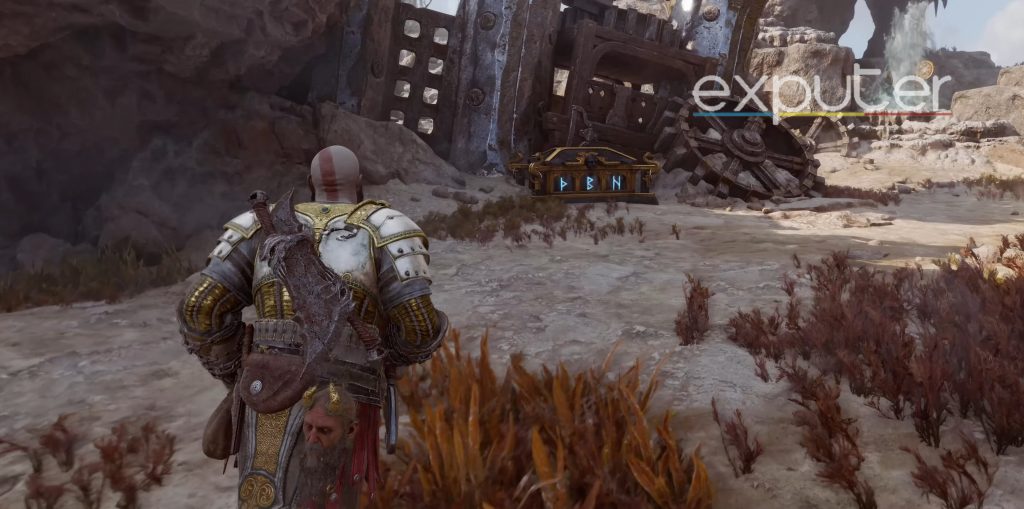
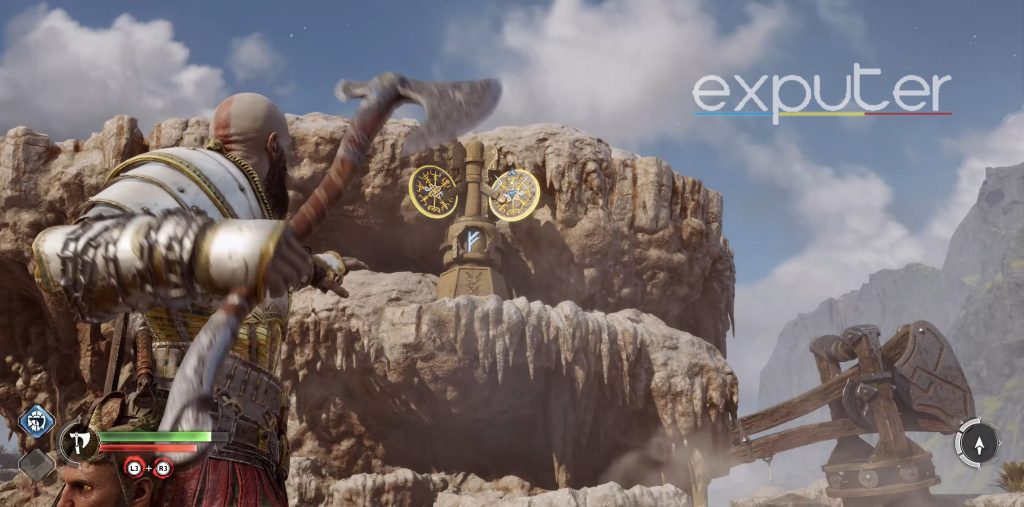
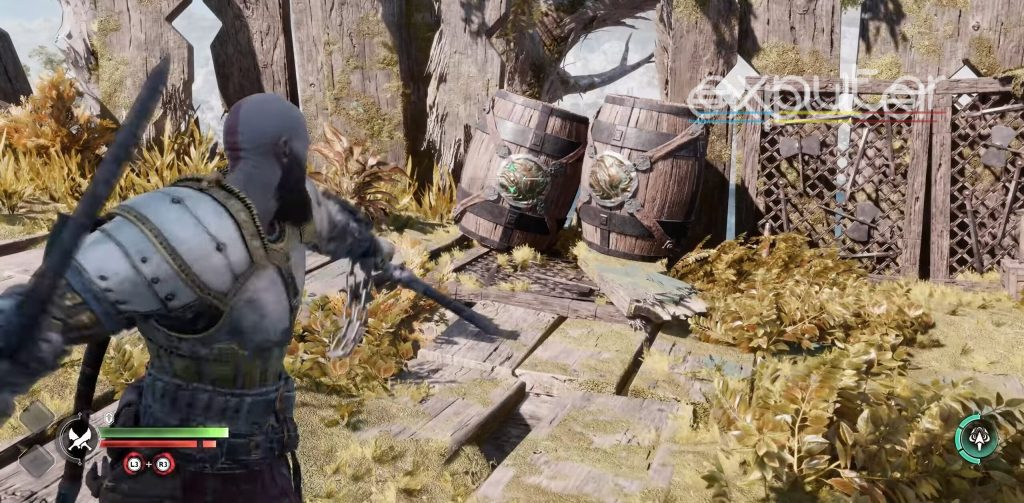
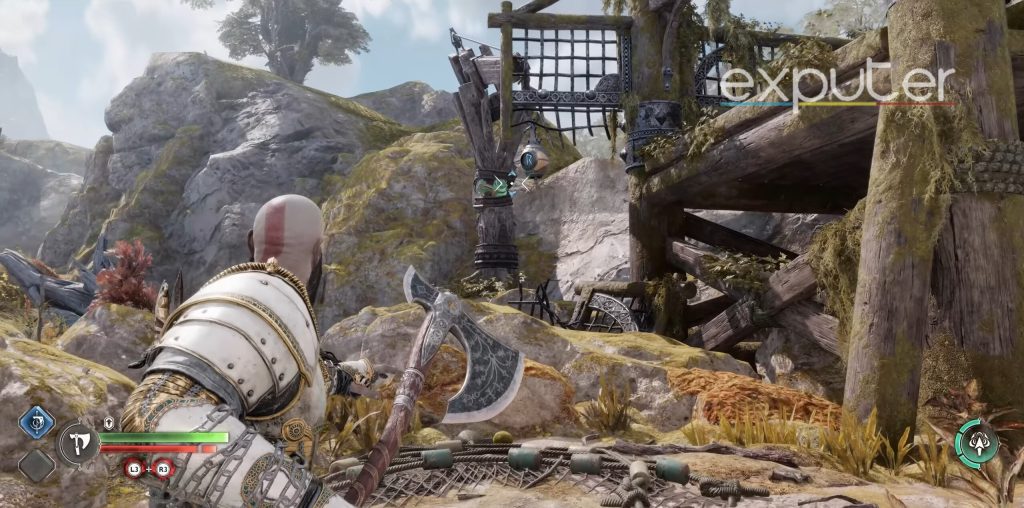
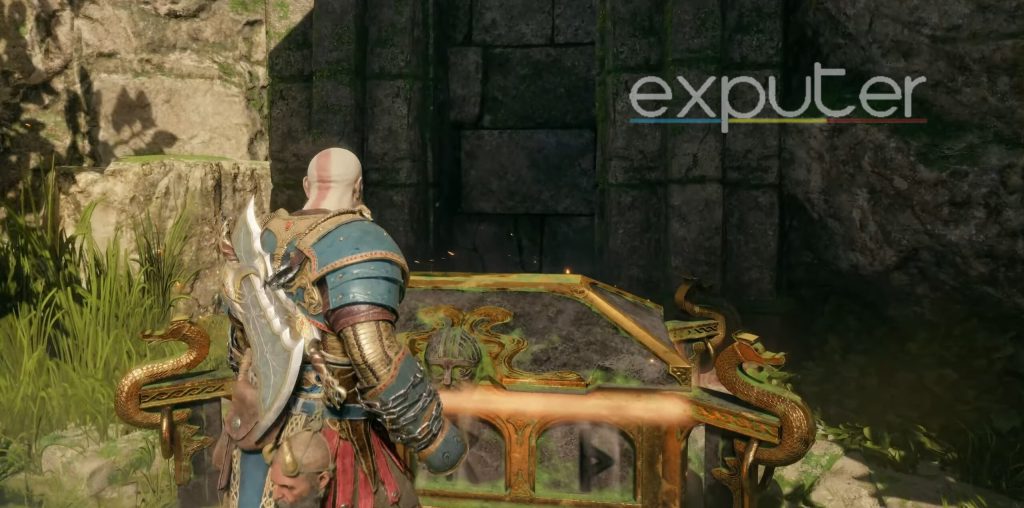
For the second chest, start boating underneath the smaller hole in between the cliffsides and duck to boat your way through. When you’re done ducking and get out of there, you can dock your boat at the beach, and when you get off, you will be able to see the nornir chest present in front of a few wheels that are broken down.
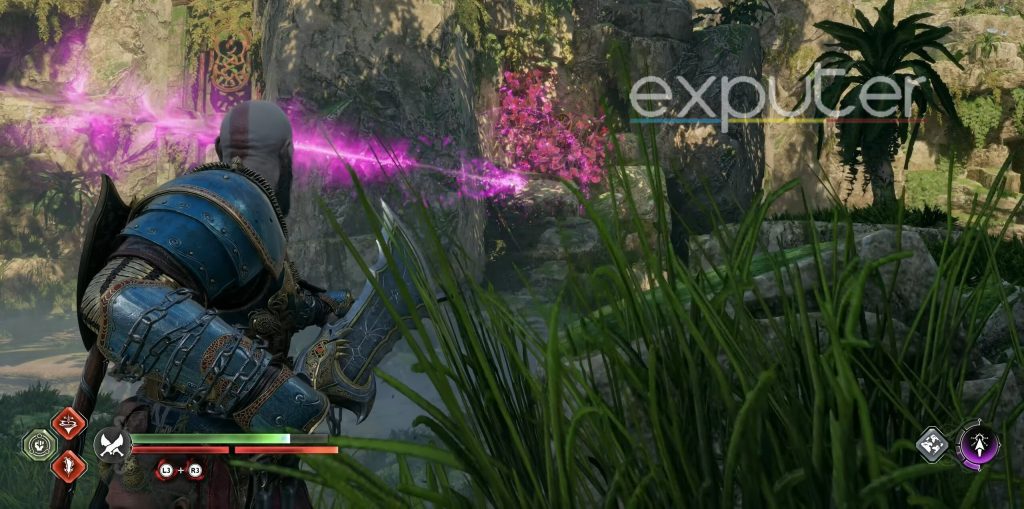
For the first rune, start heading over to the geyser from where the water is gushing out, and aim your axe at the right target. And hit it again from a bit further away to rotate it once more.

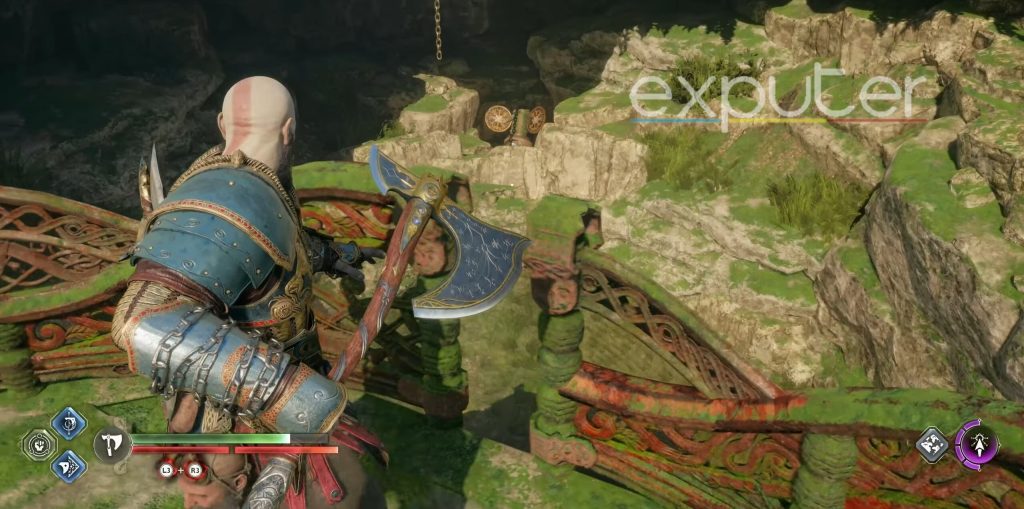
Steer right and start heading behind the broken wheels and you will be able to locate the second runes and can take them out.
Go back to the front, head up the platform above, and the third rune will be present on your right.
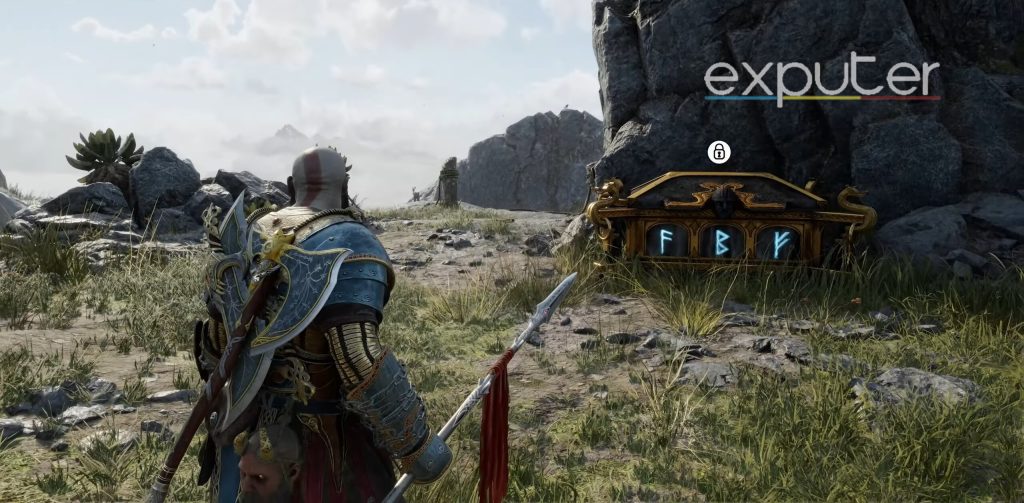
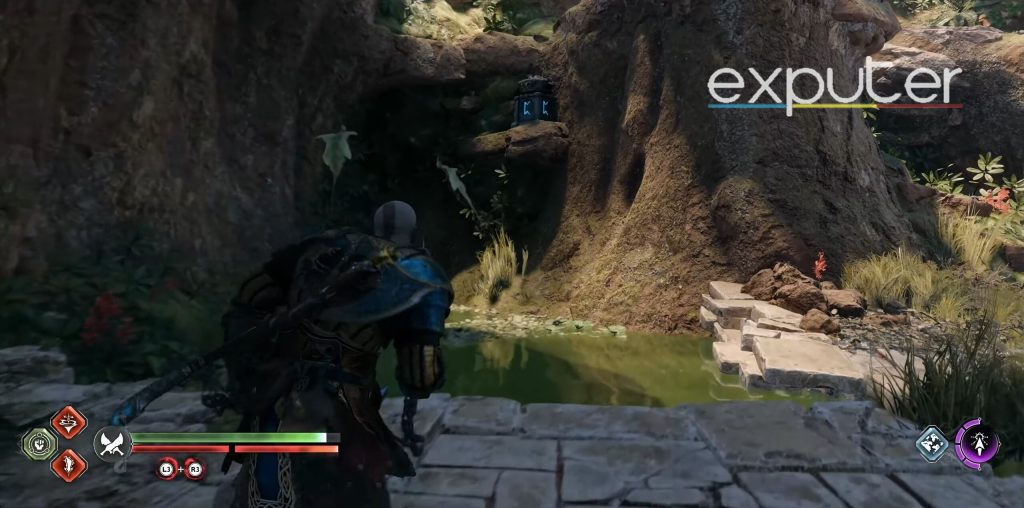
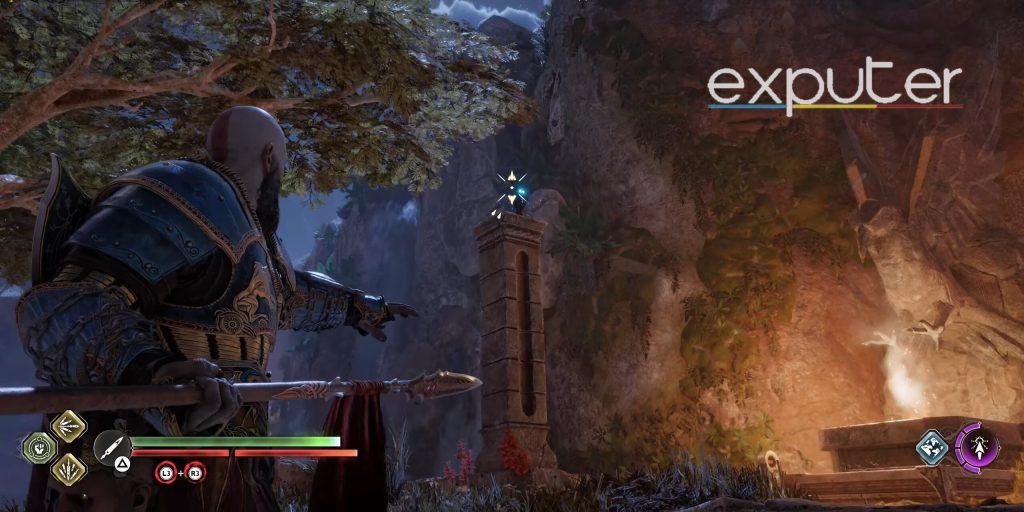
Dragon Beach
While at dragon beach, start running forward until you can see the pile of wood structures, and from there, make your way to the right and start heading towards the geyser in front of you, where you will be able to locate the nornir chest.
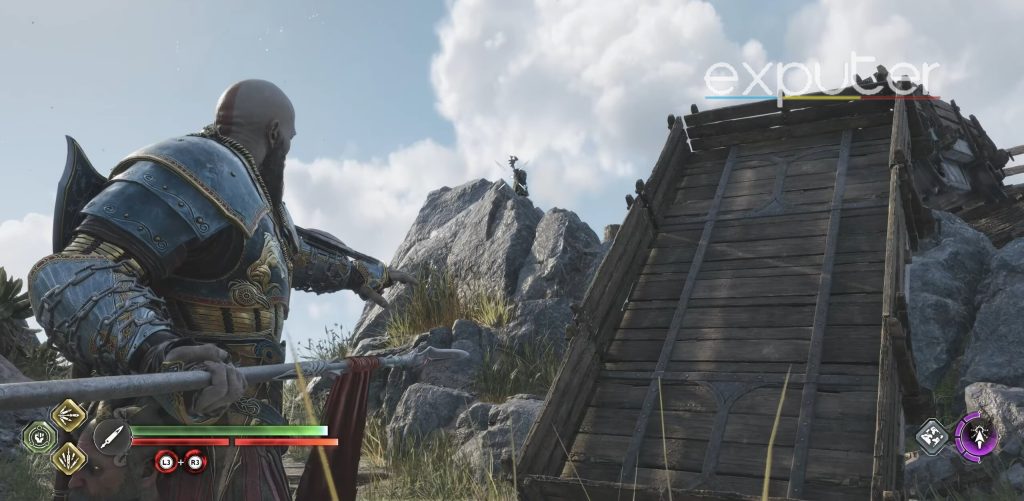
Freeze the geyser behind it, which will also hold the first rune, therefore aim your axe at it to freeze it to get a hand at the location of the rune, then pull it back and aim the axe again at the rune itself.
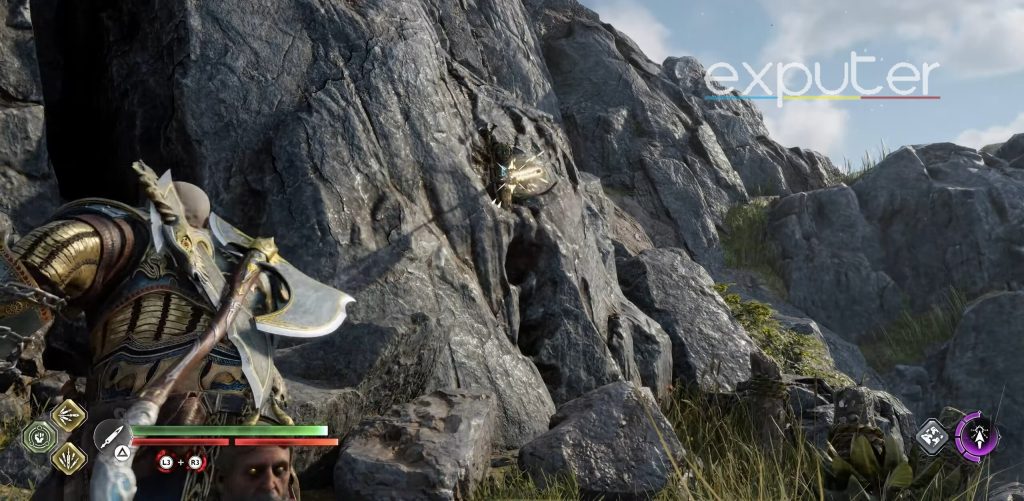
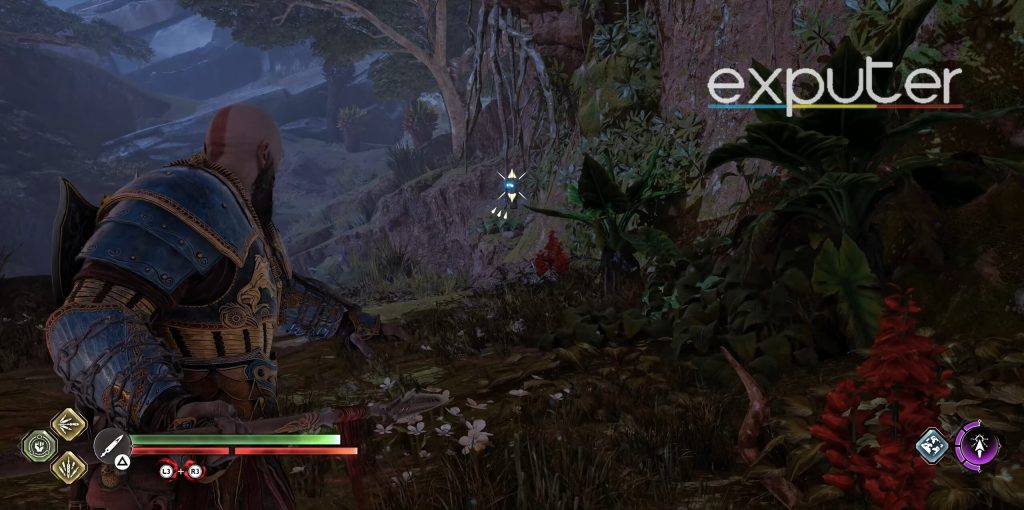
For the second one, head back and start running to the right, and you will be able to find a large statue and the second rune will be present right behind it.
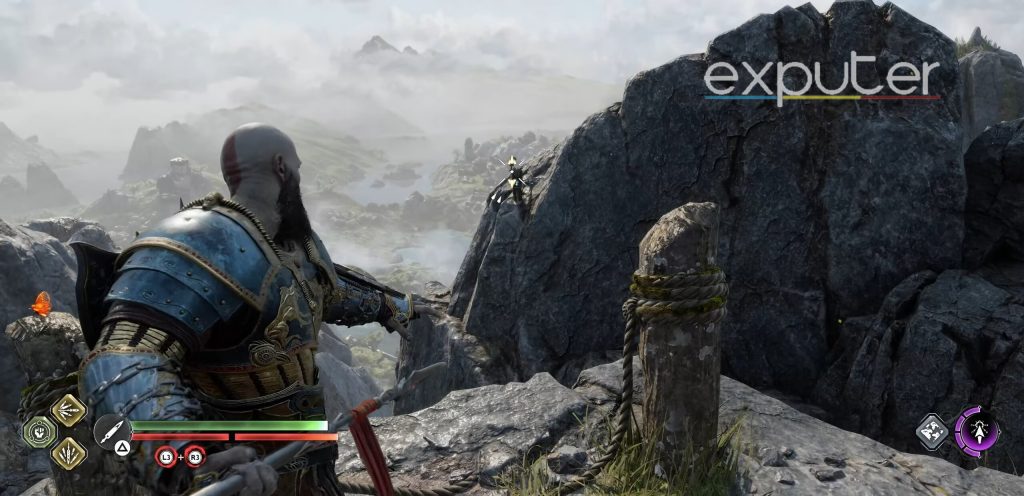
For the third rune, head back past the place where you docked your boat, towards the geyser that is present in between two large structures that seem like bones or wood.
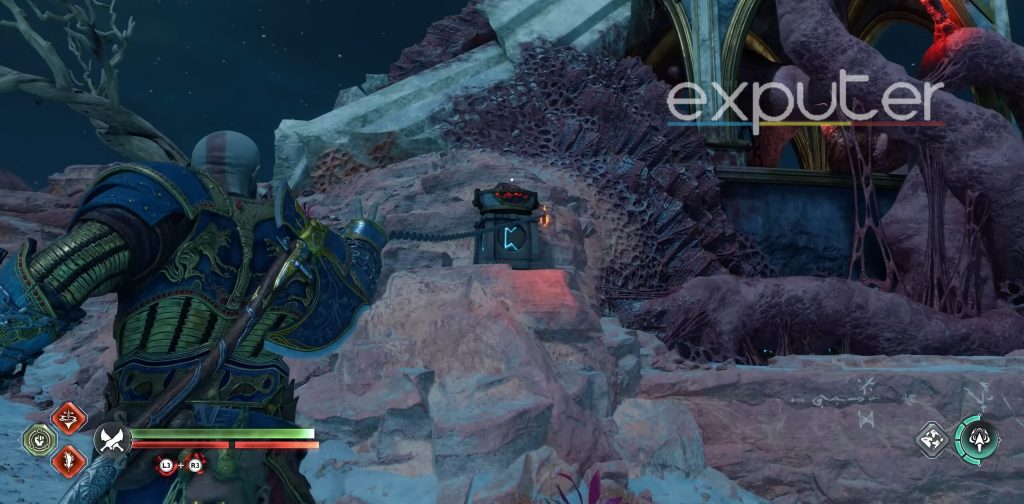
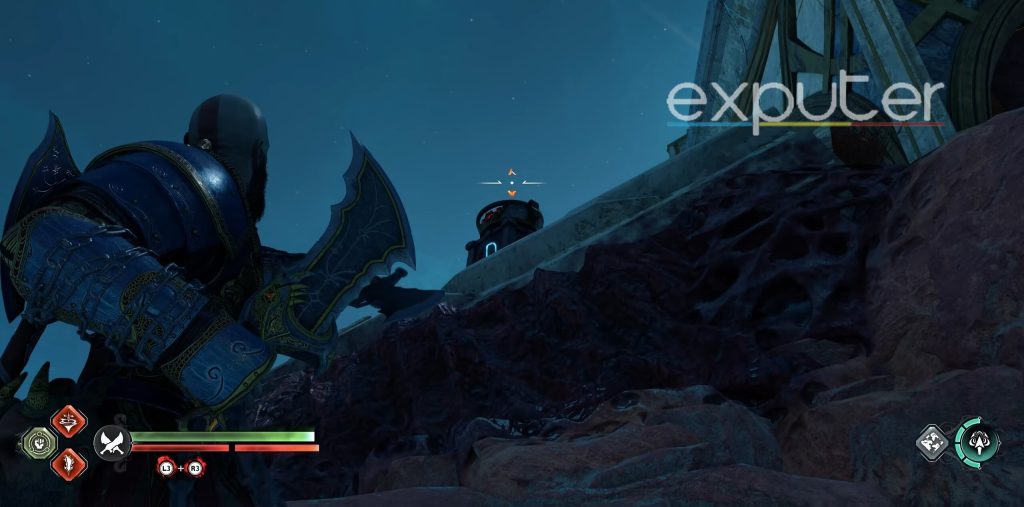
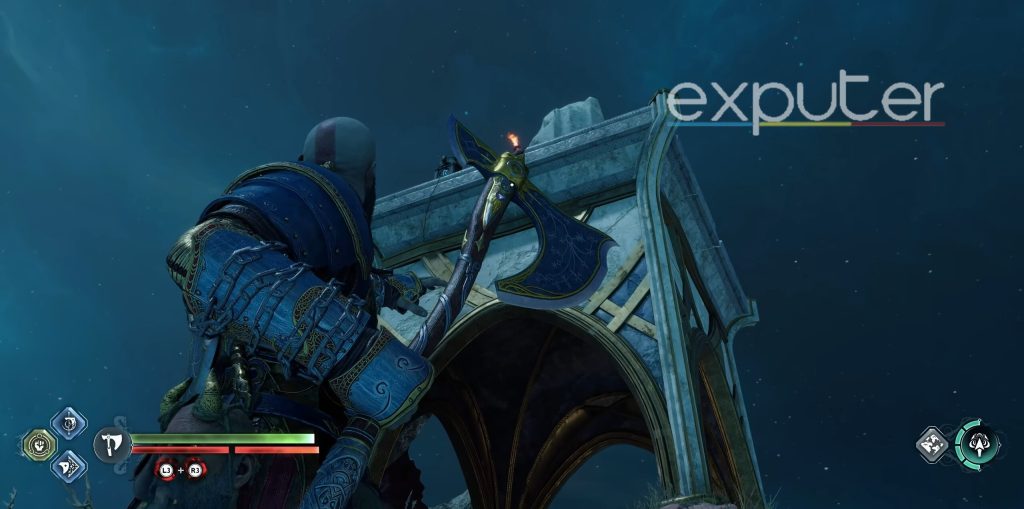
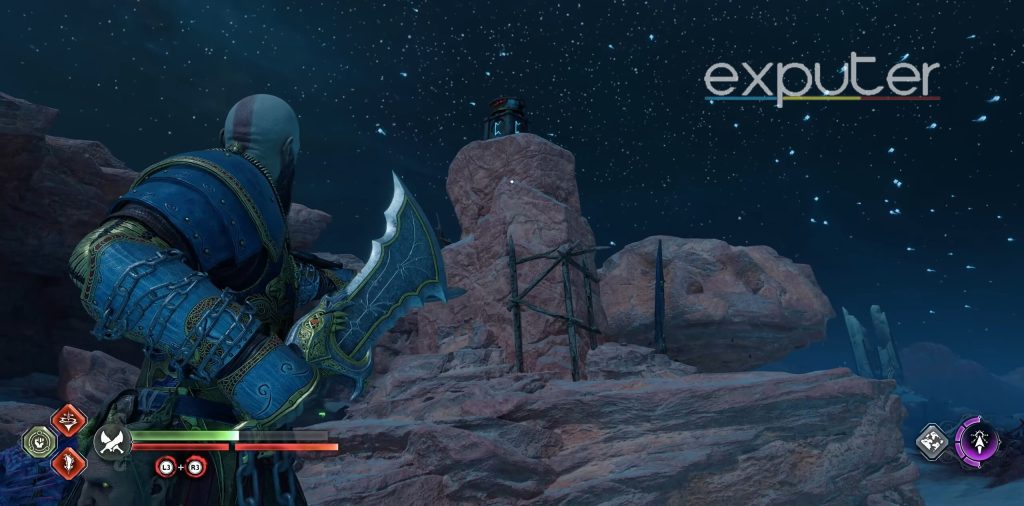
Radsvinn’s Rig
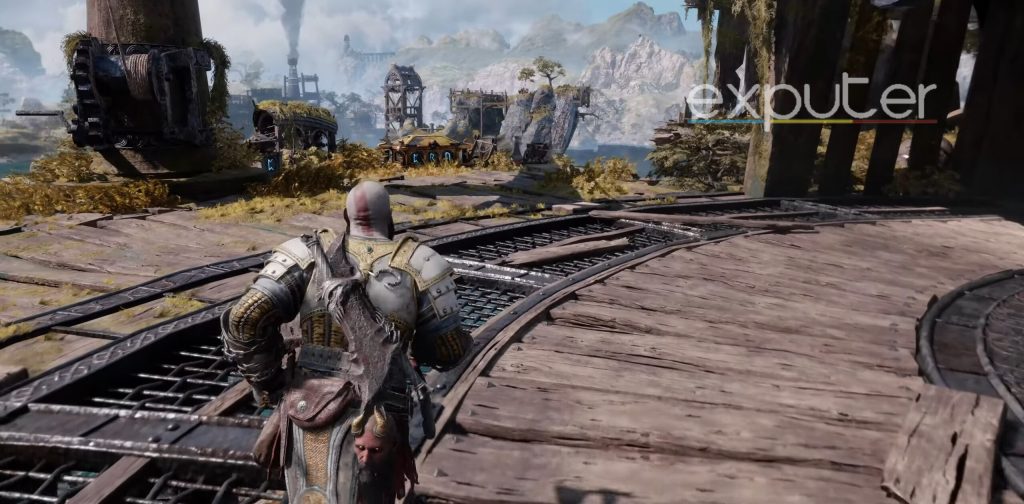
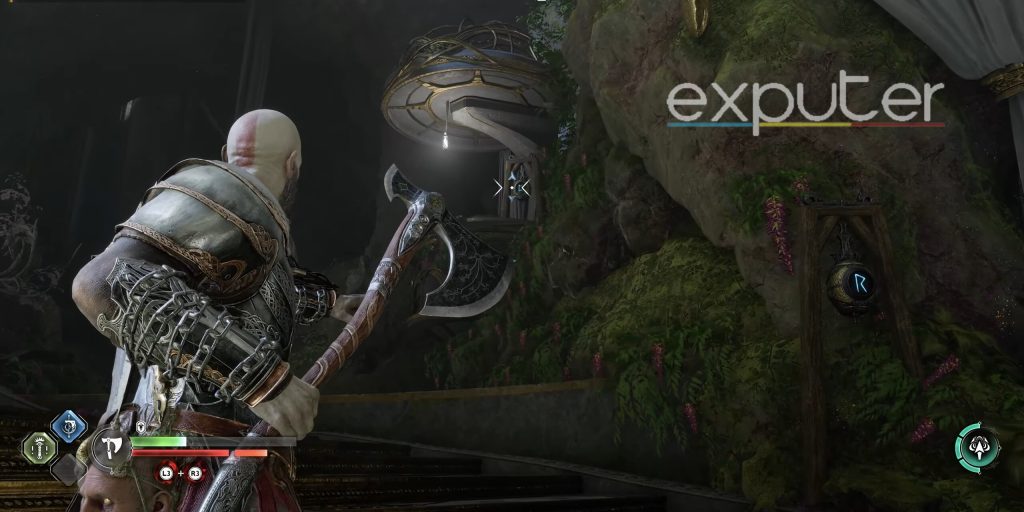
When you’ve docked your boat towards the Radsvinn’s Rig, start heading up the small hill, and head right ahead where you can grab onto a small wall and get on top of it. From there, steer left, and start making your way to the mining rigs. The chest will be present right to the left of the first rig on the edge of the wooden planks.
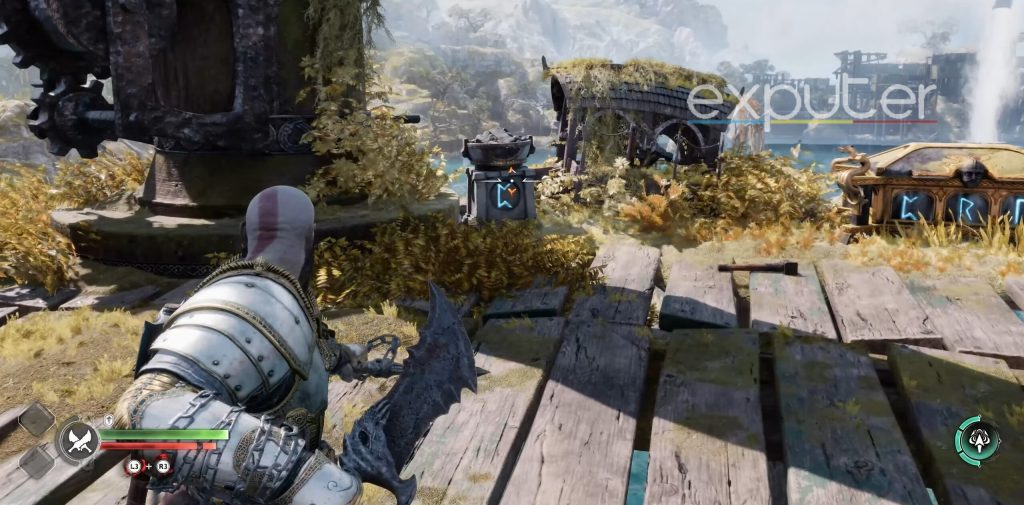
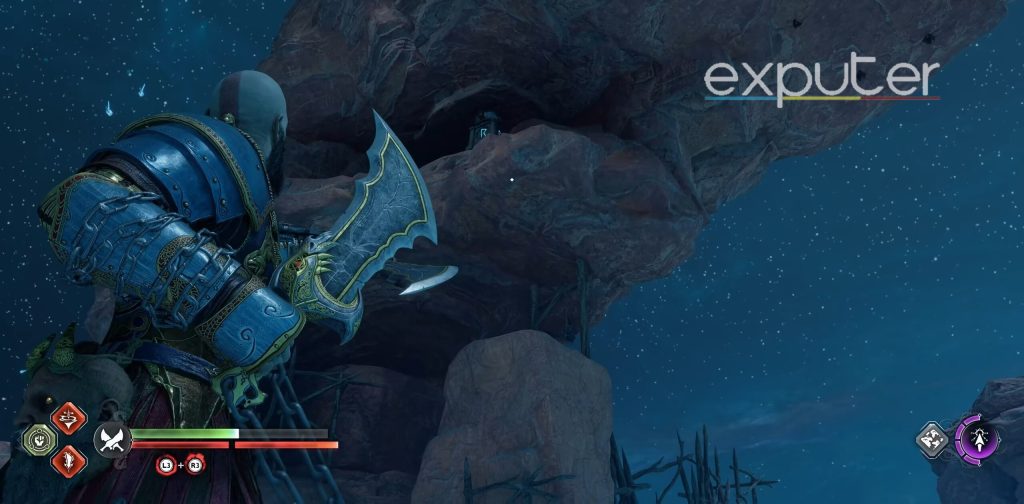
And the first rune which will be the C rune will be present to the left of it. For the second rune, turn back, and start heading back for the area that is the rig, then there will be a few barrels that you can take out with Atreus’s arrows and the rune will be present behind it.
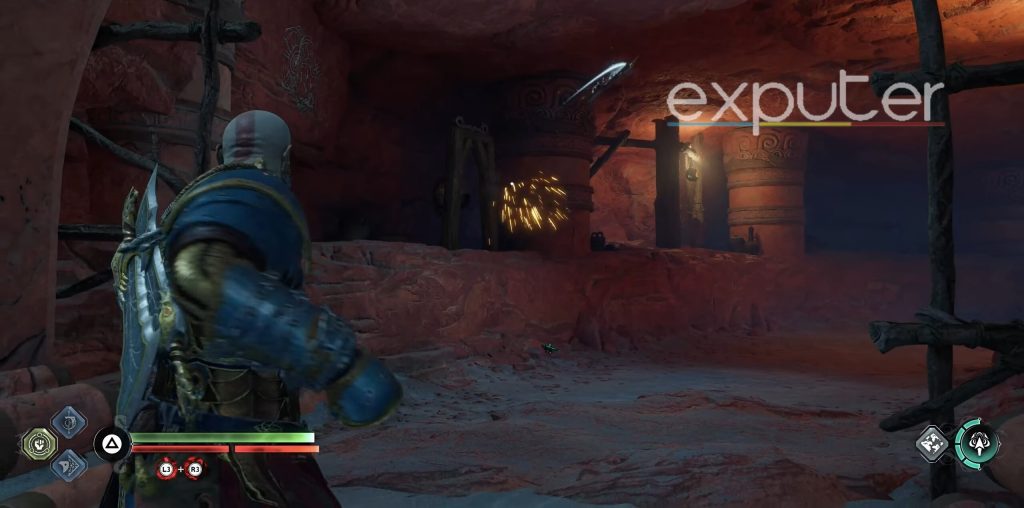
For the third rune, head towards the platform above, go up again, and see across the pot of fire; aim your axe at it to blow it up, causing the last rune to get lit up.
Alberich Island
When you first dock on Alberich island, you will be able to see the nornir chest as it will be placed against a cliffside and will be visible quite easily. To get the rune, one will be present when you head across towards the edge of the island; there will be a wooden structure that you can aim the axe at to make it rotate.
Once it rotates, one rune will pop up, which you can hit with your axe to break it. From there, make your way back to Atreus is standing, and take a look to your right, where you will be able to see another rune and can take it down, too.
As for the last rune, it will be present literally beside the chest which will unlock the chest.
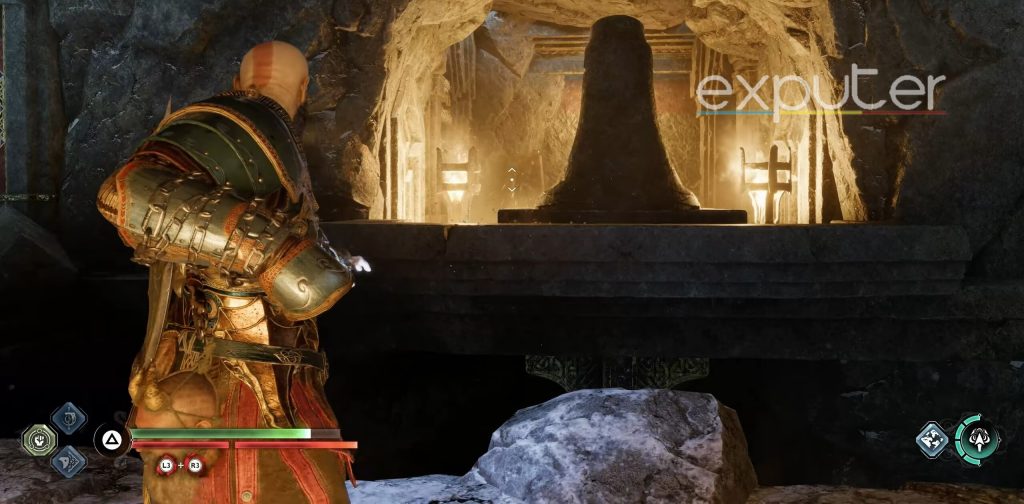
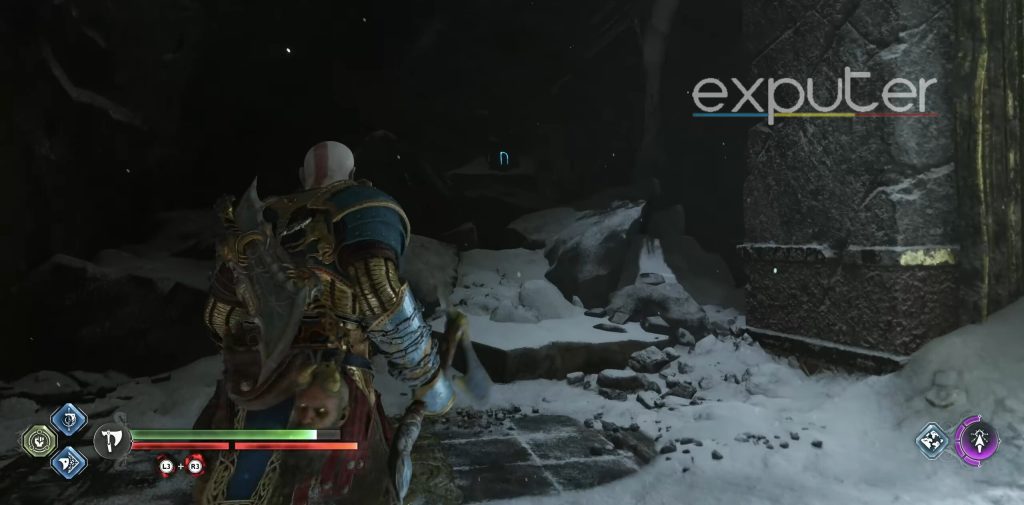
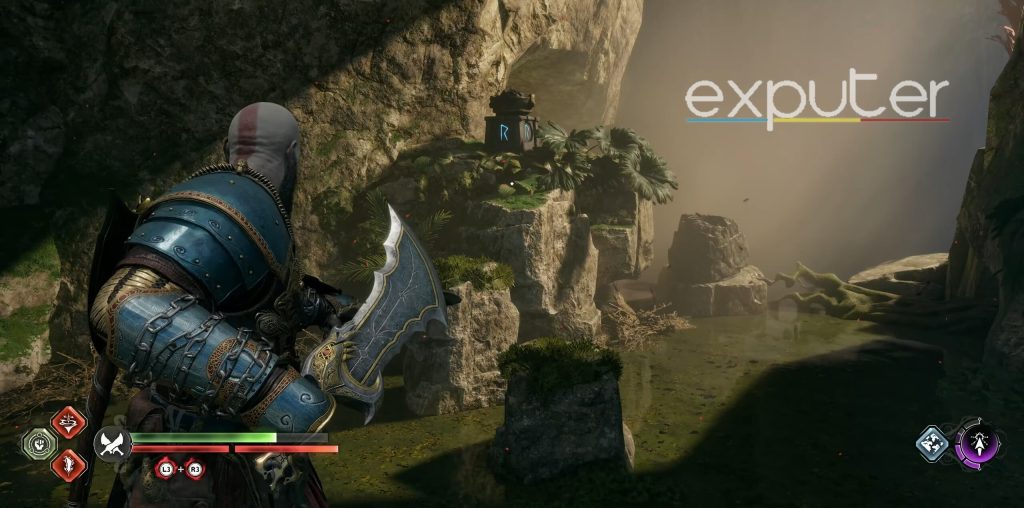
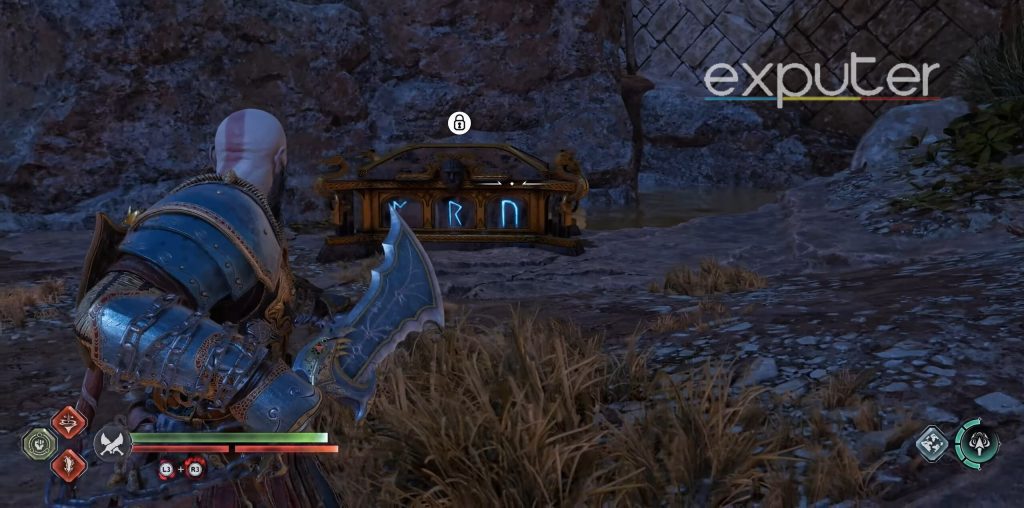
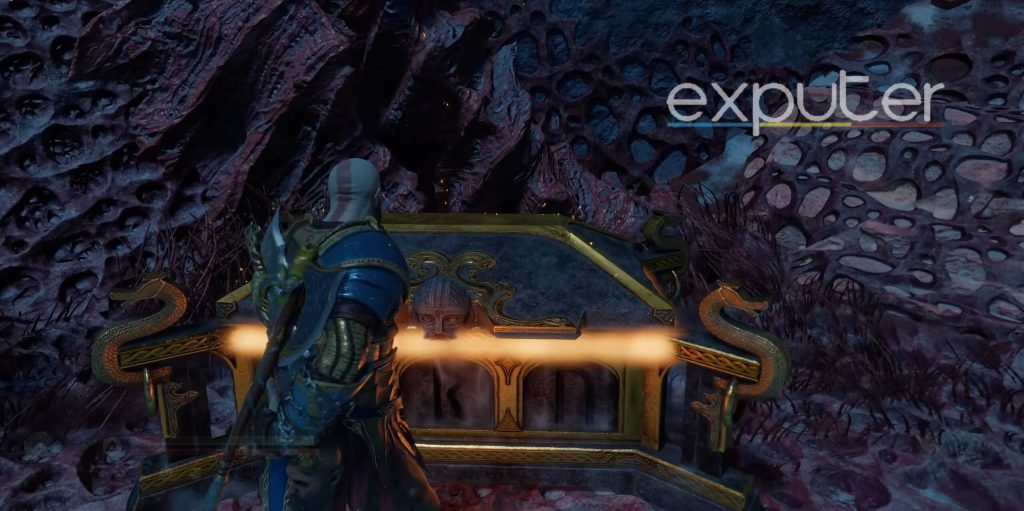
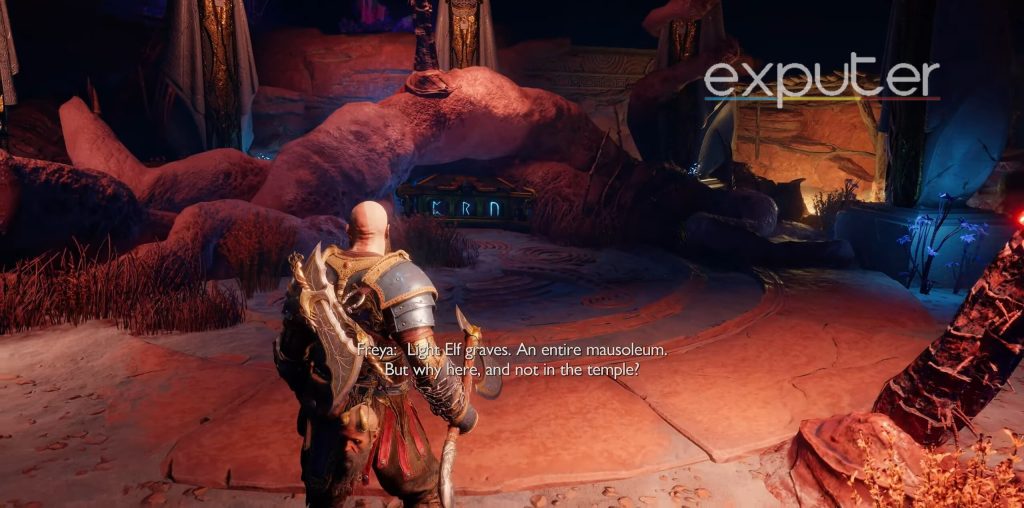
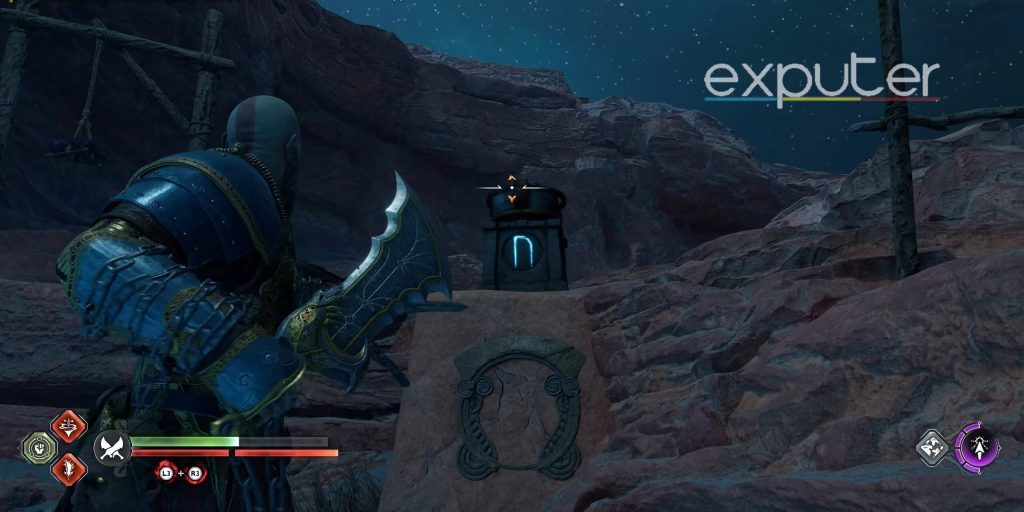
Myrkr Tunnels
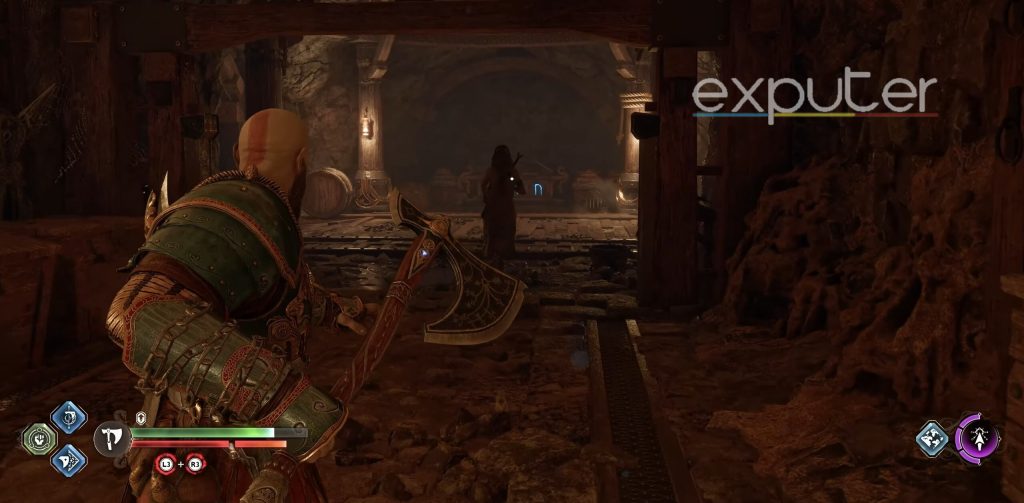
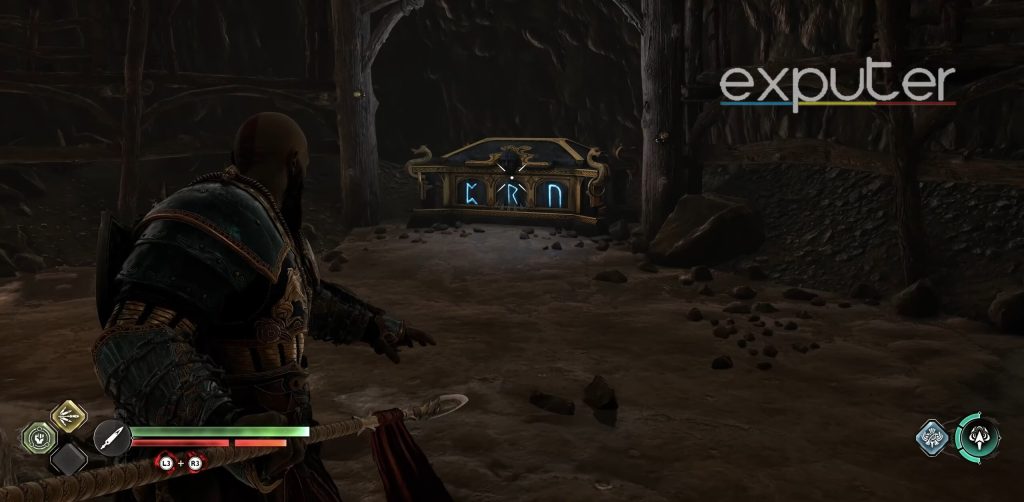
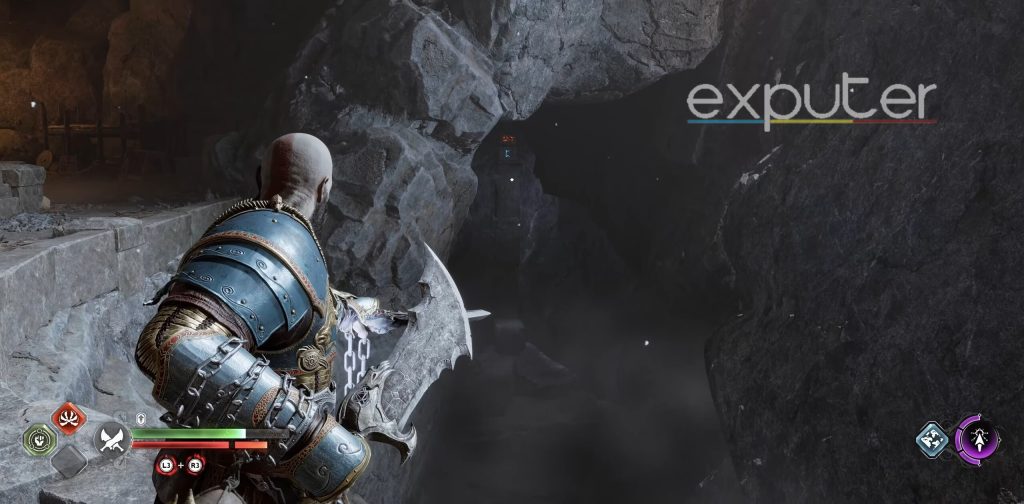
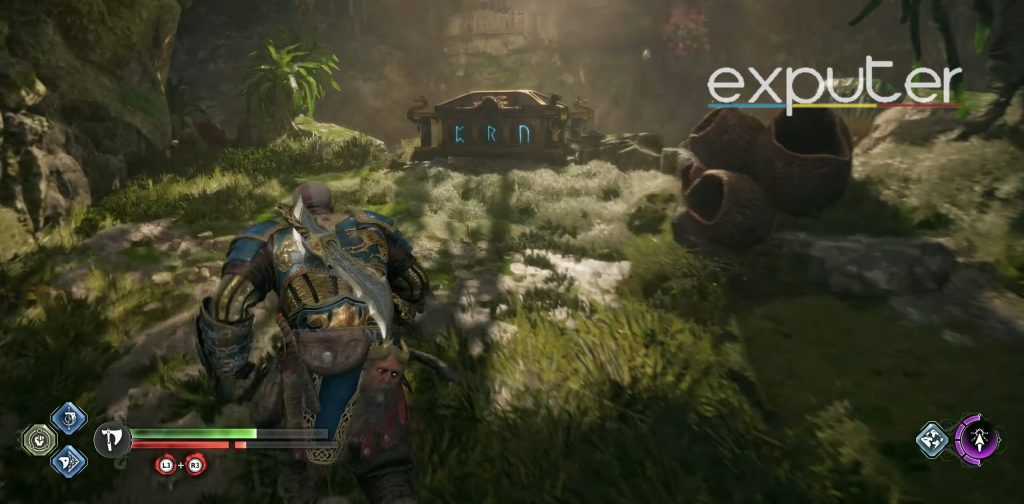
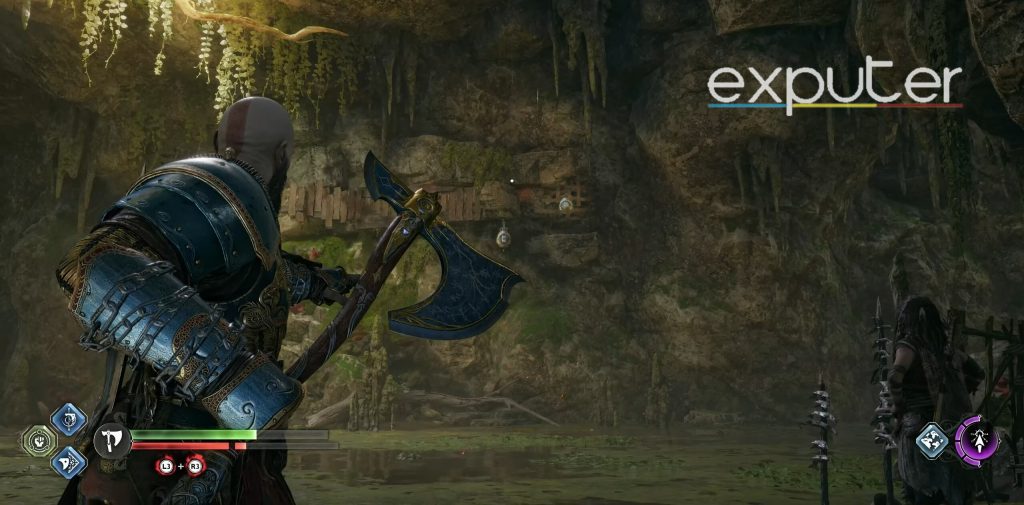
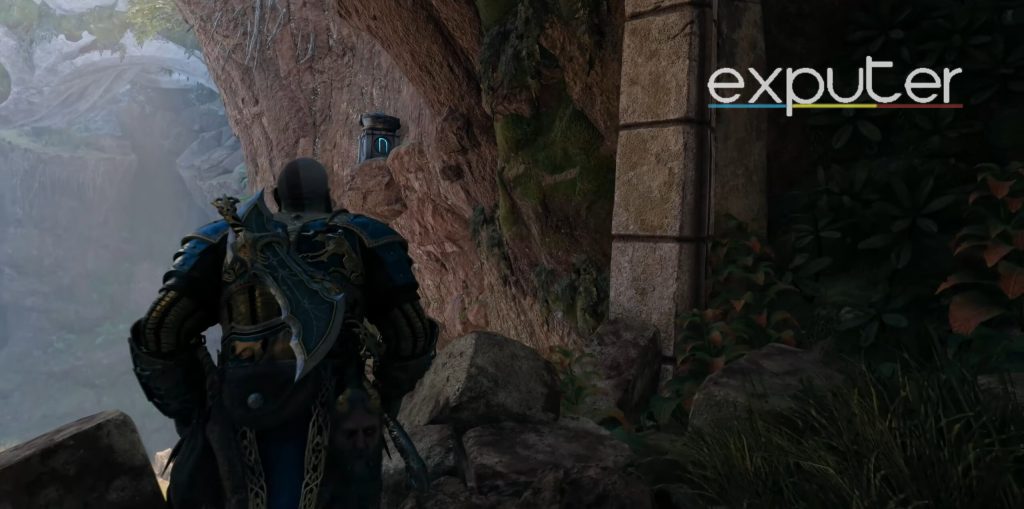
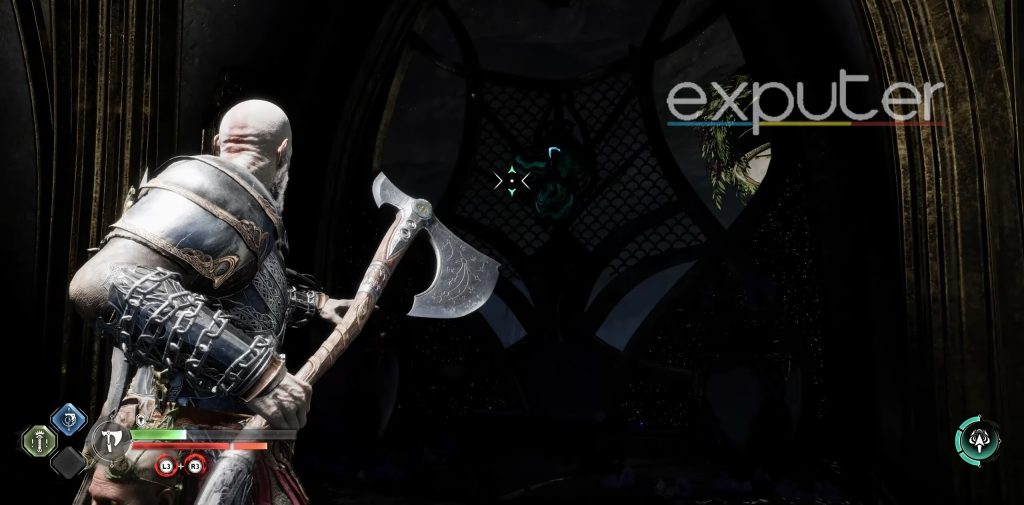
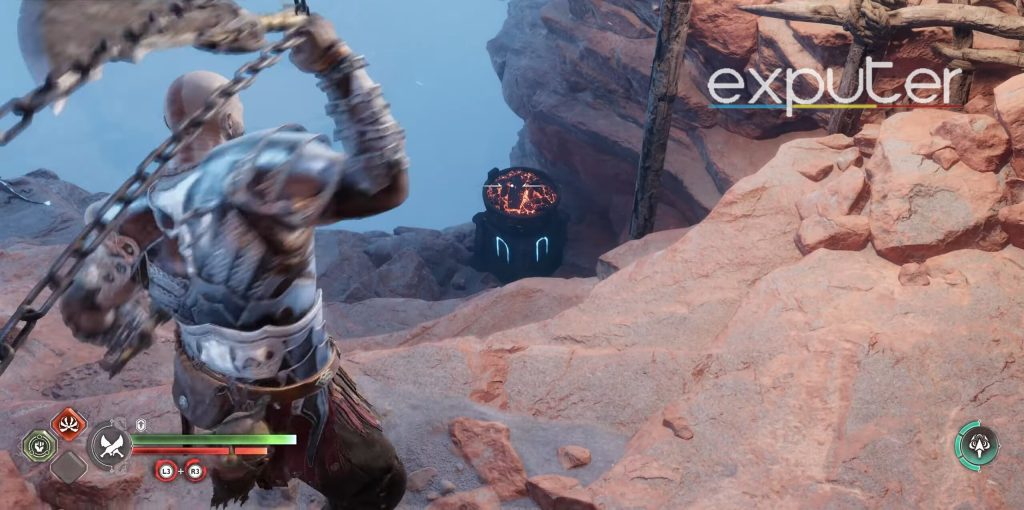
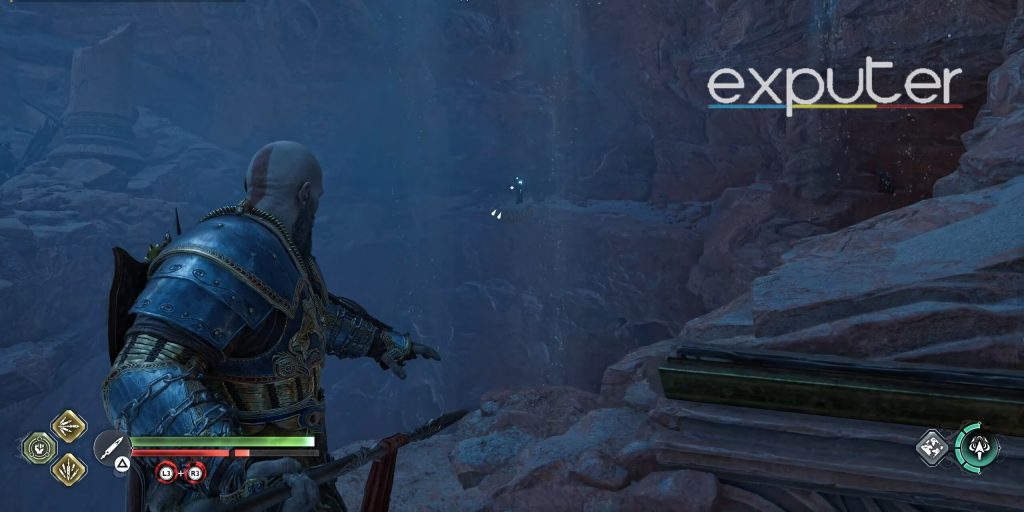
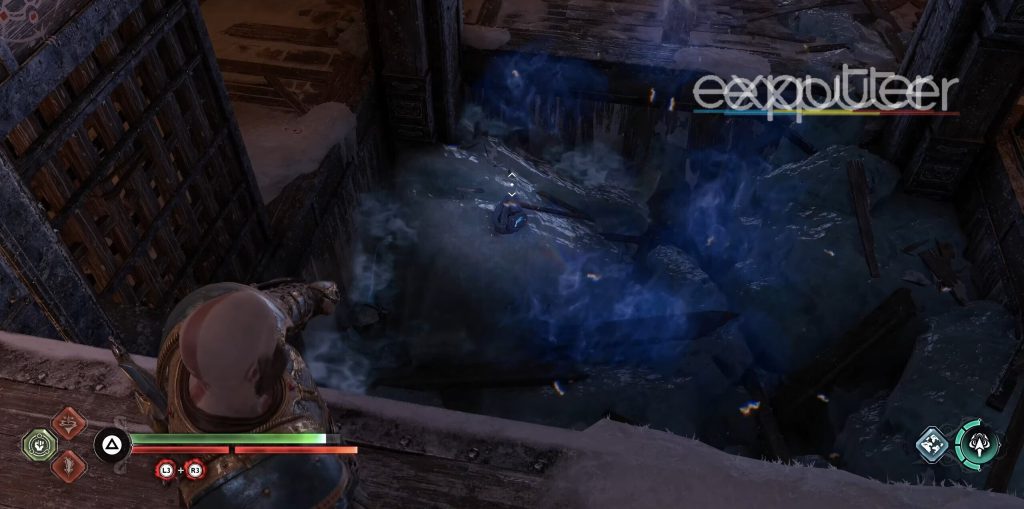
Moving on, head over to Myrkr Tunnels next and make your way over to the end, where you can slide through a small opening in the wall. When you cross through the entrance and get out, you will be able to notice that the nornir chest will be present right across!
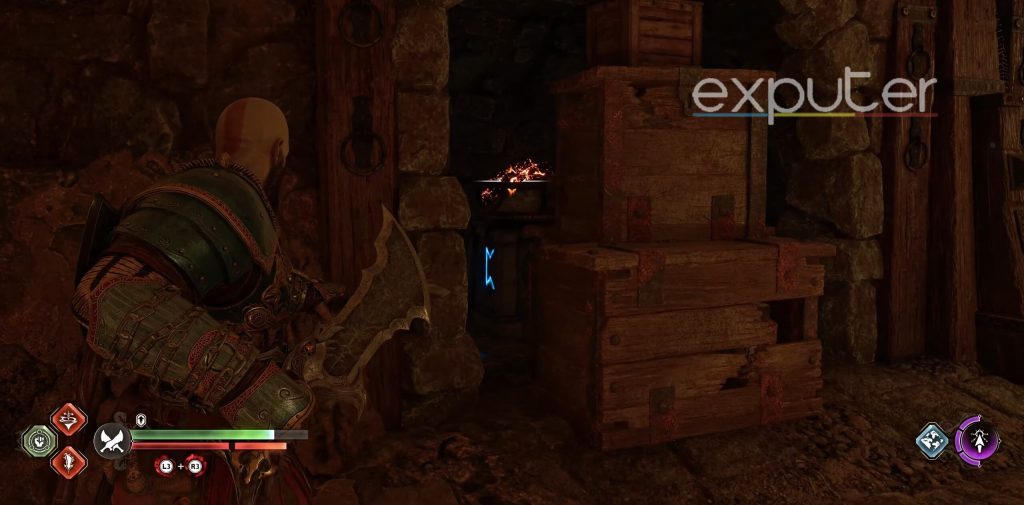
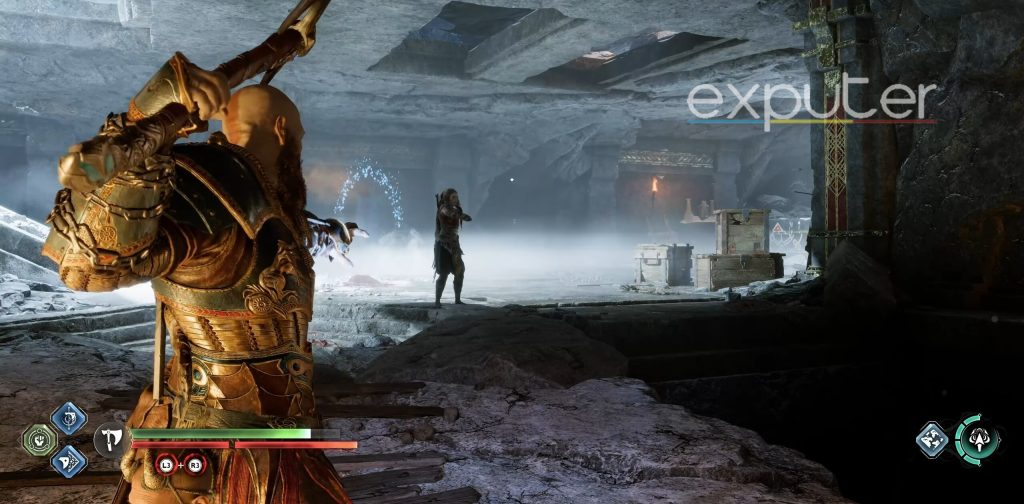
As for the first rune, head back to where there are a total of three crates stacked on top of each other, and the rune will be present behind it.
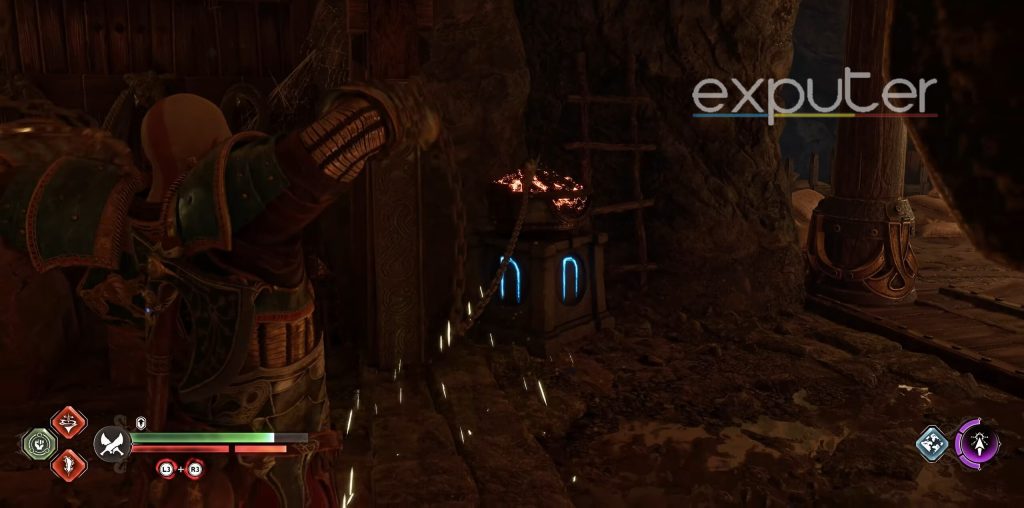
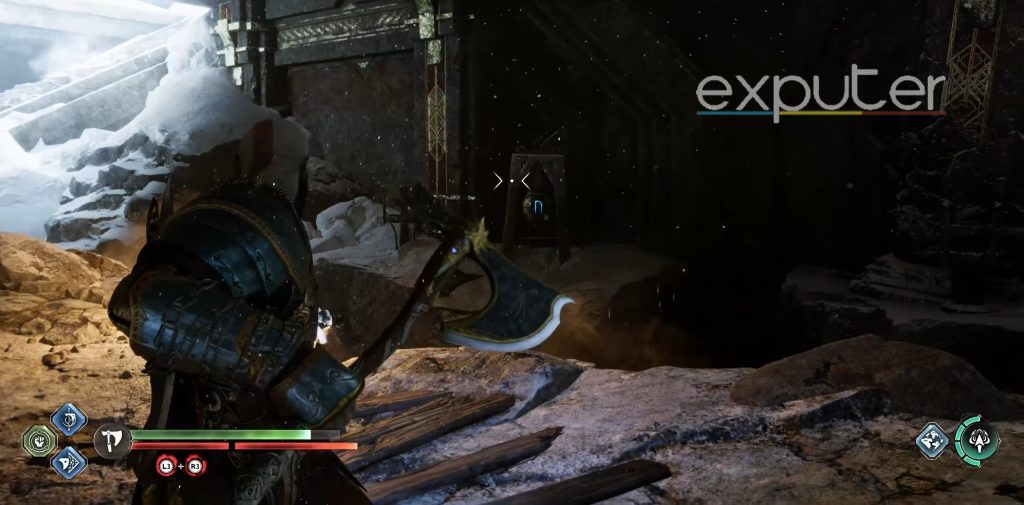
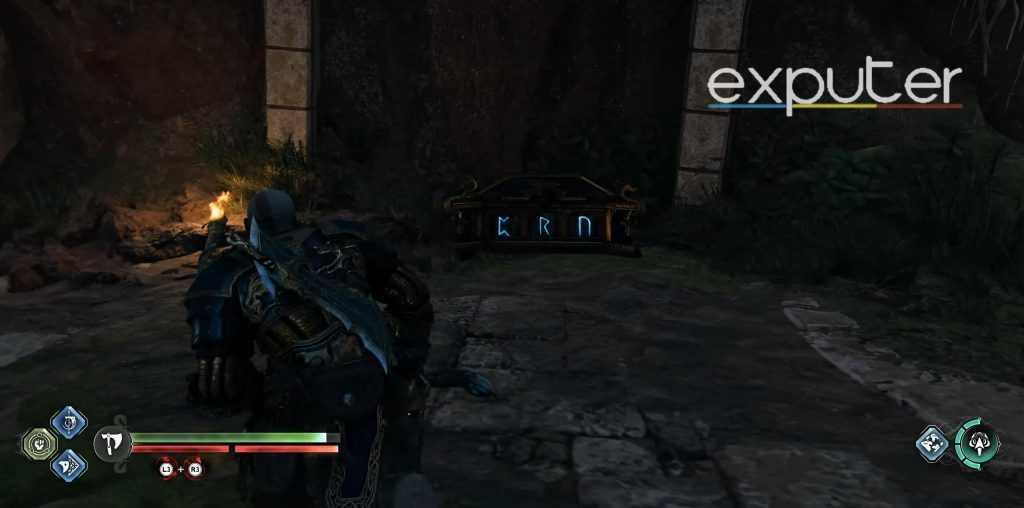
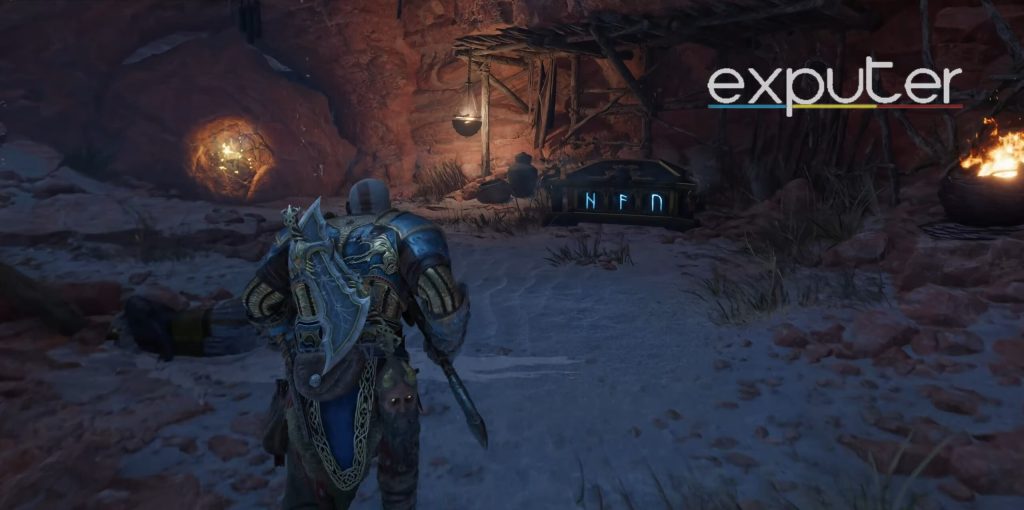
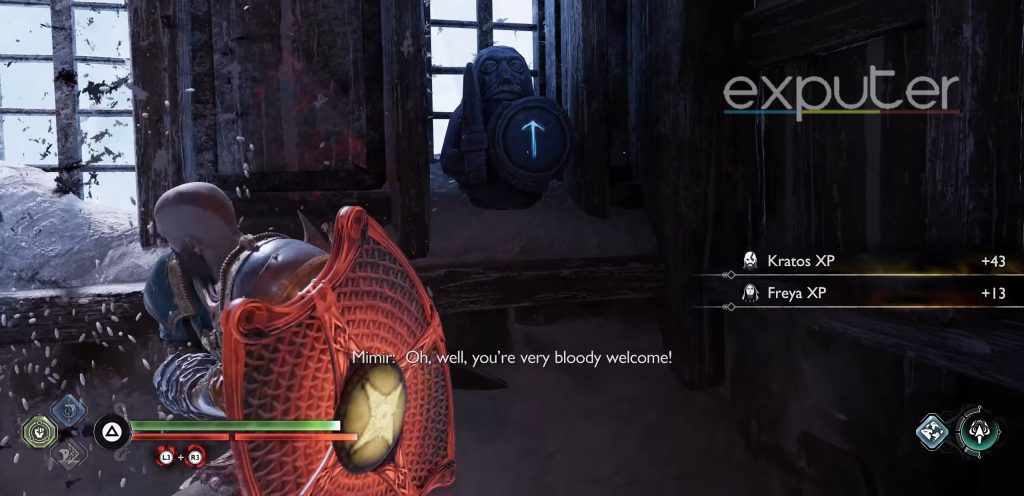
The second rune will be on the left end of the corridor instead of the right and will be the N Rune, which you can light up using your blades of chaos.
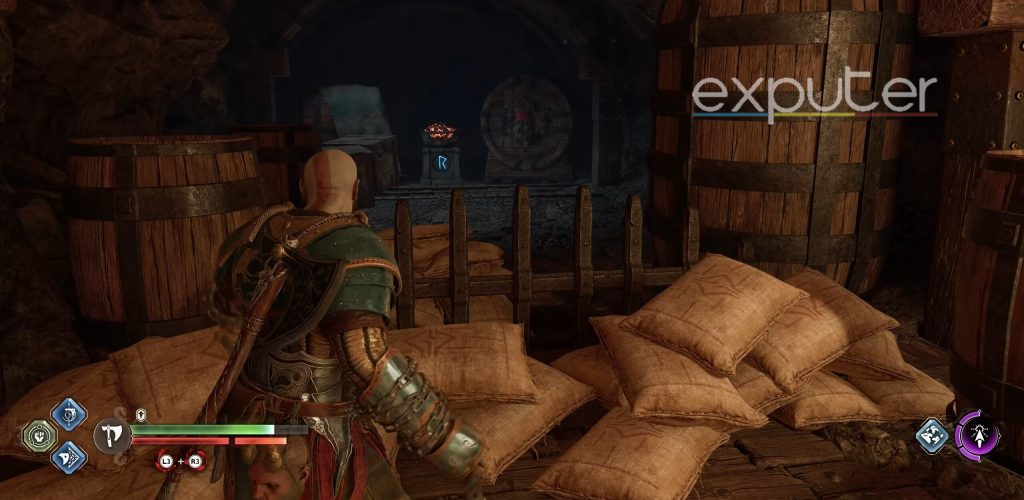
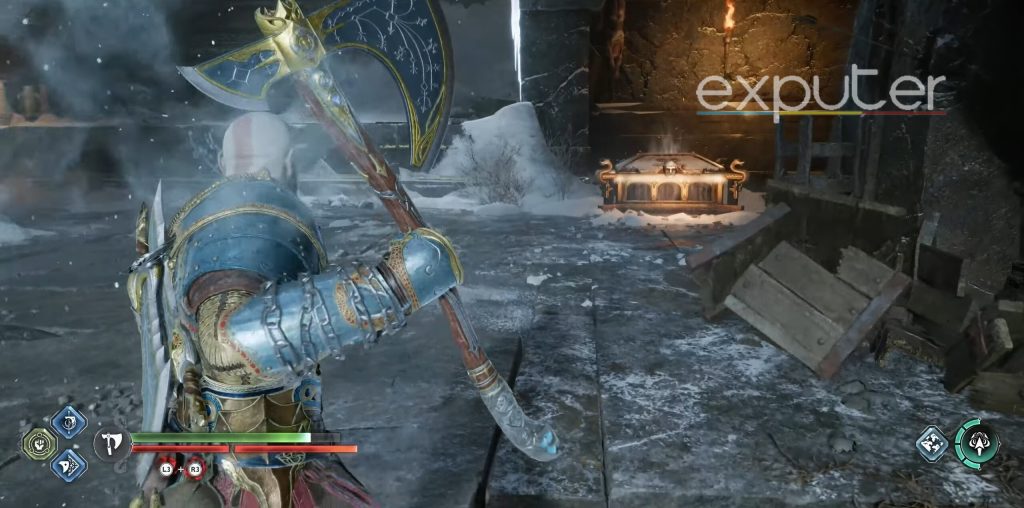
For the final rune, head towards the nornir chest, and take a look to your left, where you can see the R rune right ahead, and take it out which will unlock the chest.
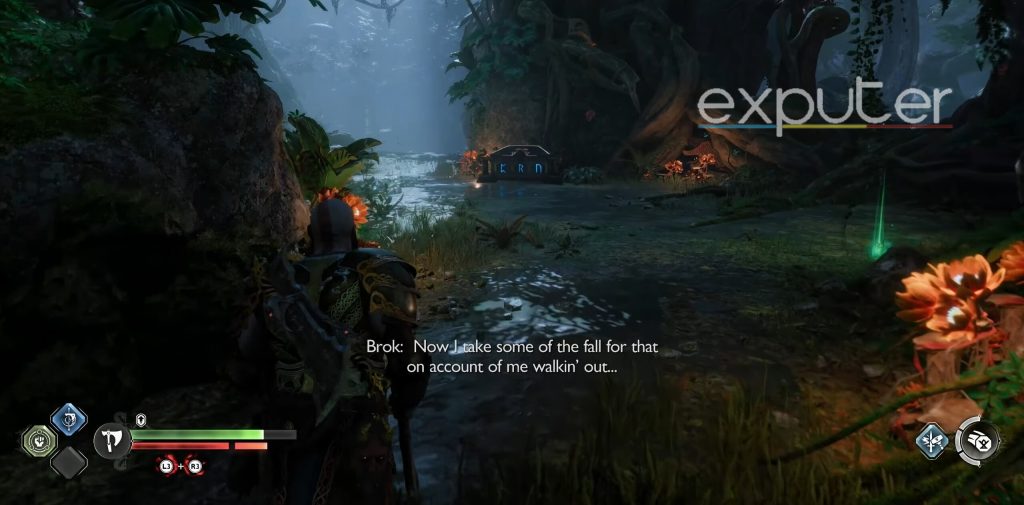
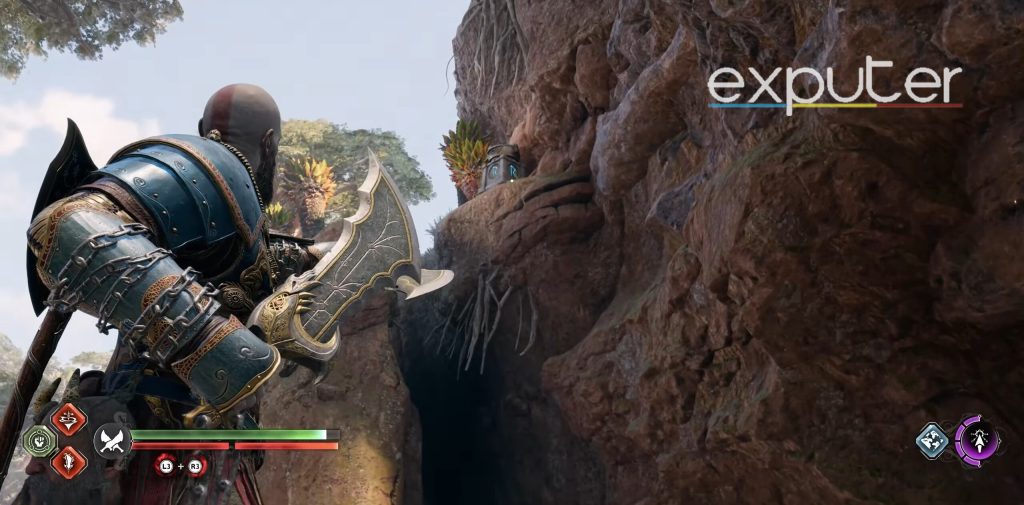
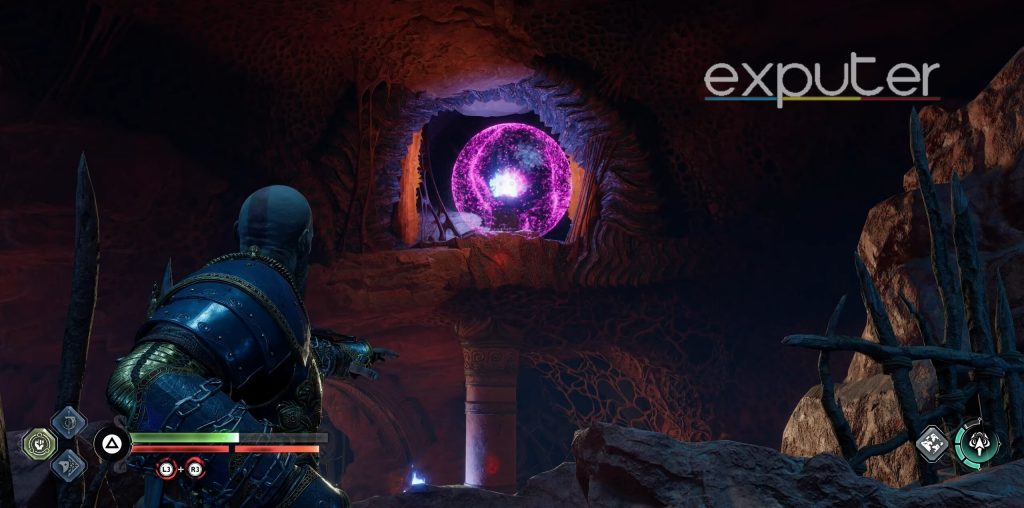
The Forge
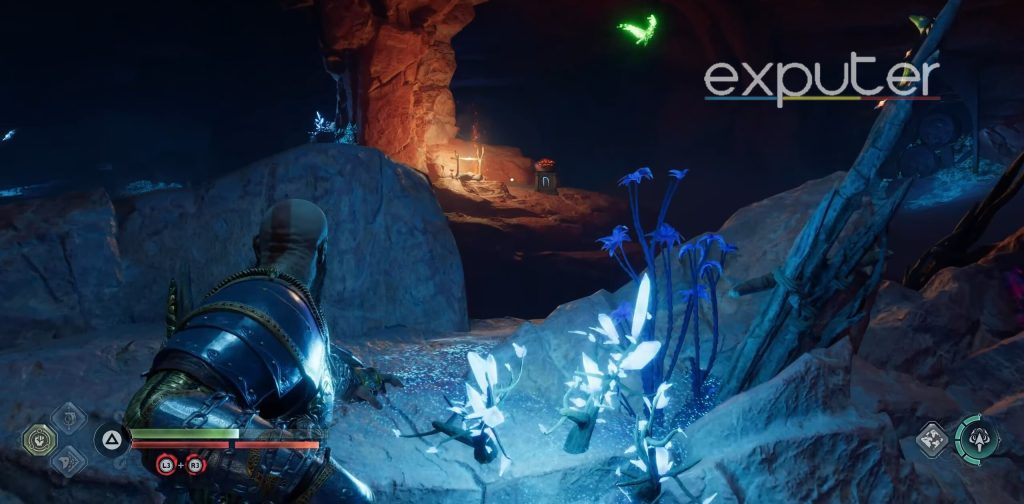
Take the mystic gateway up to the forge, and head towards the place where there is a green heart graffiti on a cliff, and right ahead of it, you will be able to locate the nornir chest.
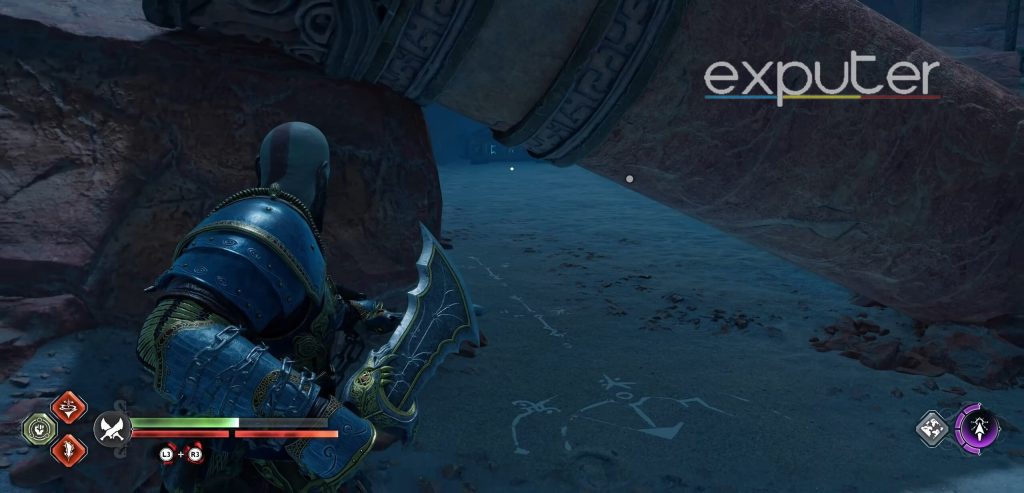
To get the runes, start heading back to where there are collapsed wooden structures, and there will be one that will be sitting on top of a large stone and you can take it out. For this one, you will need access to the Draupnir Spear.
For the next one, make your way back, and past the heart drawing, and the second one will be nestled in between a large cliffside with a little spacing for the rune, stab it with your spear. The last one, will be present ahead across the edge of the cliff on another mountain cliff.
The Applecore First Chest
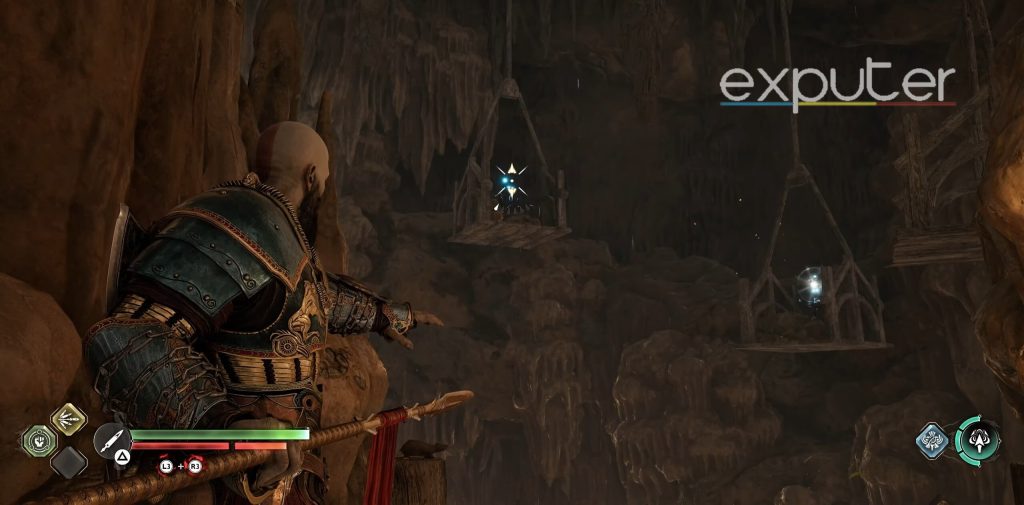
As for the apple core area, there will be two nornir chests there, one of which can be accessed by following the general path ahead of the mystic gateway. While in the core, start running to the left of the main pathway, and then steer right, under a platform, and up another platform on the right, where the chest will be present.

For the runes, take a look back and head towards the edge of the platform, where there will be two runes sitting atop two elevators. For the third one, pan your camera to the left, head up the two platforms, and turn back and the third rune will be hidden behind a large rock.
The Applecore Second Chest
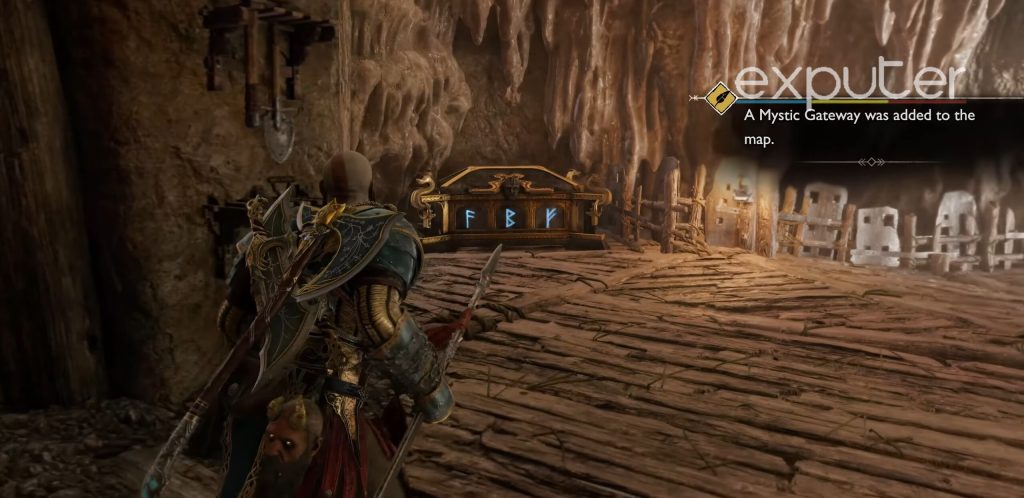
For the second chest, make your way over to the platform across the gushing water, steer to the right, and head down a few planks, and past the area where you can duck under the platforms, jump up the platform past it, and open the closed door. Stab a spear across the next platform to jump up it, and the chest will be present ahead.
For the runes, steer a bit to the left, and head back and the first rune will be present in front of a stool.
For the second one, head towards the area where there is a seemingly black hole and a pile of breakable rocks to the right, and aim your axe at the pot of fire and the rune will be present to the left of it.
Go back to the chest and use your spear to open the chest.
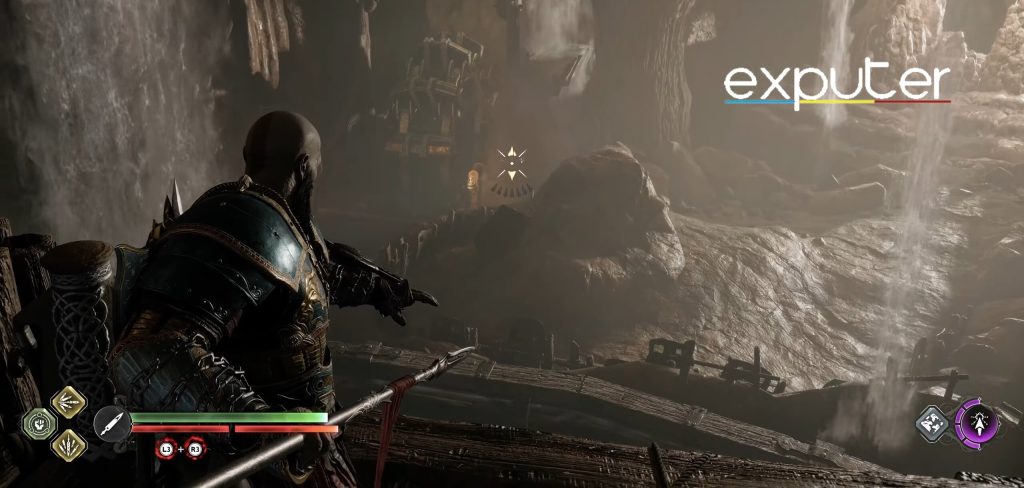
Jarnsmida Pit Mines

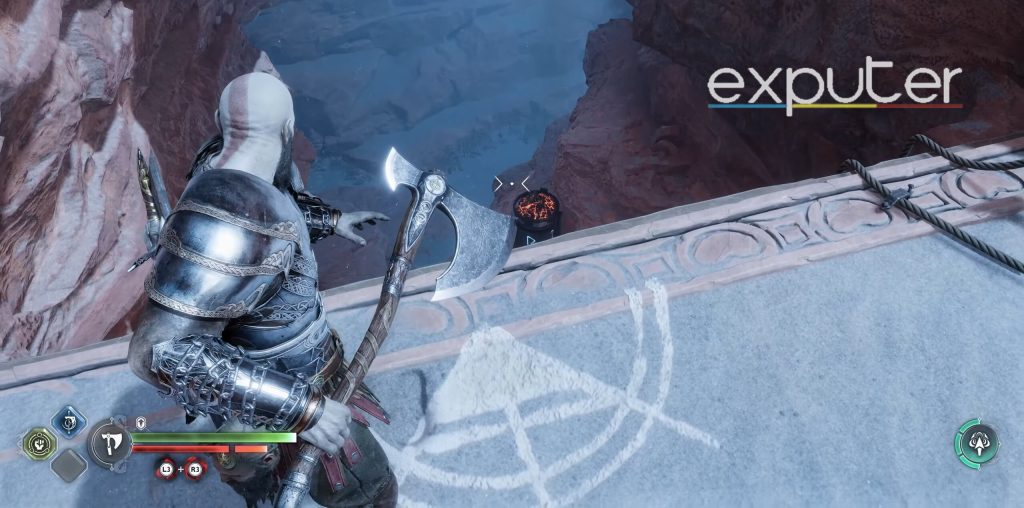
Heading over to Jarnsmida Pitmines, start by freezing the water that is channeling through the channel with your axe and use your blades to get across, and the chest will be present infront of you.
The R rune will be placed towards the left of the chest, and for the next one, head over to the edge of the platform and jump down.
And the next rune will be present ahead of a wheel in front of a waterfall.
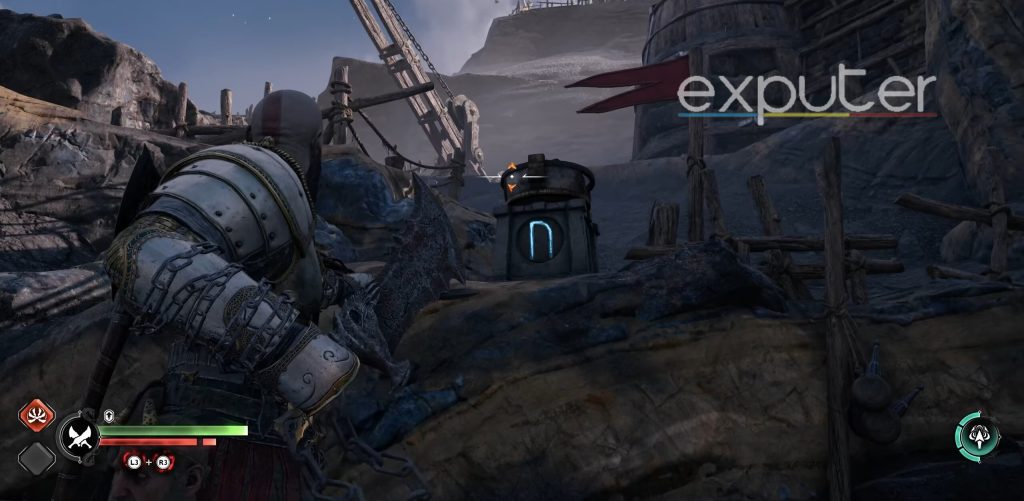
For the last one, head straight back with the help of your blades, and the N rune will be present ahead of you.
Raider Hideout
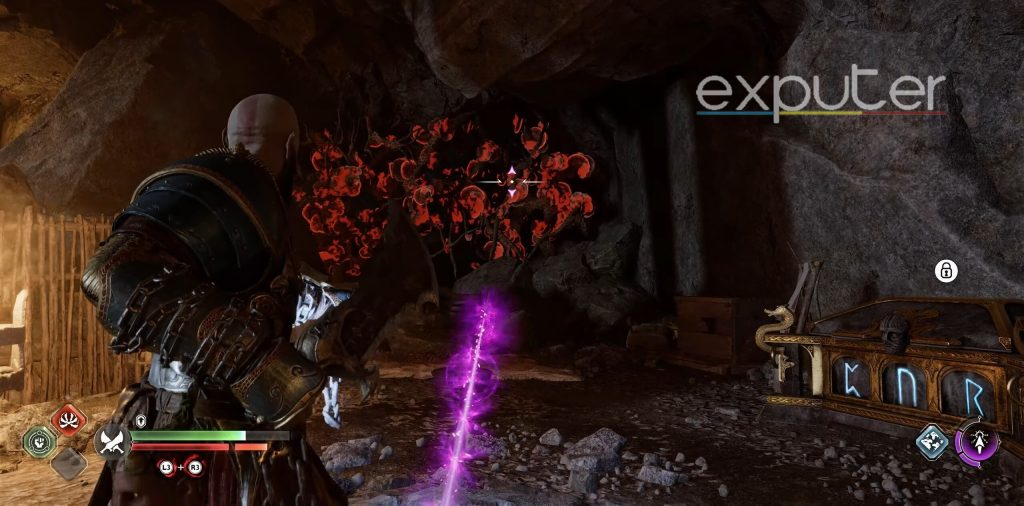
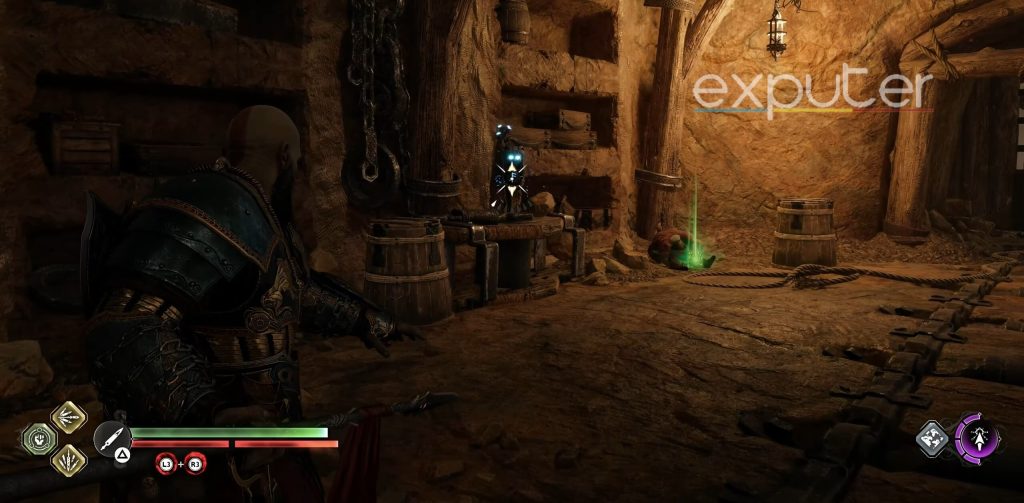
Head inside the raider hideout and follow the path leading to the back, and the nornir chest is located on top of a platform across from the small lamps.
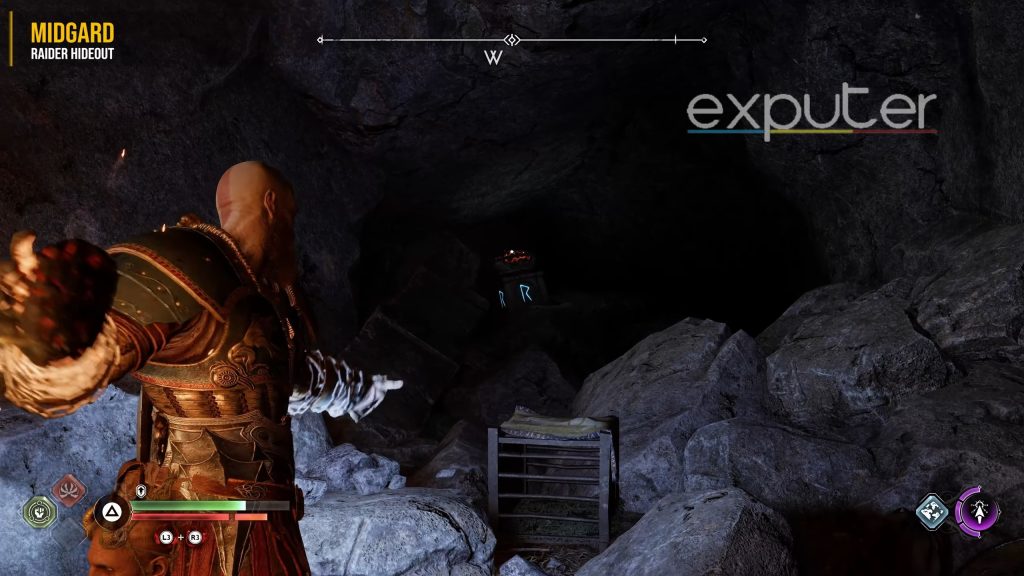
The first rune is present behind a few rocks that you can blow up beside the nornir chest.
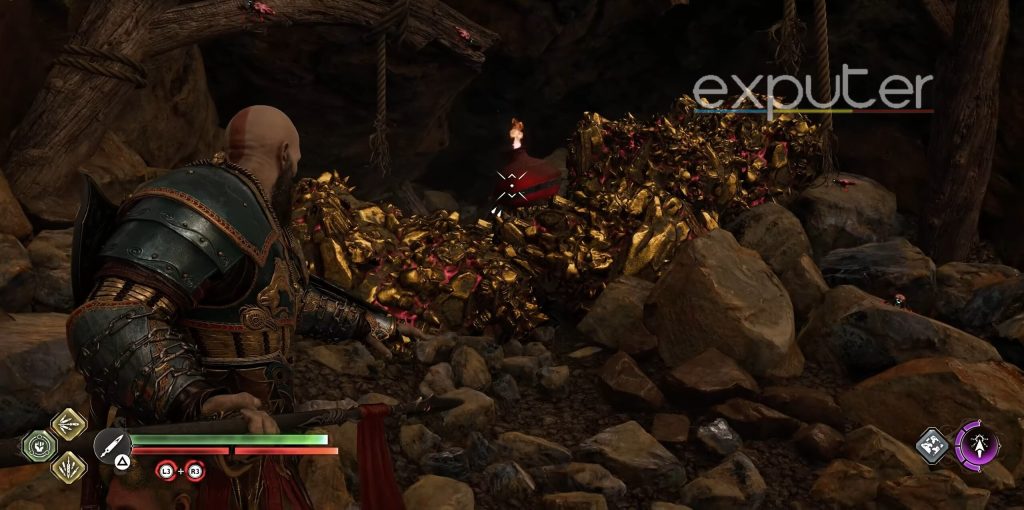
For the second one, grab the burning stone from the pot, and take a look across where you can see a few gold rocks that you can blow up, the second rune is there.
The third rune is present if you scoot a bit back and look ahead across the edge of the platform beyond the curving stone.
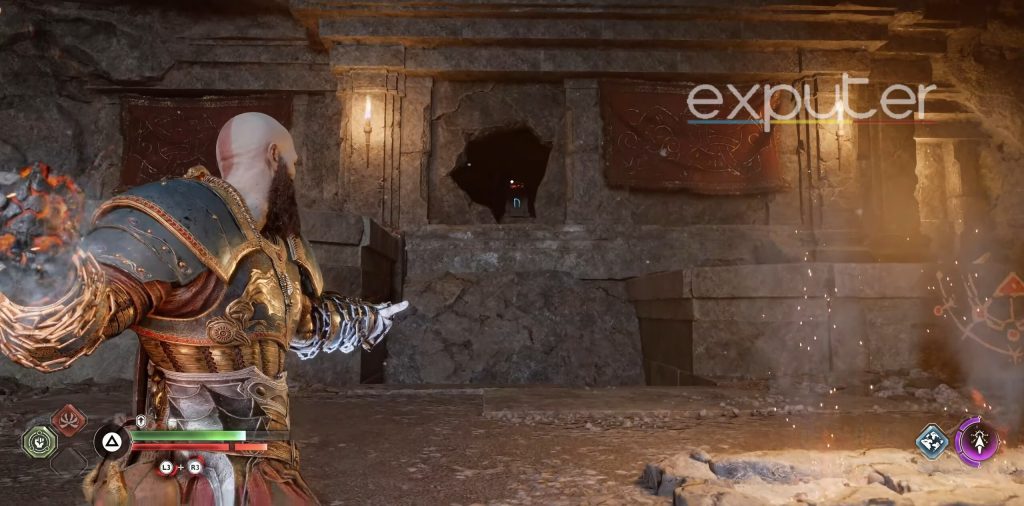
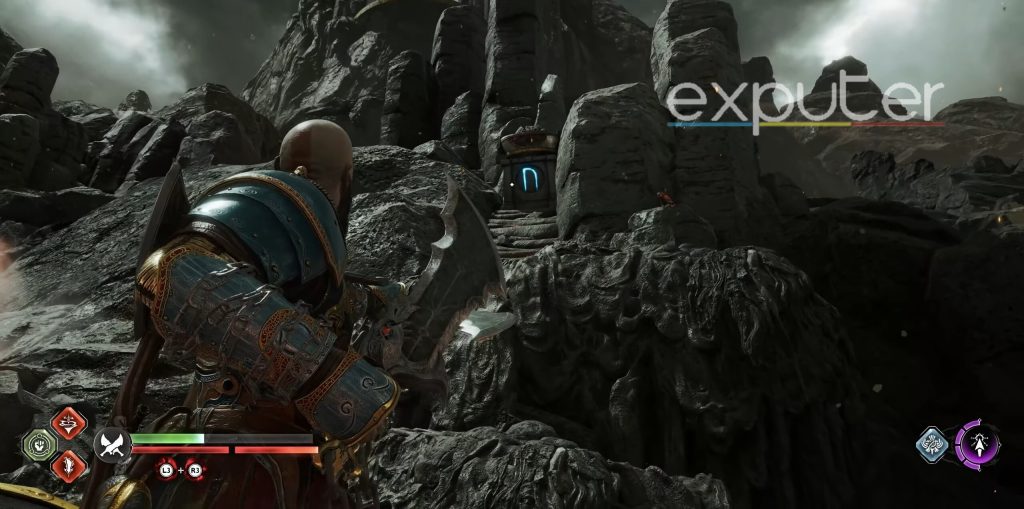
The Oarsmen
When you’re at the area in front of the falling piece of Tyr’s statue, turn right and head across the large platform, head into the cave, and you will see the chest down the stairs.
For the runes, you will need to break into the small jail-type structure that is hiding one of the runes behind it, and you can find your way in by heading up the wall and out the back.
For the next rune, run across the chest, and on the right of the mystic gateway, there will be another rune.
The final rune will be simply present behind you, and you can take it out easily.
Well of Urd
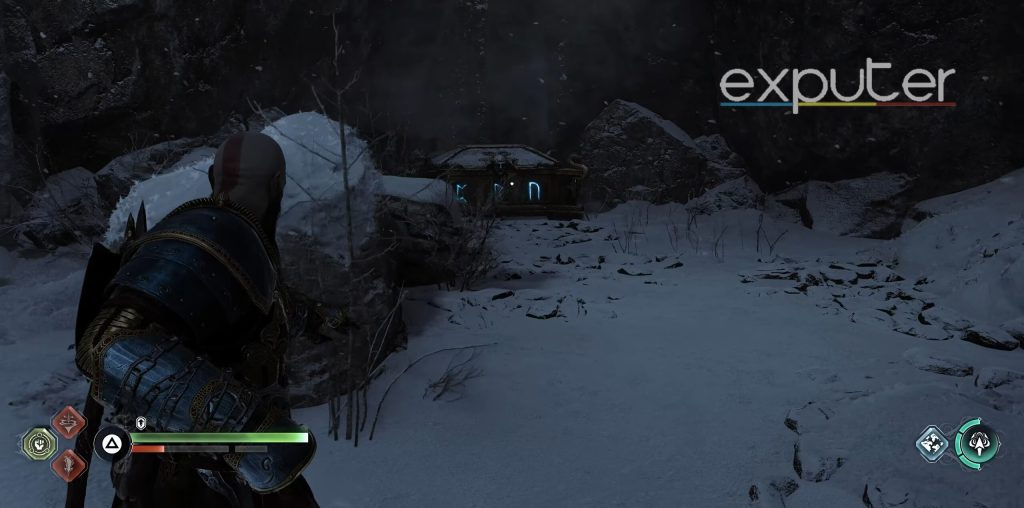
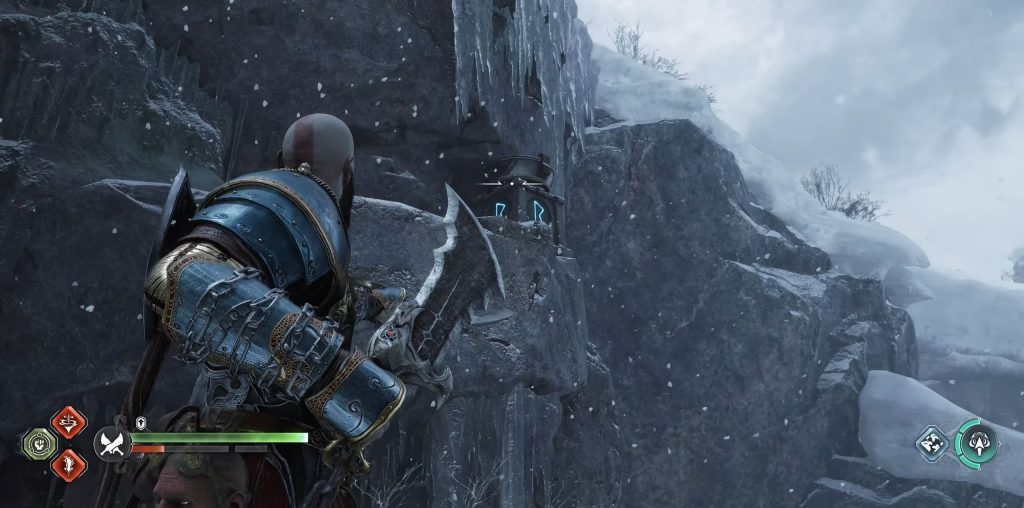
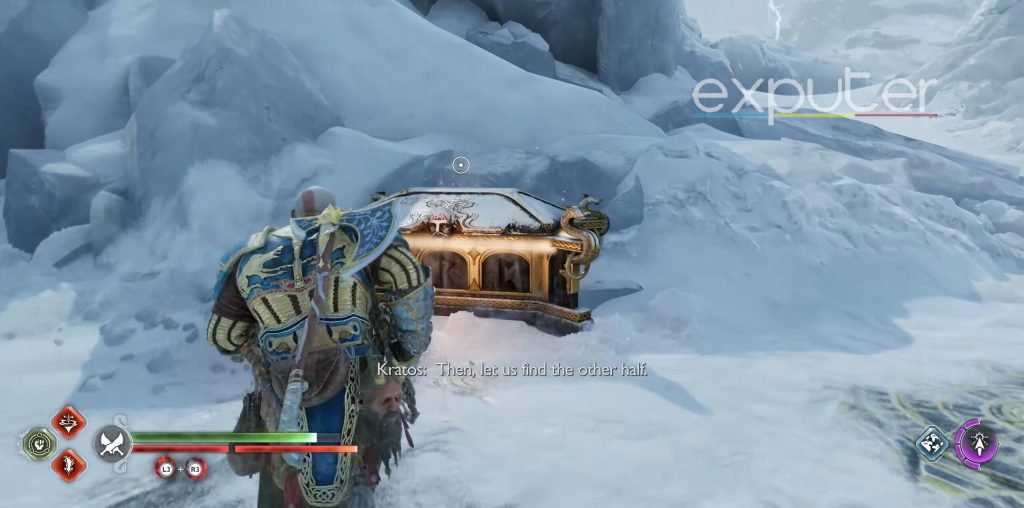
From the well of Urd, head up the main snowy pathway and then steer a bit to the left and the nornir chest will be placed below a mountain edge.
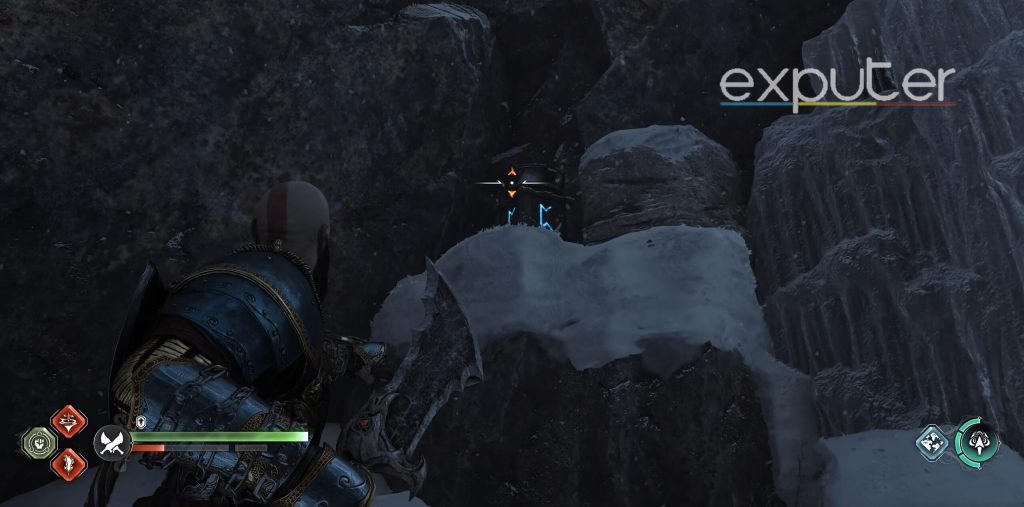
As for the first rune, all you need to do is pan your camera to the right and look on top of a small stone with snow on it. For the next one, head up the wall and snowy icicles, and on top of the platform above the R rune. Get to the edge of the platform where the N rune will be present.
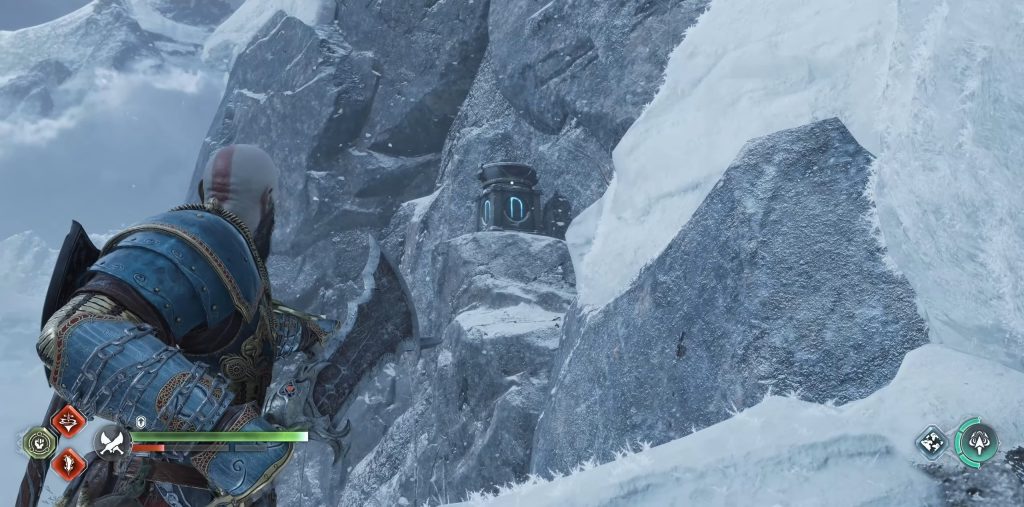
Head back down, and light up the R rune below some icicles.
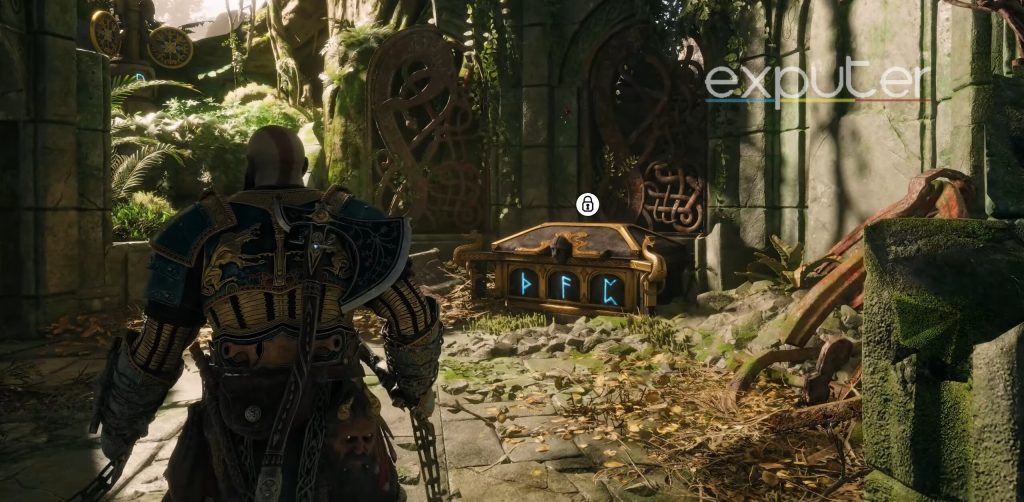
The Lost Treasury
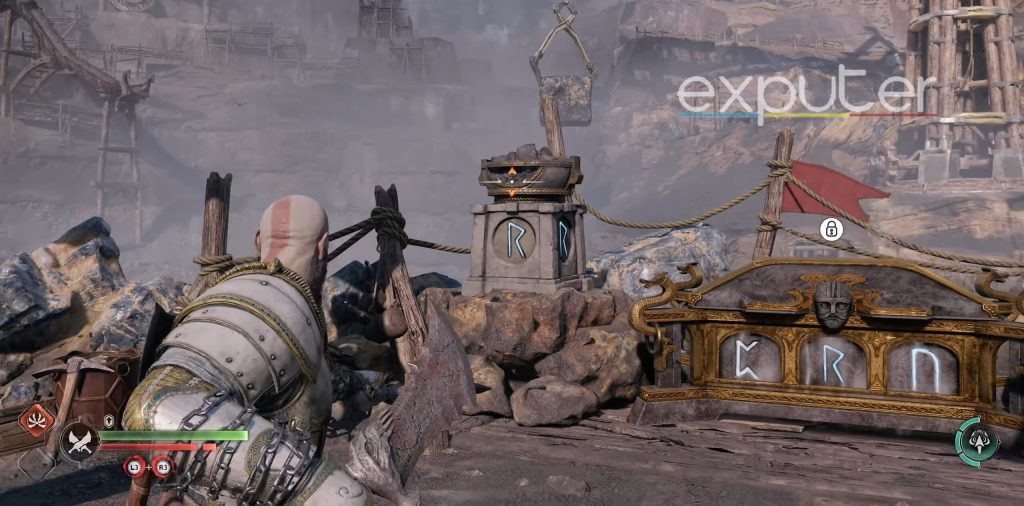
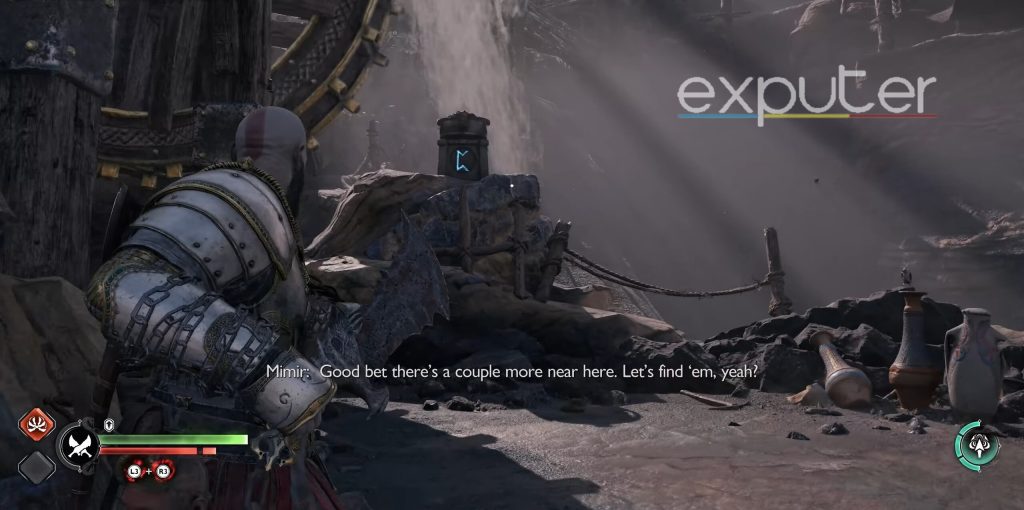
Take the mystic gateway and head towards the giant gold wheel, and turn it to the right through which you will be able to light up the first rune.
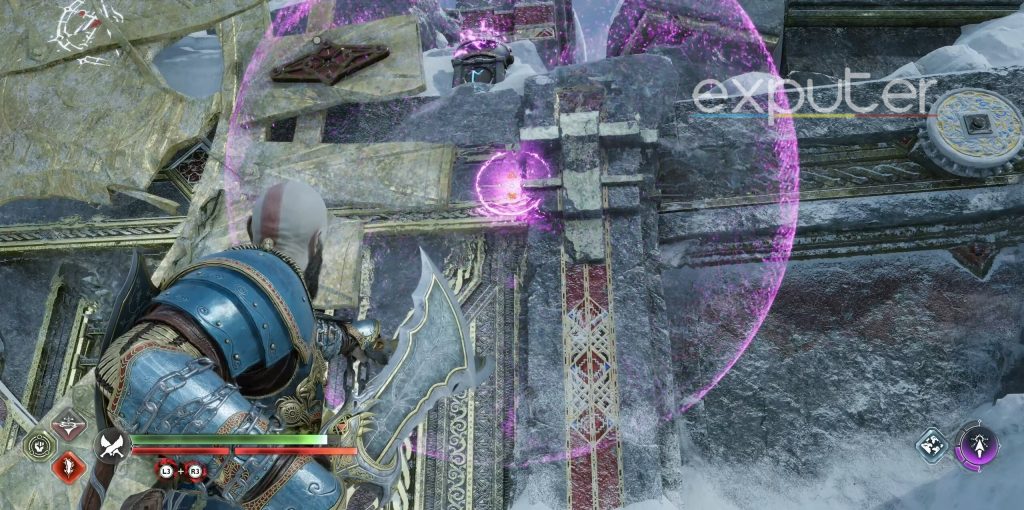
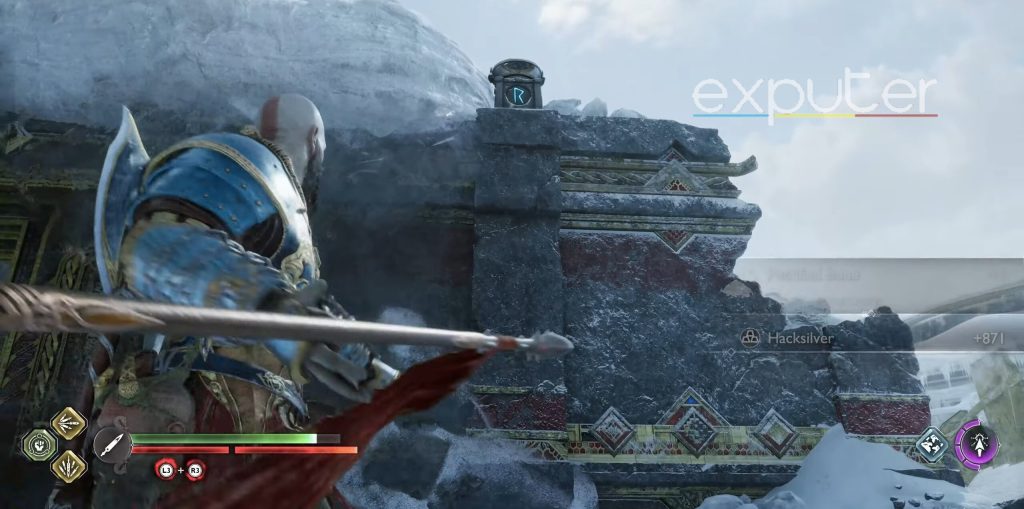
Next, head up the wheel and move to the right, and make your way over and into the entrance in front of you, making sure to take out the enemies there, and the rune will be present at a top of a stone pillar which will be the R rune.
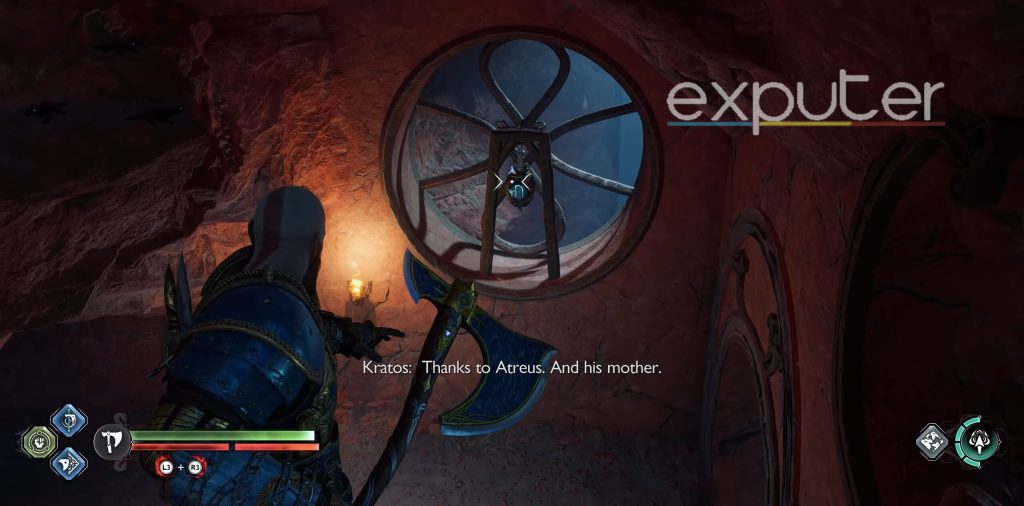
Move the wheel to the right, and use the chains to hold it in place while freezing the two circles on the left and right of the wheel. And head inside, where the third rune is present.
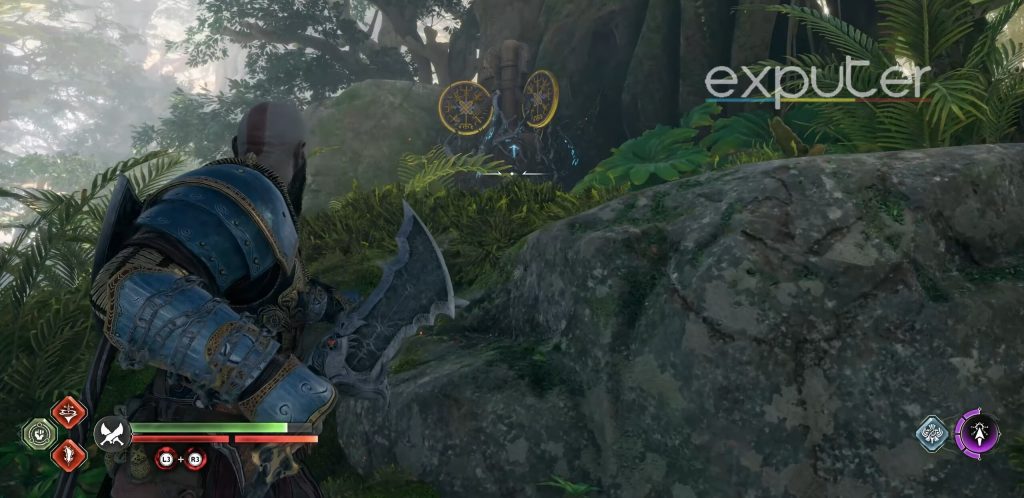
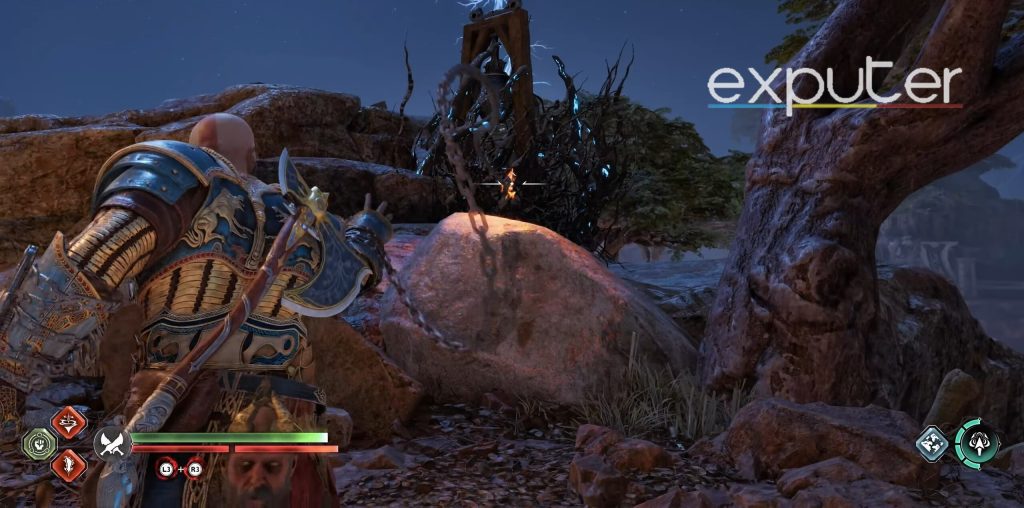
The Southern Wilds
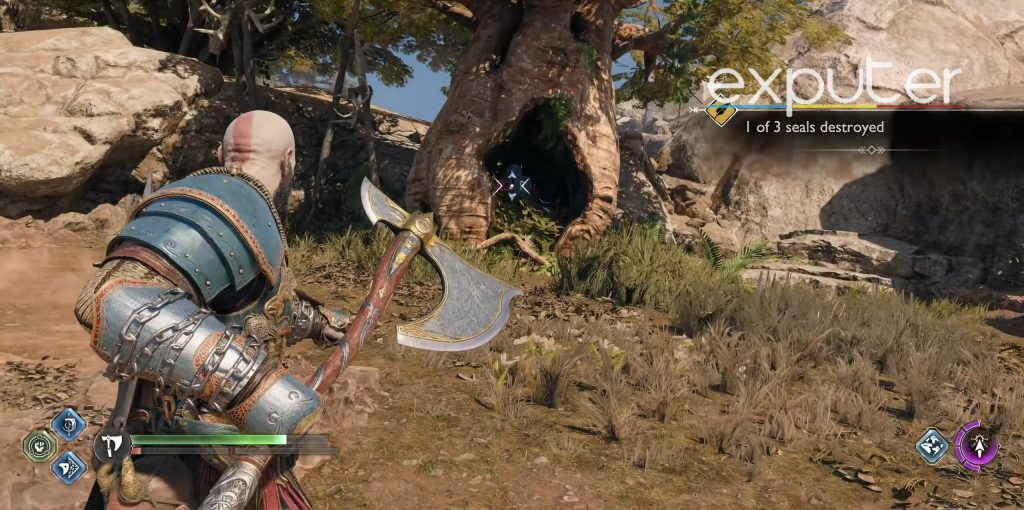
While in the Southern Wilds, head into the forestry area and then steer right, and when you head back out the chest will be near a large tree.

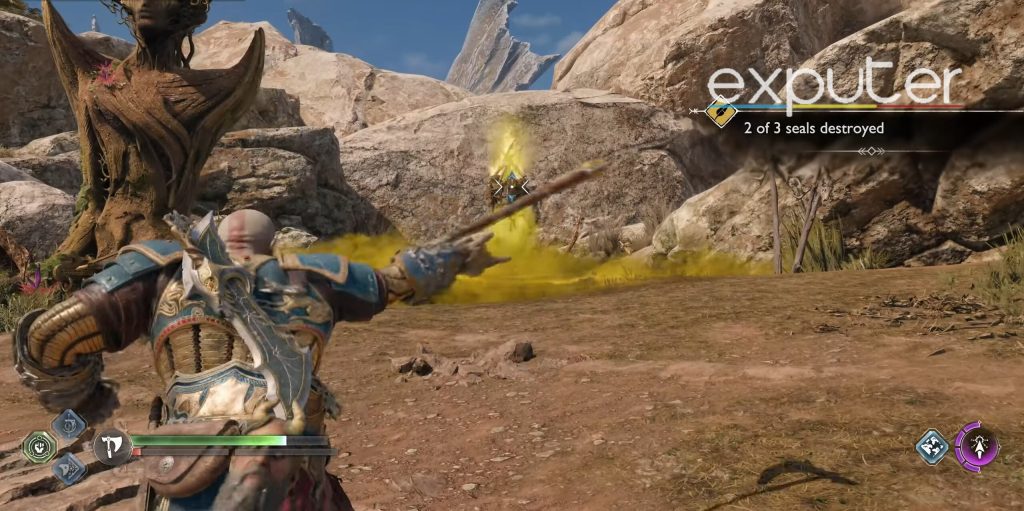
For the runes, look across from the chest and the first rune will be inlaid between a few thorny branches which you can light on fire and take out. For the next one, head past the area in front of the chest, and look on top of the tree with thorny branches. Set them n fire to light up the rune, and the last rune will need to be rotated to the left and is present to the right of the same tree.
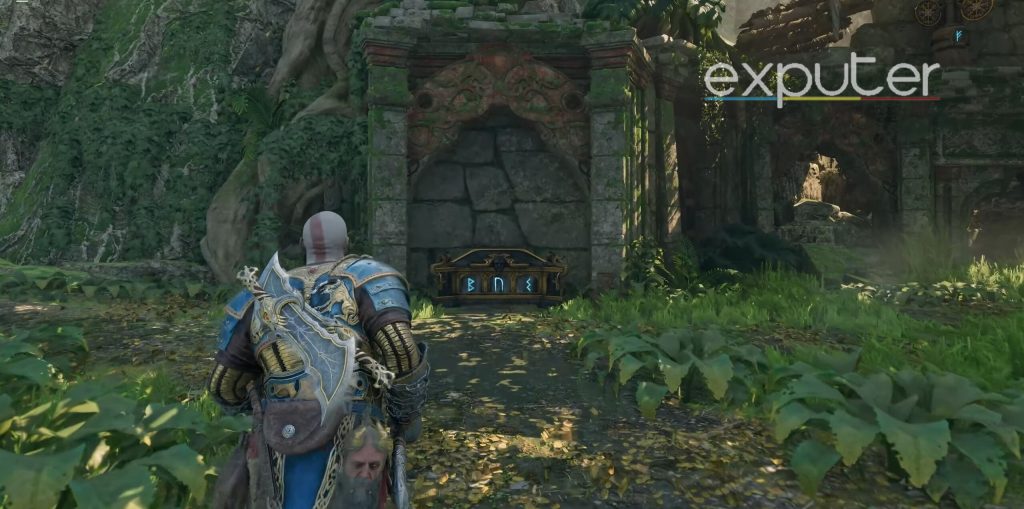
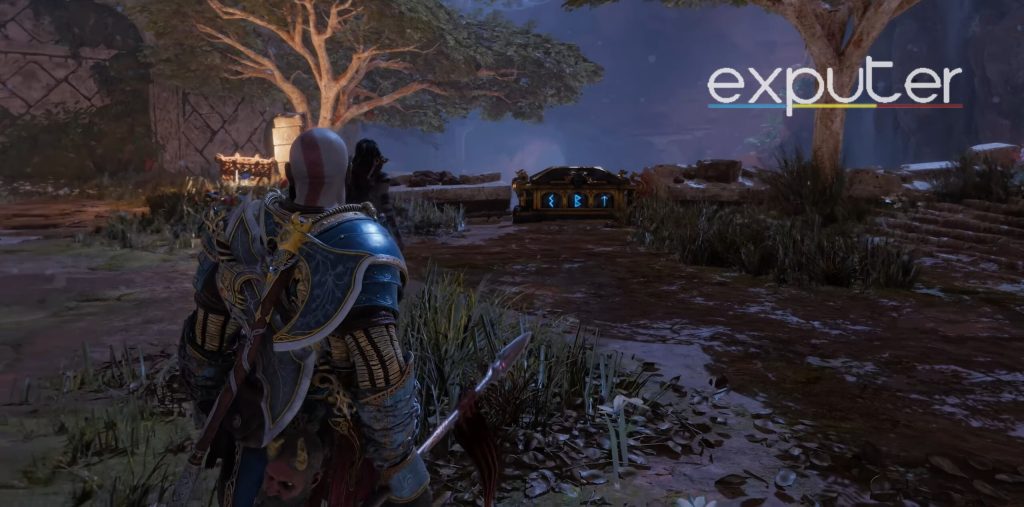
The Abandoned Village
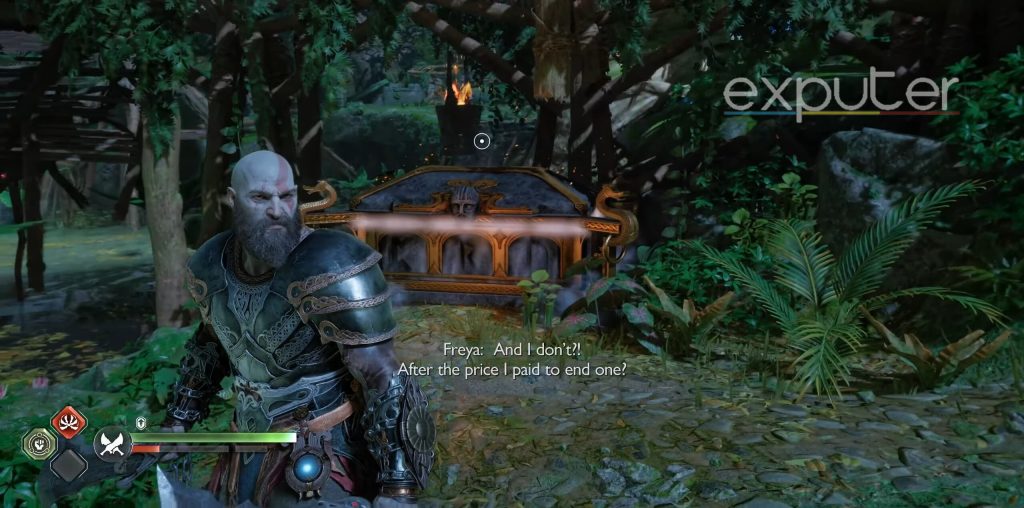
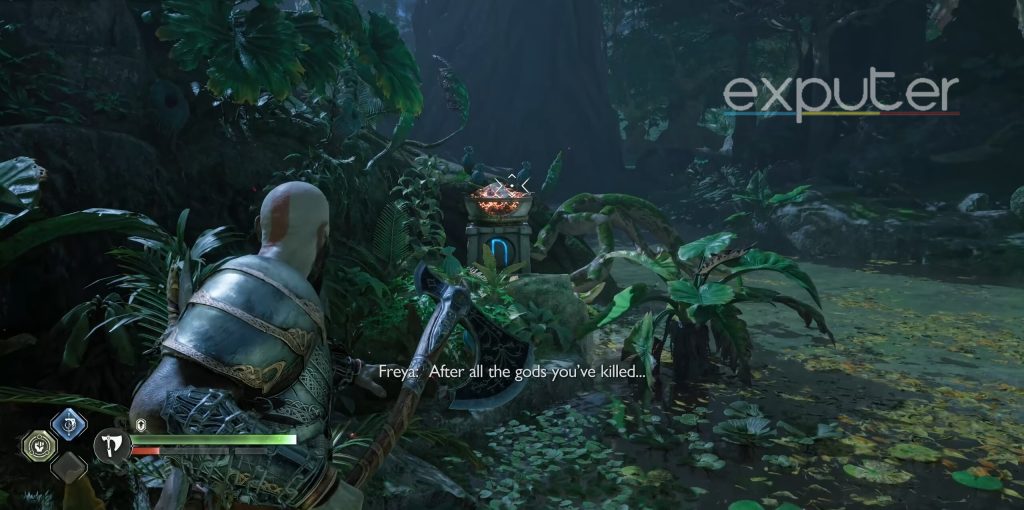
From the abandoned village, head forward, and steer left to where the thorny branches are and set them on fire. The first rune is present right when you enter the abandoned village area and on your left.
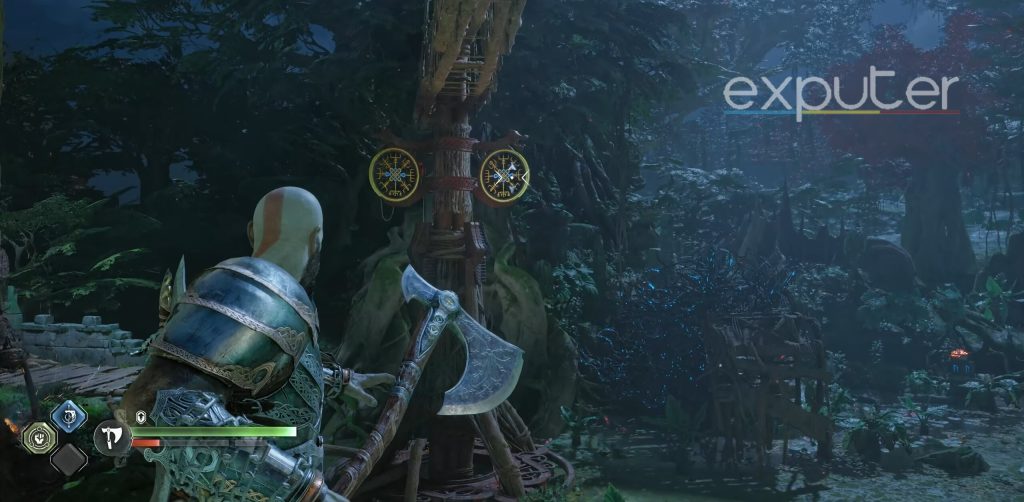
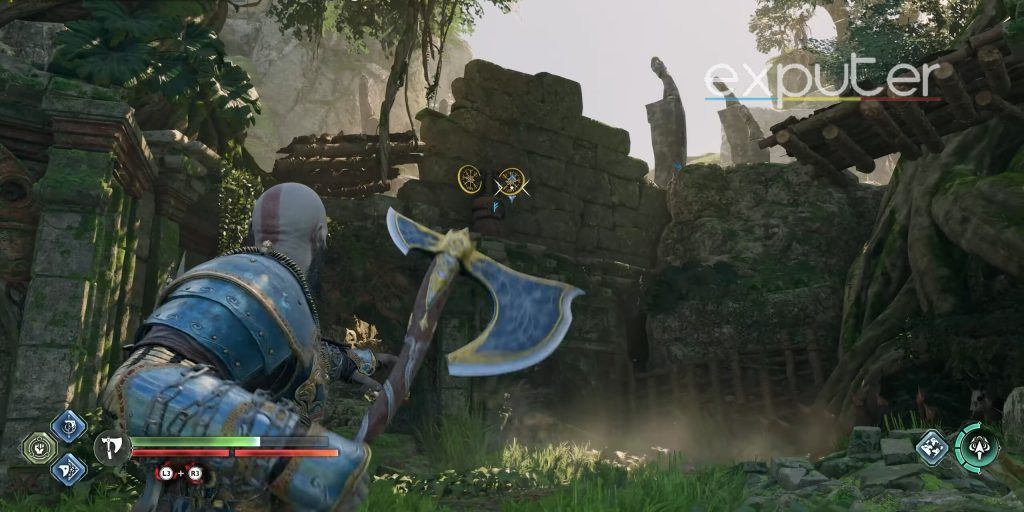
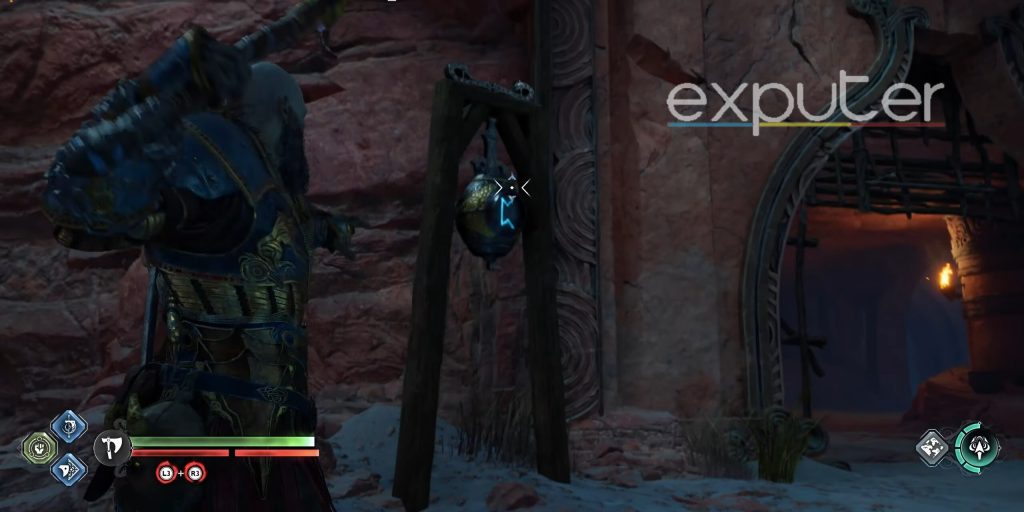
Players will need to rotate the giant structure that is in the middle by having to aim at the circular targets as well as lighting up torches to rotate the structure too. Head across from the first rune, and pull up the bucket of fire to light up the vines.
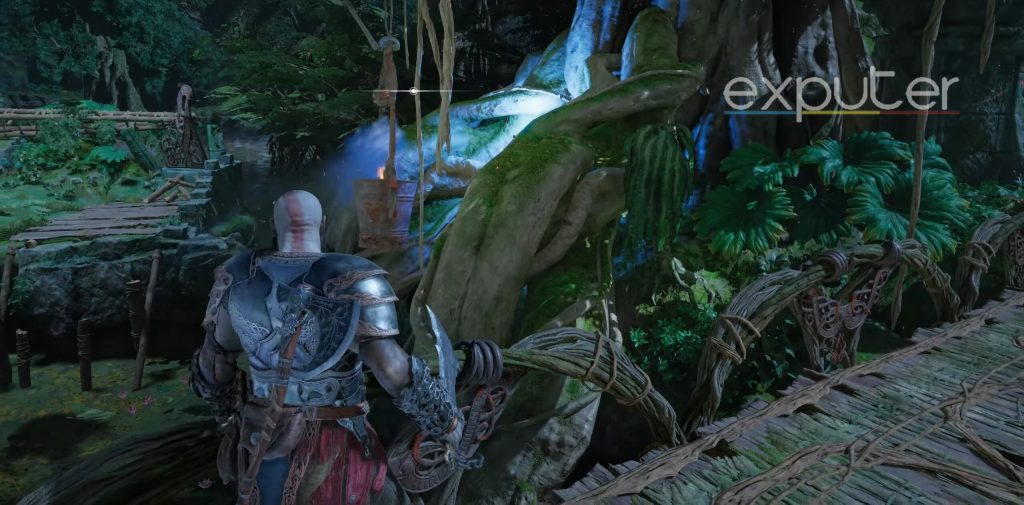
Head forward, and the second rune will be present underneath a tree. Keep going across the bridge and make a U-turn until you can see the nornir chest and you will be able to light up the final rune.
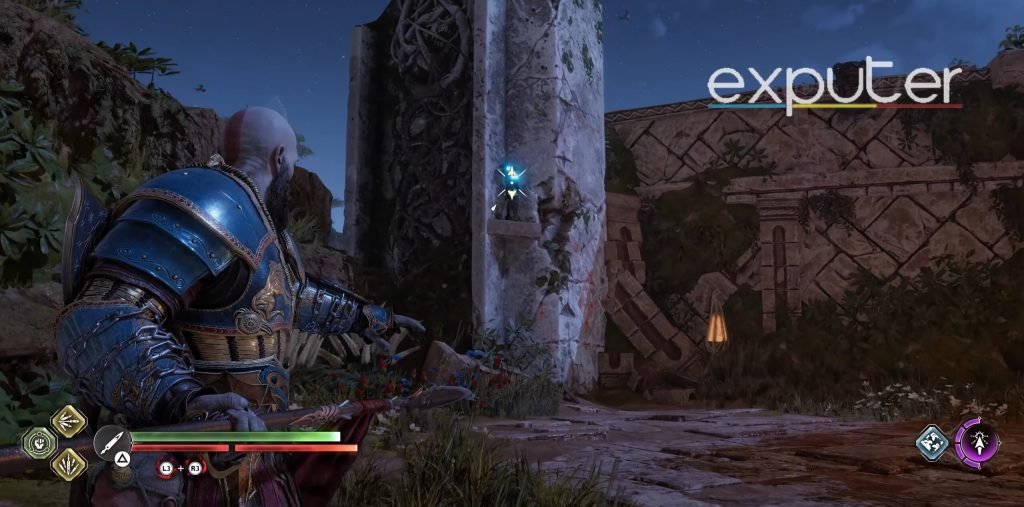
Cliffside Ruins
In the ruins, the first rune will be across a small stream of water and you will need to light up the stones using orbs, then head back and throw the axe on the right circle on the rune.
After that, head left and run towards the walls where the ghost apparition starts a quest for you and climbs up it. Get on the platform with the bridge connected to it, and head forward where you can see the next rune.
Head back down, hop on the boat, and start steering left and dock the boat on the beach, look back and the final rune is present in front.
The Veiled Passage
Over to the veiled passage, boat over, and then steer right to dock it. Hop off, and light up the few rocks on fire, and the nornir chest will be present behind it.
Head back, and all three runes will be present across where there are wooden planks that you need to set on fire, which will open up the chest for you.
Goddess Falls
Next up in the goddess falls, from the edge of the platform, head back, and run over to the area with the waterfall where there is a conjoining wooden bridge, and the C rune will be sitting atop a large stone platform.
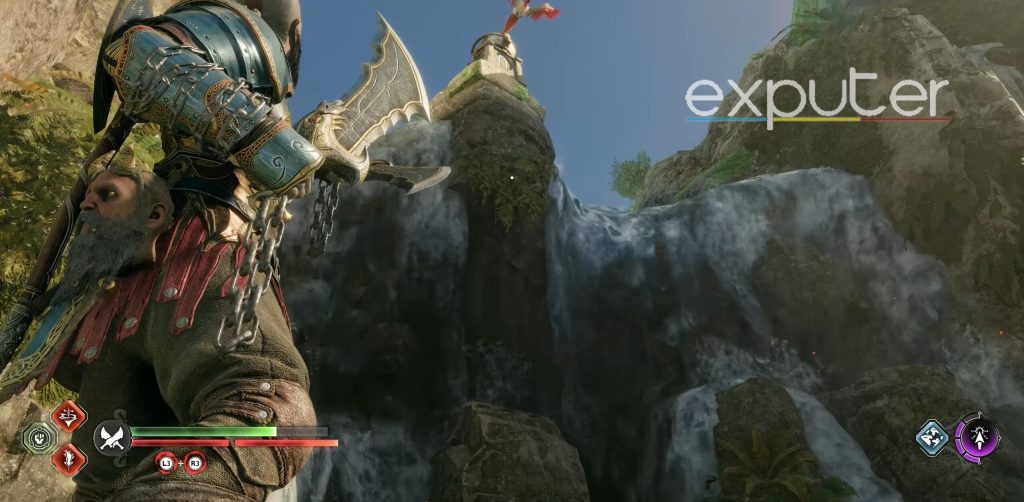
Start heading back towards the rainbow, and you will need to set the stones that are between the waterfalls on fire which will light up the second rune. After that, take the small lamp hanging and hop over to the next platform where the chest is present, and the R rune will be present across two stones standing there.
Eastern Barri Woods
Go over to Barri Woods next, start heading forward, and steer right from the giant tree. Then steer left from it, and keep heading straight and then up the stairs, where you can easily see the nornir chest located there.
From the nornir chest, if you look up to your left behind the metallic broken structure, the first rune will be present. The second rune will be present in front of a tree if you head back from the place where the nornir chest was present, and you need to set the vines on fire and then hit the left target.
For the last rune, head into the outer area in front of the nornir chest, and it will be present below the dome structure.
The Plains First Chest
From the edge of the platform, start heading back, then take a right and keep heading on. The first rune will be present just down the stairs on your left of the tree. Light up the vines on fire.
From their head back, step right to head on the ground and the chest will be present to the right. Light up the rune that is placed behind the tree and on top of the cliff. The final rune will be present on the left on top of a stone on the left of the nornir chest and it will be the R rune.
The Plains Second Chest
Run past the area where you see a bucket hanging from a tree, then steer left, and keep heading forth and down on the ground. Make your way into the area by lifting the gate, and the chest will be present underneath a statue.
Turn a bit to the left and the first rune will be placed on top of a large stone, and you can hit it with your axe. The next one will be placed inside the hollow trunk of a tree, and the third one is placed behind the tree structure which holds the nornir chest.
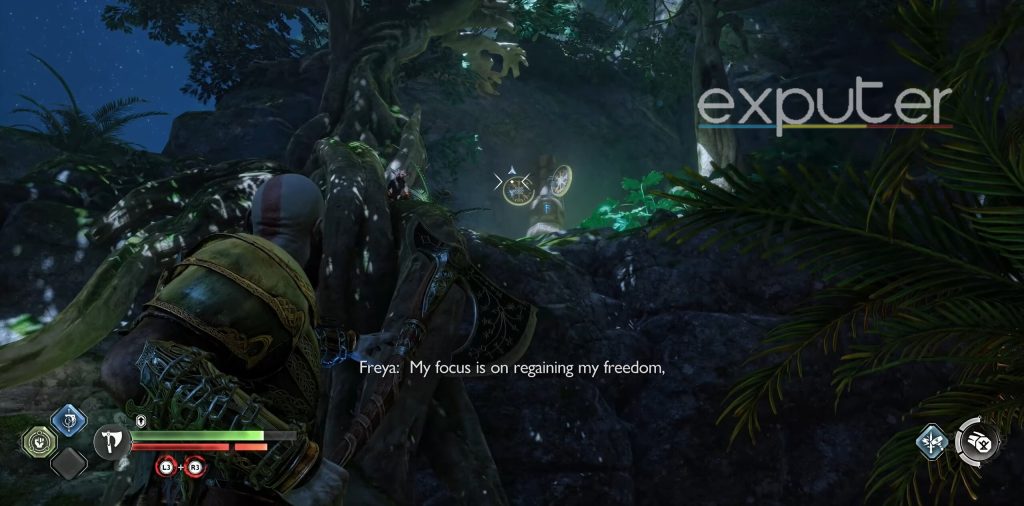
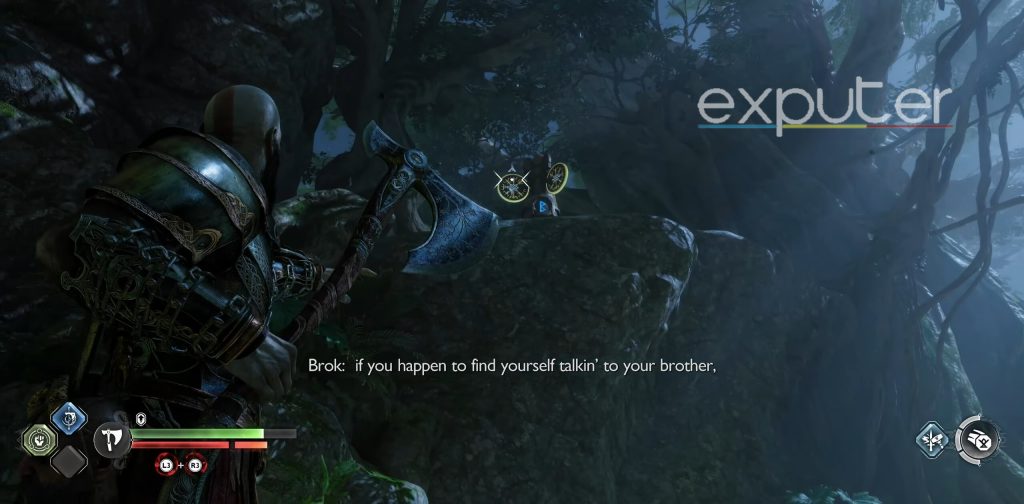
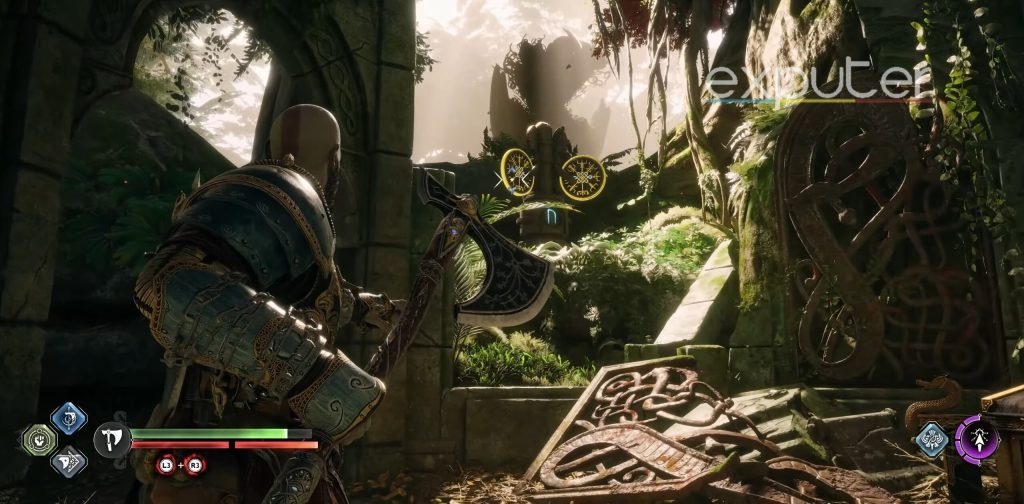
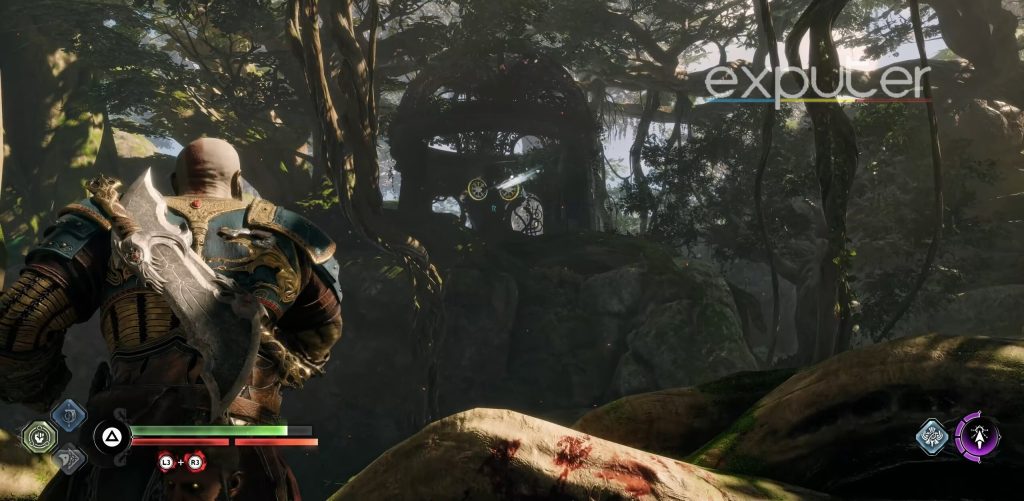
The Jungle
Take the mystic gateway to the jungle, and boat to the nearest island, deck your boat and the nornir chest will be placed in front of a stone wall.
The first rune will be placed on top of a stone structure and can be seen if you pan your camera to the right from the chest. After that, head back and up the stairs close by, and there will be a giant stone building on the first floor, you will be able to see the second rune.
As for the last rune, it will be enclosed by vines, so light it up and set it free!
The Sinkholes First Chest
Let’s head to the sinkholes now, head in through the circular entrance, zipline down, and go into the cave where you can see the chest.
The first rune is present outside the cave if you go over to the edge of the platform, and it will be the N rune.
Go back, and the C rune will be placed on a small stone platform on top of a puddle of water which you will need to light up. The final rune will be present when taking a flight up on the upper cliff, and it will be present on the edge of a cliff.
The Sinkholes Second Chest
For the second chest, you will need to head further from the mystic gateway that is present there and in between two trees, you will be able to look at the chest.
From the chest, you want to pan your camera to the left, and take your spear in your hand and the first rune will be placed on a triangular stone platform. For the second rune, turn back, and start heading up the stairs until you can see another stone pillar.
For the final rune, head into the grassy patch where there are plants, and the rune will be present across.
Temple of Light
In the temple of light, you will be able to access the area when you’re following Tyr for the Groa’s Secret questline into the temple and up. Head up the light path, and the chest will be present across from the circular platform.
The first rune will be present on the left side of the chest, while the next rune will be a bit on the left to it as well. As for the final rune, you can find it when you head down the stairs and interact with a twilight stone.
The Strond First Chest
From the mystic gateway, start making your way forward, up the stairs, and head through the small gap in the wall. Follow Tyr, and head down the edge of the platform where the chest will be present.
Head back up the hill and the two platforms, and the first rune will be present on the edge of a cliff. Head back down, hop on the platform where the chest is, and look behind you where there is another rune there.
Move back from the chest, and start making your way down and the third rune will be there.
The Strond Second Chest
Next up, go over to the stone ledge that has fallen, go past it, and keep going forward from the tree and then steer right where you can see the chest hidden below a secure wooden structure.
From there, look right, and you will be able to encounter the first rune. The second rune will be just behind and on the right of the large tree that is in front of the chest. The final rune is present on the right of the bridge that is broken.
The Below
In the below, hop onto the platform that has a small cave entrance that is locked by metallic bars and jumps on the right platform and down. Turn back and align the twilight stone to break the three pencil-like structures.
Head towards the platform that has a window to the left of it and the first rune is placed in the middle of the window. Jump down, open the metallic bars, and the chest will be present on the right.
In front of the chest, there is another entrance, go there and the next rune is inside, while the final rune is present just outside the entrance of the cave in front of the chest.
The Barrens
Towards the edge of the barrens, there is a ruin where you can find the runes at. The C rune is present on top of a small stone and can be lit up, while the second one can be found by running behind the ruin and it will be the N rune.
The final rune can be found on top of the actual ruin and can be lit up by hitting the pot of fire next to it.
The Forbidden Sands First Chest
Break the small stone entrance in the forbidden sands, and head in. Keep heading across the bridge and the chest will be placed in the middle in front of five statues.

The first rune will be present ahead of the edge of the cliff, and it will be the C rune and can be lit up using the orbs and lighting it on fire. The second rune will be present in the wall that is just above the first one and you will need to break the wall to access it.
The last one will be across on the other end of the bridge, and it unlocks the chest.
The Forbidden Sand’s Second Chest
Head across the stone ledge that has fallen over, and the chest will be right across from it. Turn right back around, the first rune will be placed on top of a tall stone tower and you will need to light it up.
For the next rune, head over to the area where two stone ledges are bending and the rune will be nestled in between them, and the third rune will be present when you head back to the fallen ledge and take a look to your right.
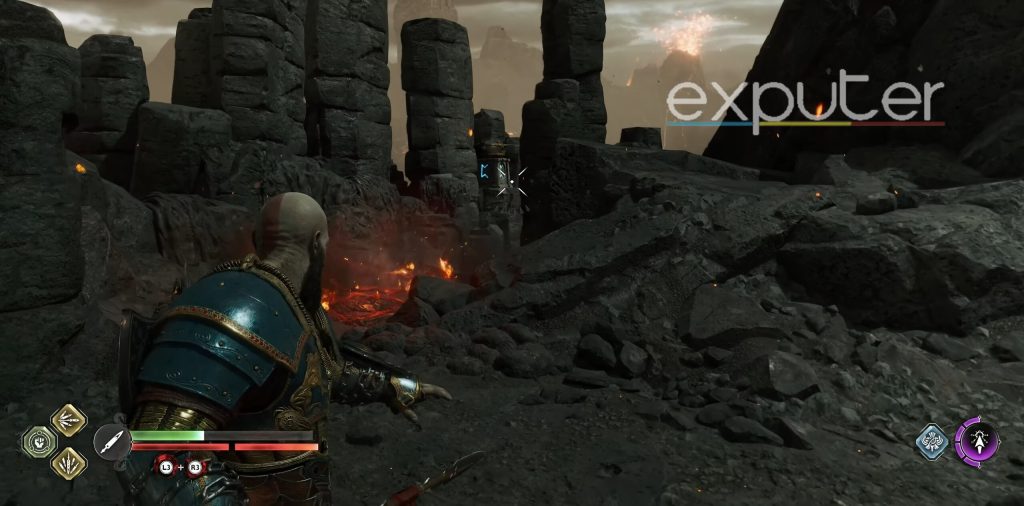
Burning Cliffs
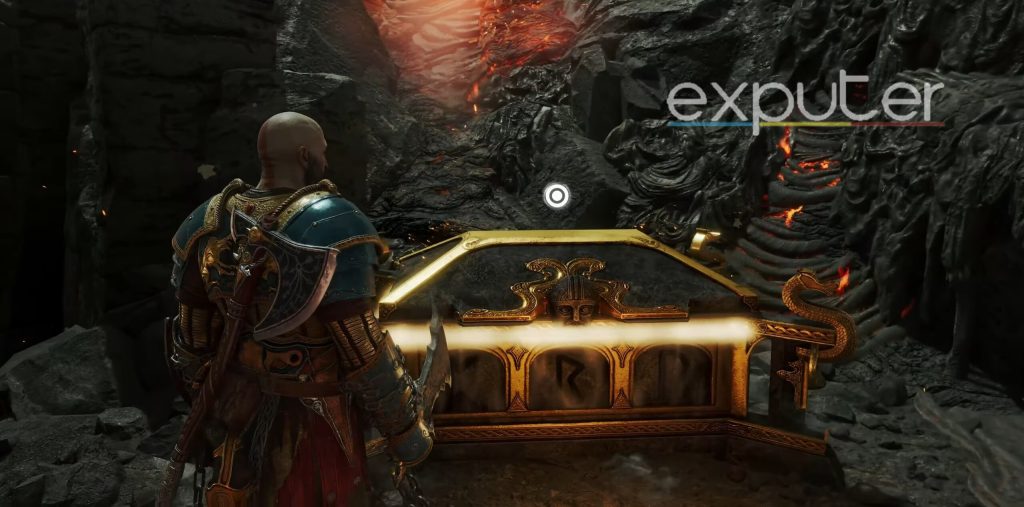
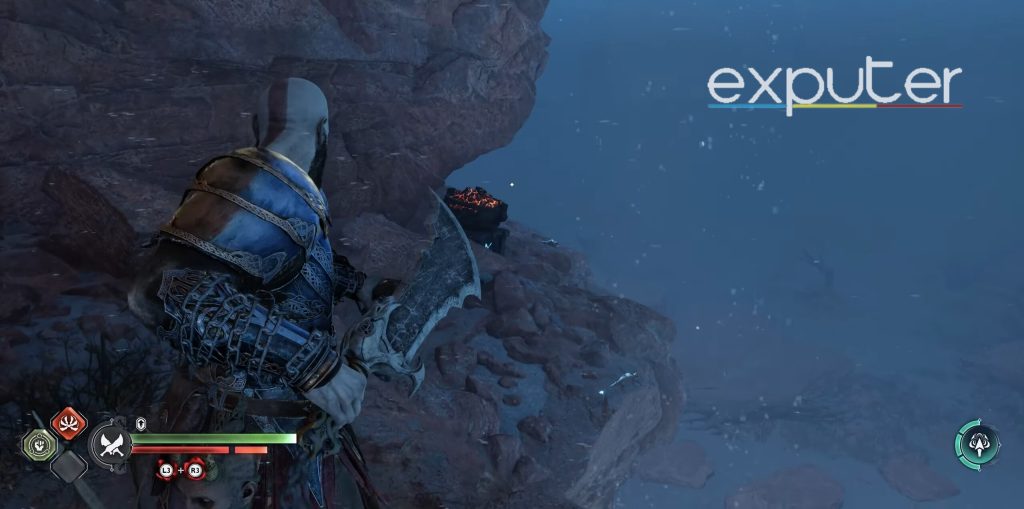
In the burning cliffs, hug the edge of the wall to safely go down the lava-filled area, and there will be a small area with 6-7 tall towers, and lava will be in between them but one of the runes will also be present there.
The chest will be accessed after pressing down on your spear in front of a stone that is crackable, and another rune will be present on top of the chest which will be the N rune. Another rune will be present on the edge of the platform towards the right from the area where you lit up the first rune.
Aesir Prison
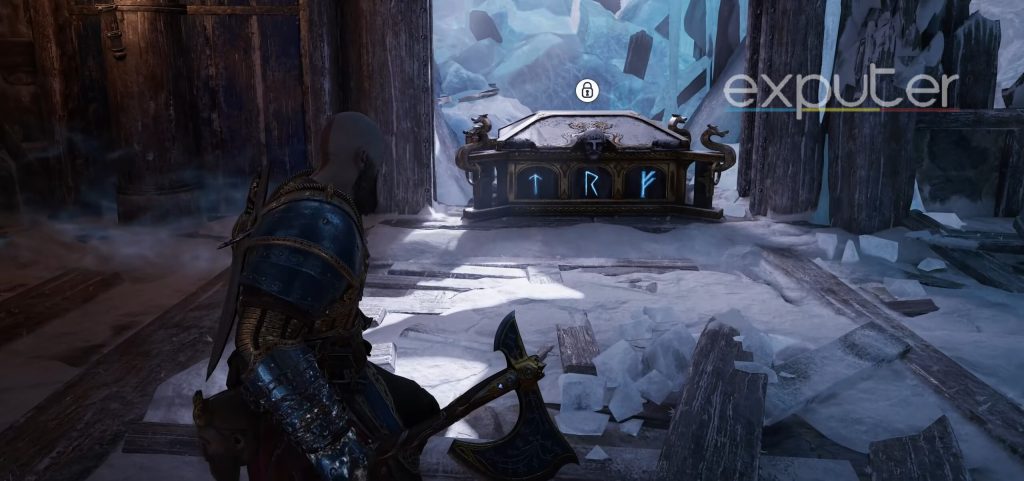
Head through the snowy path and into the prison, and use your spear and stab it into one of the openings in the wall to make a ledge, and use that to get inside one of the bars. Head into one of the prisoner’s rooms where there is a breakable entrance, and break into another inner area of the prison. And the chest will be located at the end of the room.
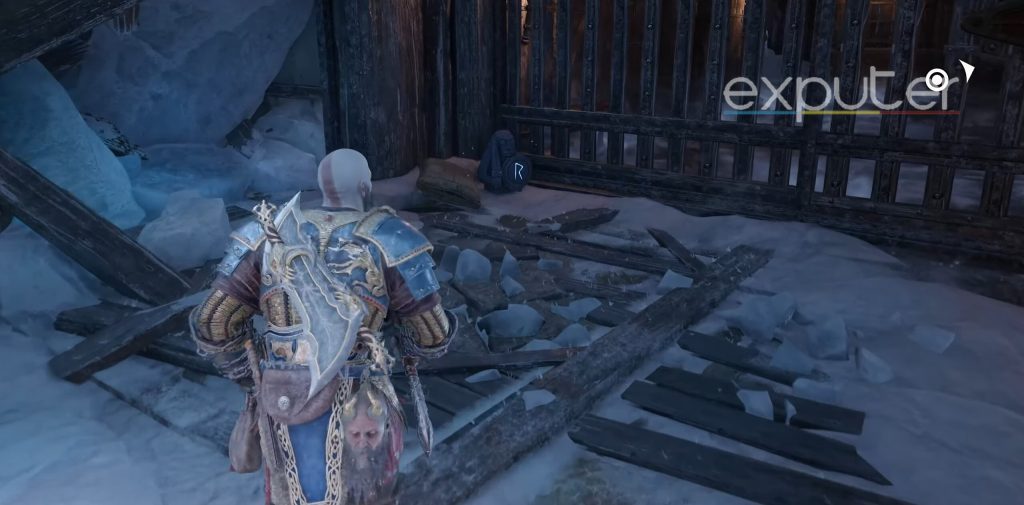
The first rune will be placed in the corner in front of some bars, while another will be present in the room inside, and if you look down on the bottom there will be the second rune.
Lastly, head into the room where Mimir says that the prisoners might not be happy with you accessing the final rune.
Muspelheim Crucible
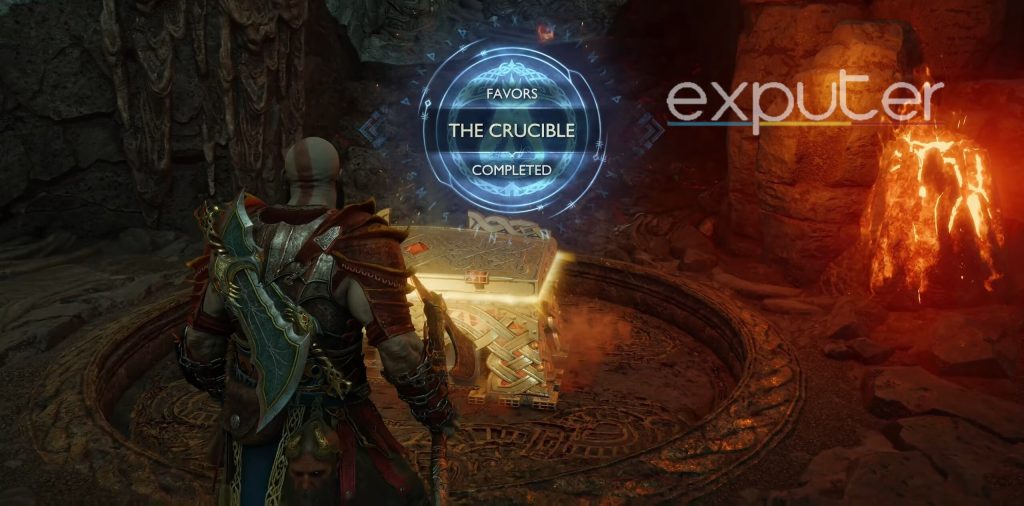
For this challenge, all you need to do is complete the crucible challenge to access the nornir chest.
Summary
And there I have it! All nornir chests, and with that, I will wrap up my God of War Ragnarok All Nornir Chests guide!
Up Next:
Thanks! Do share your feedback with us. ⚡
How can we make this post better? Your help would be appreciated. ✍